Last week I signed up for another Crit City 8-lapper, shooting for a short race that wouldn’t fatigue me too much. I was in a taper mode, you see: looking down the barrel of a massive 4-day bike IRL tour with my brother on California’s central coast (more on that in another post). But taking it easy for a few days had driven me stir-crazy, and I wanted to get one last little hard effort in before the next day’s 9-hour drive to SoCal.
Like most Zwift races, this would be near an all-out effort for me. But since it was only ~20 minutes long, my legs would be recovered by the time I climbed onto my real Venge and start pedaling south from Monterey 48 hours later. Perfect! Let’s race.
The Warmup
Despite a crazy busy day – you know, those “day before vacation” days – I was able to get on the bike early enough to have an unrushed warmup. I spun around Tick Tock, slowly ramping up my pace then putting in a few harder efforts to bring my heart rate up to 160bpm.
Of course, I had already chewed two pieces of caffeine gum and put PR lotion on the legs. And since my last three days of riding had been relatively easy, I was feeling good! This was going to be fun.
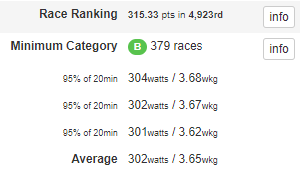
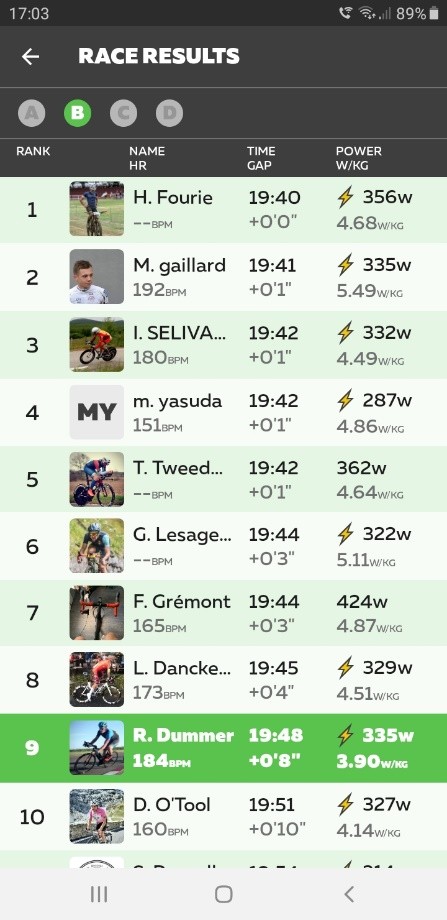
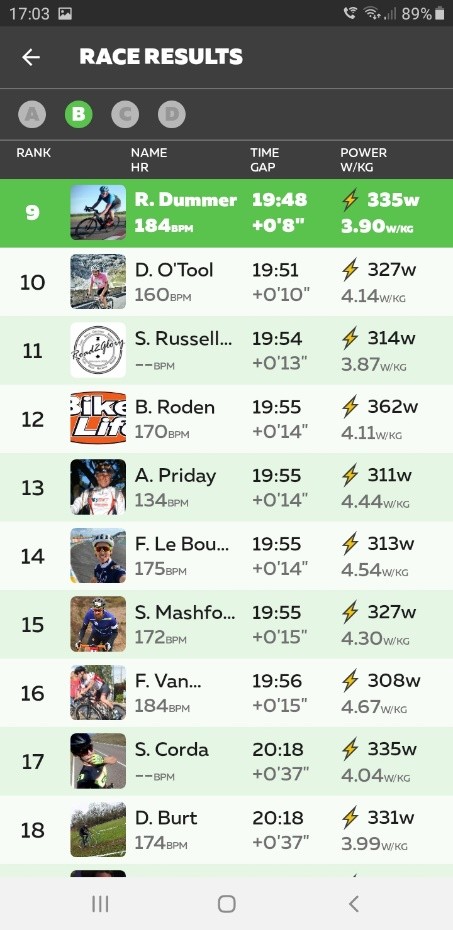
Since I had a bit of extra time, I popped over to ZwiftPower to survey the competition. Here’s what I saw when I sorted the signup sheet by rider rank:
Based on rank, then, I was favored to win the race, once you removed the two A dudes who were signed up. I tried to take note of their names, as well as those ranked near me, so I would know who my strongest competitors might be.
Note: this seems like a smart strategy, but in practice, I have a really hard time remembering names once the race begins. I need to just set up a second dedicated monitor for ZwiftPower!
The Start
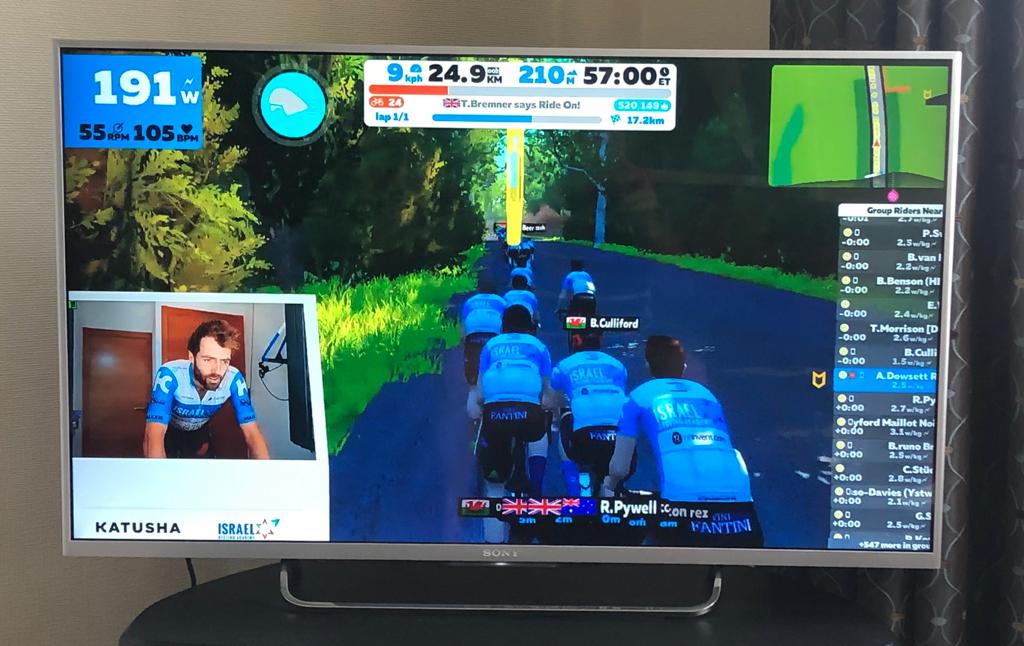
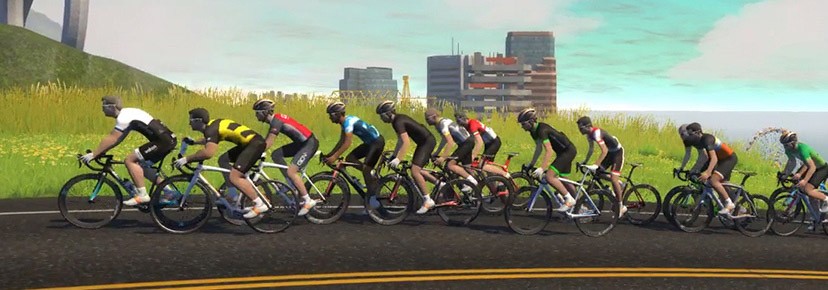
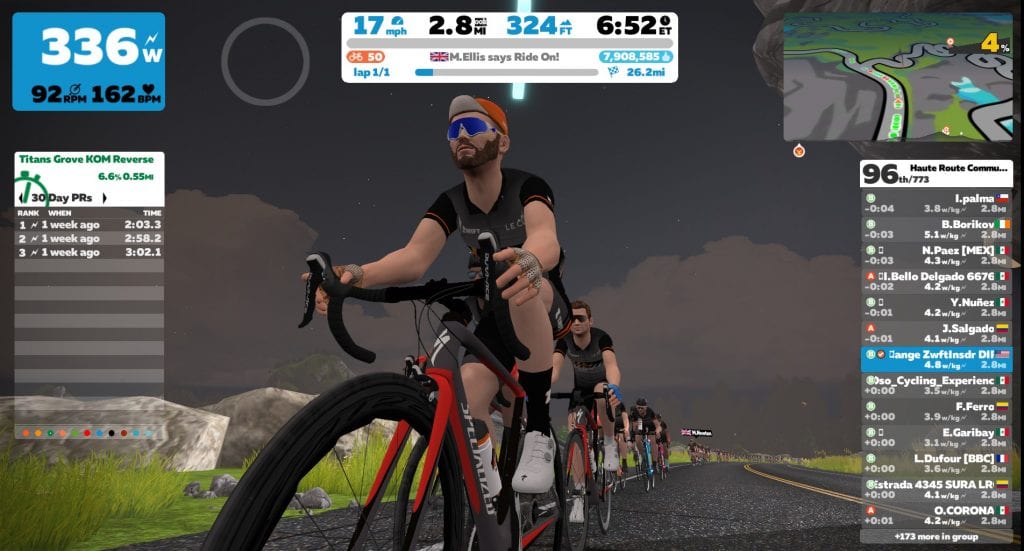
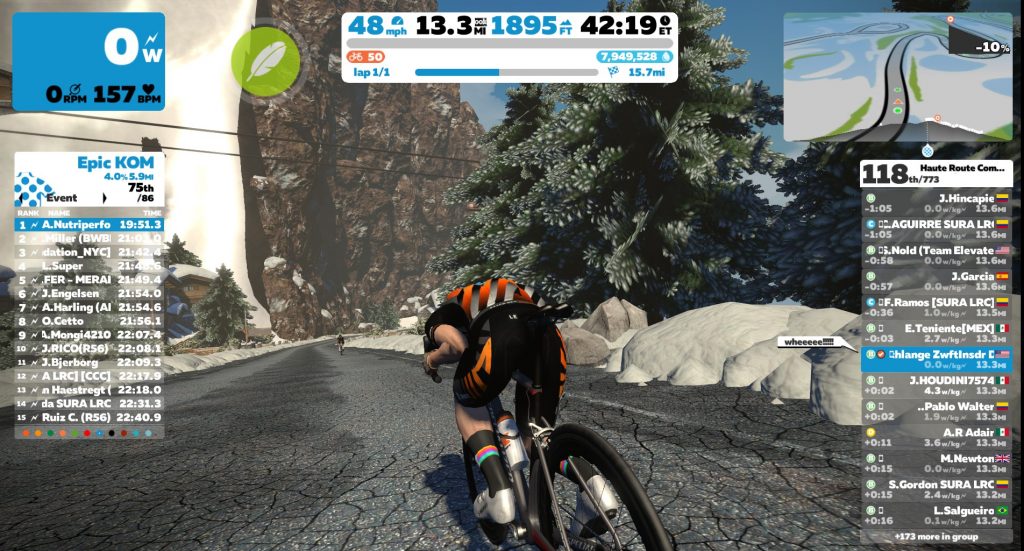
Our starting group of 35 jumped out of the pens quickly, as expected. Once we crested the bricked climb for the first time, things settled down. Two minutes at ~360 watts was enough to keep me in the first selection of ~15 riders.
We had three zPowered riders pushing hard near the front early on, but not so hard that it was blowing apart the race. That’s an acceptable situation, in my book: if they want to rotate on the front and be a part of the overall peloton (even though their power probably isn’t very accurate), no problem. It’s only when those riders attack off the front and destroy the authentic race dynamics that I take issue.
The Middle
Things were quite settled by the third lap, and my legs were feeling good. So I decided to try shaking things up a bit with an attack! I had an aero helmet powerup, so I activated it near the top of the prime climb, hammering away from the group as they eased up after pushing hard up the bricks.
Just once I’d like to make an attack like this and have several strong riders join me so we could work together in a breakaway. But that never seems to happen! Instead, everyone is content to let the attacker hang off the front, knowing a lone rider is no match for a group of 15. Smart racing, I suppose, if you trust your ability to sprint against the pack or your legs aren’t feeling great. I know I’ve let the attacker sizzle on the front in many a Zwift race!

Even though these sorts of attacks rarely result in a dramatic breakaway group, they do stretch the pack out as those on the front hammer to catch the attacker. This often drops a rider or two who are barely hanging on, which further whittles down the competition. And that’s what happened with my attack – I was caught by the pack before hitting the start/finish, but we dropped at least one rider from our group.
The Finish
No significant moves were made for the rest of the race, and I took the chance to sit in the draft, keeping my legs as fresh as possible for the final effort. I had been striking out in terms of powerups ($#@% bonuses!) but managed to score a draft van on my last trip through the banner. It didn’t really matter what I got, though – I had already formulated my finishing plan.
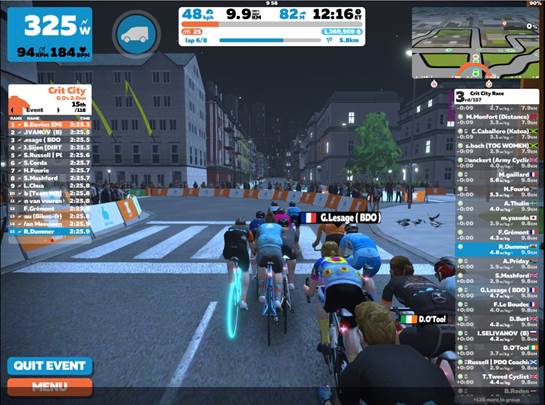
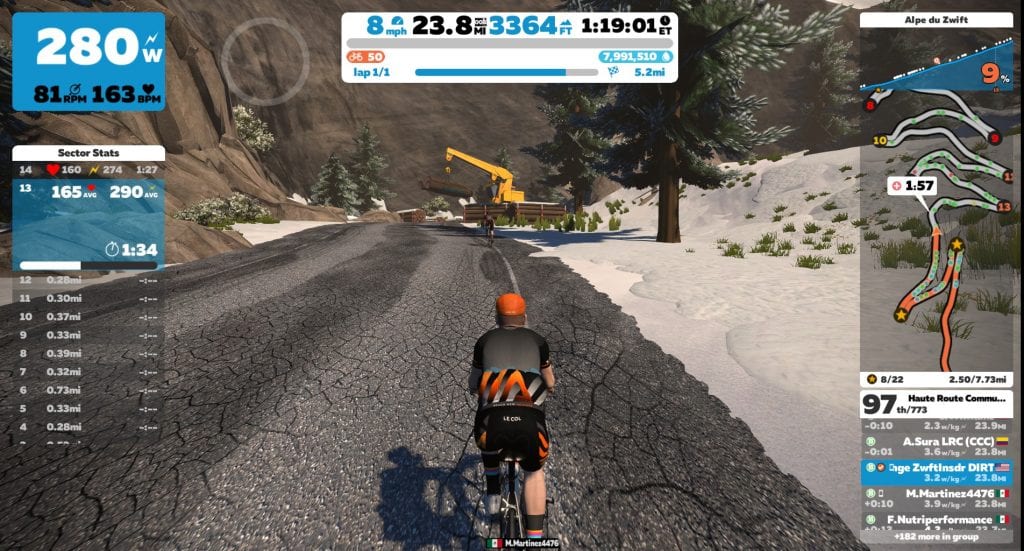
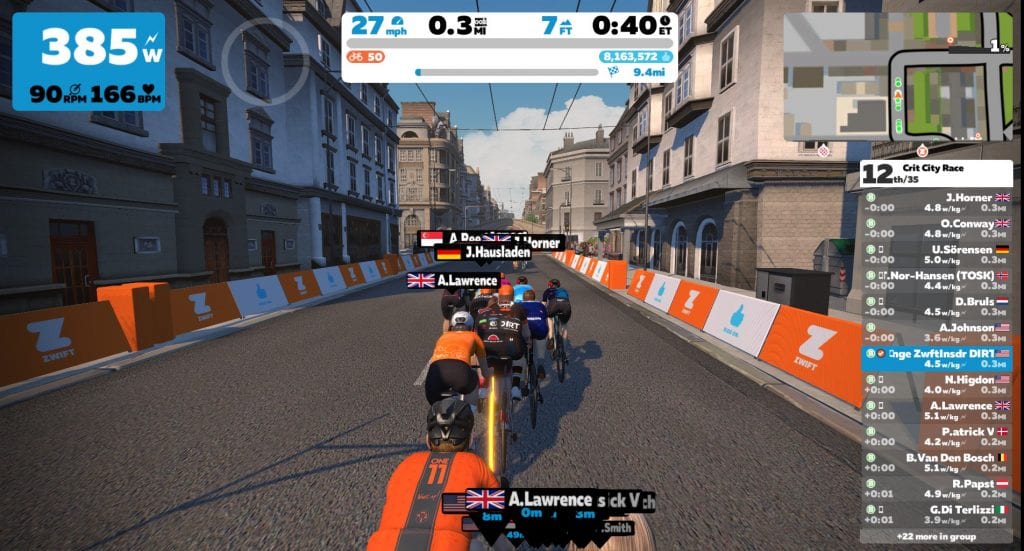
First: I would follow any early attacks, sitting on the wheels and being willing to go from a long way out if we were able to gap the main group. It felt like this might happen early on in the final lap, as the three zPowered riders all showed up on the front, hammering away. I even caught it in a screenshot (see above)! But their increased effort merely stretched the group out, perhaps dropping a rider or two in the process.

Second: I would move near the front for the brick prime, so if anyone tried to jump there, I could follow their wheel. I was even willing to use my draft van powerup to hold their wheel, if it looked like it meant we could drop the chasing pack and stay away.
The attack on the bricks happens on the last lap of every Crit City race, it seems – it’s just a question of how hard that jump is, and how long the attacker can hold it! You’ve basically got 60 seconds from the top of the bricks to the finish line, so if you’re blessed with strong 1-minute power and perhaps a helpful feather or aero powerup, you may just be able to get away and stay away. That’s the hope, anyway. A hope that is almost always swallowed up in defeat as the chasing pack catches the attacker just before the final hairpin.
No big jump happened on our last time up the bricks, so it was time for the third and final part of my plan: to jump hard and early, then try to stay away with a long sprint! The van powerup only helps while you’re drafting, so I activated it early, using it to ease the effort required to sit in with the hard-charging pack. Then, with a few seconds left on my draft boost, I shifted, stood up, and began hammering with everything I had through the pack and off the front!
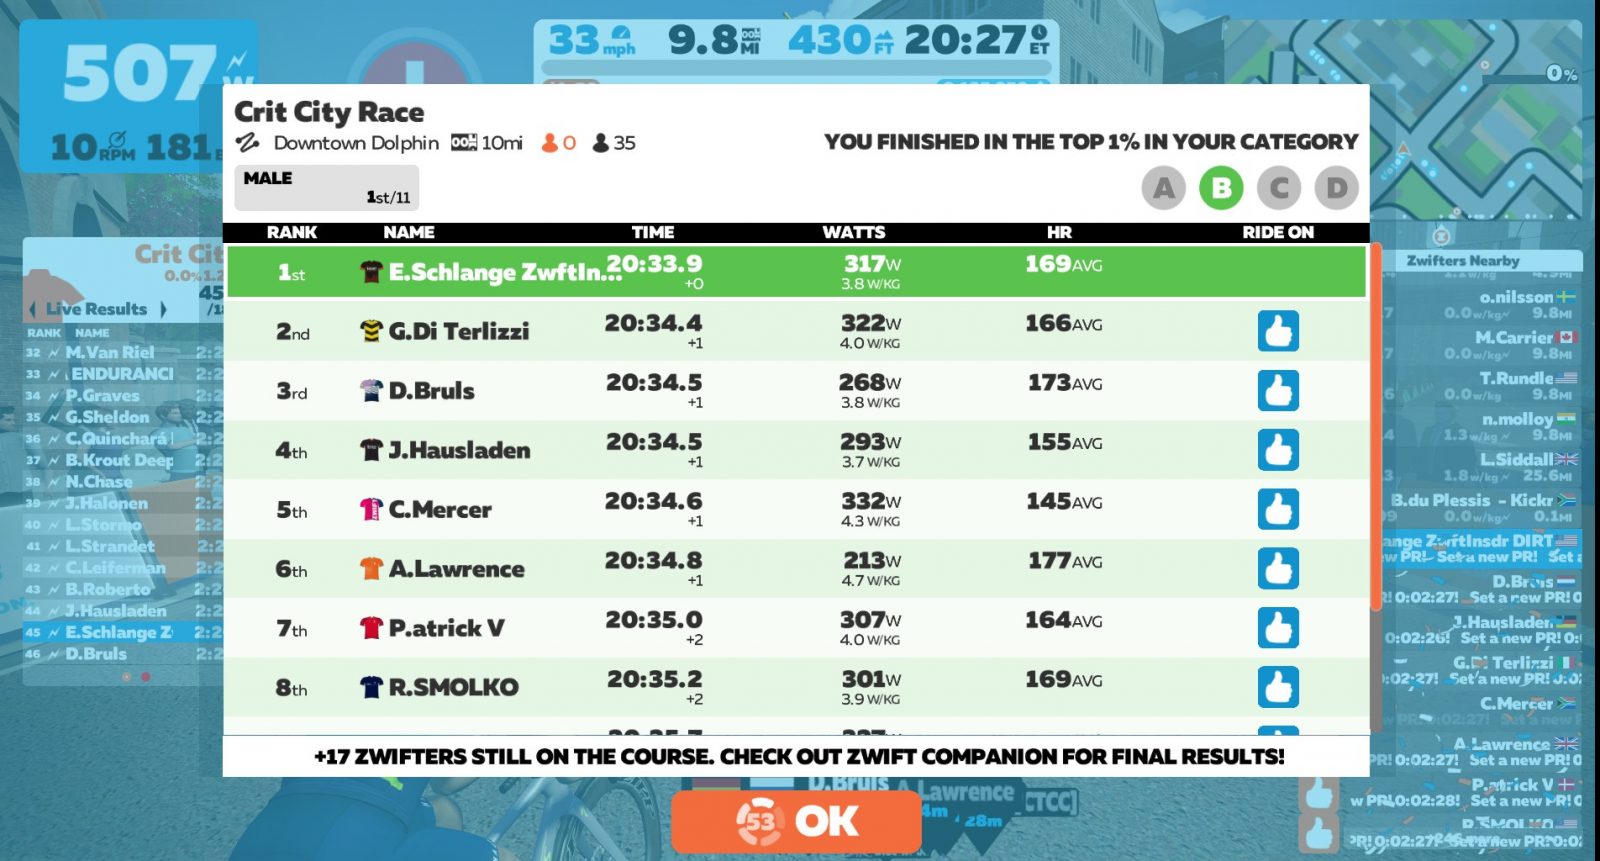
I glanced up to see I was ahead of the group going into the final hairpin, then it was a head-down, all-in sprint for the final few seconds. I looked up as I crossed the line. First place!
See activity on Strava >
See activity on Zwift >
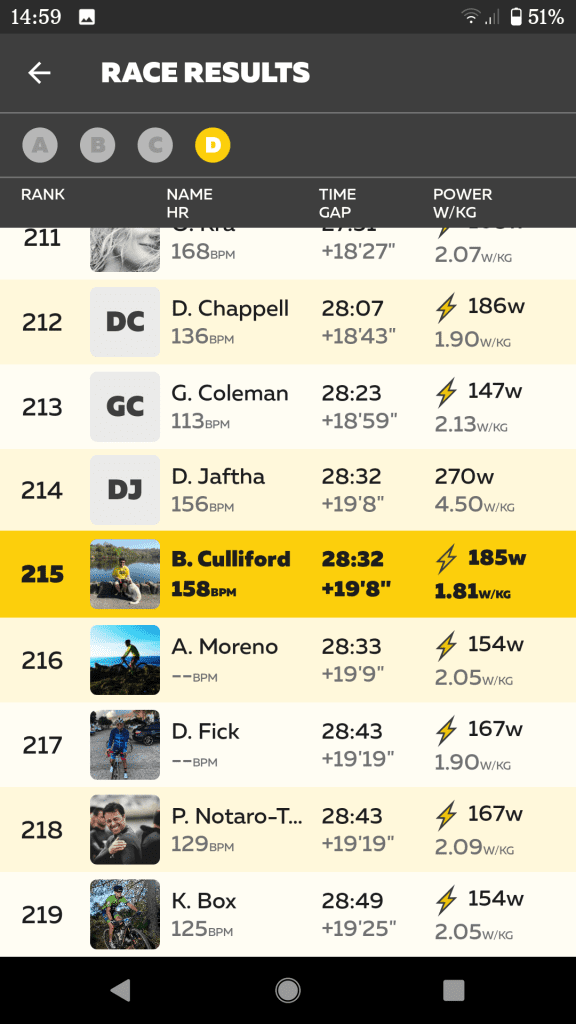
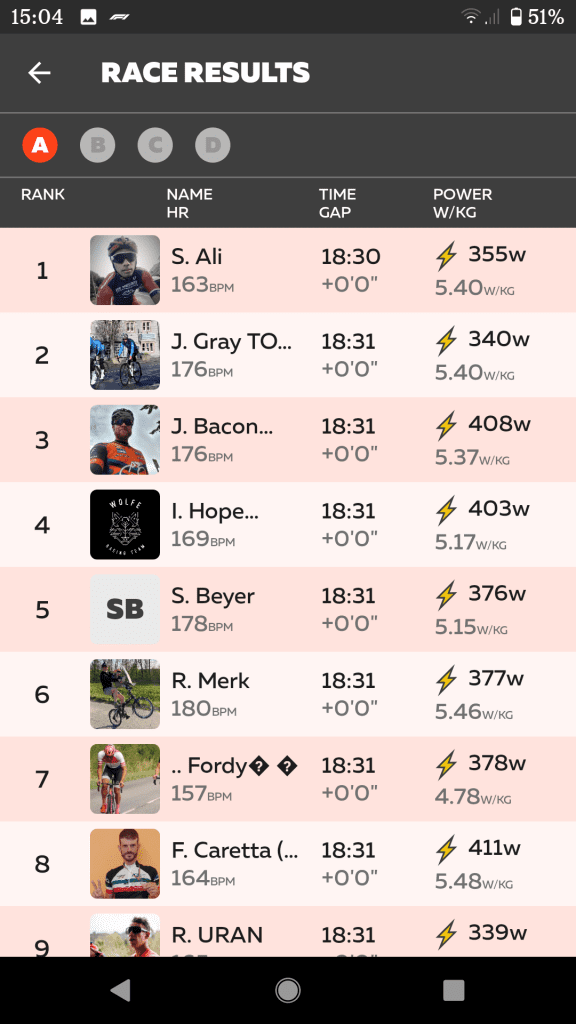
See race results on ZwiftPower >
Takeaways
- It’s been a long time since I actually crossed the line in first place in a Zwift race. I can’t remember when it last happened, actually. Sure, I recently won a points race. And I ended up first in a Crit City race back in January. But neither of those races had me crossing the finish line first – I won by accumulating points, or because the rider(s) who finished ahead weren’t on ZwiftPower. It really is a special feeling to cross the line first. More of that, please!
- Writing this review, it struck me that overpowered zPowered riders did affect this race. I was just able to hang onto their wheels this time! But of course, other riders probably got dropped by the efforts of the zPowered three who averaged 318W (5.3 w/kg), 321W (4.7 w/kg), and 327W (4.7 w/kg). So once again, just a reminder that we need better doping controls. A simple green cone of shame probably would have sent these riders off the back quickly.
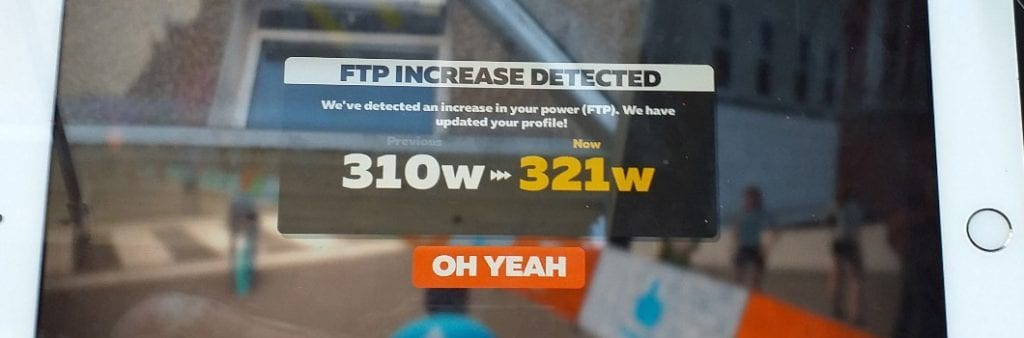
- I’ve got a surprise for you: it seems I’m able to hold higher power on fresh legs! This ride gave me new PB’s on my power curve for 2020 between 1 minute and 2:30. And I averaged 758W over 21 seconds in the final sprint, peaking at 884W. That’s certainly higher than most of my race finishes, where I’m too knackered to get close to my “fresh max” of around 1000W.
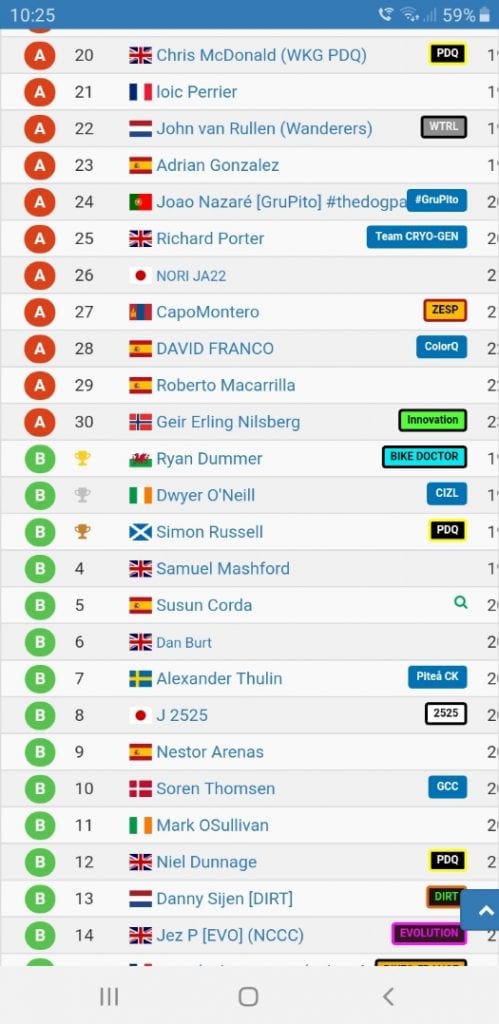
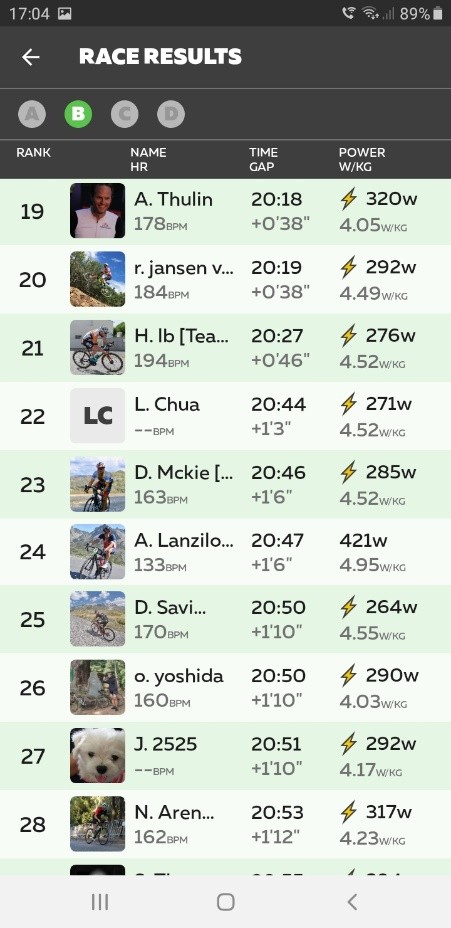
- ZwiftPower scouting doesn’t always work well. Looking at the four riders who finished just behind me, three of them weren’t signed up when I checked ZwiftPower, and the fourth was ranked quite low on the list! So I’d say checking the competition on ZwiftPower can be a good tool in my race-belt, but only if I change how I use it. More on this in future posts.
Your Comments
Questions or comments? Share below!
")