This weekend sees the return of the RoboPacer Alpe rides. Additionally, we’ve selected a wide variety of events including group rides, races, workouts, and endurance rides!
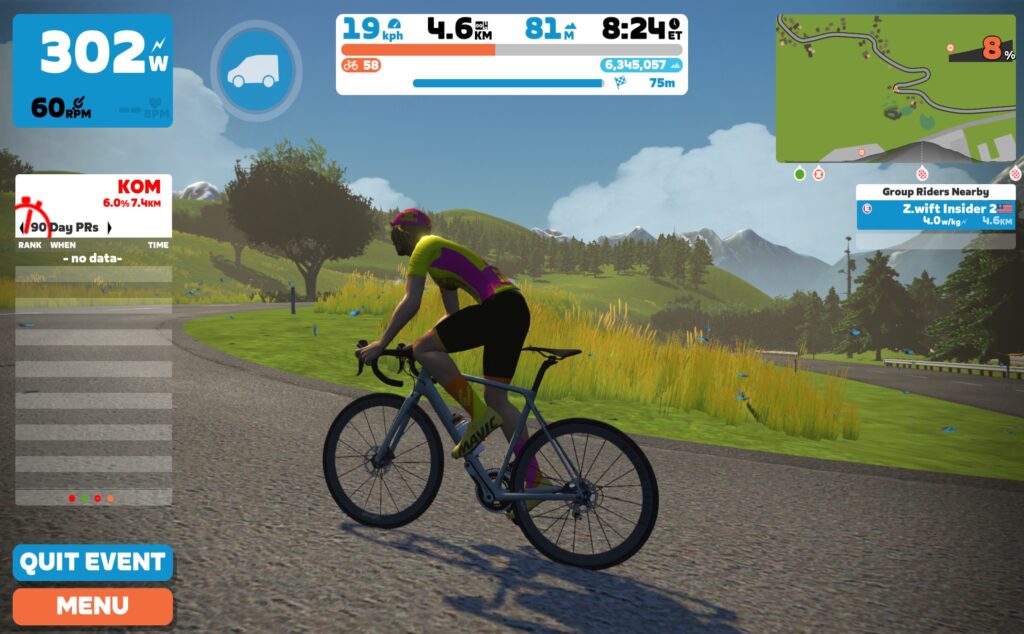
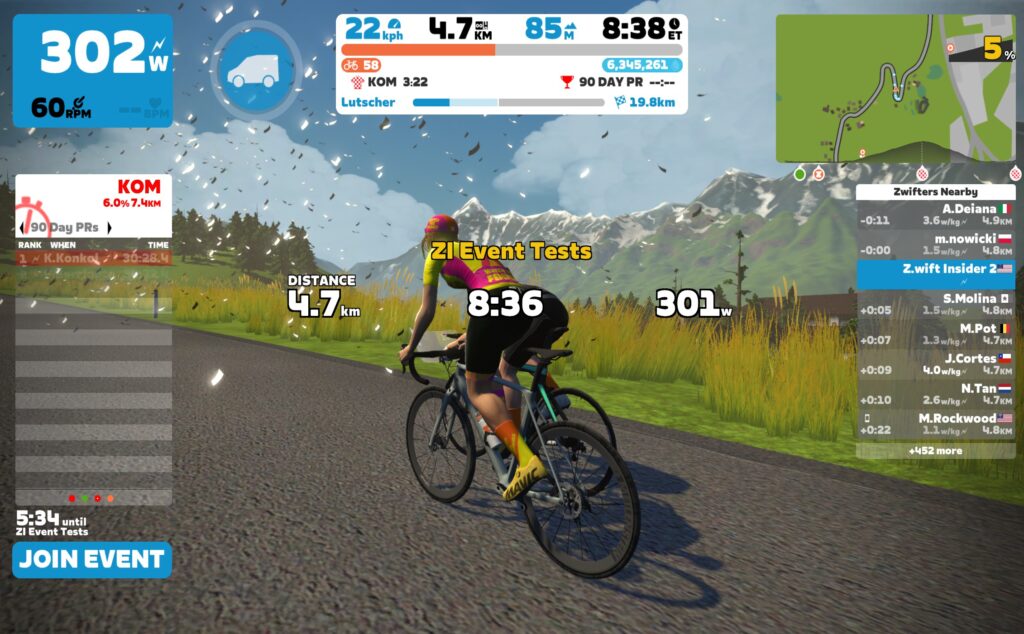
🤝 Summit Seeker – with Robo Pacers!

✅ Popular Event ✅ Innovative Format
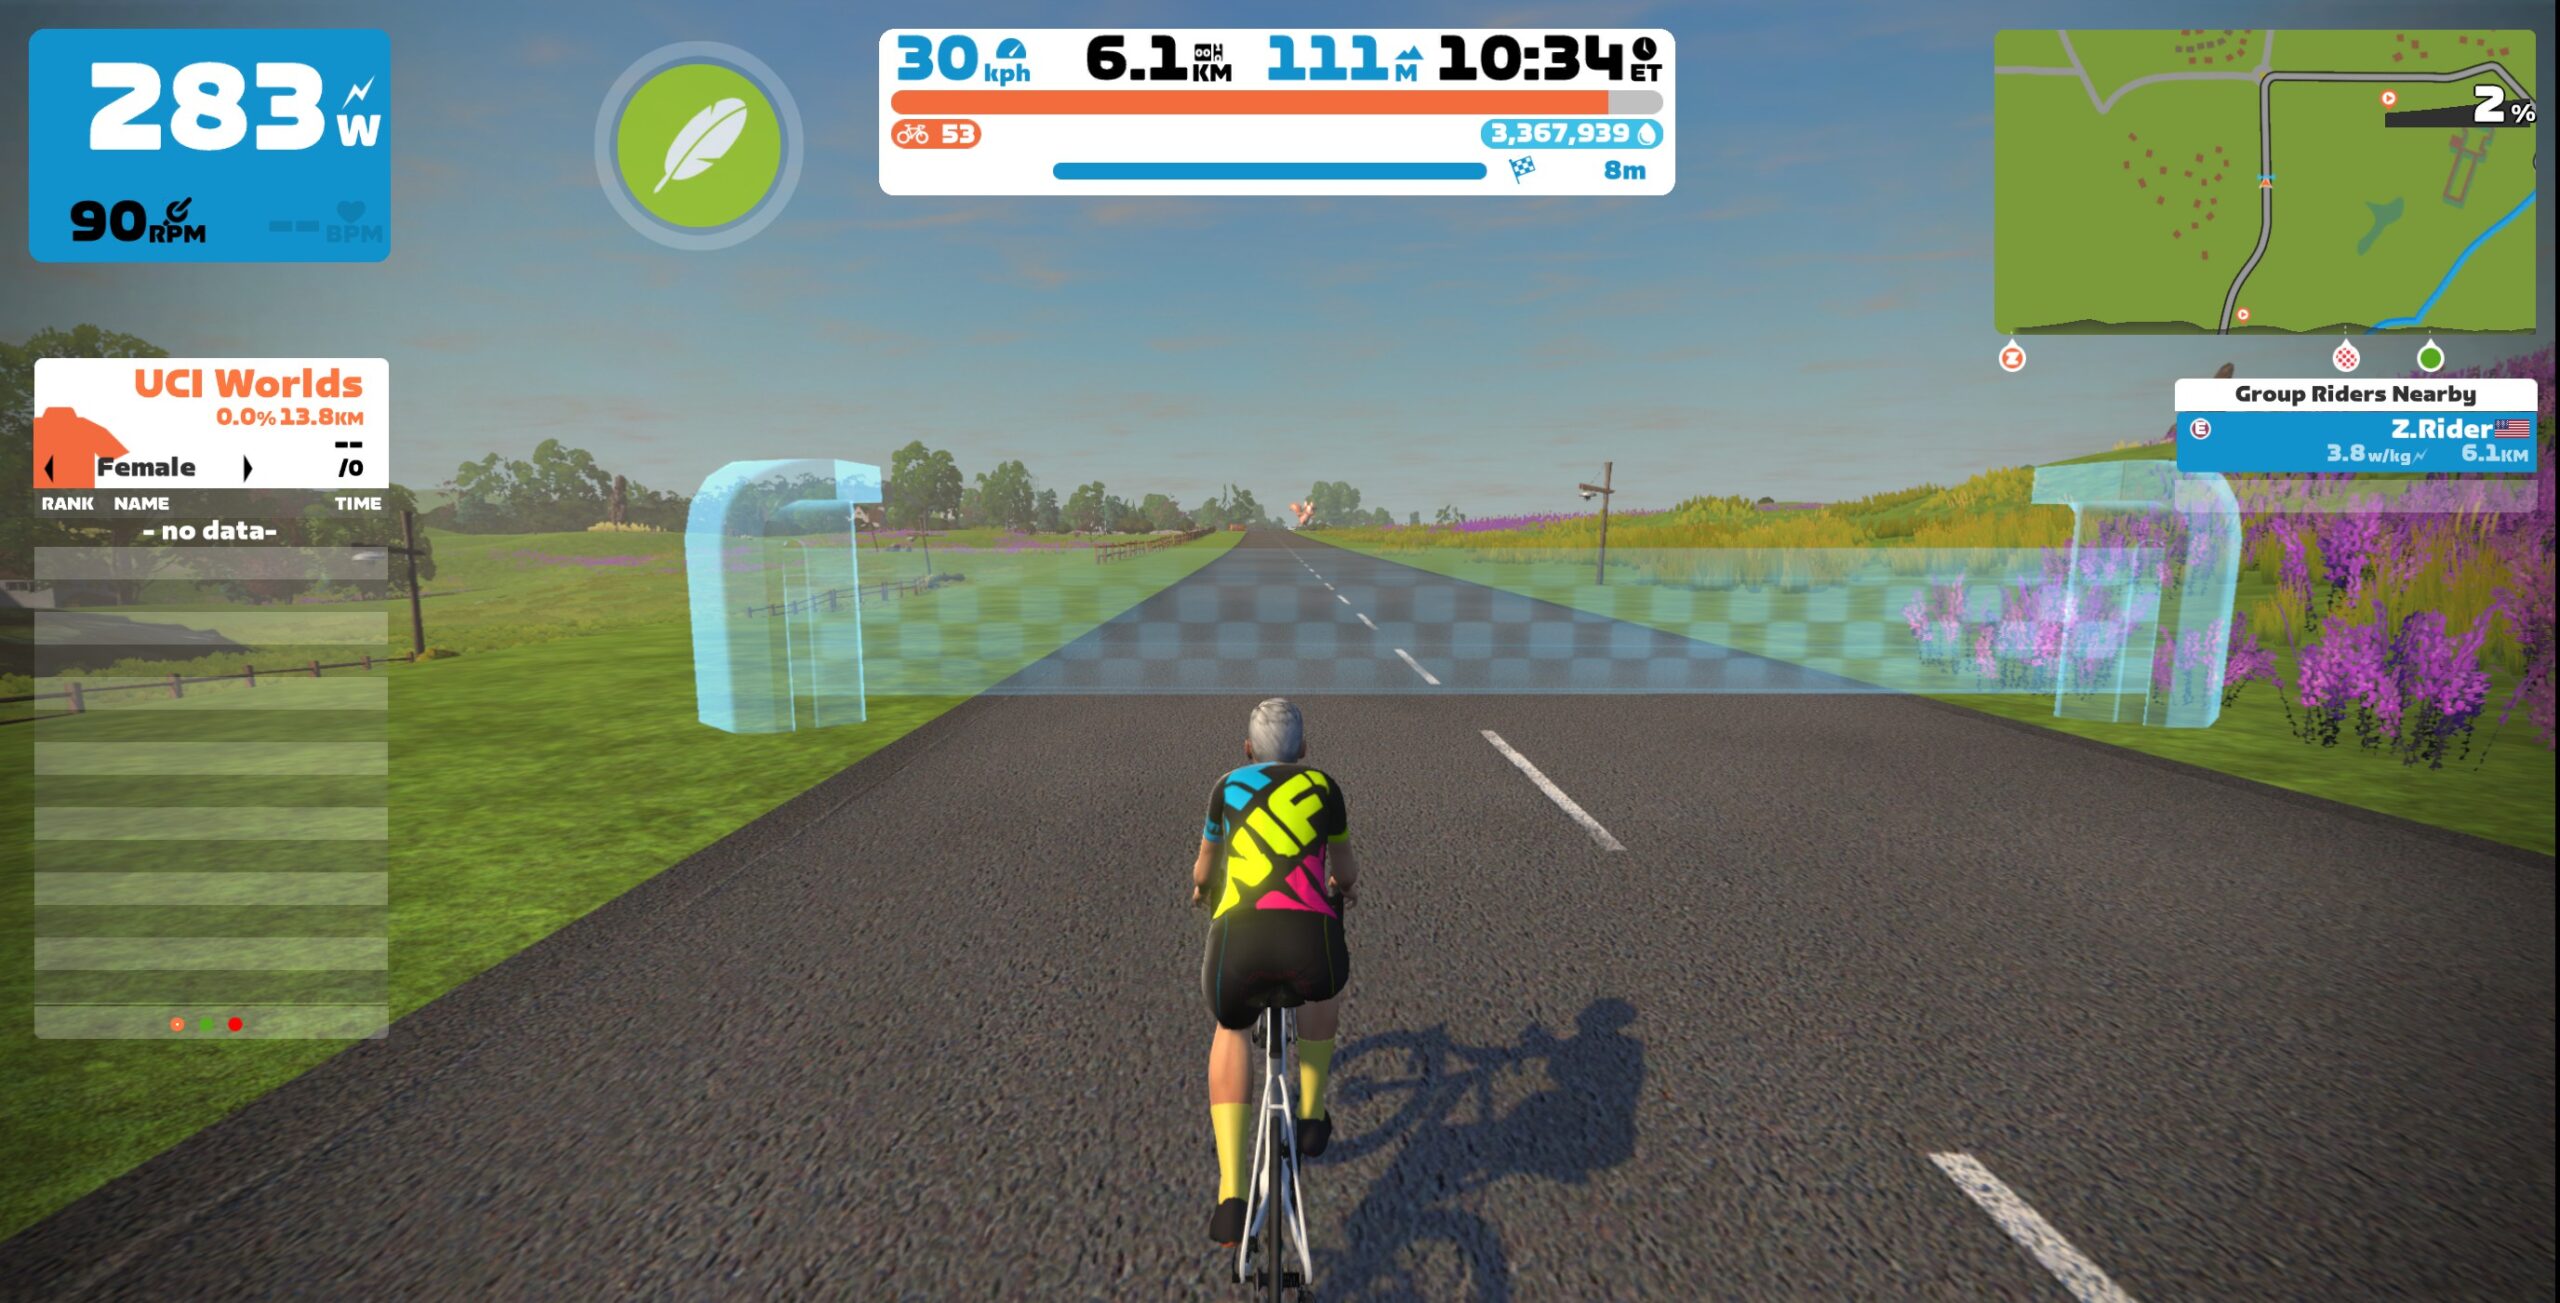
The Summit Seeker event is back! This is an amazing way for people to improve their times on the Alpe. The group ride will have several categories with different time goals. Robopacers will start at 75% of the target pace prior to the start of the actual climb.
This event takes place over one lap of the Road to Sky course. Note: it takes ~5 kilometers (3 miles) to get to the base of the climb.
Multiple time slots Friday through Monday
Browse all Summit Seeker Events at zwift.com/events/tag/alpepacer
🤝 Ride On with Team Type 1 Social Ride

✅ Popular Event ✅ Feel-Good Factor ✅ Beginner Friendly
Join Team Type 1 for this 60-minute social ride. Team Type 1’s goal is to help raise awareness for the disease. Donations are welcome and greatly appreciated by the team. The leader will maintain a steady pace of 1.5-2 w/kg for the full duration of the ride. Additionally, both leaders and sweeps will be present in the ride.
The group ride takes place over 60 minutes on The Fan Flats course in Richmond. This is a great route for a social ride as there is minimal climbing.
Saturday, June 24 @ 2:10 pm UTC/10:10 am EDT/7:10 am PDT
Sign up at zwift.com/events/view/3741069
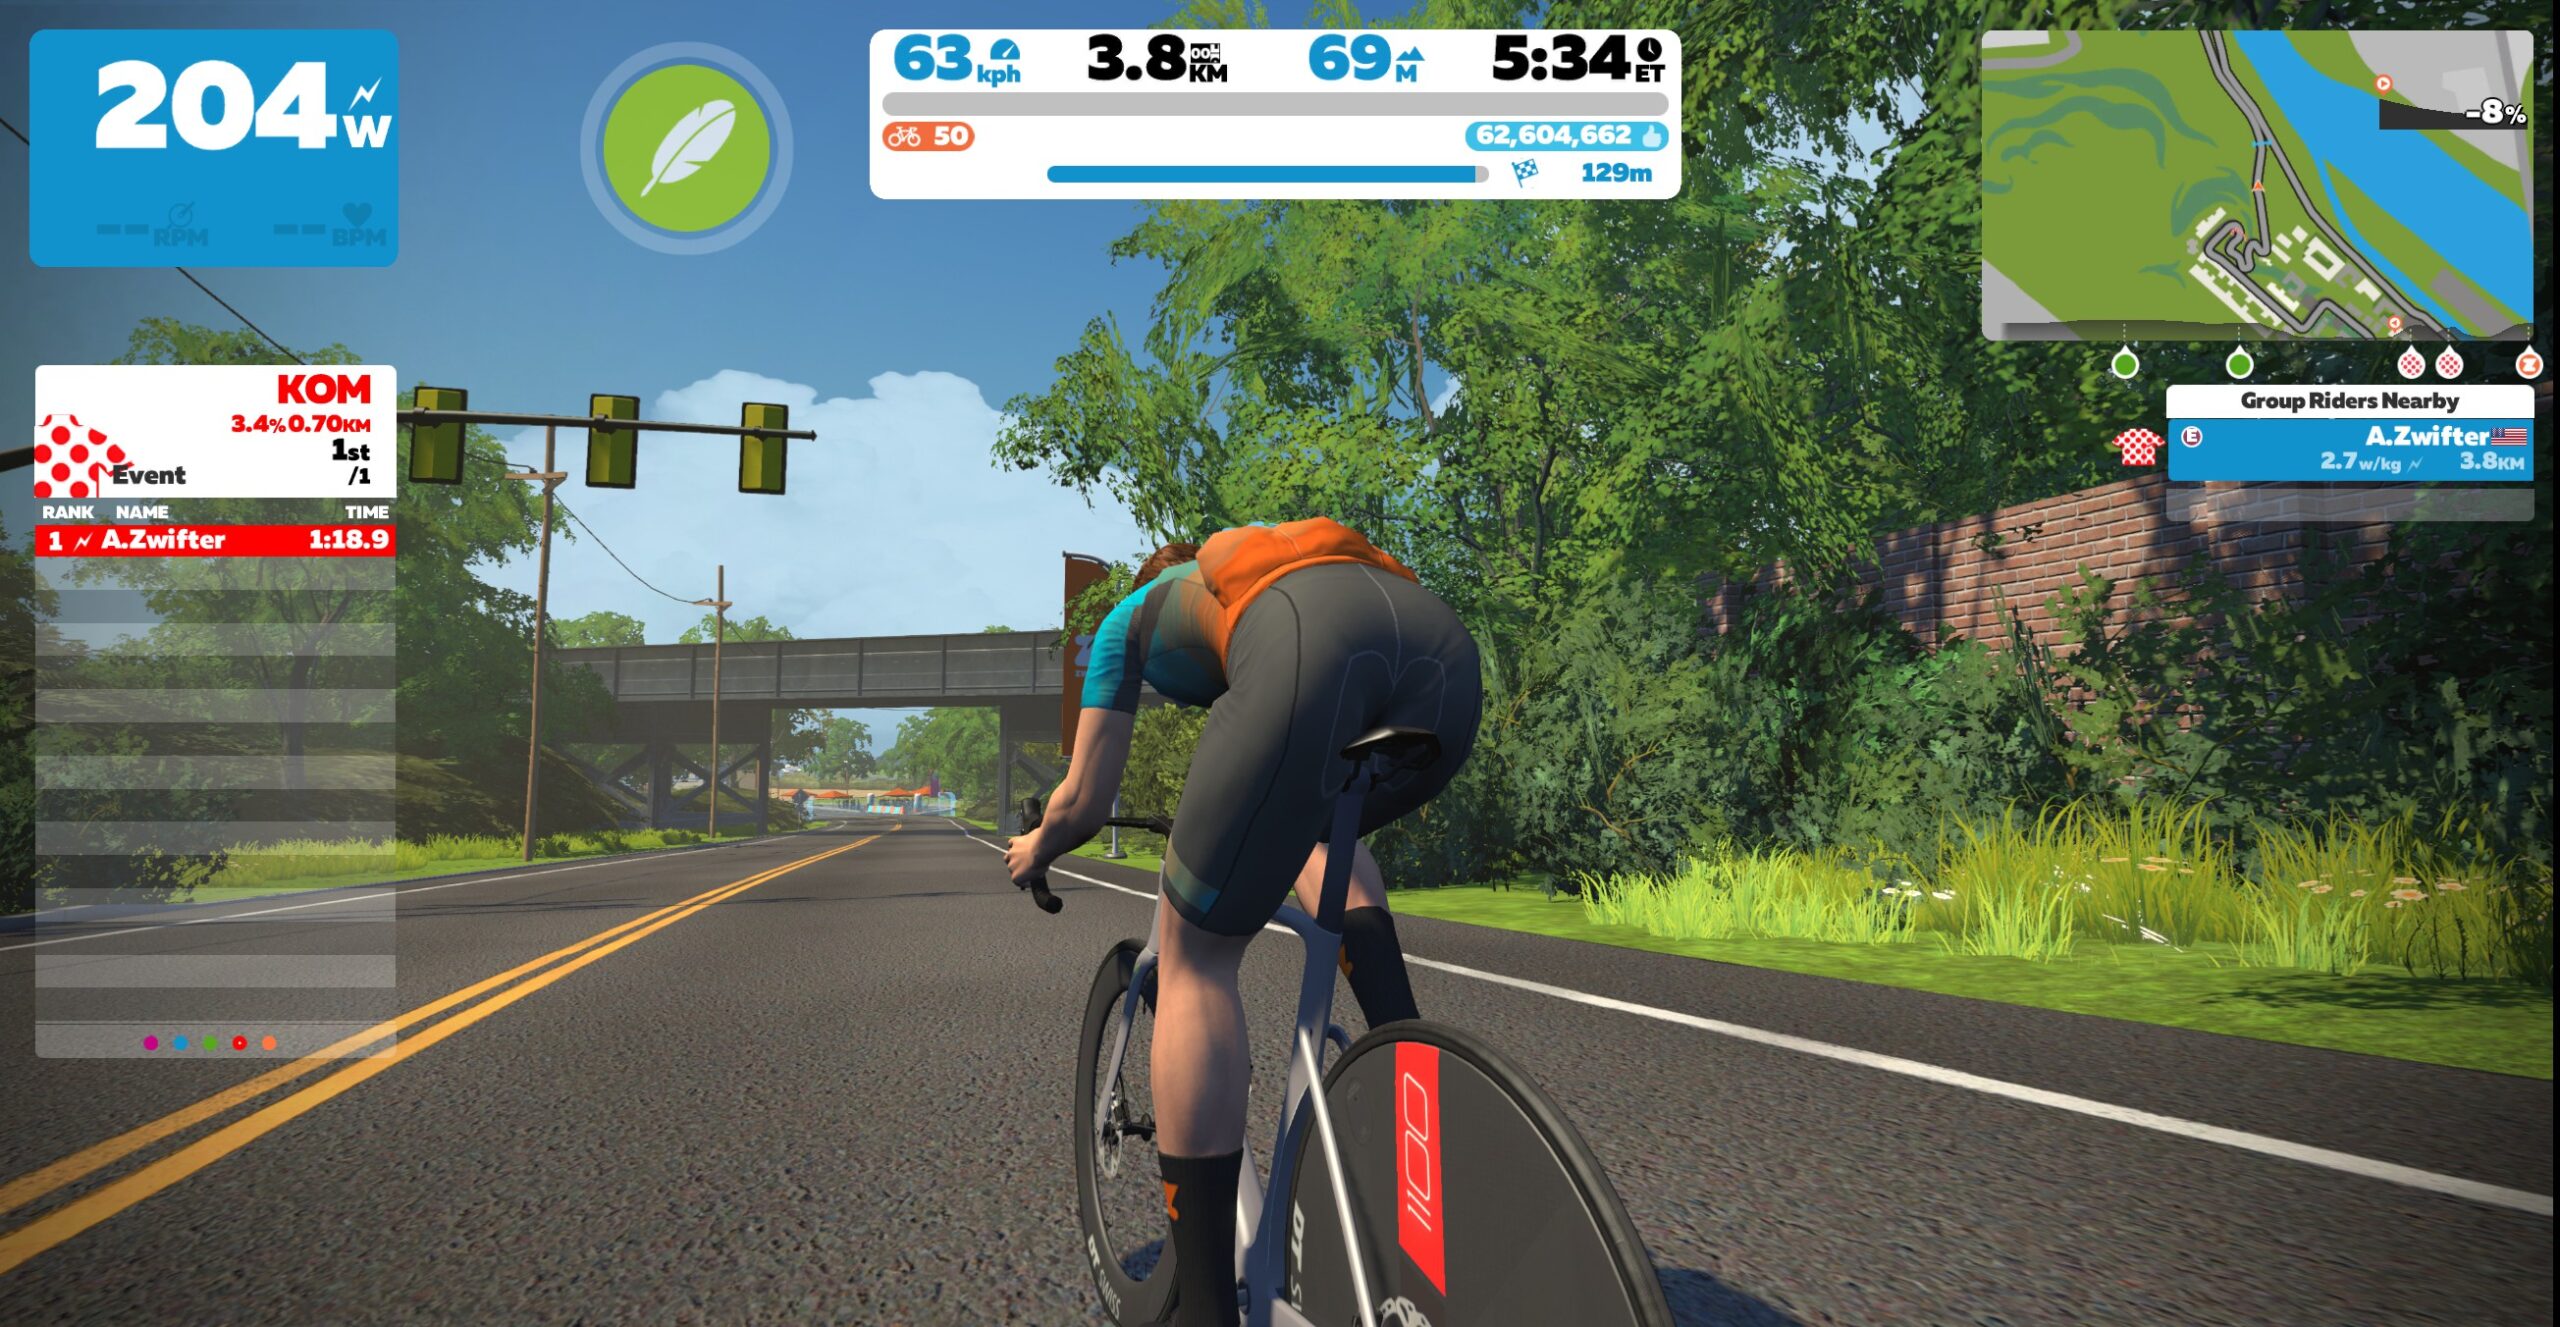
🥇 SACF Virtual Race

✅ Popular Event ✅ Women-Only Option
Every weekend, the Saudi Cycling Federation (SACF) hosts a race with a bit of a different category system. Rather than the traditional categories, this race has a standard category C but a category B that covers both Category A and B. Additionally, a women-only category is available.
The race takes place on the Temples and Towers course in the Makuri Islands.
Saturday, June 24 @ 11:15 am UTC /7:15 am EDT/4:15 am PDT
Sign up at zwift.com/events/view/3741015
🤝 CRYO-GEN Sunday Endurance Ride

✅ Popular Event ✅ Beginner Friendly
Looking for a well-paced endurance ride? The Cryo-Gen Sunday Endurance ride is a great option for both avid and beginner riders. A leader and sweep will be present for both category groups, and the team at Cryo-Gen also highly encourages stronger riders to drop back to assist those who fall off the back.
This 90-minute endurance ride takes place on the Beach Island Loop course in Watopia. Riders will complete multiple loops of this course.
Sunday, June 25 @ 10 am UTC/6 am EDT/3 am PDT
Sign up at zwift.com/events/view/3741873
📊 Le Col Cycling Club Community Sunday Session

✅ Popular Event ✅ Tough Workout
For those who fancy an endurance group ride, Le Col has you covered. These weekly workouts are designed by former professional cyclist, Chris Opie. This week’s workout features three longer sets of intervals, amounting to 90 minutes of riding.
The group workout takes place on the Makuri 40 course. Due to the rubberbanding that occurs in group workouts, the speed will be slower than usual for most riders.
Sunday, June 25 @ 8 am UTC/4 am EDT
Sign up at zwift.com/events/view/3741845
How We Make Our Picks
We choose each weekend’s Notable Events based on a variety of factors including:
- Is the event unique/innovative in some way?
- Are celebrities (pro riders, etc) attending/leading?
- Are signup counts already high, meaning the event is extra-popular?
- Does the ride include desirable unlocks or prizes?
- Does the event appeal to ladies on Zwift? (We like to support this under-represented group!)
- Is it for a good cause?
- Is it just plain crazy (extra long races, world record attempts, etc)?
- Is it a long-running, popular weekly event with a dedicated leader who deserves a shout out?
In the end, we want to call attention to events that are extra-special and therefore extra-appealing to Zwifters. If you think your event qualifies, comment below with a link/details and we may just include it in an upcoming post!
Your Thoughts
Got other events that stand out this weekend? Share below in the comments!


 at REI")