“Race Watopia” ZRacing October 2023 Series Details
Zwift’s “ZRacing” is the platform’s most popular ongoing race series, and in October it’s all about Watopia! Following the theme of the Tour of Watopia and the upcoming Watopia expansion, October’s ZRacing events will all be held in Watopia. This includes the final stage, which will be held on a new route to be announced.
Race Watopia – October’s Route Schedule
Here are the routes we’ll be racing in October. Note that stage 5 features one of the new routes created by the upcoming Watopia expansion!
This month, ZRacing is part of Tour of Watopia Fall 2023! Completing any ZRacing stage will also complete that stage of ToW, and you’ll earn double XP while doing it.
Nathan Guerra at Zwift Community Live is providing commentary and a live stream of each Monday’s 5pm UTC/1pm Eastern/10am Pacific race. Here’s the first race, and you can also click here for the playlist of upcoming broadcasts.
Series Structure
The ZRacing series consists of monthly sets of weekly races. Each race is scheduled for seven days (beginning 1:10am UTC on Monday and running through to the next Sunday). Timeslots are consistent week to week and month to month.
Races are scheduled ~15 times each day, so there are plenty of available times to find a race.
Each monthly series includes a time-based GC (general classification) tracking riders’ best finishing times for each week’s race. The overall winners in each category for the month are the riders with the lowest overall time for that month’s set of races.
With over 100 weekly timeslots available, riders can race each week’s event multiple times and try to better their finishing time. Tip: the fastest times usually come from the largest race fields!
You must use a heart rate monitor and be on a smart trainer, smart bike, or power meter to show up in ZwiftPower results for this series.
Each month’s ZRacing series has a unique achievement badge, which you can unlock by finishing every stage for the month.
There are no makeup events, so if you miss a stage, you miss out!
One and Done
Zwift has planned these events to deliver a solid 1-hour workout, so each race should only take around 1 hour to complete, including your warmup and cooldown.
How the Race Was Lost: ZNF in ZRL Race 2 (Makuri 40)
The second race of Zwift Racing League 2023/24 Round 1 happened Tuesday, September 19. It was the first points race of the season, and also the longest, taking place on Makuri 40 with 5 sprint intermediates.
My DIRT Kraken team was well-positioned for a good result on this route, and I took care in the days leading up to the race to make sure my legs were ready for a max effort. Because every point counts!
The Warmup
The race began at 9:30am, so I ate breakfast well beforehand. As we got closer to launch I chewed some caffeine gum (300mg of go-go juice!) and applied PR lotion to the legs before kitting up and heading to the warmup.
Like last week, I ended up with a messy warmup because I had many things to set up: Zwift/Trainer/Discord/Video/Sauce for Zwift… it was all a bit of a mess. I got it all taken care of, though. Or at least, I thought I did.
With 40 seconds to go I realized I was still in my virtual Zwift Insider kit, in the pens! ZRL is a team race, and it’s important that each team’s members wear the same kit so you can see who you’re competing against.
I swapped kits at the last moment, but into the pink DIRT kit instead of the orange, because I couldn’t find the orange one in my list of jerseys. Thanks to the way Zwift caches other riders’ kits, everyone would probably be seeing me in my ZI kit for the race. But I couldn’t help that now. The race was on!
The Start
We knew the start of this race was going to be tough: a 1.5km climb right out of the gate, punctuated by the first sprint segment of the season. 394W (4.75W/kg) for 3 minutes was almost a 6-week power PB for me, but it was enough to keep me nicely positioned in the front pack.
I didn’t contest the Village Sprint, but sat in the wheels and spun my legs out to prepare for the next sprint.
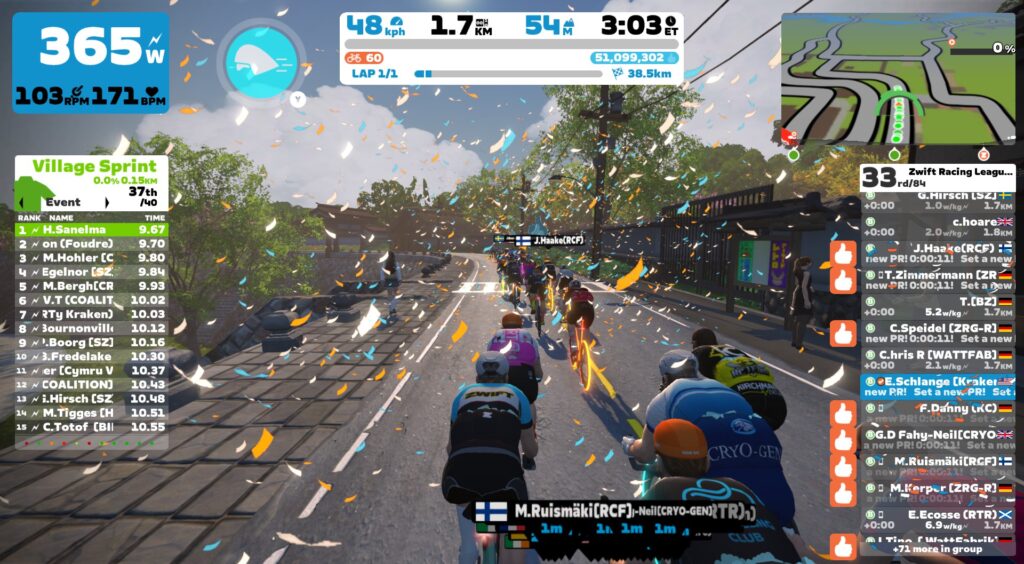
Country Sprint Smash
The Country Sprint is a fast sprint in this direction because you enter it after descending from Village Onsen. This was a sprint I planned to target if the legs felt good, because the downhill lead-in would work to my advantage as a slightly heavier rider in this group (83kg).
My legs felt good, I had my aero powerup in hand, and quick access to trigger it via Zwift Play. Now it was just a matter of timing. As we neared the start line, I positioned myself near the back of the pack so I could sprint through it, then revved up the power to start moving through the pack, which was already traveling at 60+kph.
Approaching the front of the group, I triggered my aero and went all-in with power, flying off the front of the pack just as we passed the start line. A bit early, perhaps, but I was committed now!
A few seconds later I glanced up at the screen and saw my rider was in the wind, leading out the sprint in 1st place! That motivated me to keep pushing, and I gave it all I had to the line, crossing first about 25 seconds after starting my initial effort.
The sprint leaderboard popped up – teammate Dave Husbo had grabbed 1st for FTS, and I was 3rd FTS and 1st across the line (FAL). Hurray!
Disastrous Zwexit
Buoyed by my sprint win, I returned to sitting in the wheels, knowing the next two sprints were both great chances to grab additional points for my team. (Both the Alley Sprint Reverse and Country Sprint Reverse are slightly downhill.)
Then, disaster struck.
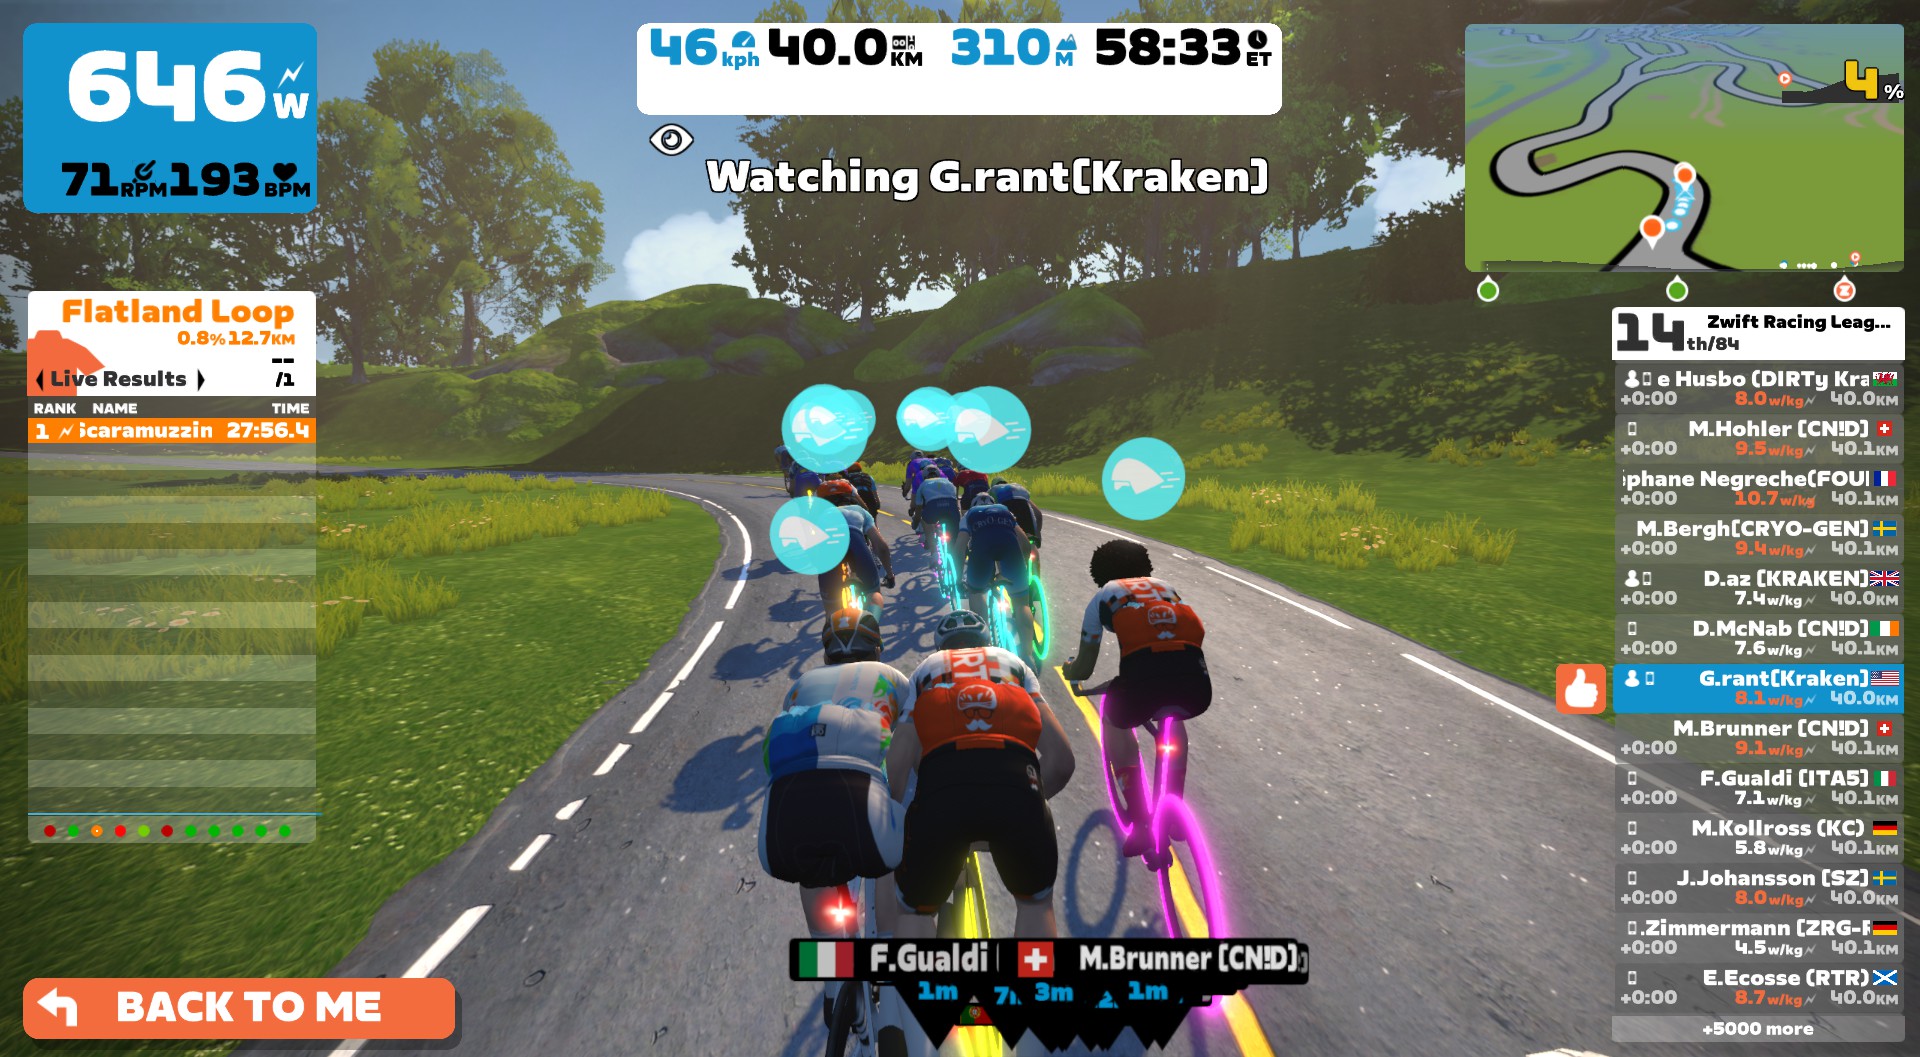
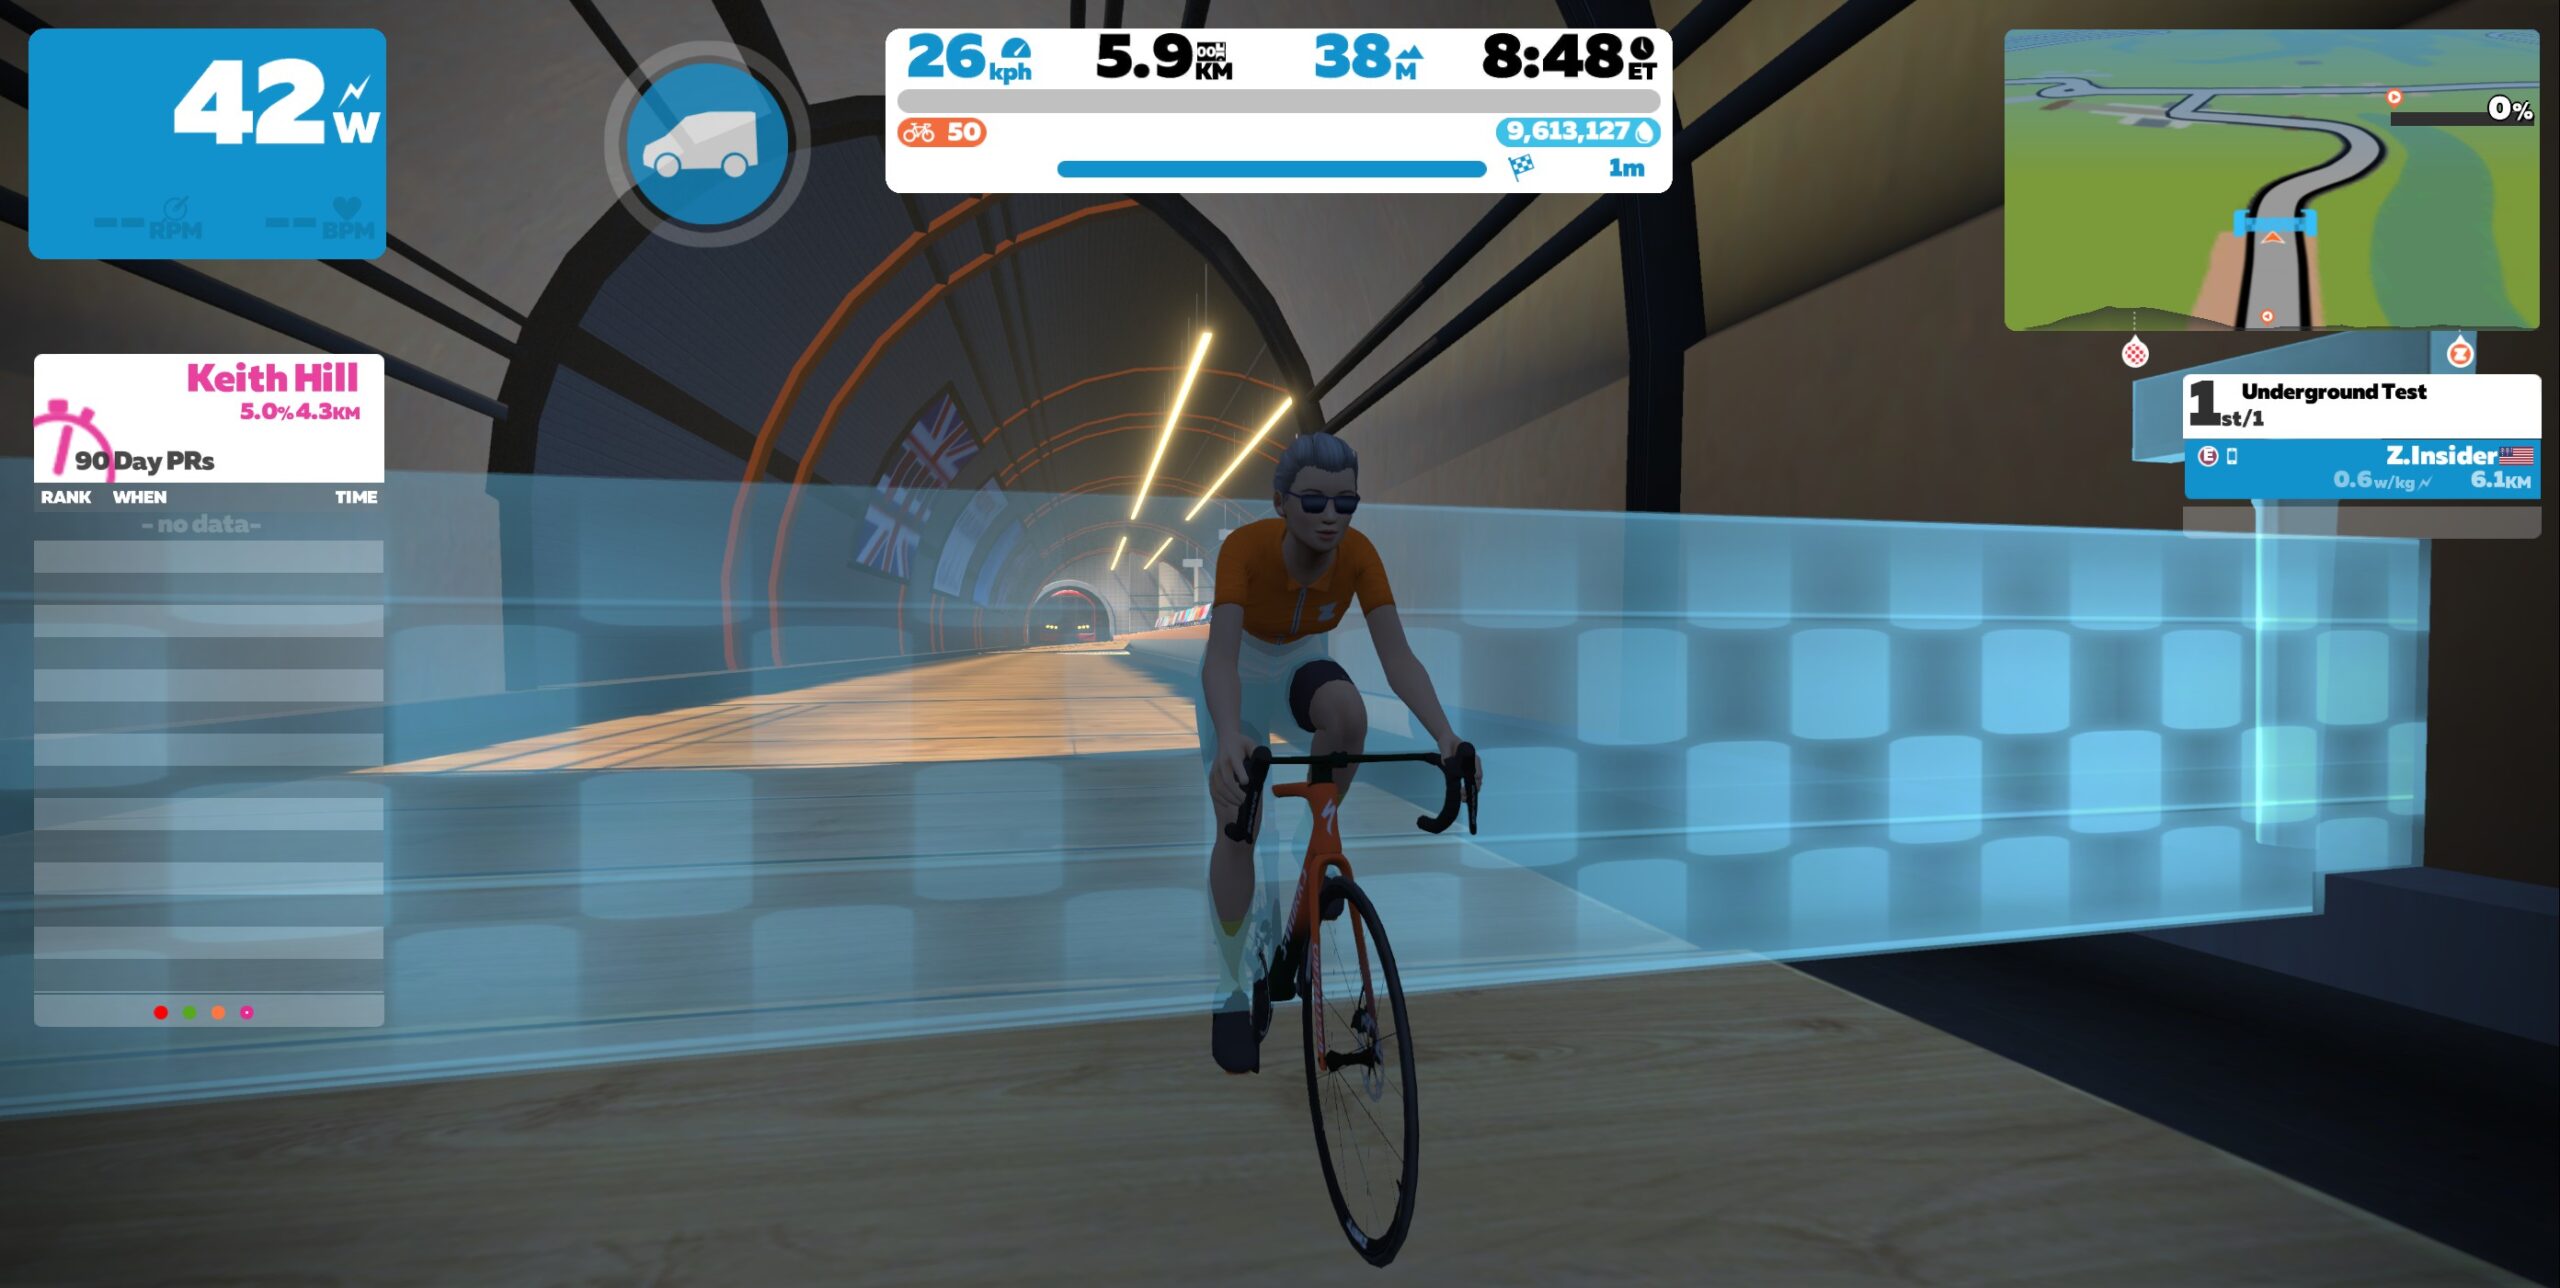
As my distance counter ticked over 12.7km in Neokyo, my Zwift visuals suddenly locked up… then disappeared. Zwift had crashed on PC. My race was over.
Here’s when it happened:
Reverting to DS Duties
There was nothing I could do to get back into the race – unlike outdoor racing there are no team cars or free laps in Zwift.
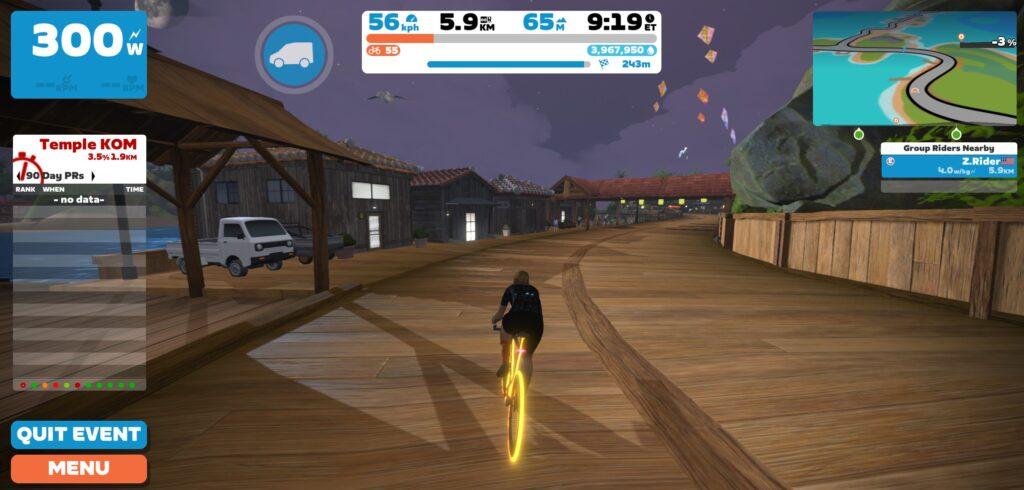
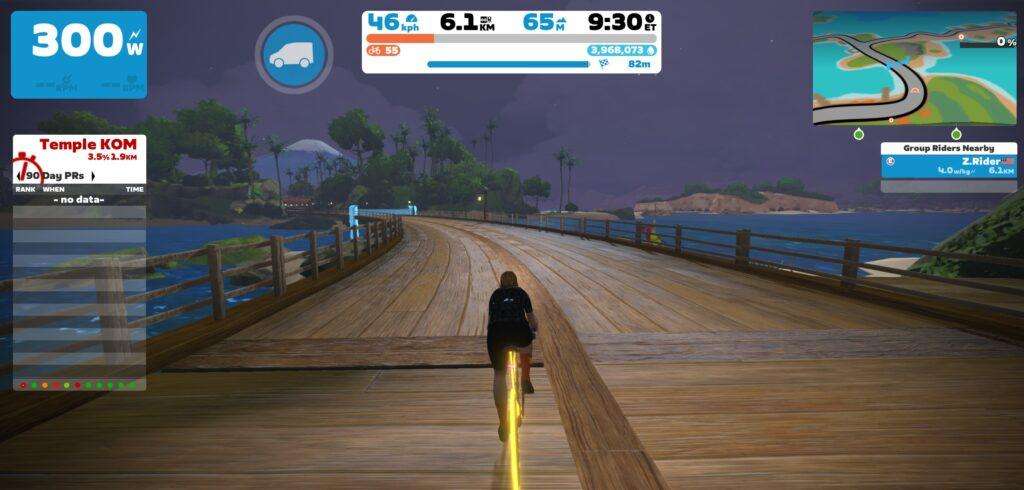
My race was done, but I could still sign on and watch the race, acting as DS on Discord to help my teammates ride smart and maximize our result. So I started up Zwift again, clicked to join a RoboPacer in Makuri Islands, then looked up my teammate Diogo in the Companion app so I could click to fan view him.
From Zwift crash to fan-viewing took just over 2 minutes. Inside I was still seething over the crash… I’d finally earned some intermediate points, and now they were gone! But I knew it wouldn’t do any good to voice my frustrations on Discord mid-race, and I knew I could help just a little by playing DS. So I opened browser windows and starting directing as best I could while turning over the pedals.
Sprints 3-4
We had 4 riders left in the front group, with our 5th (Wojtek) in a chase pack.
On the Alley Sprint, Grant grabbed 3rd and Husbo 6th for FAL, and I let everyone know that a fair number of riders got gapped off the back. “400 meters to the start of the Castle Sprint!” I called out.
Kraken did well on this fourth sprint, with Daz grabbing 2nd, Husbo 4th, and Grant 10th FAL. Daz also grabbed 4th, Husbo 5th, and Diogo 10th in FTS. A nice points haul. Then it was time to recover as the group made its way out of Neokyo and down the Pain Cavern descent to Urukazi.
Sprint 5 and Finish
The final sprint came after a longish climb where even more riders got dropped – but the Kraken held on! Husbo grabbed 7th FAL and 6th FTS. He was really cleaning up on the sprint points.
As the race progressed I was looking at ZwiftPower Live to see how many riders each team had left in the front pack, as this is often a good measure of overall team performance in ZRL. Kraken still had 4, and so did SZ (a strong team and last week’s winner) and team CONED. Most teams only had 3.
Our four in front held on up the long climb through the slot canyon, then gave it all they had to the finish line. Husbo was our best finisher in 6th, with Daz in 9th, Grant 15th, Diogo 28, and Wojtek 65th.
A strong performance, but where would we place overall, with my points removed from the total?
Watch the first 12.7km of my race… then watch me play DS:
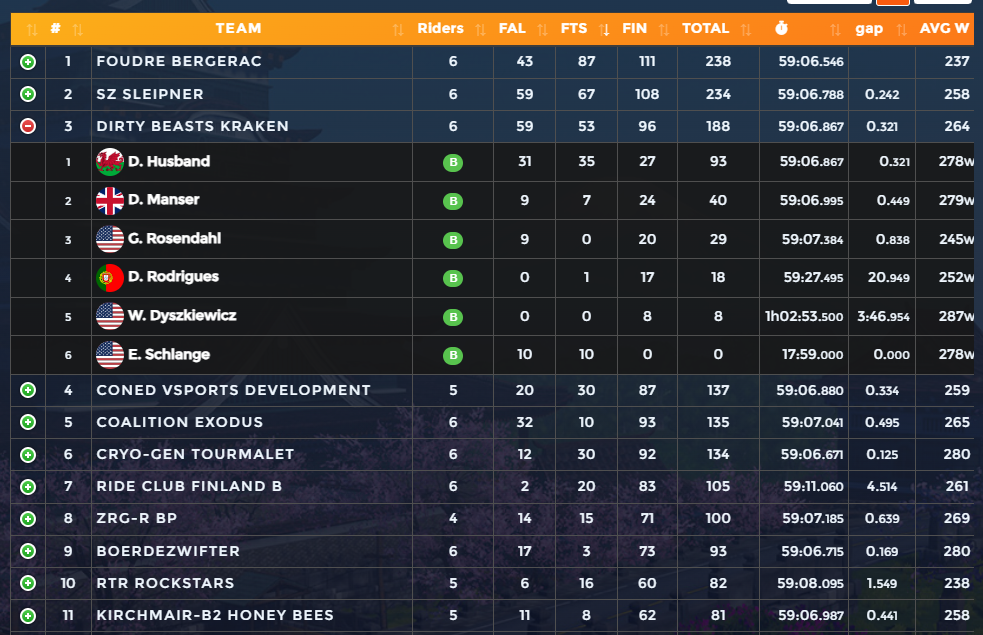
Team Result
We finished 3rd in points for this race, but I couldn’t help asking: would we have placed higher if I hadn’t ZNFd? (Or maybe I should call it “Zwiftusinteruptis”, “Zenied”, “Zwiftwrecked”,”Z-railed”,”Zamboozled”, an “Electronical”… there’s a whole Facebook thread on this topic now.)
Computing what could have happened is an impossible task, of course. Would I have grabbed other sprint points? Where would I have finished? How would the points I grabbed affect the points for other teams… and my own teammates?
We finished 46 points behind 2nd place, 50 points out of 1st. So no small margin. If I had earned no further sprint points, but finished in the back of the front group with Diogo (27th) I would have earned 37 total points.
Ouch.
Throw in just 10 more sprint points (very possible on the Alley and Castle Sprints I missed) and we’re in 2nd place. 15 and we might have won it all.
See that spilled milk? I’m crying over it. Well done, though, to Foudre and SZ for their strong performances!
(If you’re curious: in ZRL, when a rider ZNFs like I did today, any intermediate points they earned are effectively removed from the race. As you can see in the points chart above, I keep those points, but they also aren’t included in the team total.)
Takeaways
Two takeaways for me this week. One is a bummer, but the other makes me happy!
First: looks like it’s back to racing on AppleTV for me. I’ve never had AppleTV crash in a Zwift session, and I can’t run the risk that another Zwift crash screws my team over again. This is a bit of a bummer, since Zwift on PC is what I’m used to, delivers better graphics, etc.
Second: apparently I can compete on some level in this B1 division! I’m happy about that, and it makes me excited for future races.
Reporting Zwift Crashes
With all my internal contacts at Zwift, I’m able to report Zwift crashes and supply logs, etc to people who can actually fix bugs. Rest assured this week’s crash was reported in detail. Zwift is looking into it, but they haven’t gotten back to me with anything concrete yet.
Windows Event Viewer indicates an exception thrown by my NVIDIA driver, but this doesn’t necessarily mean the problem is NVIDIA’s. I’m running current drivers, and it’s possible (I would even say very probable) a Zwift graphics engine bug caused the driver to crash. Here are the three relevant events from Event Viewer, for all the curious nerds:
Application Error:
Faulting application name: ZwiftApp.exe, version: 0.0.0.0, time stamp: 0x65011717
Faulting module name: nvoglv64.dll, version: 31.0.15.3623, time stamp: 0x6482678a
Exception code: 0xc0000409
Fault offset: 0x0000000001941505
Faulting process id: 0x0x27CC
Faulting application start time: 0x0x1D9EB12ADE4ABBC
Faulting application path: C:\Program Files (x86)\Zwift\ZwiftApp.exe
Faulting module path: C:\WINDOWS\System32\DriverStore\FileRepository\nv_dispi.inf_amd64_675be35f1ba2315e\nvoglv64.dll
Report Id: f4ce65bf-ca31-4847-b8b1-8471d2c3ac3f
Faulting package full name:
Faulting package-relative application ID:

NVIDIA OpenGL Driver:
Unable to recover from a kernel exception. The application must close.

Error code: 3 (subcode 7)
 (pid=10188 tid=4704 zwiftapp.exe 64bit)

Visit http://www.nvidia.com/page/support.html for more information.

nvlddmkm:
The description for Event ID 0 from source nvlddmkm cannot be found. Either the component that raises this event is not installed on your local computer or the installation is corrupted. You can install or repair the component on the local computer.

If the event originated on another computer, the display information had to be saved with the event.

The following information was included with the event:

\Device\0000008b
Error occurred on GPUID: 100

The message resource is present but the message was not found in the message table
Corrupt FIT Files
Another bit of Zwift minutiae: when Zwift crashes, it typically corrupts your in-progress FIT file so it can’t be manually uploaded to Strava.
The fix is easy on PC: run that FIT file through fitfiletools.com‘s “Time Adjuster,” which will fix the corrupted timestamps. Upload that fixed file and you’re golden.
Zwift has just announced its next major event series, and it’s the return of a crowd favorite: the Tour of Watopia (ToW) featuring double XP!
The first-ever “fall edition” of the 5-stage tour begins October 2 and runs through November 12. With double XP on tap, powerups doubled in duration, and a fresh kit to earn, you can bet Zwifters will be putting in the work to complete stages, earn points, and level up. Because everyone wants those fast bikes, fire socks, and level 60 status!
Note: registering just sets you up to start checking off stages and perhaps get some email reminders about the Tour. It doesn’t sign you up for any specific events.
Double Up: XP, PowerUps, and Drafting
Typically riders are awarded 20XP per kilometer or 30XP per mile, depending on whether you have units set to metric or imperial. For ToW stages, riders will receive 40XP per kilometer/60XP per mile. Learn all about ride XP and unlocks >
Runners typically receive 10XP per .25km or 15XP per .25 mile. You will receive 20XP per .25km or 30XP per .25 mile in ToW stages. Learn all about run XP and unlocks >
Additionally, powerups will last twice as long during ToW events. Here’s a list of powerups and their doubled lengths:
Lightweight (feather): reduces your weight by 10% for 60 seconds. Use on climbs, when weight matters the most.
Draft Boost (van): increases the draft effect you are experiencing for 80 seconds. Use at higher speeds (flats and descents) when you are already drafting off another rider (since this powerup only helps when you are drafting.)
Aero Boost (helmet): makes you more aerodynamic (reduces your CdA by 25%) for 30 seconds. Use at higher speeds (flats and descents), especially when no draft is available (although it is still useful when drafting.)
New for ToW Fall ’23
Zwift is rolling out several features we’ve never seen before in this Tour, including:
ToW Group Rides + ZRacing: ToW used to be just group rides, but this month’s “Race Watopia” ZRacing events are a part of ToW as well. Complete stages by participating in a Tour of Watopia group ride and/or a ZRacing event.
On-demand: once you’ve registered, you can complete a stage by riding the route in any way – not just as a ToW event! In a fresh twist, Zwift tells us we will earn double XP the first time we complete a stage’s route, whether we ride it as an event or a free ride. So free-ride the route, complete as part of the ZRacing series, do it in a Meetup with friends… it all counts toward completing your Tour. (Note: only ToW events award double-length powerups!)
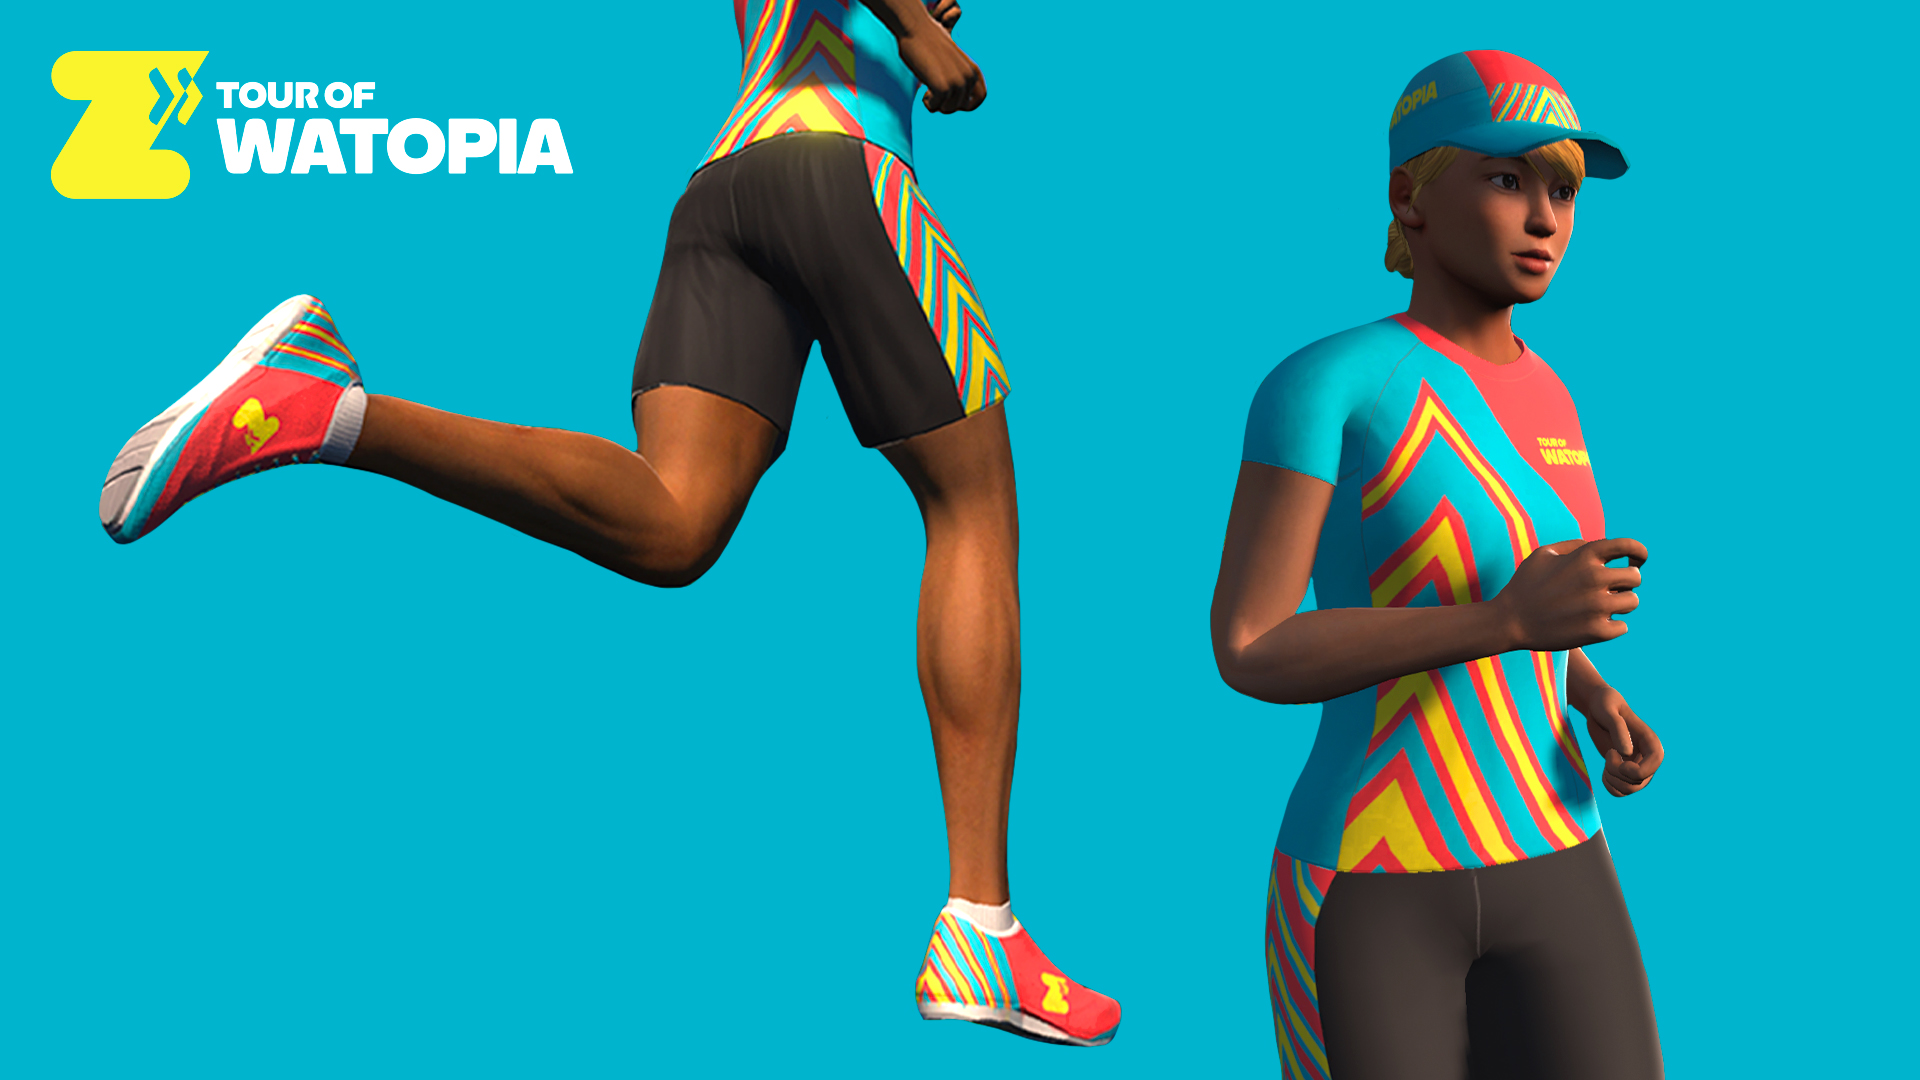
New kit unlocks: complete all 5 stages to unlock the Tour of Watopia Fall 2023 kit! (Same colors as the ToW Spring 2023 kit, but a different pattern.)
Ride Stages
Group ride events for ToW use the following category/group setup:
Group A: Longer Ride
Group B: Standard Ride
Group C: Shorter Ride
Group D: Women Only (same route as Group B)
Late join will be enabled for all rides, but Zwift encourages everyone to get into the pens before the event begins to maximize the fun.
ZRacing events use category enforcement and also count toward ToW stage completion – learn more here.
Remember, any route listed below can also be free-ridden (or completed in a workout or meetup) for stage credit.
Stage 1: October 2-8 “Volcano Heat”
Turn up the heat for the opening stage of this year’s Tour of Watopia. Get ready for more PowerUps, levels, and XP!
ZRacing: Beach Island Loop – 2 laps – 25.9km (16.1 miles), 96m (315′)
Stage 2: October 9-15 “Long Haul”
Pacing is key because this is the longest stage of the Tour. Be on the lookout for more XP and more PowerUps, and make sure you’ve got plenty of food and water. Some find a group they like early and stay with them. Others mix it up and go interval-style. How are you going to tackle it?
Group Ride Longer: Eastern Eight– 54.1 km (33.6 miles), 413 m (1,355′)
Group Ride Standard: Triple Flat Loops – 36.3 km (22.6 miles), 134 m (440′)
Group Ride Shorter: Tick Tock – 19.2 km (11.9 miles), 44 m (144′)
Prepare yourself for an epic stage three—like any tour’s Queen Stage, it’s the most challenging stage you’ll face. Some may even say it’s a royal pain. Be on the lookout for more XP and more PowerUps as you conquer some serious elevation gain.
Group Ride Standard: Climber’s Gambit – 27.9 km (17.3 miles), 670 m (2,198′)
Group Ride Shorter: Volcano Climb – 23.3 km (14.5 miles), 192 m (630′)
ZRacing: Two Bridges Loop – 2 laps – 14.7km (9.1 miles), 160m (525′)
Stage 4: October 23-29 “Jungle Time”
Keep your eyes peeled and your safari hat at the ready! You’ll see plenty of wildlife under the cover of the jungle canopies as you unlock more XP, longer PowerUps, and new levels.
Group Ride Longer: Big Loop– 42.9 km (26.3 miles), 651 m (2,136′)
Group Ride Standard: Road to Ruins – 29.6 km (18.4 miles), 268 m (879′)
Group Ride Shorter: Jungle Circuit – 13.6 km (8.4 miles), 79 m (259′)
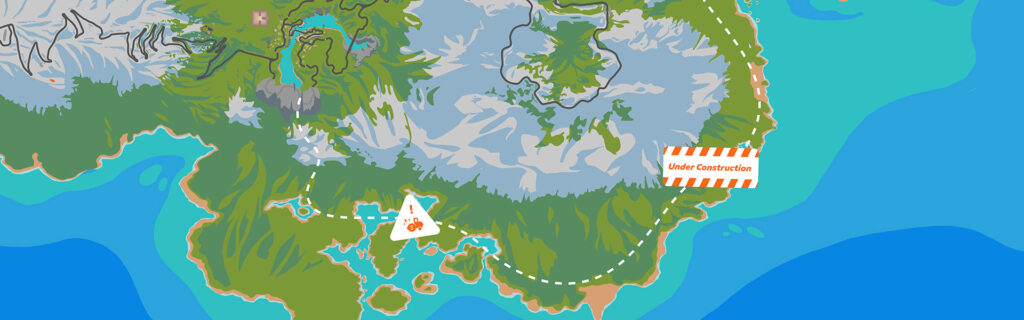
Celebrate the final stage of the Tour on all-new roads along Watopia’s Southern Coast. Be one of the first to ride this flat, coastal expressway—all the way from Fuego Flats to the Mayan Jungle, and enjoy the scenery along the way.
Group Ride Longer: The Big Ring– 48.9 km (30.4 miles), 268 m (879′)
Group Ride Standard: Coast Crusher – 42.4 km (26.3 miles), 208 m (682′)
Celebrate the final stage of the Tour on all-new roads along Watopia’s Southern Coast. Be one of the first to run this flat, coastal expressway—all the way from Fuego Flats to the Mayan Jungle, and enjoy the scenery along the way.
Missed a stage or two? Or maybe you just want more of that sweet double XP? Make-up stages will be held from November 6-12. During those 7 days, Zwift will host events every 30 minutes covering all 5 stages.
Kit Unlocks
There are both cycling and running kits to unlock during the ToW! Kit unlocks are progressive as you complete stages:
Complete one stage to unlock the Tour de Watopia 2023 Cycling Cap or Runnign Hat.
Complete three stages to unlock the Tour of Watopia 2023 Cycling or Running Shoes.
Complete five stages to unlock the Tour of Watopia 2023 Cycling or Running Kit.
Questions or Comments?
We’ve shared everything we know above, and will update this post with new info as it becomes available.
Still got questions? Post below and we’ll try to get them answered.
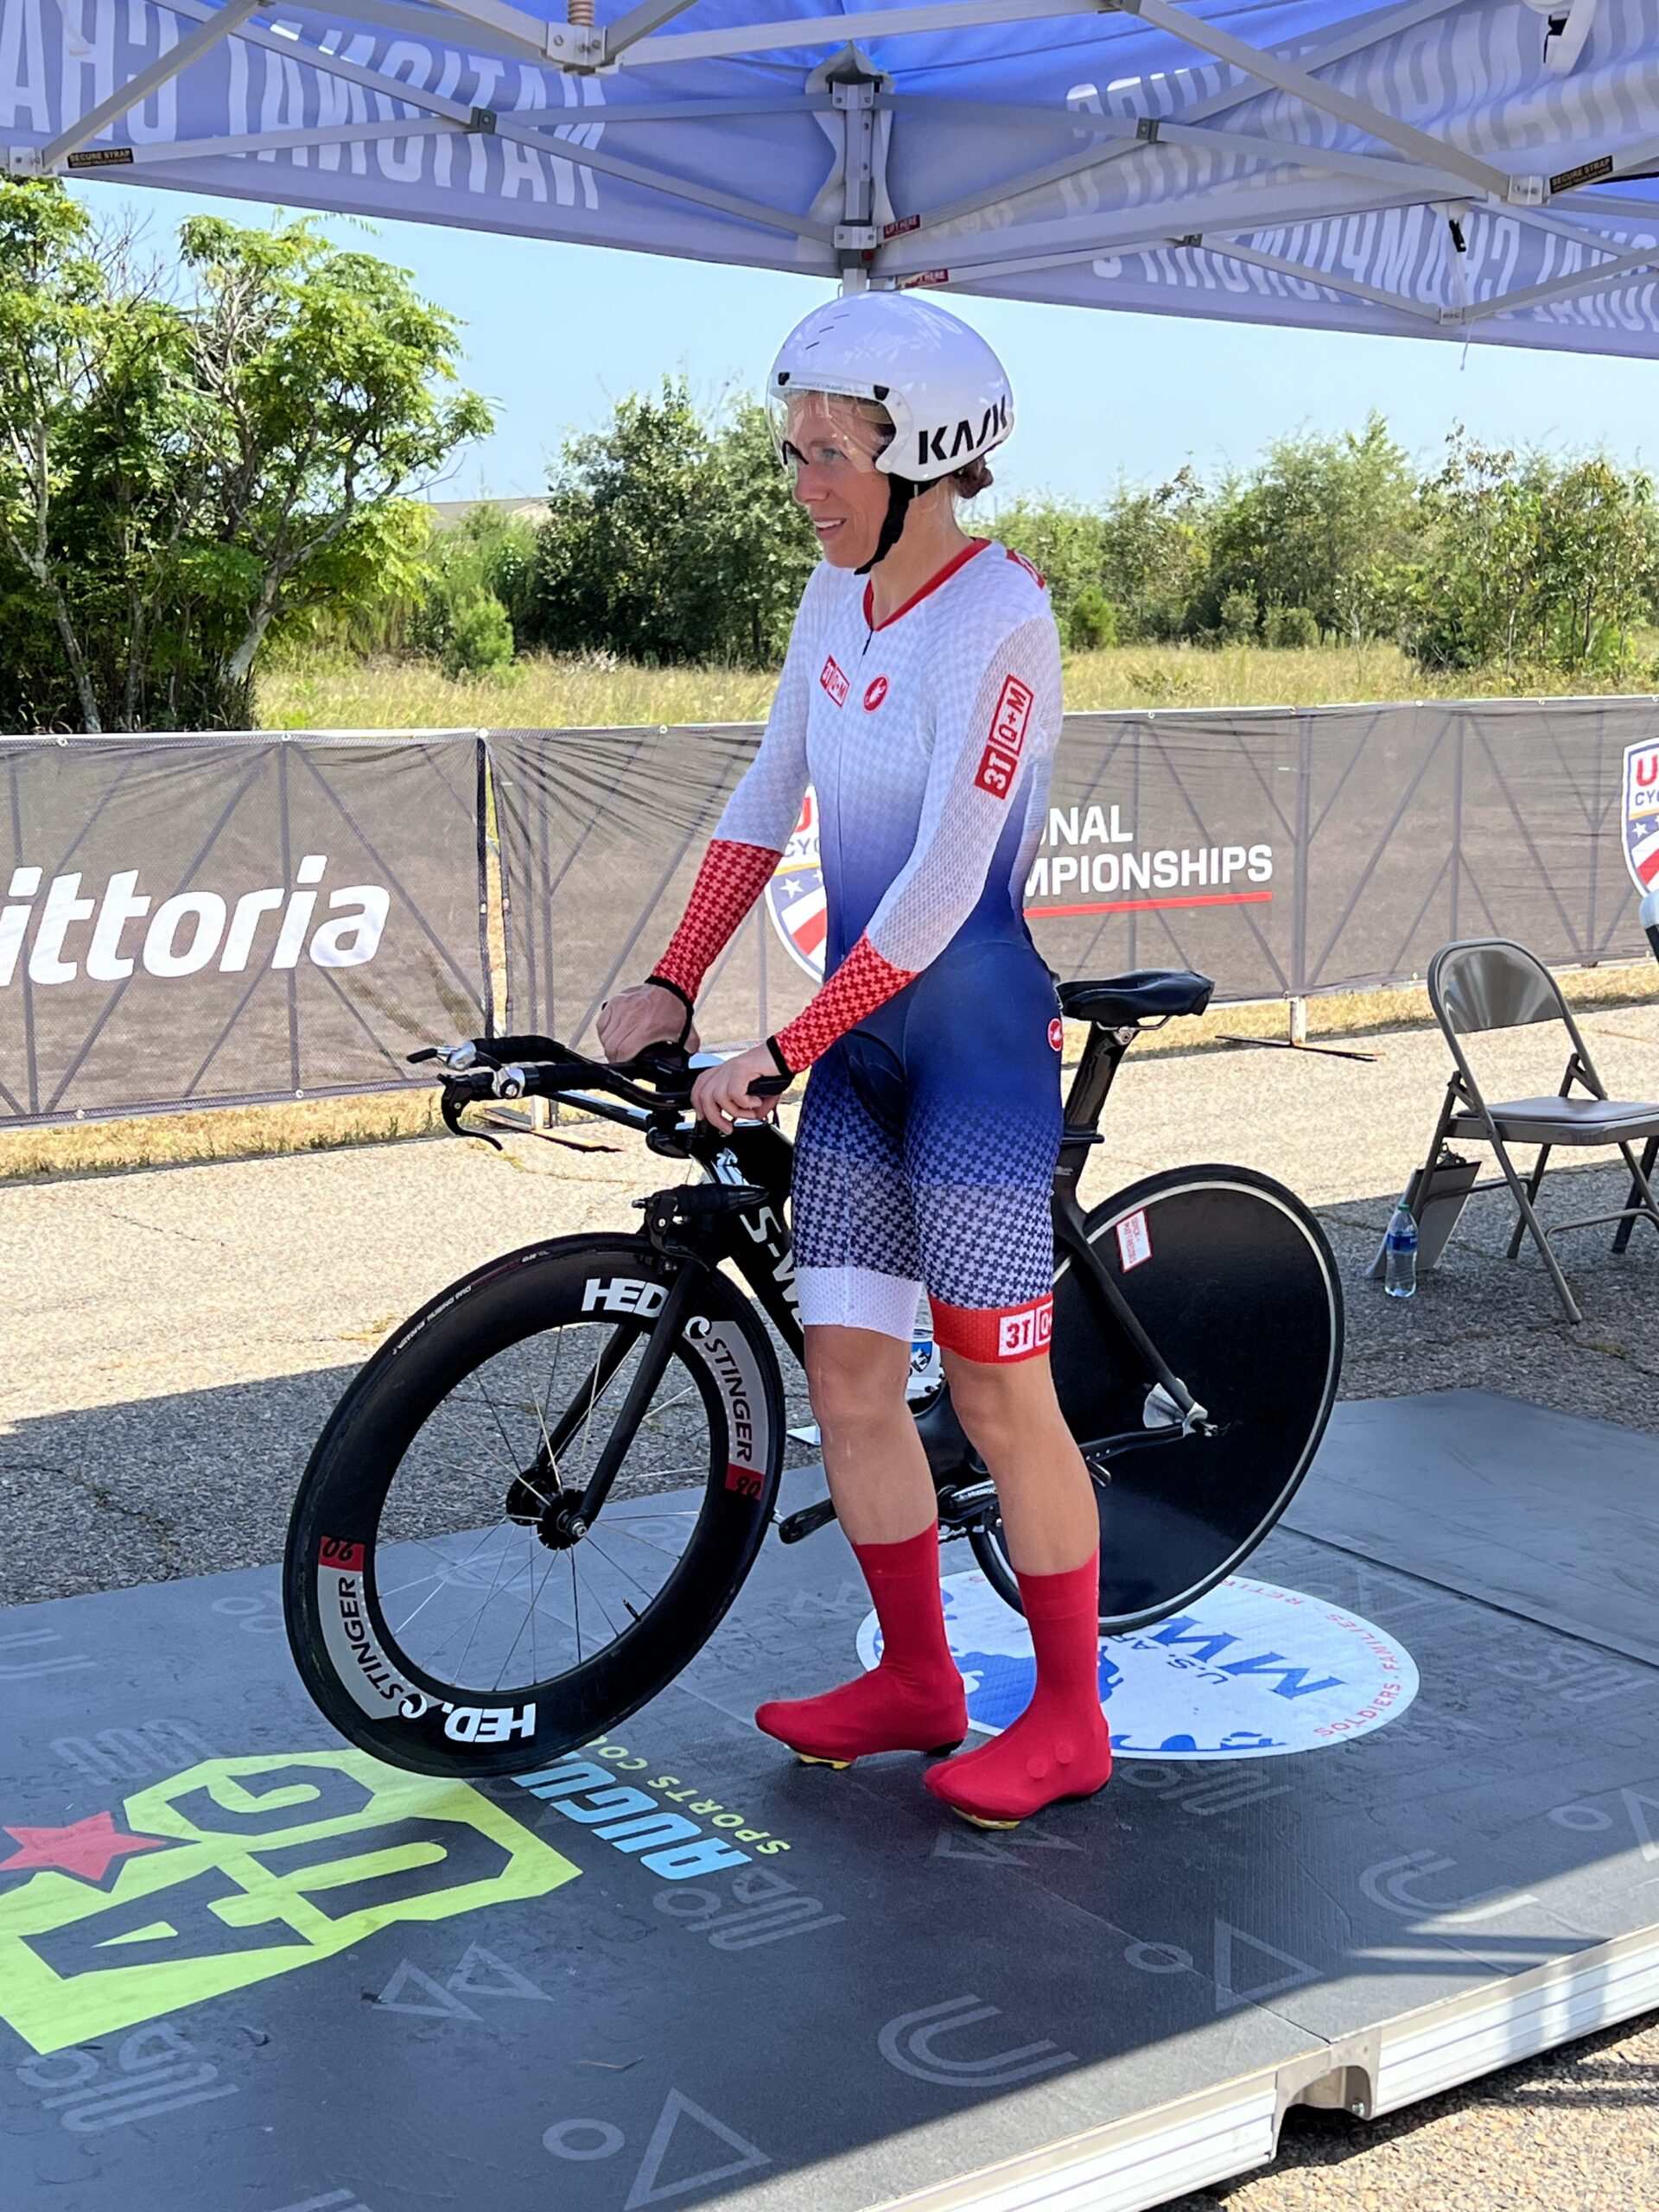
Interview with Zwift’s Leah Thorvilson – US Masters Champion and Inaugural Zwift Academy Winner
In 2016, 37-year-old Leah Thorvilson proved that age is no barrier by becoming the first-ever winner of the Zwift Academy just one year into her cycling experience, after switching over from running due to injury.
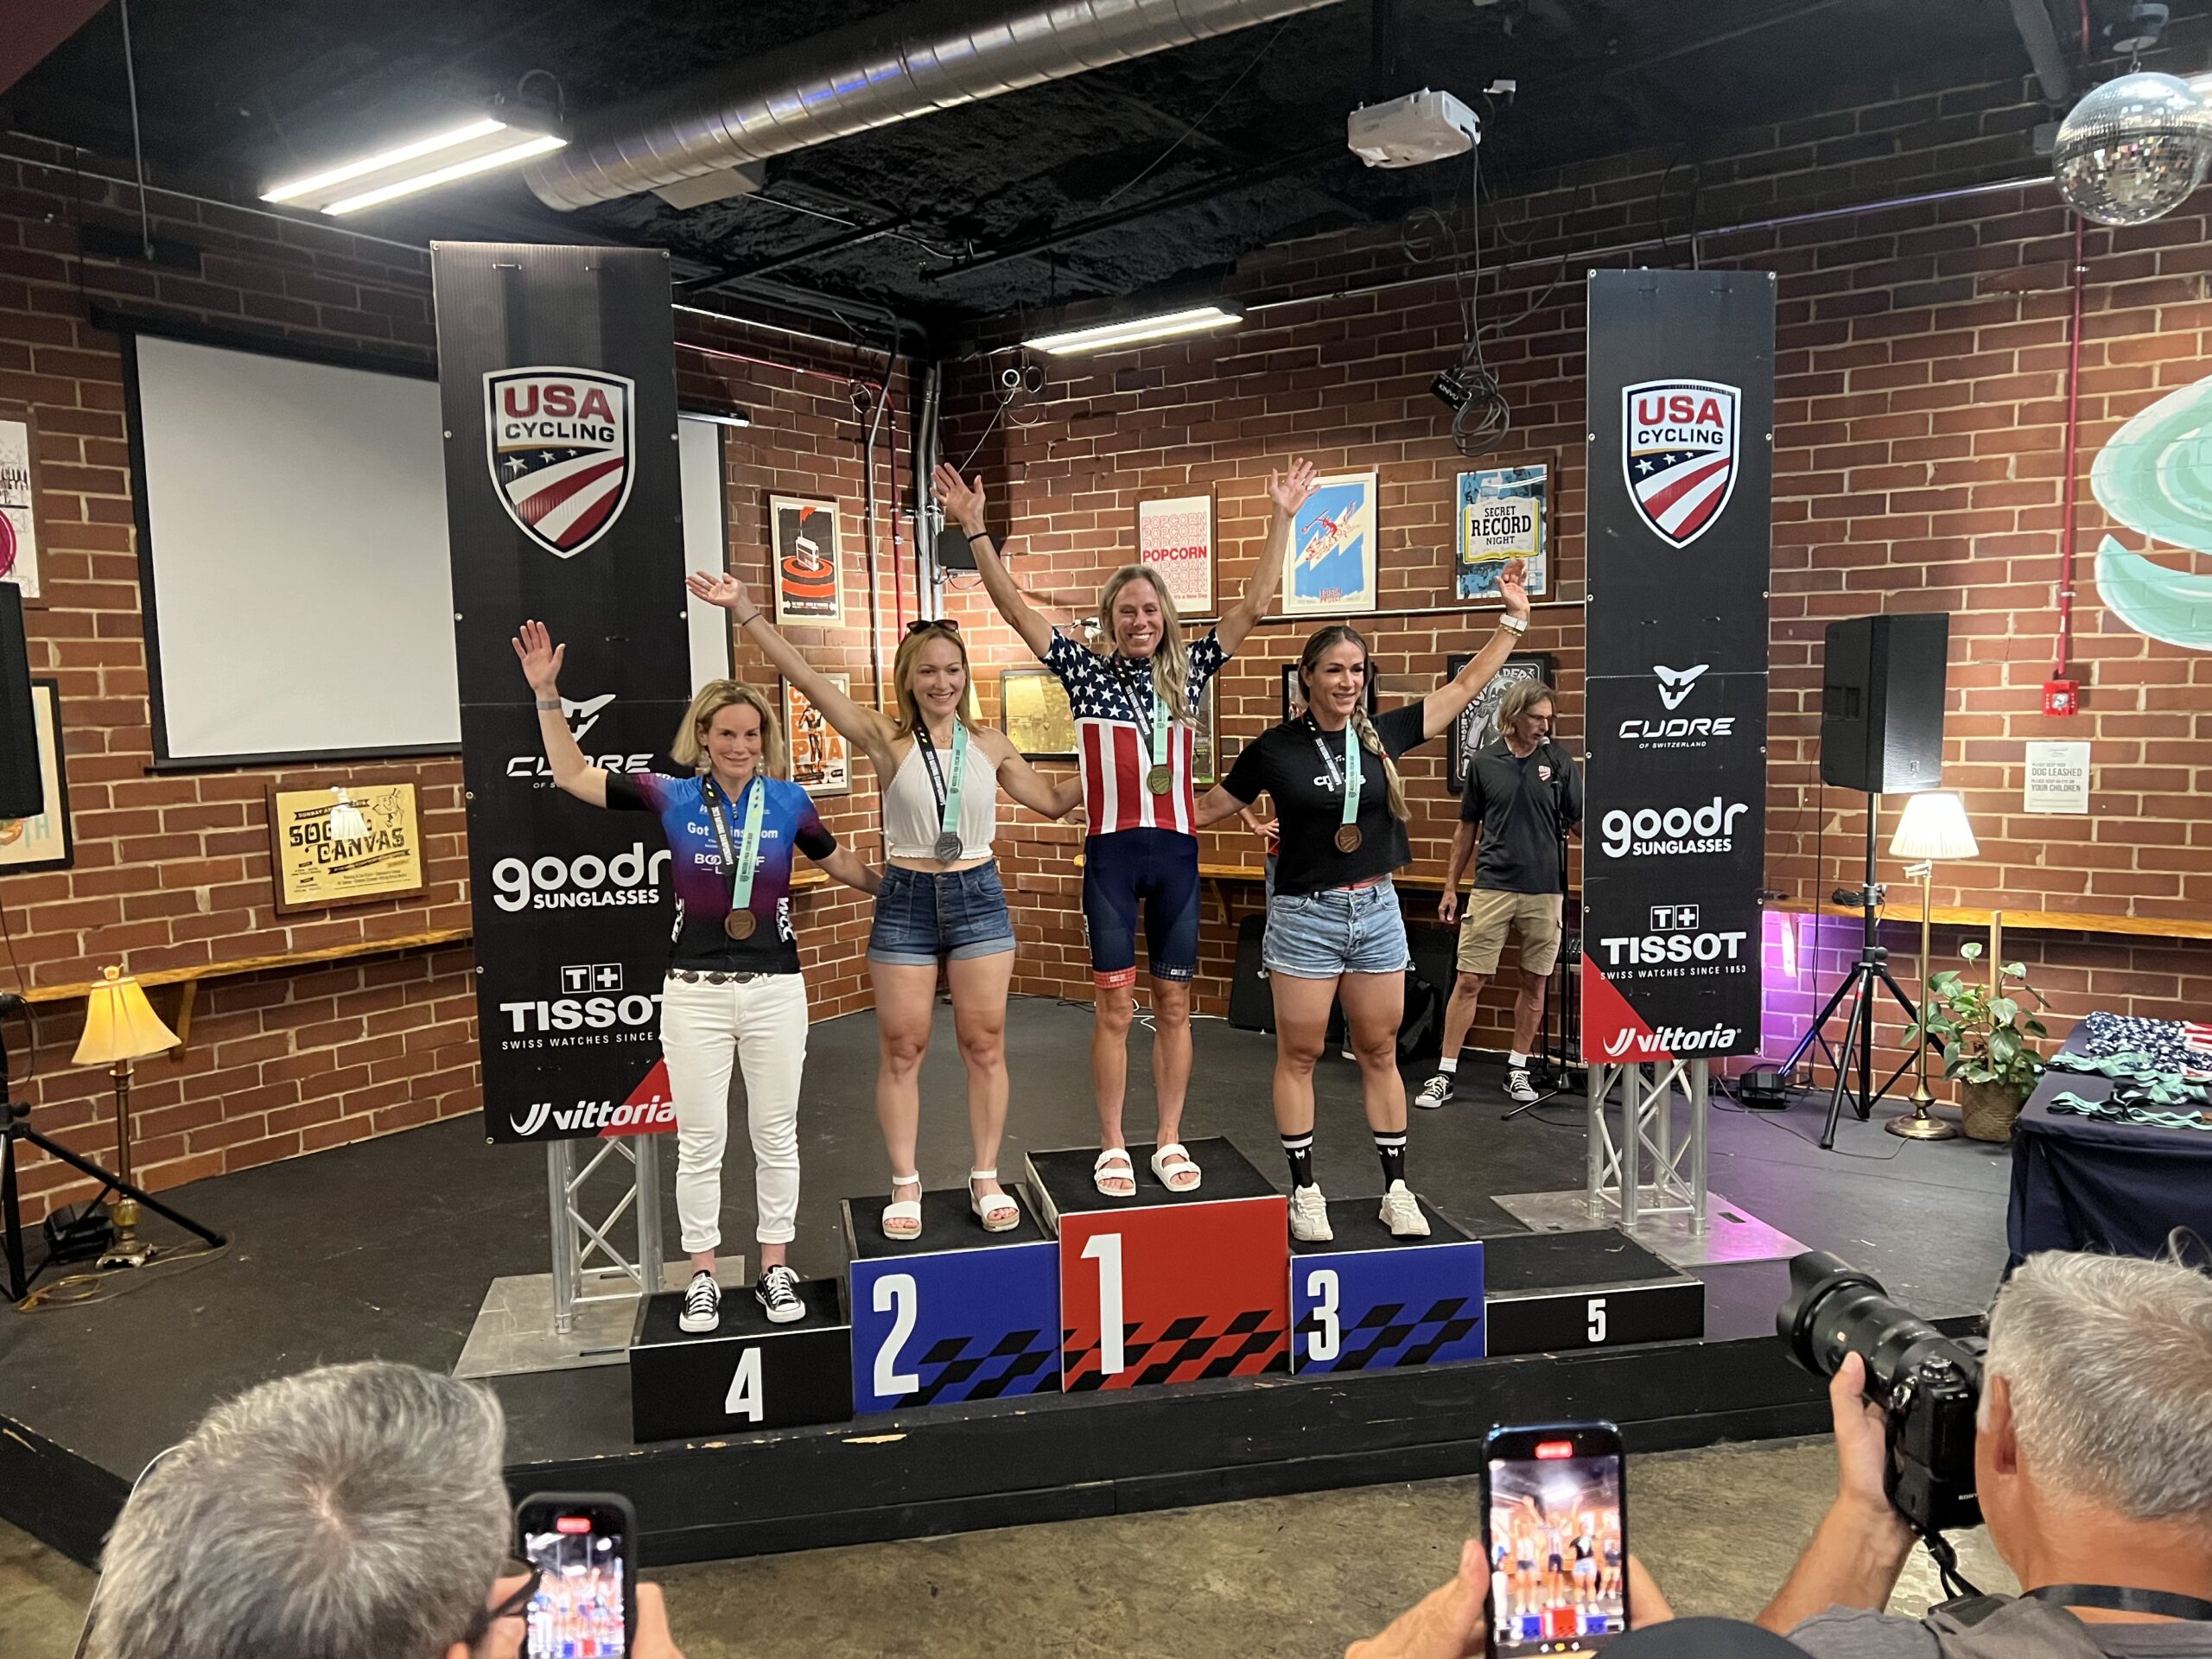
Seven years later, Leah just doubled up in August 2023 to become the US Masters champion in both the time trial and road race for her age category. And she did it in style, tearing up the roads made famous by golf’s Masters championship around Augusta, Georgia. Leah’s reward for her efforts was no green jacket but something better: two US Masters Champions jerseys at the age of 44.
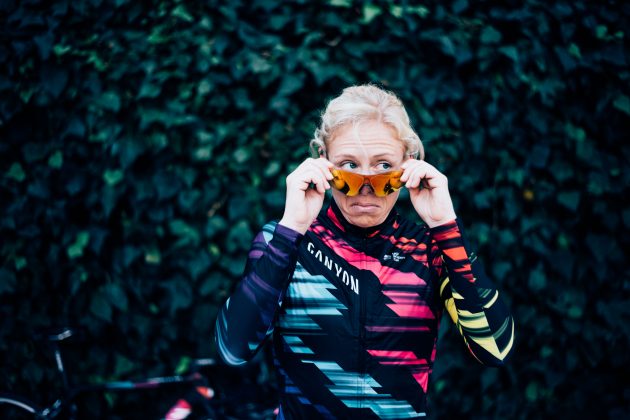
What makes these victories extra special is that Leah is one of Zwift’s own, having won the Zwift Academy in 2016 and turning pro with CANYON//SRAM. Once the contract ended she came to work for Zwift in their Social Media Team before moving to their Content Programming Team and today, if you ride an event on Zwift, there’s a good chance it was set up by Leah.
She manages to fit bike racing around her role at Zwift, riding for the US-based team 3T/Q+M Cycling.
US Masters Championship
On Friday, 24th August, part one of Leah’s remarkable weekend unfolded. She posted a blistering time to clinch the US Masters Women’s time trial title by a huge four minutes. With a current FTP of 270W her fine form continued into the Road Race two days later.
Buoyed from her success two days before, Leah says, “I wanted to win this race. The Masters in 2019 didn’t go well, and in 2022 I trained well but got beaten.”
Before the start of the road race, Leah was speaking to the defending champion about another rider with a strong sprint who needed to be dropped. Leah explained that her original plan was to use the first lap to ‘feel people out’ before increasing the pace and making a move on the second lap.
This plan lasted all of two minutes.
“The first climb, two minutes into the race, I lifted the effort to 300 watts, to see who was capable. On the descent I pushed my effort and had a 5-second advantage. Over the next part of the course, this extended to 2:15 with 5km of the first lap to go.”
Leah was clear. On the first climb of the second lap, Leah pushed it again, using her climbing skills to her advantage. The gap increased to 5 minutes. At this point, Leah says, “I was on a mission. I just sent it. I felt really good.” It became clear that, barring a mechanical issue, the victory was assured, giving Leah enough time to take both hands off the handlebars and salute the victory. “I worked so hard for it. It meant a lot.”
The victory was emphatic, with an 11-minute gap to the next finisher.
“The time trial was special as that was the first victory, but the road race was emotional because I had to build a strategy. I really earned it and I am really happy and proud.”
Starting the TTMasters Road Champion!
Success Continued
Success at the Masters Championship continued the following week when Leah got 4th on the Queen Stage at Green Mountain, a 4-day stage race coming.
She finished 6th overall in the general classification, despite the fatigue from the US Masters Championship races the week before and the extensive travel to the events, including a 10-hour road trip and a flight to Vermont for the next.
Late Entry to the Sport
Despite her late entry into the sport of cycling at 37, Leah has proven that age does not have to be a limiting factor. Now 44 years old, Leah says, “I am getting my best results; my power numbers are still there, and I am beating my previous QOMs.”
In addition, Leah noted that she is “reading the races better” part of which can certainly be attributed to not only racing outside but racing on Zwift. She has no plans or reasons to stop.
Built on Zwift
The stellar power Leah recently demonstrated is directly attributed to her structured training sessions on Zwift.
“Zwift will get you fit,” Leah says. “I do all my interval training on Zwift where I use Erg mode. I use the ‘Circus’ session in the ‘Build Me Up’ program, which I undertake every few weeks because it forces me to work on repeating very high-intensity short bursts, which are arguably my weakest point. It’s most fun to train in the areas you are good, but I’ve realized I need to focus just as much time if not more on building up the areas where I struggle. Zwift has something for all of these types of workouts. Similarly, “the ‘Gorby’ is used to help improve my VO2.”
Traditionally a long-distance runner, and a good one at that (she ran in the 2012 Olympic Trials and turned in a Little Rock Marathon time of 2:37:26), Leah got into cycling in 2015 following surgery due to the wear and tear caused by running. In July 2015 she rode her first 100 miles and first used Zwift in December 2015 before participating and winning Zwift Academy the following year and turning pro with the CANYON//SRAM team. She describes the experience as the “coolest thing I have ever done.”
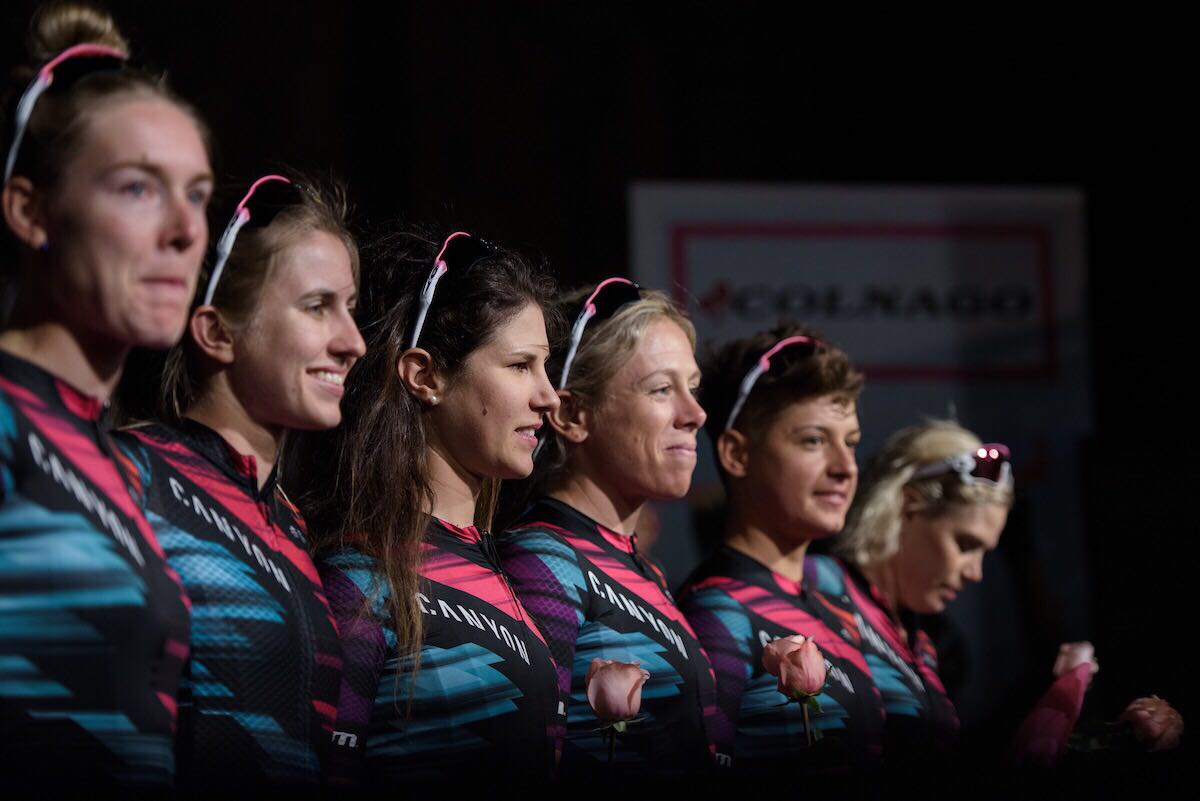
Leah in the 2017 CANYON/SRAM team lineup.
Leah took part in some of the biggest events in the Women’s Pro calendar, including the Giro d’Italia. Reflecting on her experience, she admits she sometimes “lacked the confidence required.” Being in such a competitive environment required a lot of mental fortitude and, “It took a lot to not mentally spiral down.” Yet despite the challenging days, which are often the norm when cycling, Leah notes, “I think back about the good times and miss the people.”
If you fancy following in Leah’s footsteps, Zwift Academy 2023 is launching on 6th November. You will have the chance to earn a pro contract with CANYON//SRAM or Alpecin-Deceuninck for the top-performing female and male. This year’s Academy challenges Zwifters to complete six workouts created by Dig Deep Coaching, as well as two Zwift races. As Leah herself says, “I think the ZA program is amazing.”
“Women’s Training Club” and Leah’s Winter Program
After her recent victories, you would expect Leah to think about having a rest. Instead, she is supporting the launch of Zwift’s new “Women’s Training Club.” Leah is integral to this, along with Kate Veronneau and Kristin Armstrong.
Leah explains, “We have some plans we will announce in the weeks ahead that will incorporate the Women’s Training Club with elements of Zwift Academy.” The Club delivers a consistent weekly schedule of group workouts and recovery rides which, along with club chat in the Companion app, connect the women’s cycling community and ensure advice from leading cycling experts is shared.
In the background, Leah has an epic challenge she is starting to focus on. “I’ve decided to take on a 6-hour time trial this fall! I have a teammate and best friend who does tons of ultra cycling events. I’ve crewed for her before at the 24-hour World Championship event, which I will be doing again this year. The day after the 24-hour challenge is the 6-hour event, and I thought that the 6 hours seemed like a fun challenge.”
Once this challenge is complete Leah plans to take a proper off-season before “ramping training back up for next year where I will use Zwift almost exclusively in the winter.” (But with all Leah is involved with, I can’t see much “off-season” happening.)
Summing Up
Leah’s recent results demonstrate that with commitment, dedication, and above all, perseverance, success can be achieved.
It also indicates that age doesn’t have to be a limiting factor to enjoying sport, and platforms like Zwift enable you to safely obtain and maintain a good level of health and well-being. With opportunities like Zwift Academy, the platform provides doors to routes that would previously have not existed, allowing you to achieve goals, often beyond expectations. Zwift allows opportunities for all.
Mountain Massif Structured Training Series Announced + New Rowe & King “Firebreather” Event
This Monday, a new Mountain Massif 6-week structured training program will commence. Created in collaboration with Rowe & King, the series kicks off with a 10.1km baseline ride at 5pm BST.
This series of structured group workouts has been designed to help you perform at your best as the road kicks up. Each workout in the Mountain Massif training series has a specific purpose, and when you stitch them all together in a structured training plan, you will improve your climbing ability on Zwift and in real life!
If you miss a workout, the files are available via TrainingPeaks for you to download and catch up.
Mountain Massif Structured Training Program
The training program’s events happen every Monday, Wednesday, and Friday for 6 weeks. Here is the full list of events and workouts, with signup links:
In addition to this and to complement structured training, Rowe and King have a new weekly group ride called the “Firebreather” starting October 1, 7:15 am BST / 8:15am CST. That first event’s link is: zwift.com/events/view/3824554
This is a group ride with a difference. It will be a 50km ride which lasts roughly 90 minutes. During the ride, the leader will call out pace changes following this set format:
10 minutes at 1.5w/kg
10 minutes at 2 w/kg
10 minutes at 3 w/kg
5 minutes, easy stay with ride leader
15-second max effort, sprinting
4.45 minutes at 2 w/kg
15-second max effort, sprinting
4.45 minutes at 2 w/kg
15-second max effort, sprinting
4.45 minutes at 2 w/kg
10 minutes at 3 w/kg
10 minutes at 2 w/kg
Race the last 10km full gas
Courtney Rowe has noted he will get his family involved, who just happen to be Dani King (Olympic gold medalist), Matt, and Luke (INEOS Grenadier pro cyclist). This is a really interesting session as it combines a group ride with a bit of structured training mixed in!
Summing Up
The structured training program followed by the longer ride with Rowe & King will bring your fitness to new heights. And for those targeting the upcoming Zwift Academy (launching soon) these sessions will get you fit and strong, enabling you to reach your goals and even compete for that pro contract!
Zwift has just launched the “Zwift Women’s Training Club” (ZWTC), “your community for fun and fitness.” Open to women only, the core Club events are group workouts on Tuesdays and Thursdays, but there are also recovery events on Wednesdays and an active Club chat.
Zwift says, “Our main goal is to provide you with a consistent experience week in and week out, to challenge yourself in a supportive group setting, making friends and getting fit along the way!”
The Club’s event series takes you through some of Zwift’s most popular training plans, and you can join at any time. Everyone can benefit from these popular workouts designed by world-class coaches like 3x Olympic Gold medalist Kristin Armstrong!
Schedule of Events
The ZWTC schedule mixes group workouts and recovery/social rides.
Workouts happen every Tuesday and Thursday, so you’ll get two different workouts per week. They are scheduled every 3 hours, and each workout includes a beginner version (group B) and an intermediate/advanced version (group A).
Now through December 28, Group A will progress through workouts from Zwift’s “Build Me Up” training program, while Group B will work through Zwift’s “Back to Fitness” plan.
Wednesdays feature fun recovery rides (often including special guests) banded together so everyone can be social regardless of pace. These rides are 45 minutes long.
This weekend is rather quiet on Zwift in terms of extraordinary events – but there are plenty of great recurring events nonetheless! So as usual, we’ve selected 5 notable events to help you find the perfect ride this weekend.
This weekend’s picks include a group workout, endurance race, sprint race, and two classic social rides.
Looking to get in a quality workout session this weekend? Join Le Col for a workout session designed by ex-professional cyclist Chris Opie. This weekend’s workout will be 90 minutes long.
Riders will be on the Watopia Mountain 8 course. Due to the “workout keep-together mode,” riders likely will not finish the full route… but you can keep going afterward if you want to earn that route badge!
For those who fancy a longer Zwift race to start off the weekend, DBR is hosting a long endurance race. This is a great race, especially if you are looking for some good competition, but due to its length (nearly 100km), this race isn’t for everyone! Official results will be available on ZwiftPower.
The ride on Saturday will have a 1-5 w/kg pace range, 4 different distances, and will take place on the Beach Island Loop course. Sunday will be the same, except on the Volcano Flat course.
Special Settings: Category Enforced, HRM Required, Power Meter Required
✅ Popular Event ✅ Highly Competitive ✅ Women-Only Option
The Wobble Cycling Club has just announced their latest edition of the Wobble Sprint Series. The series consists of 10 stages – each on a different course. This series is based on segment and finishing points and features an open and women’s race each weekend.
These are typically shorter courses, with this week’s race being on 7 laps of the Glasgow Crit Course. Another perk to this series is that there are 3 different time slots each Saturday.
✅ Popular Event ✅ Legacy Leaders✅ Beginner Friendly
Races and workouts are not for everyone. Every weekend, PACK hosts one of the largest group rides on Zwift. PACK is well-known for rolling around the virtual roads with large blobs and a friendly group. The ride is led by some of the most OG riders on the platform – many have been around since the Jarvis days! For those who decide to hop in this ride, know that you will be in great hands!
This group ride will last roughly an hour and take place on the Rolling Highlands course in Scotland.
✅ Popular Event ✅ Legacy Leaders✅ Beginner Friendly
We’ve featured this event quite a few times, but it continues to be one of the top events every weekend. The BanditZ Tronathon is a banded group ride up the Alpe to help riders accumulate elevation – whether it is for the Everest Challenge, or simply to gain confidence on climbs, BanditZ is here to help.
The event cleverly ends at the top of the Alpe. Because it ends at the top, riders can descend without worrying about the banding slowing them down. The ride takes place on the Tour of Fire and Ice course in Watopia.
We choose each weekend’s Notable Events based on a variety of factors including:
Is the event unique/innovative in some way?
Are celebrities (pro riders, etc) attending/leading?
Are signup counts already high, meaning the event is extra-popular?
Does the ride include desirable unlocks or prizes?
Does the event appeal to ladies on Zwift? (We like to support this under-represented group!)
Is it for a good cause?
Is it just plain crazy (extra long races, world record attempts, etc)?
Is it a long-running, popular weekly event with a dedicated leader who deserves a shout out?
In the end, we want to call attention to events that are extra-special and therefore extra-appealing to Zwifters. If you think your event qualifies, comment below with a link/details and we may just include it in an upcoming post!
Your Thoughts
Got other events that stand out this weekend? Share below in the comments!
It’s that time again! Zwift has announced its latest slate of features scheduled to arrive in the coming few months. This week, we’ve got two videos highlighting the various new features, a video recap of a rider’s ZRL experience, two bodybuilders’ Zwift race, and a first race in months.
Recap of the Latest Zwift Changes
Zwift recently released their “This Season on Zwift” for the list of features to be released before the end of the year. Watch as Francis Cade discusses these new features on his podcast.
Zwift Updates: New Watopia Roads Coming // Game v1.48 // New Hub Firmware
Looking to get all of the Zwifty news from the past few weeks? Shane Miller, GPLama covers game version 1.48. This Season on Zwift, and Zwift Hub updates.
Rough First ZRL Race
Max from The Watt Life raced in the first race of the Zwift Racing League. As a newer category B race, he covers his experience in the race.
Bodybuilders Attempt A Zwift Race
Greg Doucette, a well-known YouTuber and bodybuilder, tackles a Zwift race with one of his friends. Can they keep pace with the competition?
First Zwift Race in 3 Months
After three months away from Zwift racing, Matt from Target 2.5 hops into a Zwift race. How did it go?
Got a Great Zwift Video?
Share the link below and we may feature it in an upcoming post!
Tiny Race Series – September 23 Routes and Last Week’s Results
The Tiny Races happen every Saturday, and they’re all about getting a hard, fun effort done in 1 hour. You race all 4 races back-to-back, with each lasting just 5-10 minutes, giving you a short break in between.
Last week’s first race in zone 3 had an interesting bug – it was configured with a distance of 0.1km, so riders saw the finishing screen pop up just seconds after the race began! Because of this bug, only races 2, 3, and 4 were counted for zone 3. Apologies for the error.
Got a great YouTube video of your Tiny Race experience? Post it in the comments and we may feature it on Zwift Insider!
This week we’re racing routes that remind us of rollercoasters. Up, down, twist, turn… you’ll have to keep your wits about you and know your route so you can time your finish to perfection!
Approaching Serpentine 8 finishSerpentine 8 finishApproaching London Loop finishLondon Loop finishApproaching Island Outskirts finishIsland Outskirts finish
Race 1: Neokyo Crit Course (4.7km, 1 lap) We start off our shortest and flattest route of the day, just to get the legs churning and hearts pumping. Will you go early on the Castle Park rise, or save it for the finish?
Powerup: Aero x2
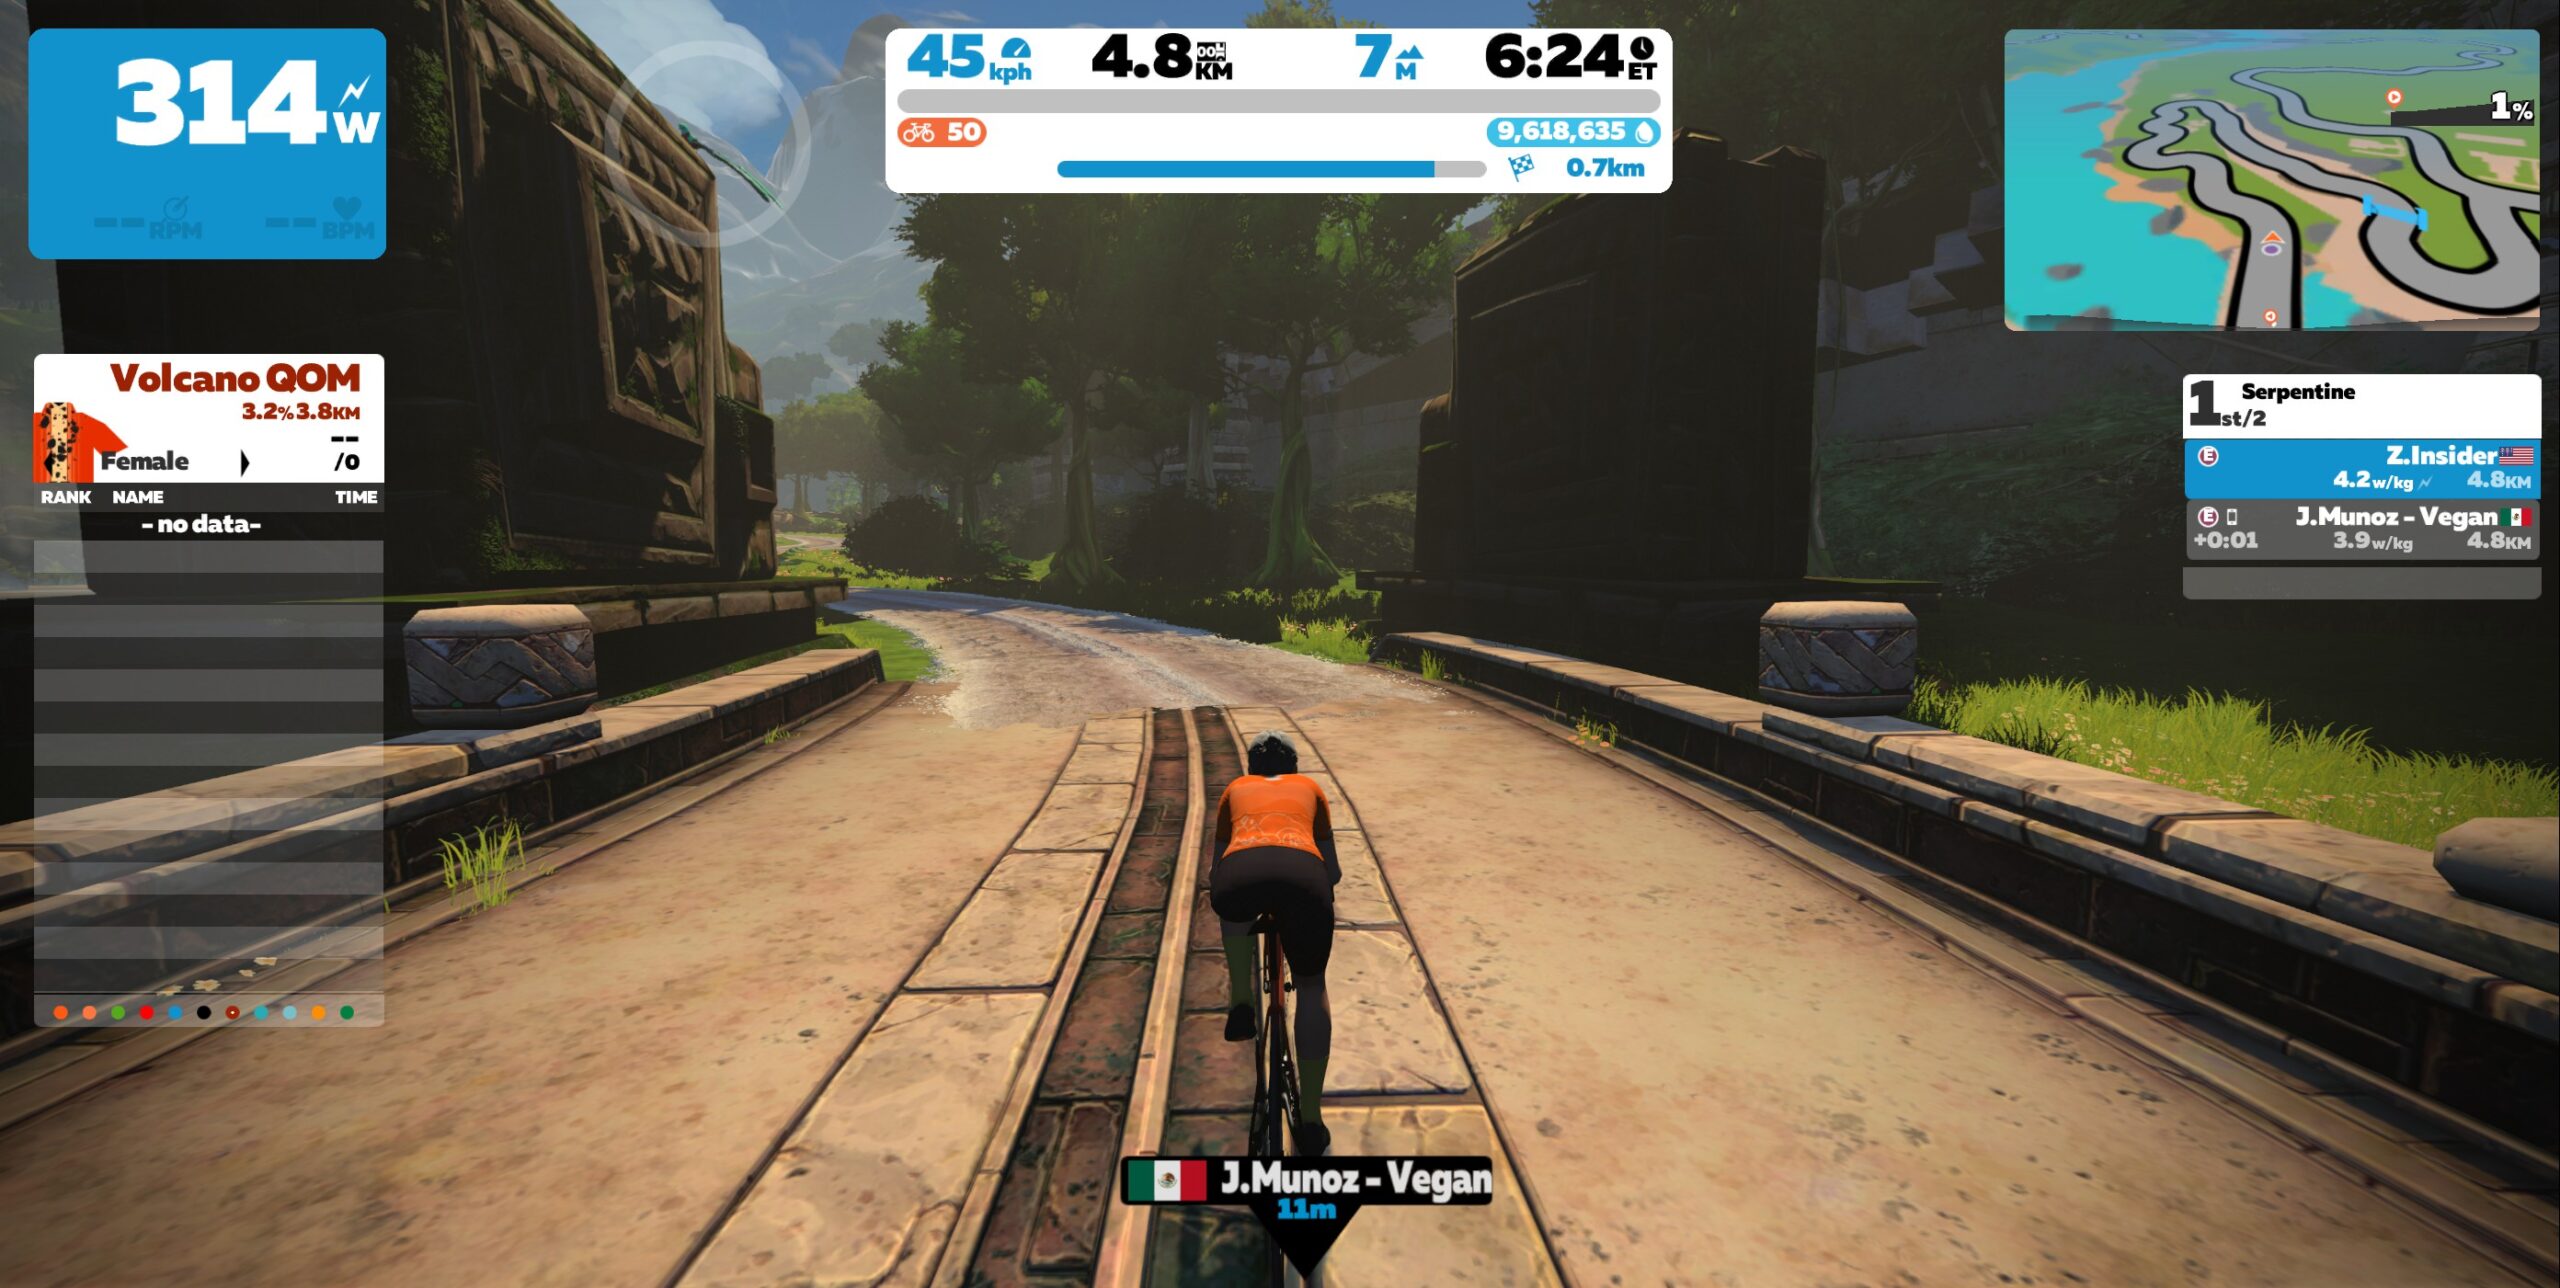
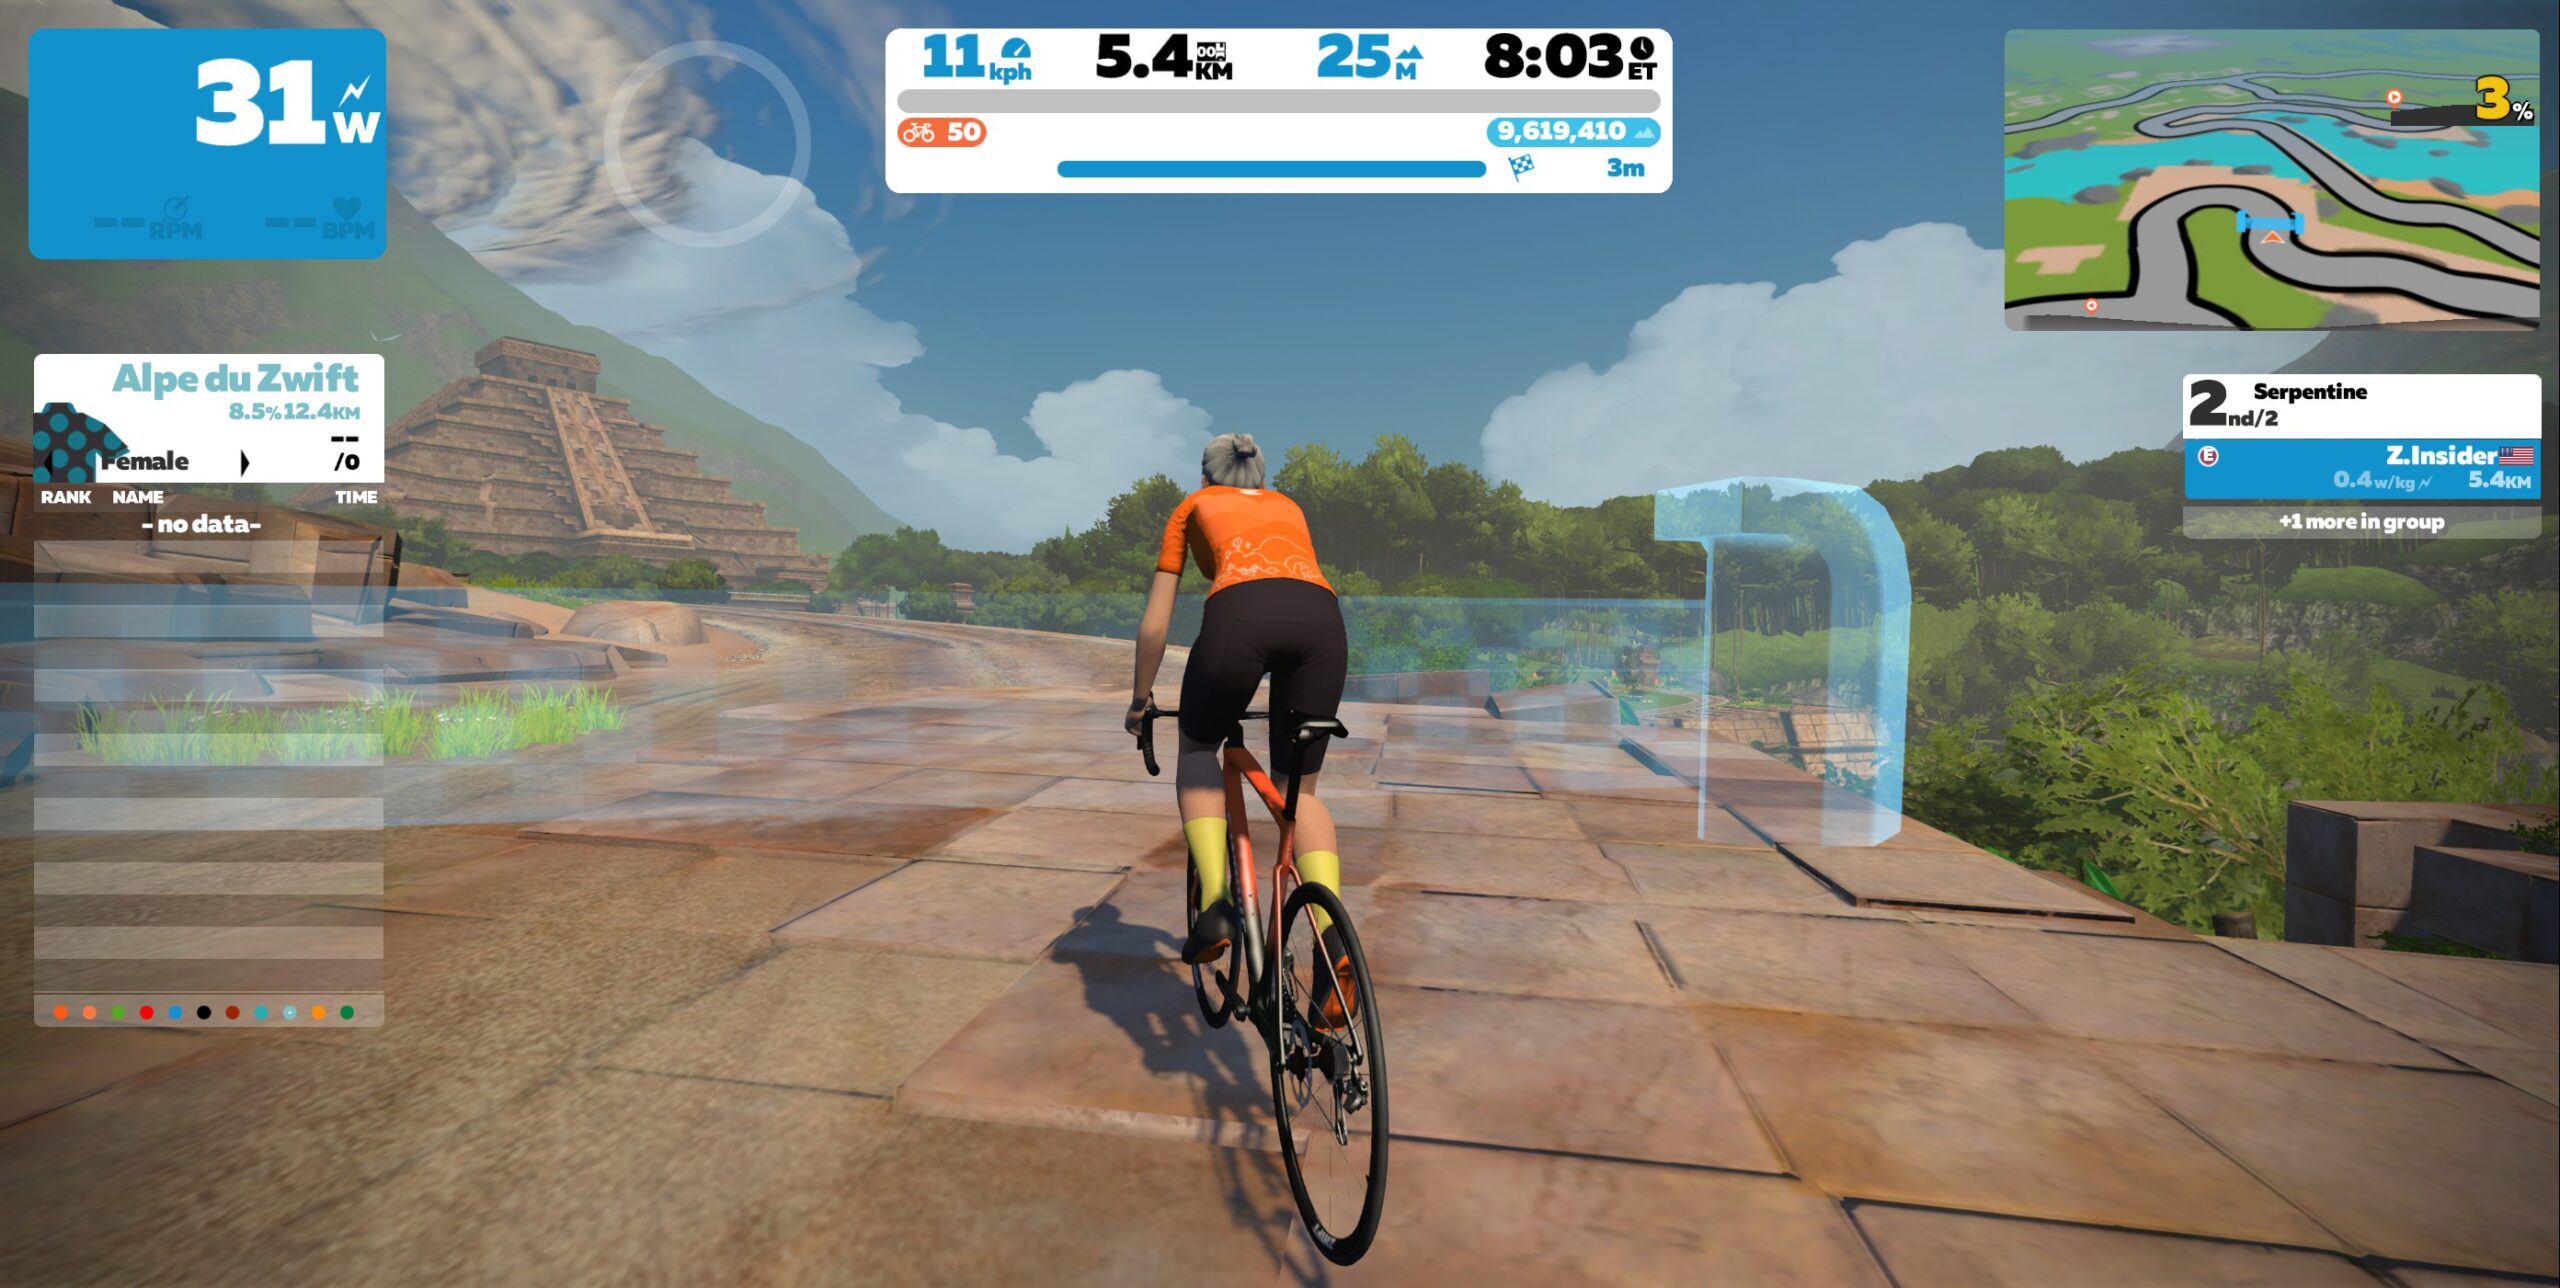
Race 2: Serpentine 8 (5.5km, ends on rise climbing out of Mayan cutoff) This route is tricky in terms of bike choice, because it begins on pavement, is mostly dirt, but finishes on bricks! There’s even a bit of wood thrown in for good measure. Each of these surfaces rolls differently on different bikes, so you need to decide where you want your advantage. Read more about Crr on Zwift for details.
Powerup: none
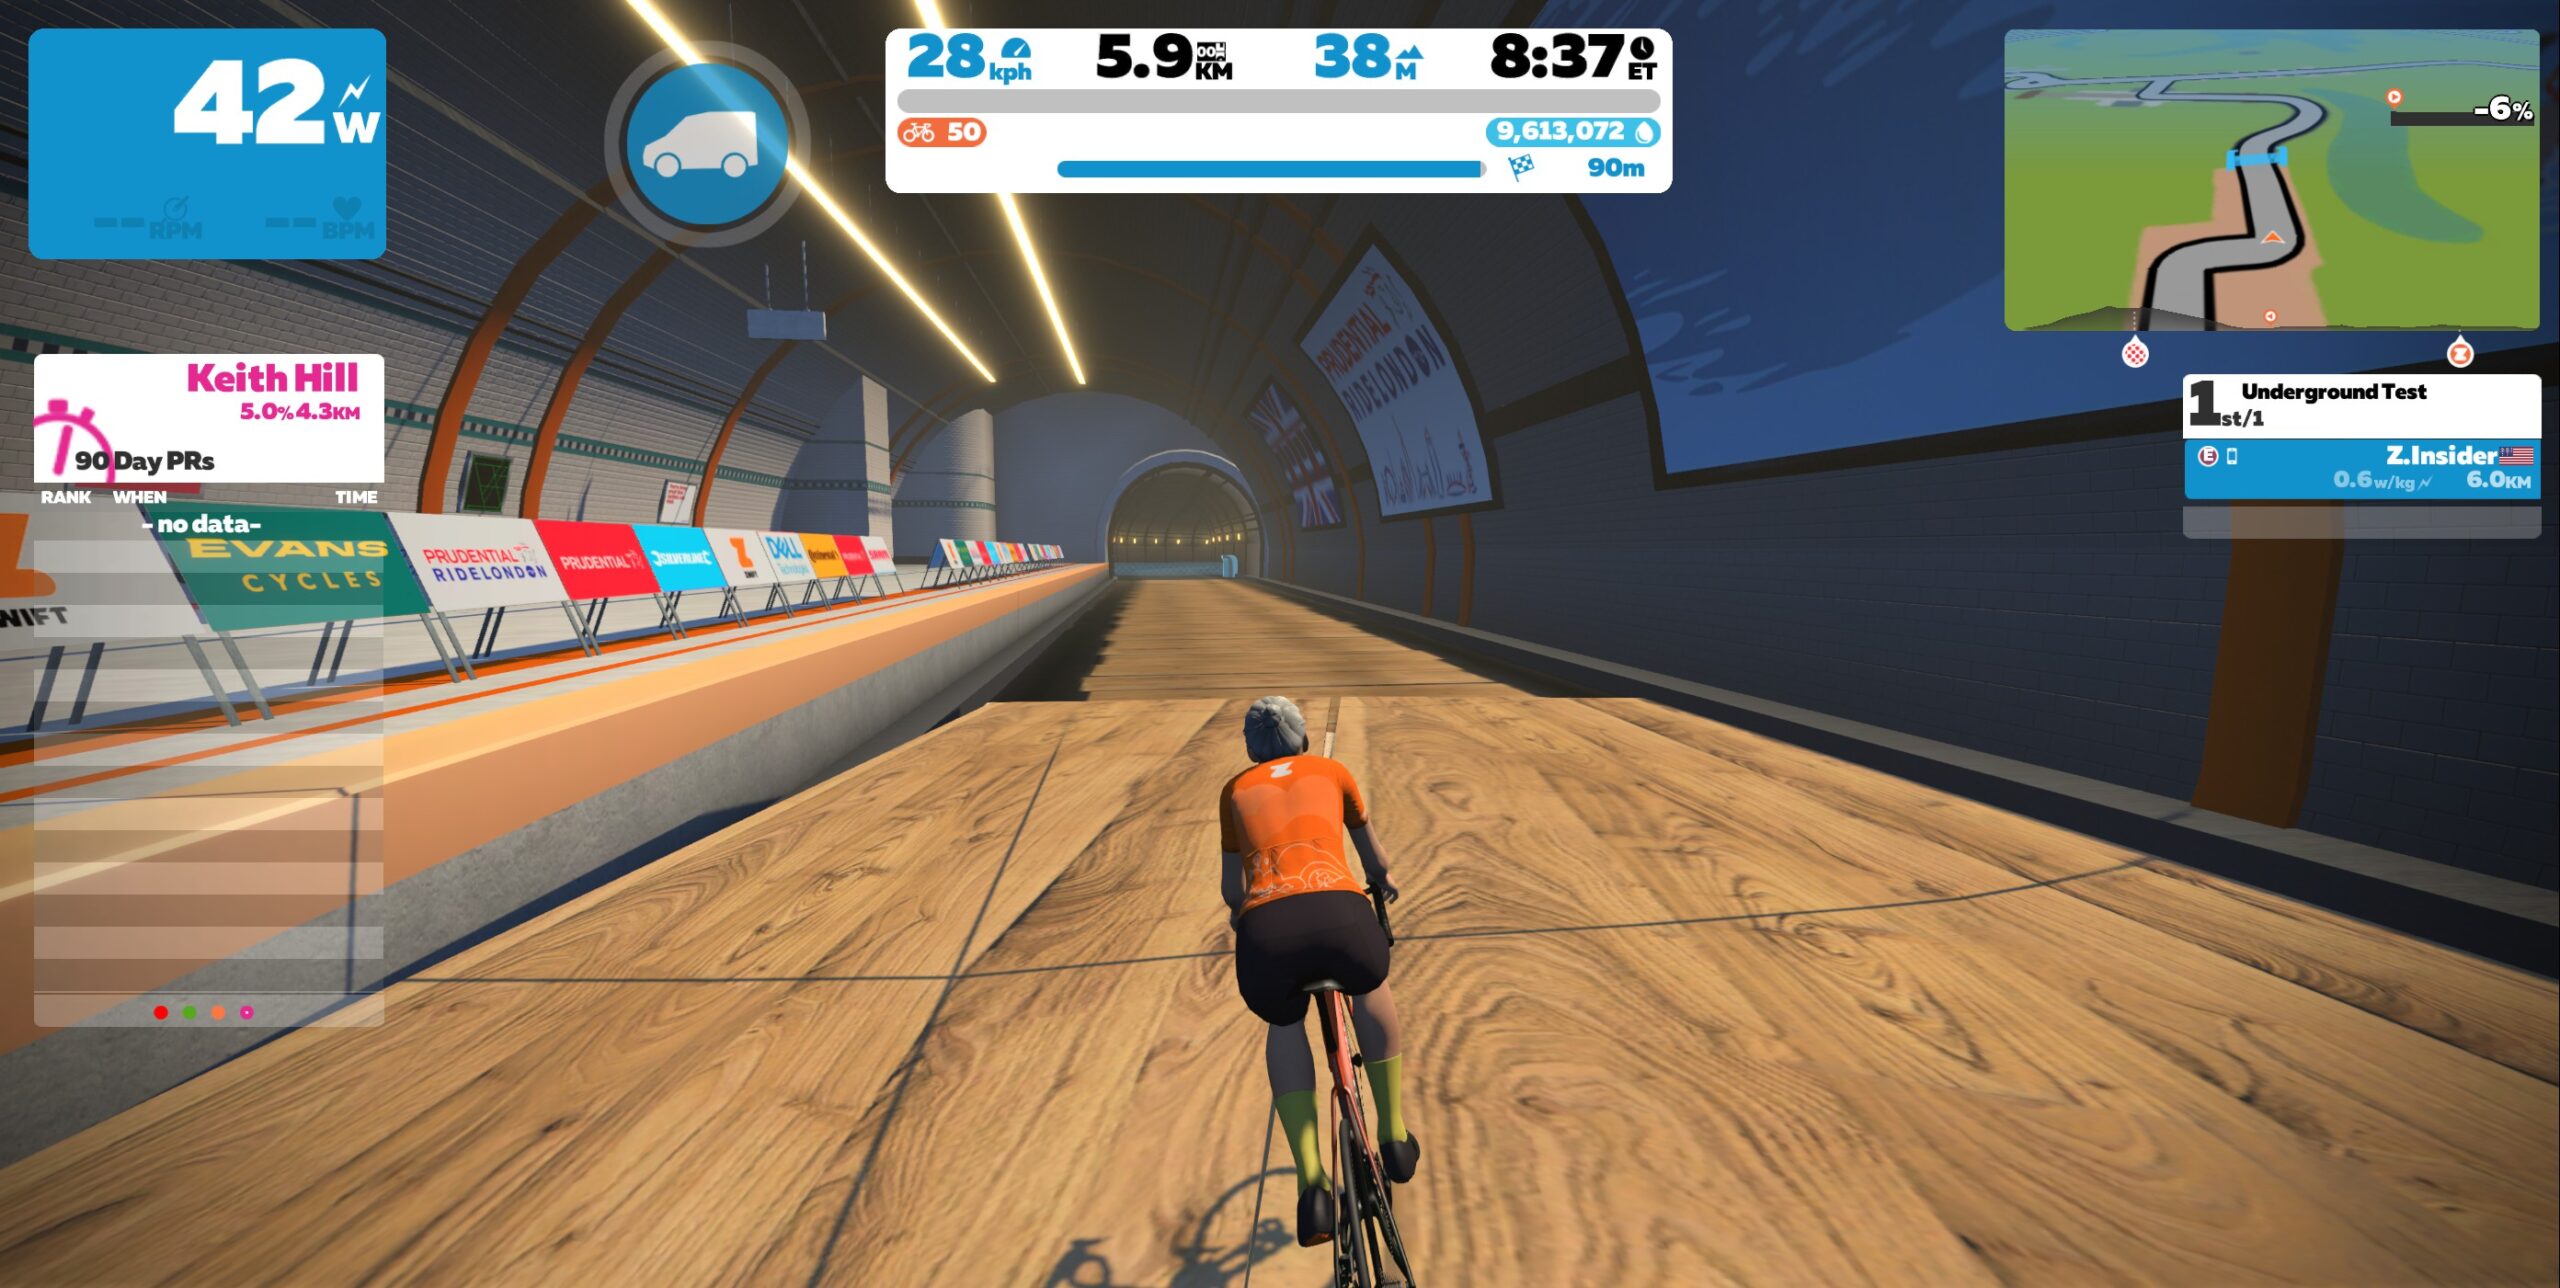
Race 3:London Loop (6km, ends in tunnel exiting Underground) The short climb up Northumberland Ave will stretch out the pack and provide a place for punchy climbers to drop some sprinters. Then we’ll dash past Big Ben and over the bridge into pell-mell chaos in the Underground finish!
Powerup: Draft Boost x1
Race 4: Island Outskirts (6.2km, ends on boardwalk after descent) Race from Mech Isle up to the Shisa Sprint, where you’ll grab an anvil then descend to the boardwalk for the final sprint. Timing is everything!
Zwift displays preliminary race results in game when you cross the line, but points are computed after all four races are finished, with final results on ZwiftPower. (We have to do some data processing on our side to compute results, so if your rankings don’t show up right away, be patient.)
Riders will earn points based on finish position in each of the 4 Tiny Races. The category winner of each week’s series is the rider with the most points across their timezone’s 4 races. Here are the links for each timezone’s results on ZwiftPower:
Tiny Race rules are simple, but still every week 6-8% of registered ZwiftPower racers get disqualified and removed from the final results. Don’t let that be you! Four races, four rules:
You must have a ZwiftPower account, because final results are processed by ZwiftPower (learn how to sign up)
No skipping then returning. These races are meant to be raced as a set of 4. If you need to leave early, that’s fine… but once you miss a race in your hour’s set of 4, don’t come back and race another or you’ll be disqualified from that race since you rested while others were racing! (Example: racing only races 1 and 2 is fine. Racing 1, 2, and 4 is not – you will be DQ from race 4. And if you race 2, 3, and 4, you’ll be DQ from all those races, since you skipped race 1!)
Heart rate monitors are required.
Smart trainer/smart bike or power meter required. ZPower/Virtual power is not allowed.
Join a Chat & Chill Cooldown
Immediately following each hour’s racing, we’ve scheduled 30-minute “Chat & Chill” events where riders from all categories can spin their legs together and chat about how it all went down. Find them at zwift.com/events/tag/tinyraces.
Zwift Insider Kit Unlock
Finish any Tiny Race or a Chat & Chill ride and unlock the Zwift Insider “Ride Smarter // Ride Harder” in-game kit.


")