

With so many Zwifters producing live video of themselves in game, you can find a wide range of video quality on YouTube, Twitch, Facebook, and elsewhere.
This is the first post in what I hope will be a series detailing simple tips for taking your Zwift streaming to the next level. Today we focus on the microphone. How can we get the best voice quality in our Zwift streams? Let’s go!
Three Zwifty Challenges
Zwift streamers are sort of like sweaty podcasters. But Zwifters have to deal with a few challenges podcasters don’t generally worry about:
- Fan noise: if you’re racing, you probably have one (or more!) fans blowing hard and straight at you. But your viewers don’t want to hear that.
- Mic Proximity: podcasters have it easy – they can sit at a desk with a microphone just inches from their mouth and thus get the best voice quality. Zwifters don’t have that luxury, though, since we shift positions on our bikes.
- Mixing with Music: most streamers will want some sort of music playing while they ride, as it creates an energetic sonic layer to complement the visuals. How can you make the music loud enough while ensuring your voice is clearly heard?
Happily, there are ways to overcome each of these challenges. Let’s tackle them one at a time.
#1: Fan Noise
I use a Wahoo’s KICKR Headwind fan, and when I’m racing it’s typically at 100% and blowing a lot of air. It’s quite noisy:
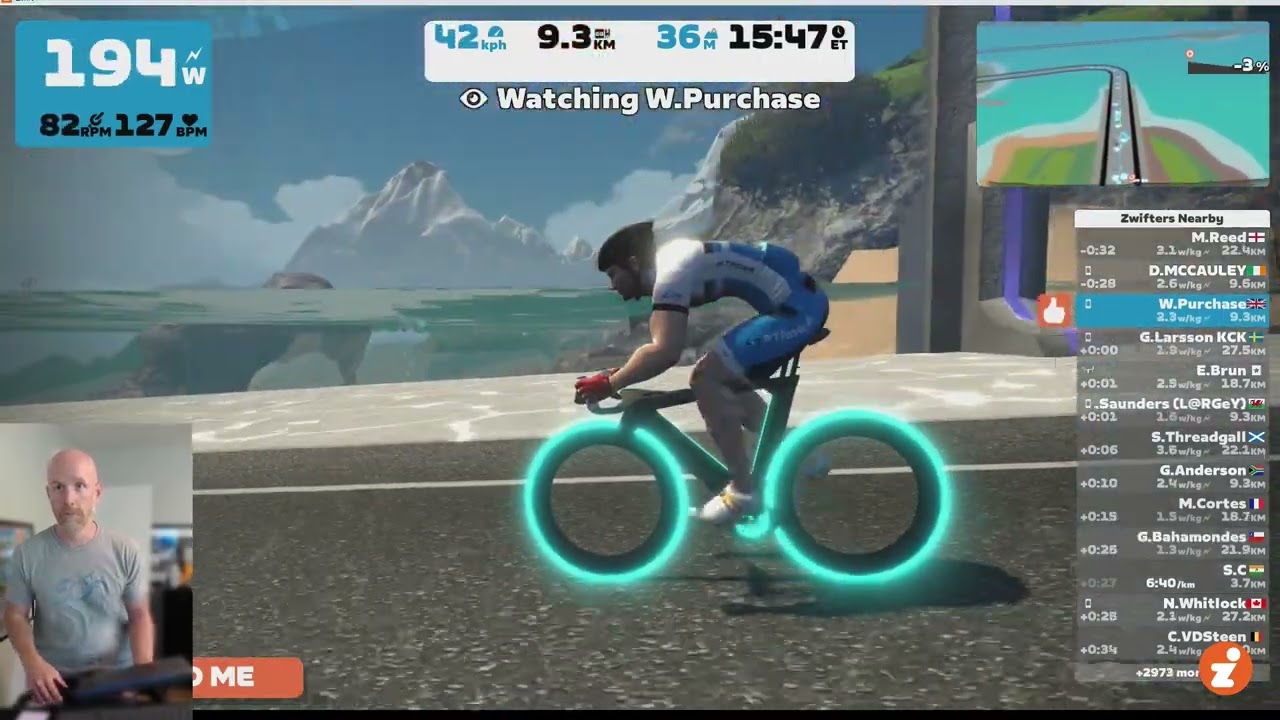
The first step toward reducing fan noise is to set up and position your microphone optimally. (Don’t skip this part! Especially if you’re not a musician or someone familiar with microphones, if you skip this you may regret it later.)
Make sure you have a mic that picks up sound in just one focused direction. I use the Blue Yeti USB Microphone, which has four different pickup patterns: Cardioid, Omni, Bidirectional, and Stereo. You will want cardioid for Zwifting, since that picks up sound from one direction (your mouth)!
Next, position your microphone so the fan isn’t blowing directly into it. For me that means placing it about 12″ above and 3″ forward of my right brake hood. This lets my Headwind blow on my body and face, while very little wind hits my mic. Additionally, my trainer table (see recommendations here) is between my mic and the fan, blocking any wind that might hit the mic.
The second step toward reducing fan noise is to set up noise cancellation. There are multiple ways to do this, but two popular solutions are the (free) NVIDIA Broadcast or (paid) Krisp apps. I’ve used both, and have found Krisp seems to work a bit better – but NVIDIA Broadcast is free (although it requires a higher-end NVIDIA GPU).
These apps are easy to set up and use. After installation, just tell the app which mic you want noise cancellation on, then pair the app’s noise-canceled feed as your mic feed in your video streaming software.
Step 1 greatly reduces the fan sound going into your physical mic, while step 2 should essentially eliminate whatever fan sound gets through.
#2: Mic Proximity
When it comes to single-voice streaming, having a microphone closer to the sound source produces better sound. When you’re sitting at a desk, speaking from a lectern, or rocking with the band on a stage, having the mic within a few inches of your lips is ideal.
But that’s not easy to do on the bike. When you shift positions from out of the saddle to the hoods the drops to the flats (maybe even on some aero bars), your lips move too. Unless you want to change your position whenever you speak into your mic (and who wants to do that?) the best solution is to move your mic so it is 12-18″ away from your head in whatever positions you use when riding.
Again, for me, that means placing it about 12″ above and 3″ forward of my right brake hood. Centering the mic would be ideal in terms of audio, but it would block a significant portion of the camera feed, so I keep it off center where it’s barely visible in the video, and not blocking anything that matters.
For most setups, mic positioning is made easier with an adjustable stand. Quality podcasting mics like my Blue Yeti will come with a simple table stand, but when I purchased mine I bought the “bundle” on Amazon which includes a boom arm, pop filter, and shock mount. This allows me to place the mic exactly where I’d like, plus the shock mount is a nice bonus for reducing room noise.
#3: Mixing with Music
Entertaining Zwift streams typically include rights-free background music since it adds energy and ambiance to your video. Watch just about any entertaining high-energy YouTube vid, in fact, and you’ll notice background music which is louder when nobody is speaking, and quieter when voices are the focus.
Here’s an example of this happening, in one of my recent race vids:
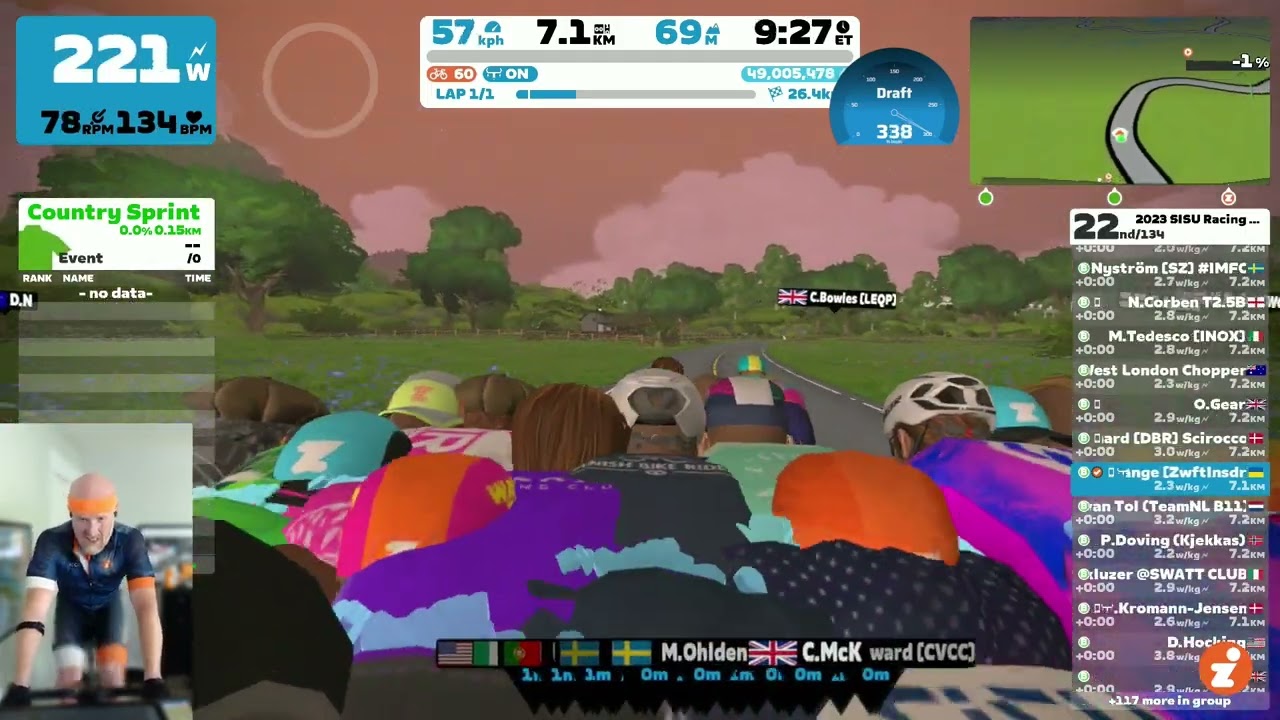
While this dance of “turn the music down, let the voices speak, then turn the music up again” is typically handled by video editors after all the footage is shot, we don’t want to faff about with editing our videos before uploading (and if we’re streaming we certainly can’t rely on post-processing).
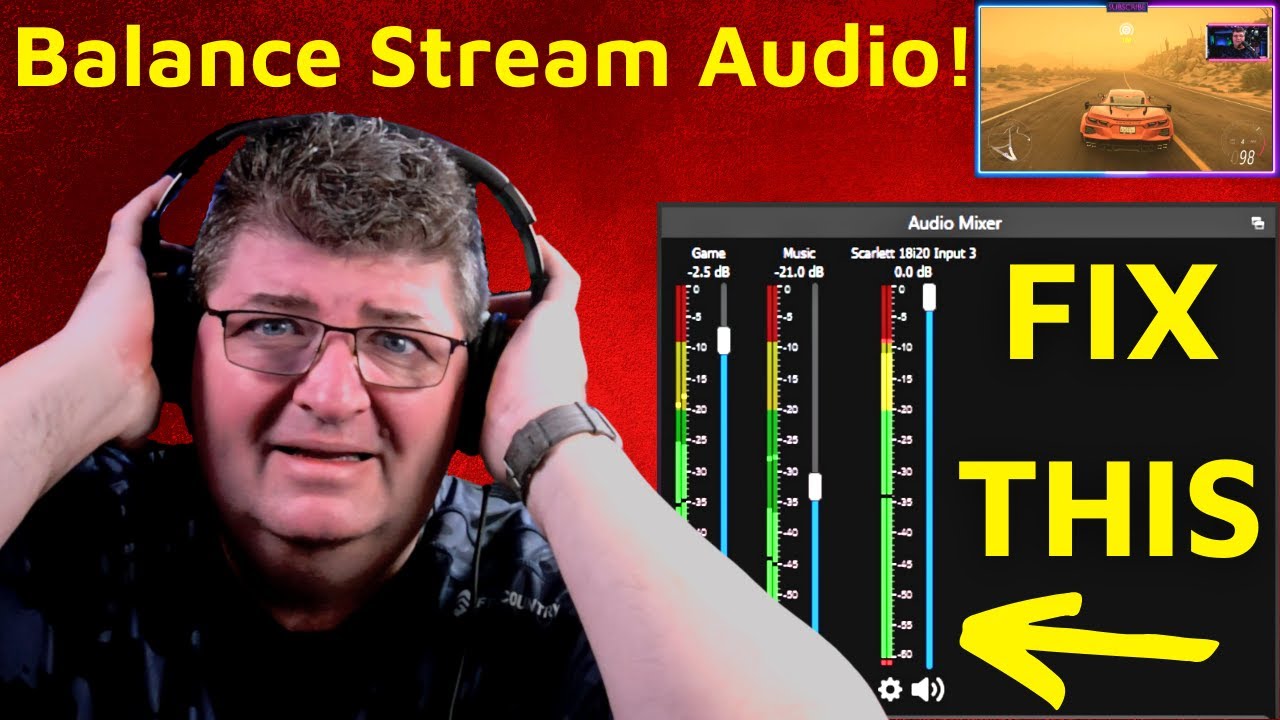
This is where the “audio ducking” feature in OBS comes to the rescue! It will automatically reduce the volume of other sound sources whenever mic input is detected. And it’s easy to set up! Here’s a great tutorial that walks you through OBS Audio Ducking step-by-step in just a few minutes:
Testing 1, 2…
Getting good sound quality in a Zwift stream requires quality hardware and software that is set up optimally. But what exactly is the optimal setup? That’s a question you will need to answer for yourself through a bit of trial and error.
Hop on the bike, turn up for your fan to “cruising speed”, and start doing some test recordings. Then watch them back (with a good set of headphones) and decide if everything sounds the way it should.
Live Zwift video is a game of compromises. If you turn up your fan for comfort, it will impact voice quality. If you move your mic closer to your face it may get in the camera shot or not work when you shift positions. And all of these choices have to be made within the constraints of your pain cave, which may have its own unique set of challenges!
In the end, the best you can do is the best you can do. Follow the advice in this post (there’s plenty more online if you look around) and you’ll create quality sound without a huge investment of time or money.
Bonus for Discord Users
Do you use Discord while Zwifting (perhaps when doing team races like ZRL)? If you spend the time and money to get a good microphone that’s set up properly, your teammates on Discord will thank you. And you won’t have to use push to talk!
Just pair your noise-canceled mic feed to Discord and you can casually chat with friends. They’ll only hear your high-quality audio coming through when you talk, and nothing at all when you’re quiet.
Microphone Recommendations
There’s a lot you can do to sculpt your voice once it comes in through your microphone, but if you have a crappy microphone you’ll just be sculpting crap. And who wants to do that?
When it comes to microphones (or any audio gear), you generally get what you pay for until you’re in the very upper reaches of the price range. Quality podcasting microphones cost anywhere from $75-$250USD.
A few recommendations:
- Top tier (and priced like it): Shure MV7
Shure is the #1 name in the world of microphones, and this is their flagship mic for podcasters. Includes both USB and XLR inputs, so if you ever get fancy and want to go the XLR route you won’t have to upgrade mics. - Quality reputation: Rode Podcaster
Rode’s microphones have a great reputation in the broadcast and podcast industry, and this is their well-reviewed model aimed at podcasters. - Upgraded version of my mic: Blue Yeti X
TThe X has a four-capsule array (vs the Yeti’s three) for better sound, and LED metering for easier use. - My mic: Blue Yeti
A super-popular mic for podcasters because it walks the thin line between great sound and a reasonable price. That’s why I use it… and so does GPLama! - Budget solution: JLab Talk
Looking for the most affordable solution that still sounds decent? This one does the job.
Coming Up Next
Future posts in this series will cover the following:
- Streaming/Recording Zwift Videos with Apple TV
- Webcam Lighting, Angles, Backgrounds
- Rights-free Music for Your Videos
- Fun with Sauce (Including Apple TV)
- Other topics (suggest below!)
Questions or Comments?
Got any other tips for dialing in your voice audio when Zwifting? Got topics you’d like to see covered in this series? Share below!


For Zwifting and content creation, I would highly recommend touching on the difference between dynamic and condenser microphones. Dynamic mics are designed to reject background noise and only pick up what is directly in front of them (off angle rejection). These mics will make a lot of extra tuning redundant as they handle so much of it internally. They do tend to be a bit more power hungry though and will probably want at least a cheap audio interface(Like a Behringer UM2)
Also, a huge help is something like a windscreen. Unfortunately, they’re called dead cats or kittens (I asked someone in the industry and yes…they legitimately call them that). It’s what you’d see from a news crew filming out in the wind. They’re not expensive and will cut out almost ALL of the wind noise from fans.
That’s a good call-out. I stuck with USB-connected mics in this post because I was targeting it at the low to midrange streamers, but probably a mention of taking it to the next level with a dynamic mic and audio interface is warranted.
And yes, they’re definitely called dead cats! Would make me hurl a bit, internally, each time my mouth was close to it and I thought about it…
For the “auto-ducking”, I think Discord does a nice job with its attenuation feature. Turns down all other sounds when other’s voices (and/or mine depending on how I have it set up) are coming through discord. Dead simple to set up and you can set it to whatever amount of attenuation you want. Of course, if you’ve got someone who breathes heavy into their mic throughout the ride and doesn’t use touch to talk, it can do annoying things to your sound.
As far as touch to talk, I know you say it’s easier if you have a setup that doesn’t require it, but I sometimes say things that I’d prefer that my teammates (and people watching my stream) can’t hear. Having my stream set so that it only broadcasts (and teammates only hear through discord) what I want them to hear me say is helpful when I get frustrated (at myself or others).
For me, the trickiest bit about streaming (not that my streams are particularly good), was figuring out a way to have one set of music that I could hear that would pump me up (generally, playlists I chose), while sending rights-free music to my stream so I wouldn’t get taken down because of DCMA violations.
I am interested in reading your future installments as I’m sure my setup could be made a lot better/more efficient/faster to set up when I’m running late for a race.
Yeah I’d love to add some.music to my videos, but as you say I need to have my own playlist for me to hear but which would get my video blocked if I had that as the video soundtrack so I currently don’t have any video music which is a shame
What I do is sort of complicated.
I use a combination of Voicemeter Banana and Virtual Audio Cables. With that, I can send my iTunes playlist to my headphones, Discord and Zwift (or whatever virtual cycling platform I’m using) audio to OBS AND my headphones, and rights free music from Pretzel (or Twitch Soundtrack or whatever) to OBS only. It takes a bit to set up and optimize, but it usually works pretty well.
I’m pretty sure I have it set up in a way that allows me to have only the microphone feed that I’m sending to Discord (so only when the push to talk button is pushed) to to the stream so that people don’t hear me panting away (at least not as much) and (hopefully) don’t hear the things I mutter under my breath. Either that or at the very least, it makes it harder to hear that stuff.
Great post Eric. Lots of useful info there. Looking forward to the rest of the series!
It would be great to have an article on various tools available to record full ride videos for Apple, Windows, and possibly other platforms. And which video services they are integrated with if they are tied to one. This might be oriented to users who haven’t recorded before or may want to increase the quality – so free options as well as paid.
Another article on how to record a ride so that the recording shows the best quality. It seems you have covered sound fairly well in this article.
How do you hear your friends on discord without having to wear headphone? I presume a speaker will no work because of feedback?
Yeah, a speaker wouldn’t work unless you did push to talk. I always wear earbuds!
AirPods kind of earbuds or wired earbuds? I heard that people have been using speakers 🔊 and using the filtering of OBS and discord with great affect. Would be curious if you find luck doing that as well?
maybe there are optimal setting for speakers? Would be so nice to not have earbuds
AirPods. I’ve never tried using speakers. Just no reason to when AirPods work great.