“Alto de Patios” Climb Portal Details
See zwiftinsider.com/portal/alto-de-patios/

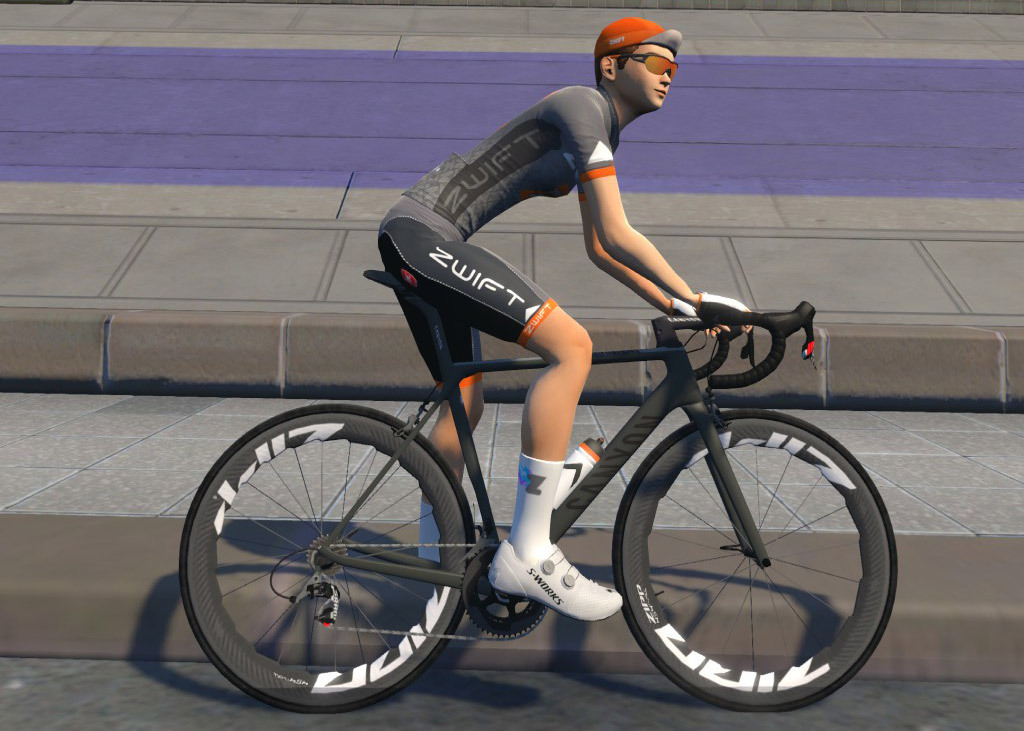
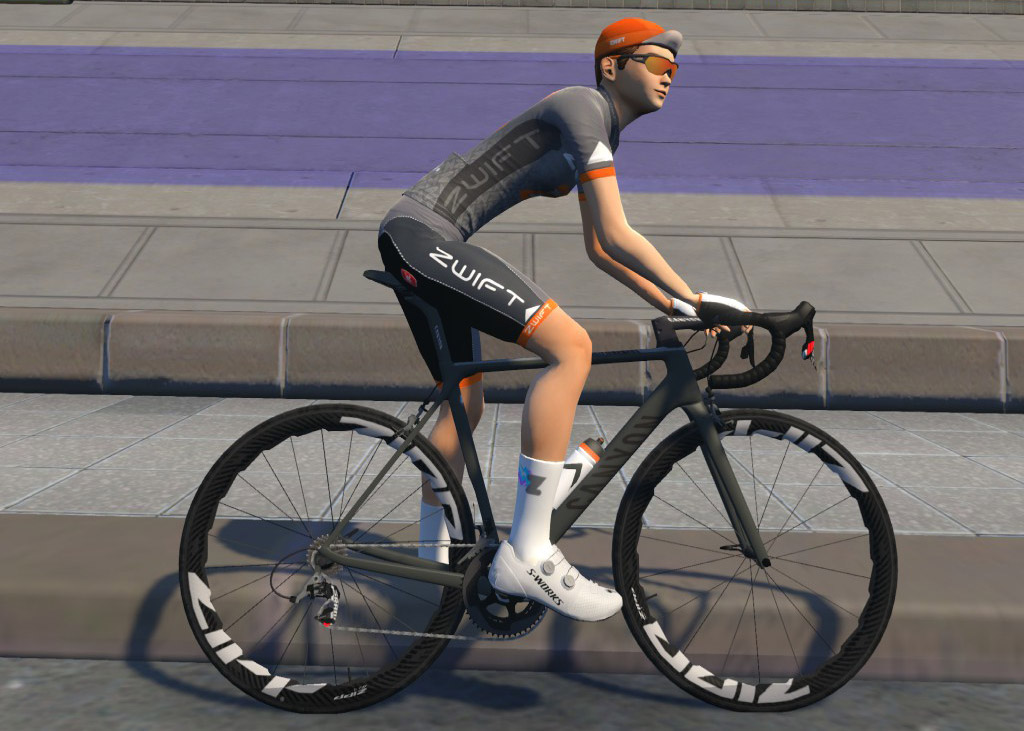
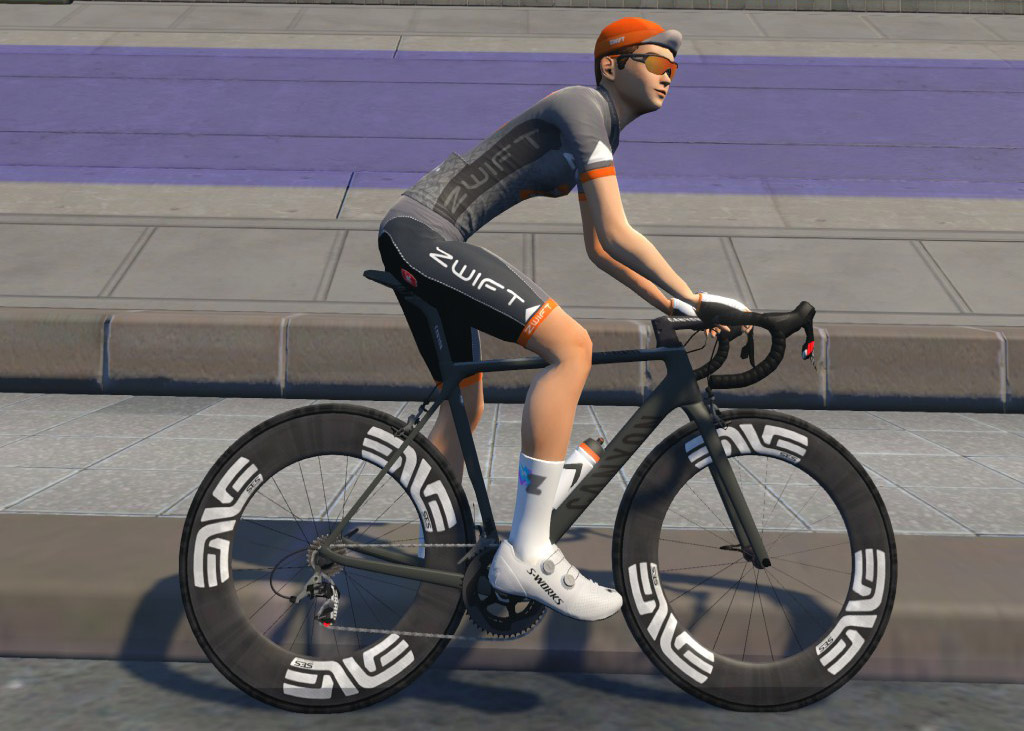
Your choice of virtual wheelset significantly affects your Zwift speed, just as it does outside. And Zwift’s Drop Shop gives us access to lots of wheelsets: 60 if you include the Gravel and MTB wheels.
At Zwift Insider, we’ve tested every Zwift frame and wheelset using an accurate, repeatable procedure to determine how it performs in game.
Based on those speed tests, we’ve chosen the 10 best overall wheelsets in Zwift today. This isn’t just a stack rank of the most aero wheels in the game – we took into account how each set performs across a variety of routes.
Without further ado, let’s get to the list! Drumroll please…
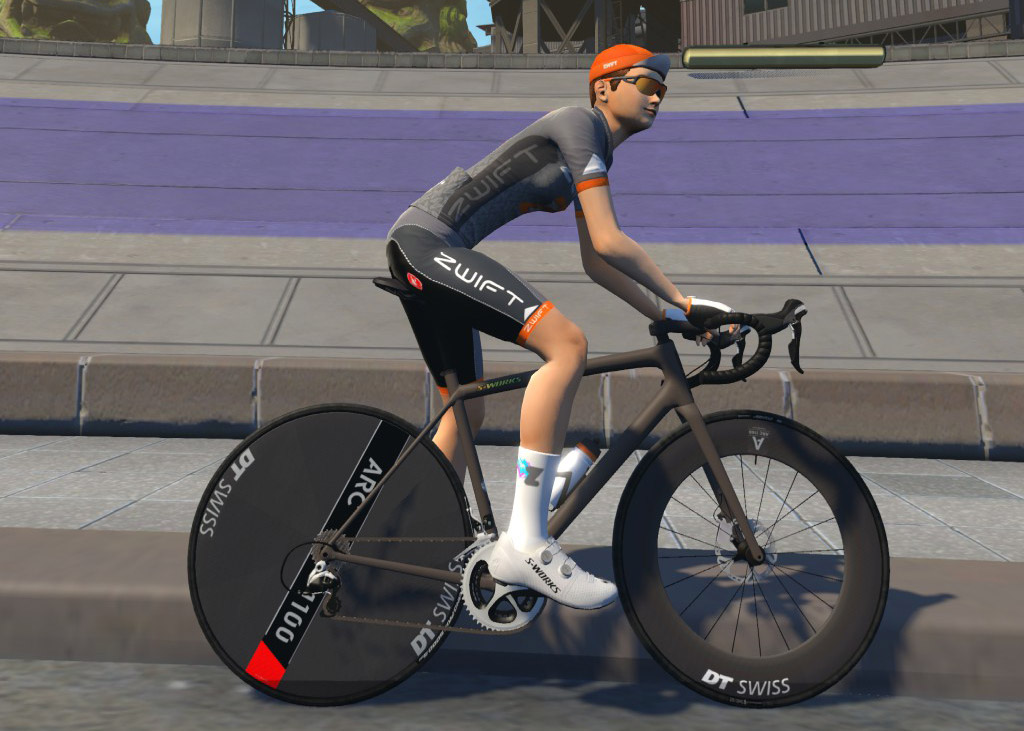
685,000 Drops, must be level 32+
This wheelset is the best on Zwift if you rank all the wheels in terms of combined time saved – that is, how much time is saved over a baseline wheelset across an hour of flat riding and an hour of climbing. If you struggle on climbs in races (and that’s most of us), these are the wheels for you.
Why they’re winners: best climb-focused all-arounders.
650,000 Drops, must be level 29+
This wheelset is second-best when ranked by combined time saved. The DICUT 65 basically match the ENVE 8.9 as the most aero non-disc wheels, while handily outclimbing them. Great wheels for races with short, fast climbs, because they won’t slow you down at high speeds, and they’re light enough not to weigh you down significantly on short climbs.
Why they’re winners: best aero-focused all-arounders.
1,000,000 Drops, must be Level 40+
Currently the fastest wheels on Zwift, on road bikes this wheelset outperforms the Zipp 858/Disc disc (below) on the flats by ~4 seconds while essentially matching it on the climbs. These wheels are ~6.3 seconds faster than the most aero non-disc wheels on road bikes, so if you’re doing a flat race, the disc wheel is still your best option.
Note: disc wheels perform more strongly on TT frames than road frames, which means that, if this list was purely for TT racers, we would move these wheels up in the list. But as the vast majority of races on Zwift are road races, these wheels move down the list due to their poor performance on climbs and muted performance on road frames.
Why they’re winners: most aero wheels available (and extra fast in a time trial).
685,000 Drops, must be Level 35+
From the fastest wheels on the flats (above), we go to the fastest wheels on a climb! The new Alta 3532 from Princeton Carbonworks is the top climbing wheelset on Zwift, beating the Wake 6560 by 1.8 seconds on an hour of Alpe climbing. I wouldn’t use these on most races, but if you’re heading up the Alpe or Ventoux, these are the hoops for you.
Why they’re winners: top climbing wheels.
675,000 Drops, must be level 29+
The first wheelset in Zwift to be rated 4 stars both for aero performance and weight, these are based on the wheels Tadej Pogačar and the UAE Team Emirates XRG team race. They are basically runner-up to the Princeton Carbonworks Wake 6560 when looking at strong climb-focused all-arounders.
Why they’re winners: strong climb-focused all-arounders.
550,000 Drops, must be level 36+
Part of the “old generation” of all-arounder wheels at this point, the ENVE 7.8 trades seconds with the Zipp 454 below, gaining around 11s on the flat, but losing around 9s on the climbs. Where do you want your advantage? How much climbing does your race entail?
Why they’re winners: strong aero all-arounders.
600,000 Drops, must be level 30+
The Zipp 454 used to be the top climb-focused all-arounders in Zwift, but now they’re part of the old generation, superseded by wheels like the Wake 6560 and ENVE 4.5 Pro.
Why they’re winners: strong climb-focused all-arounders.
600,000 Drops, must be level 24+
Formerly tied with the Lightweight Meilensteins as the best climbing wheels on Zwift (while hugely outperforming them on the flats), the 353 NSW have been bested by the Alta 3532, which outclimbs it by 4-5 seconds while essentially keeping up on the flats.
Why they’re winners: strong climbers.
550,000 Drops, must be level 28+
Basically tied with the DT Swiss 65 as the most aero non-disc wheels on Zwift, the ENVE 8.9 lose to the new generation of wheels by being too heavy. Still, they’re quite fast, and look super aero cool as the deepest-dish non-disc wheels on Zwift.
Why they’re winners: strong aero non-disc wheels.

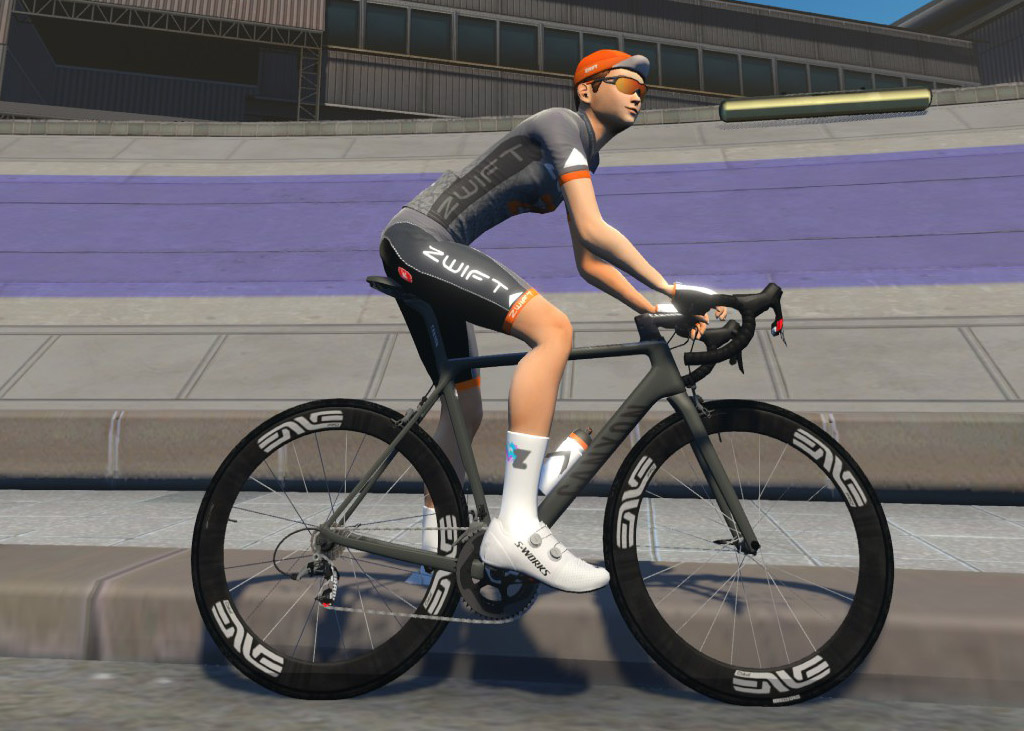
750,000 Drops, must be Level 37+
The second-fastest wheels on Zwift, matching the DT Swiss disc above on the climbs while losing a few seconds on the flats.
Note: disc wheels perform more strongly on TT frames than road frames, which means that, if this list was purely for TT racers, we would move these wheels up in the list. But as the vast majority of races on Zwift are road races, these wheels move down the list due to their poor performance on climbs and muted performance on road frames.
Why they’re winners: second-most aero wheels in Zwift (and extra fast in a time trial).
Want to dig deeper into the precise speeds of various frames and wheels? Check out our ranking charts and public test data. You may also like our Concept Z1 (Tron) Bike vs Top Performers chart which compares precise times of top frames and wheelsets with the Tron bike.
We hope all you riders/racers found this post useful. Think there’s a wheelset we should have included in the top 10 but didn’t? Got other questions or comments? Share below!
Important note: this post contains speed test results for Zwift frames or wheels. These results may change over time, and a bike's performance relative to others may also change. We don't always revise posts when performance rankings change, but we do keep current, master versions of our speed test results which are always available. See the frame charts, wheel charts, and Tron vs Top Performers for current performance data.

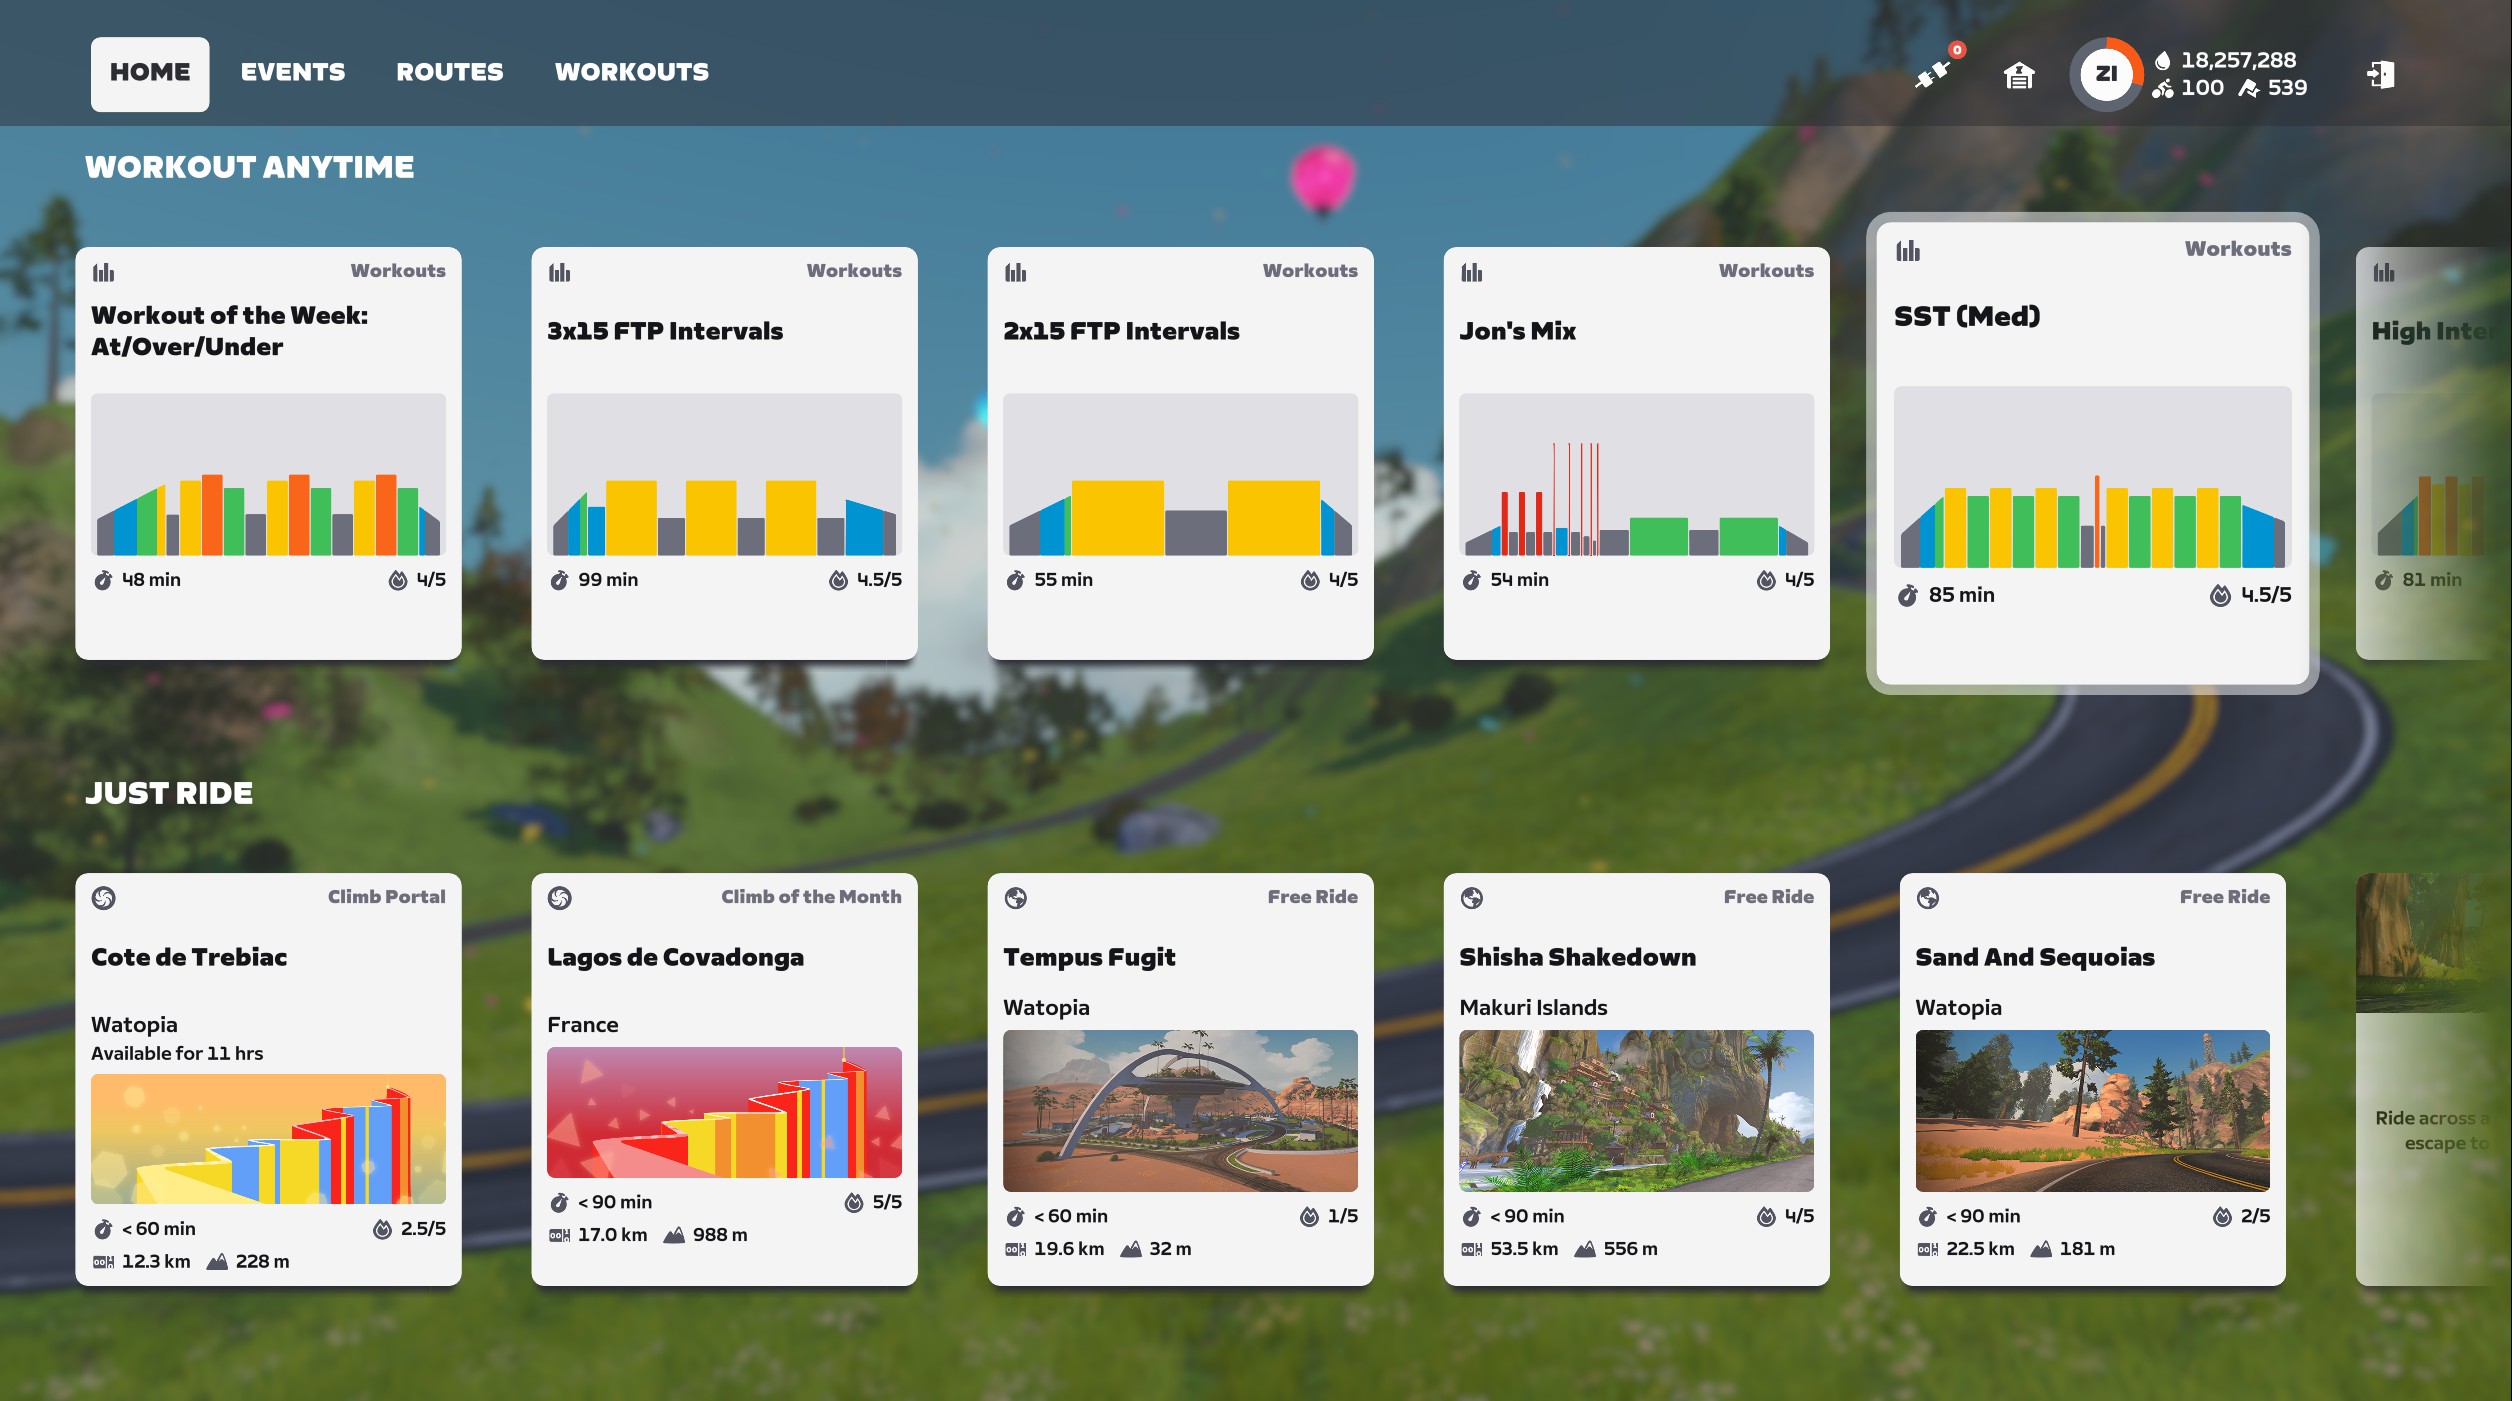
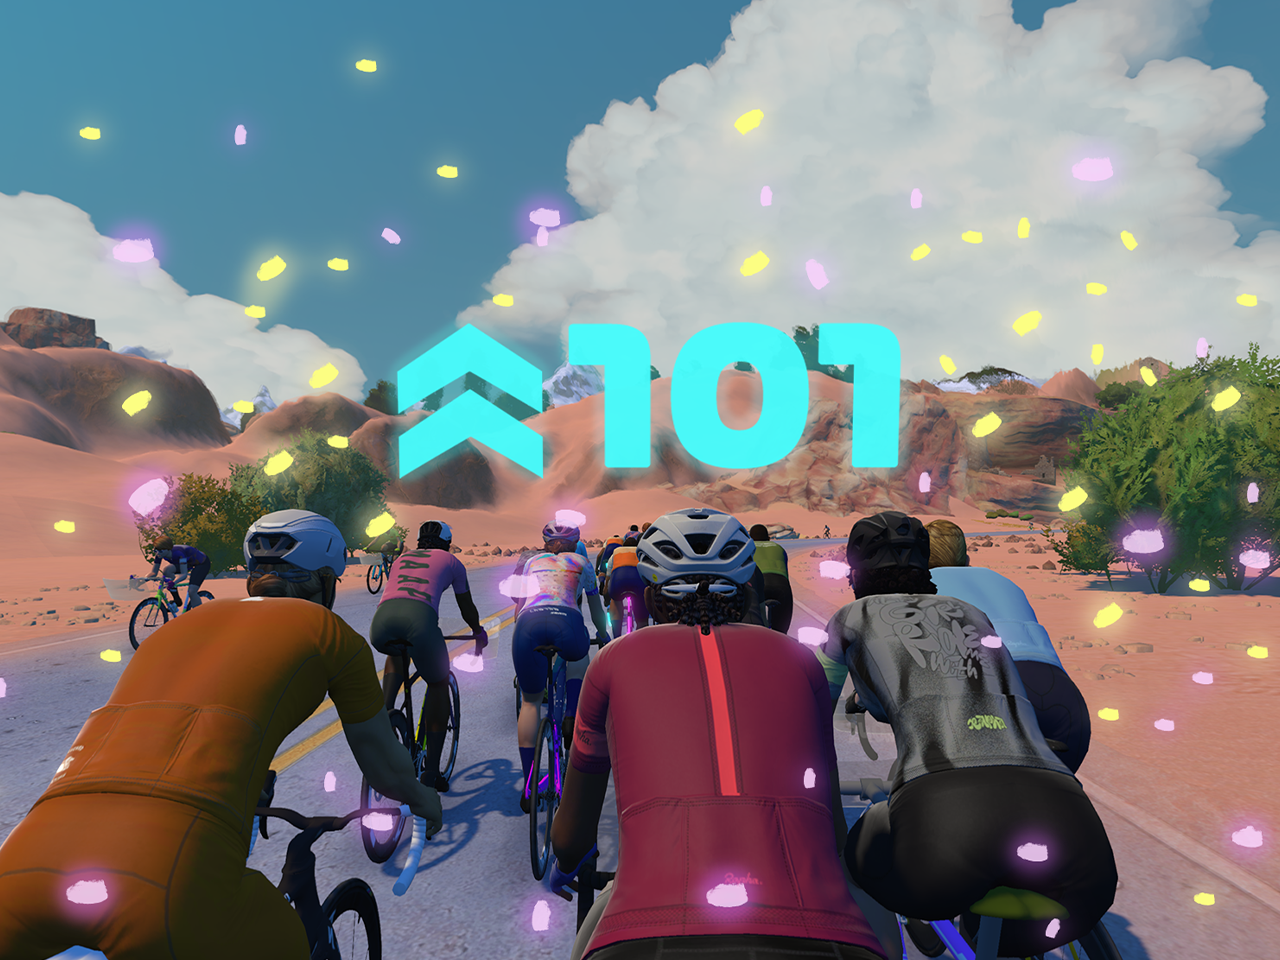
Zwift’s Climb Portal gives Zwifters access to a growing library of famous real-life climbs in a gamified environment where roads are colored based on gradient. Learn more about the Climb Portal >
While the library of climbs continues to grow, only up to three climbs are accessible on any given day. The climb of the month (in green below) is available in France, while a second climb rotates every few days and is only available in Watopia. Both of these climbs can be selected at the bottom left of your Zwift homescreen (scroll down).
There is also a third place where another climb is featured: in the Climb of the Week box on the homescreen. Learn more >
Learn more about a climb by clicking it in the schedule below.
Access the currently featured climbs easily from the bottom of the Zwift homescreen under “Just Ride”:
")
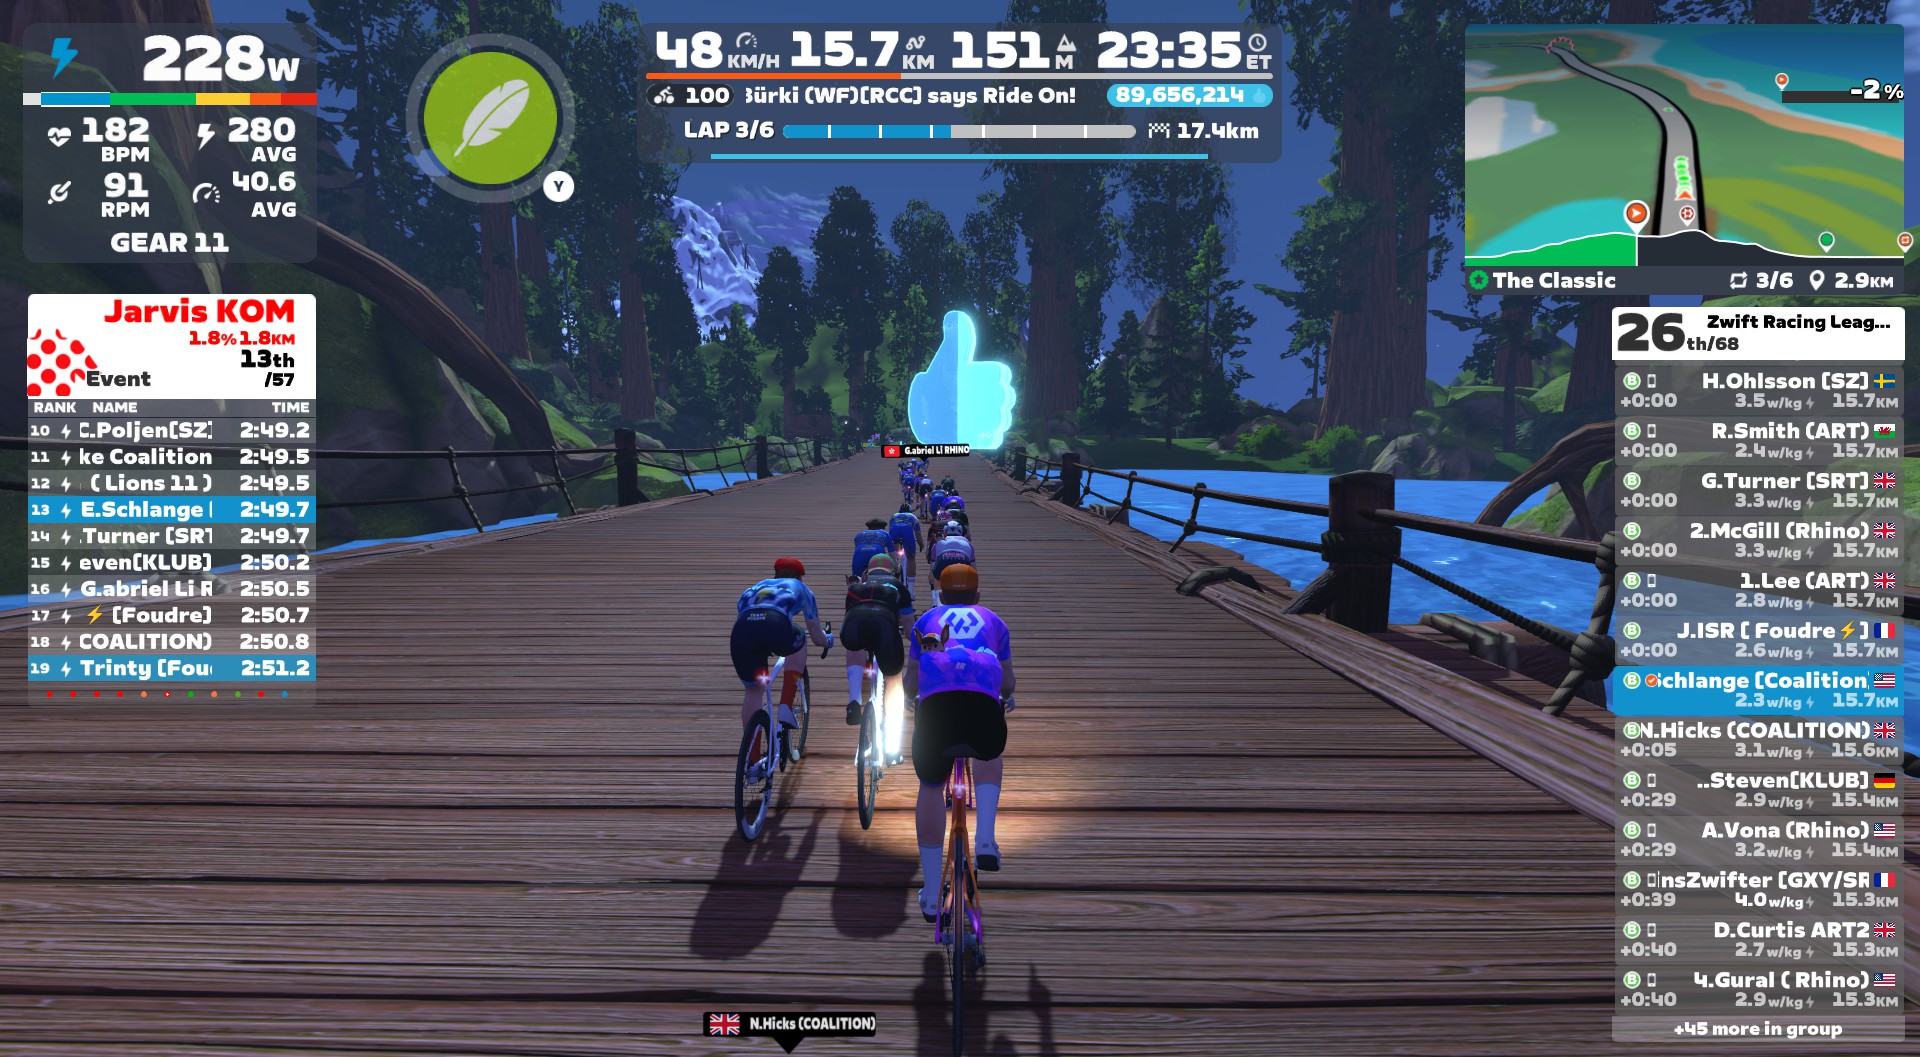
The fourth and final race of Zwift Racing League 2025/26 happens Tuesday, April 28, and we’re in New York for our first race ever on the Double Span Spin circuit. It’s a points race, and all the points are on New York’s Brooklyn and Manhattan bridges!
Don’t understand how ZRL points races work? Read our explainer >
There’s much to discuss, including crucial course segments, powerup usage, bike decisions, and strategic options. Let’s go!
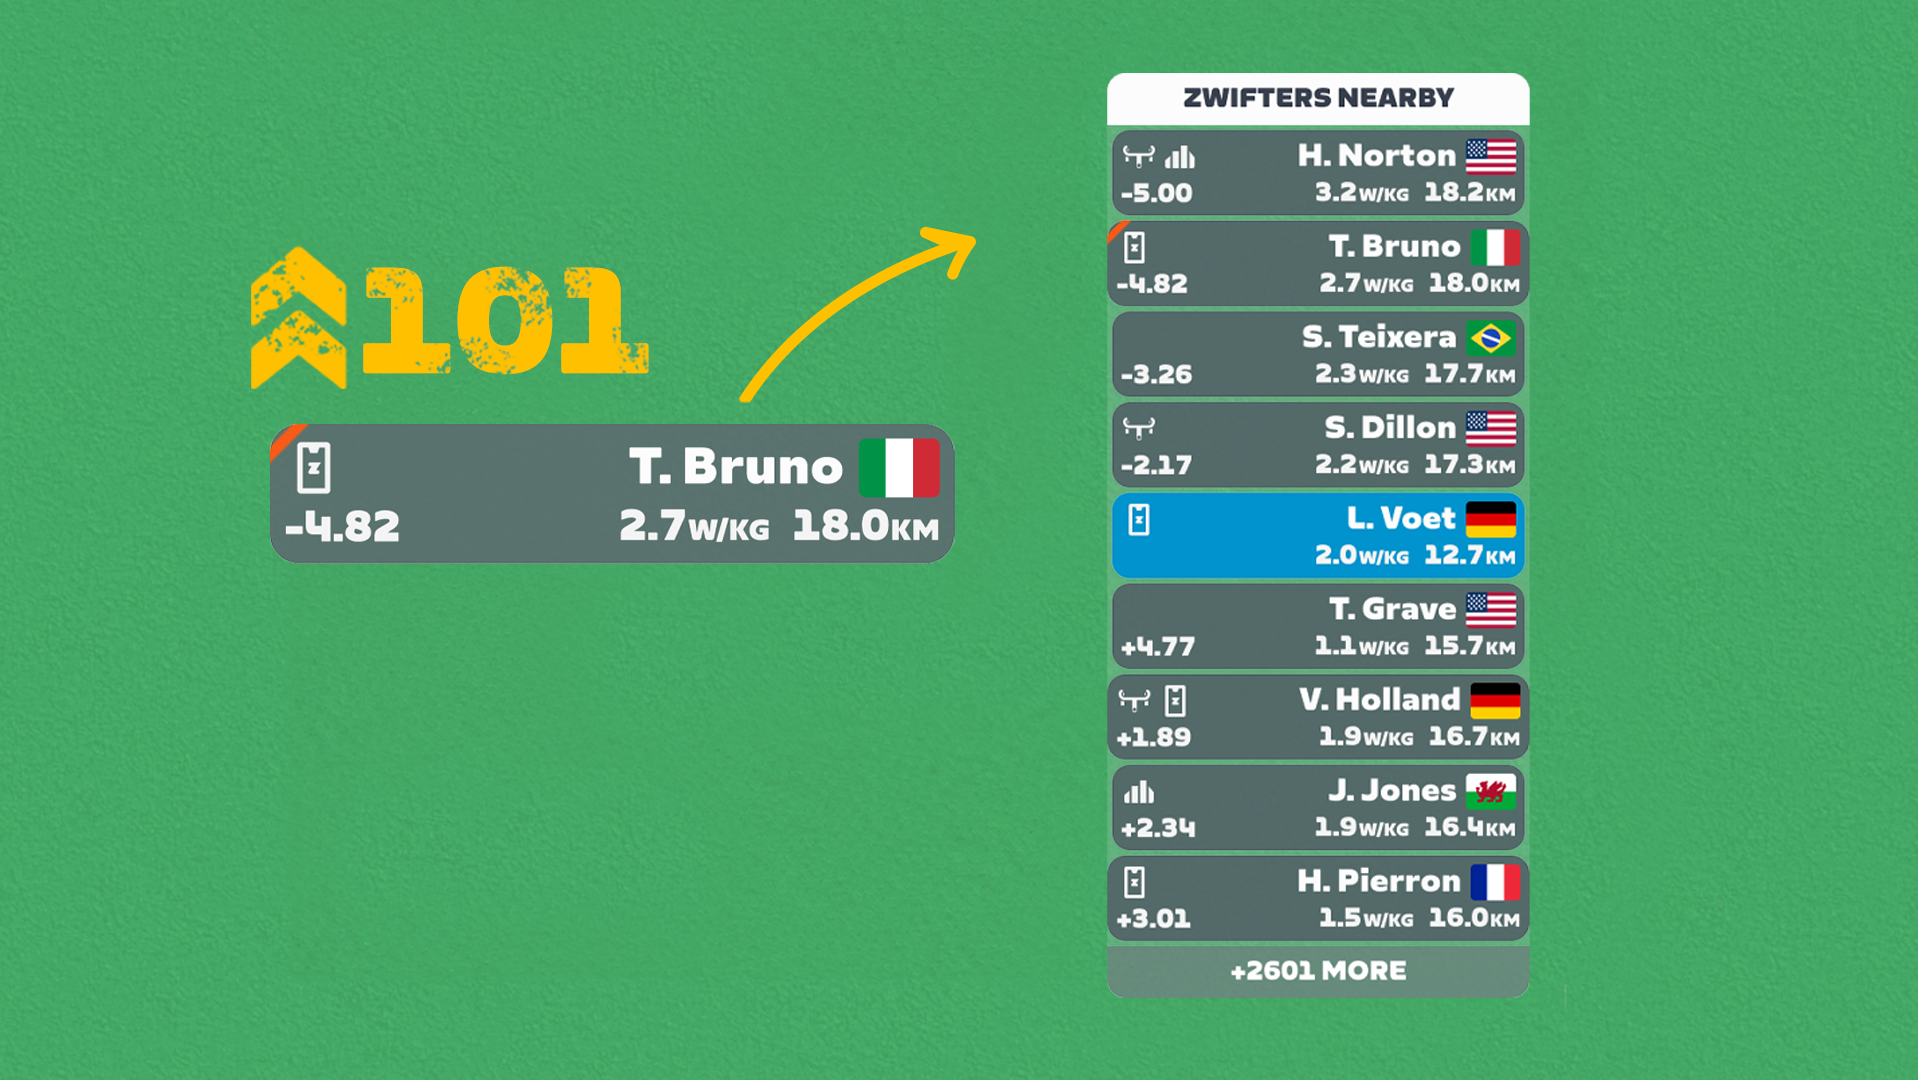
The route begins with a lead-in from Prospect Park (heading straight north out of the park, so we’re only there for a few seconds). This takes us down through the Brooklyn Subway and up to the start of the Manhattan Sprint for our first points segment of the day.
With a 1.3% average gradient for 250 meters, this is a draggy and very draftable sprint. Be warned: it’s the finish of a 1-kilometer climb, so you’ll already be pushing harder than usual when the sprint begins!
Lap 1 begins at the end of the Manhattan Sprint (which awards a feather powerup). From that sprint arch, our circuit basically consists of counter-clockwise laps of the Manhattan and Brooklyn bridges.
Each lap starts with descending from the Manhattan Sprint arch, then climbing up the Brooklyn Bridge KOM – the key climb on this route and our second points segment:
As you can see, this is an interesting sort of KOM, because the first 500 meters are actually downhill! So don’t let that average gradient fool you; once the climbing begins, it’s a fairly steady 3.5% for ~1.4km. This is where the elastic is most likely to snap.
From the Brooklyn Bridge KOM arch (which awards an aero boost powerup), we descend the Brooklyn Bridge, then head over to hit the uphill Manhattan Sprint to finish out the lap. This is also the finishing sprint on the final lap, so familiarize yourself with it, as it is effectively worth double points on the last lap because of how ZRL segment points and finish points are calculated!

Lightweight (feather): reduces your weight by 10% for 30 seconds. Use on climbs, when weight matters the most. This will be best used on the final 1.4km of the Brooklyn Bridge KOM, where the road is steepest and efforts are high.
Aero Boost (helmet): makes you more aerodynamic (reduces your CdA by 25%) for 15 seconds.
Use at higher speeds (flats and descents), especially when no draft is available (although it is still useful when drafting). Deploy this during the Manhattan Sprint.
How will these races unfold? What strategies will teams employ? Here’s what I predict:
Any insights or further thoughts on this race? Share below!
 Released")
Zwift version 1.112 begins its phased rollout today. This is a major update, since it includes new levels for riders and runners. See details below…
The big headline for today’s update is new levels for riders and runners. Those new levels aren’t activated just yet, though! Zwift says they will launch this month, but they aren’t committing to a particular day at this time.
When the switch is eventually flipped, cyclists will have access to hundreds of new levels (Zwift isn’t actually saying what the limit is – rather, they say there is essentially no cap). Runners will have their level cap raised from 30 to 50.
There are no new level unlocks (kits, etc) at this time for these new levels.
How much XP do you need to reach the new levels?
Zwift says, “Any extra XP you have over 807,000 at level 100 for cycling or XP over 149,000 at level 30 for running is banked and applied toward accelerated leveling. Cyclists with banked XP will accelerate through levels 4 times faster and runners will accelerate 2 times faster. You’ll know accelerated leveling is active if you see the three-chevron icon next to your rider score.”
Zwift has implemented accelerated leveling every time they’ve added levels to the game, because they believe it’s a better user experience to enjoy each level-up rather than immediately jumping to the level we’ve “earned” with all the extra XP we’ve banked while stuck at the level cap.
Rather than dig into the details of accelerated leveling here, I’ll wait until the new levels go live, then run a few tests and publish a dedicated post with complete info. Stay tuned.
As soon as you install the update, you’ll see a new “century stripe” in the rider list and Zwift Companion profiles of anyone who has reached cycling level 100. Some riders who haven’t yet reached level 100 have complained about Zwift “moving the goalposts” by adding more levels, but I would submit that earning your first century stripe is the new goalpost.
And while it may take a while before we see it for the first time, supposedly you earn a new century stripe for every 100 levels you complete. Who will be the first to get their level 200 stripe?
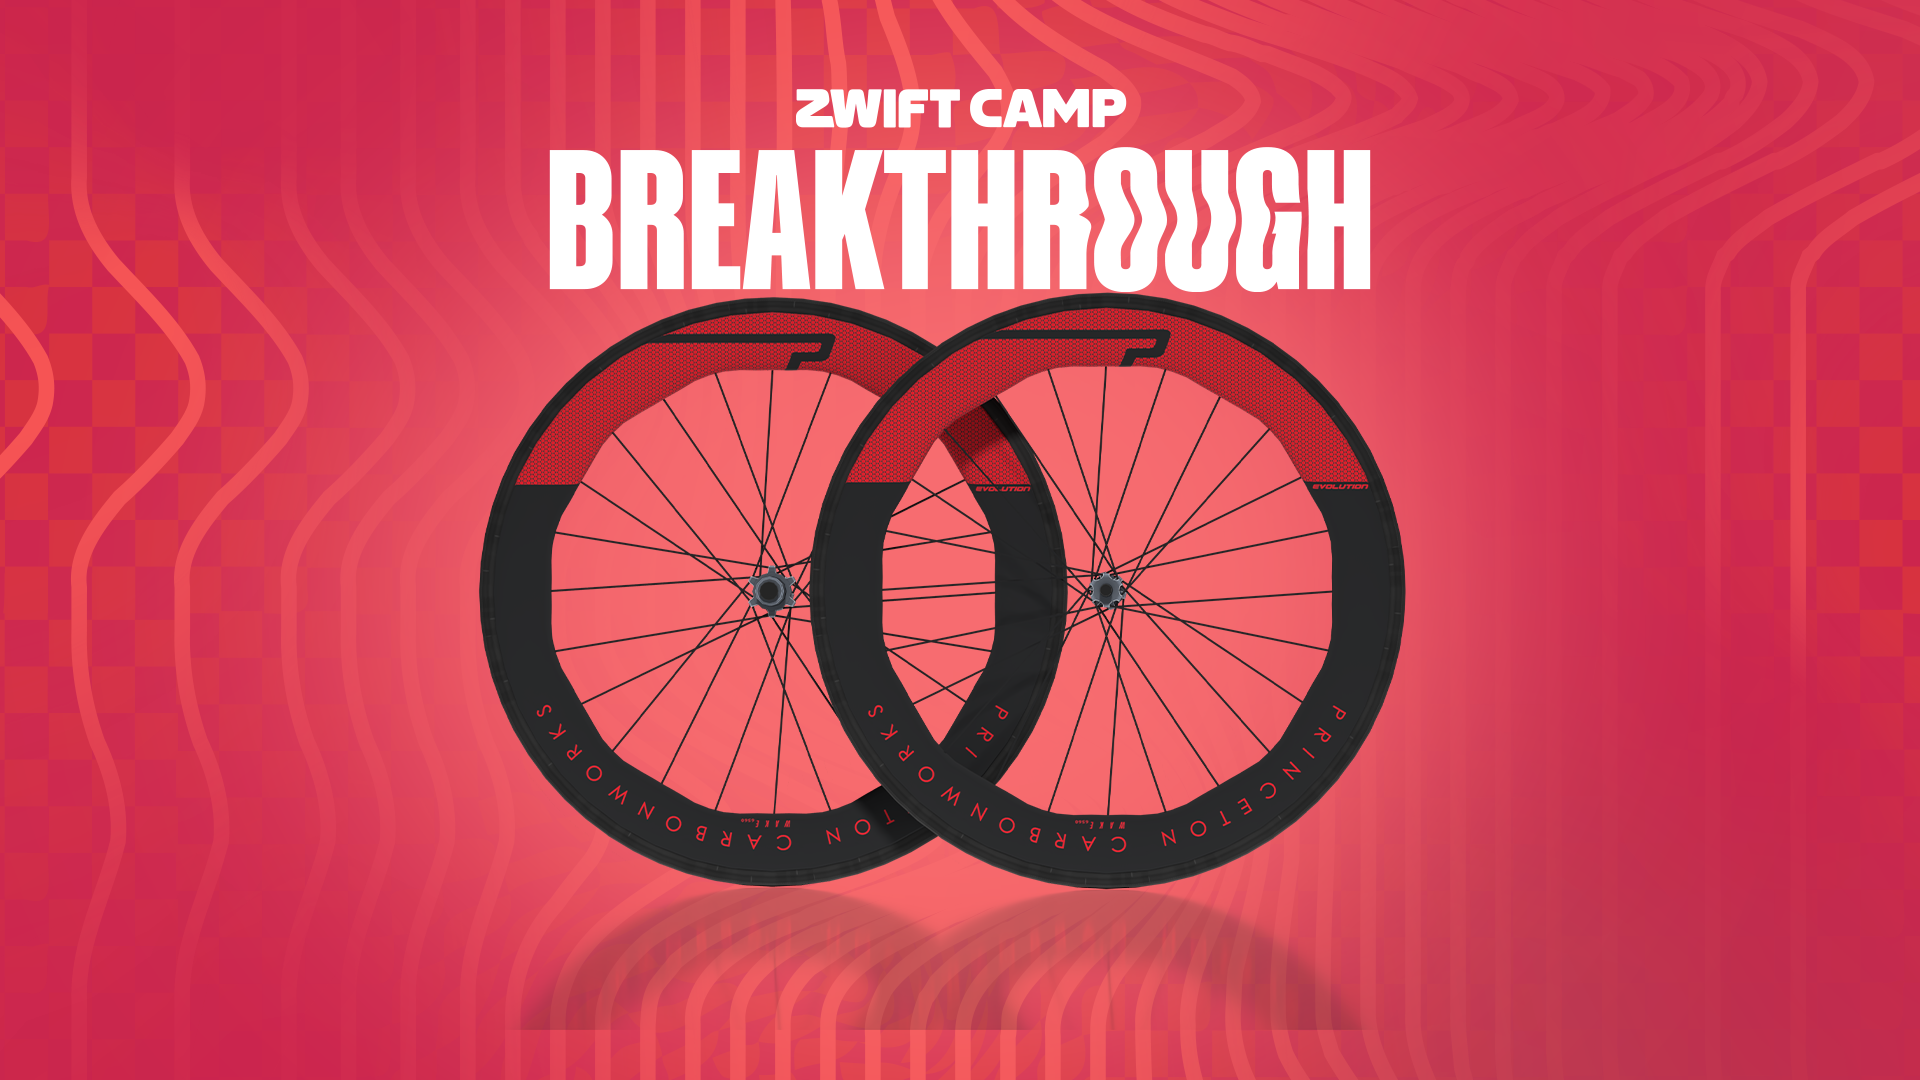
The Princeton Carbonworks Wake 6560 wheels in the Lava (red) colorway can be easily unlocked by completing 2 stages of Zwift Camp: Breakaway (read more here). The Lava version of the wheels was misconfigured initially, but today’s update modifies the wheels slightly so their specs match the white colorway.
These are super fast wheels – the best climb-focused all-arounders in the game today. If you’re a racer, particularly a lower-level rider without access to the fastest wheels, pick these up! Read more >
As promised, Zwift “Corrected the weight of the Cervelo Aspero 5 bike frame” in today’s update. They also updated it from using the mid-range distance upgrade scheme to the high-end one.
We ran our standard speed tests on the original Aspero 5, and the slightly lighter version in today’s update. The difference is easily detectable, but not huge: the lighter version is 2.1 seconds faster across an hour of flat riding, and 2.5 seconds faster on an hour of climbing.
Check it out: we’re working on detailed homepages for each and every frame and wheelset in Zwift. Here’s the page for the Cervelo Aspero 5 >
Not included in the release notes are several outdated bike frames removed from the Drop Shop. As a reminder, when frames are removed from the Drop Shop, they are no longer able to be purchased. If you’ve previously purchased that frame, it’s still in your garage and usable!
Frames removed in this update:
Zwift supplied the following additional release notes:
Discuss this update in Zwift’s forum >
If you spotted any other changes or bugs in the update, please comment below!

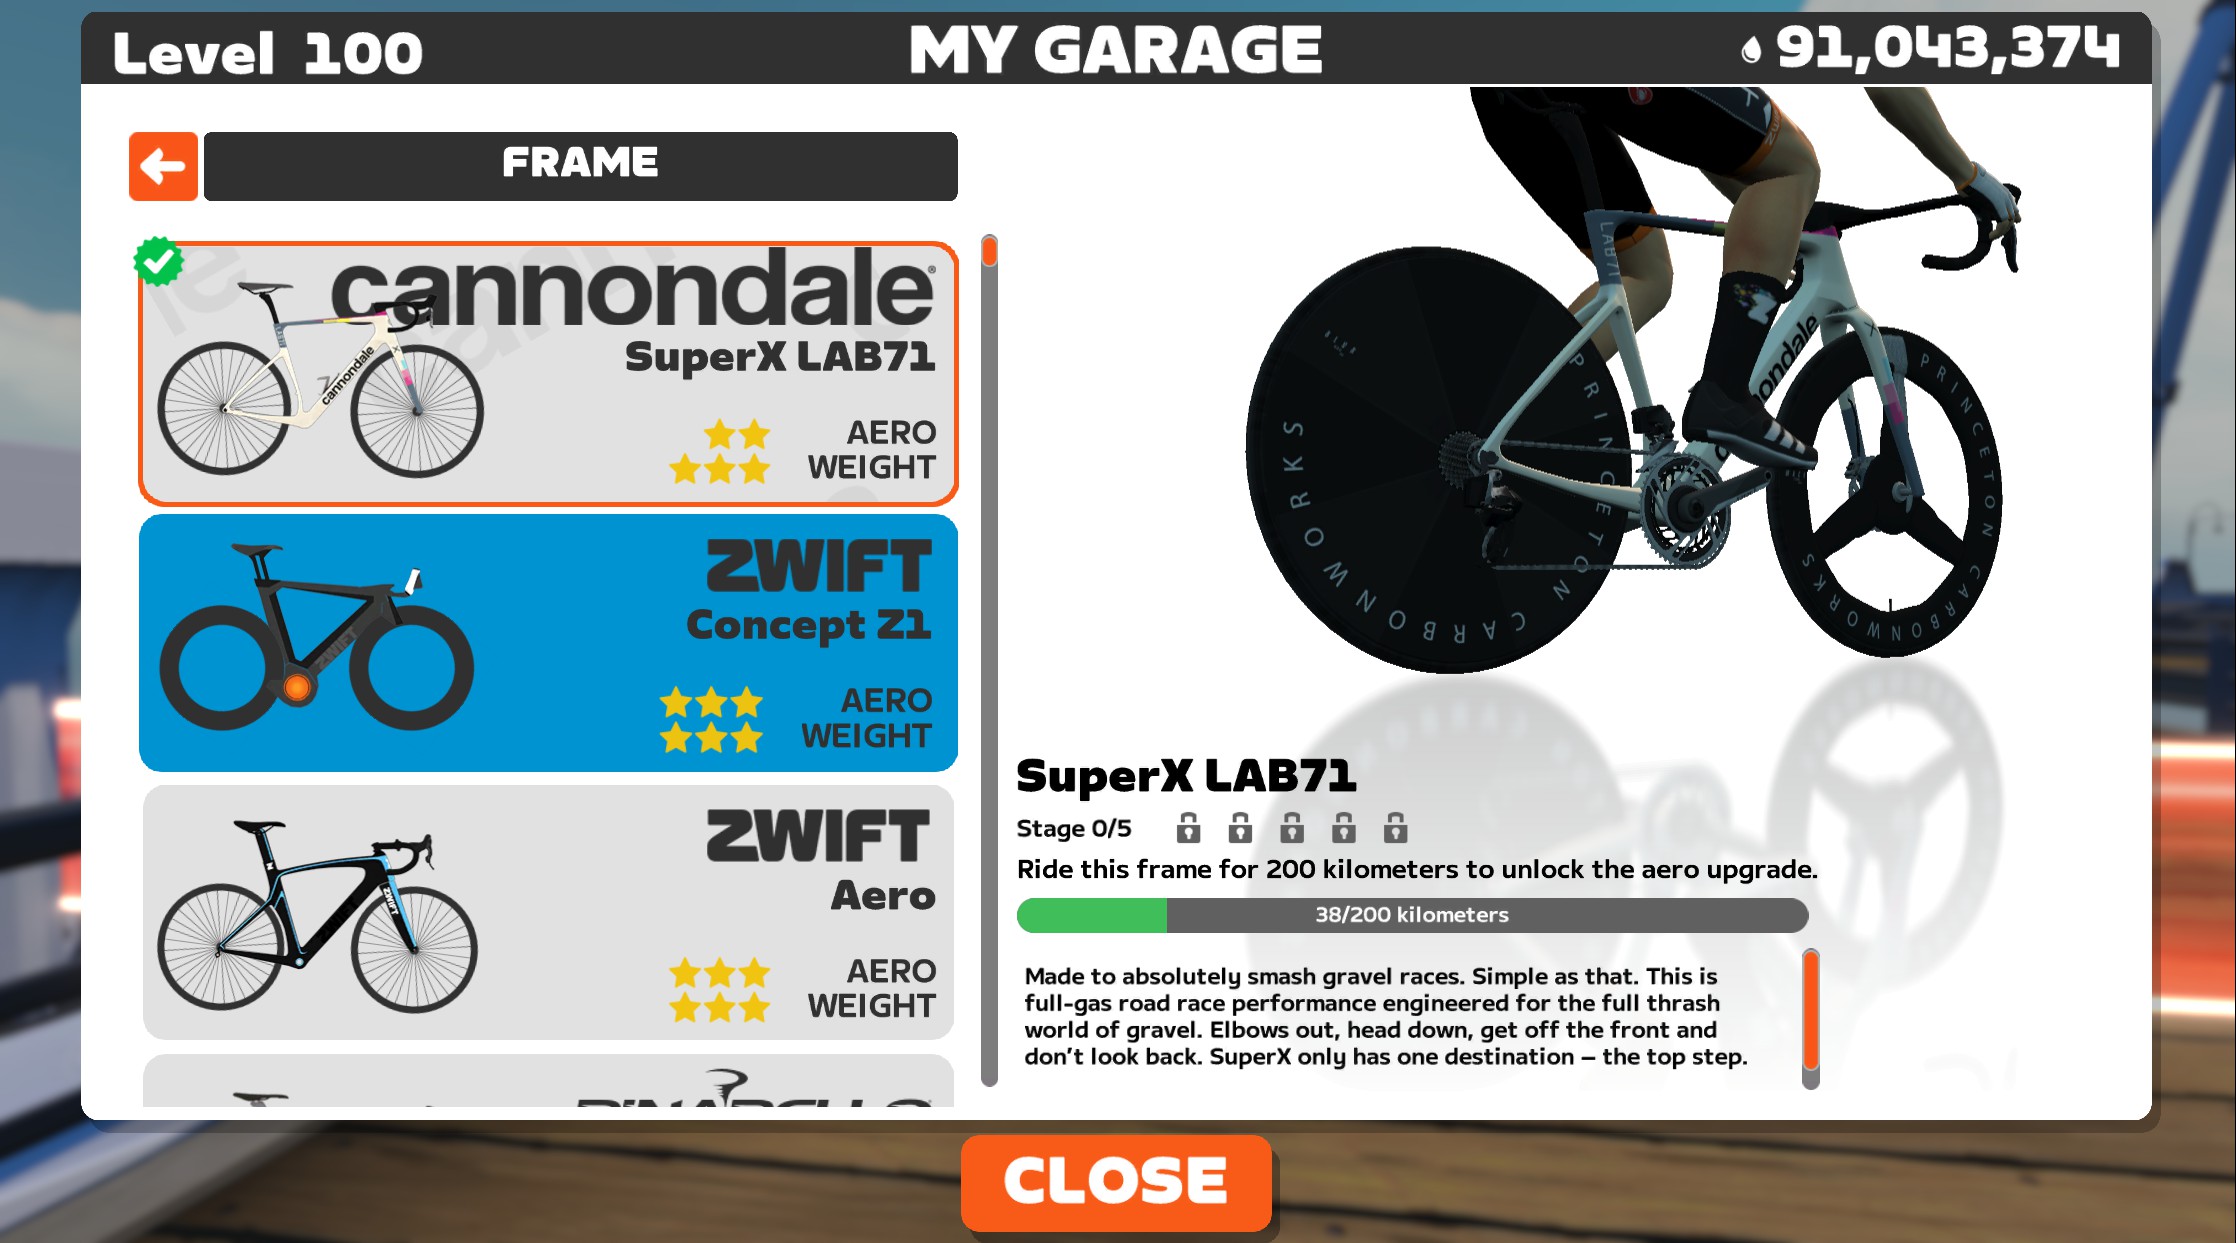
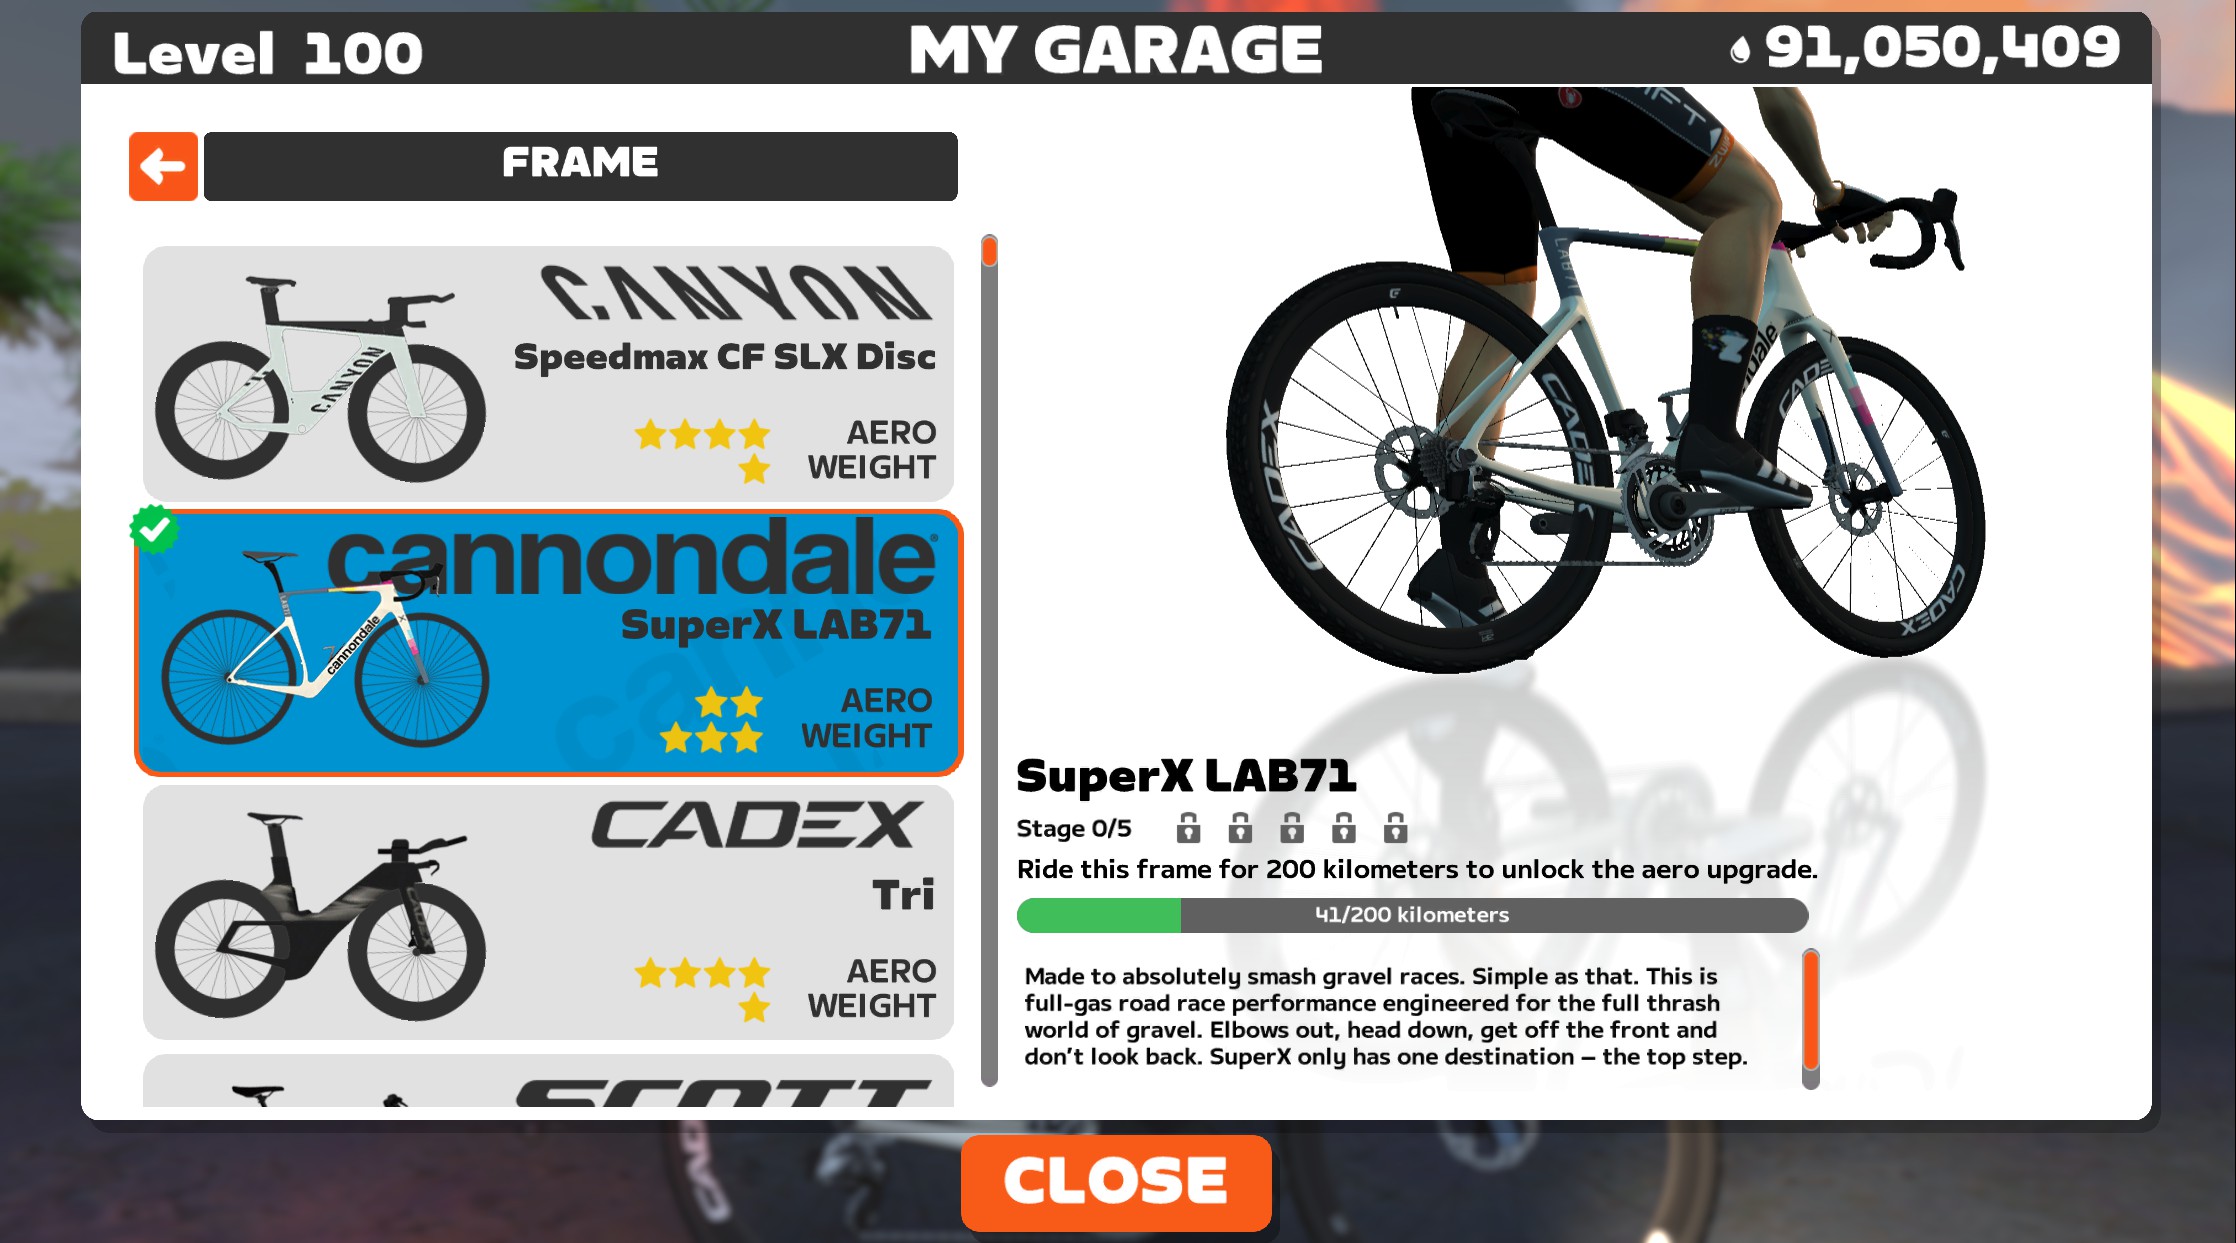
Fresh on the heels of last week’s “Four Temporary Zwift Hacks” post, here’s an ongoing hack you can use to level up your frames more quickly. This may be of particular interest to riders like myself who are looking to upgrade their gravel bikes as quickly as possible!
Zwift events can be set up to restrict the frames and/or wheelsets available for use. This restriction can be super narrow (forcing everyone to use the same frame and/or wheelset), or much looser (disallowing TT frames in road races is one common example).
When events are set up to force riders onto a particular frame, or disallow a particular type of frame, Zwifters can still select whatever frame they’d like from their garage, in order to accumulate upgrade progress toward their selected frame. This is by design – which I suppose means this isn’t exactly a “hack” – because Zwift rightly wants to let riders decide which frame will receive upgrade benefits from their efforts.
There are two types of events regularly seen on Zwift that enforce frame restrictions and thus lend themselves to this “upgrade hack.”
There is a small (and unknown) number of weekly ride events which are set up so everyone is placed on the same frame and/or wheelset. This custom event configuration was first seen in special Zwift events like the Cervélo Gravel Rush Series, where Zwift partners with a bike brand to promote specific bikes. And while it doesn’t happen often with Zwift events, it still does happen: one notable current series is Zwift Camp: Breakthrough, where all riders are placed on the Pinarello Dogma F 2024 with Princetone Wake 6560 Lava wheels.
Community organizers can ask Zwift’s events team to set up their event with a forced frame and/or wheelset as well. How many events are using this feature? It’s impossible to tell, because Zwift doesn’t use a searchable rule or tag for these events. You can get creative and search for particular text in the event descriptions, such as “Cadex”, but this is far from a perfect solution.
See all events containing “Cadex” on ZwiftHacks >
Events with a forced frame will show the frame’s name in the event details in the Companion app. (Forced wheelsets are not shown.) As far as I know, this is the only place that always shows forced frames. Apart from this, we’re left with whatever organizers put in the event title or description!
Events that force a particular frame and wheelset are the best for this hack, as they give Zwifters complete flexibility in selecting the frame they want to upgrade for credit. Simply choose the frame you want your efforts to go toward upgrading – before entering the event, or at anytime during the event – and your efforts will go toward that frame.
You can even stop mid-event to verify this. Here’s a screenshot in a test forced-frame event showing my Cannondale SuperX‘s upgrade progress before and after a couple of kilometers of riding. (Note that this event was forcing us to use the S-Works Tarmac SL8 with Princeton Blur wheels.)
One caveat here applies to events that force a particular frame, but don’t force a wheelset. In this case, if the event is forcing a road or TT frame, and you want to get upgrade credit for a non-road or TT frame (perhaps a gravel bike or MTB) or a Halo Bike, you’re going to end up rolling the slow “Zwift Classic” wheelset in the event, on whatever frame is forced.
This is because your non-road or Halo bike uses a wheelset that can’t be used on the frame that is being forced in the event. So when you choose that non-road or Halo bike, Zwift doesn’t know what wheelset to use for the event… so it uses the default “Zwift Classic” wheels.
Events set up with the “No TT Bikes” rule allow riders to use any type of frame they’d like in the event, except a TT bike. This is commonly seen in races, including all of Zwift’s ZRacing events, since riding a TT bike can give riders an unfair advantage in a breakaway and makes packs behave strangely due to the lack of drafting.
See a list of upcoming “No TT Bikes” events at ZwiftHacks >
These types of events (and there are hundreds of them every week) allow you to upgrade your TT frame while still participating in the event. Simply choose your TT frame before the event, or at any time during the event, and the minutes you accumulate in the ride will be credited toward upgrading that TT frame.
There’s a caveat to this, though – you will be placed on the default (and rather slow) Zwift Steel frame in the actual event. Here’s our test bot in a recent “No TT Bikes” event, with the Cadex Tri frame selected, but placed on the actual Zwift Steel frame in the event:
Given this caveat, you wouldn’t want to use this hack in a race. But if you’re looking to upgrade a TT frame while also participating in non-TT events – particularly non-competitive group rides – this is a good hack for you.
Because I want to upgrade my gravel bike quickly, I’ve had the ever-helpful James Bailey set up my Thursday 100km Pizza Burner ride to force participants onto the Canyon Aeroad 2024 frame with Princeton Carbonworks Wake 6560 White wheels starting this week.
I’ll be entering the event with my Cannondale SuperX Lab71 gravel bike selected, so the fast 100km of riding will go towards upgrading that bike.
Join me on Thursdays at 5:05am Pacific and upgrade whatever bike you’d like! >
Have you used this hack? Know of any forced frame events apart from those linked above? Got any questions or comments about it? Share below!

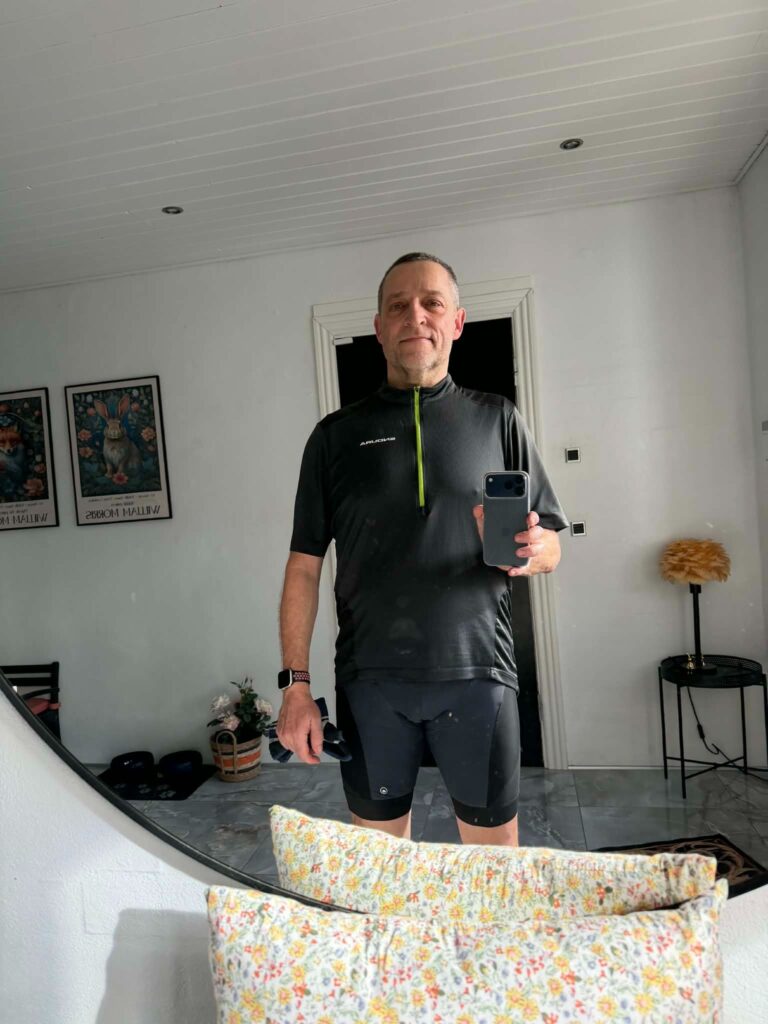
Torben Adolph has Tourette Syndrome. “It’s a nightmare for the family, for anyone around me. I can’t be social with friends. I can’t read the room. I misinterpret what people say. I get angry. Into conflicts – fighting and yelling. It’s uncontrollable.”
He’s had to live a solitary life.
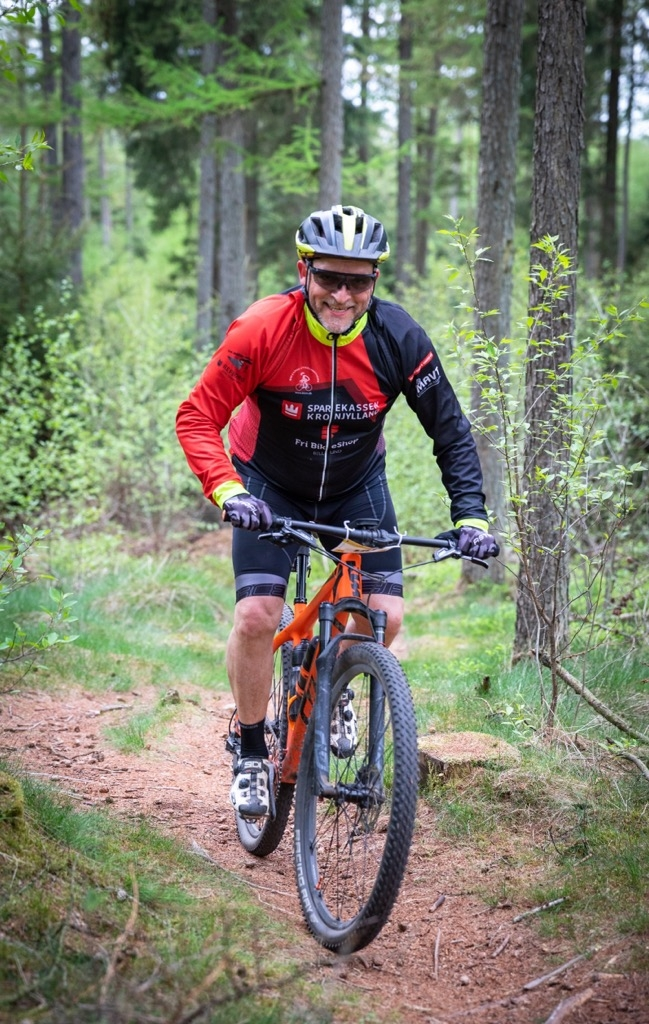
When he was younger, he turned to martial arts and boxing, as it was something he could do by himself. Torben has a wife and kids now who understand him, and he has a job working from home in IT.
For years, he controlled the Tourette’s with antidepressants. “The medication helped me through difficult periods, and I don’t regret using it when I needed it. But after many years I also felt something was missing.”
When his children had moved out, he struggled to control his weight, and he often felt strangely empty inside. In the last years he had also started to feel a real disgust toward his own body. “I knew something had to change.”
“I decided I wanted to try rebuilding my life without medication — if that was possible.”
“I started using ChatGPT during a period where I was trying to rebuild my health and create more structure in my life. I tend to approach problems analytically, so I used it almost like a sparring partner to discuss nutrition, training ideas, and general lifestyle changes.”
Torben had been on a fairly high dose of antidepressants continuously since 2006, so stopping was a long and careful process. He didn’t want to rush it.
During that period, he experienced two severe anxiety attacks on two consecutive nights — something he had never experienced before. “It was honestly pretty scary.”
“In those moments, ChatGPT unexpectedly became very helpful. It guided me through breathing exercises, suggested calming music, and even helped focus my mind by planning future training sessions.”
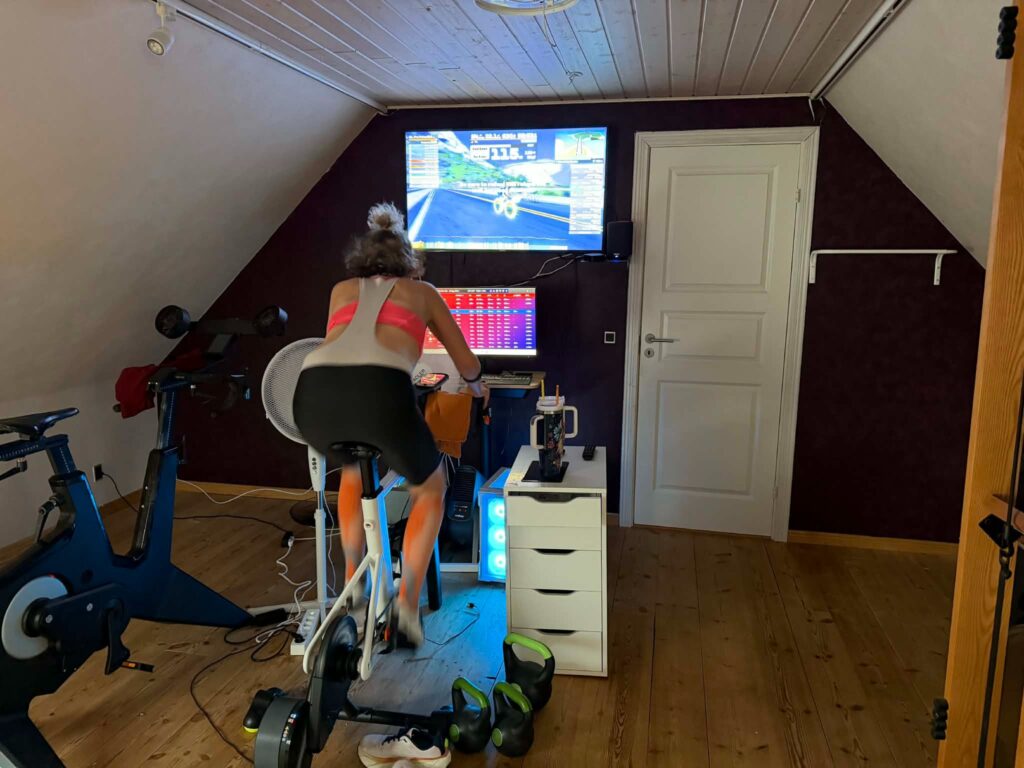
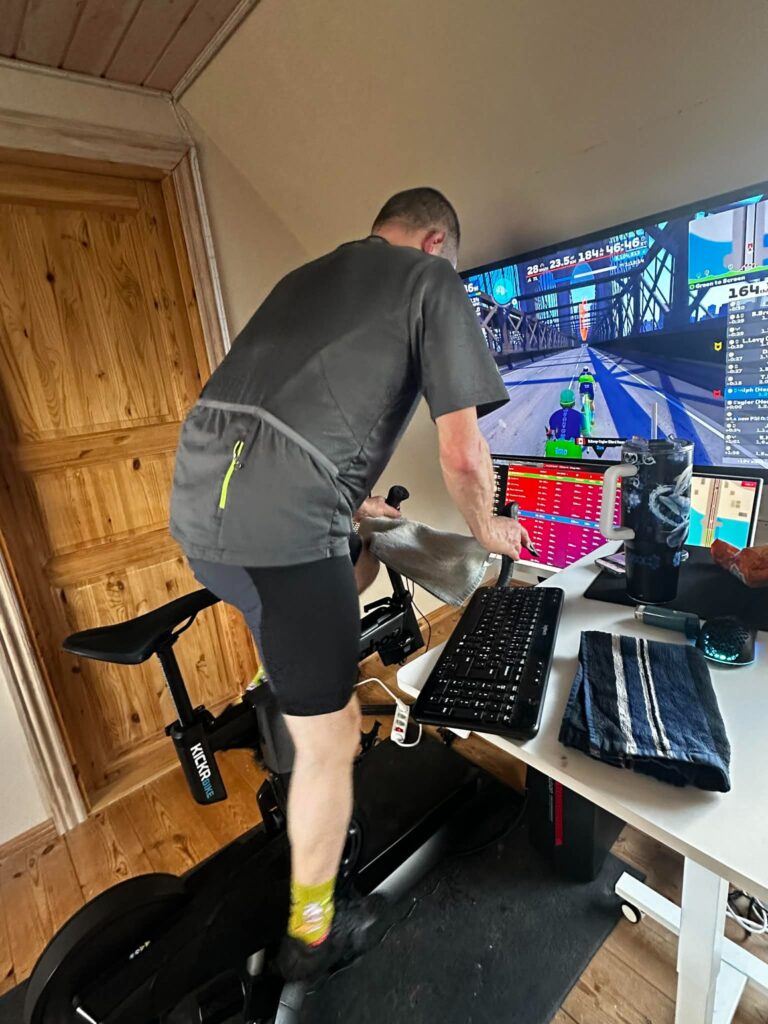
Around the same time, he started riding on Zwift, and the structure of training quickly became an important mental anchor for him.
He began asking ChatGPT questions about how to approach indoor cycling more seriously. ChatGPT helped him understand the concepts and plan things, and Zwift gave him the environment, motivation, and community.
“In a way, ChatGPT helped me think about the process — but Zwift is what changed my life.”
Today it has been a little over one year since he stopped antidepressants completely.
“But the real trigger for Zwift was actually my wife.”
She had started doing structured workouts on Zwift and was getting seriously strong. At the time Torben was riding on Rouvy, mostly just cruising around enjoying the scenery and pretending he was training.
Then they raced each other on Zwift.
His wife absolutely destroyed him.
“My wife beat the living hell out of me in a Zwift race. That was the moment I stopped cruising around on Rouvy and started training for real. That moment flipped a switch in my head.”
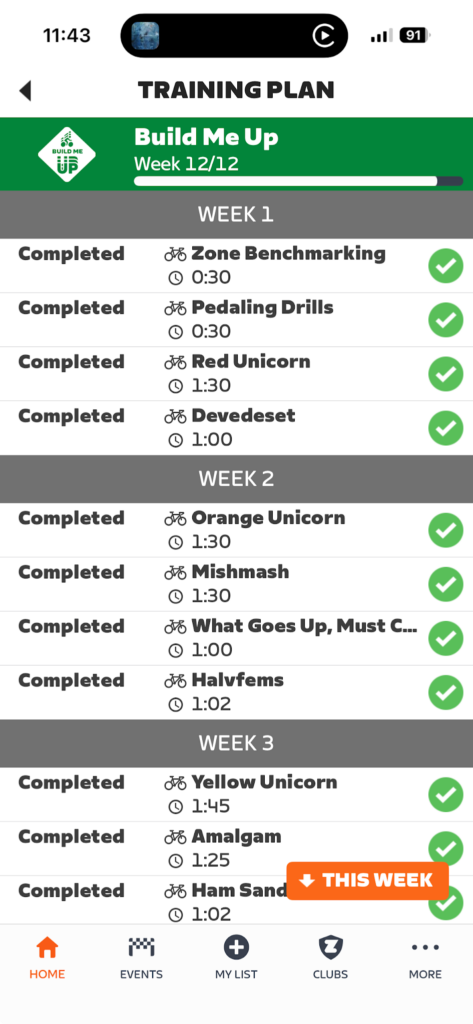
That’s where structured training became incredibly important. Especially the harder Zwift workouts. “Programs like Build Me Up gave me something I hadn’t felt for a long time: real drive and purpose. Hard training became my outlet.”
“I live with Tourette’s and a mind that rarely slows down. The intense workouts gave that energy somewhere constructive to go. Instead of restless thoughts, I could push everything into the pedals.”
Over time the structure, discipline, and physical exhaustion started giving him the balance he had been looking for.
“For years I tried to quiet my head with pills. Turns out I just needed to smash the pedals instead.”
Training was a big part of the transformation for Torben, but it wasn’t the only change.
At the start of 2025 he stopped drinking alcohol completely. “I was never a heavy drinker, but I could certainly enjoy it when the occasion was there. Since then, I’ve only had a small glass of wine on Christmas Eve 2025. Otherwise, I drink alcohol-free beer today.”
He also cut out chips, candy, and most of the snacks that used to sneak into his everyday life.
“Part of the reason I was able to make those changes is actually related to my Tourette’s and some ADHD traits. My brain tends to work in a very black-and-white way — it’s often all or nothing.”
So instead of trying to moderate things, he simply removed them completely. “Once my brain accepts a rule like that, it actually becomes easier to stick to. Combined with structured training on Zwift, those decisions helped me regain control over my body and my health.”
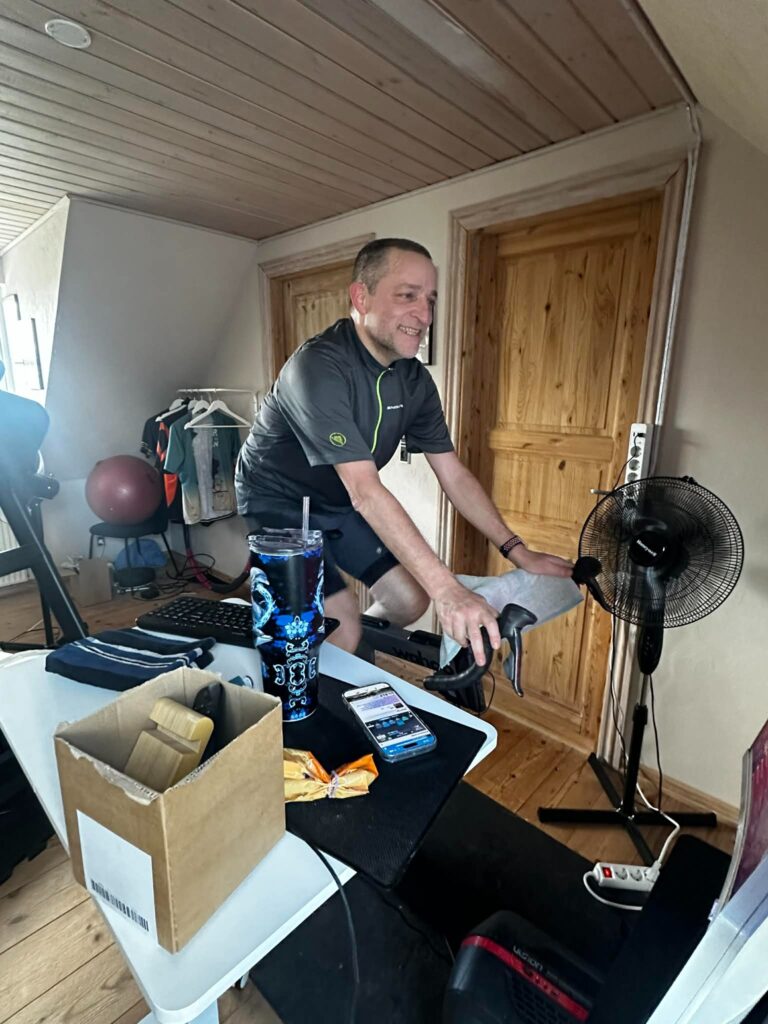

“One of the biggest changes for me hasn’t just been the weight loss or the fitness — it’s the community. For many years, my life felt very isolated. Today, that’s completely different.”
Torben rides with The Herd, which has become a home base for him on Zwift. “I’m part of their Ladder and TTT race groups, and the teamwork there is something I truly enjoy.”
Recently he became a Red Beacon (aka a sweeper) on the Sunday Endurance Ride, a two-hour ride that currently starts at 12:55 CET. His job is to help keep the group together and make sure nobody gets dropped.
Helping others finish the ride has become something he really enjoys.
“Honestly, I look forward to that ride every week like a little kid waiting for Christmas morning.”
“Going from years where I mostly tried to manage things on my own to suddenly being part of a global cycling community has been one of the most unexpected and meaningful parts of the journey.”
Ride on, Torben! Thanks for being an active part of the community!
You can follow him on Zwift at: Torben Adolph
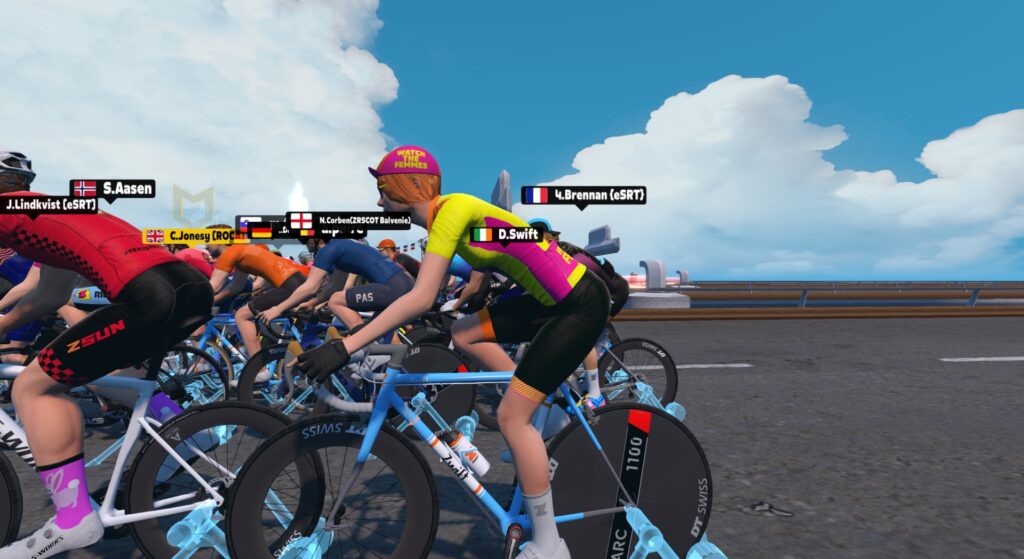
 Race Was Won: Banjo Cafe Blowups")
The final round of Zwift Racing League 2025/26 is underway, and I’m still racing with the Coalition Delusion squad I joined back in Round 1. While I had anticipated coming into this round in good shape, it’s turned into a rough start.
After a lovely trip to Mallorca for Zwift Community Live, which included three days of epic training rides, my wife and I headed to Germany. We found lots of amazing castles and cathedrals, but she also found a chest cold, which she eventually (generously) passed on to me.
Returning to the US, I agreed to ride the first race of round 4, because we were low on riders and I can typically hold my own in a flat TTT. Sadly, this first outing for our team was not pretty. While we normally excel at the TTT, we started with only five riders due to availability challenges, and one was quickly dropped. While I felt like I held my own and hit my targets on pulls, we finished 6th overall. (Notably, our final time was only 32 seconds slower than the winning squad. That’s a close set of results!)
I had been taking it easy on the bike, trying to follow the conventional wisdom of, “If your sickness is from the neck down, don’t push the bike training.” And I definitely was on the mend. But as I would soon find out, “On the mend” and “Back to full fitness” are two very different things…
Our race was a points race on 6 laps of Watopia’s The Classic, which meant six KOM efforts and six sprints. I was just hoping to stay with the front group for the duration of the race, but planned not to push hard for points, unless I felt unexpectedly good near the end.
As it turns out, I managed to both exceed and fall short of my expectations. Luckily, this is a team event!
Everyone took it easy on the lead-in to Jarvis, and most chose to hold onto the Feather powerup they’d been given in the pens. We hit the bottom of our first Jarvis KOM as an intact group of 57 starters… but that wouldn’t last long.
A few seconds before the uphill wooden bridge, the feathers began flying, and efforts ramped up. I used my feather as well, and hammered my way up and over. I had no intention of finishing near the front – I just wanted to stay well-positioned so I wouldn’t get dropped.
Descending the other side, I tried to take it easy and catch my breath while also moving up a bit in the group. (As an “overmuscled cyclist”, this is typically pretty easy to do.) Aero powerups started flying rather early, but I held onto mine until I was 8 seconds from the sprint start line. (Not that I timed it that precisely, I just know the timing based on watching my recording, which is below.)
With the help of the Aero powerup I quickly moved toward the front of the pack, then into the wind. I hadn’t expected this, but I was on the front with less than 100 meters to go, so I kept hammering to hold my position… and it worked! 1st place. 57 FAL points!
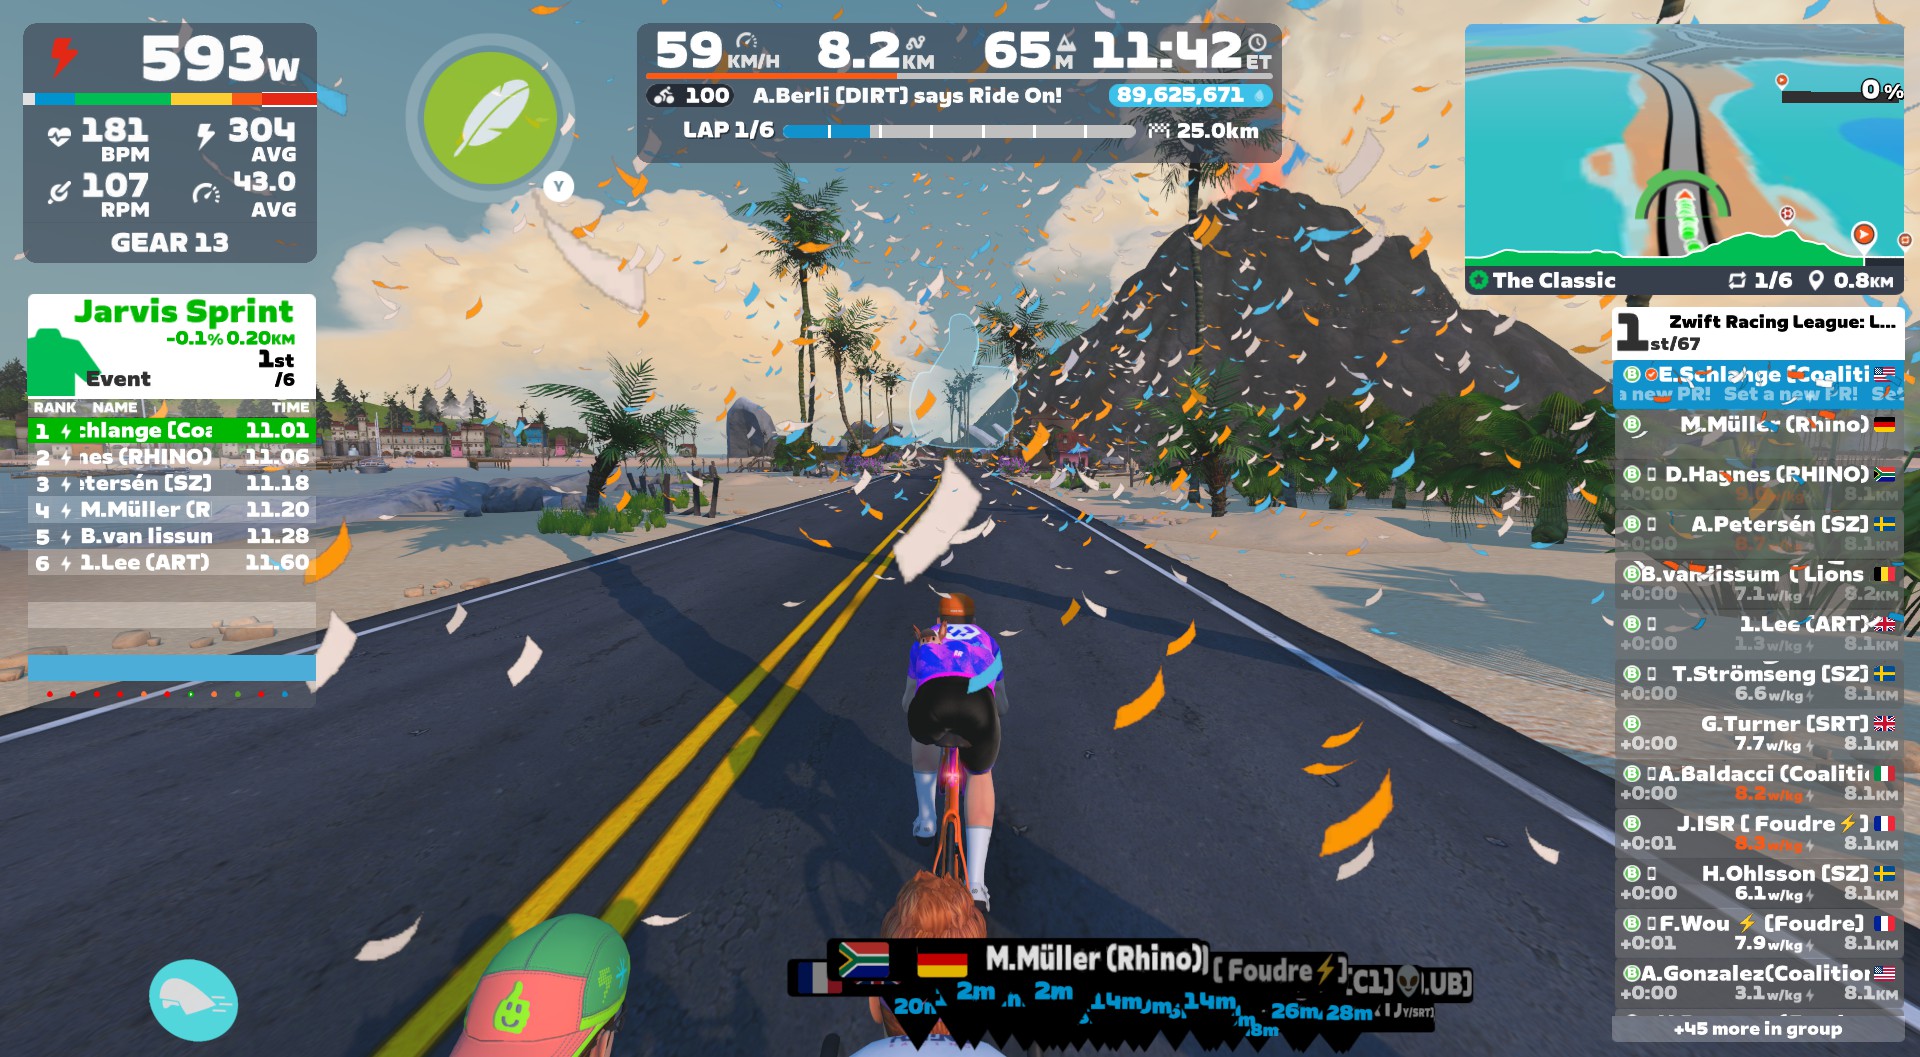
I definitely felt that effort, though. And my heart rate spiked to 186 (my max is 189)! So I decided to try to recover on the next lap, simply staying in touch with the front group without chasing points. To try to follow my original plan, after already mucking it up.
The starting group of 57 had been reduced to 30 after the first lap. Lap 2 went as planned – I “sagged” the climb, starting near the front and finishing near the back to minimize effort. I did the same thing on the sprint.
My heart rate was clearly elevated above normal, and the legs didn’t feel great. But heading into lap 3, I was feeling like I could at least hang with the front group, perhaps until the final big push on the last lap’s KOM.
But I soon learned that was pure hubris. On the final ramp of lap 3’s KOM, riders pushed the effort once again – and my legs said, “Nope.” I was dropped.
The front group was now 22 riders, and I was in the first chasing group of four. I had one teammate behind me, and (happily) three still in the front group.
I figured I’d be able to hang with my group of four (places 23-26) until the end of the race, and that we’d probably catch a dropped rider or five as racers blew up on the back half of the race.
Little did I know, I was the one who would blow up. Again and again.
My group stuck together for lap 4, and caught two riders near the start of lap 5. Unfortunately, the group pushed harder than my will, and I was dropped again before passing the Banjo Cafe. A group of 11 behind caught me soon afterward.
Now I was fighting for, at best, 25th place.
But the prospect of 25th rode away from me on the final KOM as I was dropped by most of the group. My body just didn’t have it.
I finished 34th.
Teammate Andrew finished on the podium in 3rd while Andrea, William, and Mike all finished in the front group (7th, 9th, and 11th, respectively). I was 34th, and Neale was 38th.
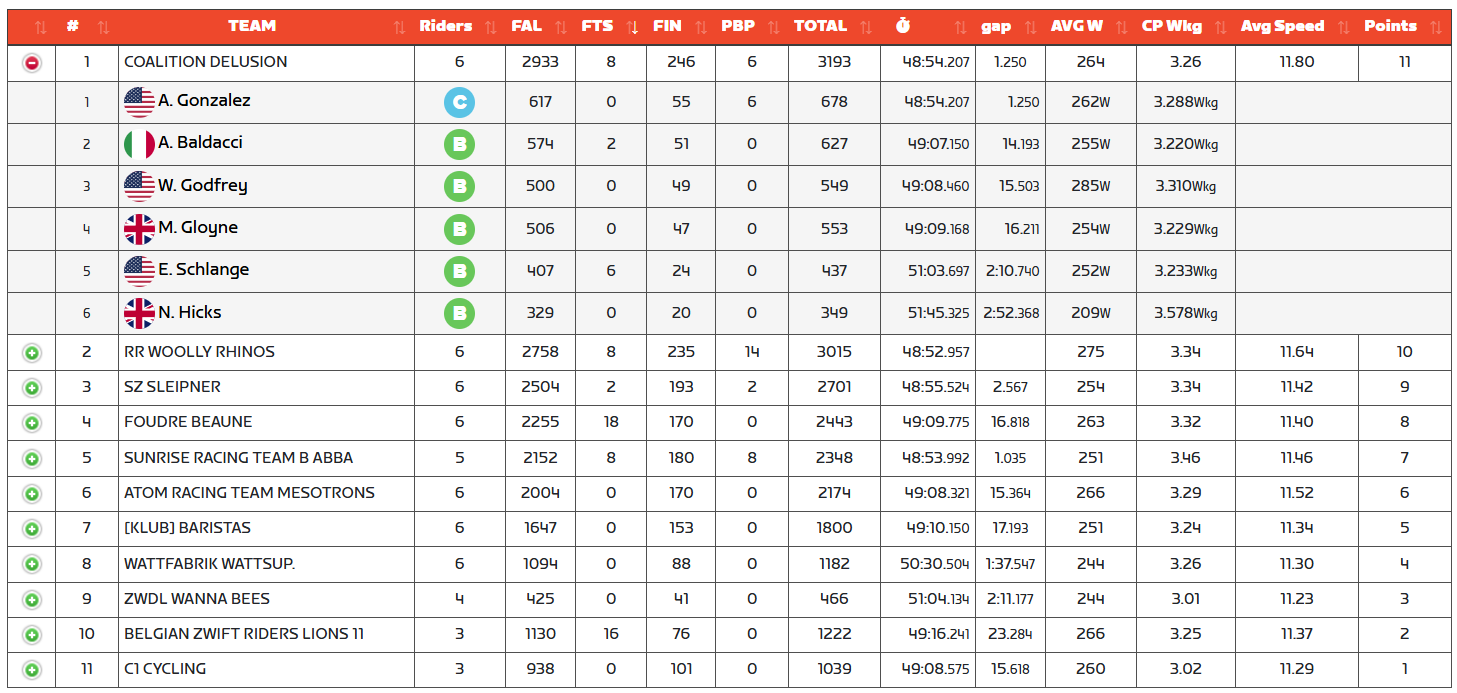
Looking at the WTRL results soon afterward, we saw we were leading with only FIN points calculated. Could we possibly win the overall?
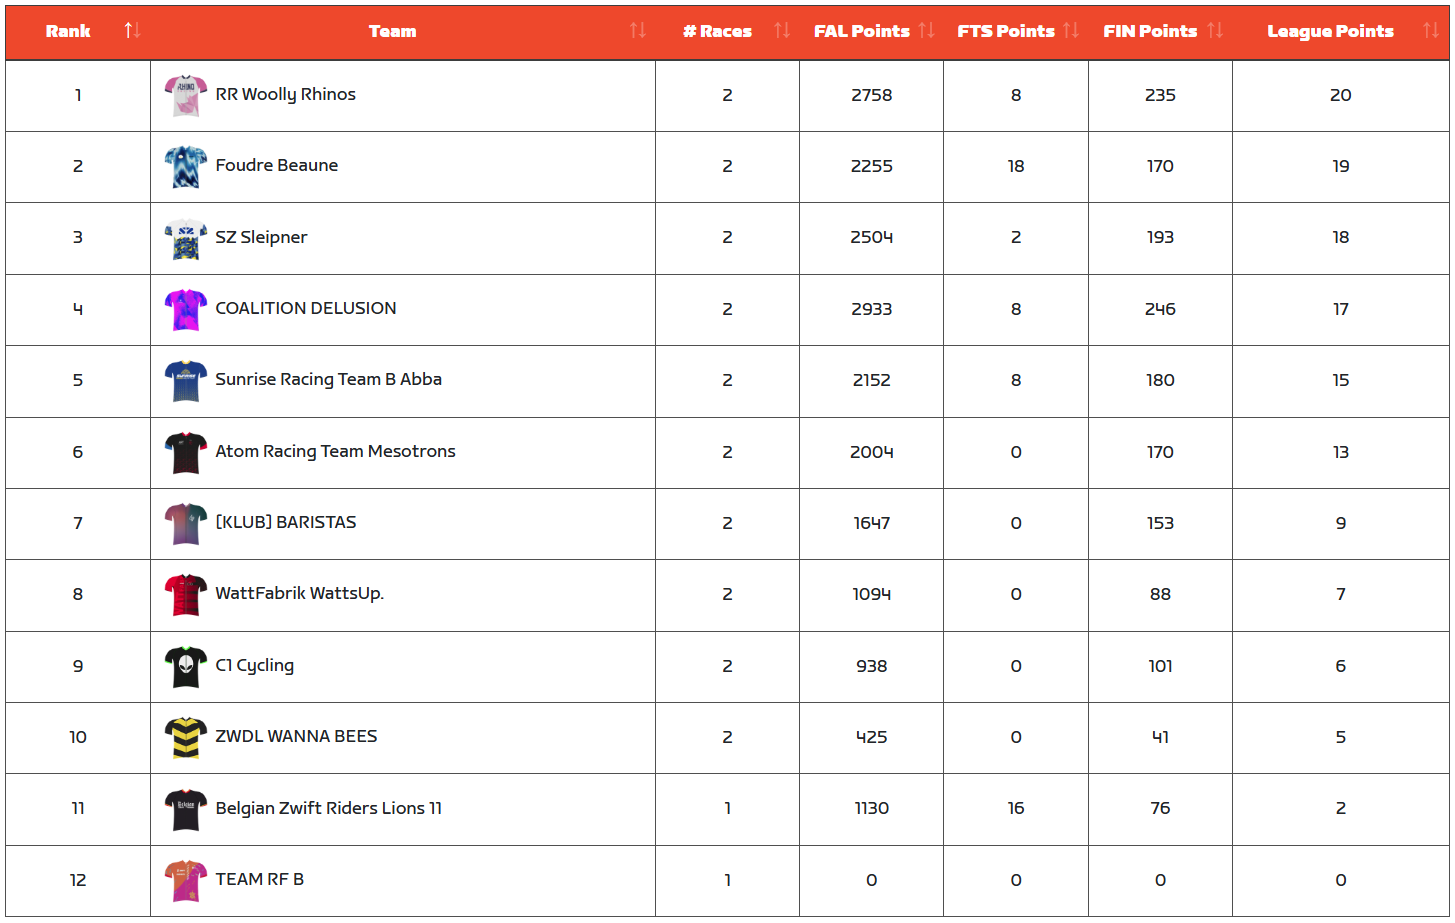
It turns out we could! We took the overall win, putting us in 4th overall:
My personal takeaways? Just a reminder that I’m not invincible, I suppose. I didn’t feel like I was overextending myself on that first lap, but XERT says I had a near breakthrough, so I think it’s safe to say I pushed too hard, and paid for it later:
Did I maximize my points by doing what I did? Perhaps. If I’d sat in on that sprint, I probably would have survived longer in the front group, thus grabbing more FAL points up the road. But it’s hard to say if I would have earned more points overall by taking the conservative approach.
Riding while sick/recovering has been an interesting experience these past two weeks.
When I start a hard effort, I feel pretty “normal”, apart from my heart rate being elevated by 5-10 bpm. But the most surprising thing is how I seem to hit a wall unexpectedly early.
It’s no fun when my body doesn’t perform as expected. But what else can I do, apart from taking it easy, then pushing it a bit every few days to test how I’m feeling?
So that’s my current plan. Hopefully my heart rate and performance normalize soon.
How did your race in Jarvis go? Share below!

This weekend’s picks include a kickoff ride for the ever-popular Tour de 4, three long rides of varying intensity, and your last chance to enjoy Zwift’s Big Spin for 2026! See all the details below…

✅ Good Cause ✅ Popular ✅ Kit/Cap Unlock
Monthly Zwift rides for the Tour de 4 ride with Sir Chris Hoy begin this weekend, and the kickoff event already has over 500 riders signed up, including several special guests! The ride is open-paced and 45 minutes long, on Watopia’s Tempus Fugit.
Saturday, April 18 starting @ 9am UTC/5am ET/2am PT
Sign up at zwift.com/events/tag/tourde4
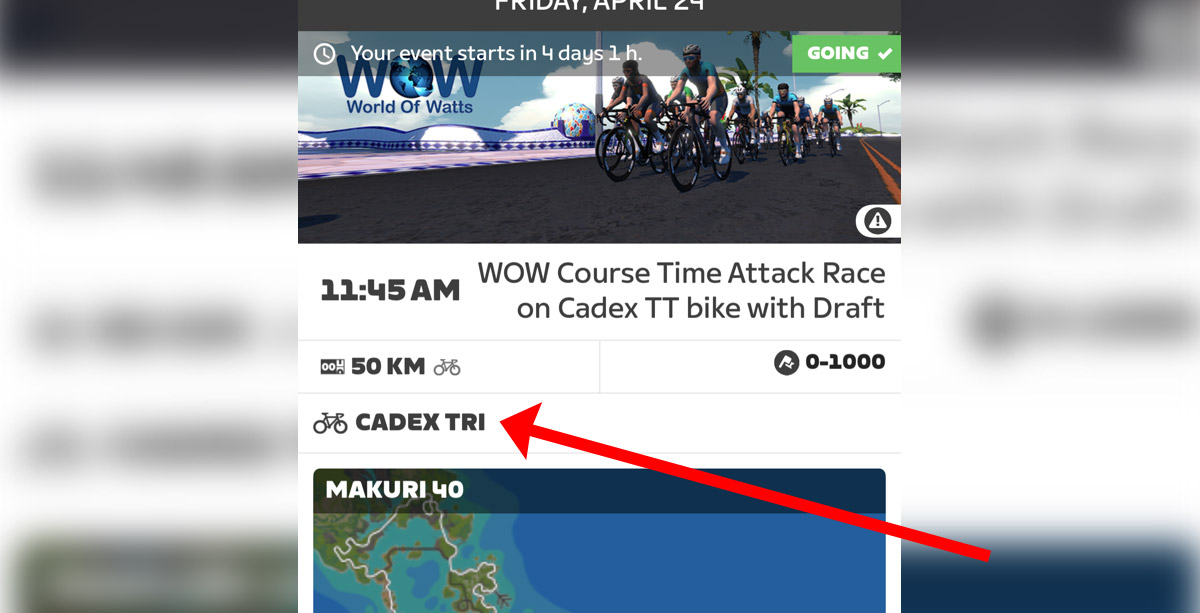
✅ Fast Miles ✅ Upgrade Hack ✅ Unique Event
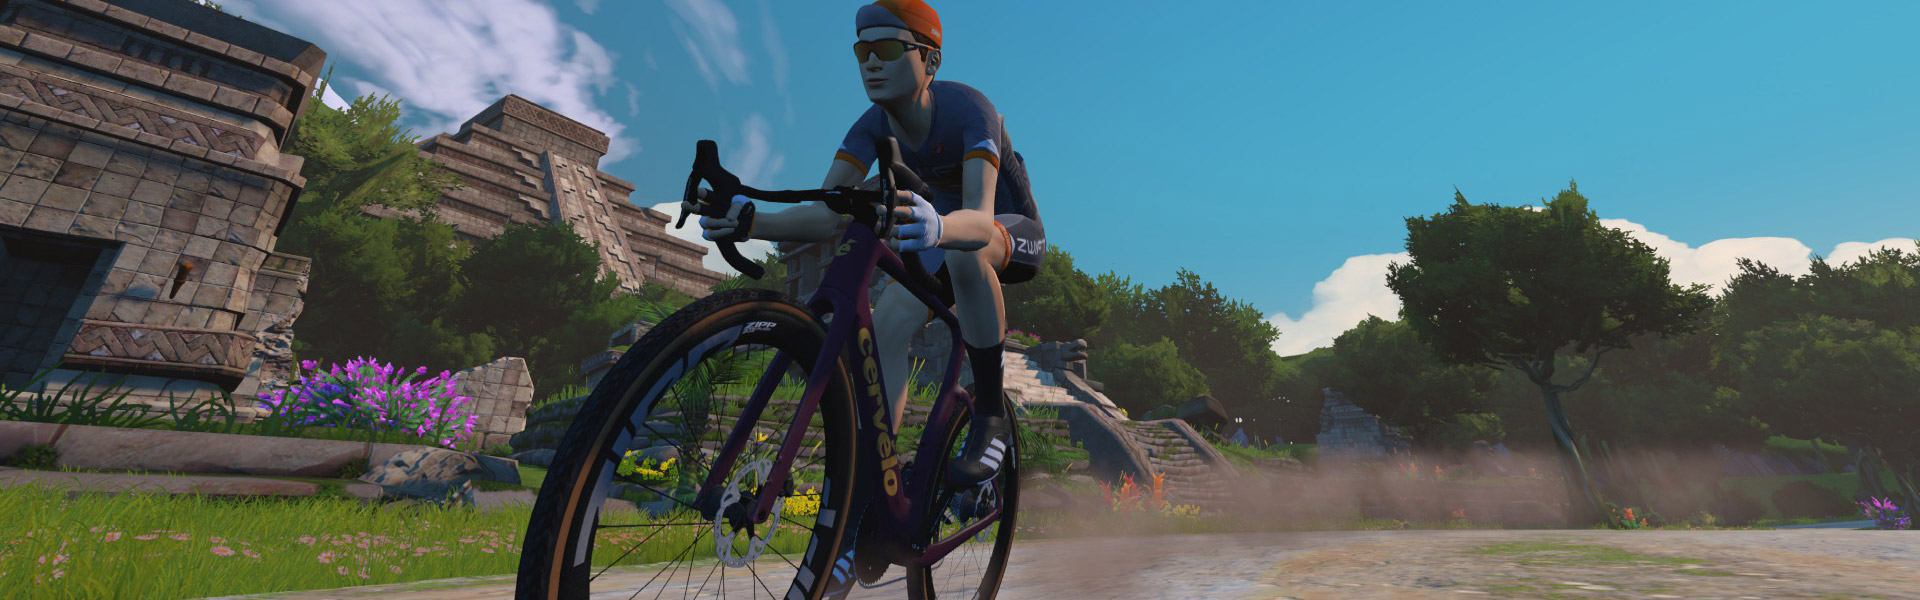
Want to accumulate lots of miles quickly? Join this newish and popular group ride, which puts everyone on the fastest TT bike in game (Cadex Tri) with drafting enabled. It’s 100km, but it’ll be a fast 100km!
Riders are on Triple Flat Loops this week. Four different pace groups are offered, released so the faster groups catch the slower groups over time.
Bike upgrading hack: on rides with forced bikes, whatever bike you’re on when you join the event is the bike that accumulates the distance/elevation/time. So, for example, you could accumulate lots of distance toward a road bike upgrade, while riding the Cadex Tri in this event.
Sunday, April 19 @ 12:45pm UTC/8:45am ET/5:45am PT
Sign up at zwift.com/events/view/5550734
✅ Endurance Challenge ✅ Legacy Leaders
It’s been a while since we’ve featured this event, but it’s always well-attended and well-led at a pace that helps everyone stay together. Experienced leaders and sweepers do their best to keep the groups together so everyone can work together to knock out a long ride!
This week’s ride is offered at a D pace of 1.7-2.2 W/kg, and is on Watopia’s Southern Coast Cruise for a total length of 103km and ~587 meters of climbing.
Sunday, April 19 @ 7:05am UTC/3:05am ET/12:05am PT
Sign up at zwift.com/events/view/5550635
✅ Endurance Challenge ✅ Pace Options
Here’s a popular, spicy long 100km ride with two pace options: B group at 3-3.3 W/kg, or C at 2.5-2.9 W/kg. The B group will be on Three Little Sisters while the C group will be on Watts of the Wild. Both groups have optional efforts on some of the intermediate segments if you’d like.
Choose your desired pace, listen to the ride leader, and get that endurance work done! Both categories have a leader (yellow beacon) and sweepers.
Saturday, April 18 at 8:05pm UTC/4:05pm ET/1:05pm PT
Sign up at zwift.com/events/view/5549563
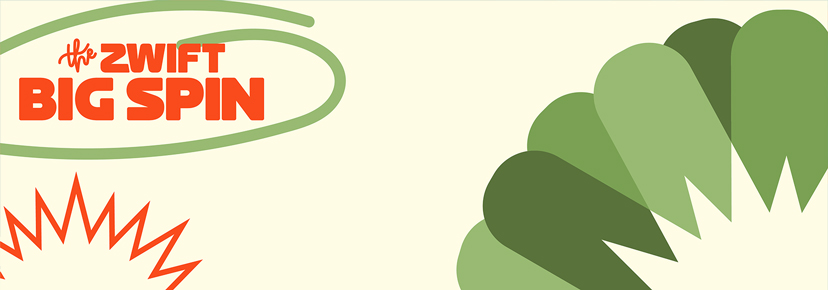
✅ Popular ✅ Prizes ✅ Dino Kit
Zwift’s annual Big Spin series winds down this weekend with make-up stages scheduled hourly. Still trying to unlock the cowboy hat or MX Riders? Here’s your last chance!
Learn all about the Zwift Big Spin >
These are group rides, but you can treat them like a race, a recovery ride, or anything in between.
Hourly events all weekend
Sign up at zwift.com/events/tag/the-zwift-big-spin
We choose each weekend’s Notable Events based on a variety of factors including:
In the end, we want to call attention to events that are extra-special and therefore extra-appealing to Zwifters. If you think your event qualifies, comment below with a link/details and we may just include it in an upcoming post!

See zwiftinsider.com/tiny for current Tiny Race details.