“Temples and Towers” Route Details (Makuri Islands)

When it was introduced in Zwift’s November 2021 update, Temples and Towers was the biggest Makuri Islands route, both in elevation and distance. It no longer holds that title, but it still takes you up all three KOMs: Rooftop, Castle, and Temple.
When it was introduced in Zwift’s November 2021 update, Temples and Towers was the biggest Makuri Islands route, both in elevation and distance. It no longer holds that title, but it still takes you up all three KOMs: Rooftop, Castle, and Temple.
Route Basics
Length: 32.6 km (20.3 miles)
Elevation: 319m (1,047‘)
+0.7km (0.4 miles) lead-in with 1m (3‘) elevation
Map: Makuri Islands
ZIMetrics
Rating: 17.0/100 🛈
Time Estimates 🛈
lead-in + first lap
4 W/kg: 49 minutes
3 W/kg: 55 minutes
2 W/kg: 68 minutes
Start & Finish
Begins and ends at a virtual arch north of the Neo Arcade
Format: Loop
Ride Achievement Badge: 650 XP
Run Achievement Badge: none
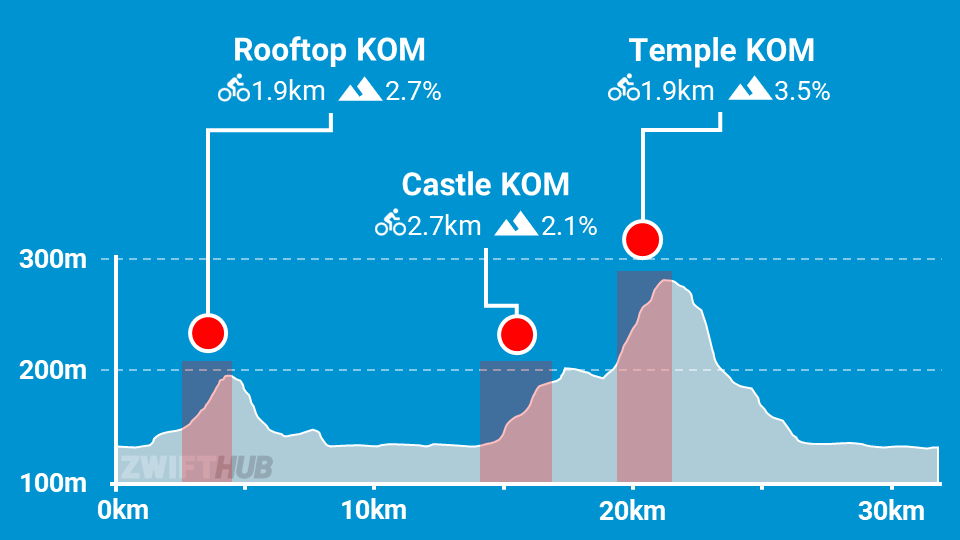
Leaderboard Segments |
| Rooftop KOM (1.9km, 2.7%) |
| Castle KOM (2.5km, 2.1%) |
| Temple KOM (2.5km, 3.6%) |
Strava Segments
Route Description
Route profile by ZwiftHub – the place to plan and track your route achievements!
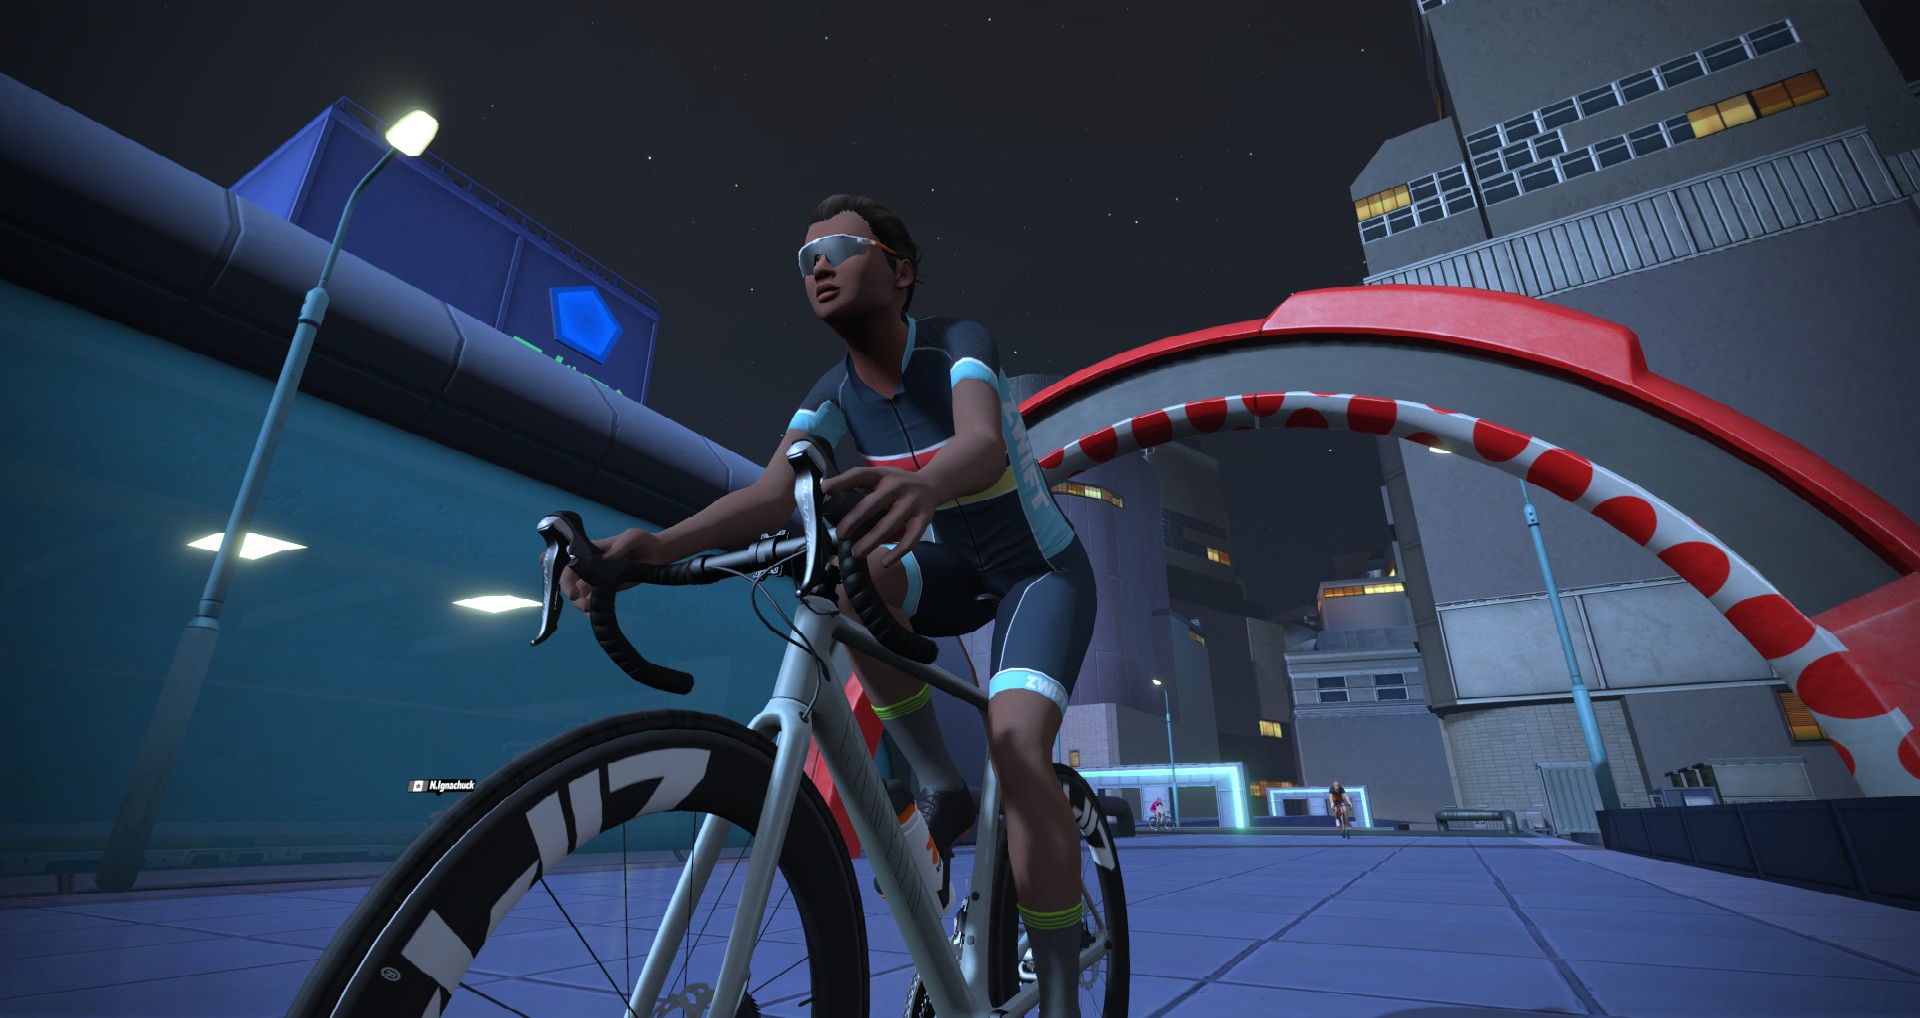
The route begins near the Neo Arcade in Neokyo, where we head beneath The Overpass and up onto the monorail track so we can begin the twisty Rooftop KOM. This is a technical KOM with constantly-changing road pitches and scenery – getting your best time here requires heads-up riding and of course, hard effort!
Once you’re through the Rooftop KOM banner it’s time for a twisty descent, then you’ll make your way out of Neokyo. Past the Clifftop Shrine and into Yumezi Tunnel, you may just find yourself blinking in the sunlight of Yumezi as you exit the other side.
Enjoy the flats of the farmlands for a bit, then you’ll climb up the Castle KOM before heading across to start the dirt Temple KOM from the Fishing Village side.
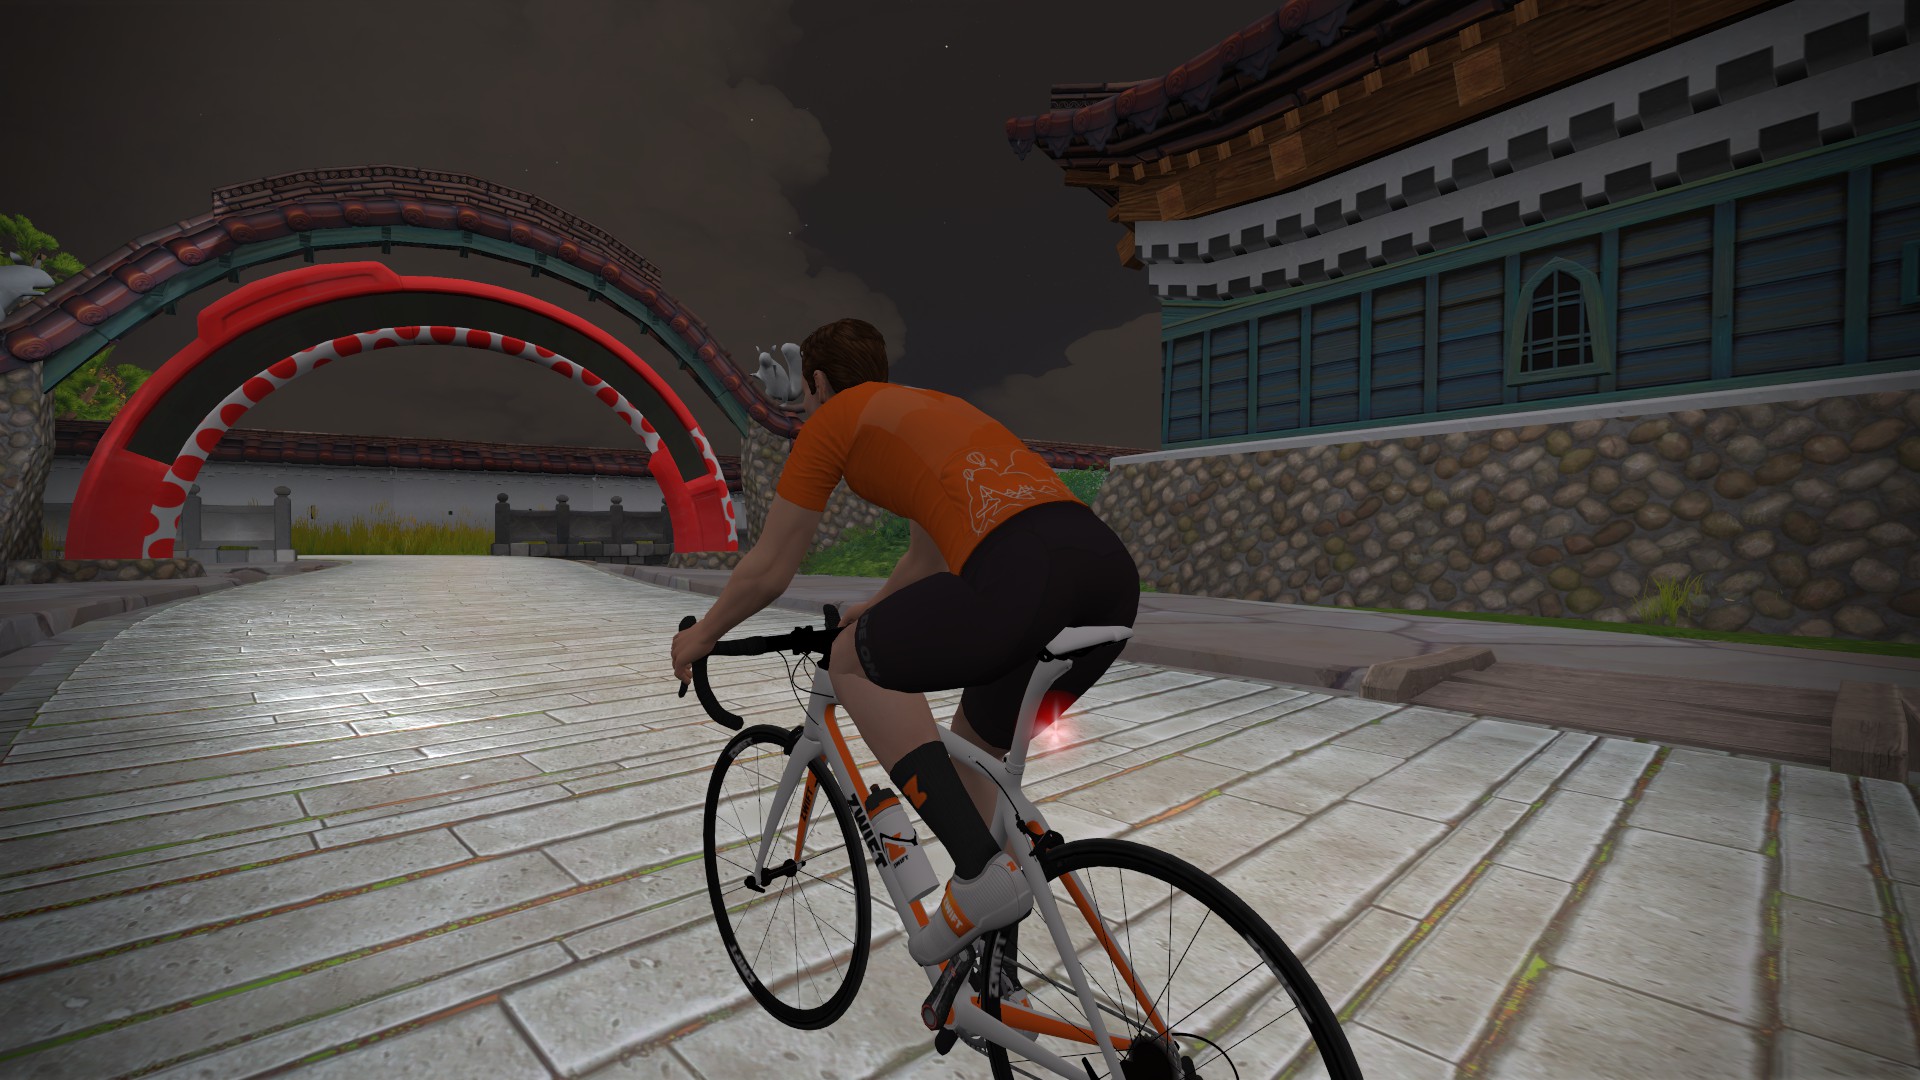
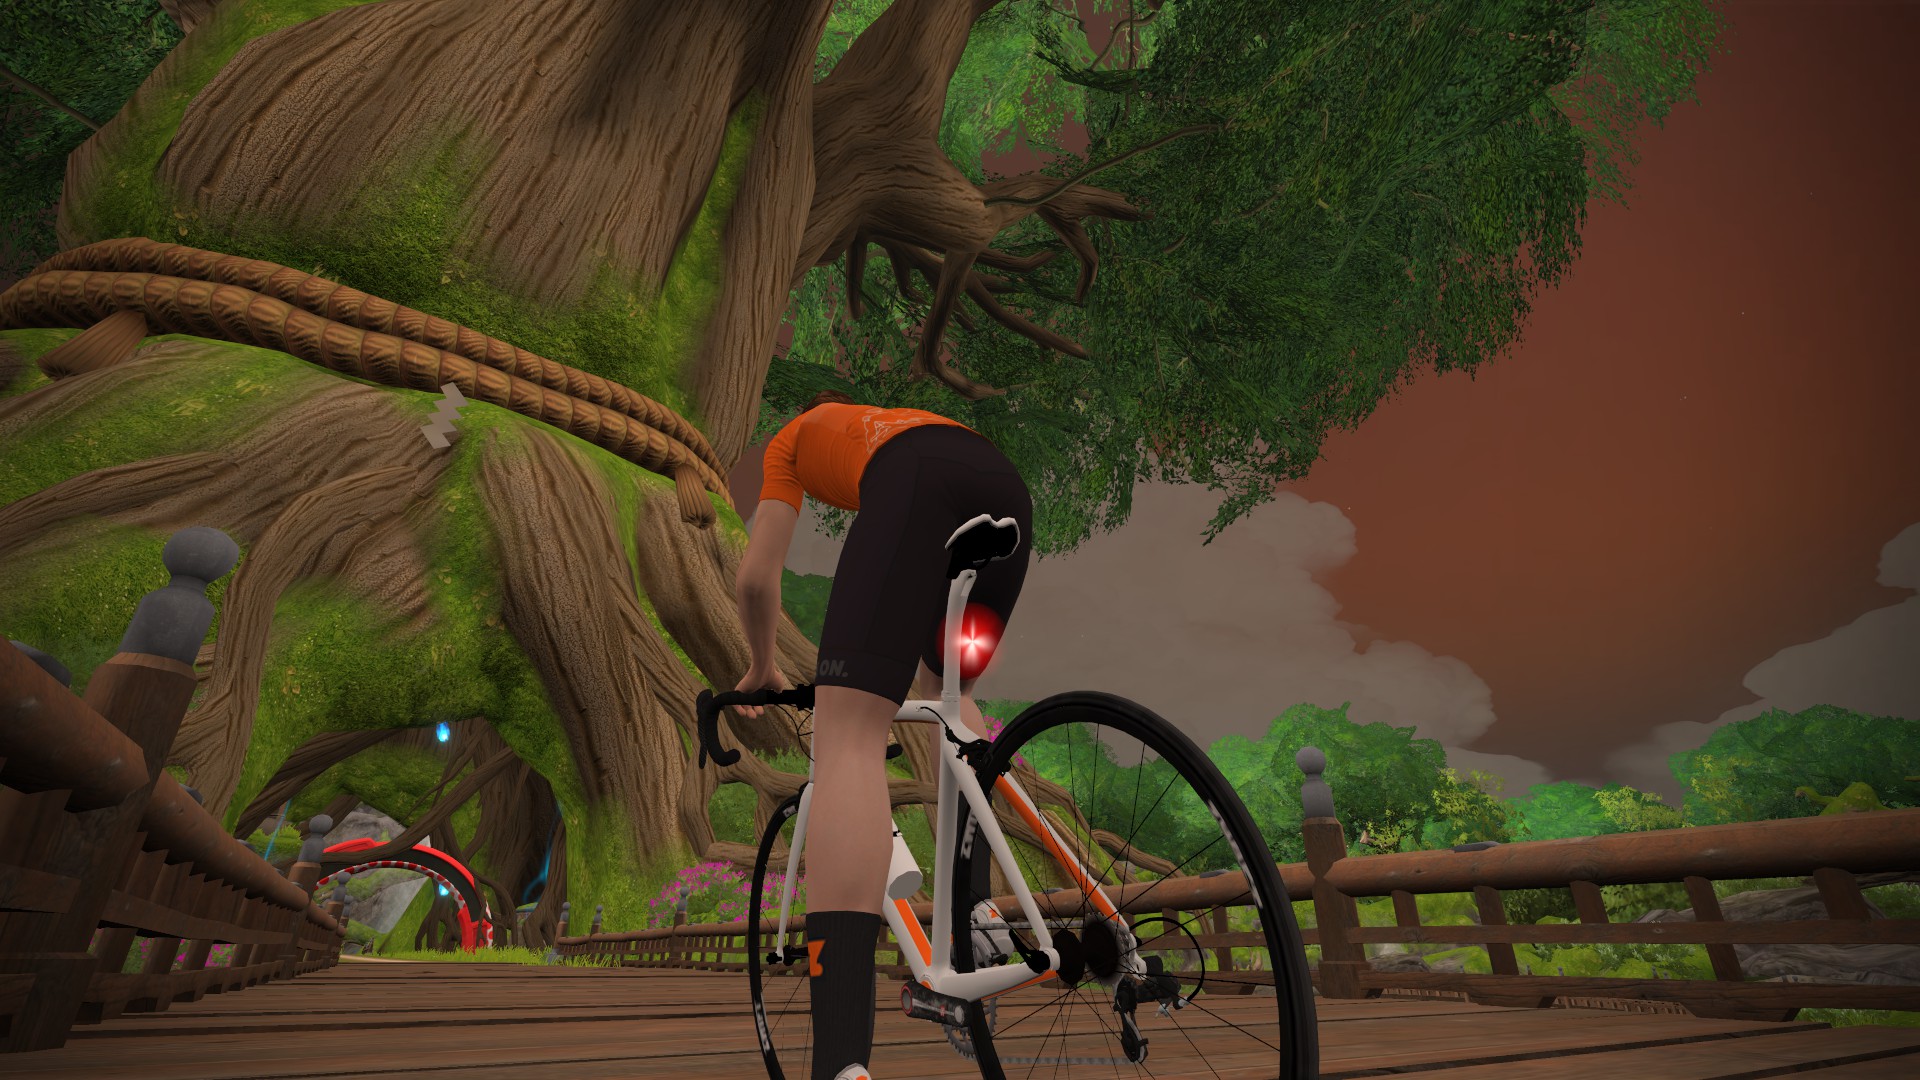
Once you’re through the Temple KOM banner in the Giant Mystical Tree it’s a dirt descent back to the Castle area and onto the road you came in on. Through Yumezi tunnel into Neokyo’s permanight, and your virtual finish line is just up the road!