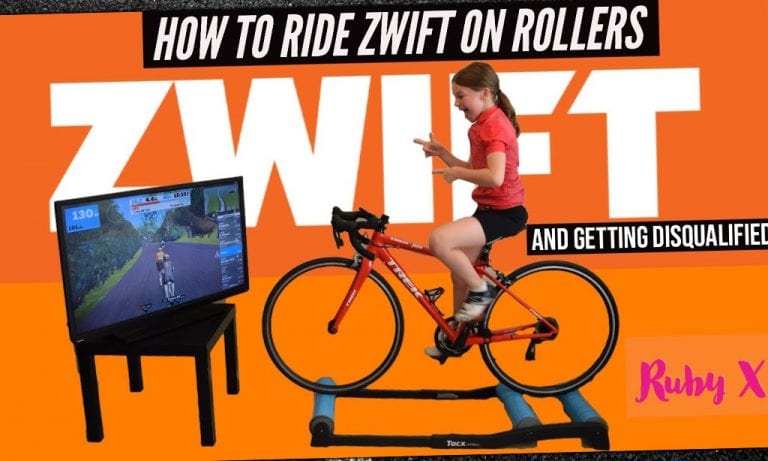
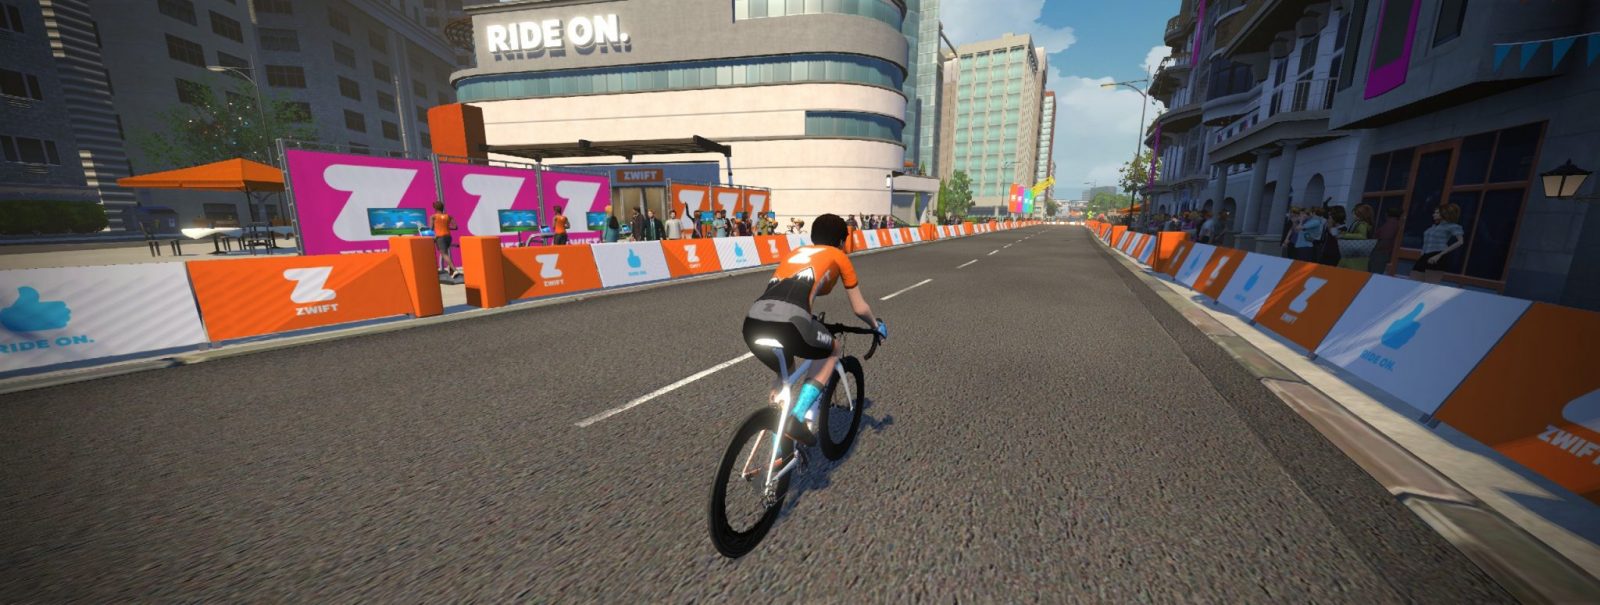
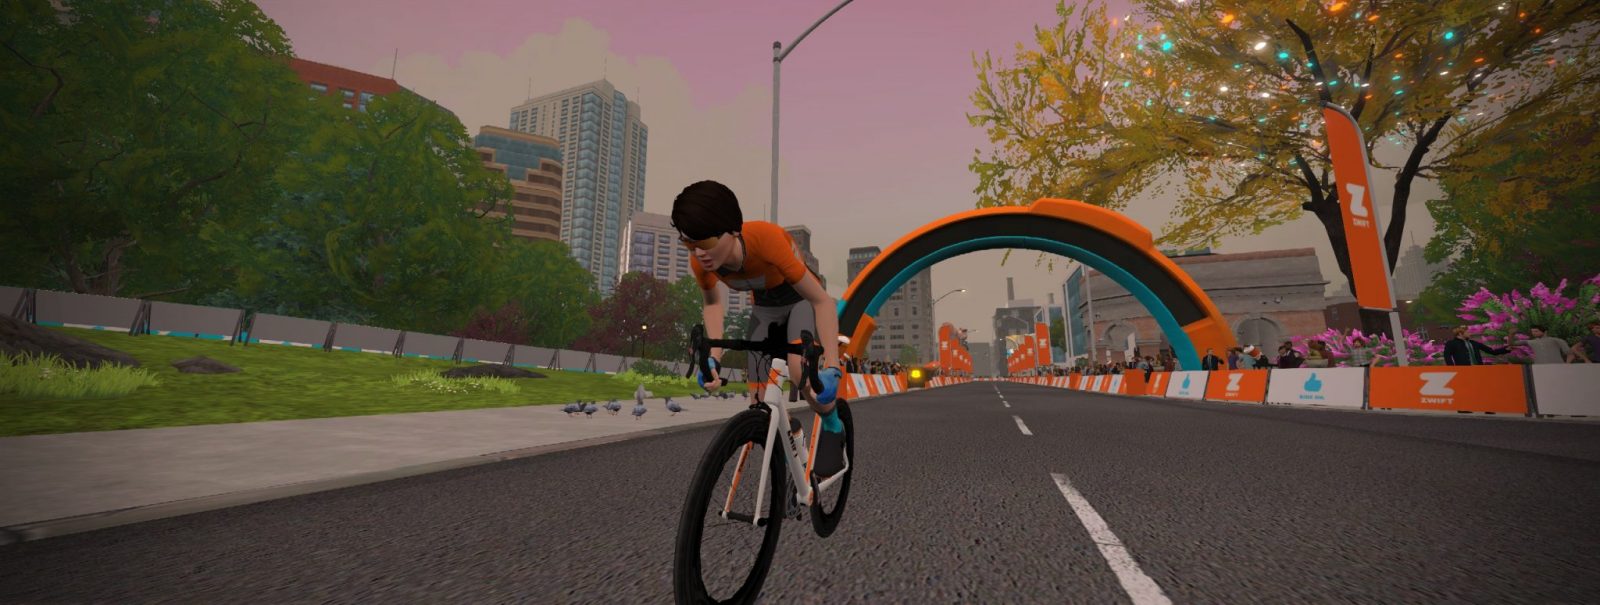
Riding rollers can be challenging, and getting started on Zwift can be tricky too. In this video, 11-year-old Ruby Isaac shows us all how it’s done with a lesson in roller Zwifting.
Ruby explains the basics of Zwift and rides on the rollers like a pro. She also sets us straight on why it’s not a good idea to weight dope. Finally, she gives a demonstration of what she calls “getting disqualified.” You may know it best as “getting the cone of shame.”
How to ride Zwift on rollers… and getting disqualified
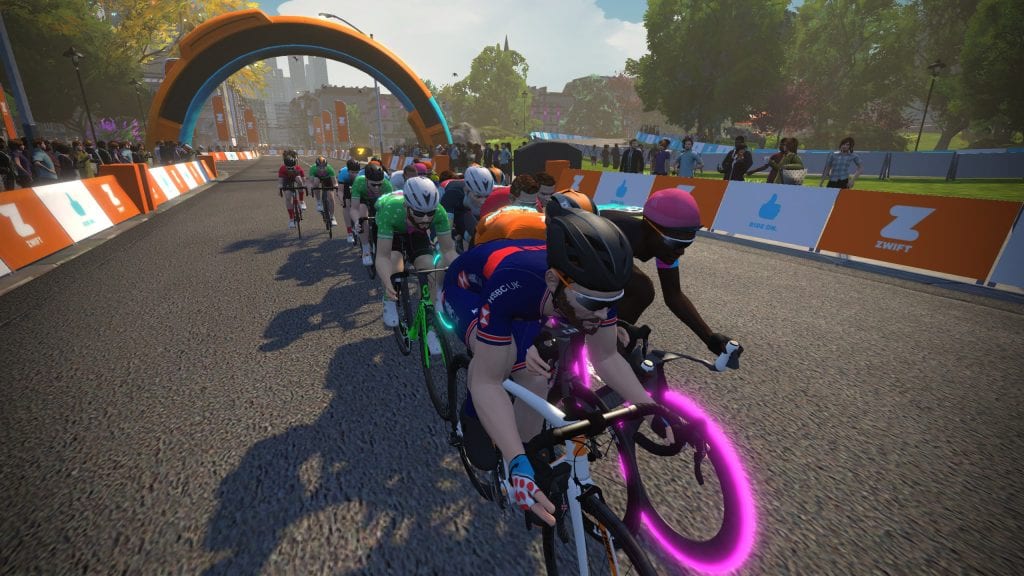
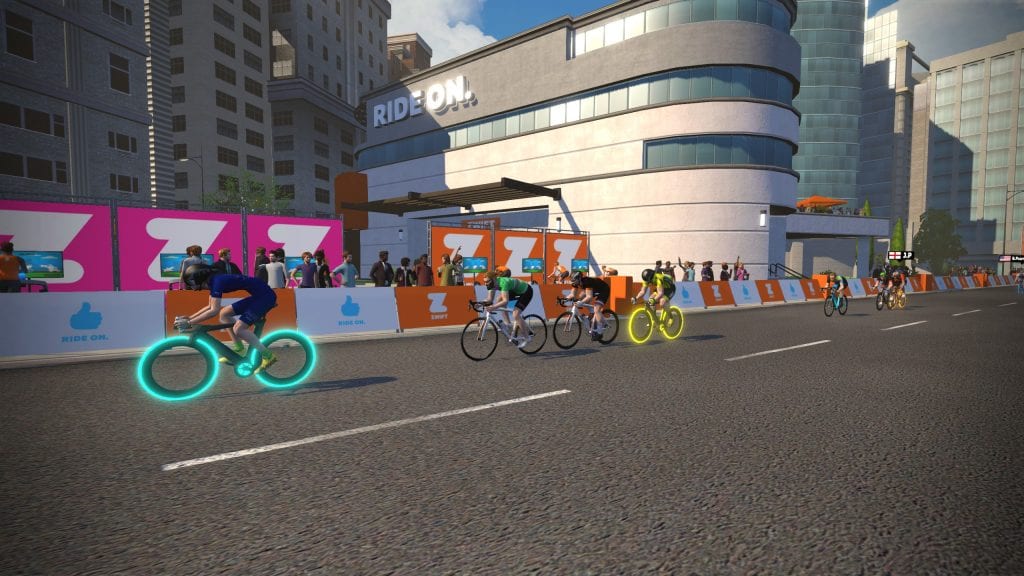
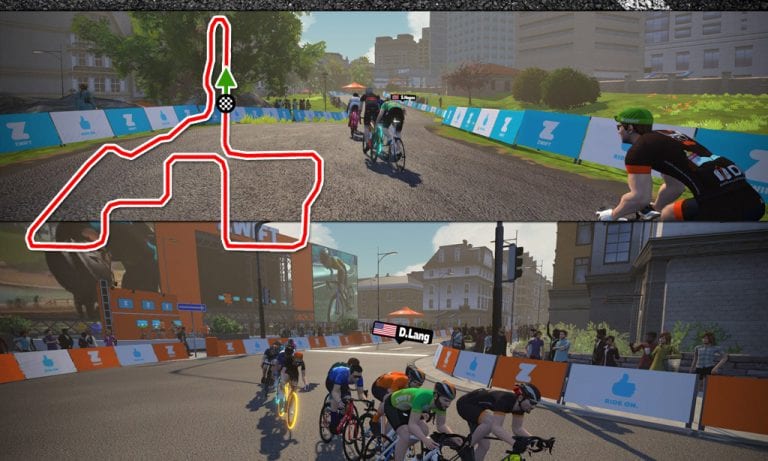
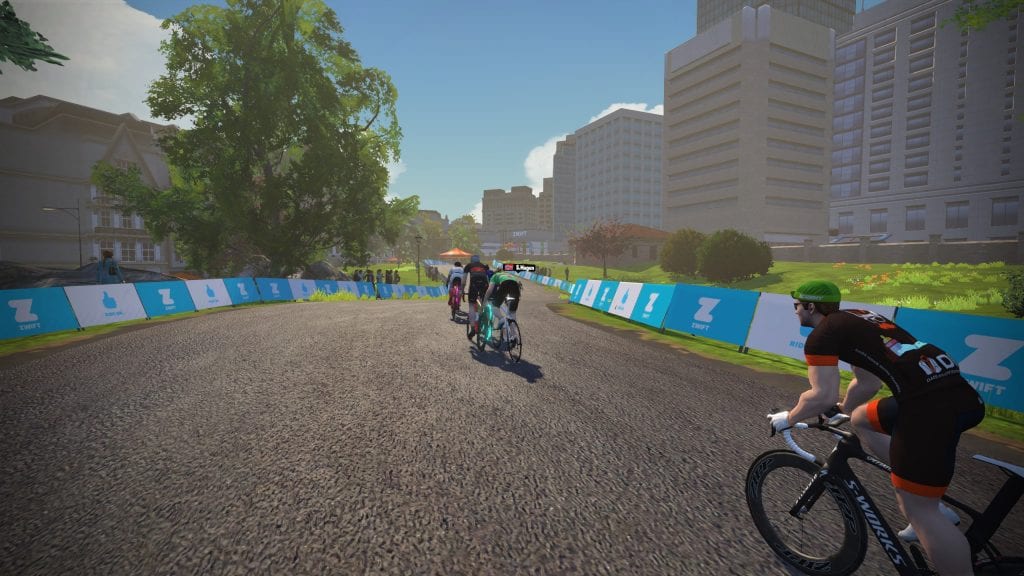
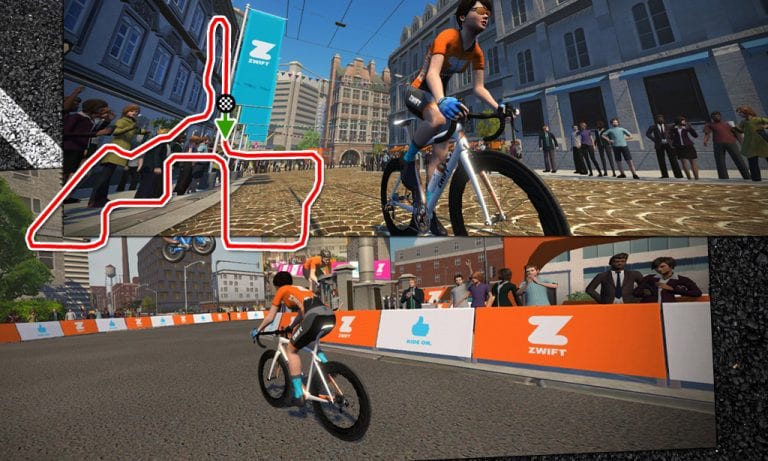
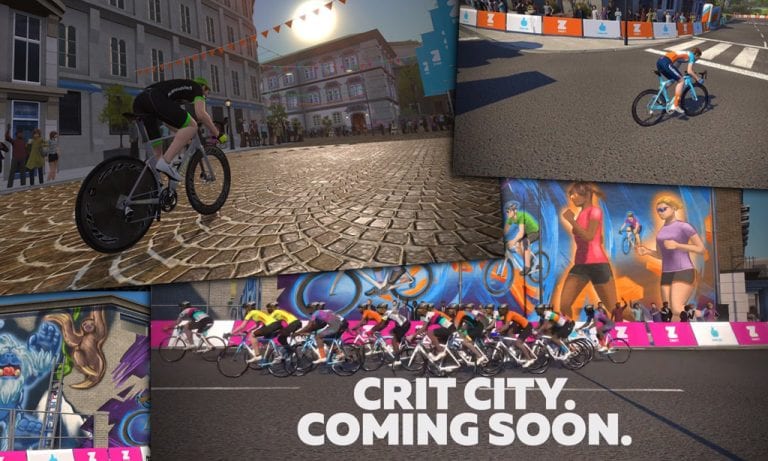
Created with a course layout and visuals to replicate the feel of a downtown city criterium, Crit City is a map created by racers, for racing. And today, for the first time ever, Zwifters have the opportunity to ride and race the new map!
Routes
There are two routes available in Crit City: Downtown Dolphin and Bell Lap. Downtown Dolphin traverses the course in a clockwise fashion, while Bell Lap is counter-clockwise.
They both travel over the same roads, so their length (1.9km/1.2 miles) and elevation (8 meters/26′) are identical.
Photo Gallery
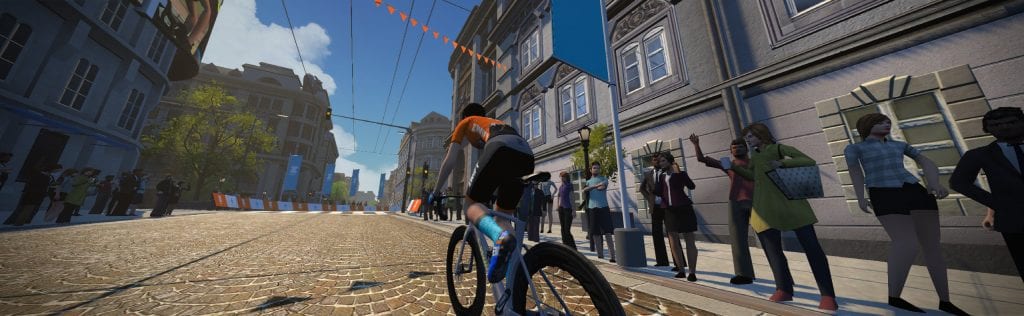
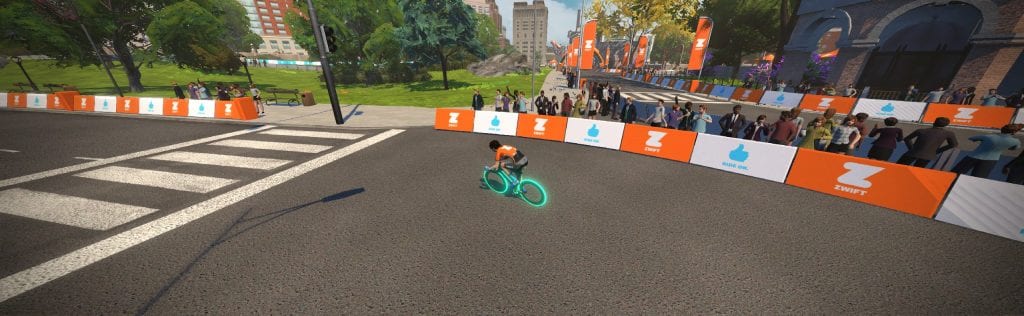
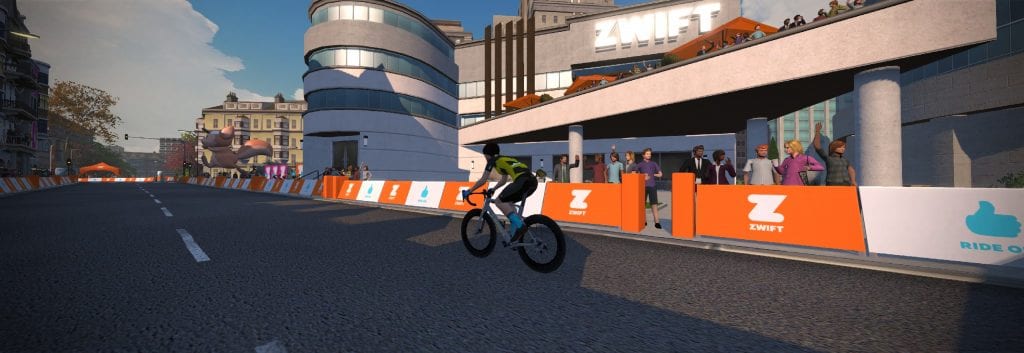
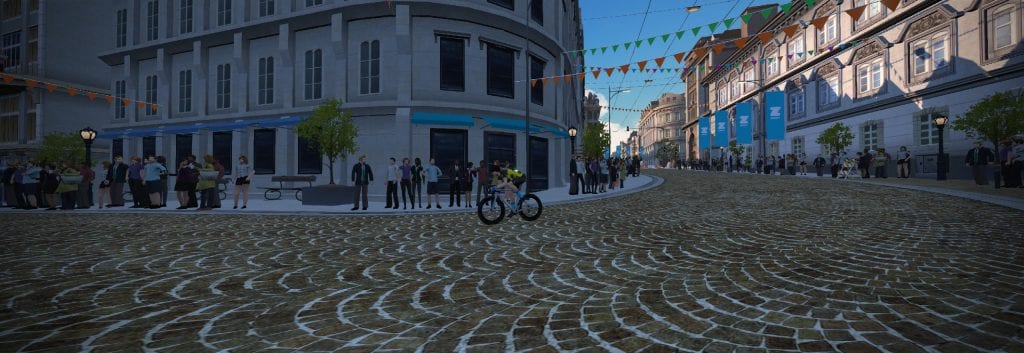
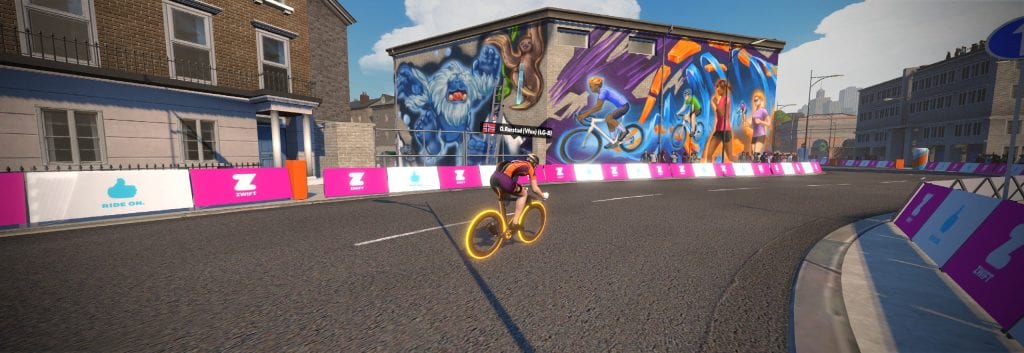
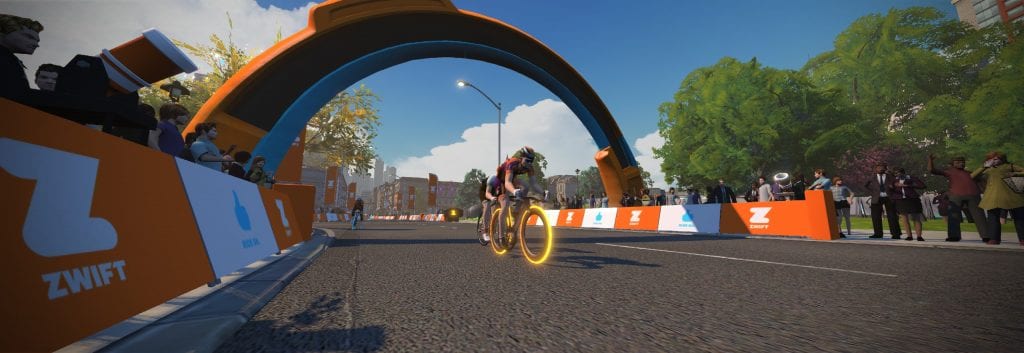
Once you’re done racing the course, a cool-down lap or two will reveal some really nice visuals:
Riding up the prime climb
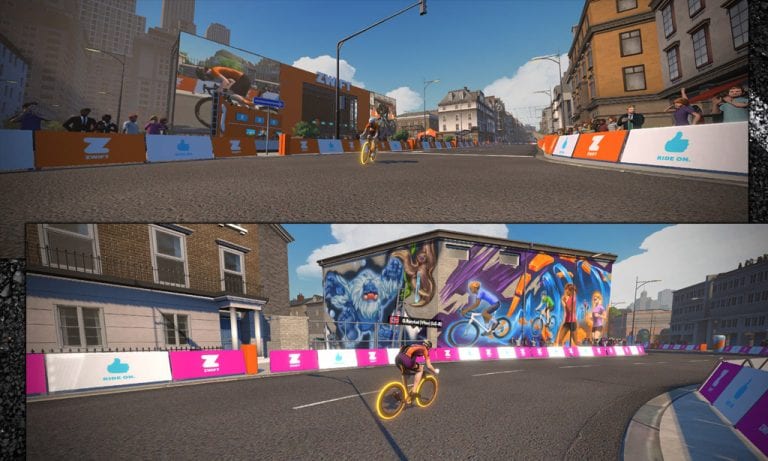
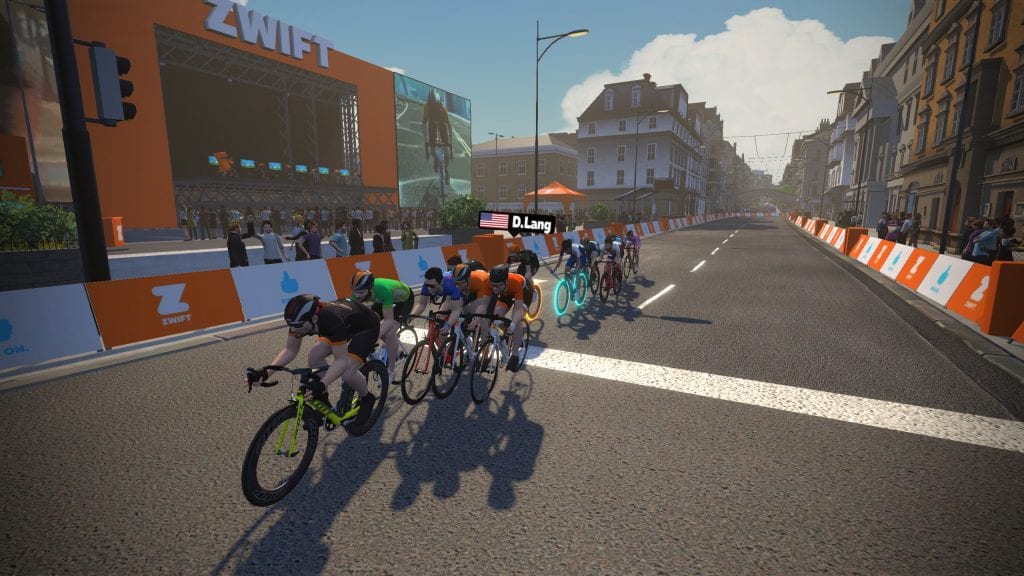
A line of sight across the course
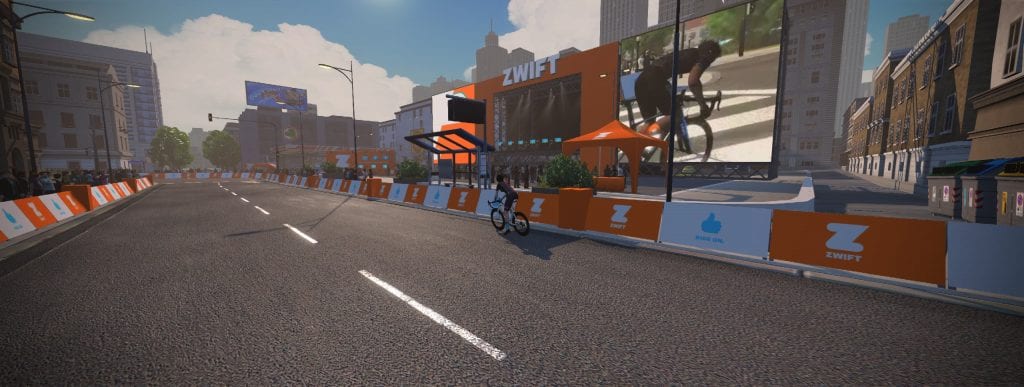
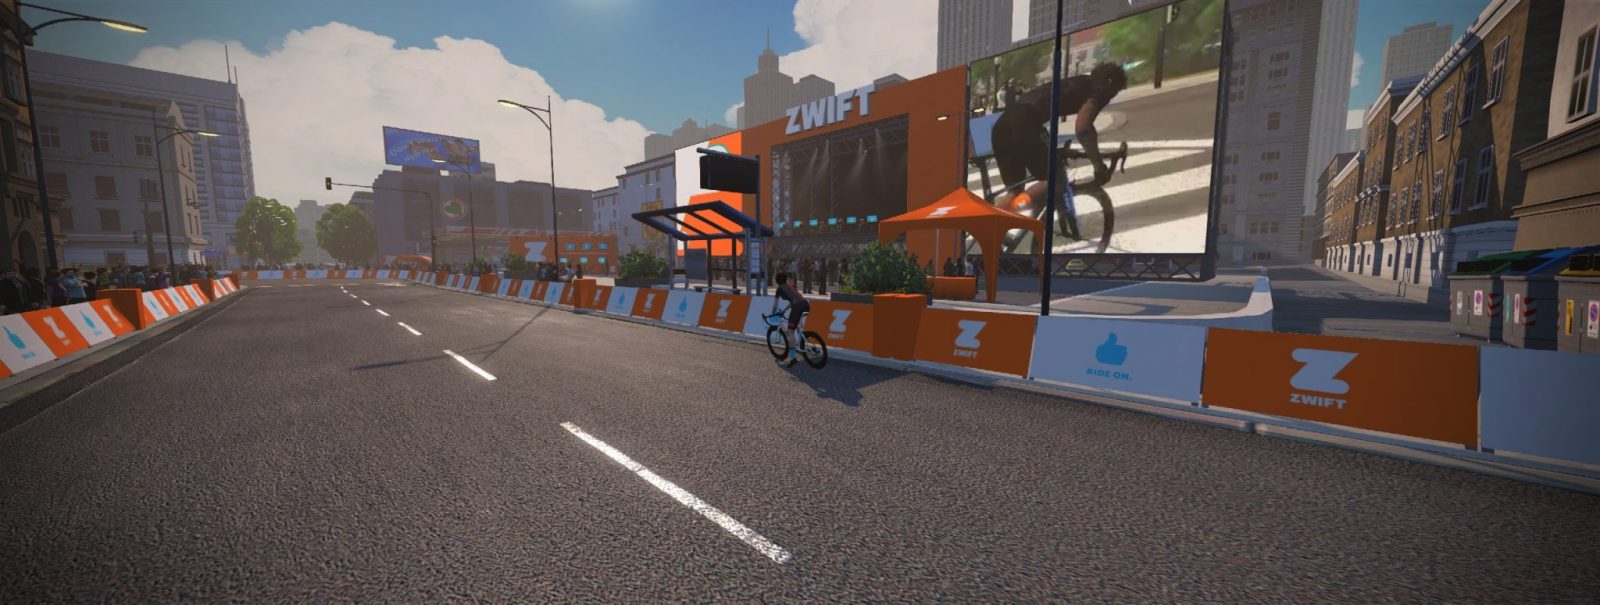
Passing an eSports stage
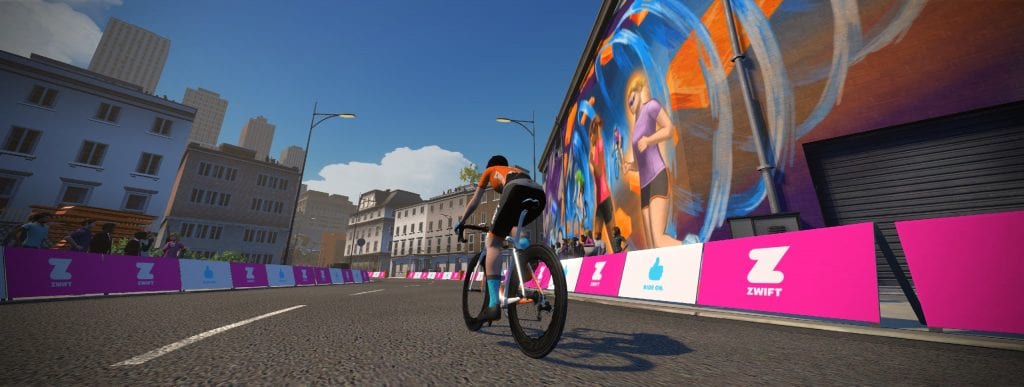
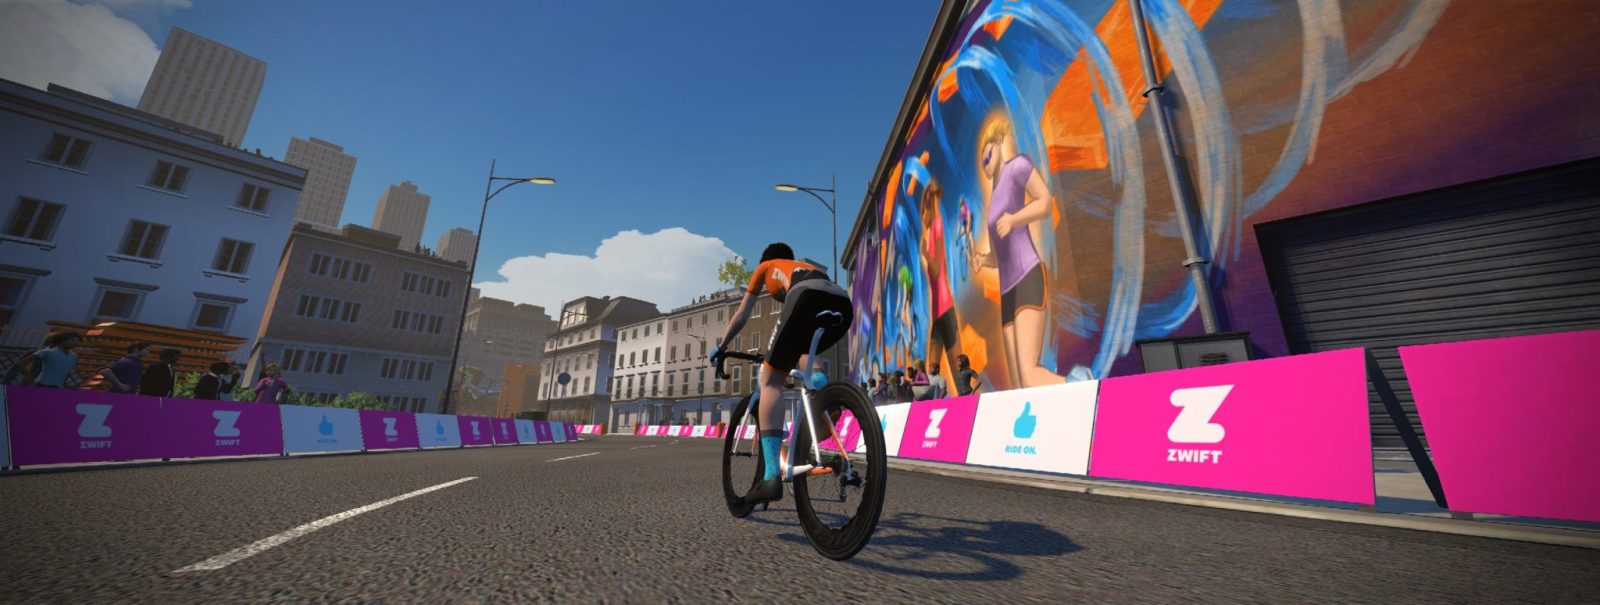
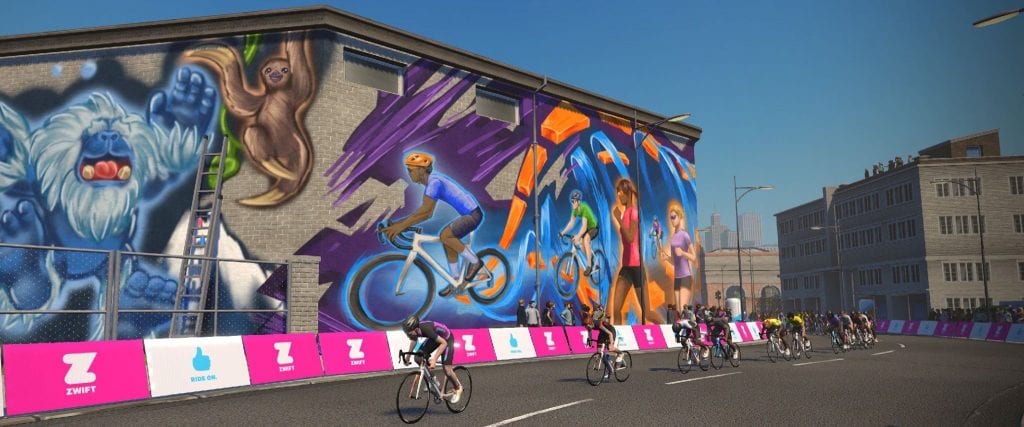
The Watopia mural
Prime banner
Another view of the eSports stage
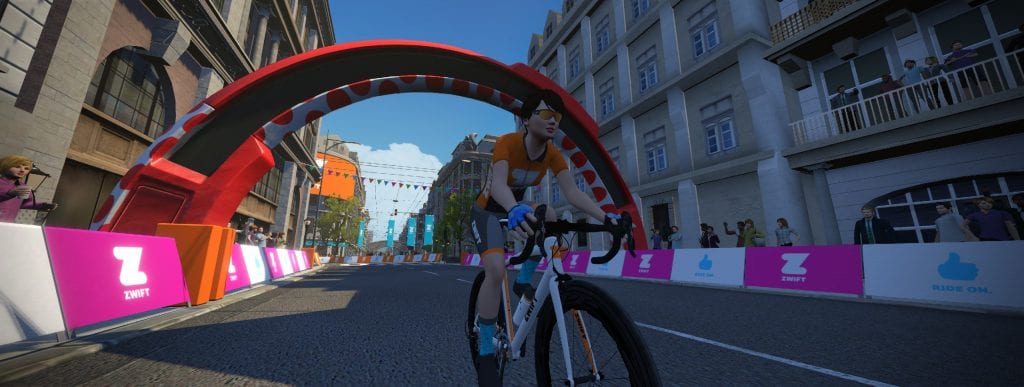
Lap banner
Virtual Zwift HQ
Crit Features
Although Zwift didn’t roll out any new “features” with this map, it’s fair to say that the combination of course layout details makes this a truly unique course in the Zwift universe:
Short Lap: this is the shortest course on Zwift Just under 2km in length (the next shortest is LaGuardia Loop at 2.8km), laps here are finished 3 minutes or less for most races.
Cross-Course Lines of Sight: three different sections of the course afford racers with a line of sight to a different portion of the route, letting them spot riders who are well ahead or behind. Crit racers know if you’re able to get off the front far enough that the peloton no longer sees you, you stand a better chance of staying away. It’s harder to chase what you can’t see.
Lap Counter: a lap counter at the start/finish banner replicates the lap counters used in outdoor criteriums
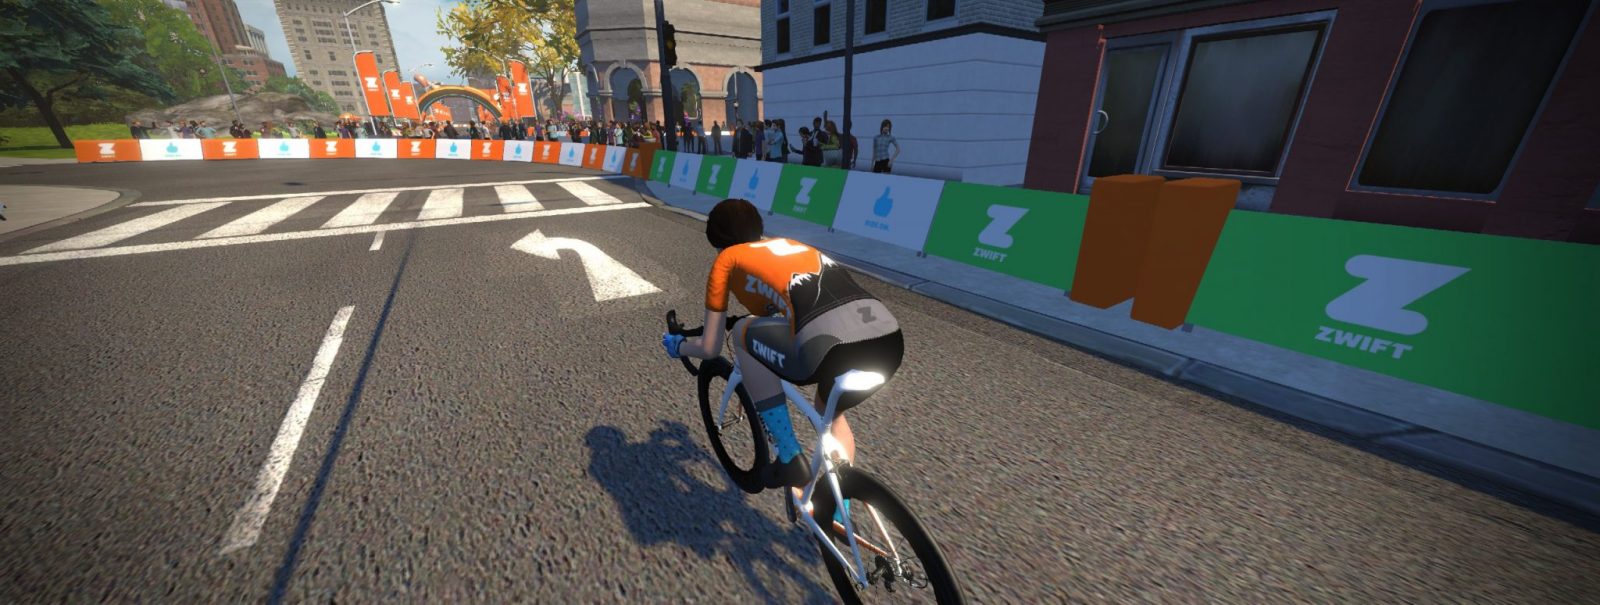
Dead Turns: these sharp turns help make outdoor races more dynamic since riders have to brake into the turn and accelerate hard out of the turn. Although Zwift hasn’t implemented auto-braking on these corners yet, it could be changed in the future.
Prime Section: this short, timed climb on the Downtown Dolphin route will surely spice things up each lap! We’re betting many crit races will award prime points on this section.
Slowing It Down
Auto-braking on turns is a rare thing in Zwift–in fact, it only happens in one place, as far as we know. That place is on the 180-degree turn on London’s Classique course, and even there it only happens in one direction.
As riders enter this turn, their speed is automatically slowed to around 21 mph. This gives racers another opportunity to dig hard and attack after the deceleration, which keeps things interesting on an otherwise flat course where few attacks happen.
While most of the turns on Crit City could realistically be negotiated while coasting at high speed (just like outside), the two “dead turns” could have auto-braking added. This is the one feature we would like to see added to the Crit City course.
(And we’re not alone in this opinion: the course was launched only hours ago, but already the Zwift Community is saying, “We love the course–but slow us down in the corners!”)
Automatically slowing riders on these turns would result in two key improvements to the race experience: it would make the ride more realistic, as racers wouldn’t be negotiating hairpin turns at 30mph. And it would make races more dynamic by providing two more attack points per lap.
Category Separation
On a course this small, things can get confusing quickly if there are a lot of riders on course. This can be helped in races if event organizers hide other categories (so you only see the category you are racing).
It will be interesting to see how (or even if) chase races work on Crit City, because tracking which groups are ahead and behind will be nearly impossible after several laps, unless Zwift implements some sort of group tracking feature like we’ve seen in Lambchop race broadcasts.
Event Only
Crit City, like Bologna TT, is an event-only map. This means you can only access it by joining official Zwift events.
It has to be this way currently, because the course would be crowded with thousands of free riders if it was added to the guest map schedule. This is precisely the sort of map Jon Mayfield talked about when the Guest World feature was rolled out nearly a year ago–a smaller map which allows Zwift to “experiment” with new layouts and features.
Bell Lap is one of two routes on the racing-focused Crit City map released in the December 6, 2019 update. Featuring dead turns, an uphill prime section, a lap counter, and sharp corners with sightlines on city streets, this route’s layout nicely replicates the visuals of a downtown crit.
Turn by Turn
The Bell Lap route traverses the map in a counter-clockwise direction, so you will begin by exiting the start pens and turning right to ride through the lap banner. This more “open” portion of the course could be described as the sort of park-like, modern section of Crit City.
Watch for attacks up the twisty section!
At the end of this straightaway you will hit the first sharp turn, a hairpin that takes you into a twisty, rolling uphill climb toward Zwift HQ. This is where attacks happen on each lap, so stay attentive!
Virtual Zwift HQ
After the twisties you’ll be on a false flat riding past the virtual Zwift HQ building. The next dead turn is coming up, a 135-degree turn which takes you onto the straightaway containing the prime banner. There is no time prime section in this direction, though, so just ride through the banner and enjoy the short descent–it’s the longest downhill you’ll get at Crit City!
The longest descent at Crit City
After the descent over the prime brick the road flattens for a moment, then turns right, bringing you into the older, city center portion of the course.
You’re now on a false flat climbing, toward the eSports stage. Turn left and the road tilts down slightly–wave to the spectators at the eSports stage but stay attentive because the finish line is just up the road!
Watopia mural
You’ll quickly pass the Watopia mural, turn a left, and now as the course begins to open up again there is just one turn left before the finish. Mind your position in the pack, because if you’re not near the front going into the final turn you’ll probably never get there!
Start/finish
Start and Finish Points
Since this is an event-only route, riders will always begin in the start pens located just before the lap banner when riding in the Bell Lap direction.
Event Only
Crit City, like Bologna TT, is an event-only map. This means you can only access it by joining official Zwift events.
Downtown Dolphin is one of two routes on the racing-focused Crit City map released in the December 6, 2019 update. Featuring dead turns, an uphill prime section, a lap counter, and sharp corners with sightlines on city streets, this route’s layout nicely replicates the visuals of a downtown crit.
Turn by Turn
Beginning at the start pens, you ride toward the city center portion of the route. Look ahead and if your race is broken up enough you may see riders coming down another section of road toward you.
In this first section, the older portion of the city, you’ll be mostly hemmed in by buildings. As the city closes in the road tilts up slightly–a false flat which will slow riders, increase resistance, and bump up power numbers.
Past the Watopia mural on your right, with the spinning Zs across the street, you’ll round the second right-hand turn and encounter a Zwift eSports stage complete with riders on trainers, spectators, and big screens showing videos of avatars in action.
Zwifting in Zwift? Zwiftception.
An eSports stage complete with competitors and big screens
Hang another sharp right and you’ll pick up speed quickly as the road tilts downwards at 2% for this entire straightaway. Look ahead and notice the start/finish banner–this is another place on this well-designed route which allow you to catch sight of riders who are well ahead or behind.
Look ahead to spot the finish banner and any riders up the road
(Crit racers know if you’re able to get off the front far enough that the peloton no longer sees you, you stand a better chance of staying away. It’s harder to chase what you can’t see.)
Starting the prime section
You’ll make another two lefts before things get crazy as the road turns right, pavement turns to brick, and the prime section begins! This 200-meter, 4% incline is the only timed segment on Crit City, and it’s where you’ll see attacks each and every lap.
The prime climb tops out at 6%. Short and punchy!
The first of two “dead turns” is coming up, at the end of the straightaway containing the prime banner. Make this 135-degree turn and enter the more open and modern “business park” portion of the city which includes a sort of virtual Zwift HQ as its centerpiece. HQ includes more Zwifters (runners and riders) out front.
A virtual Zwift HQ
Next, we’ve got a fun little set of racetrack-like rollers where you’ll want to keep your speed high and make sure you don’t lose the wheel ahead! Look ahead and you’ll spot the lap banner–still 400 meters away, but this is another chance to see riders who are well ahead or behind.
Rounding the final turn into the finish
Complete the 180-degree turn, passing the Scotty inflatables and more virtual Zwifters, and it’s ~200 meters flat and straight on to the finish.
Time for another lap!
Start and Finish Points
Since this is an event-only route, riders will always begin in the start pens located just after the lap banner when riding in the Downtown Dolphin direction. This means you’ll ride nearly 2 laps before the lap counter shows 1.
Event Only
Crit City, like Bologna TT, is an event-only map. This means you can only access it by joining official Zwift events.
A note about Strava segment matching: we’re seeing some (maybe all?) Zwift rides on this route being incorrectly timed on the segment, because Strava is leaving the northernmost portion of the route out of the timing. We’ve logged a trouble ticket with Strava.
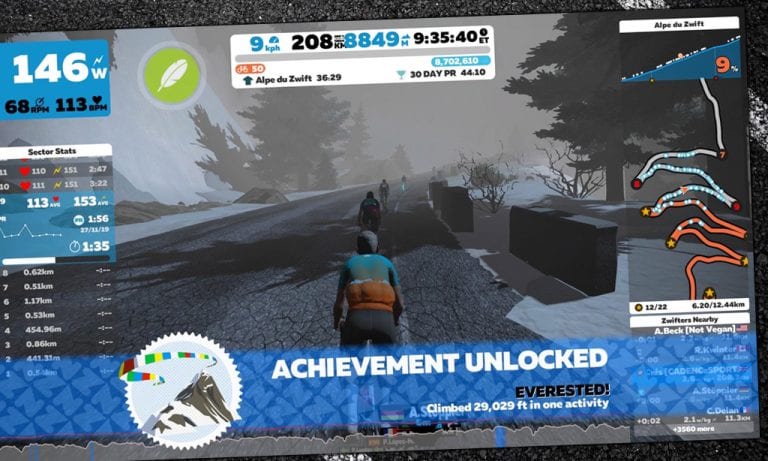
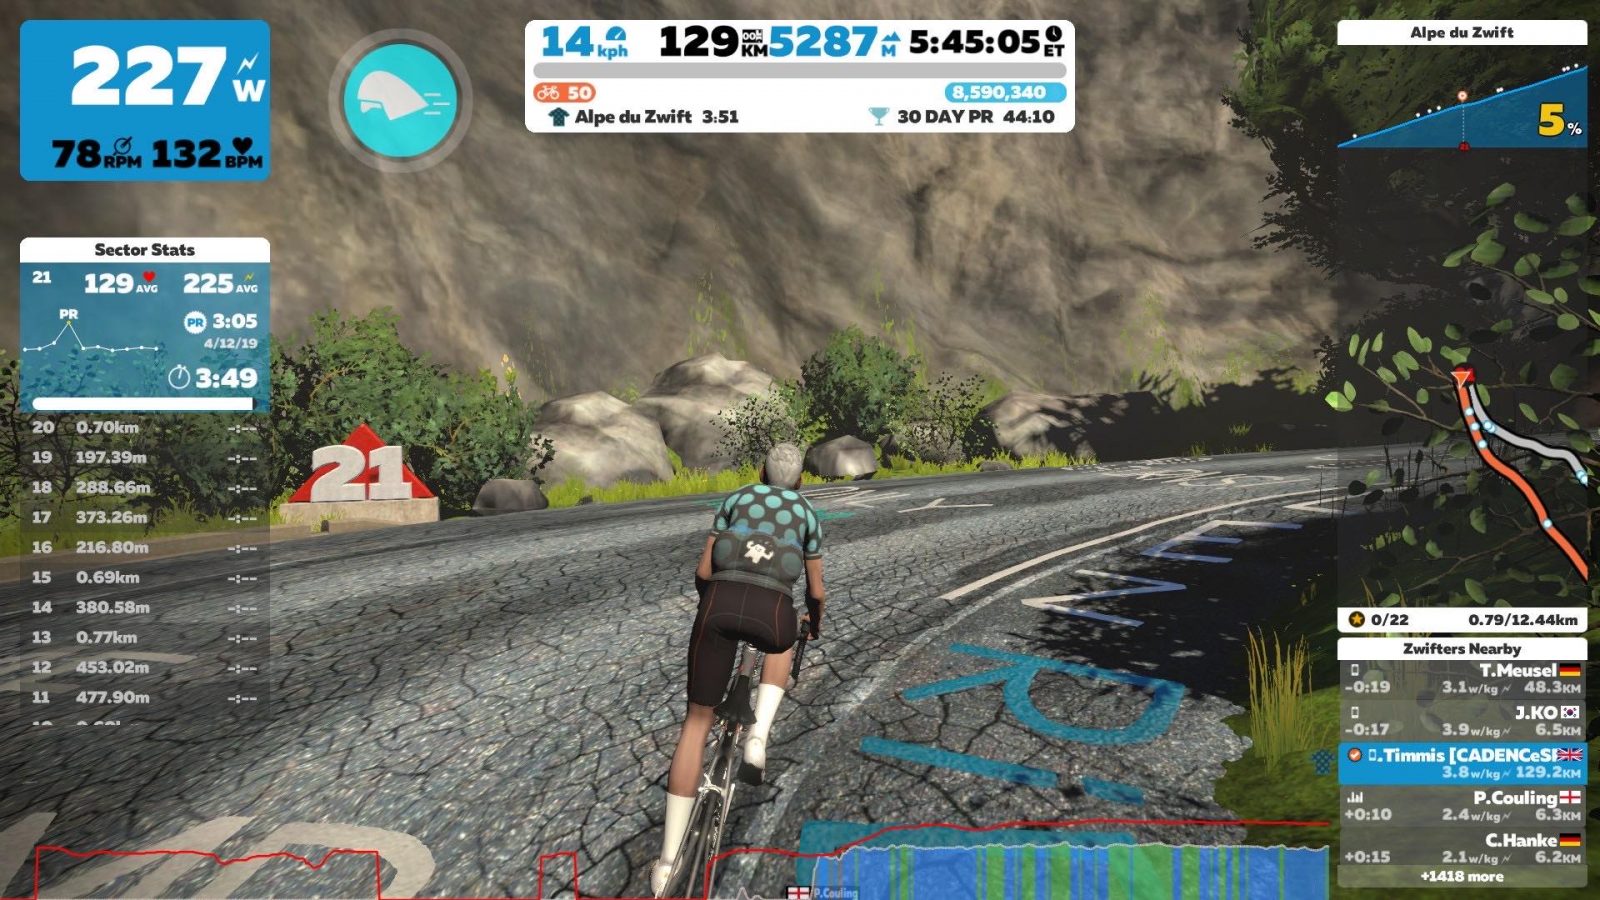
vEveresting with Adrian Timmis: Alpe du Zwift 8 and a Half Times
Editor’s note: Adrian Timmis is a prolific Zwift racer, but long before Zwift came along he was a pro competing outdoors with the best in the world. Timmis rode the 1987 Tour de France (finishing 70th), represented Britain in the team pursuit at the 1984 Olympic Games, and competed at big-name races like Paris-Nice, Tour de Romandie, Liège–Bastogne–Liège, La Flèche Wallonne, and Amstel Gold.
When I heard he had completed his first-ever vEveresting attempt on Zwift, I asked him to share his numbers and experience. Perhaps you, like me, will find it all quite impressive!
I’d been thinking of doing a vEveresting on Zwift for a while. My plan was to do it sometime over the Christmas period, but on Monday I put on an 11-32 cassette to test out (using 50-34 at the front).
I normally ride 11-28, but I’d put the 32 on my Tacx NEO2 because the plan was to ride around my Z2 power, and with 100% trainer difficulty there was too much torque required with the 11-28 to sit there comfortably. The 32 sprocket felt perfect so after a couple of climbs I carried on!
Nutrition Notes
In the past few years I’ve read and listened to a lot of podcasts about becoming more fat-adapted for fuel and feeding for the work required. For me personally it’s made a huge difference, and this is without cutting carbs out by the way, as I like my carbs too much!
If I’d been riding harder I definitely would have consumed more carbs, but because I knew I’d be riding around Z2 and because of the way I’ve adapted my training and nutrition I knew I could rely on a lot less carbs than I would have needed in the past and eat fairly normal food as well.
Nutrition-wise I had a bowl of porridge before, but after 3 climbs (once I realised I was going to carry on) I dug 3 Aldi fruit and nut bars from the kitchen boards and started eating those. After the next few climbs and because I fancied one I also ate a Magnum ice cream towards the end and drank about 3 litres of electrolyte drink. I didn’t have any energy drink.
Because of the way I train this wasn’t far off, maybe another bar would have helped. Another litre of electrolyte would have helped as well as I had to back off at the end because of cramping. Then again, this may be due to a lack of planning the day before: I started with a 3-hour fasted pre-breakfast ride around Watopia including Alpe du Zwift and ended with half a bottle of wine in the evening while putting up our Christmas tree! Because of these things I may have started a bit dehydrated, but I hadn’t planned on doing the attempt the next day.
Experiencing Everest
I knew I was fairly fit already but in the last 6 or so weeks I’d done a fair bit of sweetspot training, which I haven’t done for a while, and which I know helps me a lot. Also in the last few weeks I’d done a few Sunday morning 3-hour fasted pre-breakfast rides, whereas most of my training is based around hour sessions.
I did the ride while my wife was at work and daughter was at school so I was looking after myself.
The plan was to use the Companion app to do a U-turn at the finish and start line as soon as I crossed each line, which would give a 11 and half to 12-minute descent to virtually freewheel for a toilet break and refill my bottle and change some clothing if needed. This part makes it easier than an IRL Everest where you would have to actually stop for a toilet break and changing clothes. And even though you may freewheel down the real descent you have to physically get your bike down, which I reckon would probably add 5-10 minutes to the real descent.
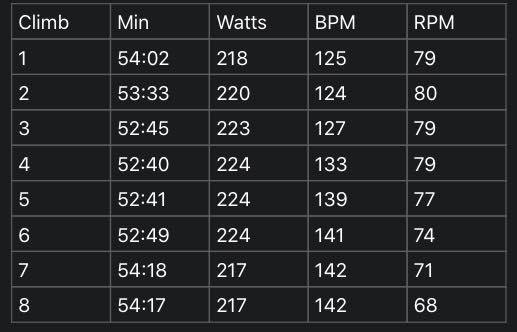
I did have a plan to ride a very even pace, I’d thought around 220w and 55min would be doable for each climb (I hoped it would, anyway). I’ve ridden the real thing over 20 times in the last 6-7 years and the Zwift version over 60 times, so I understood the importance of pacing it for just one climb let alone attempting 8. Pacing is made easy Zwift as it shows each segment. I used this to control my average power, this helped massively.
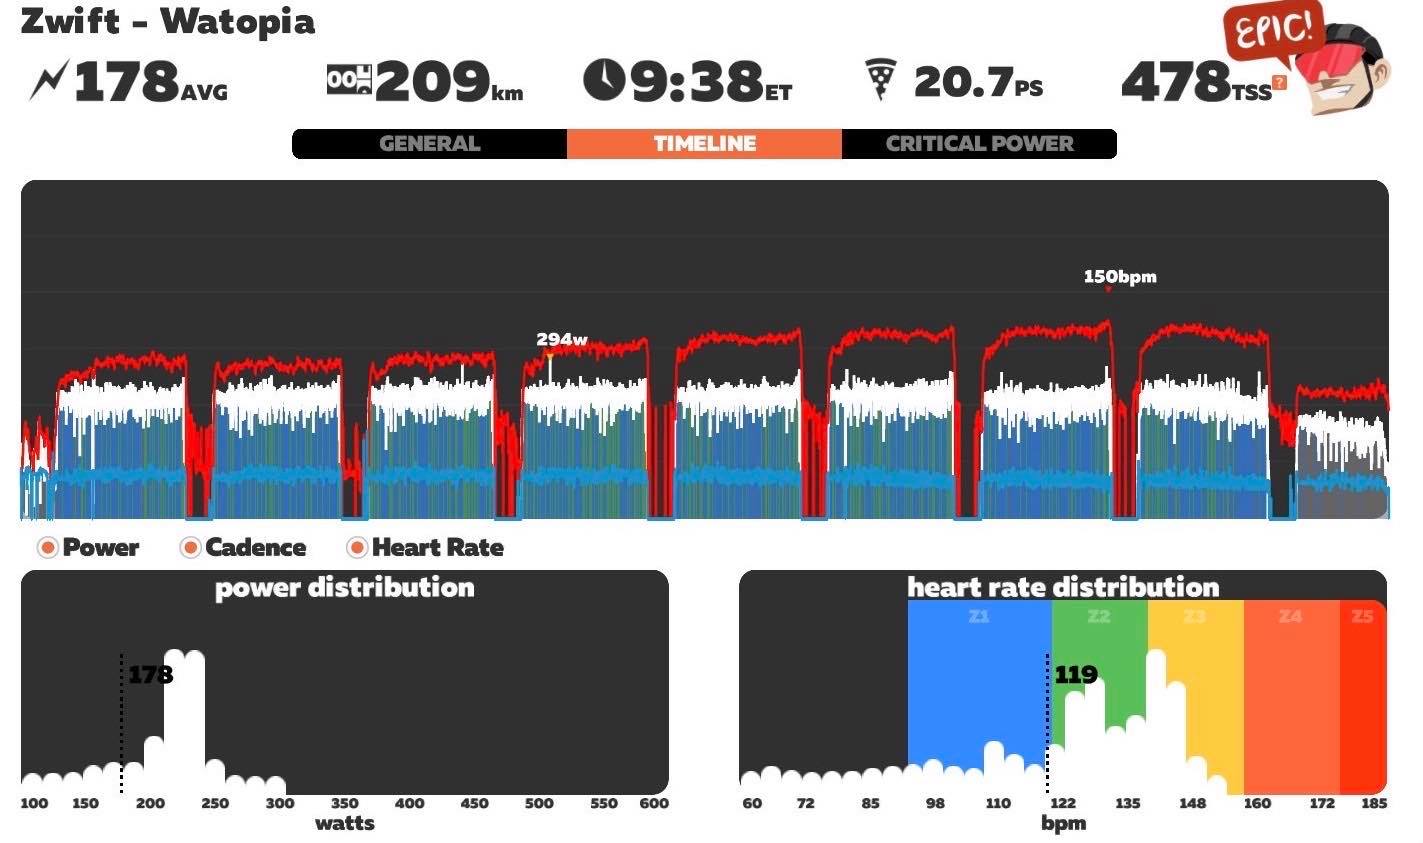
Here are my final numbers for the 8 Alpe ascents:
Yes, I am a climber. For this ride my weight was 59.5kg, the previous week on Zwift Transparency my weigh-in was 59.1kg.
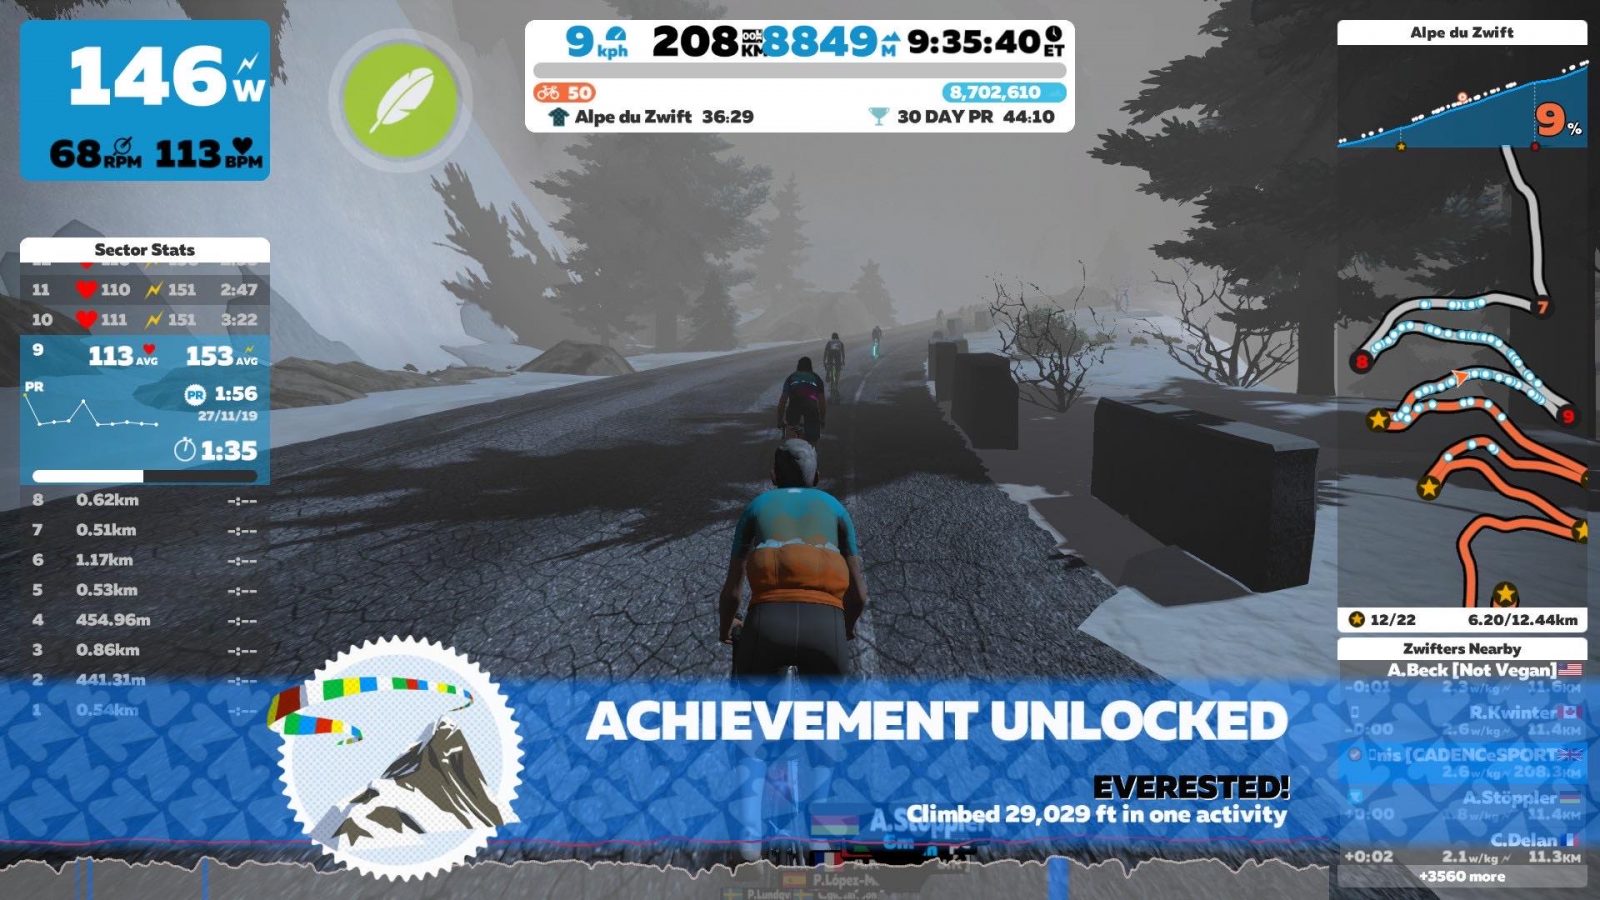
The last half-climb was helped by a big group ride for company, which gave a bit of a distraction to counting the meters down to 8848m.
After a lie down to recover, was I happy? Yes. Even though the ride wasn’t planned, I achieved the goal of doing 55min/220w climbs.
Looking Back, Looking Forward
Would I do it again? I’m mad enough to say yes! (I must be mad, as I’ve already tried to calculate how long Everesting the real Alpe d’Huez would take!)
Would I change anything? The ride itself no, training in the last few weeks was good also, but I’d make sure I was rested up next time and put a bit more planning into the nutrition on the day.
Finally, I tip my hat to those that have done it, as I know most have spent a lot more time in the saddle to achieve it. If you’re thinking of doing it go for it, but do the planning. #rideon
Ladies and Gentlemen: Crit City is on the Calendar
UPDATE: Crit City events are happening now. After this post, many more Crit City events were added to the calendar, with the first event happening at 12:30AM Pacific on December 14, 2019.
After a bit of a delay, it looks like we’ll be seeing events on Crit City beginning on Monday (if not sooner).
Will this be the first event on the new map, or will we see other events dropping into the calendar before Monday? One thing is certain–we’ll have many more chances to ride in Crit City, but only one chance to be part of the first event ever held there.
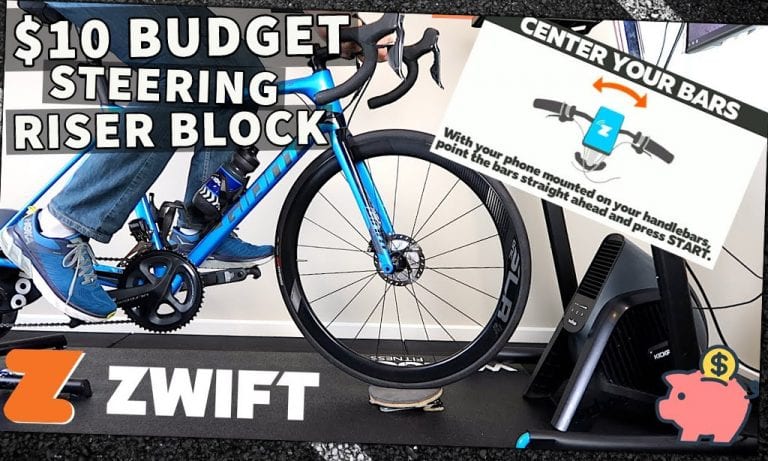
With the release of Zwift’s FutureWorks steering, Zwifters everywhere are mounting smartphones to their handlebars and turning them to and fro. To avoid wearing a hole in your carpet, trainer mat, and/or tire, it’s best to have something under your front wheel to help it turn smoothly.
Trainer manufacturers are starting to release swiveling riser blocks that can help, but they’ll take a bite out of your wallet. So why not just make your own?
In this video, Shane Miller takes us through how to build a low-budget swiveling riser block to use with steering on Zwift. You can find the parts at any hardware store, and it’s not too hard to put together. If you prefer a nearly ready-made solution, just buy a Lazy Susan and make a couple easy changes.
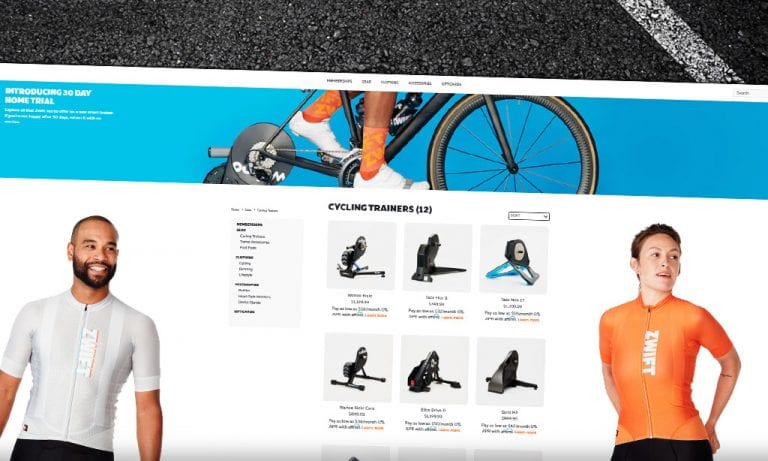
A year ago, Zwift launched their totally revamped online store. This took them from selling one trainer line and a few clothing items and accessories to a full-fledged e-commerce presence.
In the months that followed, Zwift’s “ECOM” team has worked to build out overseas distribution, bring more products to their online store, and generally make it easy for someone to get what they need from Zwift.
Here’s a quick summary of some updates we’ve seen at zwift.com/shop.
30 Day Home Trial for Smart Trainers
Here’s a sweet deal: you can buy a smart trainer from Zwift and try it for 30 days. If you aren’t happy with it, just send it back using the included pre-paid shipping label. No questions asked. Free shipping both ways!
Zwift stocks 12 smart trainers as of today, ranging from basic wheel-on models to top of the line direct drive workhorses.
This home trial is a brilliant move on their part, as it helps reduce that “will my new trainer be worth the money” anxiety we’ve all felt when shopping for a smart trainer. I think Zwift also knows that, once you’ve used an upgraded smart trainer (or your first smart trainer) it’s pretty hard to go back!
New Kit
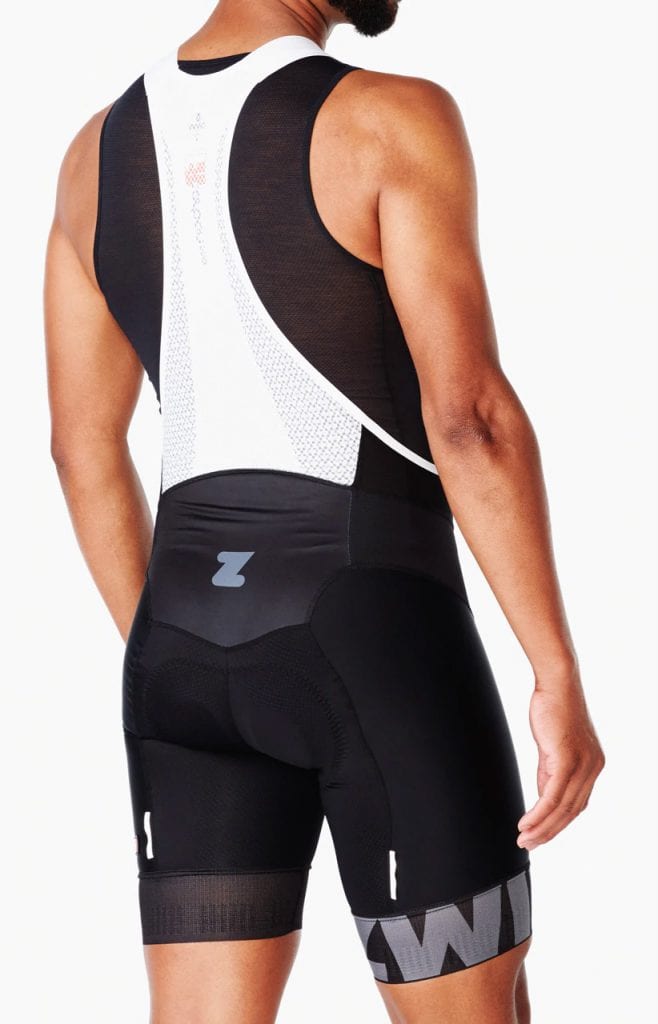
Zwift stocks a variety of jerseys and bib shorts ranging from their more affordable club-fit “Domestique” collection to their top of the line race-fit “Pursuit” kits.
The recently-released Pursuit kit appears to be a mostly cosmetic update to their original “Breakaway” kit. I own both a Breakaway and Pursuit kit, and the bib shorts (which are the most important part for me) are almost identical except for the leg band graphics, a slightly modified chamois, and a few other minor details.
Bib short evaluations can be pretty subjective, but I’ll say this: the Breakaway/Pursuit bib shorts are some of my favorites–right up there with my Assos and Eliel kits. They’re Giordana’s top of the line FR-C Pro shorts (made in Italy!), made for warm weather and indoor use. Not cheap by any stretch, but the more I ride more I’m convinced that truly good bib shorts don’t come cheap.
Bits and Bobs
The new Pursuit socks are also available, and although I haven’t bought any yet I’m sure it’ll happen soon enough. They appear to be a slightly taller version of the Big-Z sock (which is the main sock I wear nowadays on the bike). The Pursuit socks are made from more eco-friendly materials (recycled water bottles), which is always a plus.
I’ve placed several orders with Zwift since last year’s re-launch, and I have to say I’ve been thoroughly impressed with the quality of their customer service. They respond quickly to emails, their return policy is generous, and everything happens fast.
If you’re looking for an enjoyable purchase experience, the Zwift Shop delivers.
What About You?
Have you made any purchases from Zwift’s Shop? Looking to make one soon? Share your thoughts and questions below.
One fun challenge some Zwifters take on during makeup weekends is to complete the full tour just one or two days. That’s right–you can go big and try riding the full tour using only the makeup events!
Completing all of the A group (long distance) stages means a total of 205km (127 miles) with 2079 meters (6,820′) of elevation gain. Need to make it a bit easier? Choose the B group (short distance) stages which total 138km (86 miles) with 1565 meters (5,134′) of climbing.
With 10 opportunities to ride each stage over the weekend, it becomes a game of planning, especially if you want to complete the full tour in one day. Ride on!
Last week saw the announcement of the Runn Smart Treadmill Sensor from North Pole Engineering. With a strong feature set, expected release date of December 13th, and very competitive price point ($99USD, on sale for $89) this is an exciting product for Zwift runners.
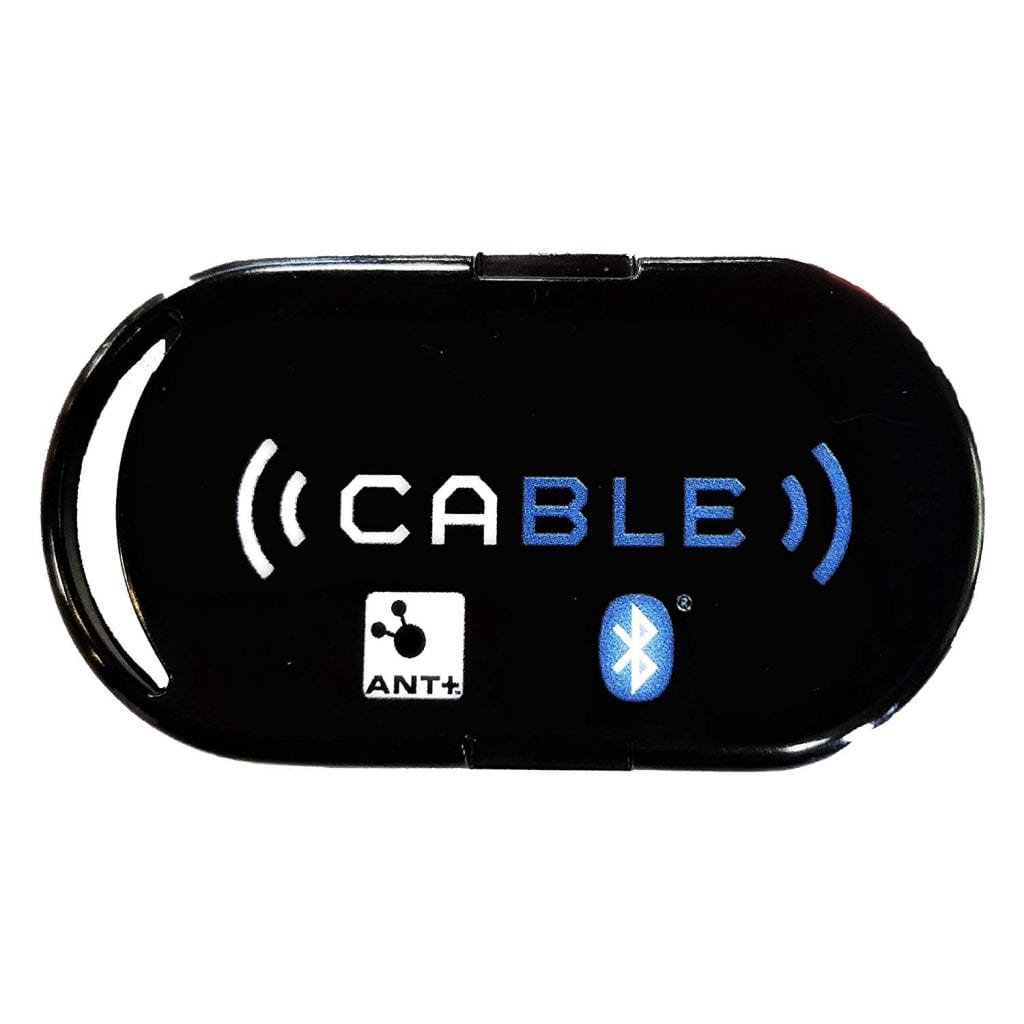
NPE are well-known in the Zwift world for their small CABLE device which is not actually a cable, but a pod converting ANT+ signals into Bluetooth signals. It’s very useful for people who own the Garmin footpod for example but who want to run Zwift on an iOS device, which only accepts a Bluetooth signal. Connect your footpod to the CABLE and connect the CABLE as a speed source in Zwift. It’s a really good device.)
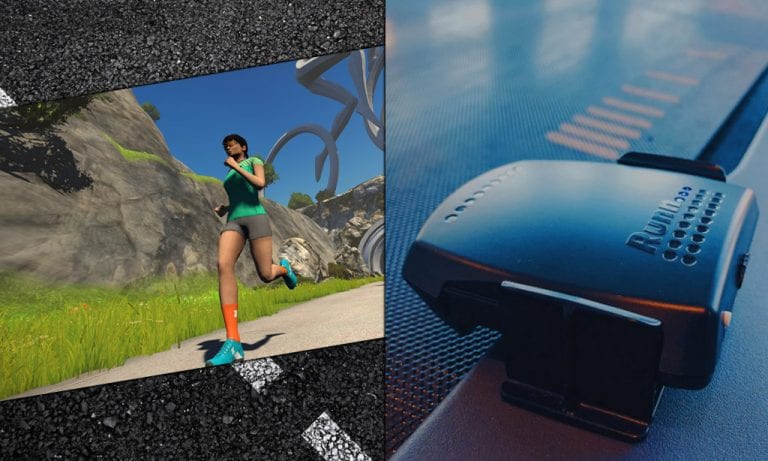
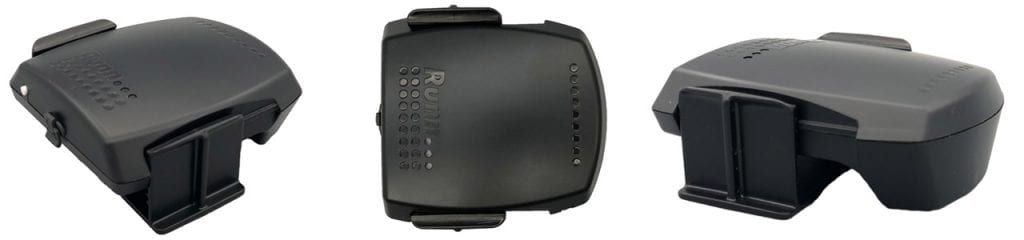
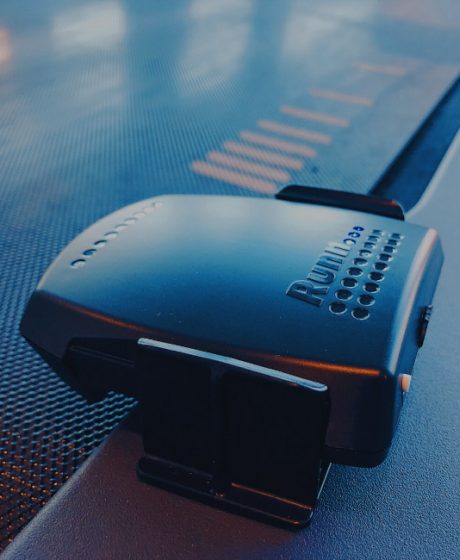
Now, NPE have worked in collaboration with Zwift to develop the Runn Smart Treadmill Sensor. It is a small device which sits on the edge of your treadmill and looks over at the belt with an optical sensor, two in fact. The idea is that you affix three or four strips of white 3M tape at approximately equal distances apart on the belt and from this, the sensors can measure the speed at which the belt is traveling.
This way of measuring the speed of the belt may remind you of the Run Social Treadtracker which is no longer available but well regarded by those who purchased it. Using a rather more mechanical method, the Treadtracker used a wheel placed under but in contact with the belt to measure speed and then send that data via Bluetooth to Zwift. Many have bemoaned the loss of the Treadtracker and have been waiting for a replacement.
Not only does the Runn Smart Treadmill Sensor send the speed of the belt via Bluetooth and ANT+, it also sends cadence and incline data. Unless you have a Smart Treadmill there is no other device that will do this. In fact, many Smart Treadmills won’t record cadence, requiring you to use a footpod. The only other way to get incline data recorded on the Zwift FIT file is to manually input any changes into apps like Runcline or TSS which can be paired with Zwift. Obviously this is particularly cumbersome and not ideal by any means.
If you currently use one of the cheaper Bluetooth footpods and you are not happy about the accuracy of the data you’re getting, you may well want to have a look at the Runn Smart Treadmill Sensor. If you currently use a Stryd however, you may need to consider things a little more carefully.
The Stryd is a power meter for runners. Power is something the Runn Smart Treadmill Sensor does not offer (although, watch this space for future firmware updates.) Also, Gus Nelson and the rest of the Stryd team will argue that their footpod gives a more realistic interpretation of a runner’s speed.
Let me explain. The Stryd is measuring the movement of your foot. The Runn is measuring the speed of the treadmill belt. The two will not necessarily match. When your foot impacts the treadmill belt the belt slows. It then speeds up to compensate when you are in mid-air. So your speed will, in fact, be marginally slower than that of the treadmill belt. The Stryd footpod reflects this. However, is it a more satisfying experience to see the numbers in Zwift matching the display of your treadmill more closely? Furthermore, are you happy to forgo incline data by sticking with the Stryd?
So if you’re using the Stryd, you need to have a few conversations with yourself. But if you are using one of the cheaper footpods, or the TickrX , UA shoes or the various EarPods which broadcast speed to Zwift, it is definitely worth considering the Runn Smart Treadmill Sensor.
If you already own a smart treadmill there is very little reason to consider the Runn Smart Treadmill Sensor other than for travel purposes. You can’t take your treadmill on a plane, but you now have the choice of the Runn or a footpod to use when you are away from home.
The advertised price is half that of the Stryd and around twice that of the most budget footpods. But for the potential accuracy improvements, it may well be worth it.
Plus points for the new Runn Smart Treadmill Sensor: