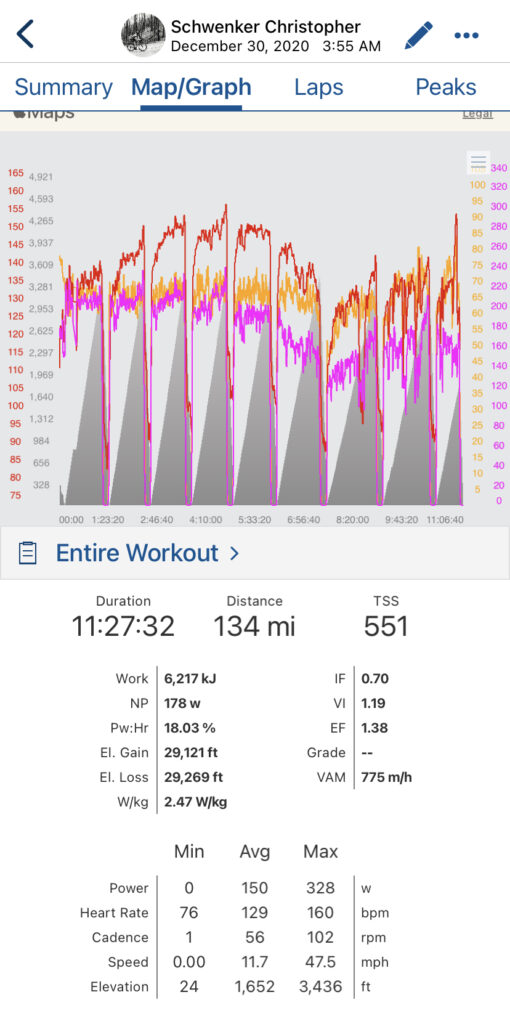
The majority of cycling injuries are overuse injuries that develop gradually over time due to repeated movement patterns. In fact, a recent study shows that lower back pain was among the most prevalent overuse injuries in professional cyclists, causing the highest rates of functional impairment and medical attention.
And it’s true: one of the most common sources of discomfort for recreational cyclists is pain or stiffness in the lower back. Even with a proper bike fit, hours in the saddle will cause tension in the low back, and this issue is made worse by our lifestyle off the bike.
More time spent in a seated position increases the risk of tightness in the hip flexors. This in turn causes the pelvis to rotate forward on the saddle, and when combined with tight hamstrings, and weak glutes/core, creates constant tension on the muscles of the low back.
This constant stress upon the lumbar muscles can cause them to fatigue to the point of being unable to provide the necessary stability to the spine. In addition, the more a cyclist’s leg muscles fatigue, the worse their spinal posture deteriorates. This results in a steady increase in pain as cycling duration increases, further emphasizing the fact that cyclists need to be strong in their lower back and core in order to avoid suffering the results of prolonged strain upon spinal and postural musculature.
Lower Back Pain and Basic Bike Fit Recommendations
Optimal bike fit is focused upon decreasing strain upon the lower back musculature. A bike setup that is too long can cause lower back pain by forcing the rider to be too stretched out. This could be caused by a stem that is too long, a saddle that’s too far back, and/or handlebars that are too low.
In addition, a saddle that’s too high will cause your hips to rock side to side when you pedal, leading to lower back pain.
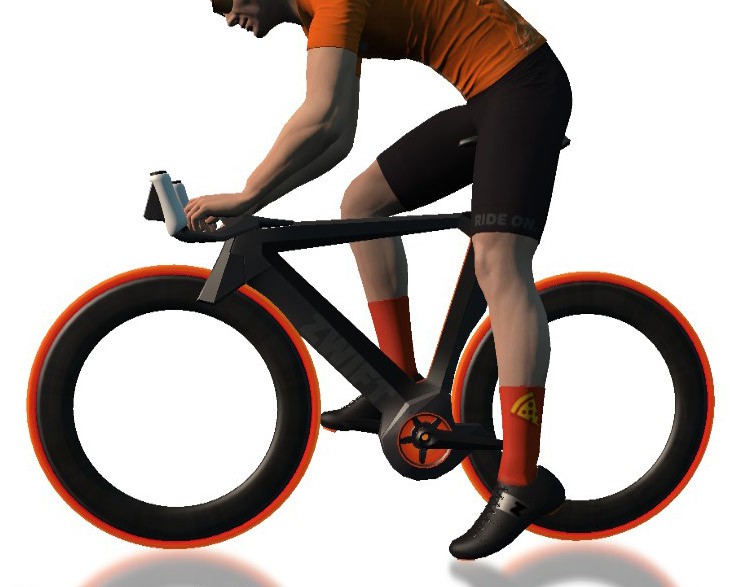
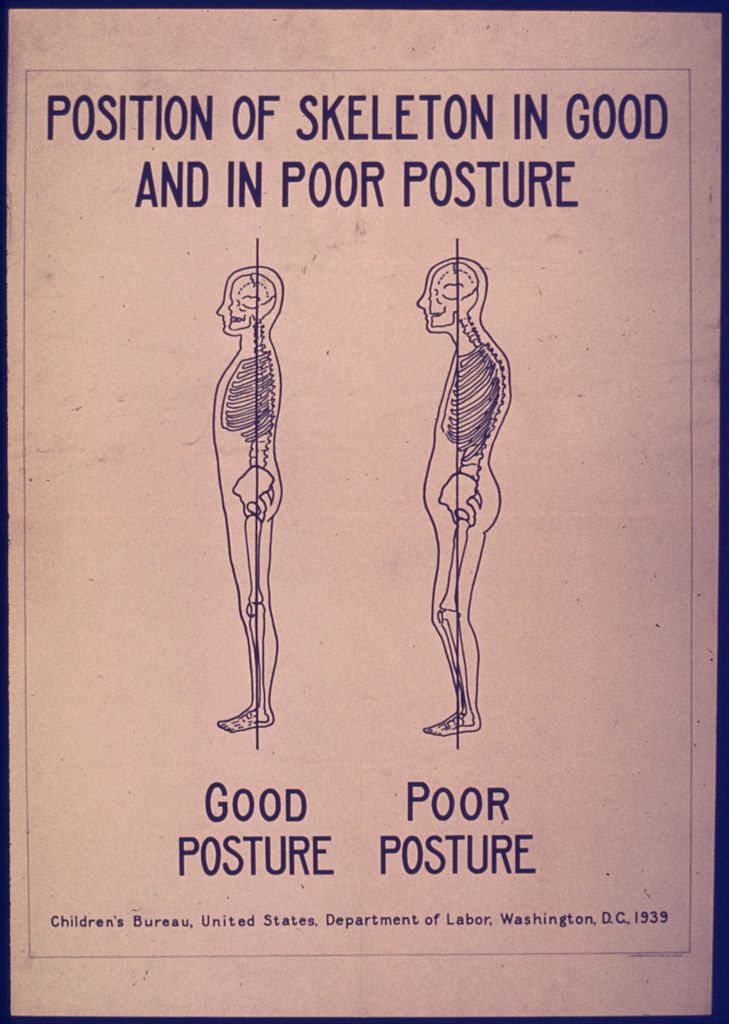
Proper Posture/Position While Riding
- Relax your neck by making sure you aren’t looking too far up or down.
- Relax your shoulders by bringing them down and away from your ears.
- Bend your elbows and keep them tucked to your sides to reduce strain on your shoulders and produce less pressure on your hands.
- Avoid bending your wrist by maintaining a straight line from your elbow through your fingers.
- Maintain a neutral spine by relaxing your lower back and keeping your shoulders and hips aligned.
- Keep your knee over the ball of your foot while pedaling.
Being Relaxed is the Key
It is important to stay as relaxed and stress-free as possible to avoid progressively worsening lower back pain. Many cyclists will slowly tense up over the course of a ride, sacrificing efficiency and speed while increasing spinal muscle fatigue. Letting go of that tension and relaxing into a natural position will allow you to ride longer and stronger without discomfort.
Active Treatment Plan For Lower Back Pain
What follows will be the foundation of a solid cycling injury active treatment and prevention plan, beginning with the basics of flexibility, strength, and recovery with a focus upon the lower back.
By completing all elements of the program, and building upon it with each installment of the series, you will be equipped to withstand the physical stress of cycling with less pain and greater enjoyment. In addition, you’ll have a resource to refer to when symptoms necessitate!
Flexibility Exercise of the Lower Back
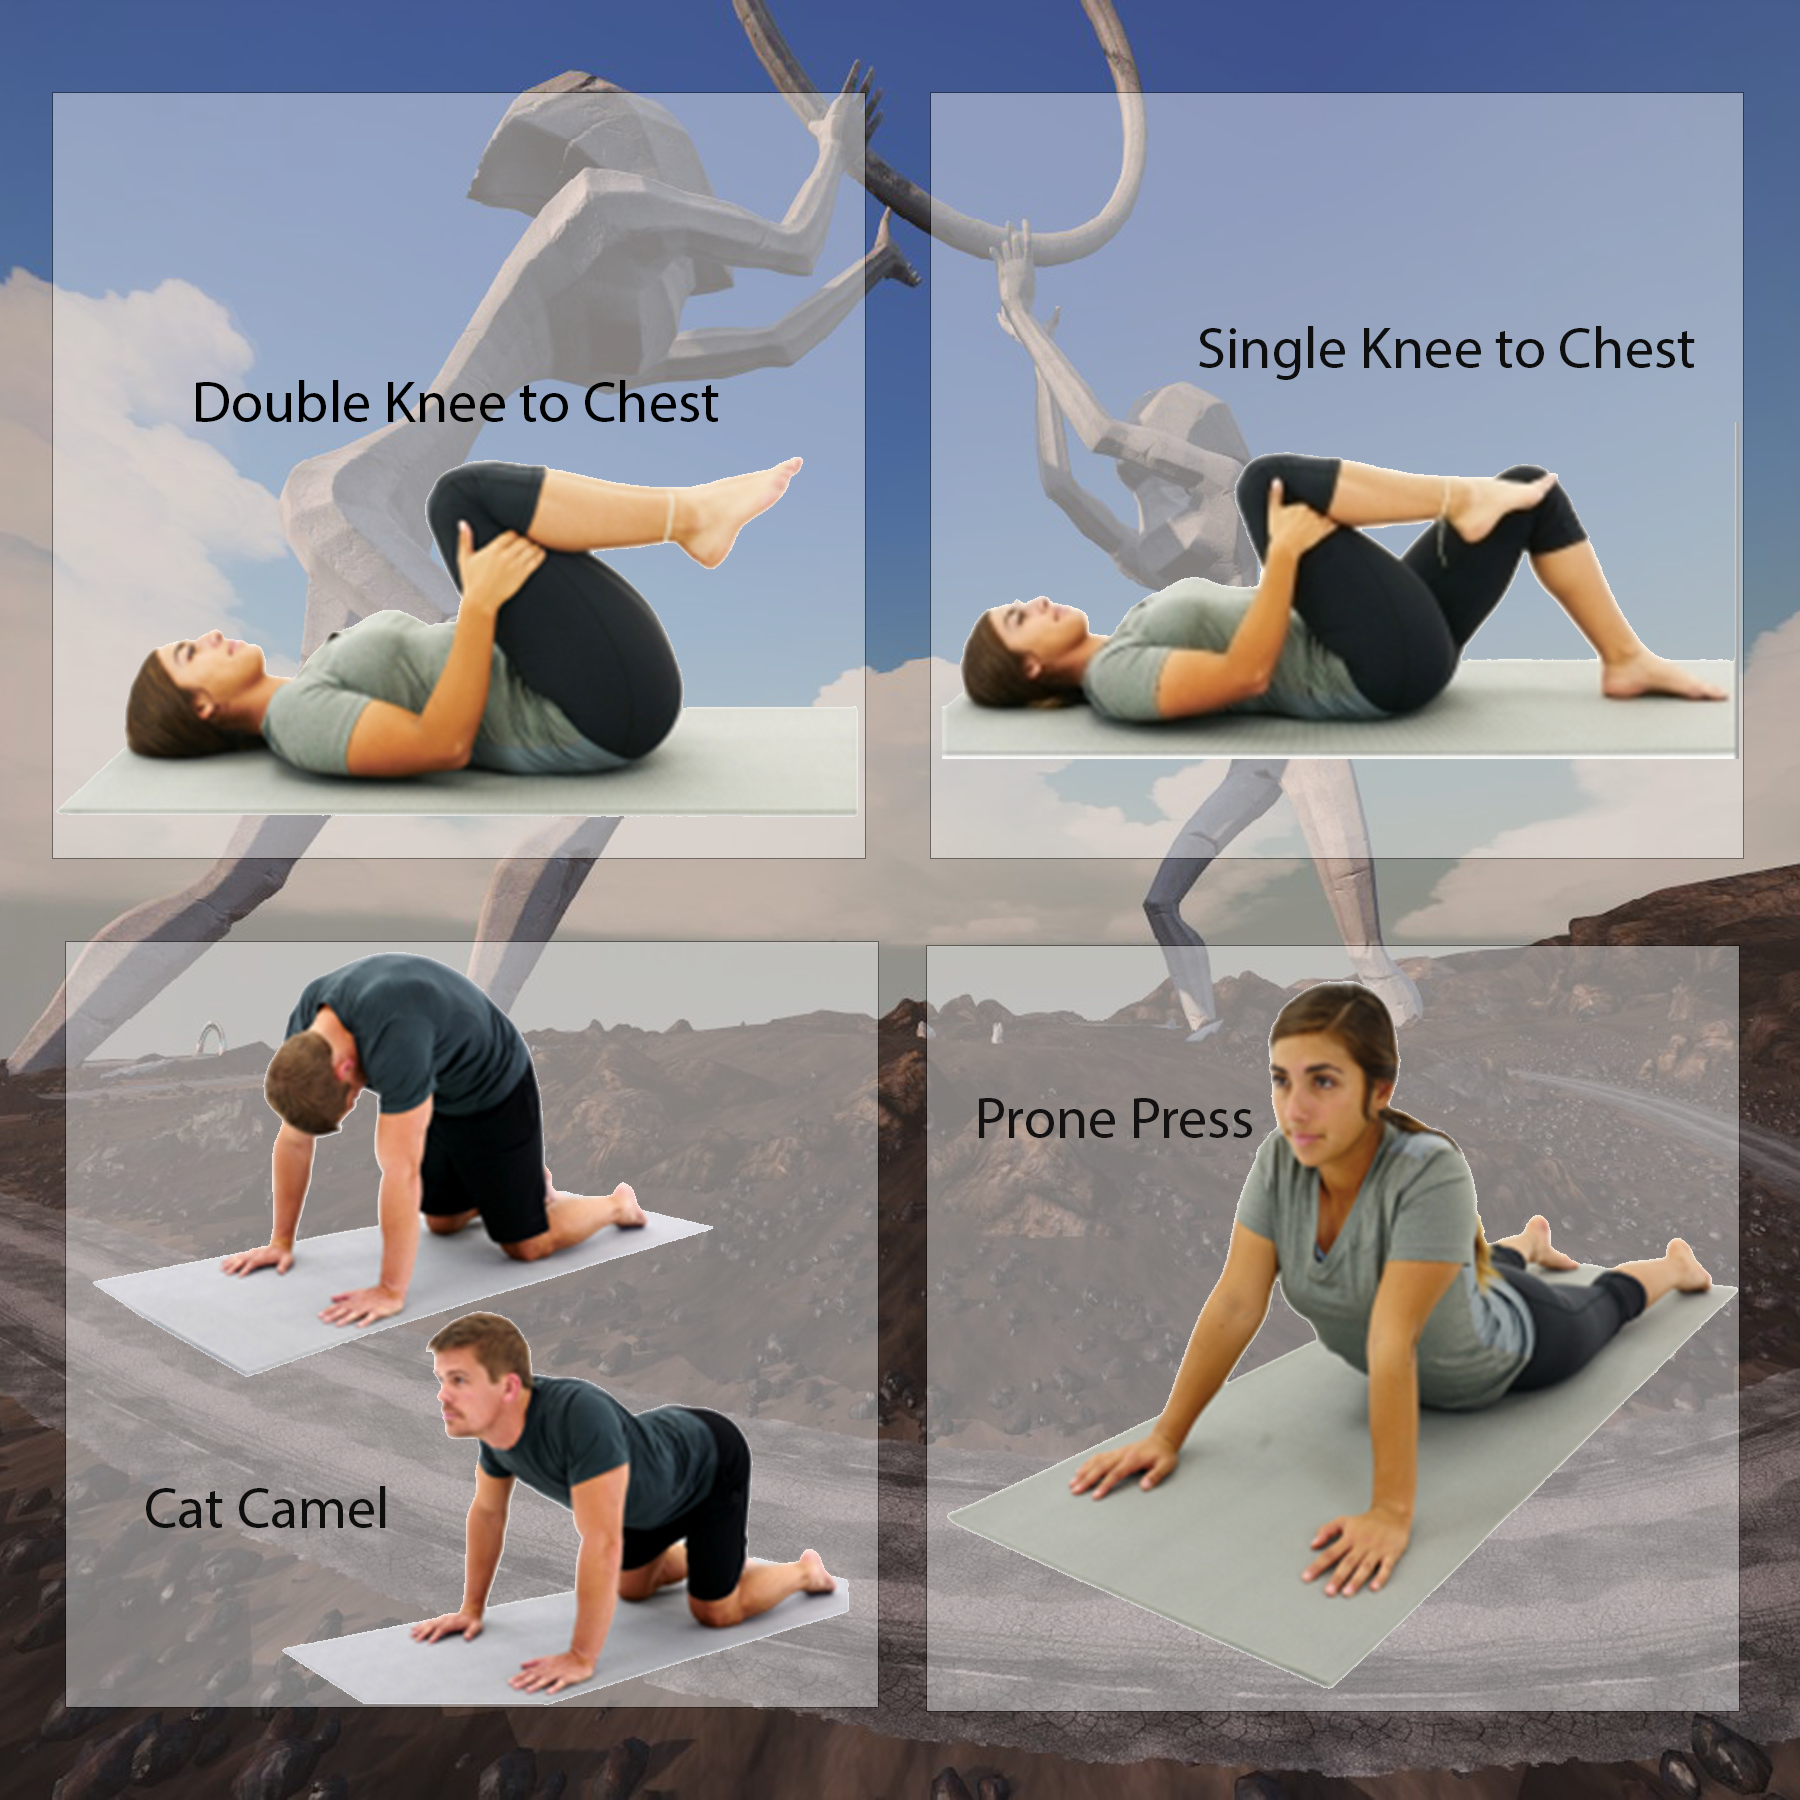
Find the Zwift Insider Lower Back Flexibility Program complete with exercise descriptions >
Static Stretching Tips
- Go to point of stretch and hold for 15-30 seconds
- 3 repetitions per exercise
- Don’t bounce!
Strengthening Exercise of the Lower Back
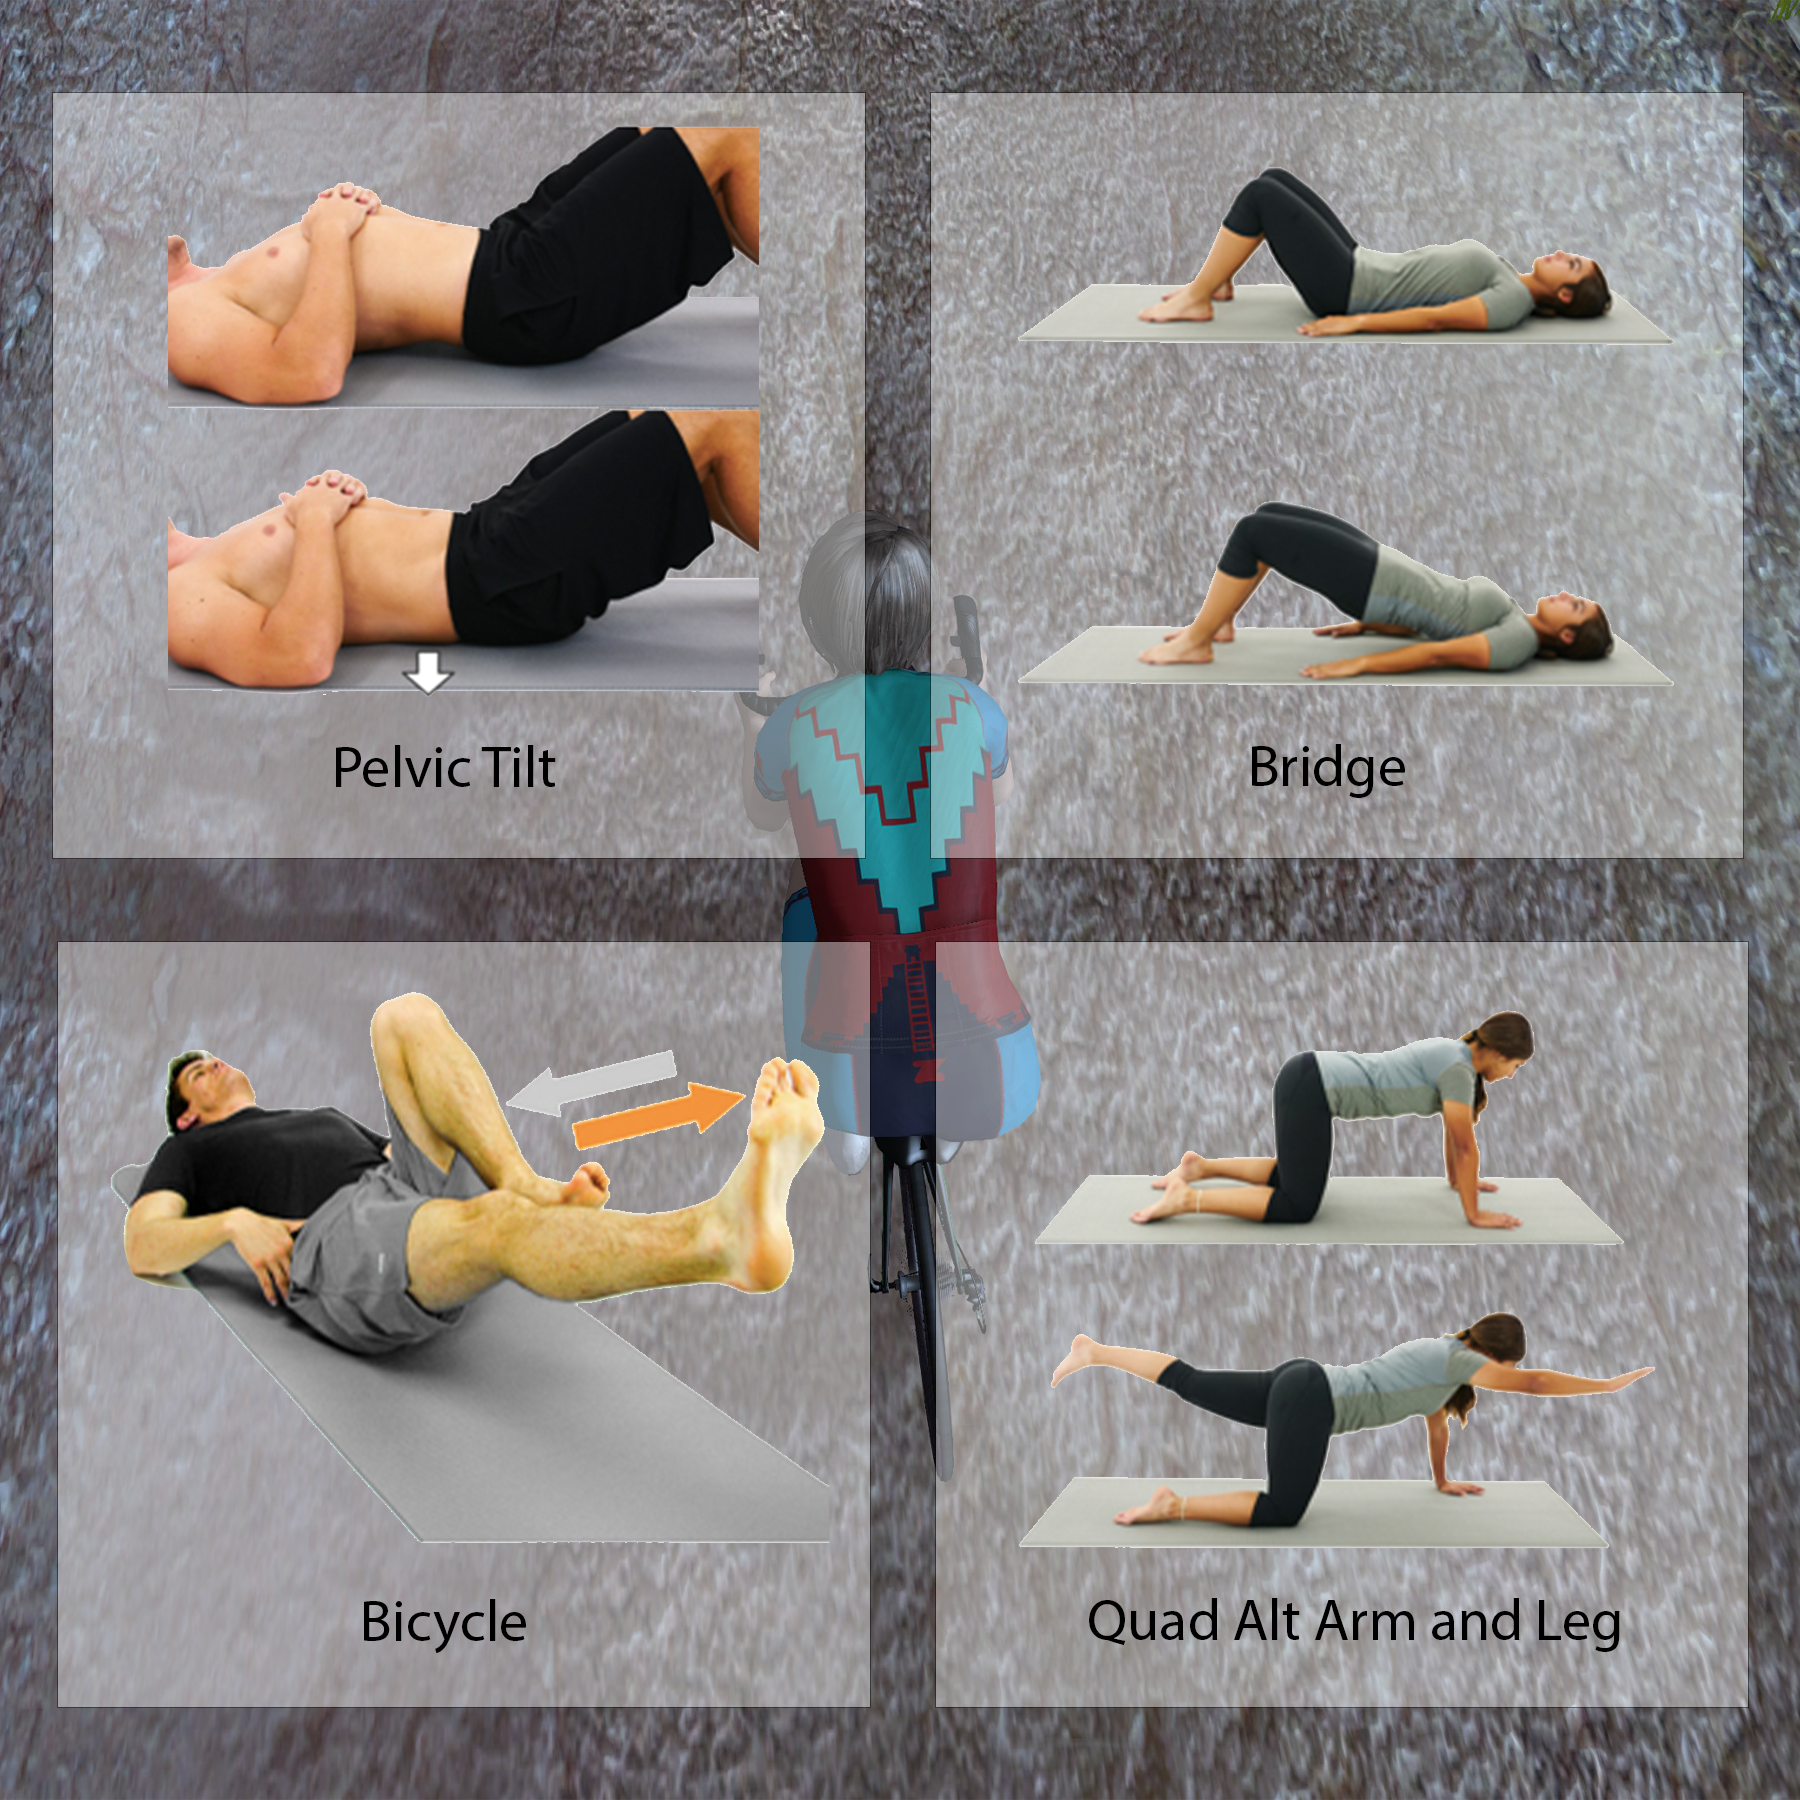
Find the Zwift Insider Lower Back Strengthening Program complete with exercise descriptions >
Strength Training Tips
- Perform 3 sets of 15 repetitions to start
- Don’t perform if experiencing severe sharp pain (PRICE)
- Increase intensity by adding weight or increasing repetitions
- Strict form is essential!
Foam Roll Recovery Techniques

Find the Zwift Insider Lower Back Foam Roller Program >
Foam Rolling Benefits and Technique
- Improves circulation to enhance muscle recovery
- Relieves muscle tension to improve flexibility
- Roll slowly and when you find a tender spot, focus in on it by rolling back and forth until you feel it soften or release
The Follow-Up Appointment
Stay tuned, as in the next edition of this series I will address cycling pathology of the lower leg and foot. We will examine active intervention measures to keep you riding, training, and racing at your best!
What Do You Think?
Now that you are aware of the importance of having a strong trunk, would you be inclined to add a core strengthening program to your weekly training routine? If yes, would you like to see this topic addressed through more advanced stabilization exercises in future installments?