Home Blog Page 433

How to Pace Your Best Zwift Bologna TT Race

12

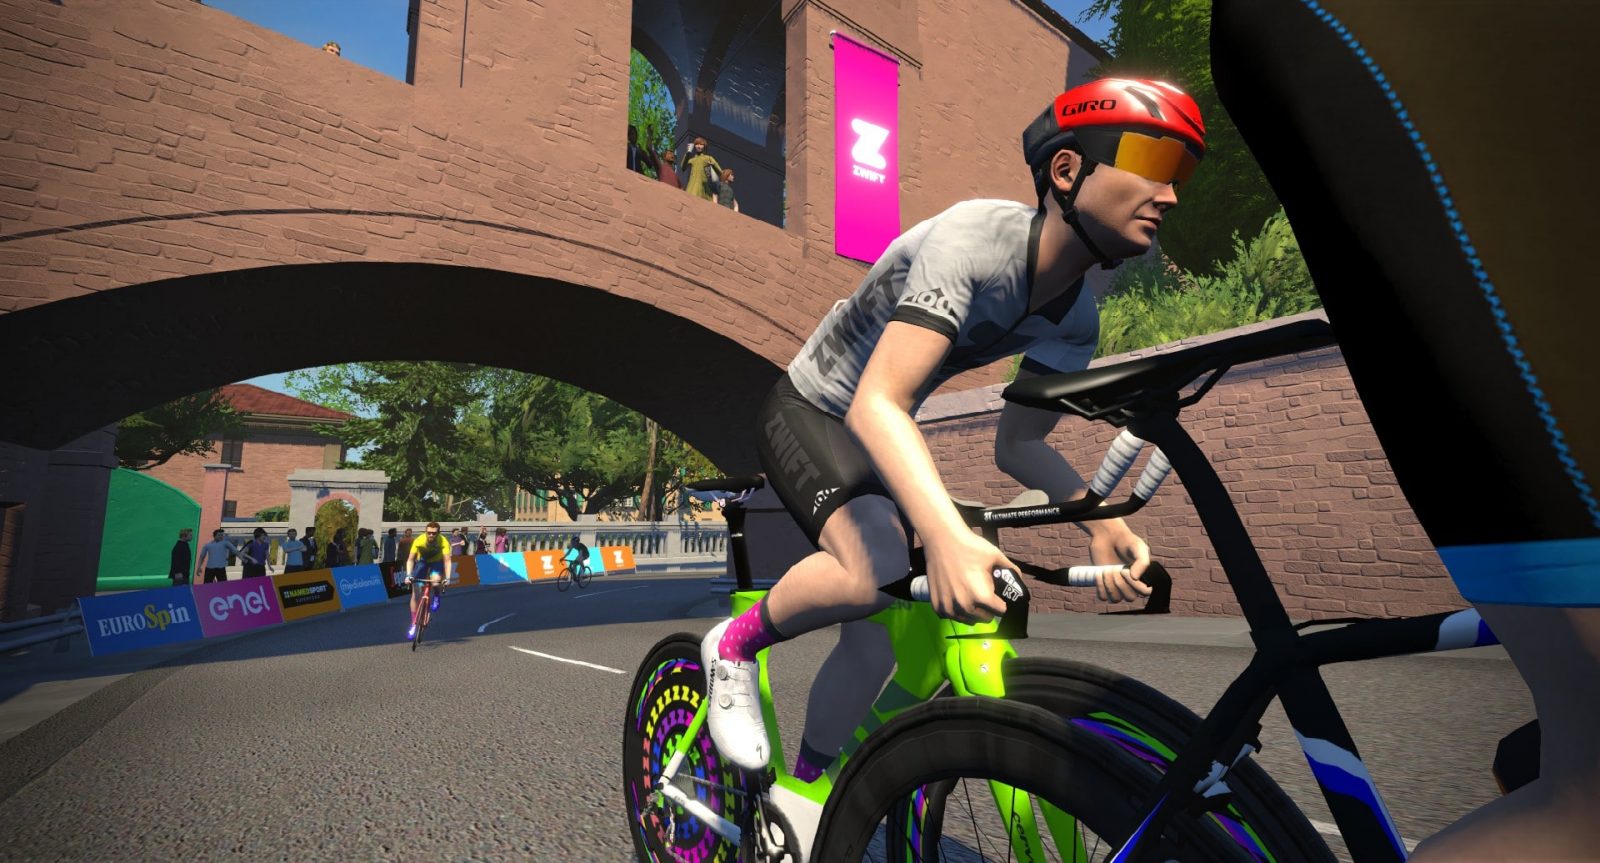
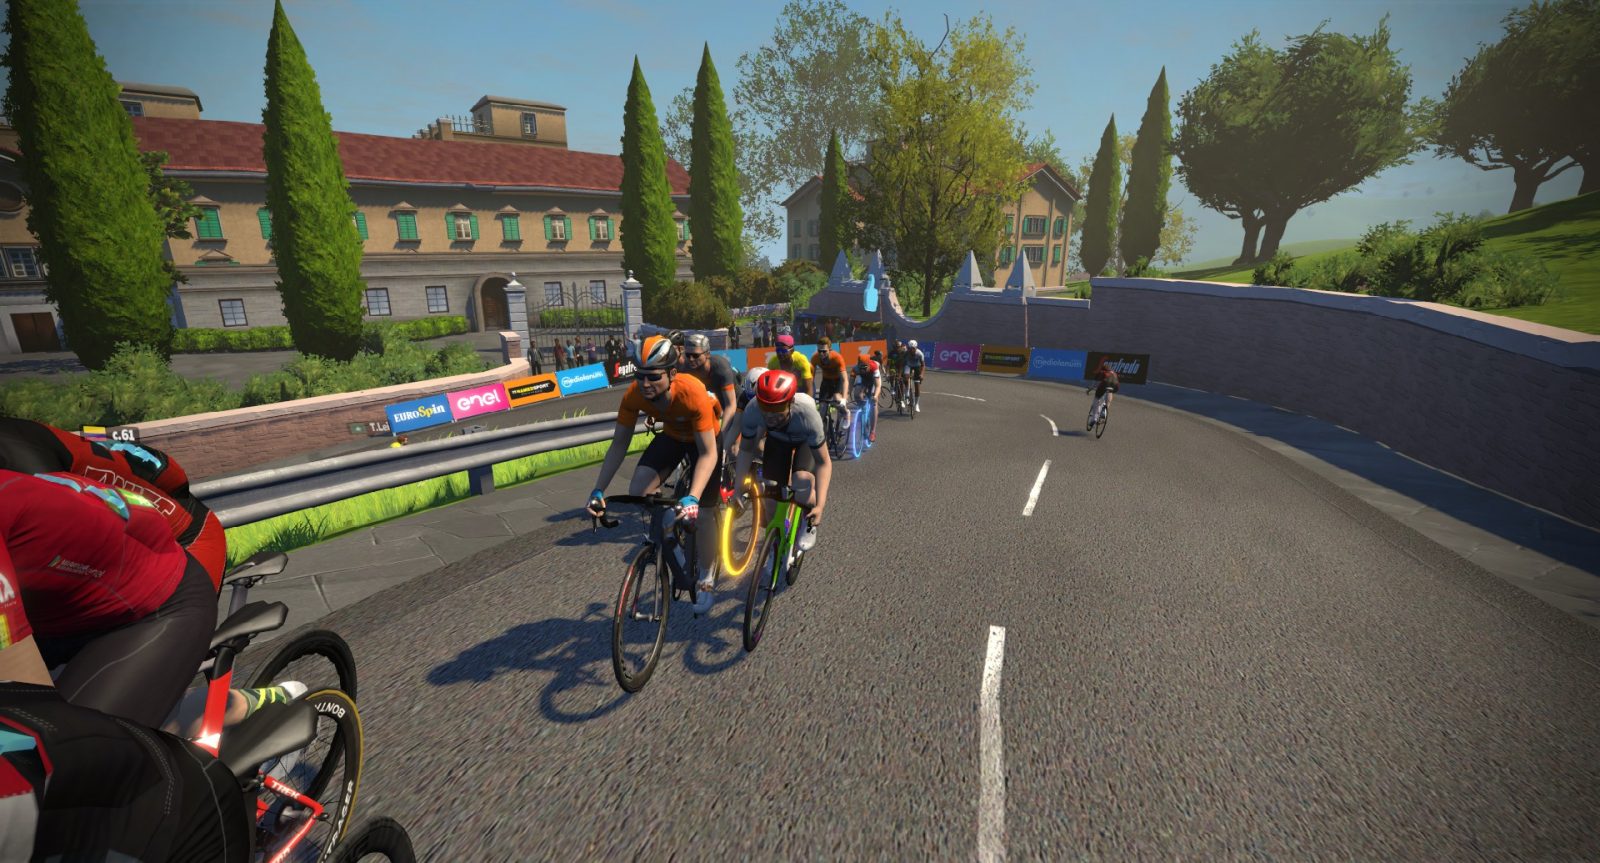
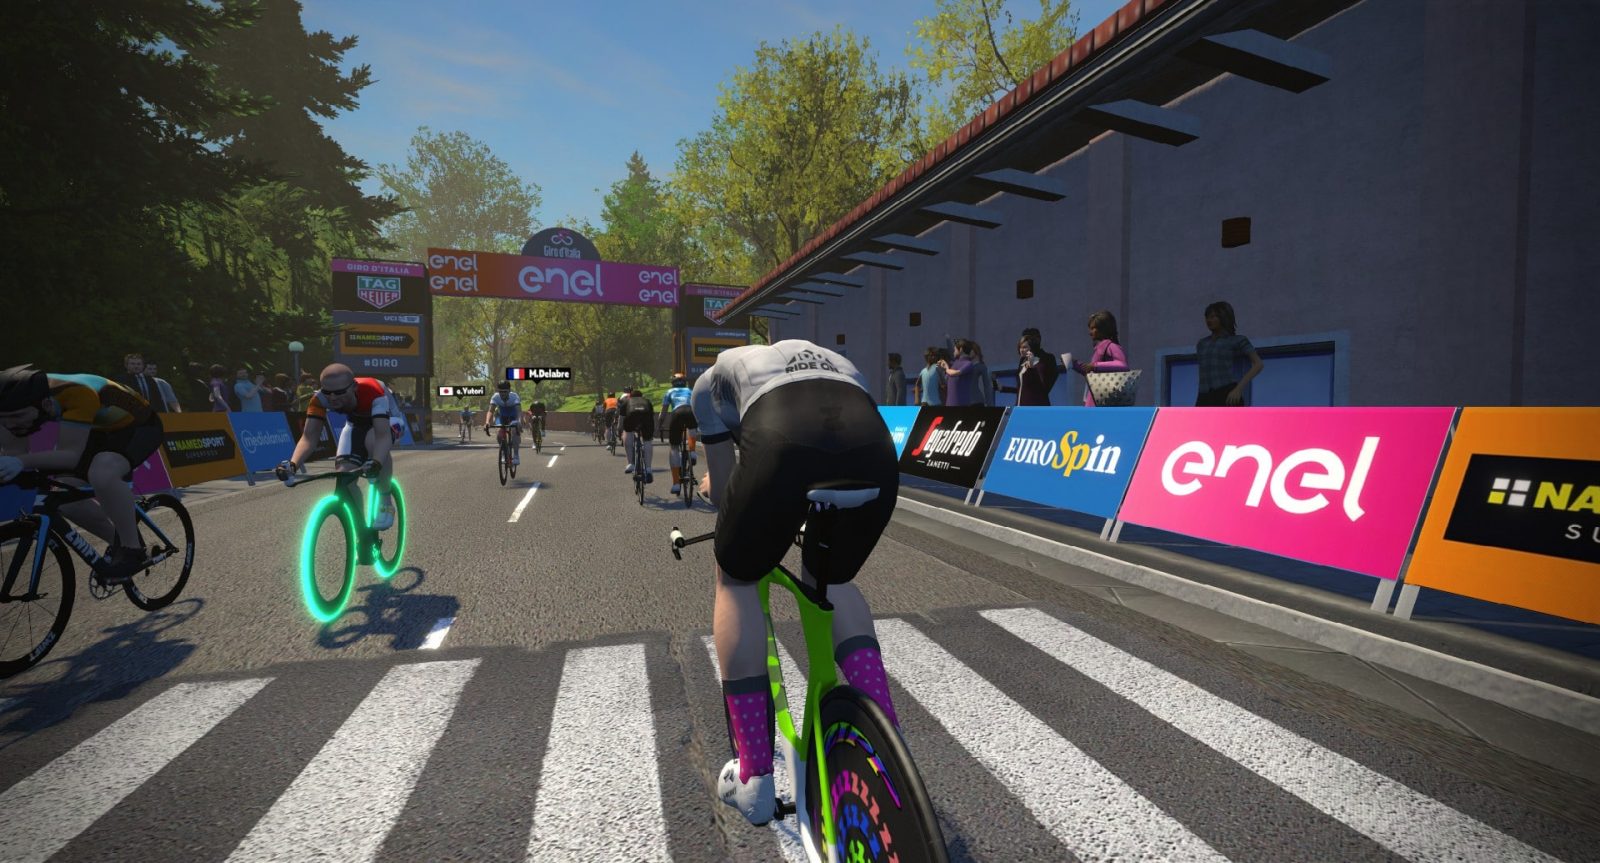
Yes, we’ve tested various frame/wheelset setups to see which one(s) deliver the best performance on Zwift’s new Bologna TT routeread our post about that here. But remember: just like racing outdoors, equipment tweaks only achieve marginal gains.

Want to turn in your very best performance on this route? You’ll need to give some thought to perfecting your pacing strategy. Here’s a video from our favorite Lama down under, Shane Miller (who happens to be a very experienced TT racer outside):

TT Pacing Basics

“Go hardest when you’re going slowest.” That is Shane’s basic strategy, and it’s backed by basic physics. The faster you are moving, the more power it takes to further increase your speed. So if you want to trim time, speed up your slowest section(s).

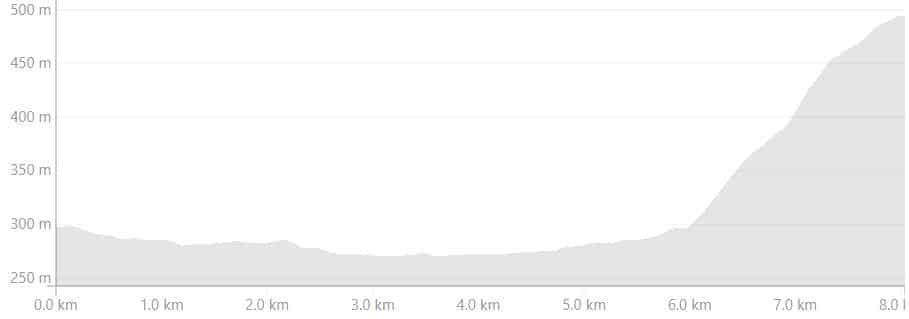
For the Bologna TT route in particular, the strategy can be summarized as riding slightly below threshold for the flat portion (first 6km), then above threshold for the climb (final 2km). For fairly strong riders (let’s say, B category and higher) this will roughly result in you riding under threshold for the first half of your ride (timewise) and over threshold for the second half.

This actually works out nicely as an illustration of proper pacing strategy. Let’s look at some numbers from BikeCalculator.com which illustrate why this strategy works:

  • On flat ground, 300 watts will have you traveling at 40.07kph. Bump your effort up by 10% to 330 watts and your speed will increase to 41.51kph–a 3.6% speed increase, or approximately 19 seconds faster over Bologna’s flat 6km.
  • On a 10% grade, 300 watts will have you traveling at 12.31kph. Bump your effort up by 10% to 330 watts and your speed will increase to 13.48kph–a 9.5% speed increase, or approximately 50s seconds faster up Bologna’s 2km climb.

So you can see, it makes good sense to conserve a bit on the flats so you can go over threshold for the climb.

Want a more precise race plan? Shane shows in the video above how you can use BestBikeSplit.com to create a precise race plan for your fitness level.

How Much Faster?

In Shane’s test, applying the BestBikeSplit strategy resulted in a time of 17:36. However, if Shane held a steady effort, his time was 18:15.

Both efforts averaged 292 watts, but the optimized pacing shaved 39 seconds off his overall time. That’s huge!

Hopefully this insight helps you smash your next TT effort. Go get it!

Bologna “Time Trial Lap” Route Details

Bologna “Time Trial Lap” Route Details

As a GPS-perfect replica of a grand tour stage, this route is a first for Zwift. The Bologna “Time Trial Lap” route is a replica of the Giro d’Italia prologue TT stage raced on May 11, 2019.

Route Profile

The first 3km of this route are actually slightly downhill–enjoy it while it lasts! The next 3km are a false flat. Then you hit the flat right-hand hairpin at 6km it’s a hard 2k climb to the finish.

The climb averages 9.6%, with a total elevation gain of 198m (649′).

Most Zwifters spend roughly half of their race on the flat portion of the course, and half on the climb. For pacing tips on this route read “How to Pace Your Best Bologna TT Race“.

Sightseeing

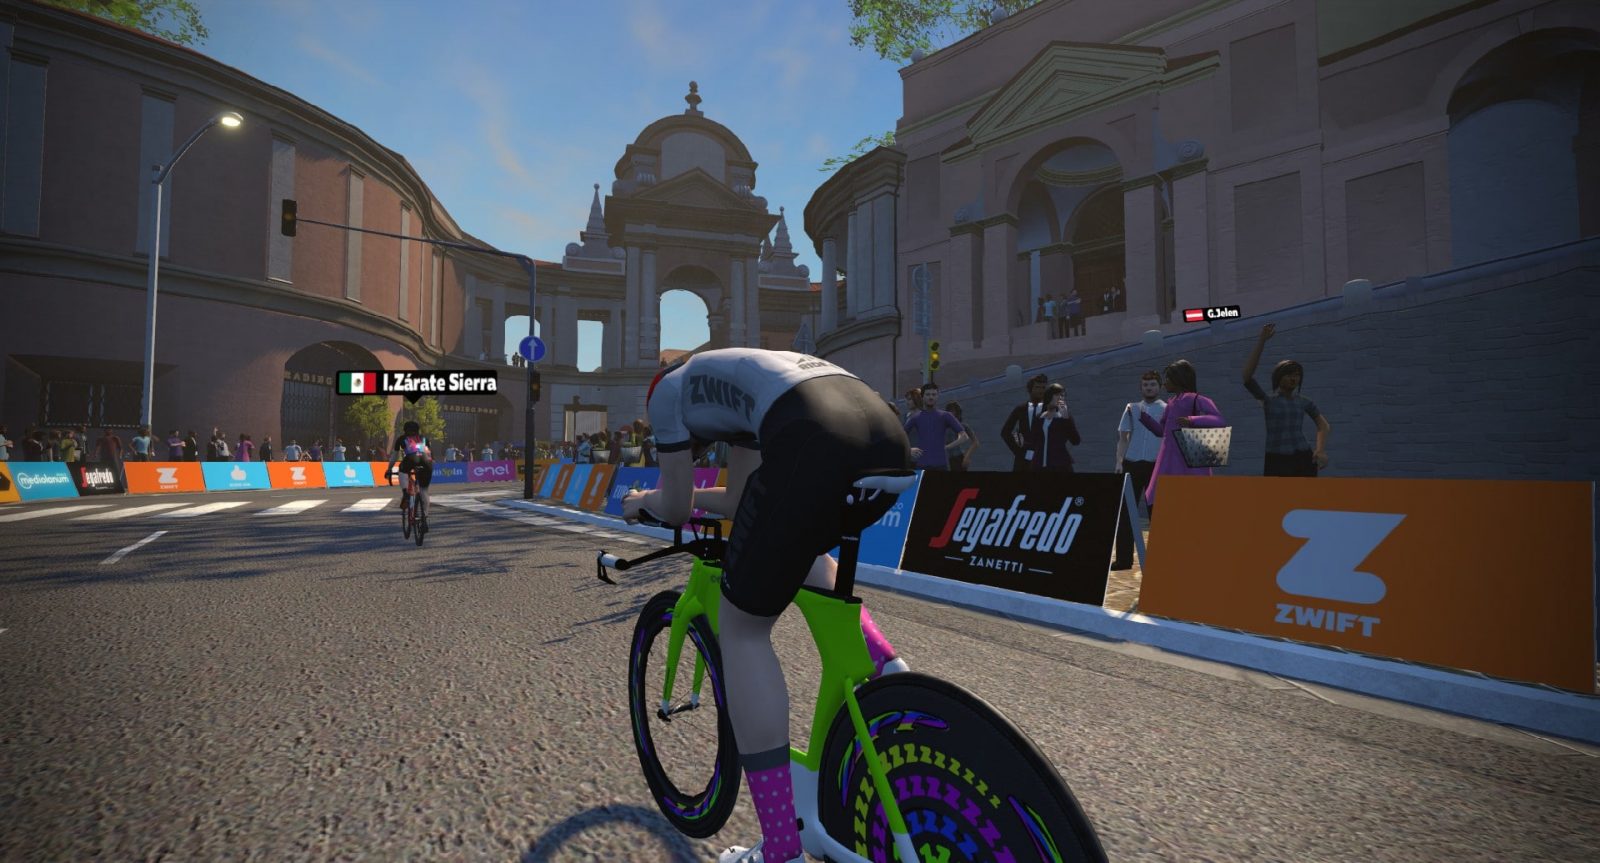
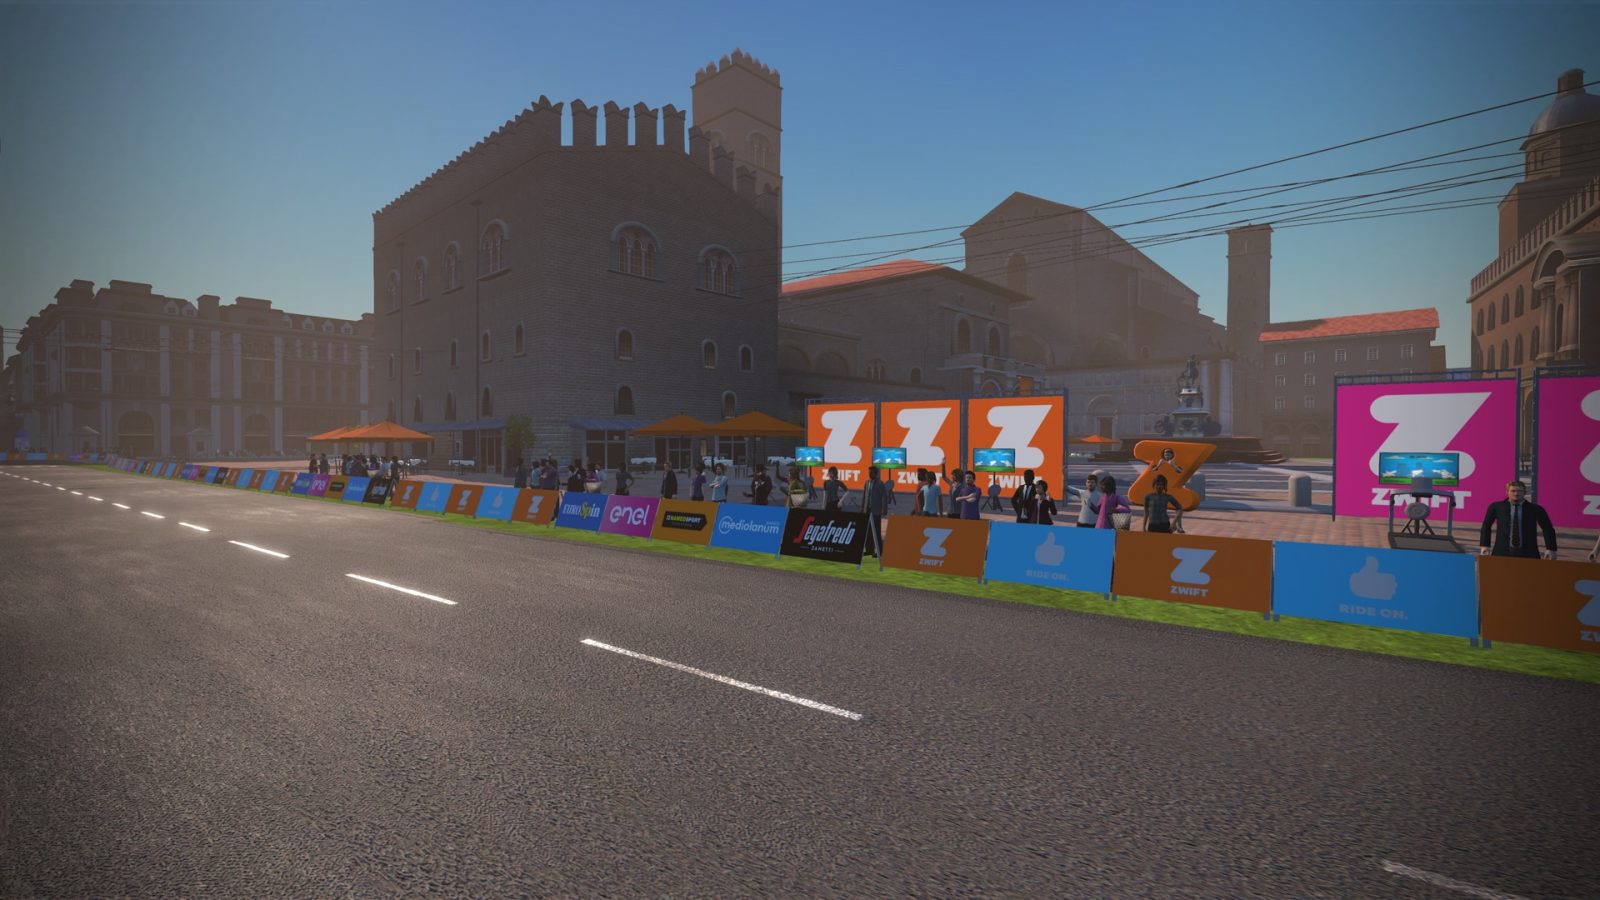
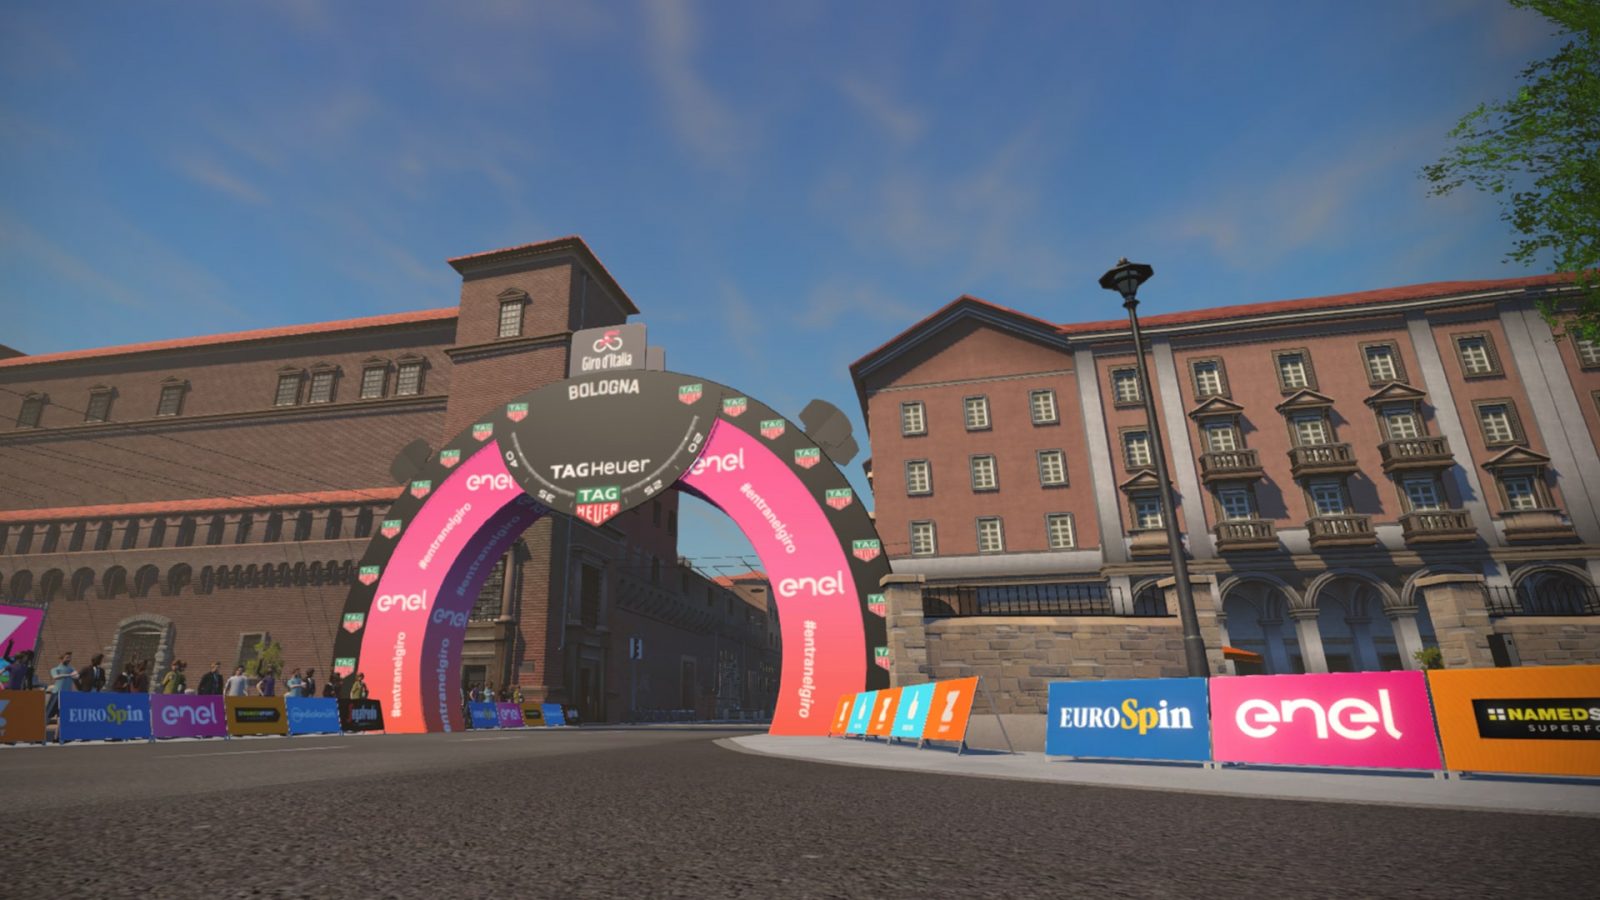
If you aren’t half-blind from an all-out effort you can enjoy some of the landmarks painstakingly recreated by Zwift’s artists. We begin at Piazza Maggiore, which is the main square in the heart of Bologna. Other sights here include the Basilica di San Petronio and Fountain of Neptune.

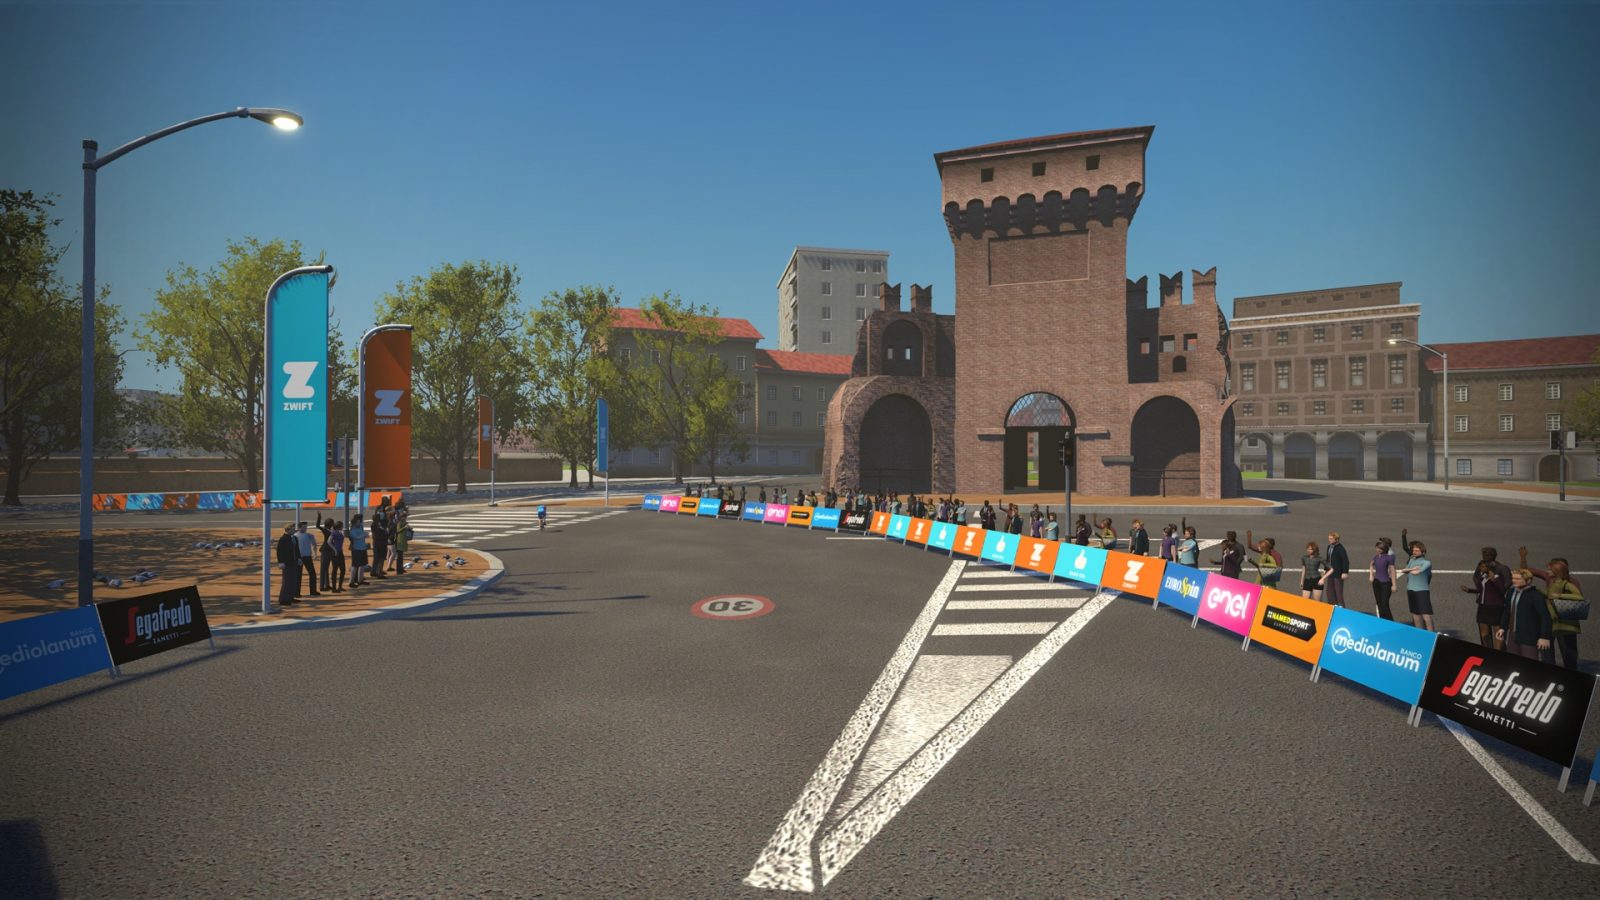
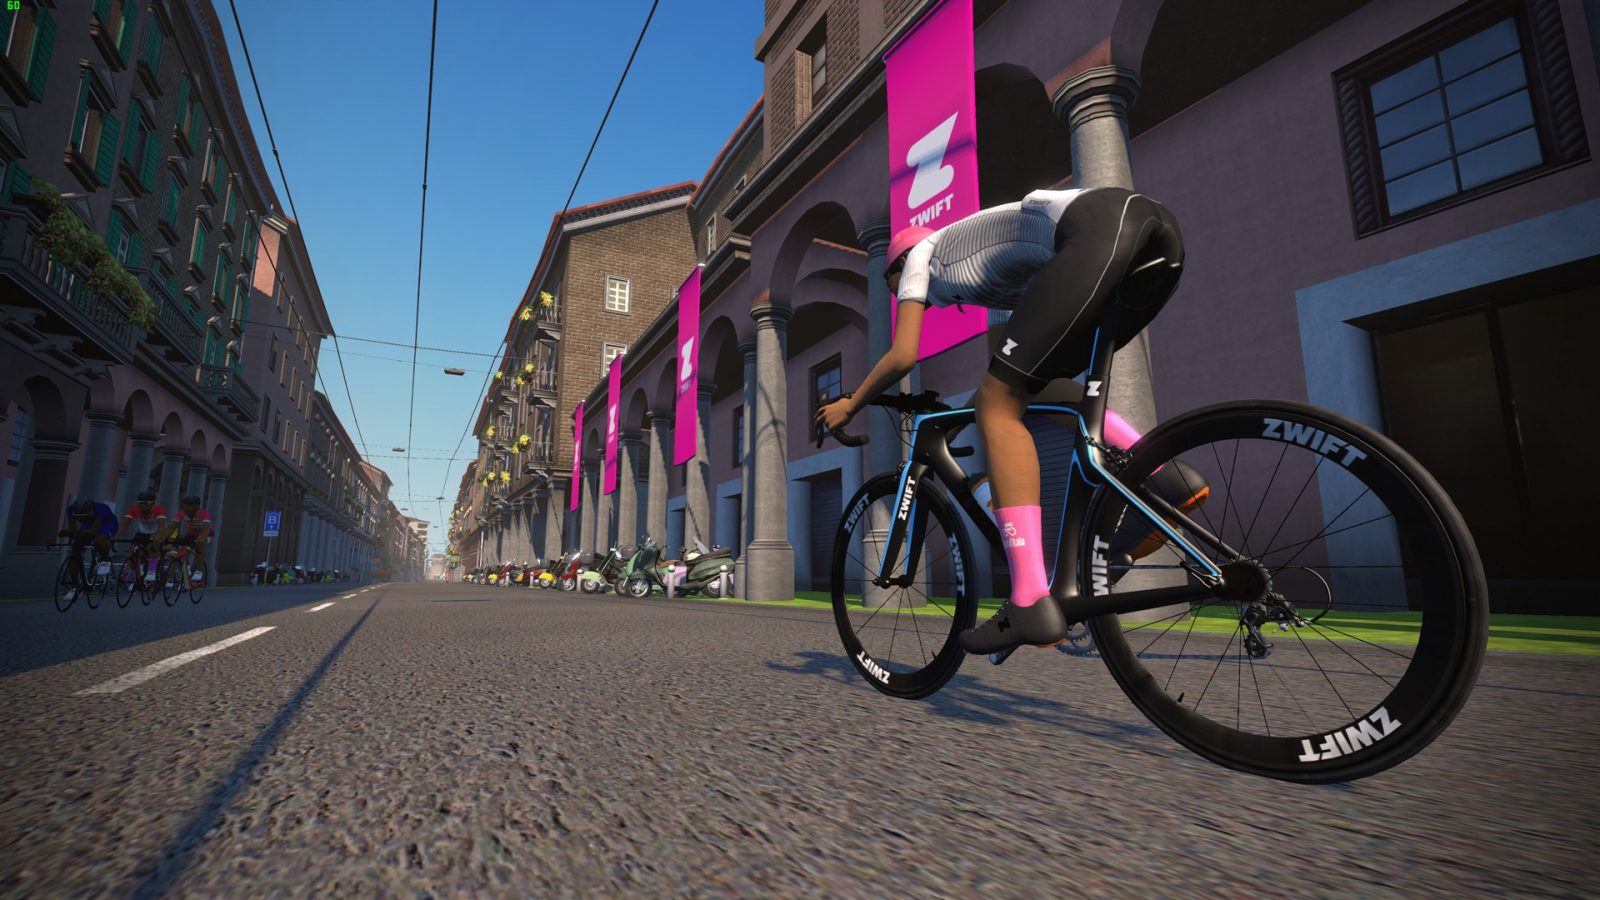
Next, we cover some cobbled streets lined with arcades, past Porta San Felice (the westernmost gate of medieval Bologna).

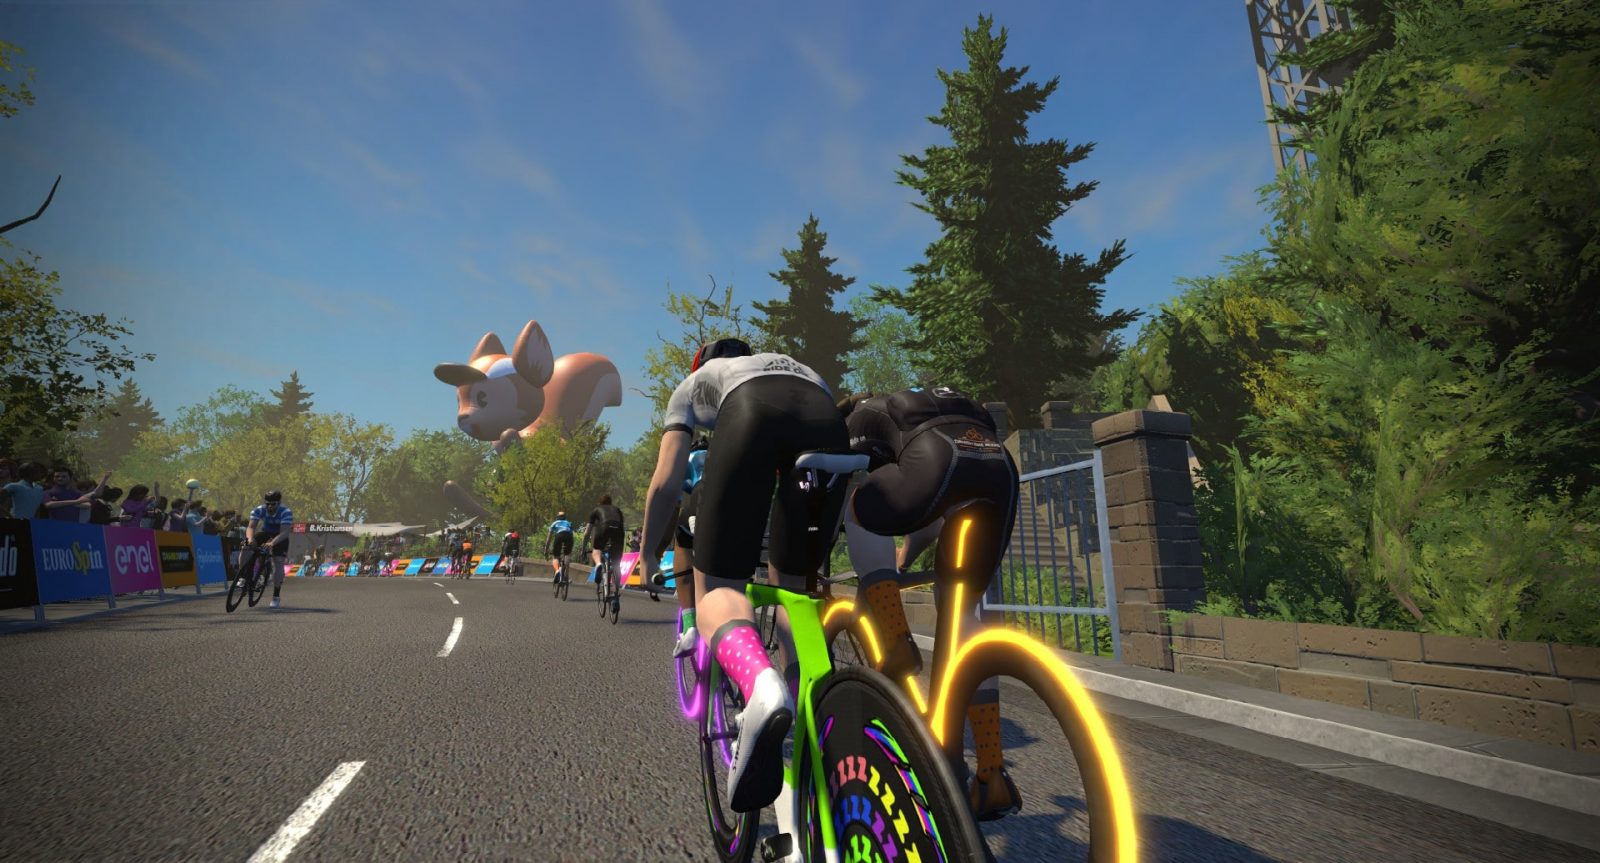
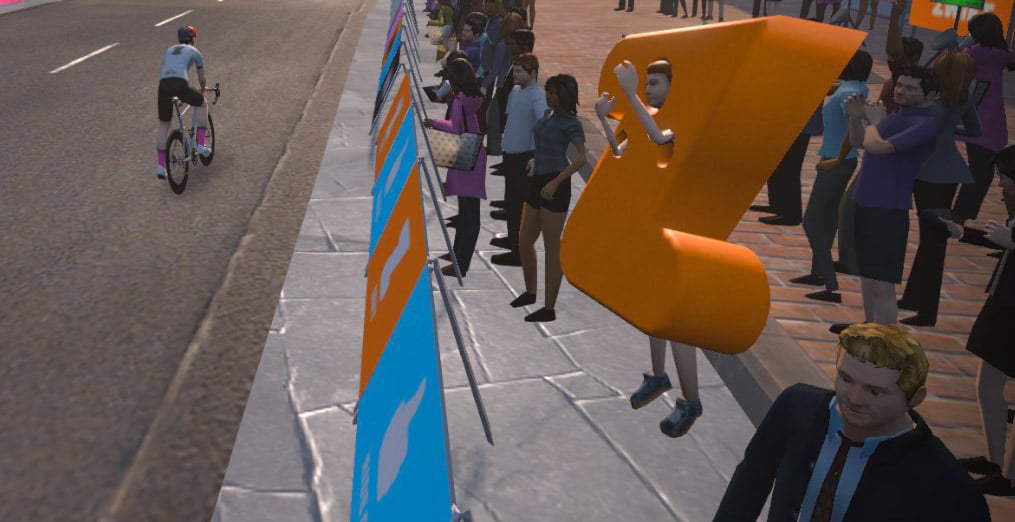
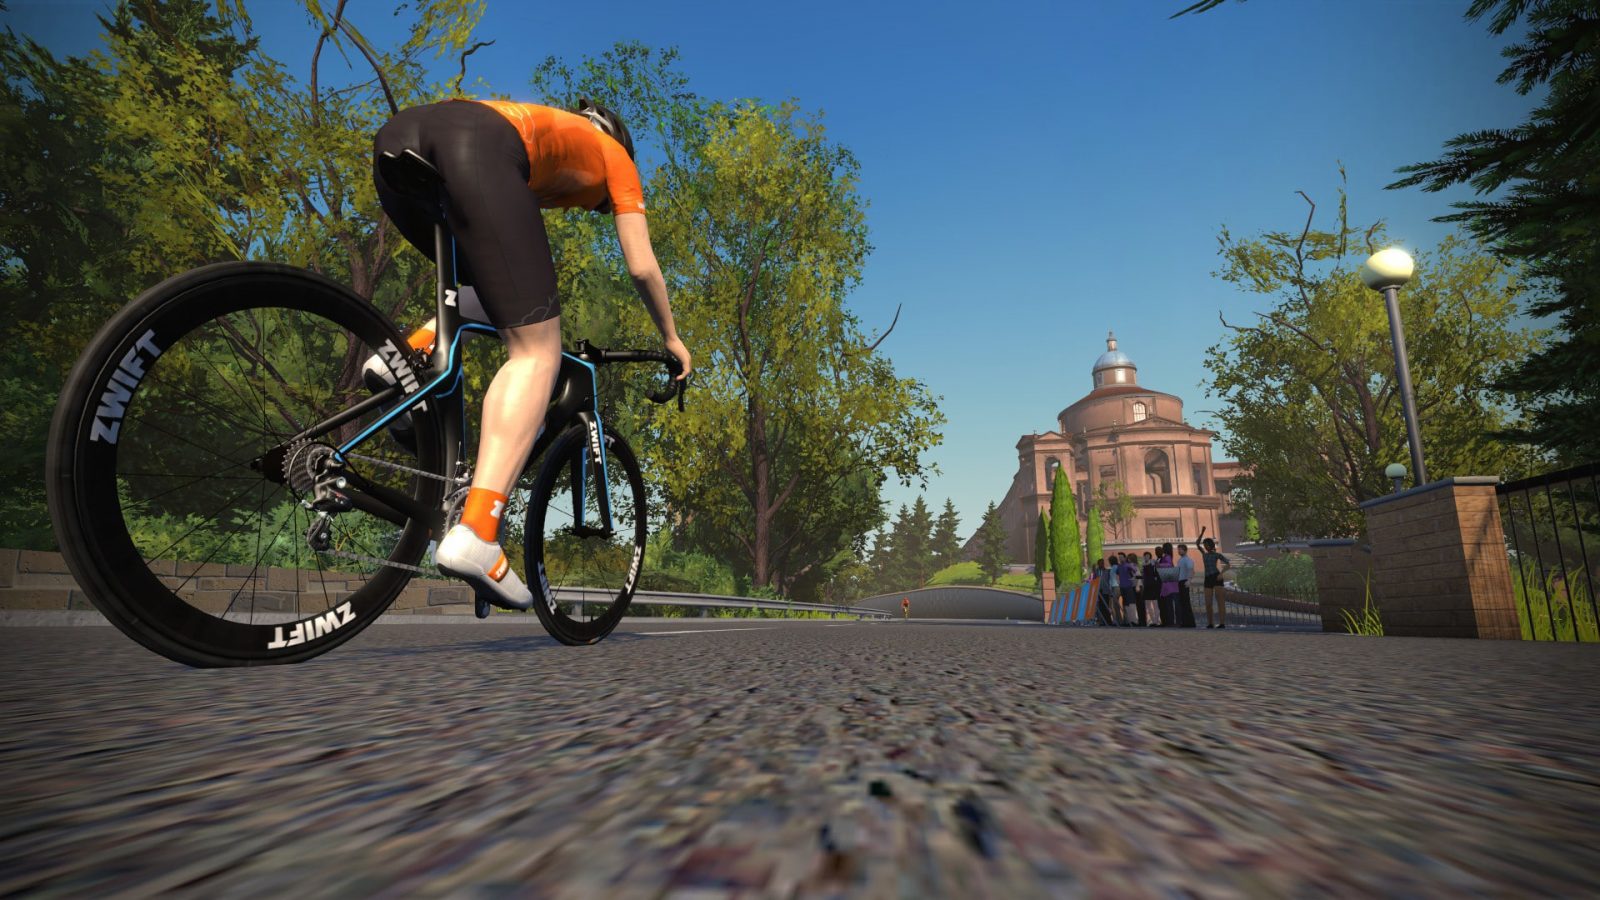
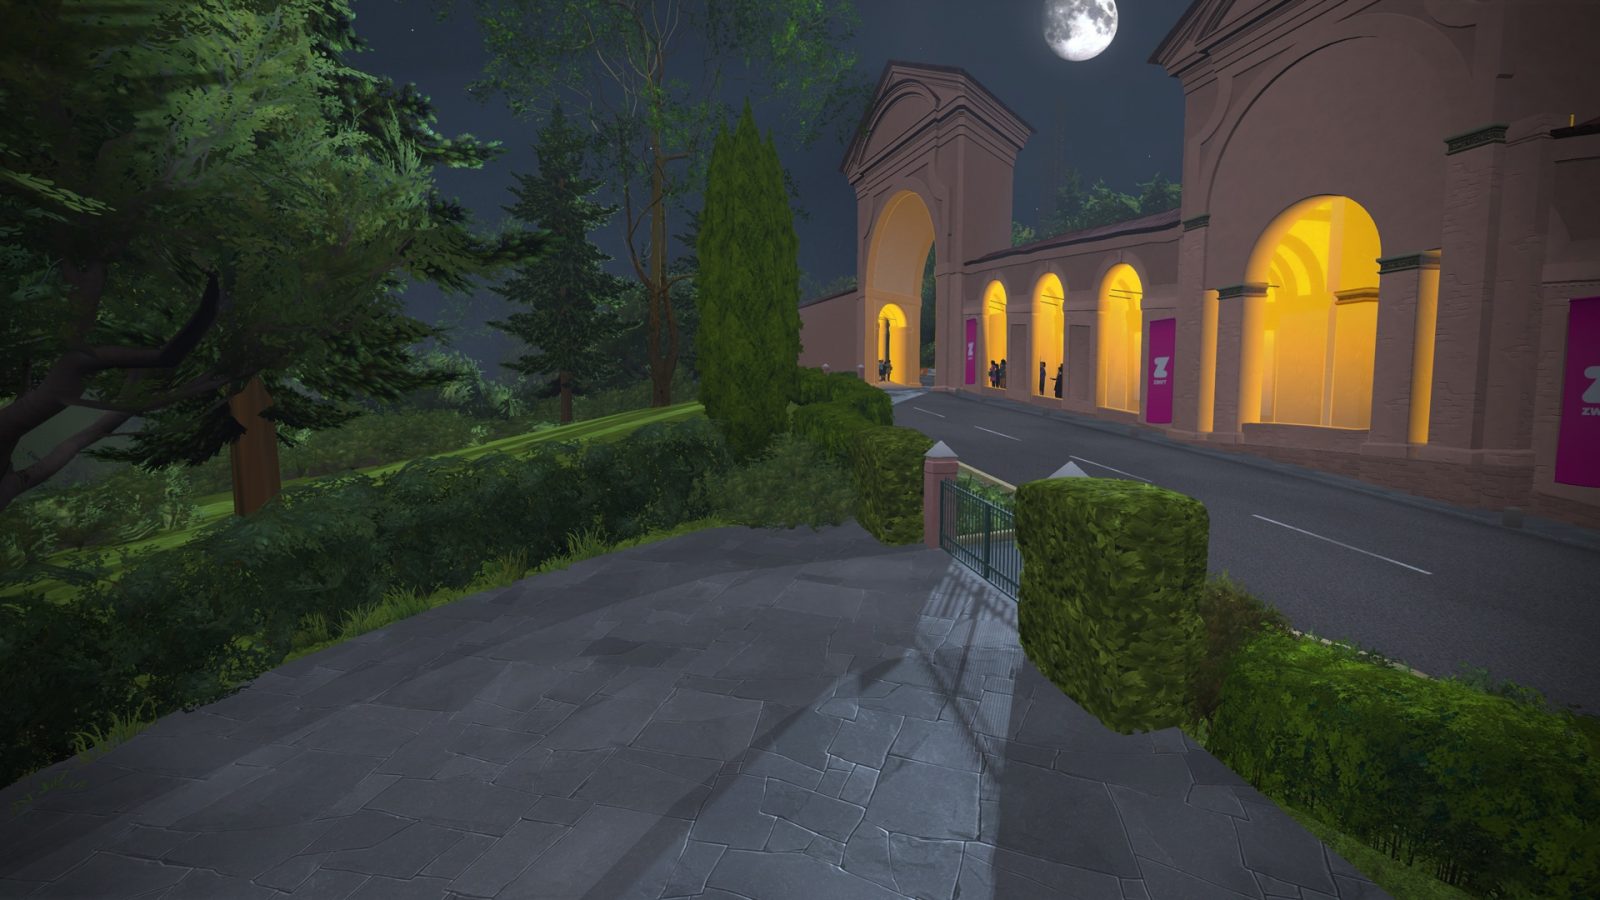
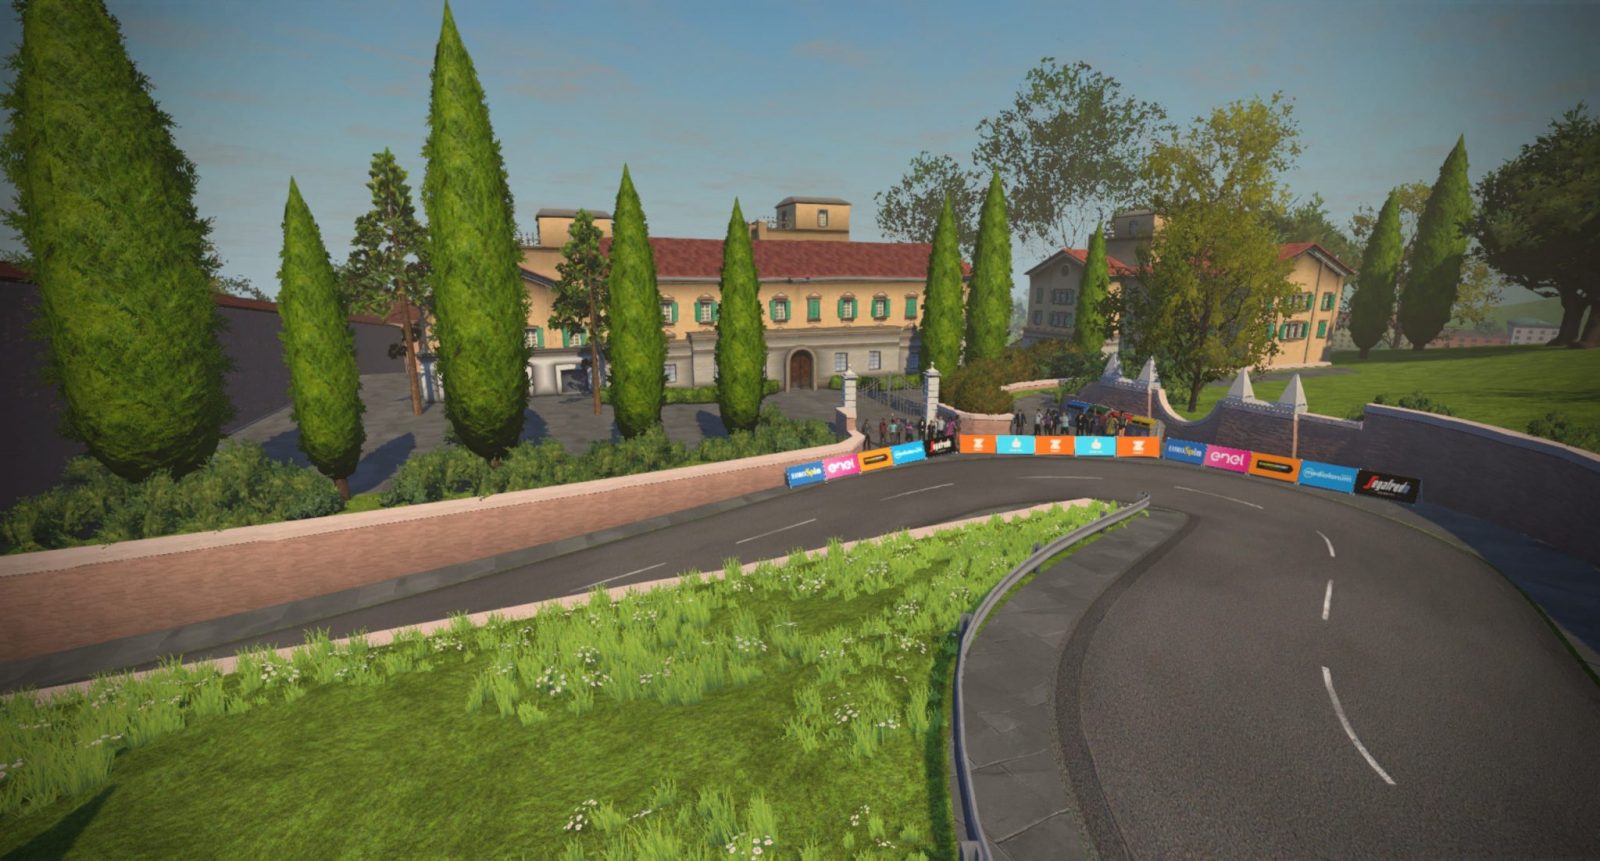
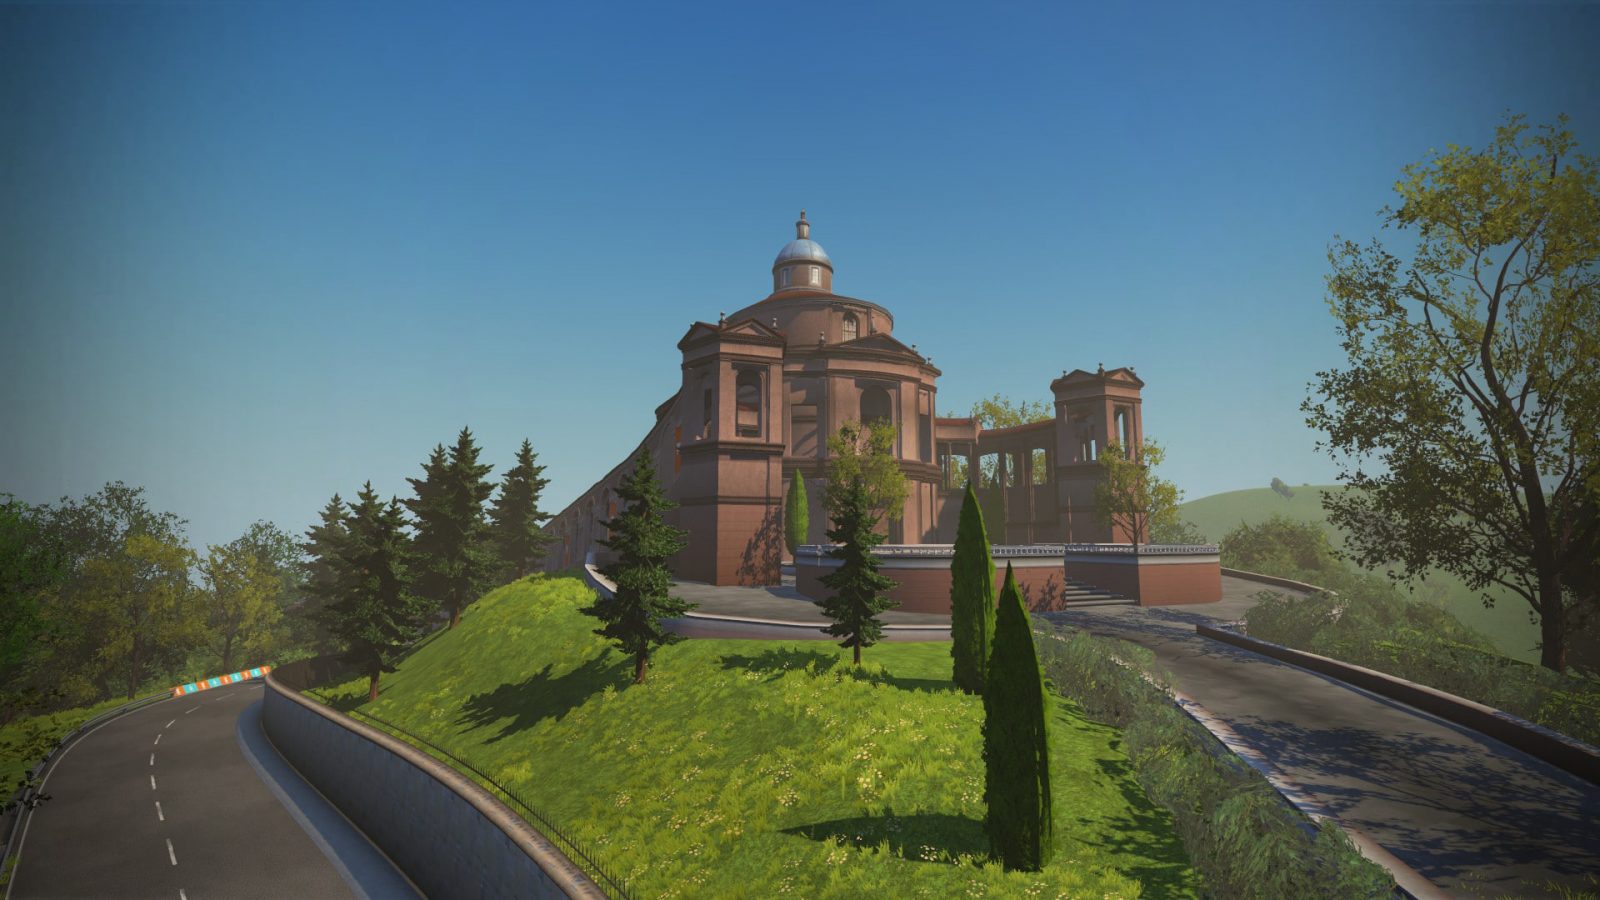
The climb begins at Arco del Meloncello with a sharp right hairpin. You’ll know you’re halfway up the climb when you hit another right hairpin and go under the stone arch. When you see the Sanctuary of the Madonna di San Luca you’ll know you’re almost there. And when you see the giant Scottie inflatable, give it all you’ve got over the line!

About Multi-Lap Events

Single-lap events on this route are straightforward enough: it’s 8km (5 miles) long, beginning at the start line and ending at the top of the climb.

But what about multi-lap events? Many races held on Bologna TT are 2-lap events, but that’s a rather confusing way to describe them. The best way to understand this is to know that a “lap” on Bologna TT is just one time riding from the start to the hilltop finish. Descending back to the start line isn’t counted as a “lap” in any way.

Therefore, a 2-lap event on this route means you still begin at the standard start line, climb to the top, descend down to the start again, turn around, then climb to the top once more. Your event will end atop the second climb, for a total length of 24km (15 miles).

Event Only

Bologna TT is an event-only course, meaning you can only get on the course if you join an event being held there.

Want to free-ride the course? Join the event, then click to leave the event. You will remain on the course after leaving the event.

Route Details

Distance: 8km (5 miles)
Elevation Gain: 230m (757′)
Strava Segment Strava Segment (Reverse) Strava Segment (Out and Back) Strava Segment (Flat Only) Strava Segment (Climb Only)


Watopia “Whole Lotta Lava” Route Details

Watopia “Whole Lotta Lava” Route Details

Watopia’s “Whole Lotta Lava” began as an event-only route on Zwift, meaning it was only available for use in events and could not be ridden on a freeride or individual workout. But that changed around May 11, 2019, when Zwift released an update which made this challenging route available in-game.

Route Description

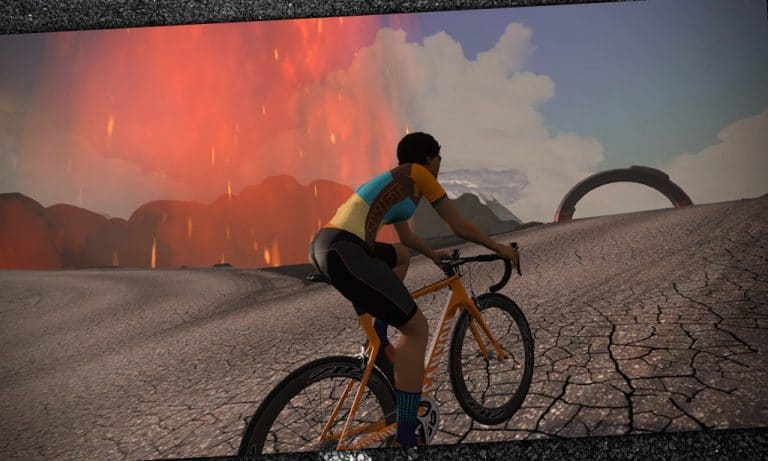
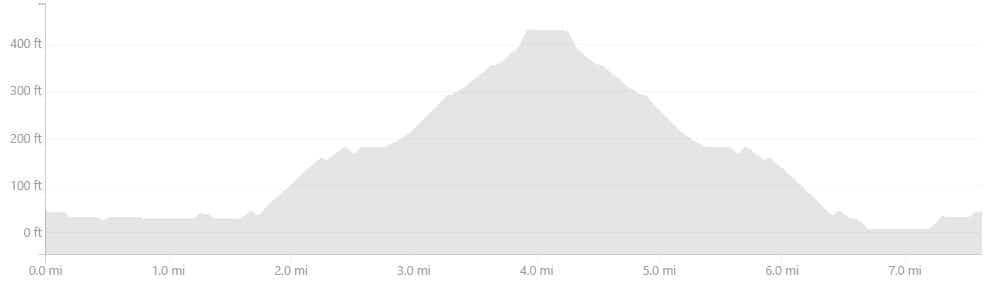
In terms of profile, this route divides up nicely into thirds: one-third flat, one-third climb, one-third descending.

We begin with a 4.6km (2.9 mile) lead-in from the starting pens (Strava segment here).

Once you ride through the Volcano Circuit start/finish banner the actual route begins, taking you around 3/4 of the standard Volcano Circuit CCW route. But instead of completing the circuit you’ll hang a left onto the Volcano KOM, ride up to the top, then descend back to sea level. Only then is it time to complete your Volcano Circuit CCW lap!

When you ride through the start/finish banner you’ve completed one lap of “Whole Lotta Lava”. Most events on this route are 2-4 laps in length.

Route details:
Distance: 12.3km (7.63 miles)
Elevation Gain: 153m (503′)
Strava Forward Segment


Innsbruck “KOM After Party” Route Details

Innsbruck “KOM After Party” Route Details

“Innsbruck KOM After Party” is an event-only route on Zwift, meaning it is only available for use in events–it cannot be ridden on a freeride or individual workout.

Route Description

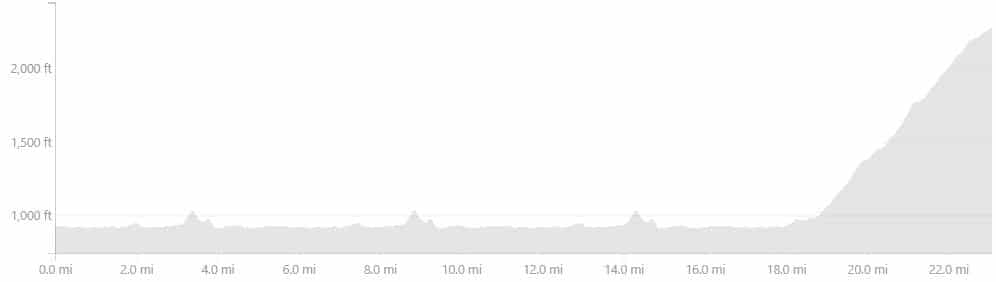
In terms of profile, this ride is essentially ~30km (18 miles) of flat followed by a solid climb up the Innsbruck KOM. This makes for exciting race possibilities as riders with more pure power work to drop climbers in the early flat portion, while climbers claw back time on the final KOM.

We begin with three laps of Innsbruckring. This portion is quite flat, except for the famed “Leg Snapper” climb which is short but steep enough to really hurt in a multi-lap race.

After those three laps, we head out into the countryside for a ride up the KOM. This is a solid climb at 7.4km (4.6 miles) long with 400m (1311′) of climbing. The route finishes at the KOM banner, but why not keep going and enjoy the 5.7km (3.6 miles) descent? You’ve earned it!

Route details:
Distance: 37.2km (23.1 miles)
Elevation Gain: 640m (2100′)
Strava Forward Segment


Sebastian Kienle on Staying Motivated (Zwift PowerUp Tri Podcast #6)

Sebastian Kienle on Staying Motivated (Zwift PowerUp Tri Podcast #6)

Staying motivated to train hard every year can be challenging, but when you’re a professional, it’s necessary.

2014 Ironman World Champion, two-time 70.3 World Champion, and three-time European Champion Sebastian Kienle knows a thing or two about this.

In Episode 6, he dives into the demands of staying motivated and goal-setting when you’ve already been on the top. Jordan and Matt also give an exclusive behind-the-scenes look into the creation of the new Watopia expansion and discuss the latest wetsuit brand creating waves.

About the Podcast:

The Zwift PowerUp Tri Podcast is hosted by former pro triathletes Matt Lieto and Jordan Rapp, lending their in-depth knowledge of the multisport to the Zwift Tri audience.


Coached Bike Training: My First Month

Coached Bike Training: My First Month

As explained in my introductory post, this season I’ve decided to jump into bike training with a personal coach. Due to a variety of circumstances I haven’t gotten around to posting my monthly progress reports, so now it’s time to play catch-up!

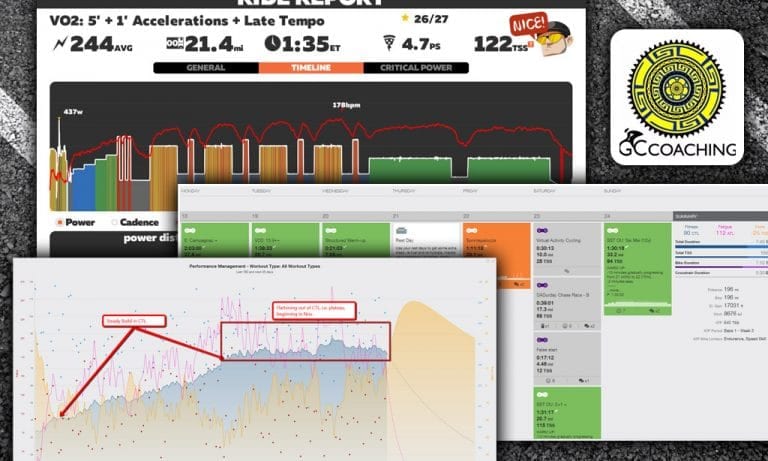
Here’s my report for February, my first month of training with Shayne Gaffney of GC Coaching.

Where I Began

Note: Shayne uses TrainingPeak’s WKO4 software to analyze ride data, and it’s quite an amazing tool. The screenshots and data I’ll discuss here generally come out of WK04.

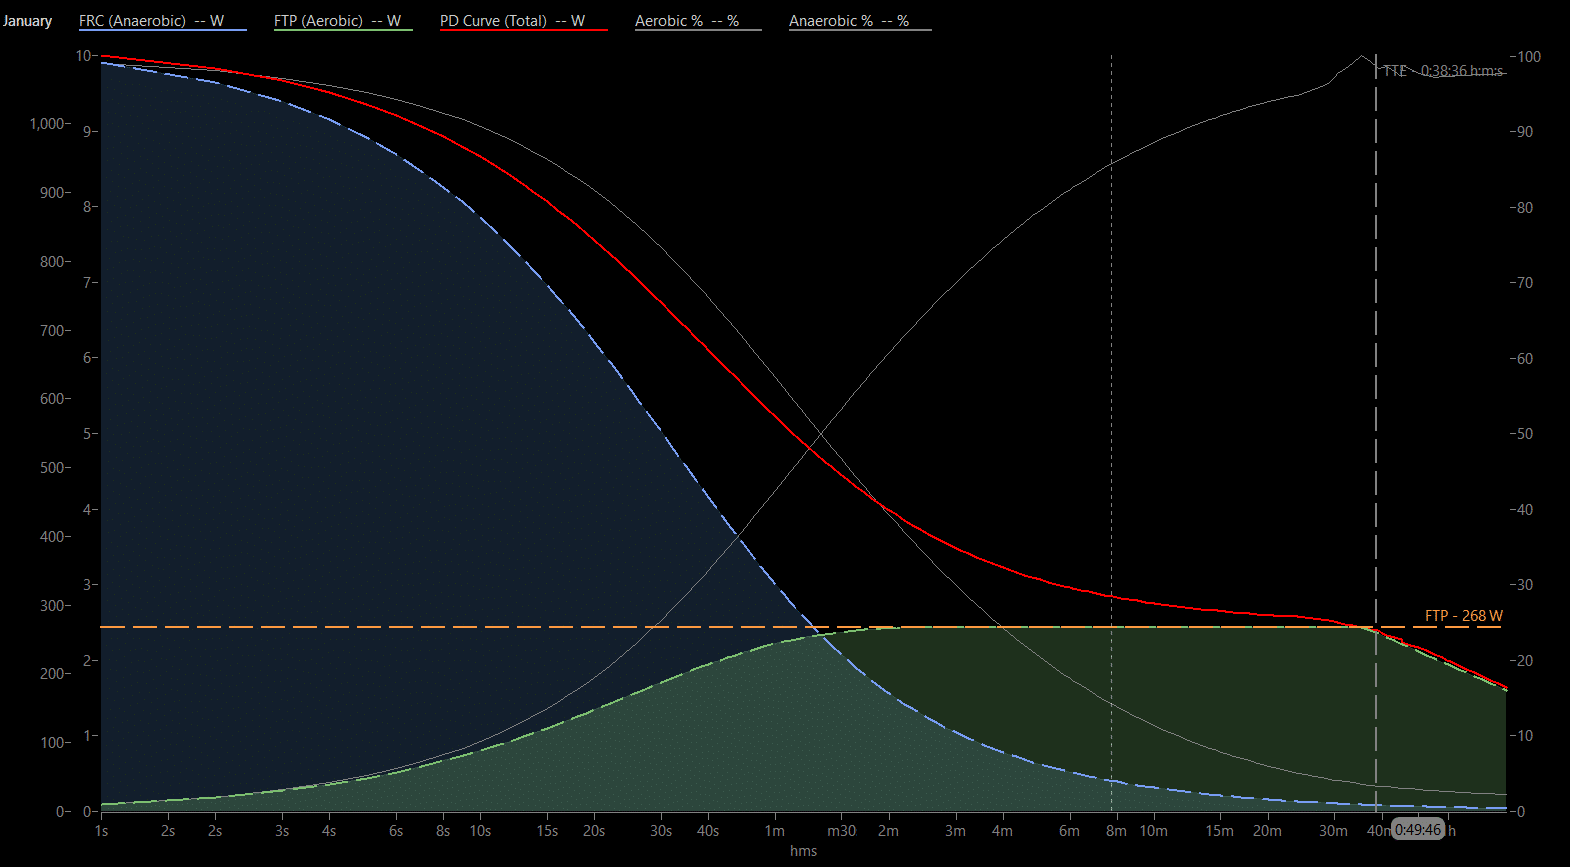
After feeding my January 2019 ride data into WK04, Shayne was able to calculate my pre-training program modeled FTP and time to exhaustion. Here’s what my chart looked like:
Shayne told me:

This image represents your FTP contribution from January. FTP is comprised of your aerobic + your anaerobic metabolic system. So, during the base phase you want to see a higher contribution from the aerobic system, and a lower contribution from the anaerobic system. FTP trended at 268w for January.

The Workouts

Based on my goals and current weak spots (see the intro post for those) Shayne had me doing a lot of VO2 and Sweet Spot Training (SST) intervals on my “hard” days. He placed my workouts onto my calendar at TrainingPeaks, where I could view what’s coming up. Each day’s workout automagically showed up in my Zwift workouts list, so I could hop on and hit it whenever I was ready.

Here’s the first workout Shayne gave me:

This is a VO2 interval workout, 4 sets of intervals where I held 118% of my FTP for 40 seconds, then rested for 20 seconds… repeating that 6 times for each set.

When I saw the workout I was concerned about how fatigued I would be for the next day’s Zwift race. I was just starting DIRT’s Morning Grind Fondo series, which happened every Wednesday for 12 weeks. Shayne didn’t seem too concerned about the fatigue issue though, so I went with it. And guess what? I felt fresh for the race (see it on Strava)… Zwift even said my FTP had bumped up (from 295 to 299).

This was the first of many times that I realized Shayne actually knows what he’s doing, and the numbers don’t lie. As a coach he has the ability to look at my data and a block of training and figure out where I’ll be fatigued, where I’ll be fresh, etc. And he is impressively accurate.

Here’s another example of a typical workout Shayne had me doing in February. Lots of Sweet Spot work.

In February our workout pattern basically looked like this:

  • Monday: core workout, no ride
  • Tuesday: VO2 work
  • Wednesday: Morning Grind Fondo race
  • Thursday: rest day, core workout
  • Friday: Sprintapalooza ride
  • Saturday: longer session with a lot of sweet spot work
  • Sunday: more sweet spot work

Ride Hard, Rest Easy

Honestly, this first training block contained a lot more rest than I was used to. To be more precise: it felt like harder rides, with more rest in between.

There’s a maxim in training: “Make your easy days easy, and your hard days hard.” I hadn’t been doing a good job of that, but following Shayne’s plan ensured that I was receiving the recovery which is so key to building fitness, and when I did do a workout it was for a real purpose.

Shayne told me he typically plans training blocks in sets of 4 weeks, with the 4th week being a “rest” week where the workouts are much easier. So my final week in February was quite easy, and I’m sure my body appreciated the chance to regenerate and recover. (I also was out of town snowboarding, so that worked out nicely.)

The Results

Shayne ran February’s data through WK04 and came out with an updated chart:
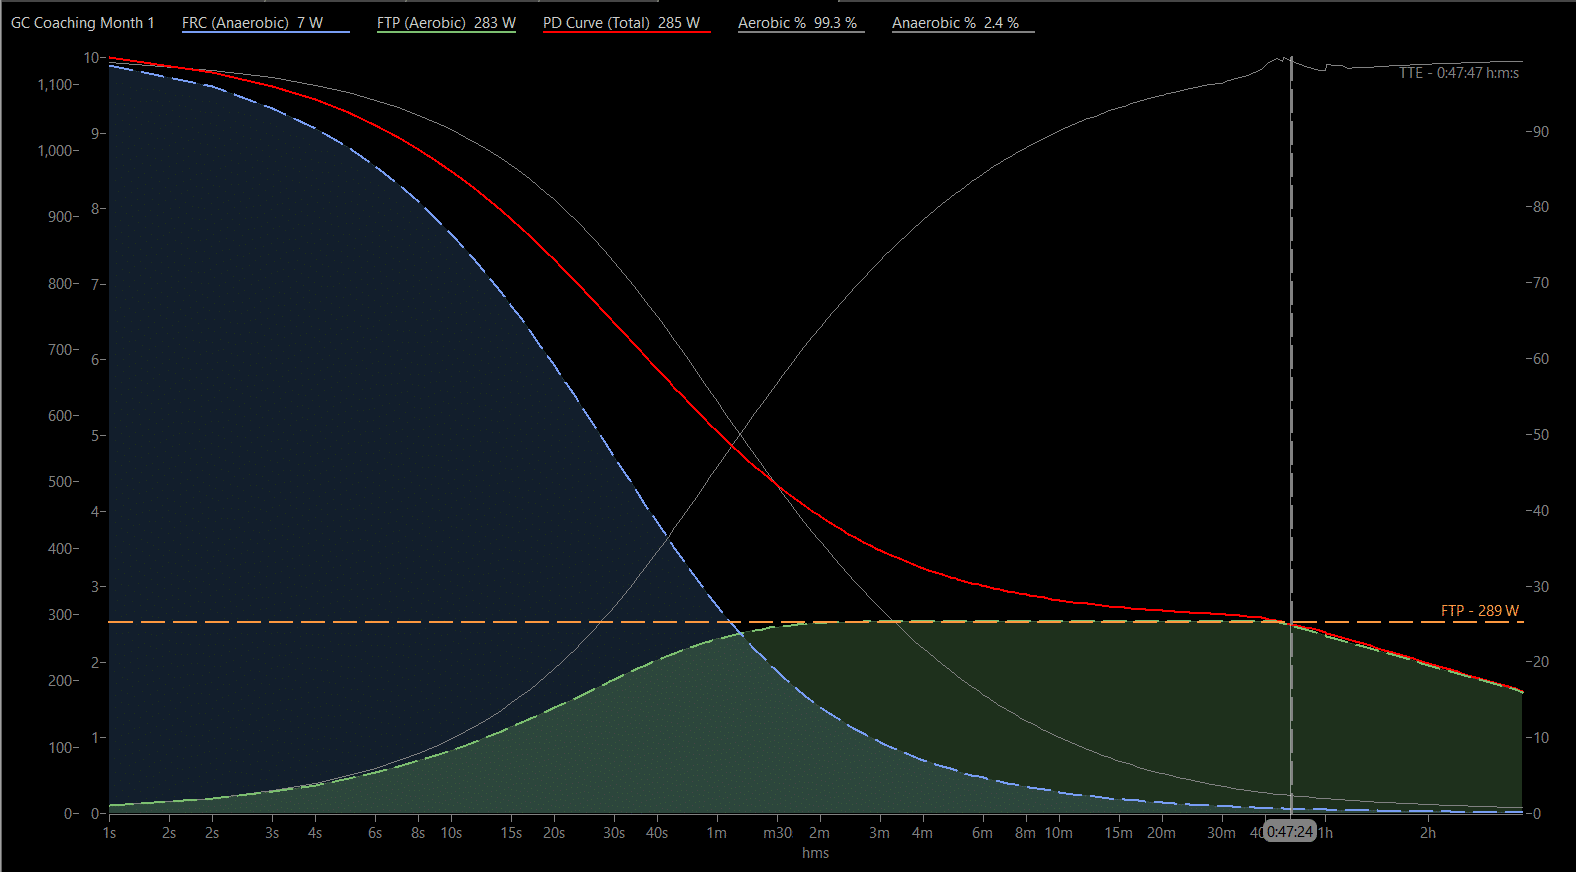
Here is February’s chart overlayed on January’s:
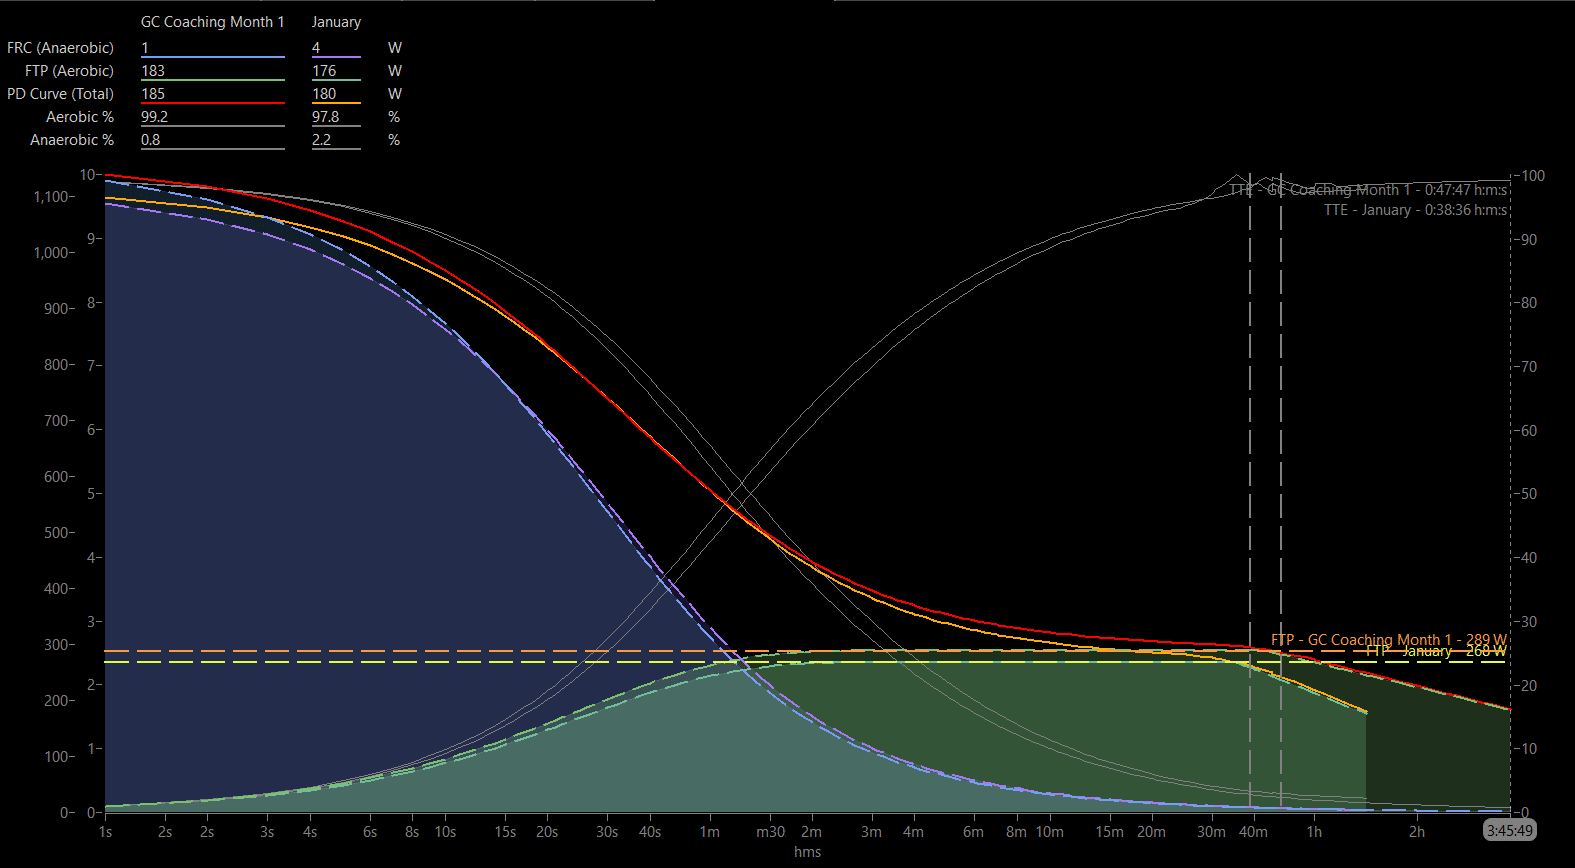
Shayne said:

As you can see, your aerobic contribution is higher generally, your time til exhaustion (TTE) has increased over 9 minutes from 38:36 in January to 47:47 in February, and your modeled FTP rose from 268w to 289w (+21w). These changes are all what we’d like to see for the base phase where we’re working on improving aerobic capacity.

Time Til Exhaustion?

This is a metric I had never dug into, so I did some research. Ready to jump down a bit of a rabbit hole?

Here’s the thing: FTP isn’t actually “the highest power you can average for an hour.” It’s also not “95% of the highest power you can average for 20 minutes,” even though that’s how Zwift typically estimates it. My Zwift-estimated FTP was 299 watts at the end of February, but my modeled FTP was 289 watts. Which was correct?

According to this article from TrainingPeaks,

Functional Threshold Power was developed by Dr. Andrew Coggan and is specifically defined as “the highest power a rider can maintain in a quasi-steady state without fatiguing.” It is an estimate of the power output that corresponds most closely with the maximal metabolic steady state or metabolic control limit, or what is more commonly referred to as “threshold.”

So what is “threshold”? From the same article referenced above, it is:

The highest exercise intensity at which blood lactate levels are stable (or quasi-stable) represents the athlete’s maximal lactate steady state (MLSS). MLSS represents the highest exercise intensity at which the rate of lactate clearance matches the rate of lactate production, and corresponds to an exercise intensity that can typically be maintained for 30 to 60 minutes, though some scientists say 40 to 70 minutes.

Did you catch that? Riding at threshold “can typically be maintained for 30 to 60 minutes, though some scientists say 40 to 70 minutes.” While most people understand FTP to be “what you can hold for an hour,” it’s really not. It’s what you can hold in a steady-state effort, and that effort is anywhere from 30-70 minutes depending on your physiology.

Although this range can be from 30 to 70 minutes, for many training athletes, it typically falls in the range of 40 to 55 minutes, which is one of the reasons why it is often associated with an hour, and why 40km (really ~40 km, since few courses are measured precisely) time trial power was originally proposed as the best estimate.

TTE is defined as:

The maximum duration for which a power equal to model-derived Functional Threshold Power can be maintained.

Based on all this information, I would say modeled FTP (mFTP) is more accurate than my Zwift-detected FTP. My mFTP increasing by 21 watts was great news. On top of that, the amount of time I could hold mFTP power increased from 38:36 to 47:47, a 9-minute increase. Double gains!

Conclusion

February was a good start, and even though I was working hard on Shayne’s workouts I was also able to place high enough in the Morning Grind Fondo series to be in first place overall by the end of the month (B category).

I’m looking forward to what next month holds. Chime in with questions or comments below!


Zwift Announces Giro d’Italia Bologna TT Course

Zwift Announces Giro d’Italia Bologna TT Course

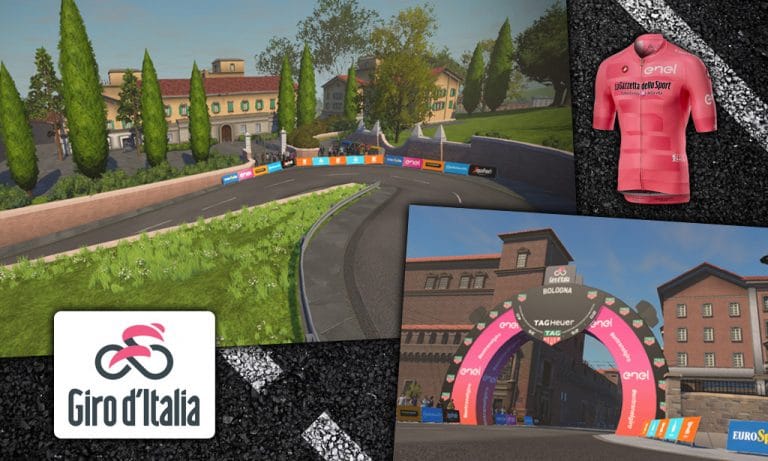
For the 102nd edition of the Giro d’Italia, Zwift has just announced a partnership with RCS Sport (organizers of the Giro) which includes the release of a brand-new course open to all Zwifters. 

The course replicates the 8.2km (5.1 miles) TT prologue which the pros will race, and will be released the same day the pros ride it: this Saturday, May 11th.

This is the first time a grand tour course has been available in-game, but it certainly won’t be the last. Read on for details…

About the Course

Starting in the historic town of Bologna, the prologue features a 6km run in but finishes atop a biting 2.1km climb with an average gradient of 9.7% and a maximum gradient that tops out at 16%. This is an all-out short course which will certainly make the legs burn, with 233 meters of climbing in the finish!

The race takes place against the backdrop of two of the city’s symbolic sites: starting in the majestic Piazza Maggiore and finishing on Colle della Guardia hill, where the Sanctuary of the Madonna of San Luca stands.

View a detailed map and profile of the real-world course >

Giro d’Italia TT Challenge and Prize

The new course will be available to riders of the Giro d’Italia challenge on Zwift, which is a TT race event. Details are unclear at this time, but it appears that a new “TT mode” will be unveiled to allow riders to participate in the TT Challenge whenever they’d like.

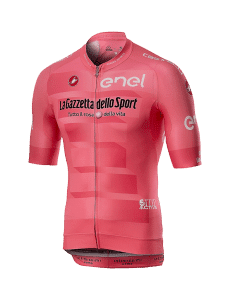
Anyone completing the challenge between May 11-13 will be entered into a drawing to win the official Giro leader’s jersey (the Maglio Rosa) signed by the 2019 Giro winner.

IRL Pro Event

An exhibition event will be held on Thursday (May 9) from the Bologna race village. Four of the competing pro continental teams (Nippo Fantini, Bardiani, Androni Giocattoli, and Israel Cycling Academy) will take to the Zwift Bologna course in two separate races.

Former Giro d’Italia Winner Ivan Basso will also make a brief return to the race on the Zwift course to test his legs. Zwifters will then be able to see how they compare to the times set by these professionals when the course launches on Saturday May 11!

Additional Events

TT races will be held on the new course for the duration of this year’s Giro. After that time, the course will be available for events (and perhaps free riding?) like other Zwift worlds. Eric Min says,

The Bologna course will live on long beyond the start … and allow many more people around the world to experience a small part of this historic city.

More to Come

With Zwift’s presence and influence continuing to grow in the cycling world, this is certainly just a taste of what’s to come. As Zwift racing evolves and more courses are built we will see popular outdoor races replicated in various ways on Zwift, and outdoor racers participating at higher and higher levels.

And that’s all good news for Zwifters, who will get to be a part of it all as we build fitness together. Ride on!


Rebel Routes: Spiral Into the Volcano

Rebel Routes: Spiral Into the Volcano

UPDATE: this route is now an official Zwift route, added to the game to host the final stage of Tour de Zwift 2024! See official route page >

“Rebel Routes” are Zwift rides which are not available on Zwift’s routes list, thus requiring manual navigation.

See all rebel route posts >

The reward for your rebel ride? Exploring a new route, knowing you’ve gone where few Zwifters have gone before. And a Strava segment rank in the tens or hundreds instead of the thousands!

Route Description

This is a long flat route which ends in a climb up the Volcano. It is most comparable to the Volcano Climb After Party event-only route, except Spiral Into the Volcano has an extra 10 miles of flat before the volcano climb.

If you follow this route on a map you’ll see how it was named: an ever-tightening counter-clockwise spiral which culminates in the spiral climb up the volcano.

We begin at the downtown start/finish in the reverse direction. Ride around the Volcano Flat to Ocean Blvd then Fuego Flats for a nice flat run through the desert which includes the longest timed “sprint” on Zwift.

Ride through downtown Watopia and around Volcano Flat a second time, but this time when we get on Ocean Blvd we’ll take that all the way back through downtown Watopia. The spiral begins!

Once more through downtown and around Volcano Flat, then hang a left at the Italian Villas to go over The Esses and back to the Volcano. We’ll loop once around the volcano (one lap of Volcano Circuit CCW), then hang a left for the Volcano Climb finish. The route ends at the top of the Volcano as you cross under the KOM banner.

Profile

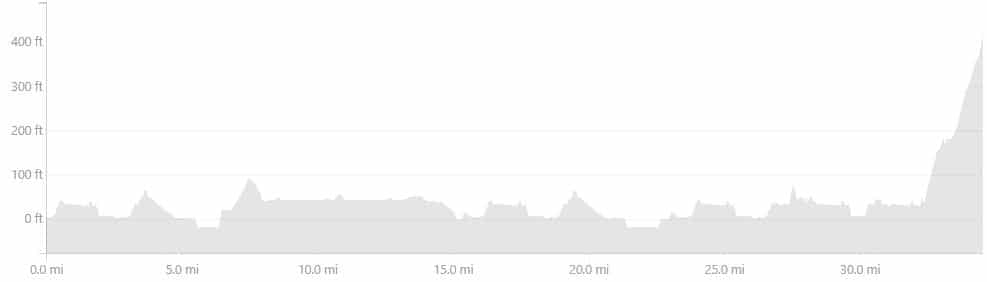
This route is quite flat, with nothing more than short pitches or rollers until the final Volcano KOM finish which is 2.3 miles (3.6km) long at an average gradient of 3%.

Route details:
Distance: 55.6km (34.6 miles)
Elevation Gain: 324m (1,064′)

Getting Started

When freeriding, select the “Volcano Flat” route to begin–this reduces your number of manual turns required to just 6. You will spawn just before the downtown start banner.

IMPORTANT: you must ride down through the banner then flip a u-turn and ride through the banner in the reverse direction to begin the route!

Turn by Turn

There are many intersections of this route, but typically only 6 manual turns are required. All other intersections should be routed correctly by default, but sometimes Zwift changes the default turns when you’re deep into a randonneuring rebel route, so stay vigilant.

Here is the complete list of turns:

  1. Right to Volcano Circuit
  2. Right to Volcano Circuit CCW
  3. Right to Volcano Circuit
  4. Right (Straight) to Italian Villas
  5. Right to 360 Bridge
  6. Right to Sequoia Circle
  7. Left (Straight) to Sequoia Circle
  8. Right to Epic KOM
  9. Left to Desert Flats
  10. Right (Straight) to Desert Flats
  11. Left to Downtown
  12. Straight (Right) to Ocean Blvd
  13. Right to Downtown
  14. Right to Downtown
  15. Right to Volcano Circuit
  16. Right to Volcano Circuit CCW
  17. Right to Volcano Circuit
  18. Right (Straight) to Italian Villas
  19. Right to 360 Bridge
  20. Right to Sequoia Circle
  21. Left (Straight) to Sequoia Circle
  22. Left (Straight) to Downtown
  23. Left (Straight) to Downtown
  24. Right to Downtown
  25. Right to Volcano Circuit
  26. Right to Volcano Circuit CCW
  27. Right to Volcano Circuit
  28. Right (Straight) to Italian Villas
  29. Left to Sprint
  30. Left (Straight) to Sprint
  31. Left to Volcano Circuit
  32. Right to Volcano Circuit CCW
  33. Right to Volcano Circuit
  34. Left to Volcano Circuit CCW
  35. Left (Straight) to Volcano
  36. Left (Straight) to Volcano KOM

Strava Segment and Maps

Strava Forward Segment

Rebel Route Suggestions

Got an idea for a great rebel route? Share it below and maybe we’ll publish a post about it!


Rebel Routes: The Perimeter

Rebel Routes: The Perimeter

“Rebel Routes” are Zwift rides which are not available on Zwift’s routes list, thus requiring manual navigation.

See all rebel route posts >

The reward for your rebel ride? Exploring a new route, knowing you’ve gone where few Zwifters have gone before. And a Strava segment rank in the tens or hundreds instead of the thousands!

Route Description

This perimeter route is just like Bigger Loop except it adds the radio tower and Alpe du Zwift climbs. Suggested by Zwifter Jeff Cottrell, the goal of this route is to ride the entire perimeter of Watopia.

We begin at the downtown start/finish and proceed to Fuego Flats, starting off nice and flat before we hang a left and head up the Epic KOM. And it’s not enough to finish the Epic KOM–once you ride through the banner it’s another left onto the much-hated radio tower climb!

But our reward awaits–next we get to go screaming down the radio tower descent, and continue our descent on the Epic KOM. Then it’s over to the jungle so we can start the toughest feature of this route: the mighty Alpe du Zwift.

Once you’ve made it to the top of the Alpe, take a deep breath and enjoy a quick breather while you descend. Once you’re at the bottom, to finish the other half of the jungle circuit. After climbing out of the jungle we descend to the docks, through the fishing village, and past the Italian Villas so we can make our way around the outside of the volcano before heading back to the start/finish.

Profile

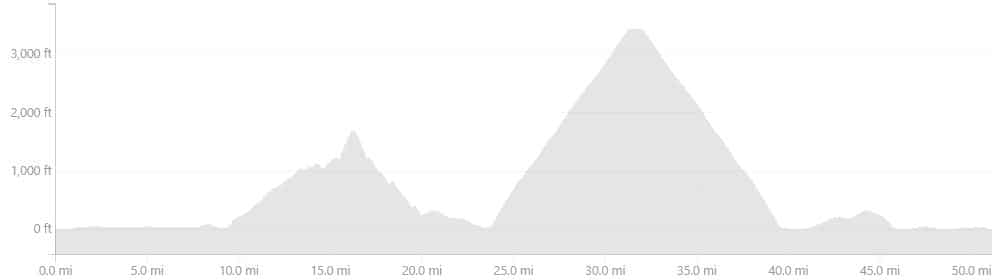
This route is actually quite flat, except where it’s not. The Epic KOM and Alpe du Zwift climbs account for ~15 miles of the 51-mile route, and everything else is either flat or downhill apart from those climbs.

Getting Started

When freeriding, select the “Bigger Loop” route to begin–this reduces your number of manual turns required to just 3. You will spawn just before the downtown start banner.

Turn by Turn

There are many intersections of this route, but since the route is very similar to Bigger Loop only 3 manual turns are required. All other turns will route you correctly by default. Here are the manual selections you’ll need to make:

  • After the Epic KOM banner, turn left to “Bonus Climb” (aka “Radio Tower”). 15.3 miles from start line.
  • When you descend from the Bonus Climb, turn left. 17.1 miles from start line.
  • After descending through the Mayan jungle, turn right to Alpe du Zwift. 23.1 miles from start line.
  • After the Alpe descent, turn right to Jungle Loop. 39.6 miles from start line.

Route details:
Distance: 82.3km (51.2 miles)
Elevation Gain: 1874m (6,147′)
Strava Forward Segment

Rebel Route Suggestions

Got an idea for a great rebel route? Share it below and maybe we’ll publish a post about it!


Spring Classics (Zwift PowerUp Cycling Podcast #27)

Spring Classics (Zwift PowerUp Cycling Podcast #27)

This one is all about the Classics. Special guest Marco Haller of Team Katusha-Alpecin drops by and shares his experiences.

We’ll also hear what the hosts think of Zwift’s newest routes and the Tour of Watopia.

Discover Greg’s “World Record” (that Matt and Kev don’t buy), along with the usual Q&A!

About the Podcast:

The Zwift PowerUp Cycling Podcast features host Matt Rowe (Rowe & King), with regular co-hosts Greg Henderson (Coach Hendy) and Kev Poulton (Powerhouse Cycling). The hosts share tips on how road races can get faster in-game and outdoors.