Tour of Watopia 2020 Details
Zwift has announced the next big Tour, and while the details aren’t yet released, we do know some of the basics. It’s the Tour of Watopia, and if last year’s event is any indicator, ToW 2020 should be a blast!
Stage Details
Events begin March 9 and run through April 2, making ToW 25 days long. ToW has 5 stages, a reduction from the 2019 Tour’s 7 stages. (Tour de Zwift 2020 has 7 stages while TdZ 2019 had 9, so it looks like Zwift is moving toward shorter tours.)
Each stage is 4 days long, with multiple events scheduled to accommodate everyone’s availability. Make-up events will (presumably) be scheduled from March 29-April 2.
Stage 1: The Flats – March 9-12
The tour begins with group rides on two of Zwift’s special event-only routes.
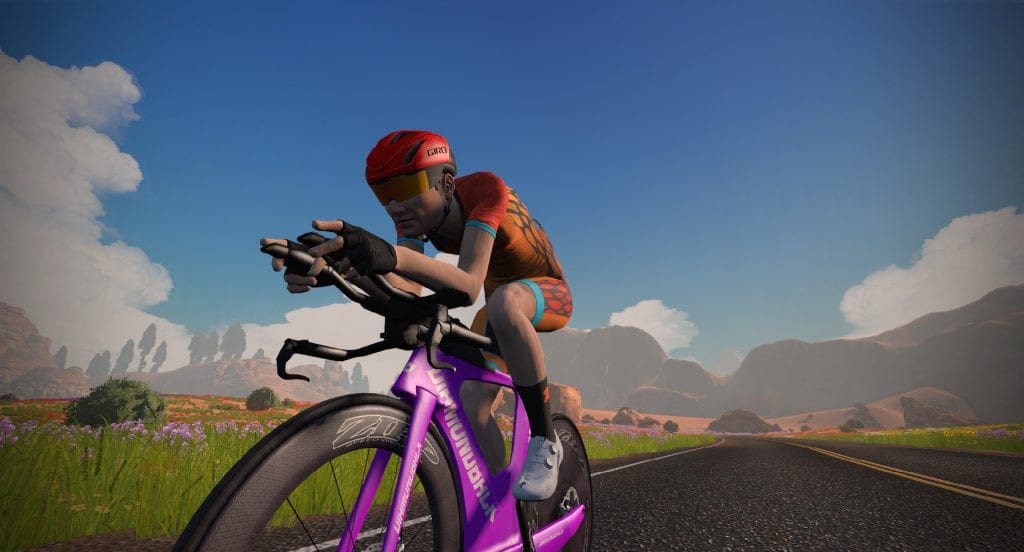
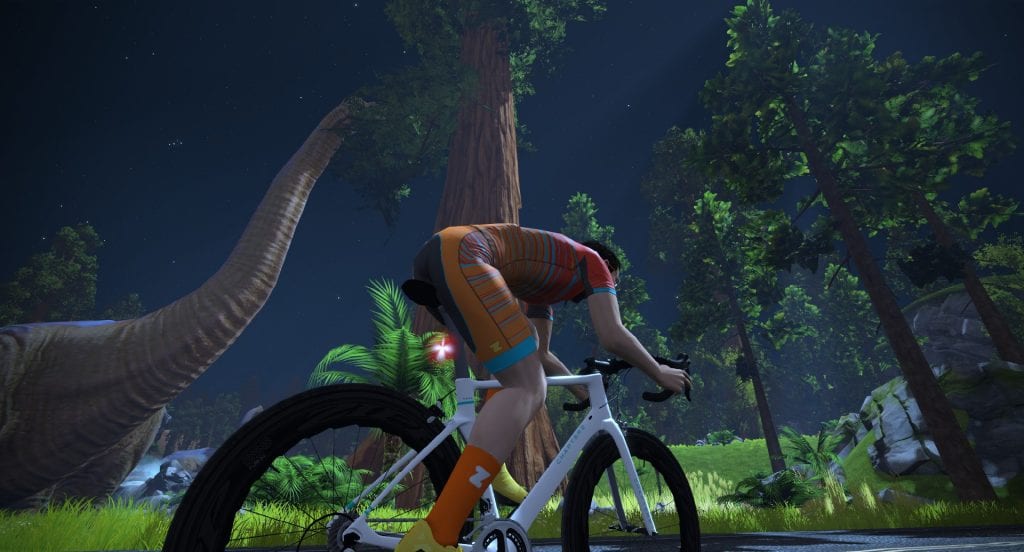
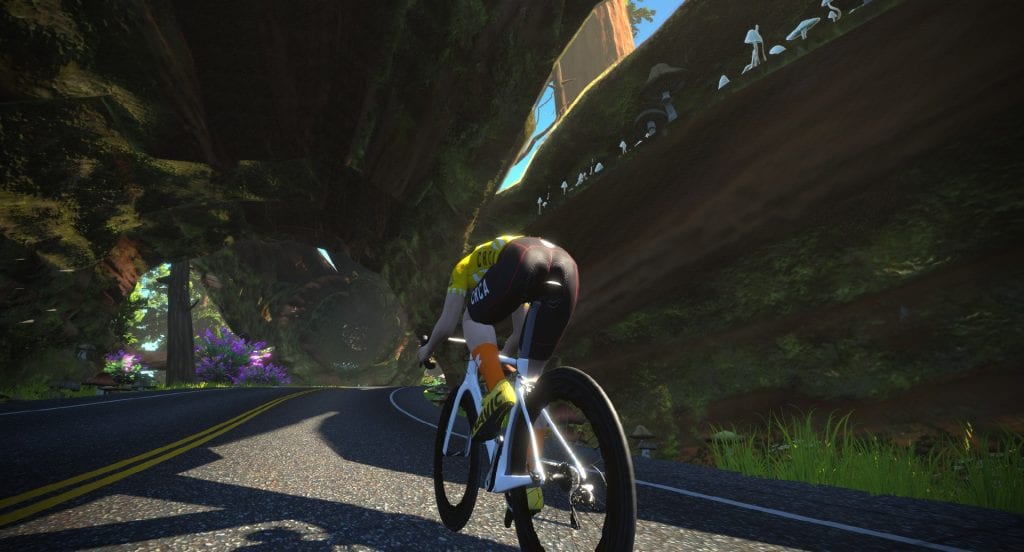
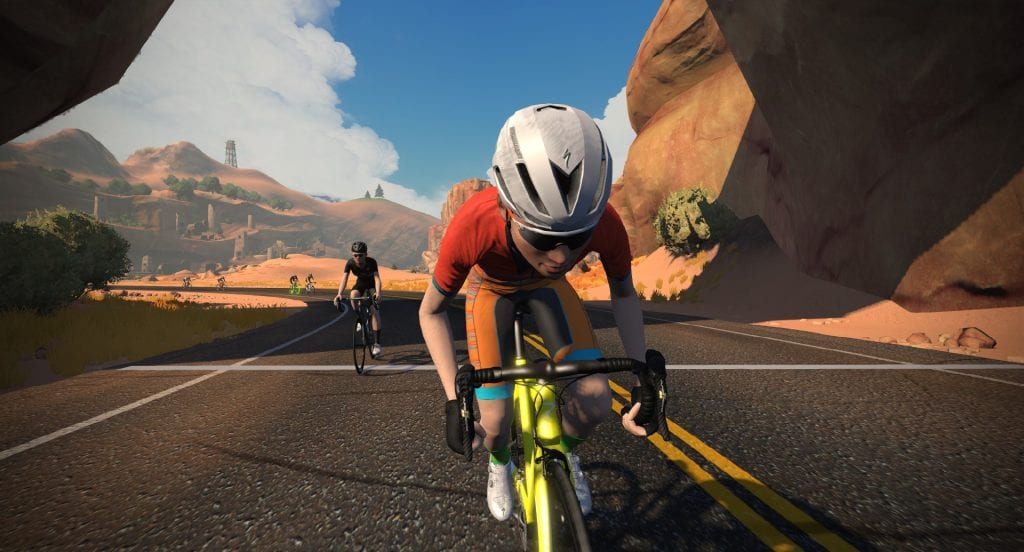
"The Magnificent 8" route was rolled out with Zwift's October 29th update, and is used as the route for the Halloween dinosaur costume scavenger hunt. Whether this route will hang around and be available for events or free-riding in the future remains to be seen. The route begins in downtown Watopia, riding through the start/finish banner in the reverse direction. We ride around the volcano, across the land bridge, by the Italian Villas then over the reverse Hilly KOM. (This is the only significant climb of the entire route). Next, we hang a right onto Ocean Boulevard, then a left to Fuego Flats for a spin through the desert. This brings us all the way around to a right turn onto the Ocean Boulevard/Epic KOM spur, where we make our way back to downtown Watopia for the finish. This is actually an excellent flat route--hopefully it will be available for future use! Route details:Course Profile
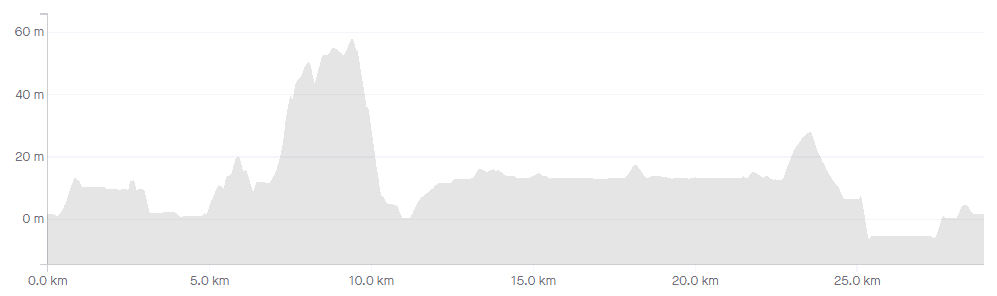
Distance: 28.6km (18 miles)
Elevation Gain: 131m (463')
[button link="https://www.strava.com/segments/22180287" color="black" newwindow="yes"] Strava Forward Segment[/button]
See all stage 1 events at ZwiftHacks >
Stage 2: The Loops – March 13-16
Lots of desert for the second stage, making the Figure 8 route chosen for the group rides seems a bit out of place. It’s all good, though: Figure 8 is still one of Watopia’s best!
See all stage 2 events at ZwiftHacks >
Stage 3: The Climbs – March 17-20
This is the Queen stage for the Tour of Watopia. Take on the Alpe in a group ride, or race up the Volcano.
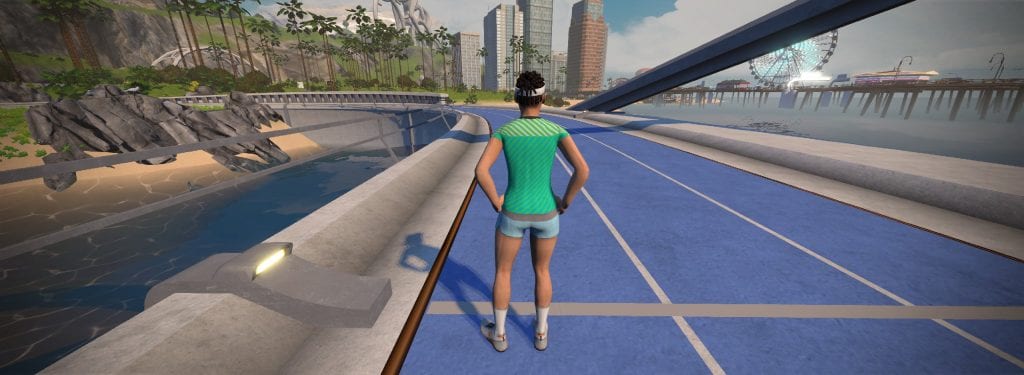
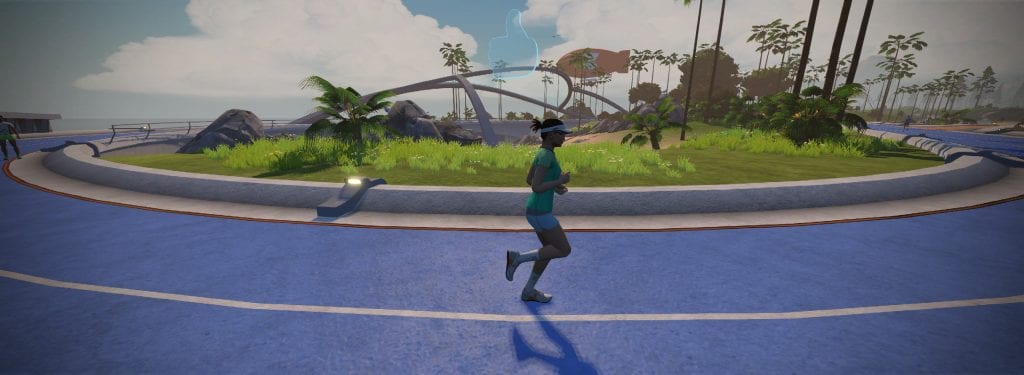
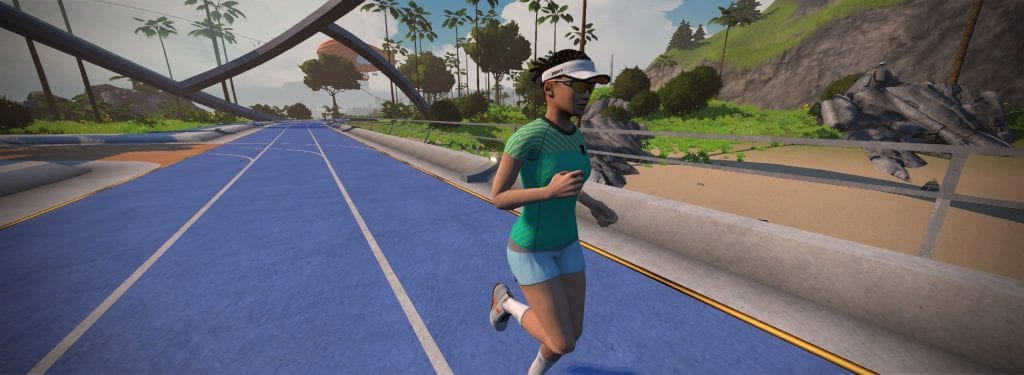
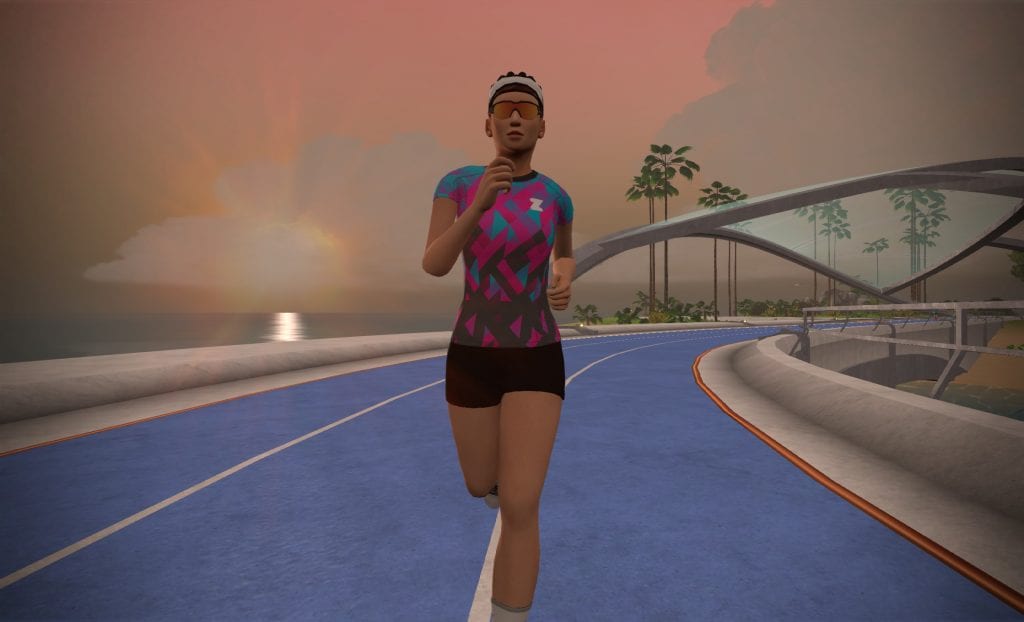
Zwift has just released an update which includes a 400-meter run track on Watopia. Named "May Field" (get it?), the blue track can be seen on the left as you begin riding Ocean Boulevard away from downtown Watopia. According to the route note, this "ultra-fast oval is covered in a mix of urethane and sand from Watopia's very own beaches." This is a one-way track, and there is a new start area just before the lap line. Runners can choose to turn right and exit onto Ocean Boulevard. Here are a few more shots of the beautiful new track: Looking for a Strava segment? We've got your back. Zwift runners: you tried the new track? What are your thoughts?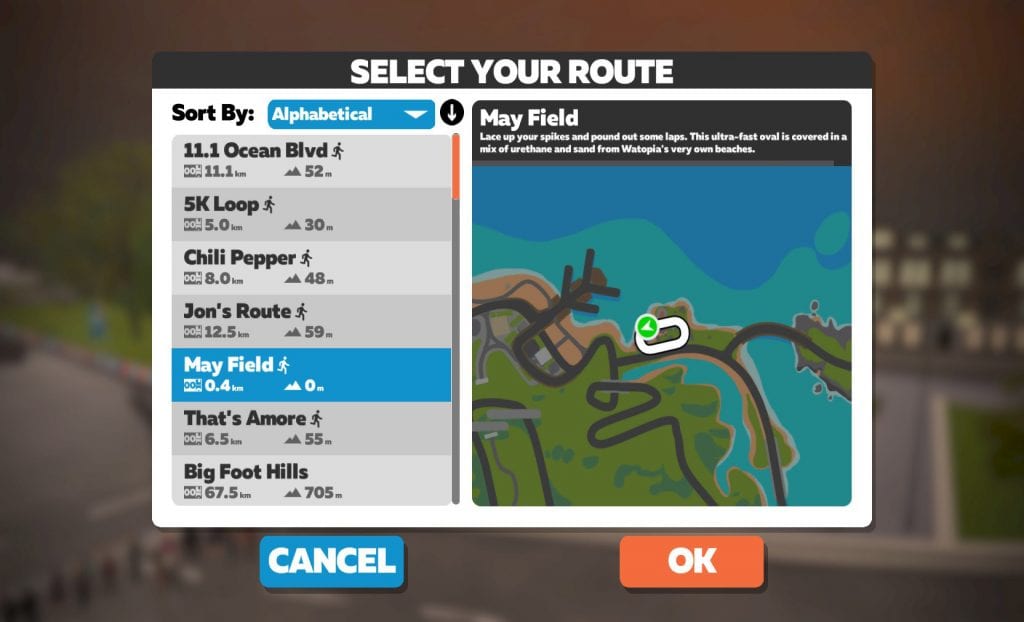

What do you think?
See all stage 3 events at ZwiftHacks >
Stage 4: The Jungle – March 21-24
Stage four is gonna get dirty! All events are held on Watopia’s Jungle Circuit route where the sloth waves hello, mountain bikes are faster than road bikes and the dust rises to meet you.
See all stage 4 events at ZwiftHacks >
Stage 5: The Volcano – March 25-28
Things really heat up on the final stage as we run and ride up, around, and through Watopia’s Volcano. Stay out of the lava!
The Volcano Circuit CCW lap perfectly matches the Volcano Circuit CCW route. A bit of Zwift history/trivia: when it was originally launched, the lap leaderboard awarded a leader's jersey to the top riders. But once the Volcano was expanded to include the Volcano KOM, that jersey was repurposed for the KOM. Since then, no leader's jerseys have been awarded for this segment.
The Volcano Circuit lap perfectly matches the Volcano Circuit route. A bit of Zwift history/trivia: when it was originally launched, the lap leaderboard awarded a leader's jersey to the top riders. But once the Volcano was expanded to include the Volcano KOM, that jersey was repurposed for the KOM. Since then, no leader's jerseys have been awarded for this segment.
See all stage 5 events at ZwiftHacks >
Make-Up Days
If you missed one or more stages, you can ride one of the make-up events which have been scheduled between March 29th and April 2nd.
See all ToW make-up events at ZwiftHacks >
CATEGORIES
Like this year’s Tour de Zwift, ToW will include both Run and Ride events. There are actually three different events, each with their own categorization scheme: group runs, group rides, and group races (for cyclists). Here’s how the categories work:
For group run events, the category (A, B) selected determines your run length. It does not determine route or pace.
- A: longer run
- B: shorter run
For group ride events, the category (A, B, C) selected determines your route. This gives riders more control over the length and difficulty of their ride.
- A: long route
- B: shorter/easier route
- C: women only
The bike race events use the same route regardless of category selection. Racers, choose your category based on FTP w/kg, like most Zwift races:
Mixed (Men & Women) Race Categories
- A: 4+ w/kg
- B: 3.2-3.9 w/kg
- C: 2.5-3.1 w/kg
- D: 1-2.4 w/kg
Women’s Race Categories
- A: 3.7-5 w/kg
- B: 3.2-3.69 w/kg
- C: 2.5-3.19 w/kg
- D: 1-2.49 w/kg
Double XP
The focus of this year’s ToW is “leveling up.” All ToW are awarding double the distance XP, which means riders and runners can really rack up the points! (XP is how you level up in Zwift – click to learn more about how it works for cycling and running.)
Typically riders are awarded 20XP per kilometer or 30XP per mile, depending on whether you have units set to metric or imperial. In ToW events riders receive 40XP per kilometer/60XP per mile.
Runners typically receive 10XP per .25km or 15XP per .25 mile. You will receive 20XP per .25km or 30XP per .25 mile.
Kit Unlock
Complete all 5 stages and unlock the ToW 2020 kit! Complete all 5 rides and runs to unlock both kits.


Registration
Visit the tour homepage(s) to register. Registered Zwifters will receive further ToW information as it is released.
ToW Ride Homepage >
ToW Run Homepage >
Once the event schedule is finalized and released, Zwifters will be able to sign up for events just as we’ve done in the past.
Pro-Am Race Series
Top pro and amateur Zwift racers will take on each stage the day before the rest of Zwift rides it, and these races will be broadcast live. Get all the details here >
Got Questions?
Questions or comments? Post below, and we’ll do what we can to get them answered!


")