Home Blog Page 401

15 MORE Things I Wish I Knew When I Started Zwifting

15 MORE Things I Wish I Knew When I Started Zwifting

Like any worthwhile endeavor, Zwift has a learning curve. Even experienced cyclists will find they have new equipment to set up and software settings to understand. Less experienced cyclists have even more to learn, as they must also wrap their minds around new training terms, group ride etiquette, and more.

Here’s our second in a series featuring top tips from real Zwifters (read part 1). Thanks to the Zwift Riders Facebook group for supplying their best tips!

Get a high rpm fan and a second smaller fan. Two TVs one for Zwift one for whatever else.

Brian Degnan

Many Zwifters run two fans–some because they need the increased coverage of a second fan, some because they want to be able to turn the additional cooling off and on. And two TVs? If you’re the type of Zwifter who doesn’t want to focus on the ride, it’s nice to have a second screen for Netflix.

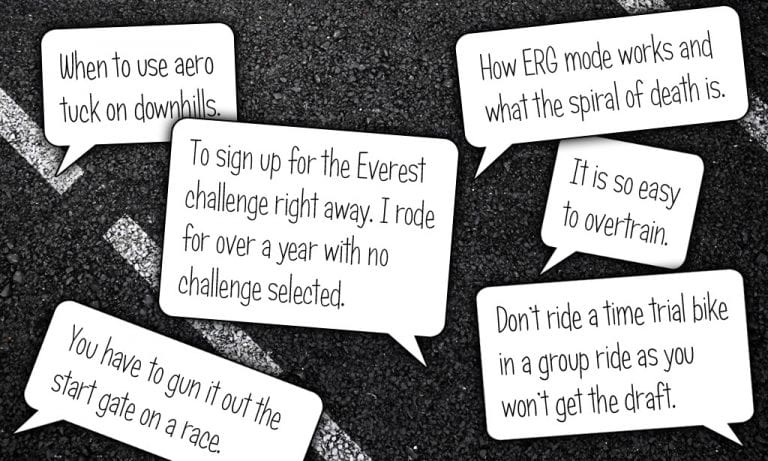
Don’t ride a time trial bike in a group ride as you won’t get the draft.

Mary Franklin

Oh Mary, we feel your pain. Bringing a TT bike to a group ride or race is a mistake you’ll only make once!

It is so easy to overtrain.

Kelly Ginther

Yes it is, especially on Zwift where it’s tough to keep your efforts low. Read How Hard is Too Hard? for a perspective on training and rest from certified coaches.

Racers at the start “ramp up” before the final countdown. I was wondering why I kept getting dropped at the start of races. I’m glad a friend told me this.

Lisa Stranc Bliss

Because there can be a slight delay between applying power to the pedals and Zwift receiving that data, it’s smart to start ramping up the power a few seconds before the clock hits 0. This ensures that you’ll have high wattage out of the gate.

How to join and event / race for beginners…

Jim Heesacker

Yes, many new Zwifters find this process confusing! Check out Shane Miller’s Swift Zwift Tip on this topic >

I wish I knew that a chosen route self-guided through the turns. I kept tapping the pop ups and going off course because I thought I had to make the decision. Probably would’ve helped to have the map of Watopia too. Maybe that should come standard with any Zwift subscription.

Jer Walker

We think your poster with a subscription idea is excellent, Jer.

Get a USB extension long enough to get the ANT Dongle near the sensors.

David Orem

Yes! A million times, yes! If you’re using ANT+ and experiencing data dropouts, buy a USB extension cable. More info on fixing ANT+ dropouts on Zwift >

Get up out of the saddle or get a rocker plate or trainer that rocks if you want to spend a good amount of time riding. The trainer holding your bike makes for a stiff ride and that will get to you after some time.

Ken Lewis

Completely agreed. We’re big fans of rocker plates over here–check out a recent review of the SBR ROCKR.

Make sure liquid and snacks are within reach before starting an event.

John Clarketheus

You don’t want to be forced to climb off the bike to grab what you need if you’re in the middle of a big group ride or race. So make sure everything is within arm’s reach, or you’ve got a helpful assistant who can come to your aid.

That you don’t have to shift gears during a workout.

Andres Sulleiro

True! That’s the nice thing about ERG-mode workouts. That said, there are times when shifting in ERG workouts is a good thing.

Leave your ego at the door, you’re about to be put in your box.

Nathanial Boersma

You may be hot stuff in your local riding club, but Zwift is a worldwide phenomenon and some very strong riders come out to race. Expect a high level of competition, and when you get beat, let it inspire you to work harder.

You can switch back & forth between challenges. Climb the Alpe ⛰ with Everest selected, then switch to Italy for a flat ride…

Katie Levie

You have to gun it out the start gate on a race.

Stuart Campbell Lee

Zwift races always start hard, as strong riders push to make a “selection”–that is, to force a break in the pack, so the strong riders can get ahead without weaker riders sitting in. So head into the start pens nicely warmed up, and expect the hard effort to last 2-4 minutes before it settles down.

Don’t get on Zwift Riders Facebook group to boast that you ascended the Alpe du Zwift in a sub 45 minute time unless your power source is verified or you’re a pro or ex-pro rider, as it will probably end up with a flaming.

Chris Radley

Truth. Chris obviously speaks from experience.

If you race, make sure to sign up at Zwift Power.

Sylvia Granlund

Zwift Power is where the final results of Zwift races live. If you aren’t signed up, you are being automatically disqualified from all race results. So what are you waiting for?

What About You?

What do you wish you’d known when you started Zwifting? Comment below, and we may include it in a follow-up post!
Rumble In the Jungle: MTB vs Double Draft, TdZ Stage 3

Rumble In the Jungle: MTB vs Double Draft, TdZ Stage 3

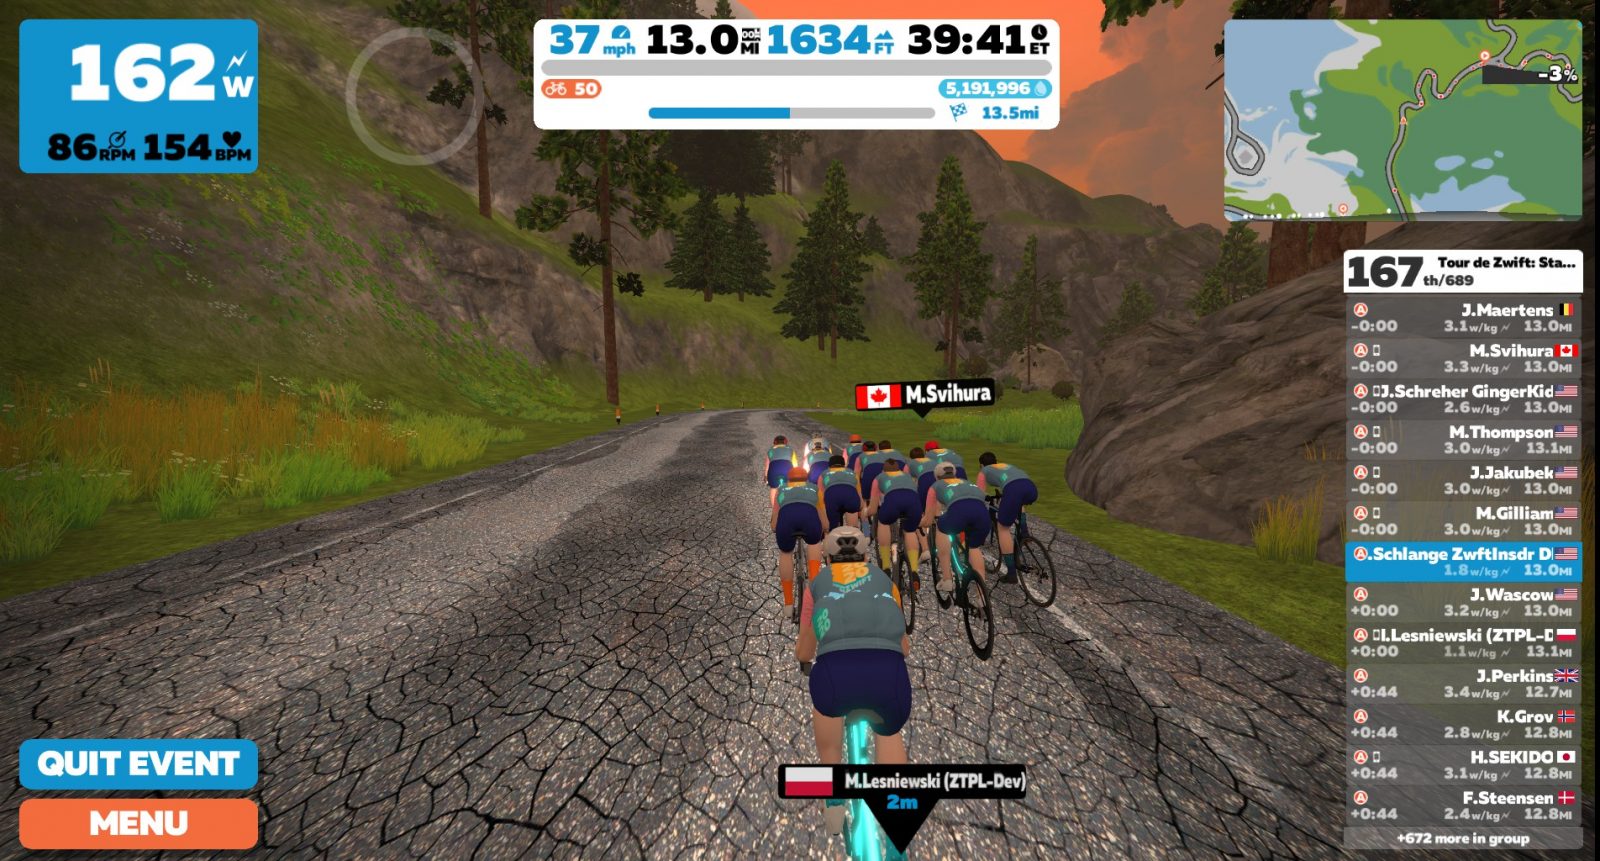
Yesterday I rode (raced?) the long-distance version of Tour de Zwift‘s stage 3 group ride.

This was one lap of Watopia’s Big Loop which begins in downtown Watopia then travels over the Epic KOM to the Jungle Circuit before returning to downtown by way of a ride around the volcano. With the Epic KOM included I knew I wasn’t going to finish in the front group–but I knew it would be a great workout anyway, plus I was anxious to try an experiment… for science!

The Big Question

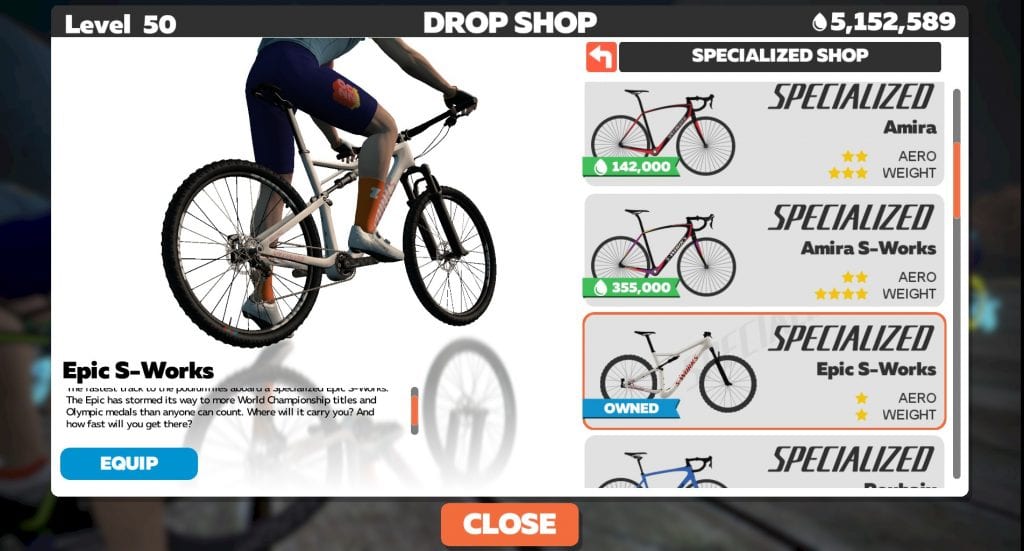
Before the ride began I knew I would be swapping from my road bike (Specialized S-Works Venge with Zipp 858 wheels) to a mountain bike (Specialized Epic) for the Jungle Circuit portion of the route. Some Zwifters aren’t fans of the swapping idea, but I think that’s just because they haven’t tried it. 😄 I find it’s a fun challenge to swap bikes as quickly as possible, then work to pass other riders in the Jungle while I have a speed advantage before swapping back to the road bike.

If you’re wondering–I chose the Epic because of its performance in our speed tests. And because I like Specialized!

But the bigger reason for my swapping was a desire to test a theory. This ride would answer the question: how well does the MTB perform against packs of roadies in double draft mode?

If you recall, I first wrote about how well the MTB swap worked in my post about the Le Col Metric Century. But that ride used Zwift’s standard draft, not double draft. With the draft effect being doubled I was sure the MTB would offer less advantage since the packs of roadies would be moving faster. But would the swap strategy still prove valuable? There was only one way to find out!

The Swap, Part 1: Losing

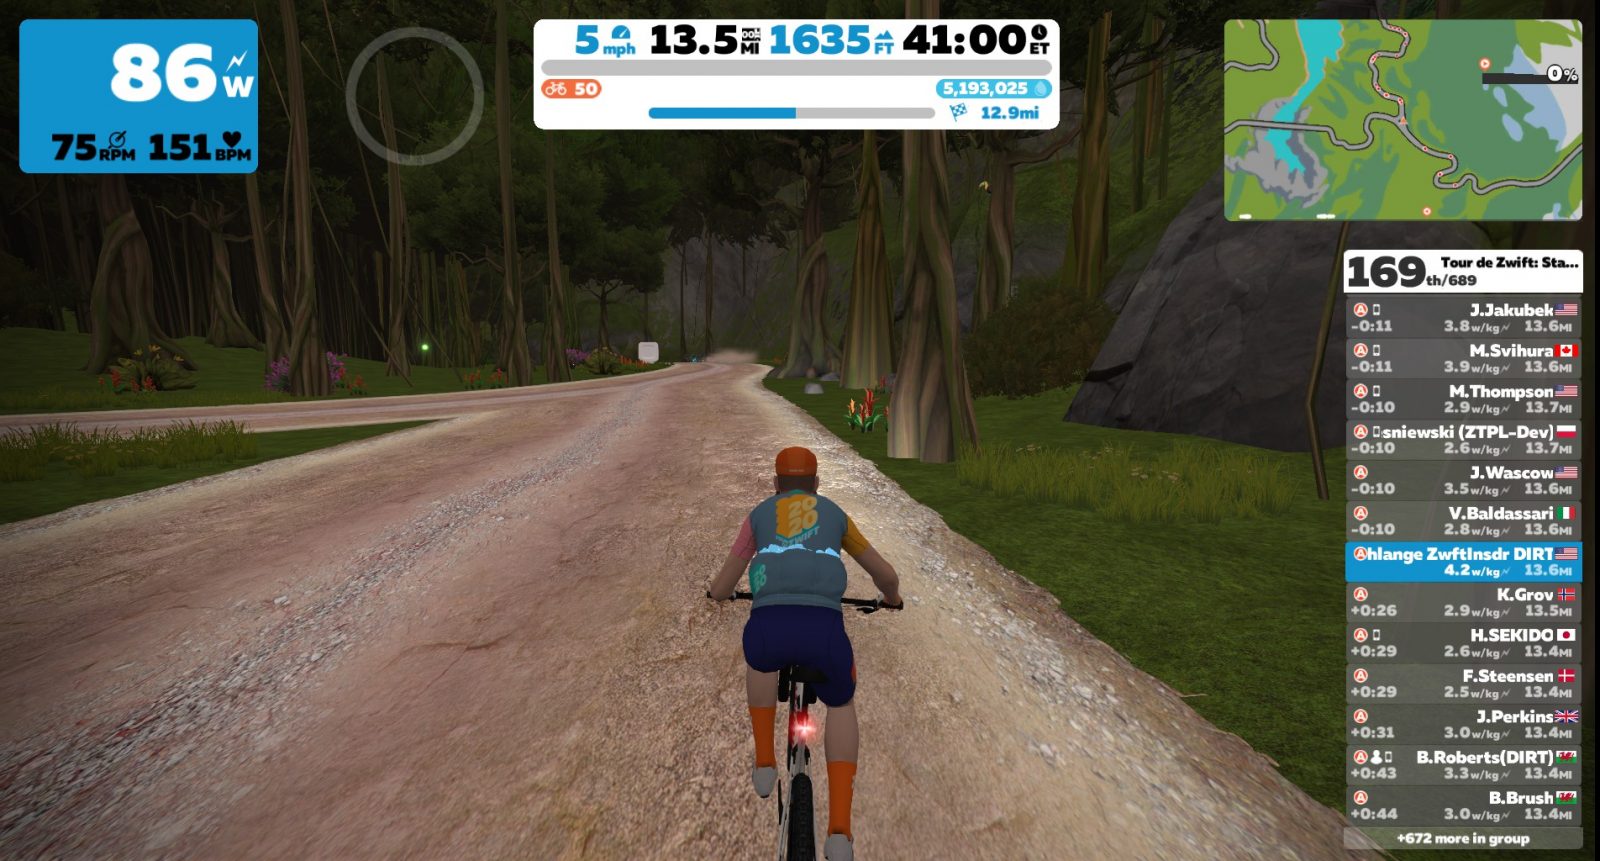
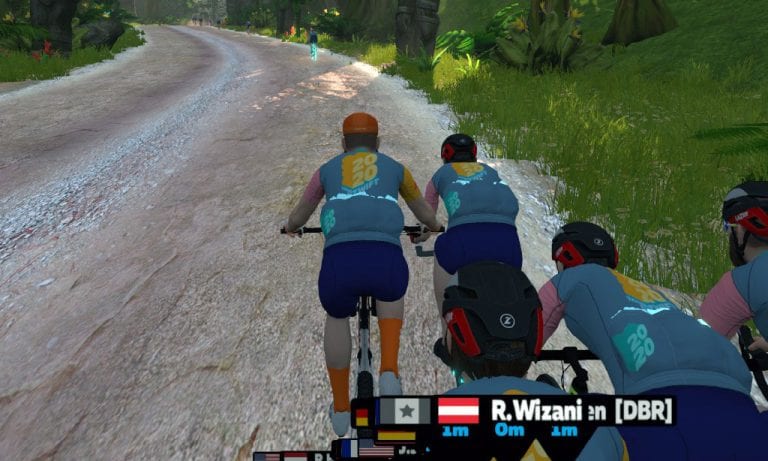
Abou to hit the Jungle dirt

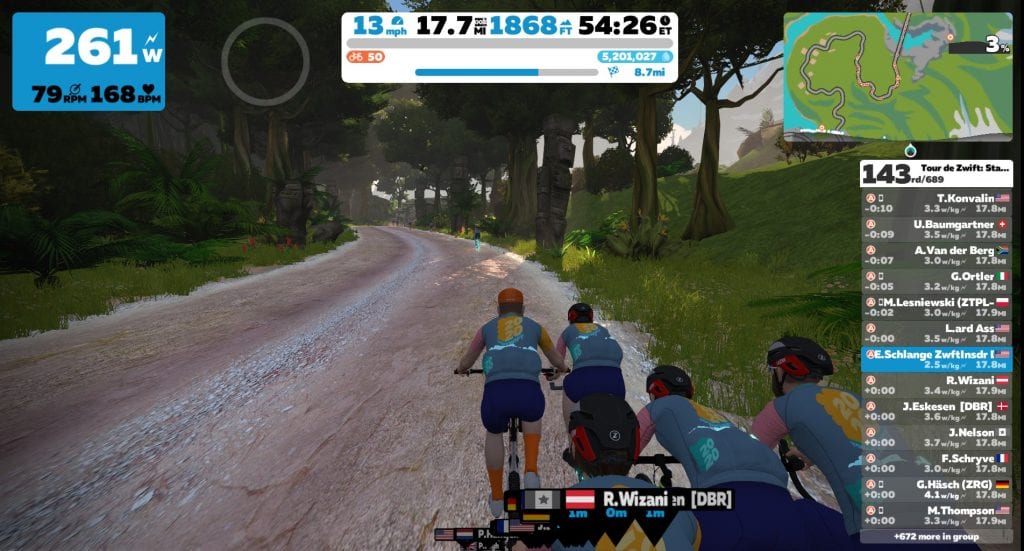
As we hit the Jungle dirt I was in a pack of ~15 riders, putting me somewhere between 134th to 169th place overall in the field of 689. (This is an important number to look at before you swap bikes, because the goal, obviously, is to move up in the placings by the time you’re back on your rode bike after completing the Jungle Circuit on the MTB.)

My bike swap was pretty fast, but still by the time I was back up and riding my group was 10 seconds up the road. Now the fun began–how many riders could I catch?

The start of the Jungle: time to chase!

The first portion of the Jungle Circuit is a descent to the lap banner. Here I noticed that, unlike previous swaps, I wasn’t gaining time on the group I was chasing. They stayed 10s-11s ahead during the entire descent. Double draft was definitely working in their favor.

Then it got really ugly at the bottom as we hit the wooden boards/bridges on either side of the lap banner. I had enjoyed a rolling resistance advantage in the dirt up to this point–my Crr was .014 vs the road bikes’ Crr of .025. That’s a big difference – nearly 100 watts at 40kph!

But on wood, the Crr of a road bike is .0065 (nearly the same as pavement) while for MTB wheels it is .01 (see more on specific Zwift Crr values here). That’s a ~40 watt disadvantage at 40kph. Plus they were working together in double draft mode, while I was soloing!

There are also some “hardpack dirt” sections on either side of the wood which look like the dirt around the volcano. It’s noticeably different from the Jungle dirt (it rolls fast, and no dust is kicked up). This surface has the same Crr as pavement, meaning I was at a 60-watt disadvantage here. Ouch.

Thanks to the wood and hardpack sections at the bottom of the Jungle I lost another 10 seconds on the group I was chasing, putting me about 20 seconds behind as we began climbing up and out.

The Swap, Part 2: Winning

As speeds slowed from ~40kph on the descent and flat to ~20kph on the climb, I knew the double draft advantage was mostly gone since air resistance isn’t much of a factor at slow speeds. If I was going to catch that group, it had to happen here!

I kept my watts steady and saw the time gap steadily drop. I passed a few stragglers, then caught the group I’d been chasing as we neared the rope bridge at the top of the Jungle Circuit.

Finally caught the group!

I stayed on the MTB until the dirt ended. That’s where I made the swap back to my road rig, put in a good dig for about 20 seconds to catch the group up ahead, then assessed the swap situation.

Was it worth it?

I don’t think it was. Not today. The group I rode out of the Jungle with was basically the same group I started with–the front place in the finishing group was 137th overall (it was 134th when we entered the Jungle).

It’s possible that the roadie group was working significantly harder than I during the Jungle portion, but based on the effort level I saw from them for the remainder of the ride, I don’t think that was the case.

I think double draft, combined with the Crr disparity at the bottom of the Jungle, made the swap strategy a wash in this ride.

Roving Gangs of Hairy-Legged MTBers

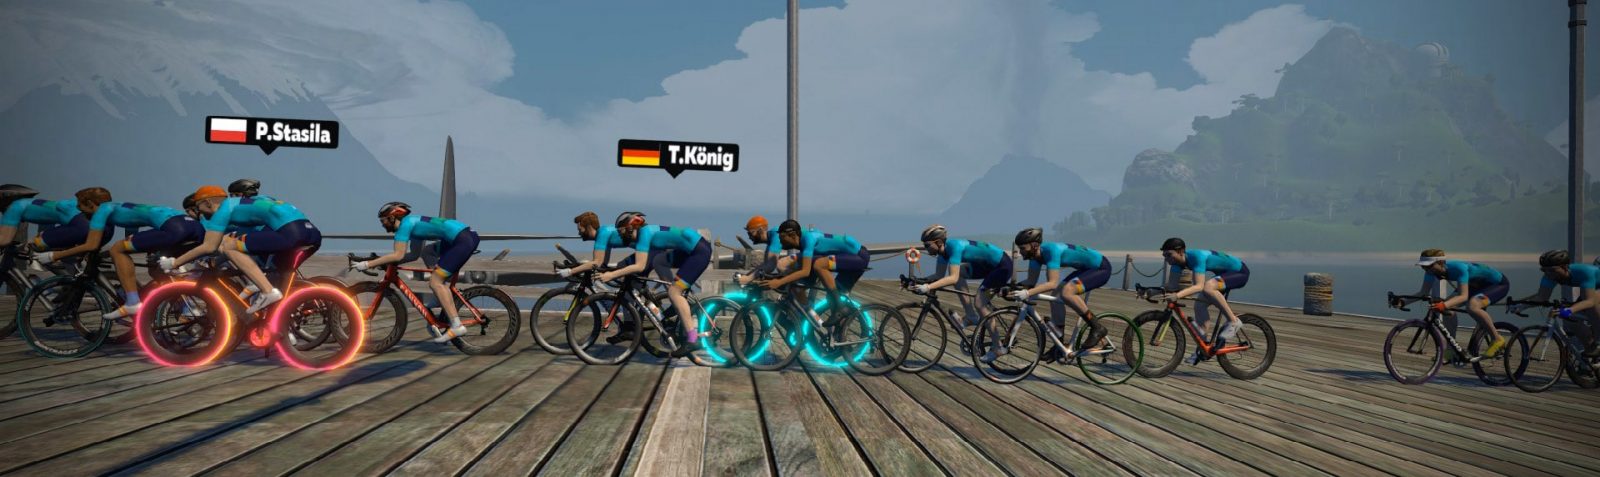
Here’s how the MTB swap could still work well in a double draft race: if several riders all swapped to the MTB then rode together, taking advantage of the double draft.

There would still be a slight disadvantage at the bottom of the Jungle through the wood sections, but the MTB gang would certainly gain time on all the dirt sections, especially the higher-speed descent where double draft matters most.

What About You?

Have you tried the swap in a double draft event in the Jungle? What is worth it? Share your experience below!


Couch to Route Hero, Week 2 Done

Couch to Route Hero, Week 2 Done

Editor’s note: Monica is undertaking the “Couch to Route Hero” challenge of riding all 67 “free-ridable” Zwift routes (and getting all the badges) in 11 weeks. Each week she shares her story of the previous week’s struggles and accomplishments. Follow along on her journey, take the challenge yourself, and be sure to give her a Ride On if you see her on course!


“The whole world knows I’m on this quest, so I have to keep going!” This is definitely an inflated view of real circumstances, but the pressure to continue on this quest is real! I say pressure, but mostly it’s accountability. When no one knows what my goals are I can quit on them. When the “whole world” knows, and others are participating, well… I’m a people pleaser. I have to keep going for my people! That’s you!

I think the theme this week is definitely “accountability.” Because my family also knows I’m doing this quest they make time for me. And I occasionally need their reminders and encouragement to get on my bike (like after the long day and a half of sitting on hard bleachers watching the 13-year-old play in a basketball tourney).

Week 2, In the Books

This week I added 9 route badges to my stash! 16 routes done, 51 to go!

Maybe I shouldn’t have written that number out for another few weeks. 51 seems like a lot.

But, I also added another 70.92 miles, 4,966 feet of climb and 4.5 hours on the bike! Woot! Routes completed this week:

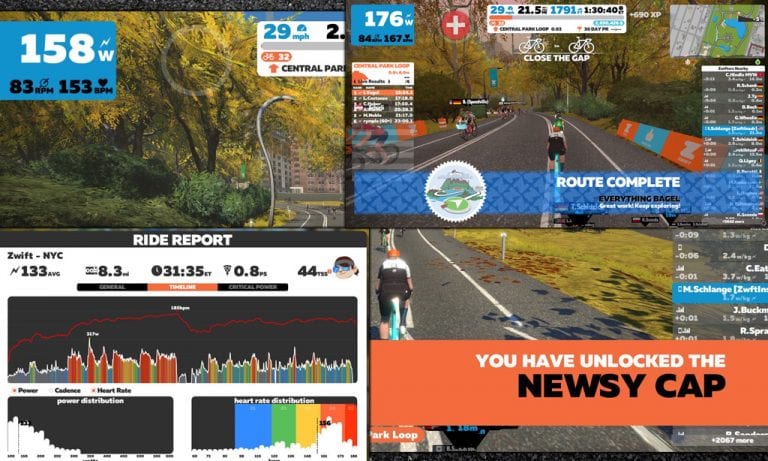
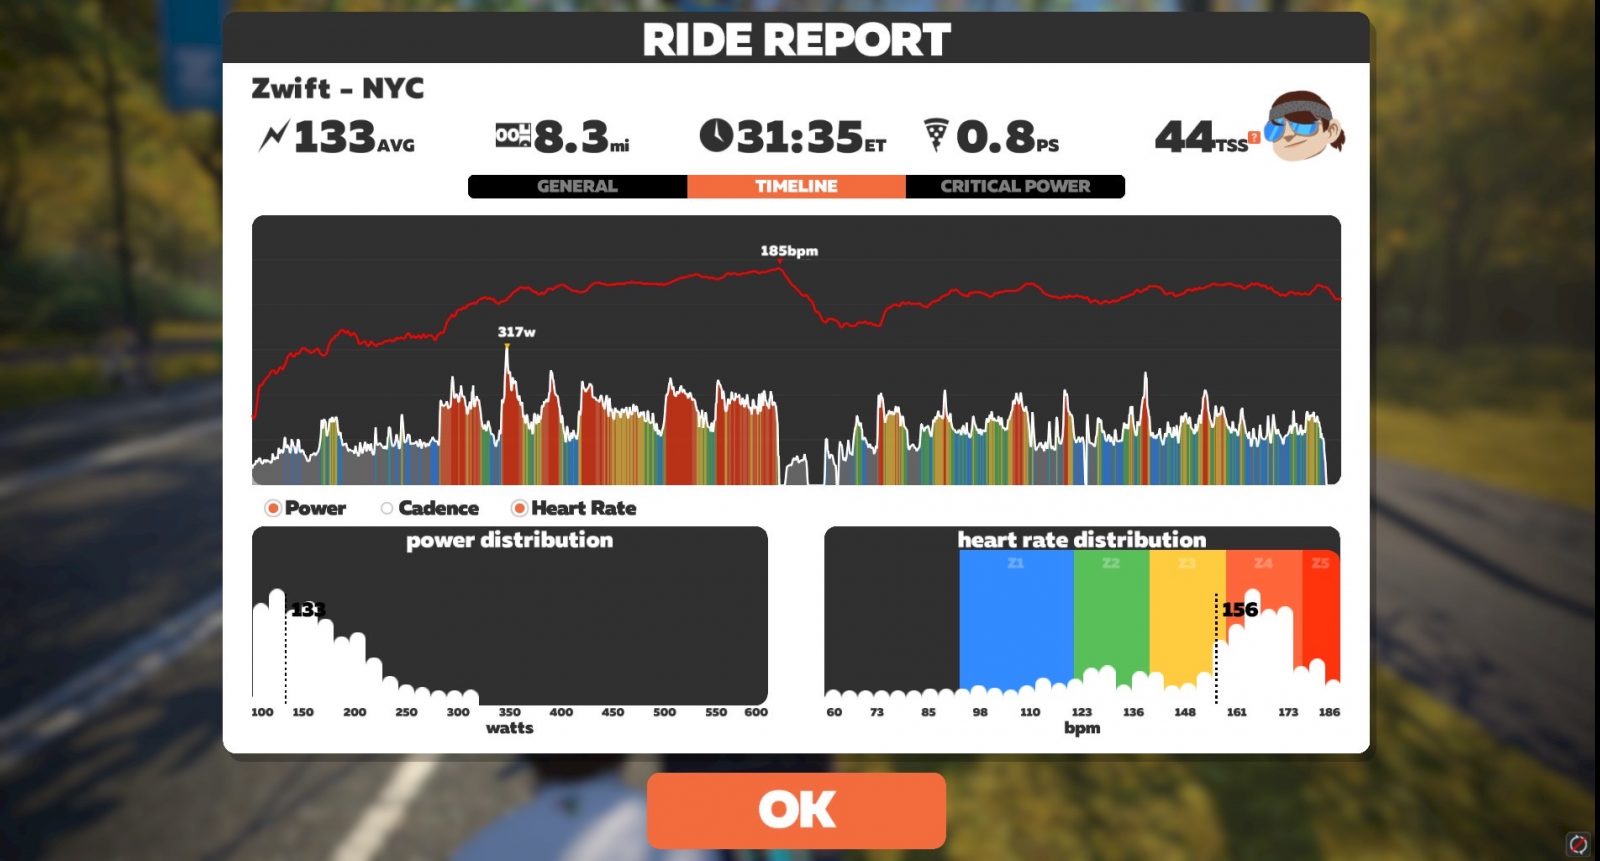
Lady Liberty ride report: the red is the QOM section!

Leveling up

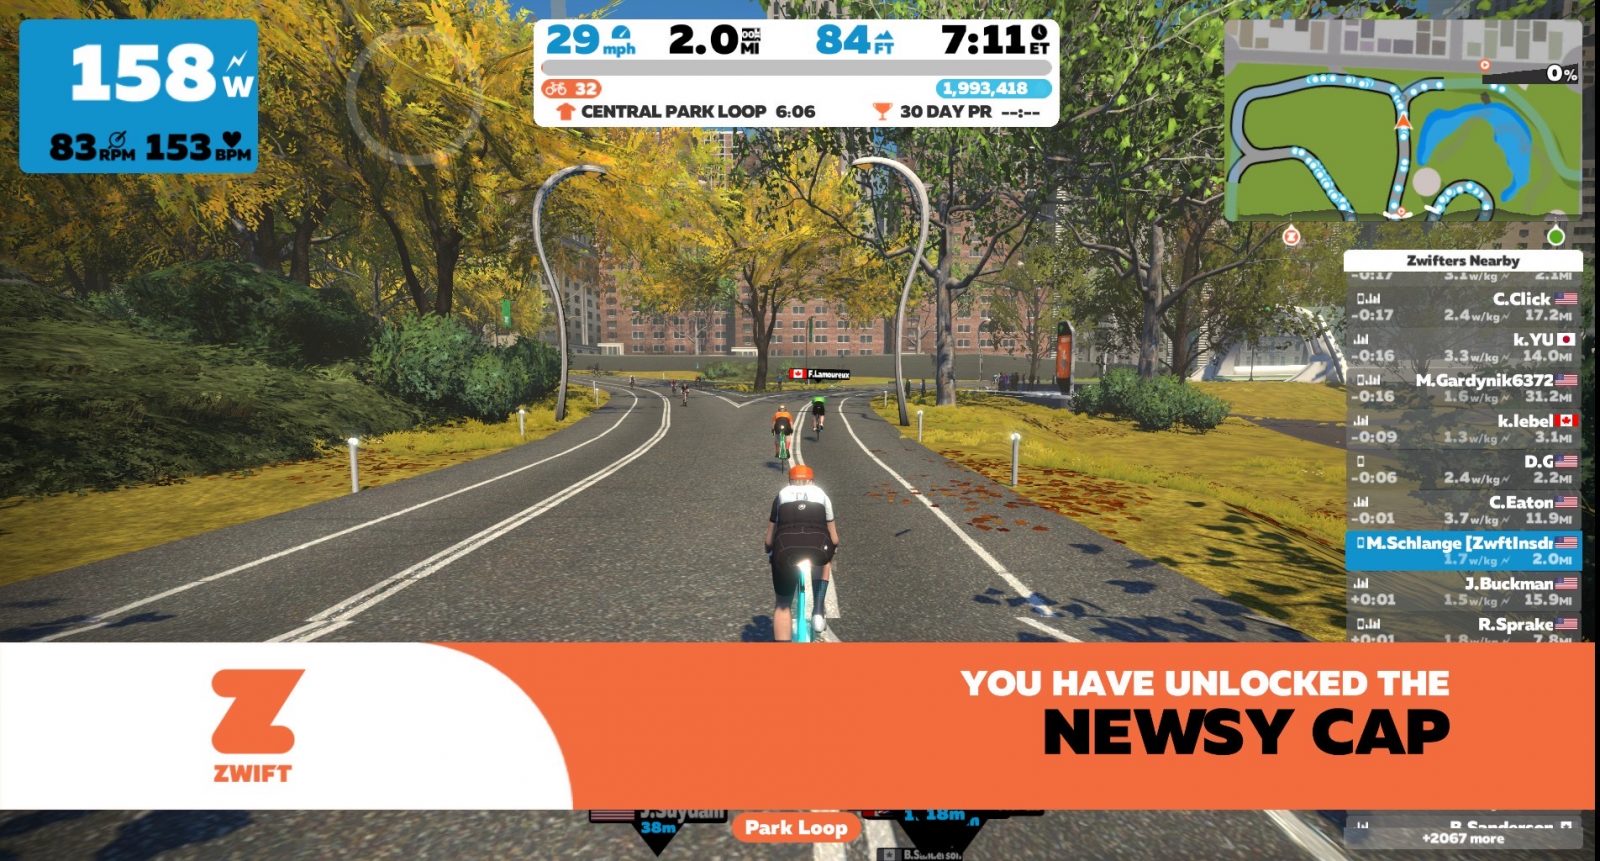
I was riding Park Perimeter Loop in New York City, a route I really like, and I got just enough points during it to make Level 32 and unlock the Newsy Cap! Did you know you get extra XP points each time you earn a route badge? I’ll be level 33 before I know it!

Everything Bagel

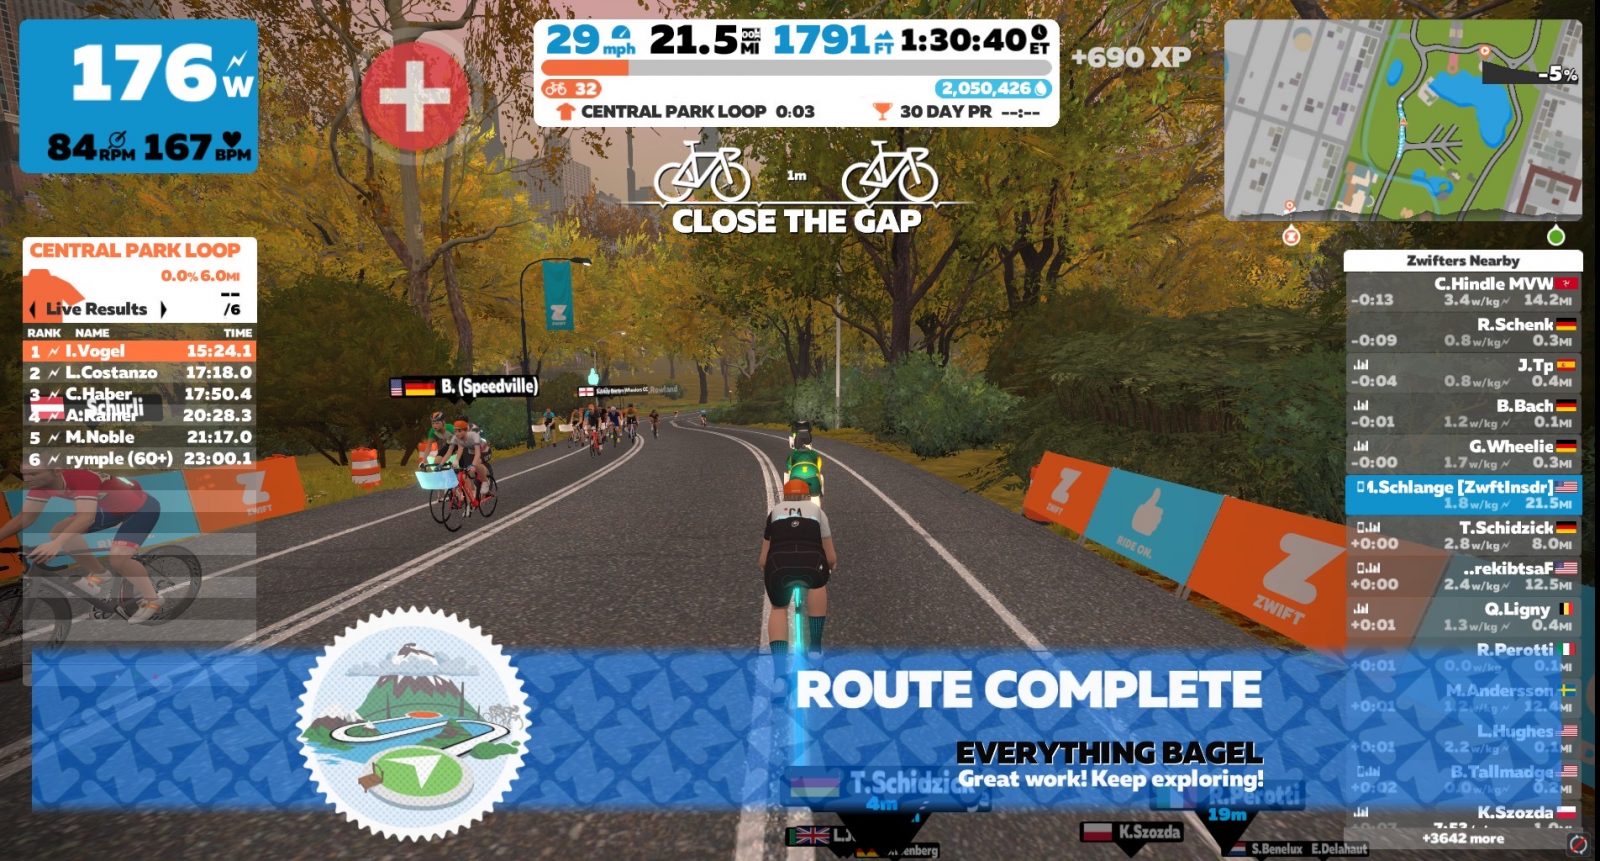
Day 9 has a 3 bidon route scheduled. It was my biggest, longest ride so far: Everything Bagel in New York City. With 1800’ of climb I was in PAIN by the end! The last three minutes I was just saying over and over “ouch… ow… ow… ow… ouchie… ugh.” 

I started the ride on the tail end of a migraine. (I really need to figure out this whole “stay hydrated” thing.) Riding with a migraine meant I couldn’t push myself higher than about 140 watts or my head felt like it would explode all over my bike. As I kept riding the meds and caffeine kicked in so I could push a little harder. I was glad for the relief as Eric jumped on his bike and was chasing me up the KOM. I’m happy to say I beat him to the top! This story ends here and I’ll not be answering any questions about how far behind me he started.

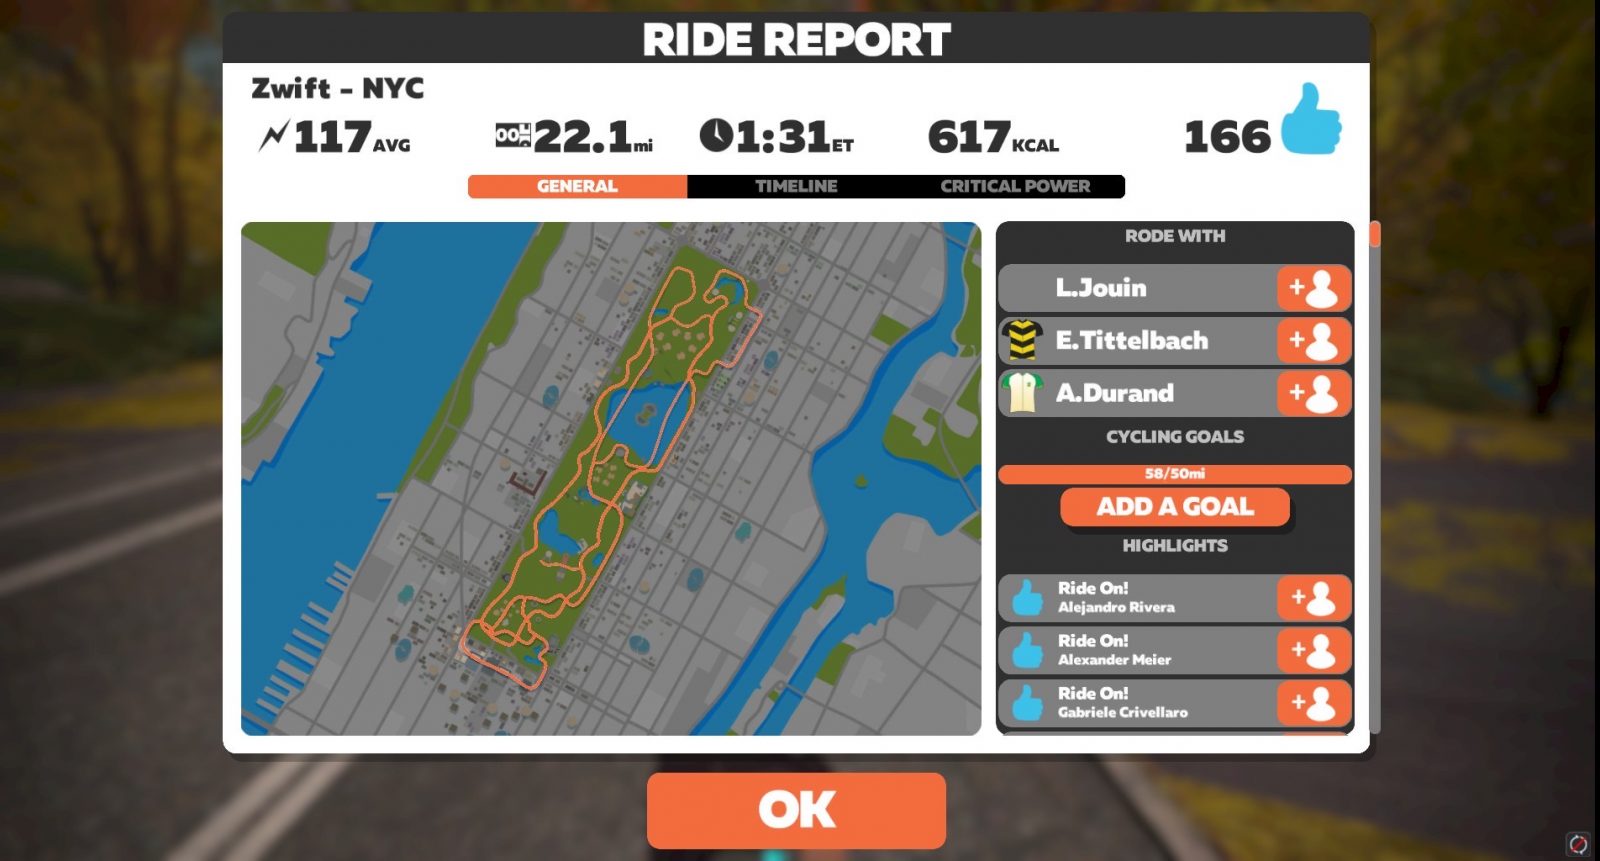
My longest ride of the Quest (so far)

After the ride, I noticed I had a total of 166 Ride Ons! You all have NO idea how much these really do spur me on! And for those looking for more Ride Ons for themselves here’s a tip: I find that the more Ride Ons I give during a ride, the more I get. Also, following lots of people means some will follow you back and give you Ride Ons next time you’re on!

So many Ride Ons!

Things I’ll Do Better This Week

I keep saying I’ll add in some core strengthening exercises soon. I’m actually going to do this in the coming week! And I’m also going to drink and drink and drink. Water, that is.

How About You?

If you’re doing this as well, how’s it going? Have you done a 3 bidon route yet? I’d love to hear all about it!

If You’re New

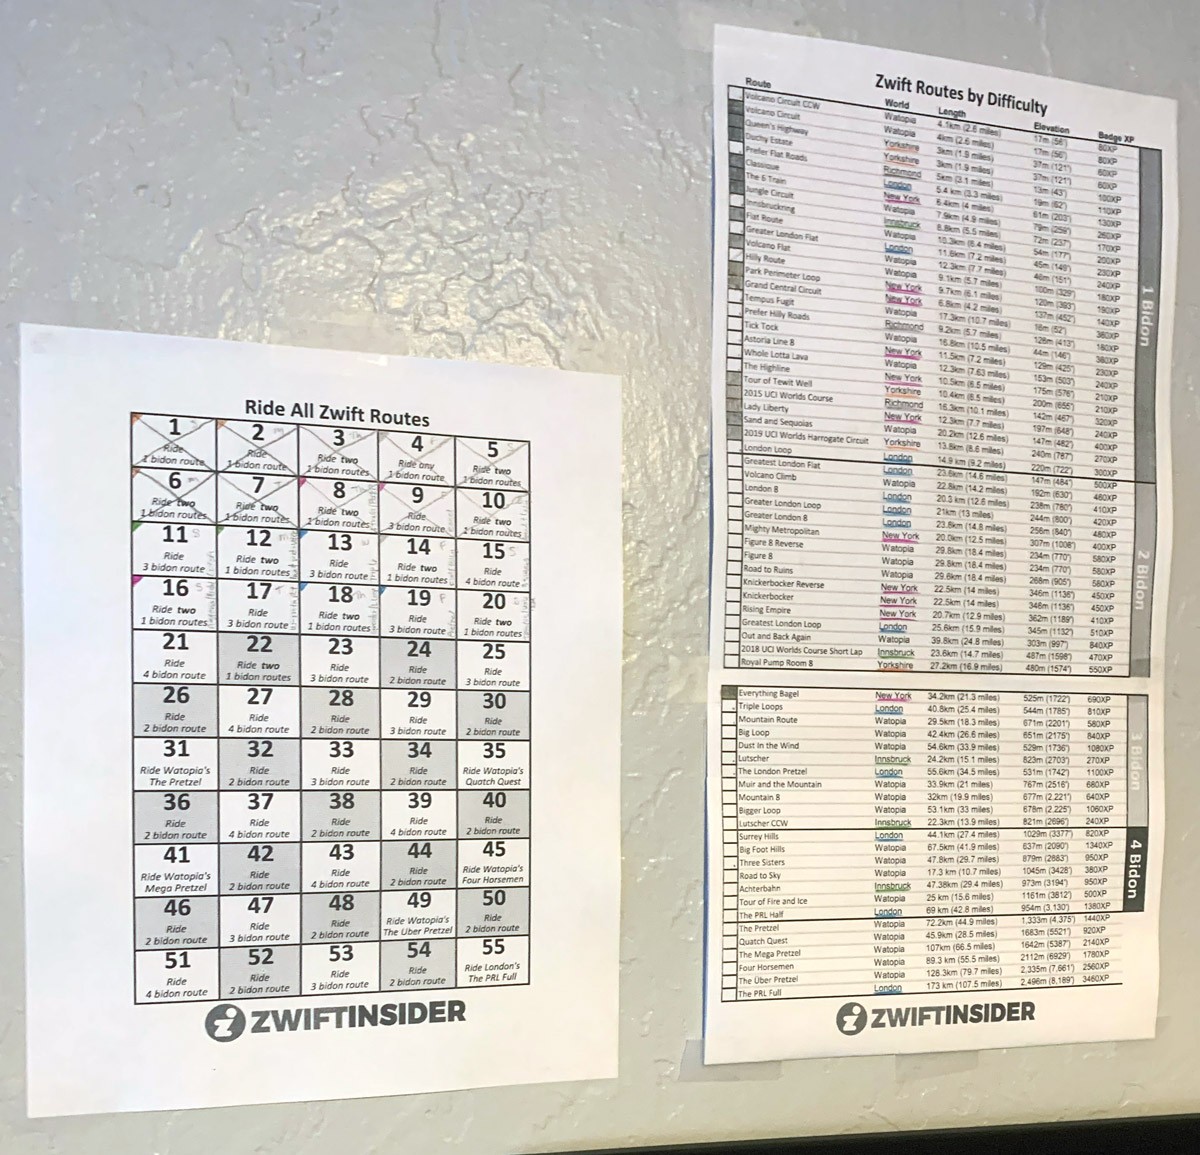
If you’re not familiar with this quest, read about it here, print out your papers and start riding! It’s never too late to start. You start on the day that works for you, and do the routes as often as you feel works for you. That’s what I’m doing! Then check in here each week to add a comment about how your week went and what you accomplished! 


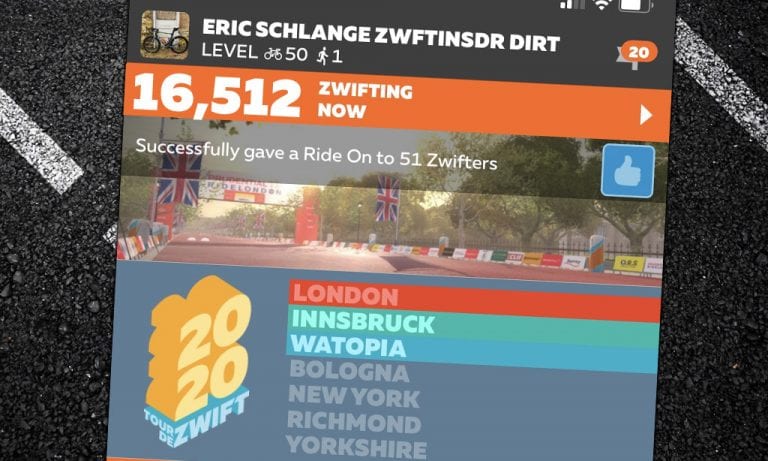
New “Peak Zwift” Achieved: 16,512

6

New “Peak Zwift” Achieved: 16,512

Last week’s record of 16,231 Zwifters online wasn’t surprising, given it was the first week of Tour de Zwift. But we’ll admit we were a bit surprised when that record was broken again this week.

That’s right: today we hit a new high, just confirmed by Zwift HQ: 16,512 concurrent users on Zwift!

This represents a 26.4% increase over last year’s high of 13,064.

Typically the weekly high traffic point is on Tuesday around 11am PST, and that’s exactly when we saw today’s traffic spike. Of course, this is also the busiest time of Zwift’s year, with much of the northern hemisphere dealing with cold temperatures, poor weather, and shortened daylight hours.

Care to Make a Bet?

Zwiftcast hosts Simon, Nathan, and Shane have been wagering on what the winter season’s high point will be, and they’ve invited some guests to place their bets as well. What do you think? Have we just seen this season’s “peak Zwift”? Or will it go higher? Here are the current guesses:

  • DC Rainmaker: 21,000
  • Nathan Guerra: 20,000
  • Eric Schlange: 18,289
  • Simon Schofield: 18,000
  • Shane Miller: 16,666

How the Race Was Lost: Leg Snappered in Innsbruck

24

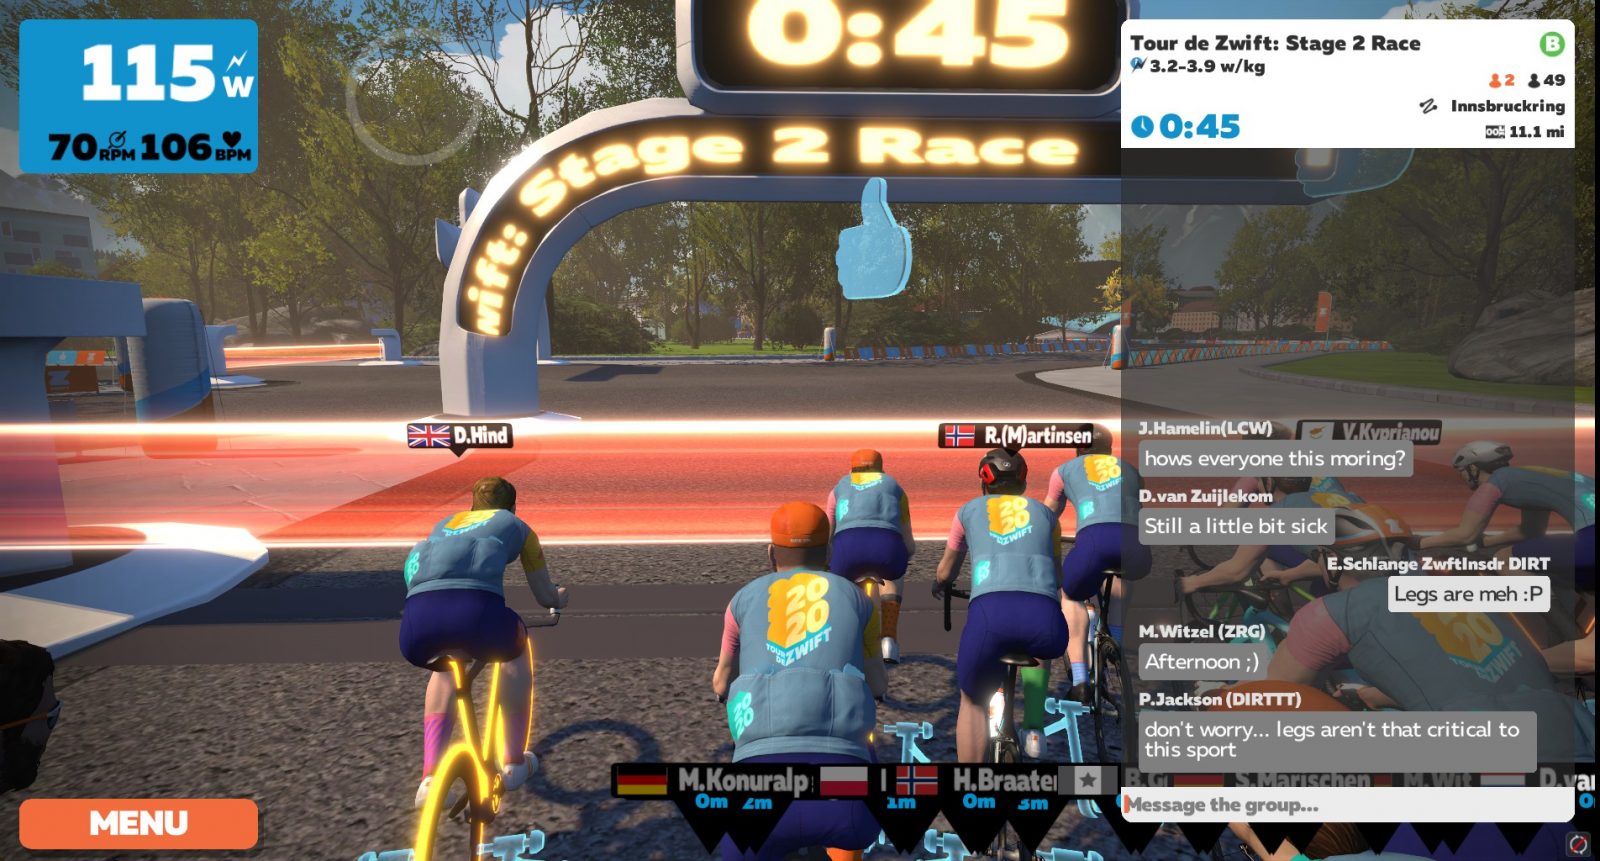
I decided to do both a group ride and race on each stage of Tour de Zwift, but thanks to my son’s crazy basketball tourny schedule I was running out of time to get the Innsbruck race done. It would have to be done on Sunday morning at 6am, and luckily the race was short since I needed to leave for church at 7:30.

Two laps of Innsbruckring. Let’s rock!

Warmup

I began with my typical pre-race ritual: a piece of caffeine gum and some PR lotion on the legs. Hopped on early and got a nice 30-minute, ~10-mile warmup in on Tempus Fugit.

For my pre-race warmups I do best with 20-30 minutes, since it gives me time to slow ramp up my efforts. Once I’ve got a bit of a sweat going, I’ll do some hard 30-60 second efforts to get my heart rate up to about 160bpm, where I feel like the ice has been broken.

If you’re looking for pre-race warmup ideas, check out “Pre-Race Warmups on Zwift“.

The Start

I could tell after the warmup that my legs weren’t feeling great–probably because I pushed it a bit harder than I should have the night before doing the group ride version of this race. (Actually, looking at that ride’s numbers now, I see my weighted average power was only 14 watts lower than it would be in this morning’s race. No wonder my legs didn’t feel fresh!)

Banter in the pens

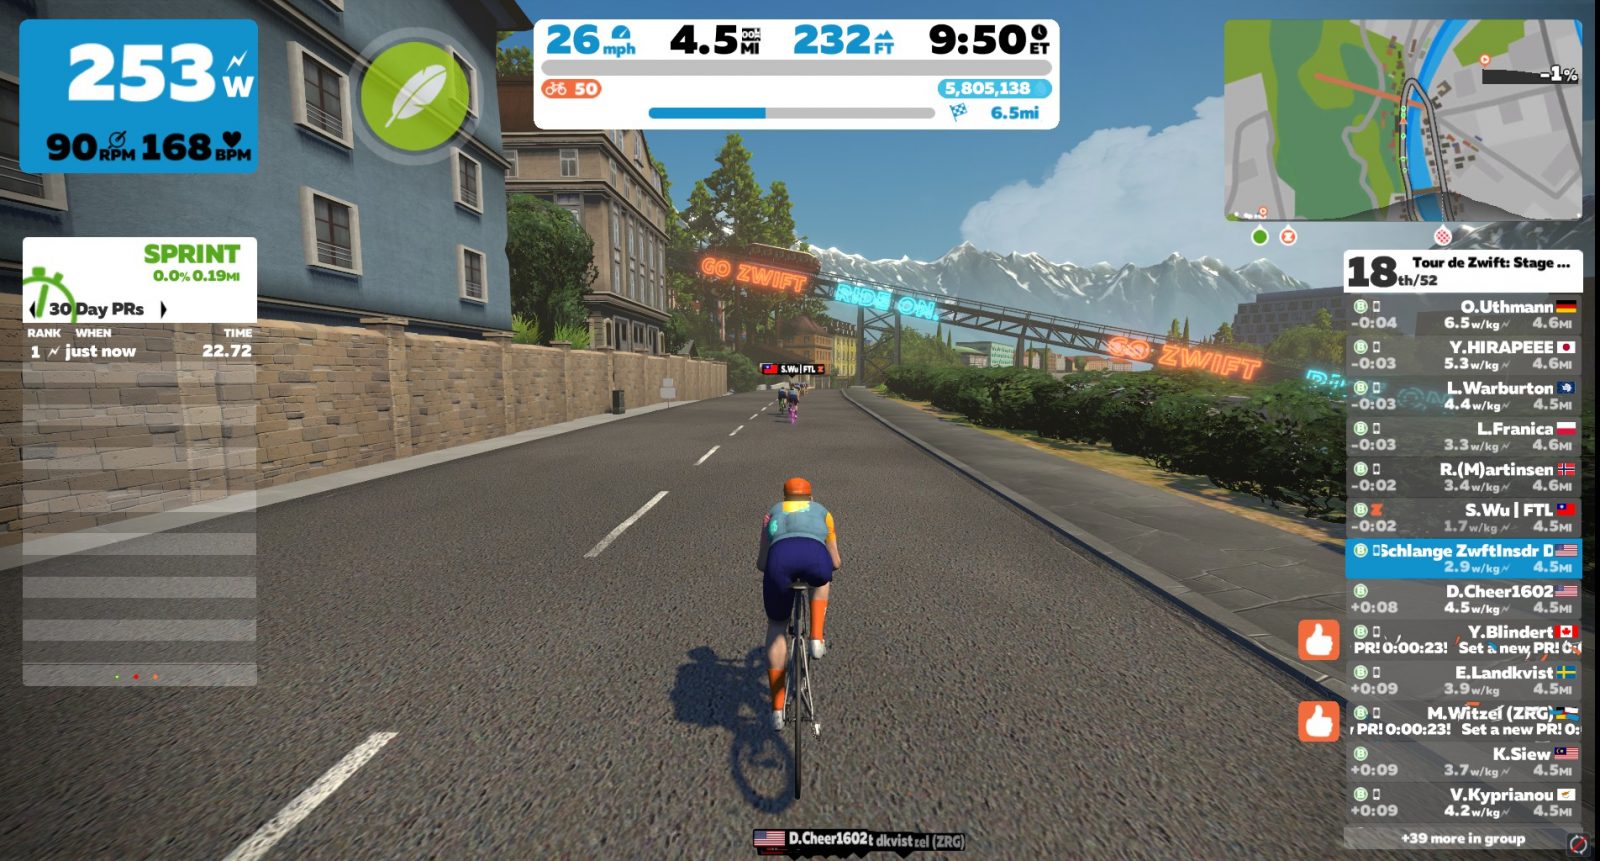
But it doesn’t matter how you feel–harden up, buttercup. It’s time to race! We had 52 starters in the B cat, and when the clock hit 0 we were off and riding. We quickly settled into a nice group pace, and by the time we hit the 5-minute mark our group of 52 had been reduced to a front pack of 25.

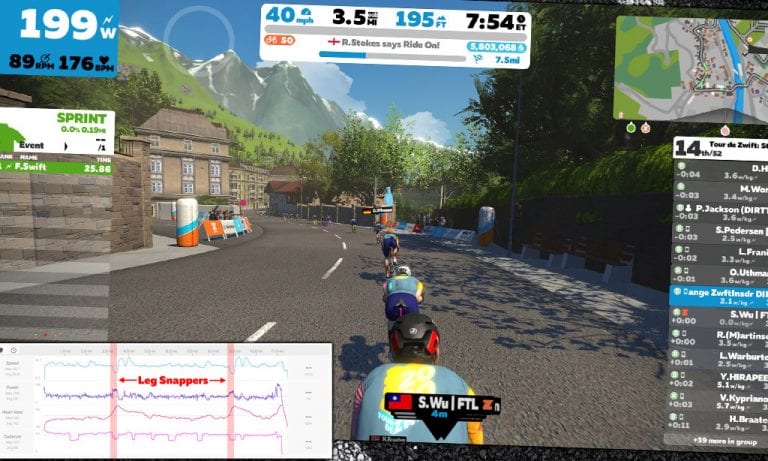
But the Leg Snapper was looming. Would I be able to hold on up this punchy climb? I was about to find out.

The Middle

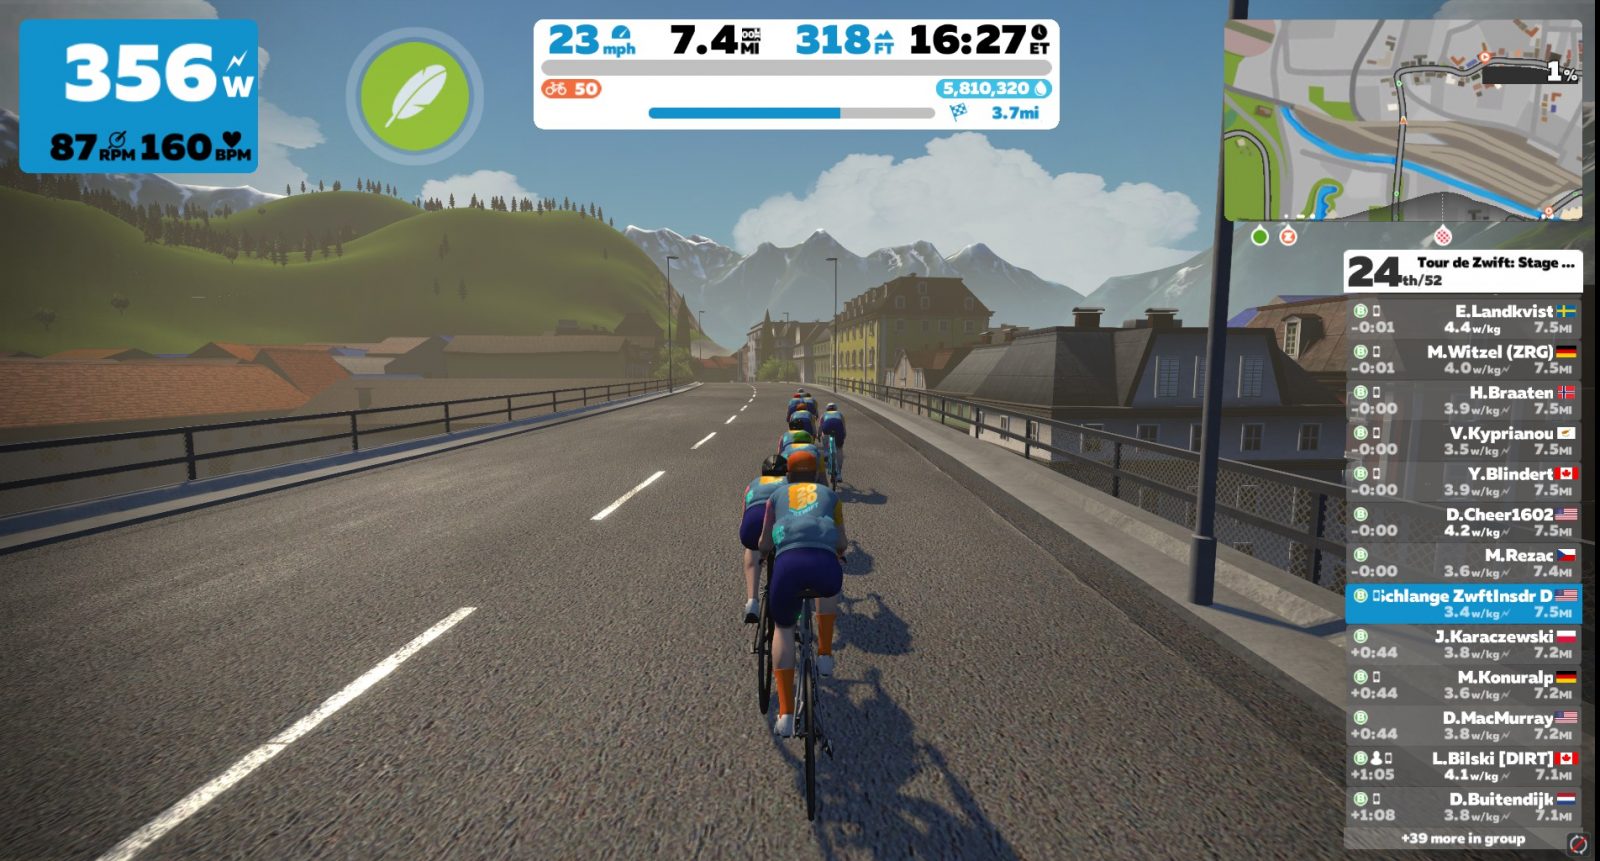
We hit the Leg Snapper at full tilt, with riders battling for position as many wanted to start the climb near the front of the pack. This is a common strategy for climbs (both indoors and out): start at the front, then you can slowly drift back through the pack as the climb progresses. As long as you can hold onto a wheel near the back of the pack over the top of the climb, you’ll still be in the pack, with less effort than it would take to hold a steady position at the front or at the back.

I wasn’t sure how hard riders would be pushing up the Leg Snapper, so I stood up and hammered hard all the way to the top. It took almost precisely 60 seconds to finish the climb, and I averaged 456 watts for that time.

My race effort–it’s easy to see where the key spot on the lap is

But as we crested the top, bad things started happening. I had finished the climb near the front of the group, but I was out of juice, and several riders continued to push it over the crest and down the descent. I found myself in 14th place at the bottom of the descent, with riders strung out up to 10 seconds ahead of me. And I didn’t have the legs to chase.

As I crossed under the sprint banner for the first time, I threw in the virtual towel. I wasn’t going to hold onto the front of this race. Not today. I would still finish, of course, but I knew I wasn’t contending for the podium.

Adios, podium. Perhaps we’ll meet again.

Knowing I wasn’t going to stay away from the group behind, I eased up. Time to join the gruppetto. Our pack of ~10 riders would work together for the remainder of the race, then battle it out in a final sprint whose winner would still be a loser. That’s bike racing!

The Finish

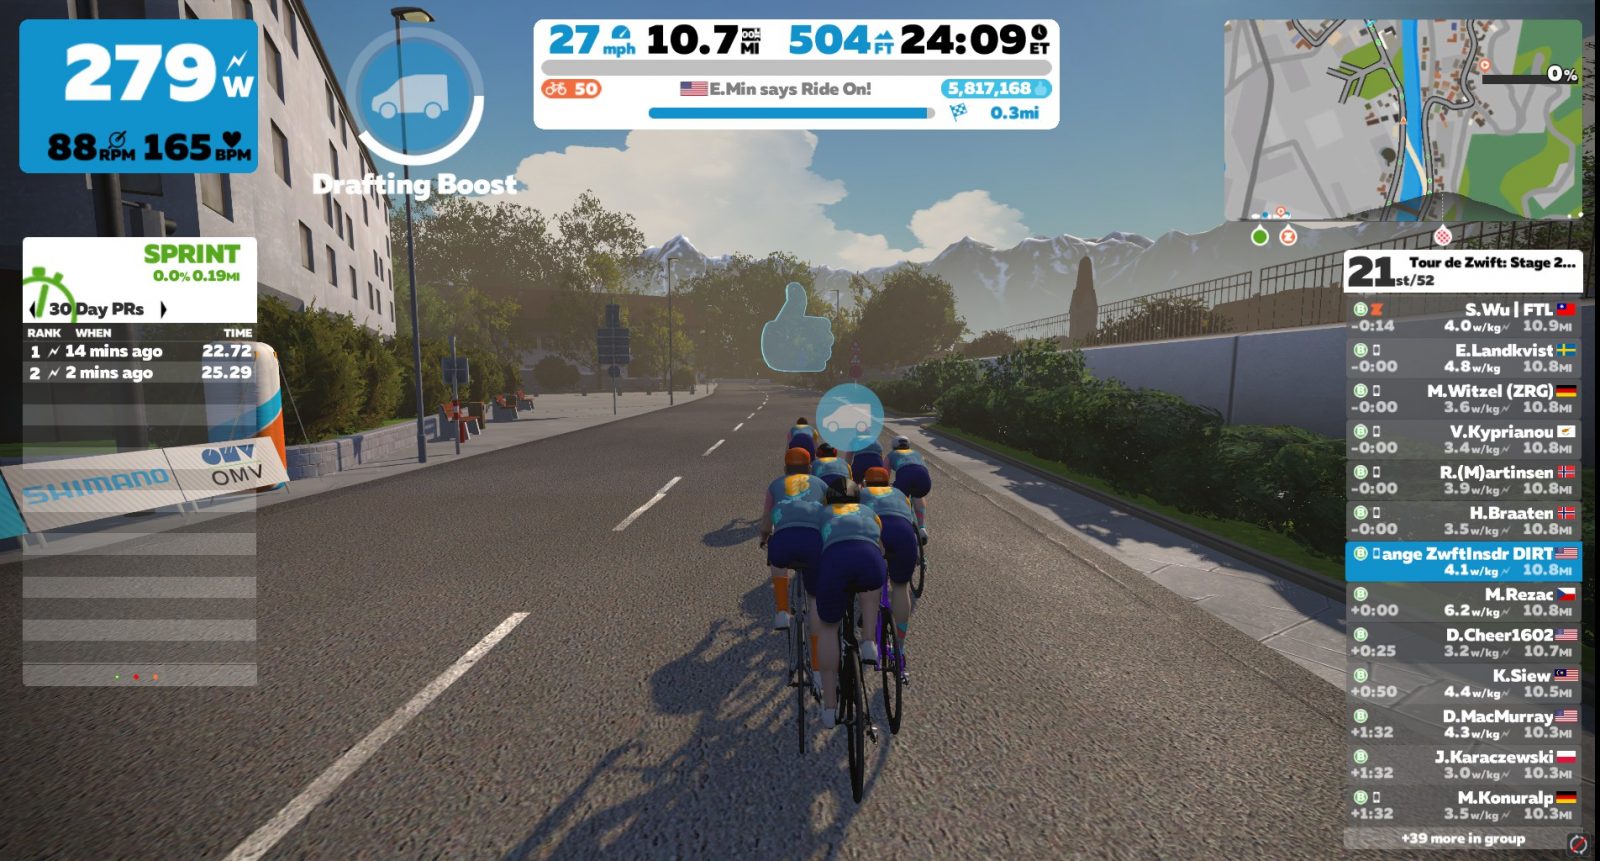
Here’s where I made my biggest mistake: I had a drafting boost (van) powerup going into the finish, and I used it as a recovery tool while the pack was approaching the finish line, instead of using it in the final sprint.

Hindsight is 20/20, but if I had waited for another rider to jump (instead of initiating the pack sprint myself, and doing that too early) I would have placed higher. As it was, I jumped, ran out of juice, and was passed by a few riders in the final meters. 20th place for me.

A ride on from the man himself!

Interestingly, this race had way less sandbagging and more legit, ZwiftPower-registered racers than my stage 1 race.

  • Stage 1: 82 finishers, 53 on ZwiftPower (35% unregistered)
  • Stage 2: 42 finishers, 31 on ZwiftPower (26% unregistered)

I’m not sure why this was–perhaps folks are actually getting hooked up on ZwiftPower and learning which category they should be in? One can hope.

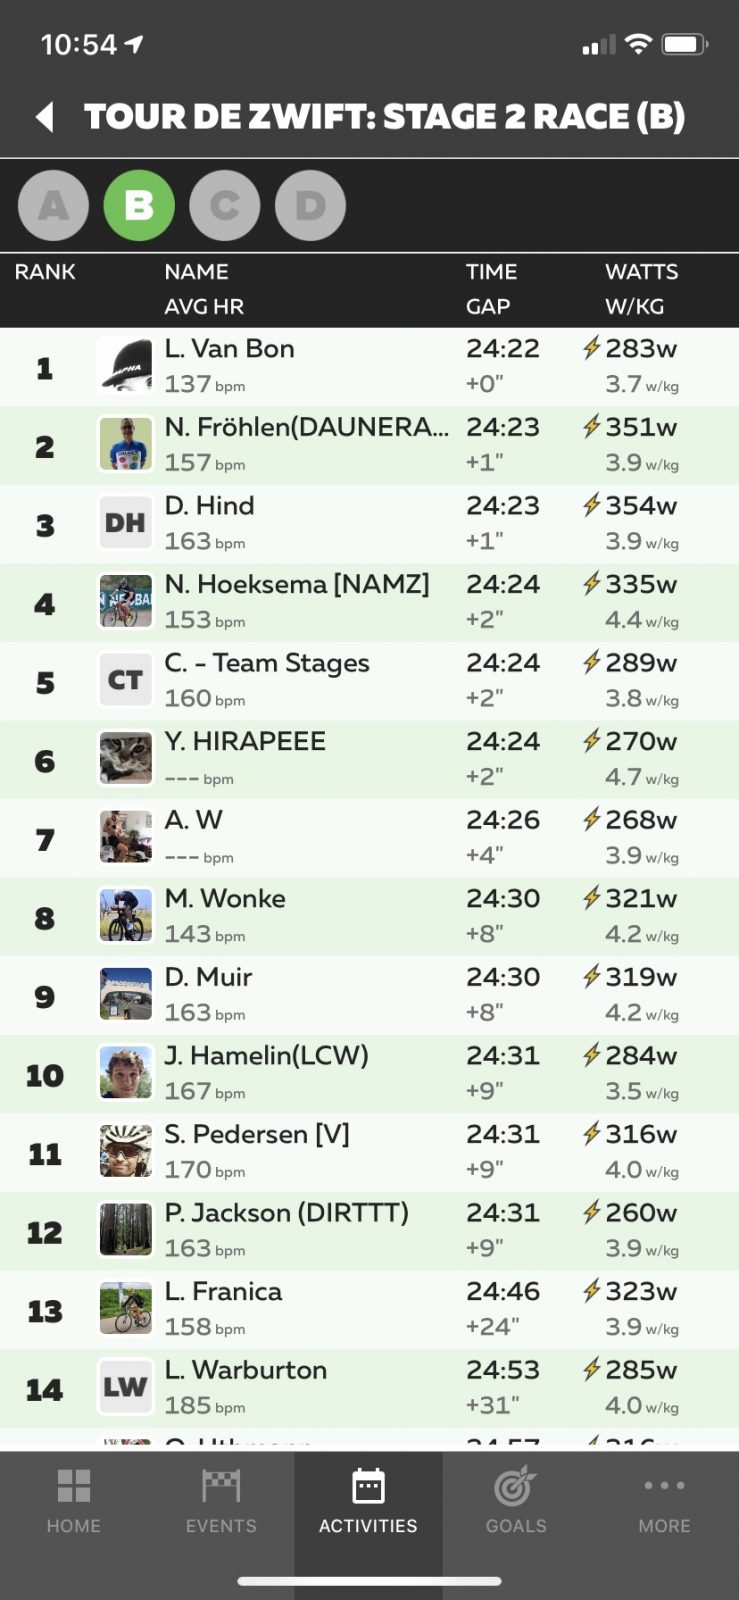
(Also: first place in my race was Léon van Bon, Tour de France stage winner in 1998 and 2000. That’s pretty cool.)

See my race on Strava >
See results on ZwiftPower >

Takeaways

Two key learnings from this race:

  • Don’t do a hard group ride 12 hours before a race. My legs can’t perform well. Some people are able to perform well with repeated efforts and minimal recovery. I’m not one of those people.
  • If I’ve got a draft boost (van) for the final sprint, use it to easily follow the wheels of the first sprinters, then come around them once they’re tired. (I included this in yesterday’s “Advanced Usage Tips” powerups post.)

What About You?

Did you race stage 2’s Innsbrucking? What was your experience like? Share below!

The Right Time to Shift During ERG Workouts

The Right Time to Shift During ERG Workouts

The common statement when doing an ERG-based workout (on a smart-controlled trainer) is to “never shift.” You simply find a gear you like then “set it and forget it” for the entire workout. The beauty of the ERG workout is that it increases or decreases the trainer resistance as your pedaling cadence changes, with the goal of maintaining the target power.

Gearing may be selected based on a variety of factors:

  1. Pick any combo that provides a straight chain line in order to reduce drivetrain wear.
  2. Pick a low gear to keep trainer noise low.
  3. Pick a low gear to provide low flywheel energy to mimic lower momentum riding like hills or off-road.
  4. Pick a high gear to provide high flywheel energy to mimic higher momentum riding like flats or smooth road.

Standing Efforts

“Set it and forget it” is nice, but a slight problem exists when it comes to standing pedaling efforts in ERG workouts. Standing pedaling is usually done at slower cadences than seated efforts (other than sprinting). Typical seated cadences range from 85-105 rpm, while standing cadences range from 55-75 rpm.

The conventional wisdom on Erg mode means you simply slow your cadence until it is where you want it to be (say 65 rpm) then stand for your effort. The problem with this approach is the large drop in workout power that happens when you slow your cadence. It happens before the trainer resistance increases back to the target power. That power decrease is a change from the desired target of the workout and less than ideal.

Additionally, when you return to the seated position, you must increase your cadence again (say 90 rpm). This causes a large increase in measured power until the resistance adjusts back down again.

Improved Standing Efforts

The solution comes from adopting the normal process used when standing outside. Generally, when you stand outside, you want to shift up a few gears (say 3 harder on the cassette). The higher gear keeps the wheel speed, but allows for the slower pedaling cadence.

So you can do the same thing while riding inside, even in Erg mode. The upshift keeps the “wheel speed” on the trainer, but keeps the ERG resistance nearly unchanged. The trainer will still adjust as needed, but the upshift makes that trainer adjustment much smaller.

Try this during your next ERG workout. Get into an interval at least 1 minute long, then:

  1. Ride seated at 90 rpm cadence, using your desired gear combo. Make sure to allow at least 3 up shifts on the cassette or use the small chainring.
  2. When you are ready, shift up (3 on the cassette or the big chainring) and stand up. This shift drops cadence about 25-30 rpm depending on the difference between your specific gearing.
  3. Perform the desired standing effort and adjust cadence slightly as desired, just like normal ERG riding.
  4. When you’re ready to return to a seated and faster cadence, sit down and do the opposite of your upshift. Resume your prior cadence and continue your workout.

Using this shifting technique removes the need for the trainer resistance unit to adjust as much as it otherwise would. You keep the power much closer to the target for the entire interval, including the standing to seated transitions, which maximizes the workout overall.

Your Thoughts

Do you shift in Erg mode? If so, why and when? Share below!


PowerUps in Zwift: Advanced Usage Tips

48

PowerUps in Zwift add welcome randomness to races, giving riders a short-lived advantage when used effectively. If you aren’t sure when or where to use powerups, this is the article for you: advanced tips to help you (power)up your Zwift game!

Just getting started? For an introduction to powerups, read “Your Guide to PowerUps on Zwift“.

Lightweight (Feather): Climbing + Accelerations

The lightweight (feather) powerup reduces your weight by 10% for 15 seconds, so it offers an obvious advantage on climbs. And since climbs are where attacks always happen in Zwift races, that really is the best place to use a feather powerup–especially on short, punchy climbs where the feather will help you maintain momentum.

But losing weight also helps you move faster on flat ground, and is especially helpful when you are accelerating! So don’t just burn that feather in a flat race–use it heading into an attack, or just before you put the hammer down on your finishing sprint. It won’t help you as much as the aero helmet in this situation, but it will help.

When not to use: the one time the feather hurts you is on descents, where being heavier actually makes you faster.

Draft Boost (Van): Recovery + Well-Timed Sprints

This powerup lasts for 30 seconds, which is twice as long as any other powerup. That’s a big deal, and makes the van especially useful when you’re looking to recover while sitting in the pack. Remember, smart racers conserve their energy as much as possible so they’ve got legs left when it matters most! The van helps you do just that, by increasing whatever draft effect you are currently experiencing by 50%.

Got the van for your final sprint to the line? Timing and heads-up riding will be crucial here. Watch for other riders to jump, then get on their wheel with your draft boost activated. This will let you sit in their draft with much less effort than they’re putting out. Finally, as they’re getting tired, jump on the watts and come around them to take the win at the line!

When not to use: the draft boost is useless if you’re not drafting. So triggering this while you’re on the front of the pack or in the wind on a solo breakaway won’t help you one bit!

Aero Boost (Helmet): Sprinting + Bridging

Everyone’s favorite powerup, the helmet helps you in your battle against the #1 enemy of cycling speed: air resistance! Sure, it’s only virtual air resistance on Zwift, but it’s still the main thing slowing you down unless you’re moving slowly up a steeper climb.

The helmet is most commonly used in the final moments of a race, to give you a speed boost during your sprint finish. Here are a few more places it can be effectively used:

  • Downhill attacks: on short, steep descents like Yorkshire’s Pot Bank the helmet can be used to boost your top speed, allowing you to drop other riders or bridge up to a group 5-10 seconds up the road if you hammer for a bit to maintain you increased momentum once the road levels out.
  • Grabbing a Wheel: if you get “gapped” (dropped off the back of a hard-charging group) use the helmet to reduce the effort required to get back into the draft.
  • Helping Your Group: in a breakaway group, chase race, or team time trial? Get on the front and use your aero boost to help everyone go faster.

When not to use: don’t use the helmet when you’re moving slow, because at low speeds, air resistance simply isn’t an issue and the aero powerup won’t have any noticeable effect.

Burrito: Get Offensive

This lesser-seen powerup removes the draft effect for yourself and any riders within a 2.5m radius for 10 seconds, so it’s the only powerup whose activation can directly slow other riders. If a rider is enjoying the advantage of sitting on your wheel and you activate the burrito, that rider will have to quickly up their watts in order to stay in contact.

The burrito can be used when you are looking to drop other rider(s), although it really needs a good boost of power from your legs in order to be effective. More commonly, it’s used in the middle of a pack of riders to make everyone within 2.5m work harder! Perhaps you’re in a pack and looking to make a solo attack off the front? Use the burrito to make it harder for anyone to follow you. Or maybe you’re in a breakaway with just one or two others in the final minutes of a race, looking to drop them and solo to glory. Deploy the burrito and put in a solid dig, then keep going to the line!

When not to use: if you’re riding with no one within 2.5 meters, activating the burrito won’t speed you up or impact anyone else.

Cloaking (Ghost): Sneak Away

Another lesser-seen powerup (get it?), the ghost gives you 10 seconds of invisibility. Why is that helpful? Because you may want to “get away” in certain race situations: when chasing sprint points, trying to break away off the front, or starting your final sprint a bit early. Like the burrito, this is another “deploy then hammer” powerup, since it’s only going to help you if it’s coupled with increased wattage.

When not to use: of all the powerups, the ghost is probably the most “useless”–that is, it’s only useful in very specific situations described above. It’s not useful if you’re just sitting in the pack, off the back, working with others in a breakaway, etc.

Bonus Tip #1: Know the Route

Effective powerup usage is all about timing, and it’s nearly impossible to time things properly if you aren’t familiar with the course you’re riding. As you grow familiar with Zwift’s roads, you will also improve your ability to maximize whatever powerups you hold.

If you aren’t familiar with a route, look it up on our routes list and familiarize yourself with the key climbs, sprint segments, and overall profile so you can use your powerups as strategically as possible.

Bonus Tip #2: Count Your Banners

Knowing the number of banners on your route is also very important since this is where you get powerups. The Tick Tock route, for example, is 10.5 miles long but only includes one banner. Watopia Hilly, on the other hand, is 5.7 miles long and includes three banners! Your powerup usage should be very different between these two routes.

What About You?

Got some powerup tips we didn’t share above? Share them in the comments below!

Zwiftcast Episode 75: Peak Zwift (or is it?) Tour de Zwift and all the Zwifty Chat

Zwiftcast Episode 75: Peak Zwift (or is it?) Tour de Zwift and all the Zwifty Chat

The Zwiftcasters welcome in 2020 with the first episode of the new decade – and kick straight off with a discussion of what’s become a landmark in the Zwift calendar – Peak Zwift.

You can hear which one of the Zwiftcasters, along with special guest guessers, got it right.

The podcasters go on to discuss whether the second January in Tuesday really will be Peak Zwift this year. The game has a few initiatives upcoming which may see the current record broken. Stay tuned.

Is the update which restored climbing cadence on Zwift from 80rpm back down to 70rpm a victory for the Zwiftcast? The boys are claiming it!

The Tour de Zwift is a huge event – more than 120,000 Zwifters took part last year and this year’s event has been eagerly awaited. The podcasters discuss the importance of these events to the community. We also have a feature with Zwift’s VP of Media, Nina Caplin, who explains the aims behind the series of live-streamed shows which run alongside the TdZ this year.

And we have a velodrome? Actually, we don’t. We have a running track. Simon talks to Zwift’s Mr. Running, Stephen Cousins on how important the 400m track is for our running colleagues – and whether they might one day let the cyclists in!

We hope you enjoy listening.


5 Tips to Help You Grab a Zwift Sprint Jersey

5 Tips to Help You Grab a Zwift Sprint Jersey

No matter what, grabbing a green sprint leader jersey in Zwift is going to require some high wattage. If you’ve got the power, but still struggle to grab that jersey, there’s a good chance you could take it by making a few small improvements.

The good news is, I lead the Pacific Sprintapalooza: a ride is aimed at helping Zwifters improve their sprints. After witnessing many thousands of sprints from riders on all Zwift’s courses, I’ve got a few pointers that may be especially helpful to new Zwifters. Five tips to help you go green!

Note: I’ve sorted these pointers in order from “most honorable” to “most pathetic.”

#1: Start Fast

Sprintapalooza riders ramping it up before the start of the Watopia reverse sprint

Apart from wattage, your entry speed into the sprint section is the biggest factor determining your finish time. Many would-be sprinters lose the sprint before it even starts by delaying their effort until they cross the start line. A lack of familiarity with the course is one reason for this, but perhaps it’s also because they’re thinking of sprinting indoors like they do outdoors, where everyone starts sprinting near a certain spot, and the only real goal is to beat those around you. But this is Zwift, and we’re going for the shortest time on a particular section of road: so you need to enter it at or near top speed!

I find if I start building speed 15-20 seconds before the start line I’m typically in a good spot to take the jersey. Of course, the trick here is knowing where the sprint starts. And that just comes with learning the course.

#2: Use the Draft

The biggest force slowing you down in a Zwift sprint is (virtual) air resistance. Drafting reduces air resistance so you can achieve higher speeds at the same wattage. Find a way to draft off one or more fast-moving riders and your sprint times will improve dramatically!

I notice the biggest time benefit from drafting when I’m in a group ride with at least several other sprinters. The best place to start your sprint is near the back of the sprinter group, so you can use each rider’s draft as you sprint through the pack.

You may be riding with a friend who is willing to give you a lead-out for the sprint. This takes practice to execute well, but if your lead-out’s pace is such that you can push yourself hard and stay on their wheel before the sprint and through most of the actual segment, they can let off their power with 5 seconds to go and you can fly through the finish for the win.

#3: Use a Power Up

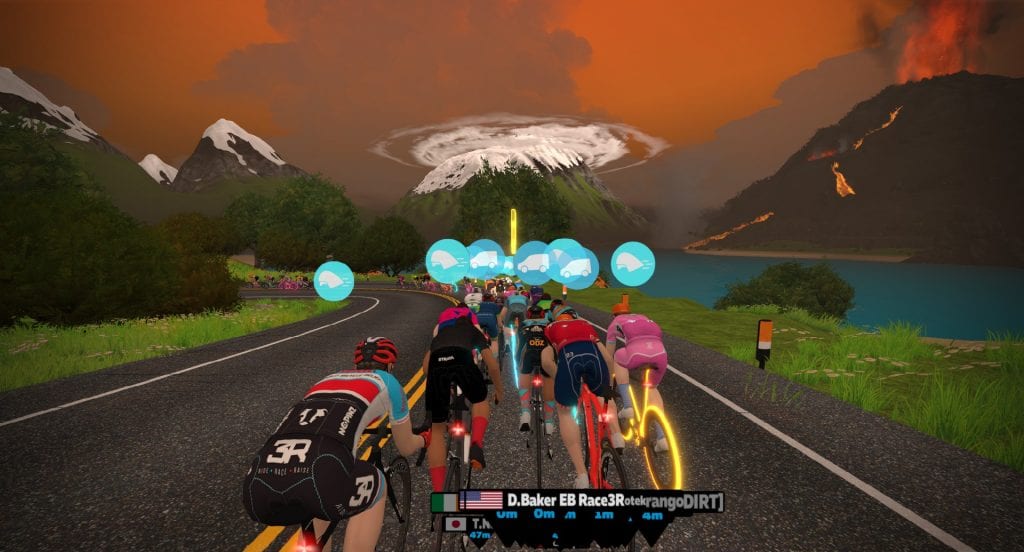
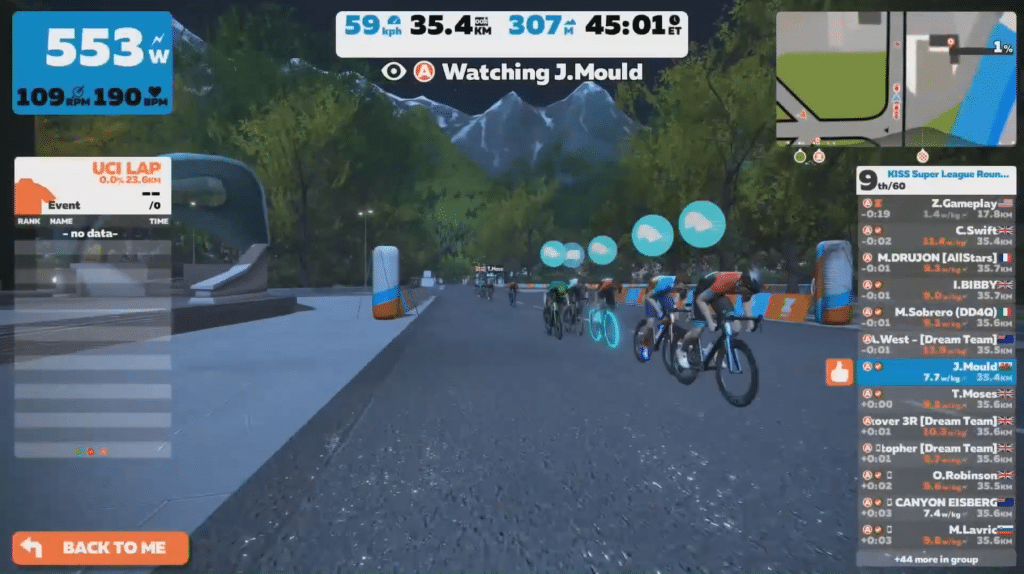
See the powerups fly in this KISS Super League finish!
powerup-helmet

The aero helmet is far and away the most useful power-up for sprinters, because it makes you more aerodynamic (reduces your CdA by 25%) for 15 seconds. The only trick here is timing: try to trigger is before you begin your sprint (boosting your entry speed) but wait long enough so the power-up doesn’t run out until the last second or two of your effort.

powerup-truck

The draft boost (van) is also a useful power-up for sprinters, but trickier to use because it only works when you are drafting another rider. The draft boost power-up increases the draft effect you are experiencing by 50% for 30 seconds. The challenge here is to get yourself into a position where you have several fairly strong sprinters ahead of you so you can trigger the power up then sprint through your “leadouts,” benefiting from the draft of each rider as you fly past and leave them crying.

powerup-feather

The feather is also a helpful powerup for sprinters, especially if the sprint is uphill. Since it reduces your weight by 9kg for 15 seconds, you’ll move faster uphill and on the flats, and accelerate faster as well.

#4: Go Against the Flow

On Watopia and London the “reverse sprints” are much less traveled than the forward ones. Hit the sprint sections in the reverse direction and you stand a much better chance of wearing green.

Not sure how to find or ride the reverse sprint? Just ride the forward sprint, pedal for a few hundred meters after you’re finished, then flip a u-turn (down arrow or Zwift Companion button). You’re now heading into the reverse sprint!

#5: The World Less Traveled

Truly desperate to wear that sprint jersey? Use the world hack to place yourself on a different course than the vast majority of Zwifters are riding. Yes, it’s a rather pathetic win: but some days that little boost is a welcome one.

Got More Sprint Tips?

Share them below in the comments!


15 Phases of a Fasted Morning Ride

15 Phases of a Fasted Morning Ride

Do you like to ride early? I sure do. In fact, I’d say at least 75% of my 19,700 Zwift miles have been done before the rest of my family wakes up. These early morning fasted rides help me build a lot of base fitness, teach my body to burn fat, and are just a nice way to start the day.

Today as I rode around Richmond I began thinking about how my mind and body travel through a fairly consistent set of phases on a fasted morning ride. Perhaps you have experienced something similar? Let’s compare notes…

Phase 1: Waking Up

The phone alarm goes off at 5am, quiet so as not to wake the wife. Do I really need to get up now? It’s dark outside, the bed is warm. I delay a few minutes… then roll out of bed.

Phase 2: Kitting Up

It’s cold. I put my socks on first because the tile bathroom floor feels like ice. Brush my teeth so I don’t have to ride with morning breath. Visit the toilet, where an important decision needs to be made: to poo, or not to poo? If I stick to #1 I’ll be out of there quick and on the bike. I don’t really feel a need for #2. Let’s make this quick.

Throw on the kit (today it’s my comfy Zwift Pursuit bibs, which I love). Regret not drying my shoes after yesterday’s rainy ride, fill a water bottle. Grab my phone and exit the bedroom.

Phase 3: Get Riding

Walk upstairs, hoping nobody left anything in the dark hallway for me to trip over. Turn on the trainer power strip, wake up the computer, start Zwift (why does it take so long to start up? was it sleeping too?) then we have a decision to make: where do I ride? Some days I’ve already decided on a particular workout or event, but many days I just free ride in the mornings. Today my friend Zane is on course, so I click to ride with him.

Phase 4: Regret the Route Choice

Freakin’ Richmond flat. Why did Zane pick Richmond flat? Now we get to ride a crowded 3-mile flat loop for 90 minutes.

Phase 5: The Jacket Comes Off

A few miles in and my body starts to warm up. I take off my jacket and toss it in the corner.

Phase 6: The Fan Turns On

5 miles later and I can feel a bit of sweat coming on. Time to turn on the fan. Luckily I’ve got a handy network-connected power strip for my fans, so I can turn them on via my phone or by yelling at Alexa. Best $15 ever spent.

Phase 7: Only 10 Miles?

That first 10 miles always seem to take forever. But I also know the next 10 will not.

Phase 8: Nausea/Hunger

45 minutes in and my stomach gets that feeling… you know what I’m talking about. That kind of upset stomach feeling, but it’s actually a hunger pang? I’ve been doing this long enough that I know it’s just hunger (I haven’t eaten in over 12 hours, after all) and it will go away soon enough. Keep pedaling.

Phase 9: 20 Miles Down

As I get close to the hour mark I start doing the math in my head to calculate our average speed. Yeah, I know Zwift speeds are a little generous, but it’s still a decent gauge of overall effort on a flat course. We’ve ticked off 20 miles and we’re only 54 minutes in, so we’re doing fine at this fasted zone 2 pace.

Phase 10: Should Have Pooped

It happens. Every. Time. It’s like my bowels don’t wake up until I’ve been riding for an hour. But this isn’t a Tom Dumoulin-level emergency, so I’m not stopping now!

Phase 11: Let’s Make It 30

Zane ditches me at the 1-hour mark because he has a real job. But I generally ride until around 7am, so I decide to keep going, riding for a least 90 minutes. That’s about the limit of what I can do on a fasted ride before I need some nutrition.

Phase 12: Impromptu Sprint

One nice thing I realize about the Richmond flat course it is takes you over a sprint section every 8-9 minutes… not unlike London’s Classique. I glance at the leaderboard and decide to hit the sprint in a bid to steal the green jersey. I don’t have a useful powerup (a feather on Richmond flat?!) but I follow my own suggestions and get third place. Only half a second off the green jersey, and I know I could have gone harder. Next time around.

Phase 13: Call Me Cavendish

I take the green jersey on my second and final sprint. Just barely. But it still feels good. So I take a snapshot.

Phase 14: Another Few Miles Won’t Hurt

I’m over 32 miles after 90 minutes. Might as well make it 35.

Phase 15: Done. And Happy I Did It.

That post-ride feeling is the best, isn’t it? The endorphins are flowing, I know I’ve started my day off responsibly, and oatmeal is waiting downstairs. Time to hit the showers.

Are you and early bird?

How do your experiences line up with mine? Share below!