LnRiLWNvbnRhaW5lciAudGItY29udGFpbmVyLWlubmVye3dpZHRoOjEwMCU7bWFyZ2luOjAgYXV0b30gLndwLWJsb2NrLXRvb2xzZXQtYmxvY2tzLWNvbnRhaW5lci50Yi1jb250YWluZXJbZGF0YS10b29sc2V0LWJsb2Nrcy1jb250YWluZXI9ImY4NjZlZGZlNmVmYWQ4ZTE0M2JlMzFhZTE3ZDExYjg1Il0geyBib3JkZXItcmFkaXVzOiAxNXB4O2JhY2tncm91bmQ6IHJnYmEoIDAsIDIwOCwgMTMyLCAxICk7cGFkZGluZzogMTBweCA1cHggMTBweCA1cHg7bWFyZ2luLXRvcDogMjVweDttYXJnaW4tYm90dG9tOiAyMHB4OyB9IEBtZWRpYSBvbmx5IHNjcmVlbiBhbmQgKG1heC13aWR0aDogNzgxcHgpIHsgLnRiLWNvbnRhaW5lciAudGItY29udGFpbmVyLWlubmVye3dpZHRoOjEwMCU7bWFyZ2luOjAgYXV0b30gfSBAbWVkaWEgb25seSBzY3JlZW4gYW5kIChtYXgtd2lkdGg6IDU5OXB4KSB7IC50Yi1jb250YWluZXIgLnRiLWNvbnRhaW5lci1pbm5lcnt3aWR0aDoxMDAlO21hcmdpbjowIGF1dG99IH0g
Zwift Insider Tiny Race Stats: Rider Counts, Naughty Countries, Prolific Racers
LnRiLWNvbnRhaW5lciAudGItY29udGFpbmVyLWlubmVye3dpZHRoOjEwMCU7bWFyZ2luOjAgYXV0b30gLndwLWJsb2NrLXRvb2xzZXQtYmxvY2tzLWNvbnRhaW5lci50Yi1jb250YWluZXJbZGF0YS10b29sc2V0LWJsb2Nrcy1jb250YWluZXI9ImY4NjZlZGZlNmVmYWQ4ZTE0M2JlMzFhZTE3ZDExYjg1Il0geyBib3JkZXItcmFkaXVzOiAxNXB4O2JhY2tncm91bmQ6IHJnYmEoIDAsIDIwOCwgMTMyLCAxICk7cGFkZGluZzogMTBweCA1cHggMTBweCA1cHg7bWFyZ2luLXRvcDogMjVweDttYXJnaW4tYm90dG9tOiAyMHB4OyB9IEBtZWRpYSBvbmx5IHNjcmVlbiBhbmQgKG1heC13aWR0aDogNzgxcHgpIHsgLnRiLWNvbnRhaW5lciAudGItY29udGFpbmVyLWlubmVye3dpZHRoOjEwMCU7bWFyZ2luOjAgYXV0b30gfSBAbWVkaWEgb25seSBzY3JlZW4gYW5kIChtYXgtd2lkdGg6IDU5OXB4KSB7IC50Yi1jb250YWluZXIgLnRiLWNvbnRhaW5lci1pbm5lcnt3aWR0aDoxMDAlO21hcmdpbjowIGF1dG99IH0g
With another year of Tiny Races under our belt, it’s time to crunch some numbers and share fun Tiny Race stats. How would recent numbers compare to last year’s stats? What do the week-to-week participation trends look like? Which country is home to the most well-behaved riders (and the naughtiest)? And who has completed more Tiny Races than any other rider on Earth?
Let’s dive in and find out!
Overall Data
With Tiny Race results saved since October 2022, we’ve got 147 weeks of data to work with. Here are the total number of races finished each week since I began saving the data. This is broken down by time zone into the three event timeslots we run (Zone 1 at 2am, Zone 2 at 8am, and Zone 3 at 2pm Pacific time):
Zones 1 and 2 track quite closely to each other, with zone 1 being popular with UK/Europe riders and zone 2 being popular in the US/Canada. Zone 3 is always much smaller. While Zone 3 mostly exists to cater to Australia and New Zealand, it’s interesting to note that race completions always drop off during the southern hemisphere’s winter, indicating that a good portion of Zone 3’s racers aren’t in the southern hemisphere.
Next, we examine the number of unique riders who participated each week, combined across all three zones. We see a similar trend to the chart above, with numbers decreasing in summer months.
A few trends/data points that stand out to me:
- The huge peak of 1636 riders on February 18, 2023, which was the second week of our special Worlds Experience races.
- “Peak Zwift” season this year was a bit higher than last year. November 2023-February 2024 saw 14,169 riders, while November 2024-February 2025 saw 16,431 riders.
- The stark dropoff in riders between March 1 and March 8, 2025, with numbers staying fairly low since then. Does seasonality alone account for this? (Note: digging deeper, if we compare March-July 2024 with March-July 2025, numbers are very similar, with a total of 12,814 unique weekly riders in 2024 vs 12,468 in 2025.)
This Year’s Data
If we narrow our scope to the past 12 months (August 2024 through July 2025), we can simplify the charts and concentrate on more recent trends.
The only major change we’ve made to affect this chart is moving to a three-category setup starting July 26 (the last data point on the chart) in order to increase the size of race packs during the summer months. (You can see the number of riders in A, B, and C increased a lot on that date, while D and E are at zero.)
It’s interesting to see that the E category was essentially trending in line with the other categories for the first half of the chart. However, when numbers dropped in March, E category participation declined more than the other categories, and it has remained the smallest category every single week since. What is causing this trend? Are E category riders moving outdoors more than upper category riders? Perhaps moving to other platforms?
Next, we wanted to break down participation by location. Which countries participate the most in Tiny Races?
It may appear that the USA is first and Great Britain second, but if we look closer, Zwift breaks out England, Northern Ireland, Scotland, and Wales as separate country flag options. If you add their numbers to those riders who select “United Kingdom” as their flag in Zwift (which is coded as GB in ZwiftPower, where the above data comes from), GB edges the US as the most Tiny Racing country. Just like last year!
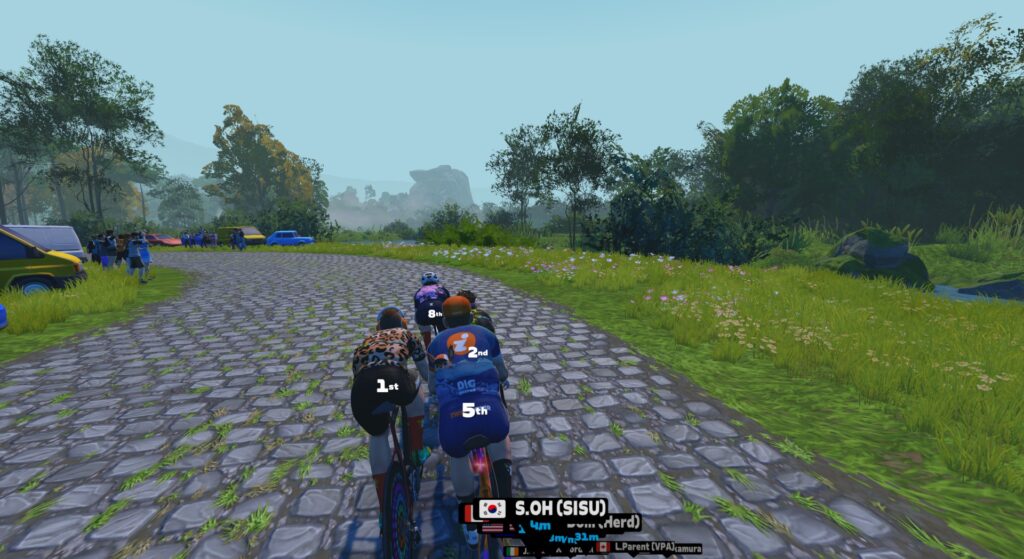
The Naughty List
The intention of the Tiny Races is to complete 4 back-to-back hard races in one hour, but early on we found some riders were jumping into later races in the set so they could get a better result against fatigued riders. Therefore, we developed a unique “no sniping” rule that basically says “You can’t skip a race then return.”
How many disqualifications do we issue to snipers? A lot, sadly:
We’ve noticed a trend over the years: Zone 1 typically gets less DQs than Zone 2, who gets less than Zone 3. Why? We’re not sure. Compared to last year, though, Zone 1 has actually increased their DQ rate just a bit, while Zones 2 and 3 have decreased their rates. Good job, Zone 2 and 3!
Disqualification rates by zone for the past 12 months:
- Zone 1: 6.93% (up 0.1% YoY)
- Zone 2: 7.91% (down 1.18% YoY)
- Zone 3: 8.99% (down 0.59% YoY)
Going further down the rulebreaking rabbit hole, here’s a list of countries whose riders participate in the Tiny Races, sorted by who is naughtiest (or nicest, depending on how you look at it) in the past 12 months. This shows the percentage of race finishes which end up being disqualified for sniping. (Keep in mind you have to be registered on ZwiftPower to even show up in the results, so this chart – and all of the charts on this page – leaves out data from riders who aren’t on ZP.)
Once again, South Korea wins the award for being the naughtiest. And Zimbabwe makes a surprise appearance in second place this year!
Russia was the second-naughtiest last year, but this year they didn’t have enough participating riders to even make it onto the chart (the chart only includes the top ~50 participating countries). Our guess is that the number of Russians racing on Zwift continues to drop as sanctions block online payment systems due to Russia’s war in Ukraine.
Both South Korea and Zimbabwe had relatively low participation rates, though, with around 250 race finishes for the year. This means a few bad actors can increase the DQ percentage. And just like the last two years, Italy is the first major participant (over 2000 race finishes) to have a pretty bad score, averaging 13.7% disqualifications.
Kudos to Turkey for having the lowest overall DQ rate by a good margin. Also, a shout out to the good people of Sweden, who just like the last two years have the lowest DQ rate of any major participant, coming in at 5.7% with over 6000 race finishes.
Most Prolific Riders
Lastly, we wanted to see which riders had raced the most Tiny Races over the past year. The results are impressive, with the most prolific rider from the last 2 years maintaining their place at the top, averaging 5.7 Tiny Races per week. Nice work, Naofumi!
Looking a bit deeper, 72 riders have successfully completed 100 or more Tiny Races in the past year. Awesome! Thanks to all who have participated in the Tiny Races this year.
Two Requests for Zwift
The Tiny Races have always pushed the boundaries of Zwift’s race events. For example: did you know we had to customize the events to only remind you of the next race 1 minute before it starts? This avoids riders getting reminders popping up as they near the finish of an earlier Tiny Race, or worse, being taken to the next race before they finish the current one.
There are two features I’d love to see from Zwift because they would simplify the signup process and greatly reduce cheating in Tiny Races:
- Sign up for all 4 events at once: I get it, the idea of signing up for 4 race events isn’t exactly intuitive. I’d love it if Zwift could design it so you do one signup, and you’re signed up for all 4 events. This would reduce confusion and reduce the number of snipers.
- Don’t automatically move riders to an event when they’re already in one: if you do get within that 1-minute time window, Zwift might pop up the reminder of your upcoming Tiny Race then take you out of your current race and into the next one before you’re finished. That’s not ideal. It seems like an easy fix: if the rider is currently in an event, don’t automatically take them out to the next one. Force them to choose that option. This is how it should work throughout Zwift.
Looking For More Numbers
Perhaps I have a third request.
As I crunched the stats above, I was reminded of how painfully difficult it is to extract useful event data from Zwift’s systems. (There’s so much other data I’d love to see, and I’m only able to generate the data above because I have it stored in a custom database which I use for crunching numbers and disqualifying snipers.)
As an event organizer, I would love to have access to a portal that displays participation numbers, rider satisfaction scores/comments, and other relevant statistics from my events. This type of actionable data would help me create a better experience for racers, which would be a win for everyone involved.
Wrapping It Up
The Tiny Races have always been about trying something different. I’m not particularly interested in holding “just another Zwift race,” which is why these races have such a unique setup. It’s also why I jump at the chance to test beta features like pack dynamics and custom category boundaries.
Thank you for trusting me enough to race the races and share your feedback. It means a lot.
As we head into peak Zwifting months, we’ll continue pushing the boundaries of what’s possible in Zwift racing. See you on course!
Haven’t raced the Tinies yet? Sign Up Here!
Questions or Comments?
Did you find any of the data above particularly interesting? Got a Tiny Race question or comment? Share below!


 Released")