Ride on Zwiftathon for World Bicycle Relief December 2nd
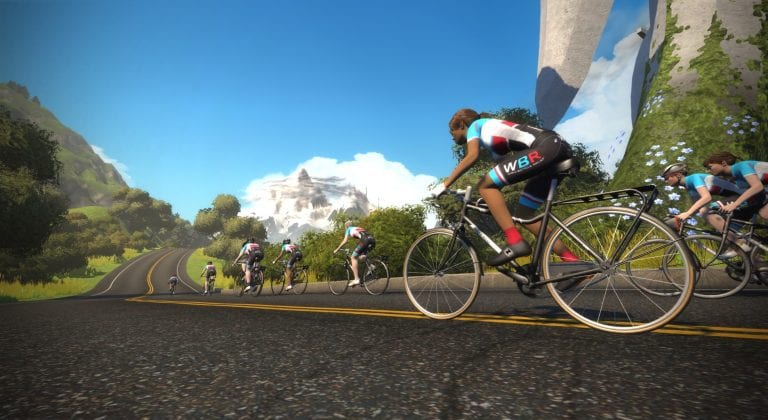
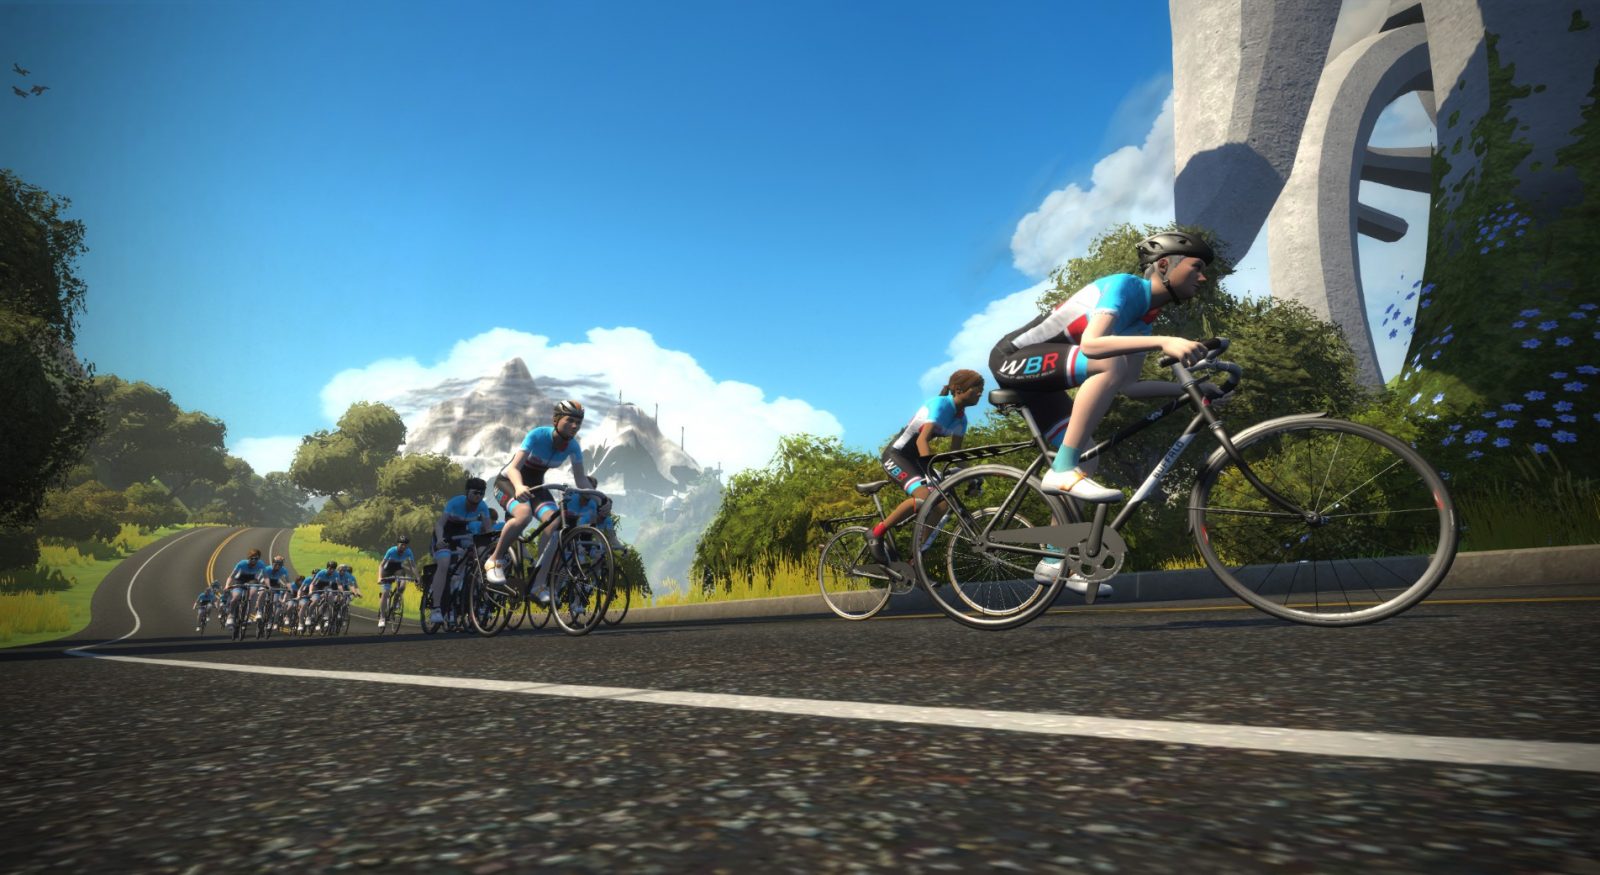
Zwift’s biggest annual event is happening this December 2nd, and trust us: you don’t want to miss it! The third annual 24-hour “Ride On for World Bicycle Relief” Zwiftathon will be the world’s largest virtual cycling event to date.
The last two years’ events have been the most beautiful Zwift days of the year, filled with goodwill and group rides as massive numbers of riders pushed themselves to complete long efforts on Watopia, our favorite virtual cycling paradise.
Event Details
Time Window: 24 hours long, beginning 12AM Pacific (8AM UTC) on December 2nd
Distance Goals: last year the goal was for Zwifters to log 250,000 miles during the event. This year the goal is 1,000,000 miles! Everyone who rides on Zwift during the 24-hour window will be included in this mileage total, even if they have not registered with WBR. (Registration is strongly encouraged, however, so you can easily raise funds and be in the running for prizes.)
Fundraising: The goal is to raise US$250,000 with this event, and the majority of this will be from people who fundraise through WBR’s site. Just go here and click “Fundraise” to get started.
If the community distance goal of 1,000,000 miles is reached, Trek will donate $40k to WBR.
Donations will be matched through Dec 31, meaning our US$250,000 will be doubled to $500,000.
Prizes: according to WBR’s Katie Bolling, “There are some really great prize bundles at a variety of levels and we have some amazing grand prizes for the fundraising champion, runner up, etc. We’ll be announcing more prize details soon but a few of the top prizes will be a custom Stinner/Zwift bike with SRAM and an InGamba trip to Tuscany.”
Pro riders will be joining and leading group rides throughout the day. Current pros signed on include the Canyon women’s team, Laurens ten Dam, Jens Voigt, Lawson Craddock, Greg Henderson and many others. More big names to be announced soon!
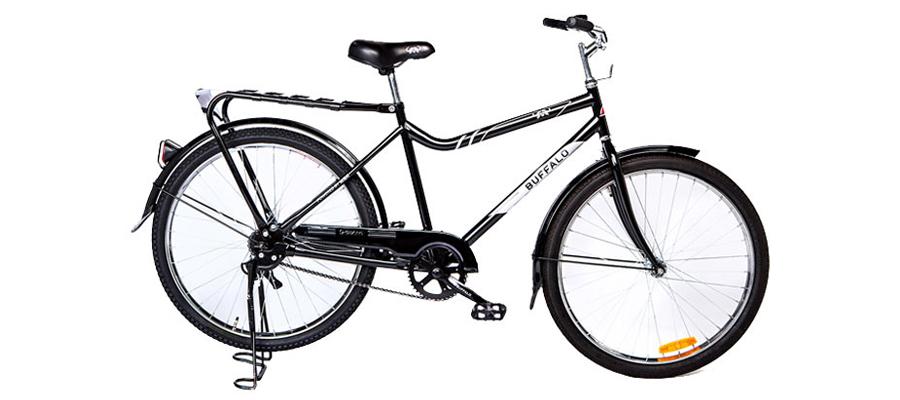
The WBR Buffalo Bike
About World Bicycle Relief
World Bicycle Relief mobilizes people through The Power of Bicycles. They envision a world where distance is no longer a barrier to independence and livelihood.
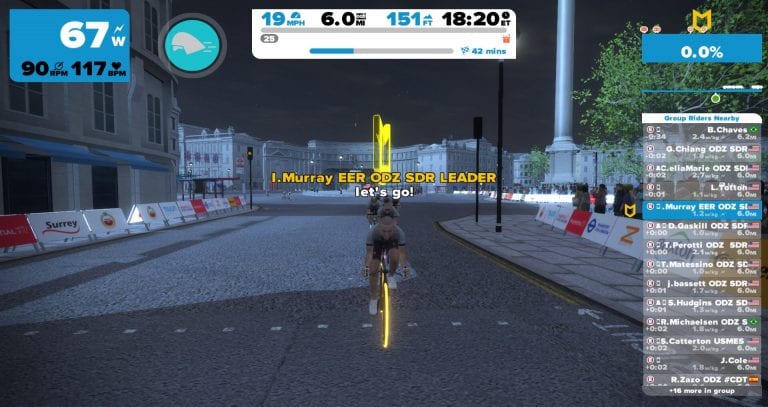
TeamODZ SkillZ and DrillZ Ride – 1 NOV: It’s that time of year again folks. The Zwift Team World Championship is around the corner. That’s right, we are in the championship part of the season. All of the racing and riding that you have done the rest of the year culminate in this. If you don’t perform here, the last year can be counted as a waste! Just pack it up and go home! Watch this week’s class below:
Working the draft
Ok, the intro may be a little harsh and definitely not accurate. Really the Zwift Team Worlds is just a chance for for the northern hemisphere folks to give it one more go before we officially transition to the off-season… or cyclocross season… or marathon season. For the southern hemisphere folks, this is a great way to knock off the rust before the outdoor season gets into full swing. Unfortunately, I will not be partaking this year, as I haven’t figured out how to fly with my setup, and that might be a bridge too far for the family.
As we get ready for the race, everyone needs to take a good look at their goals and their role in the team. Not everyone is going to be going for the victory, but every point does matter. Teams cannot afford to have domestiques destroy themselves only to limp home at the back of the field. Sure, you might get the individual win, but the team will not score well. No, this is about getting as many of your teammates as high up the finishing order as possible. Think cross country. If you don’t know how that goes, watch McFarland, USA, with Kevin Costner. It’s a great flick and will give you a good example of how Worlds will be scored.
Well, back on topic. Zwift’s draft is similar to IRL racing, but it is not the same. The programmers will never be able to make it exactly like the open road, but it is pretty darn close. Sitting in the middle of the pack or the back of the field means that you will benefit from the work others do at the front. This is just like IRL racing. However, there are two major differences. First, you can’t feather your brakes on Zwift to stay in that sweet spot of the draft of the rider in front of you. No, you have to manage that with pedal power (we’ll cover that more in a bit). Second, you can ride through other riders. Yes, you can go pretty much right through them. (Please do NOT try that out on the road. It will have really bad results.) If you hit the gas in the back of the field you can overshoot the riders up front and simply pass through them. That is bad.
Now that we have established some significant differences, let’s talk about how we stay in the draft. This can be particularly tricky, and I have only seen a few people who have mastered this skill. I am good at it, but I definitely have not mastered it. The most important aspect of staying in the draft is situational awareness. You really need to pay attention to what is going on around you. Here are some of the things you need pay attention to while racing:
The terrain gradient you are on
The terrain gradient immediately up the road (we’ll cover this later, too)
The power output of the riders around you
Your power; and
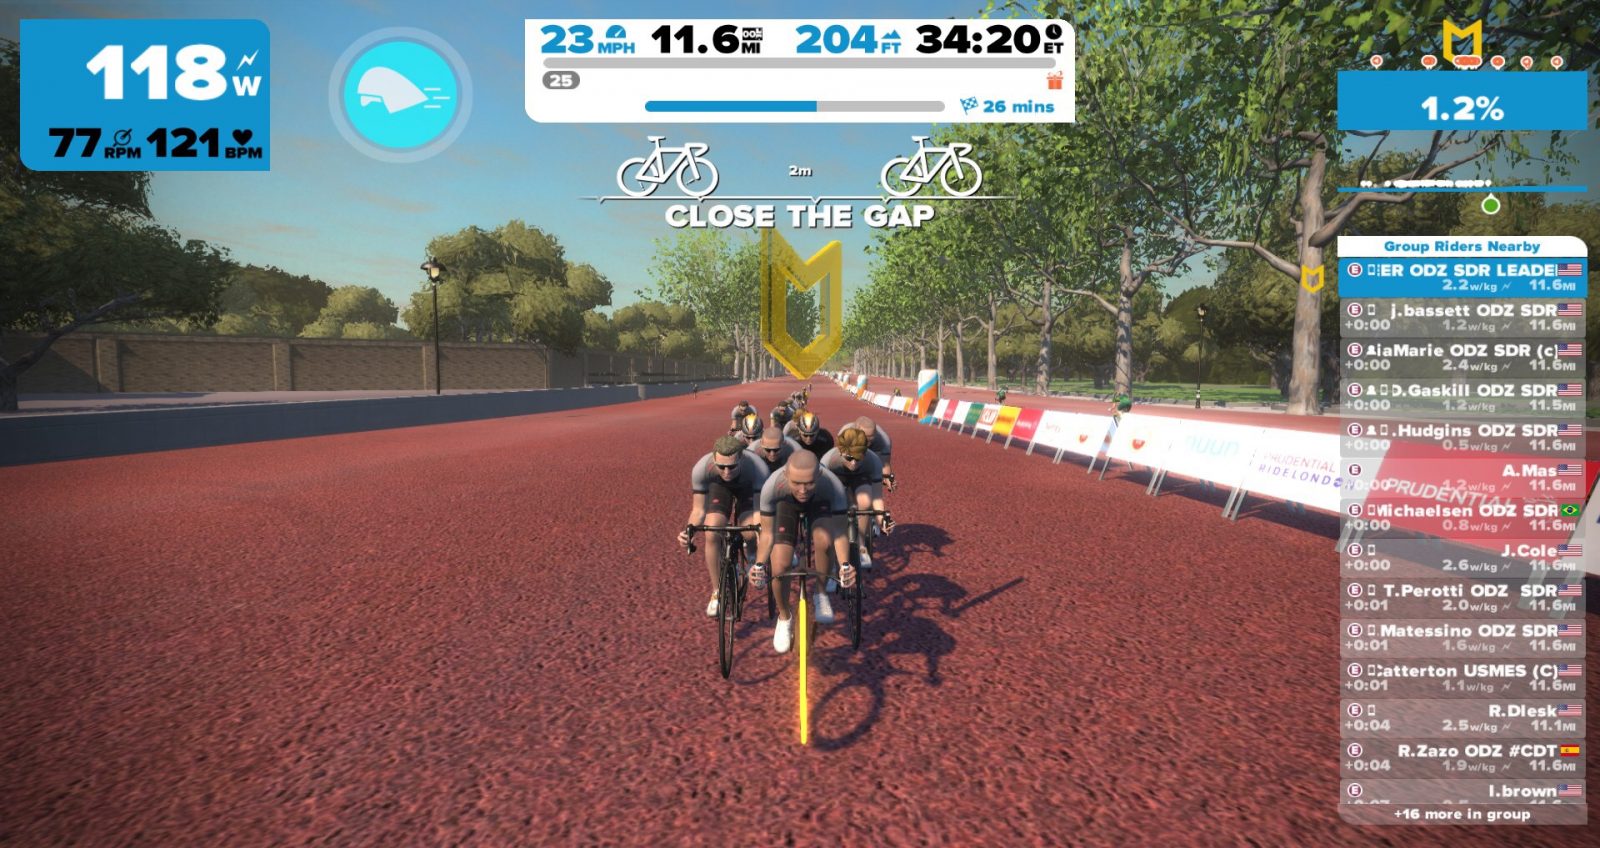
The distance between you and the rider(s) in front of you.
Yeah, that is quite a list of things to watch for while pushing near your limits. You get better at it over time, but you really need to be cognizant of all of those things. Losing awareness of one of them can completely hose you.
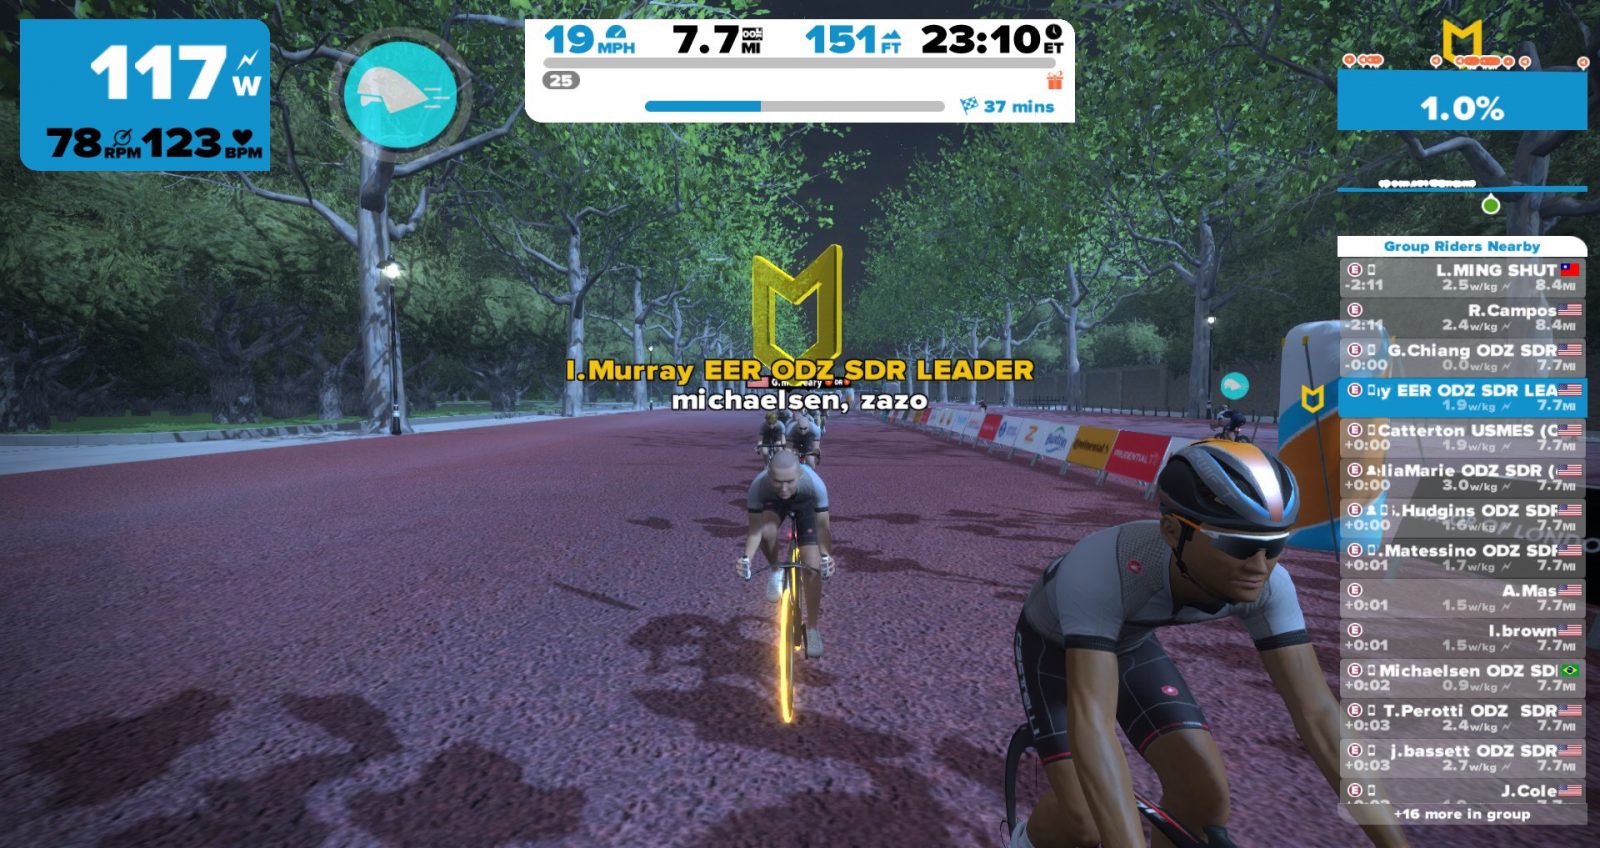
Using your view stay in the draft
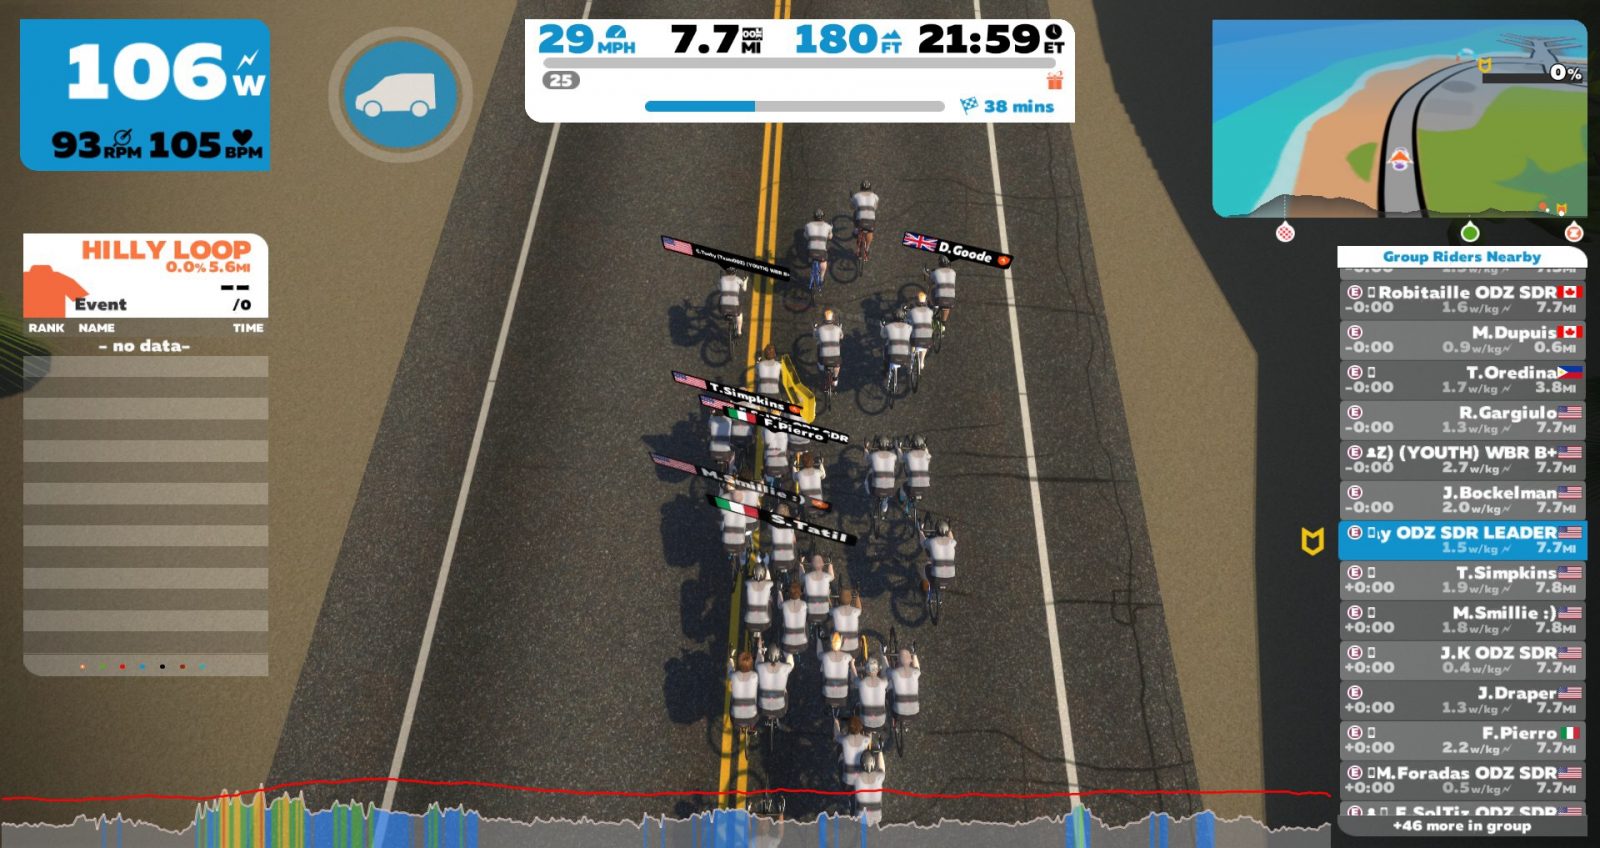
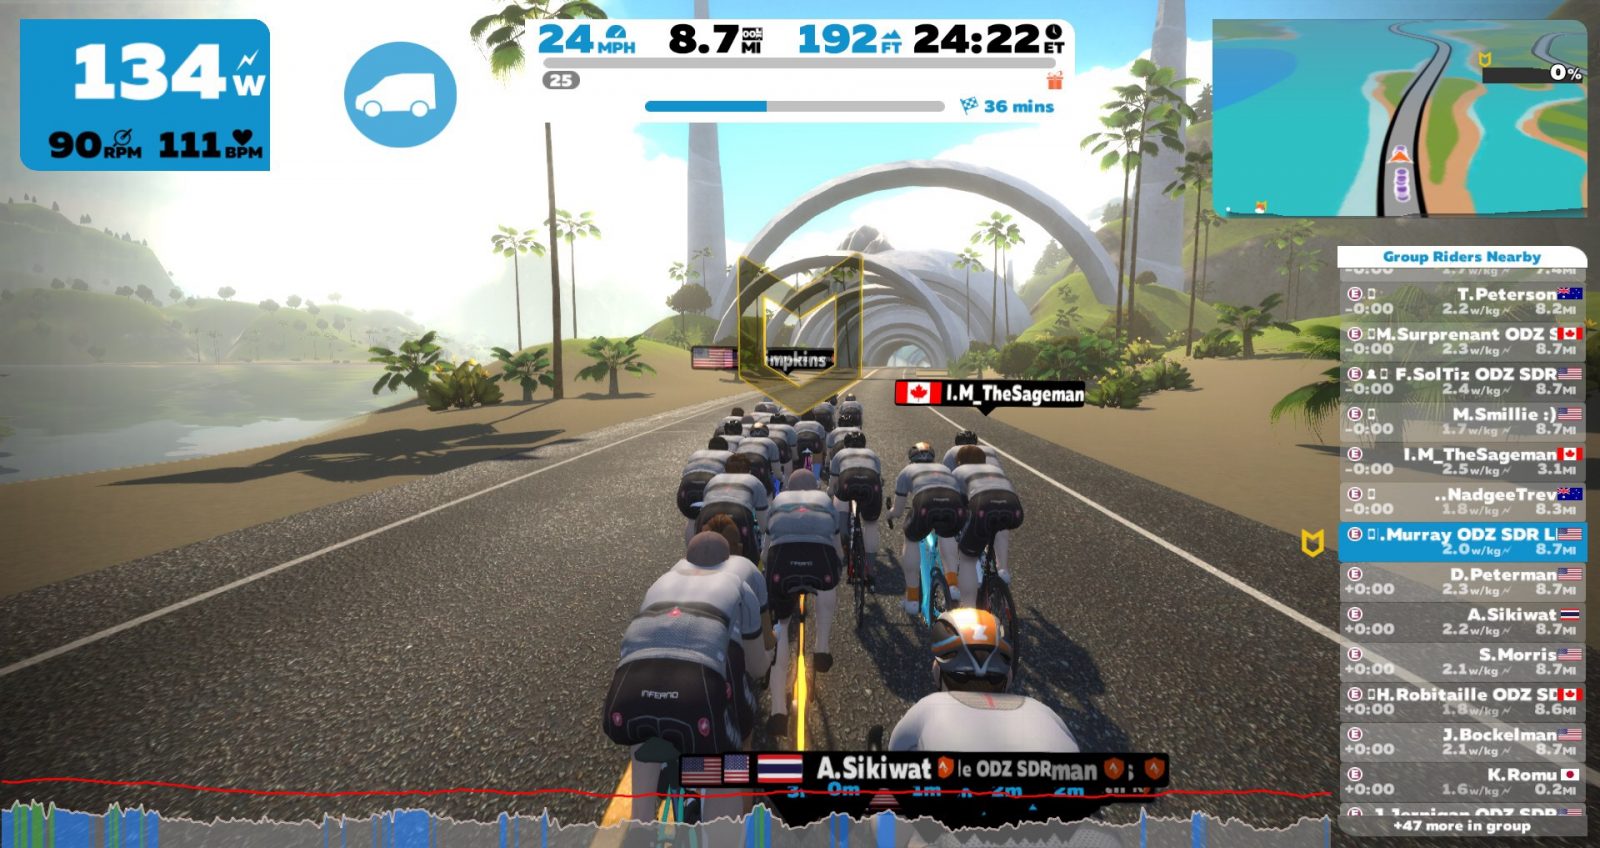
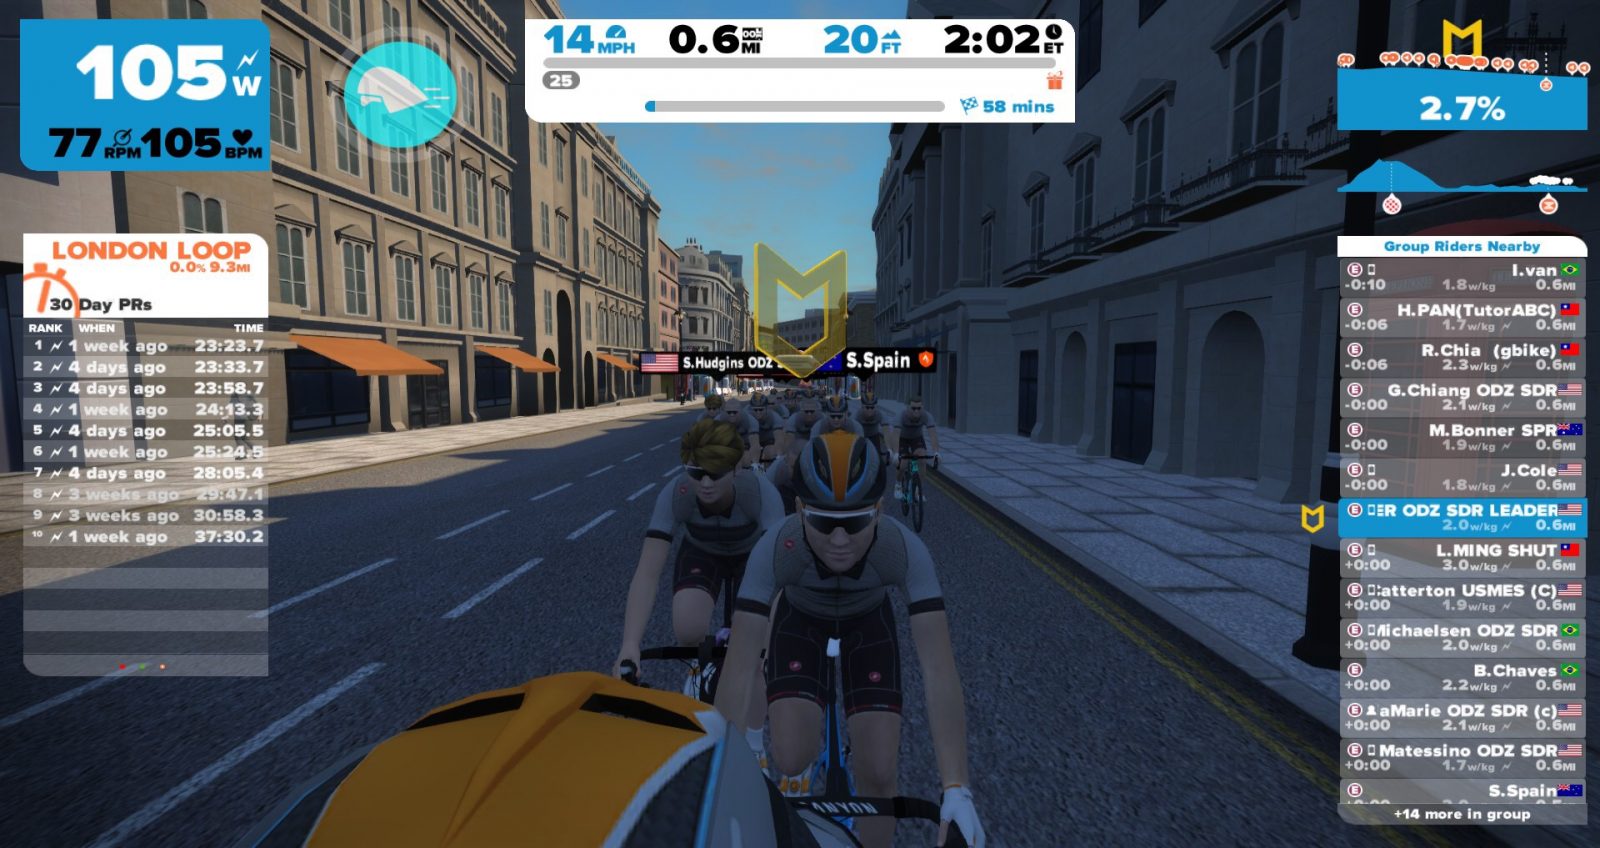
First and foremost, you have to focus on staying on the wheels in front of you. Surprisingly, it is way more challenging than you can imagine. While riding, you have the luxury of different views, and each has a benefit. For racing purposes, there are really three primary views: 1, 2, and 3. Views 1 and 2 give you a good view of your rider and the riders around you, including those behind you. That is great to see if someone is getting ready to jump you. Until you become an expert at staying in the draft, though, it is very difficult to do so using those views. Plus, if your avatar happens to look like a lot of the others in the race, it is remarkably easy to get confused about which rider you are. (Yes, it happens. I did it the other day during a workout with some TeamODZ teammates.)
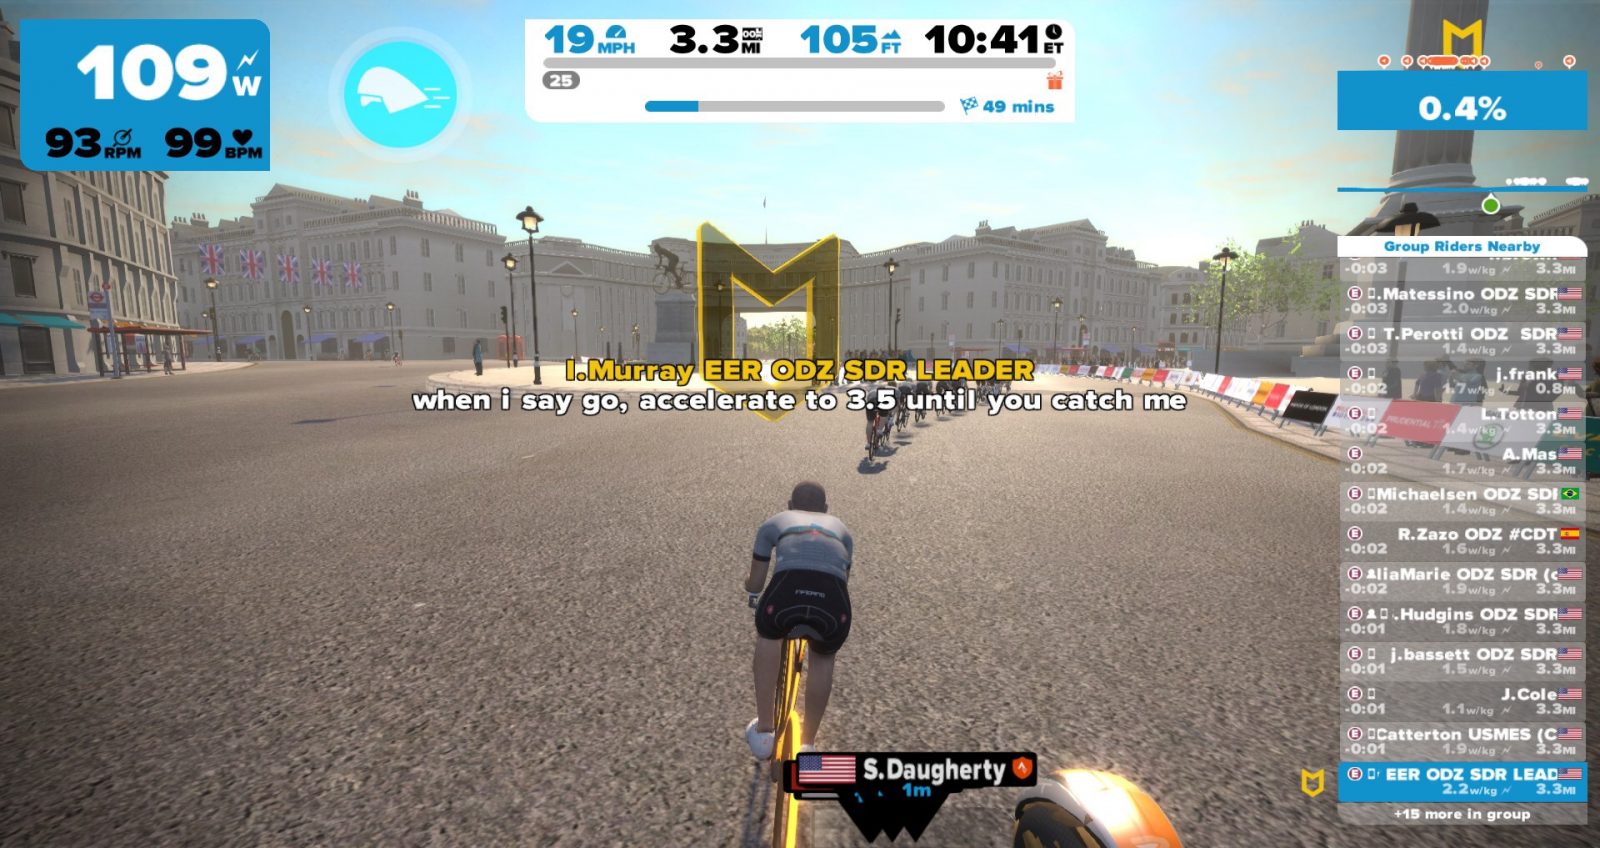
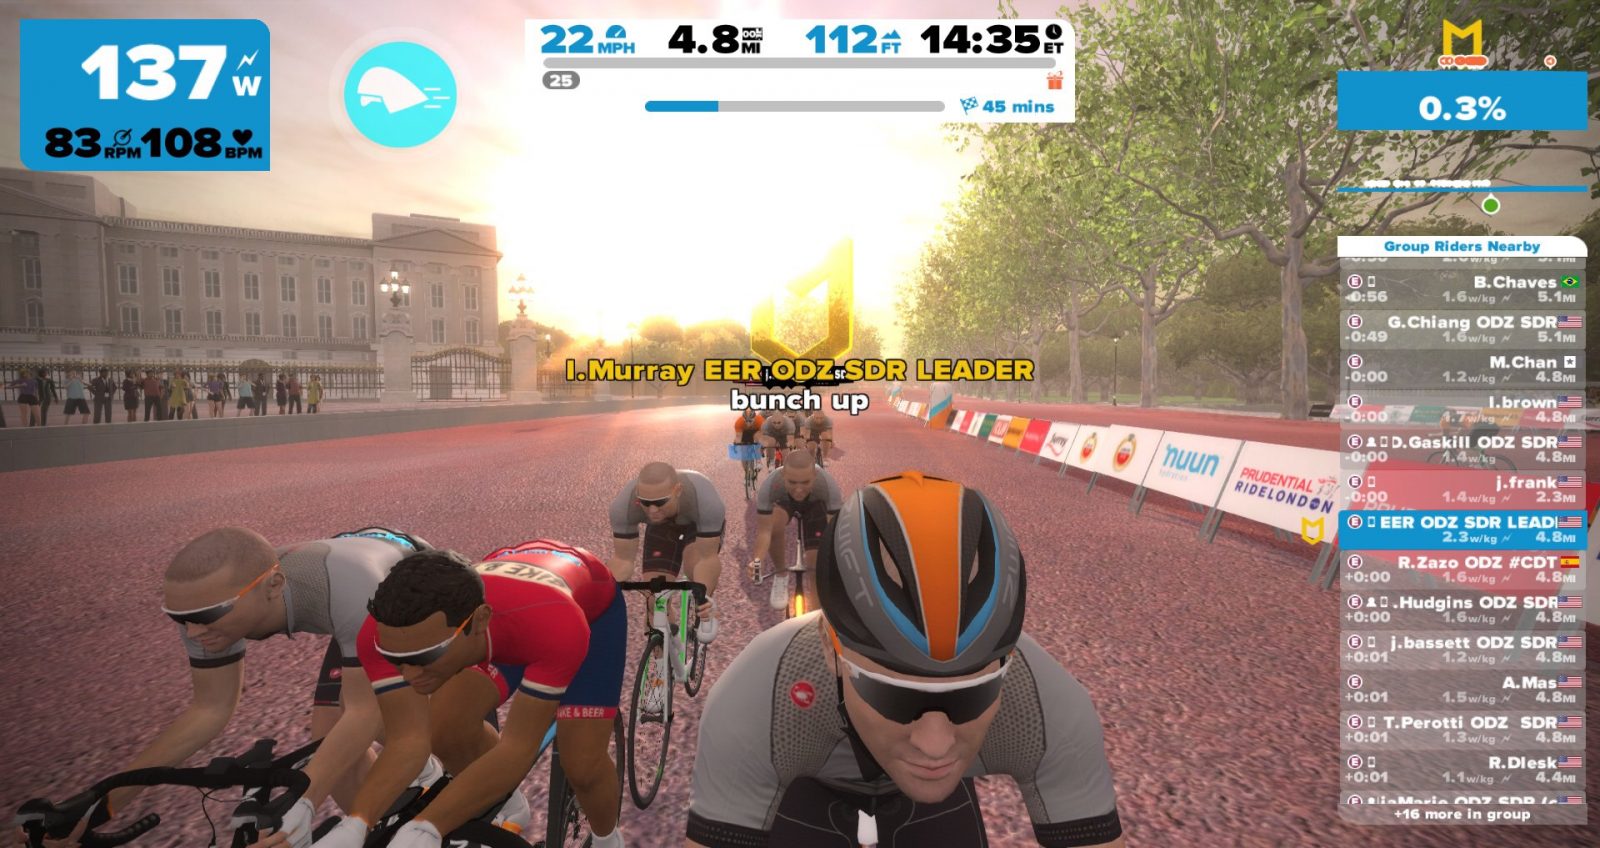
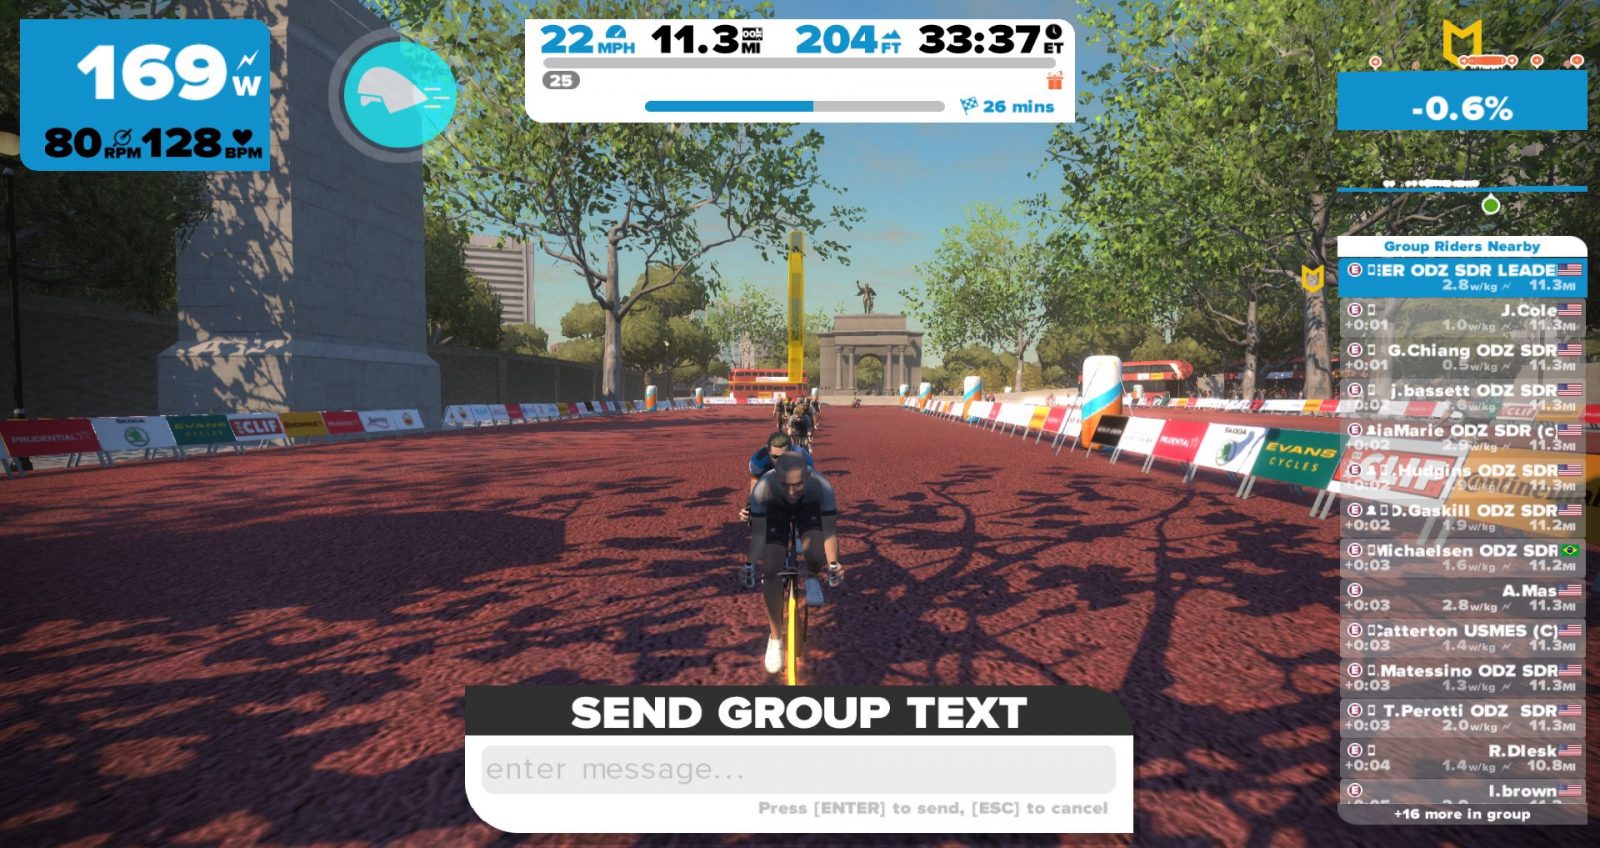
In a large race or event, it can be even more confusing. Thus, I prefer to use view 3 when racing. That is the view from your avatar’s eyes. You lose a little bit of visual awareness of the goings on behind you, but the rider list will mitigate that to some extent. This view gives you a much better perception of the distance between you and the rider in front of you. It is super helpful, and it is the view I use for the vast majority of the race. If I am involved in the sprint finish, I sometimes switch back to view 1 in the last 500 meters or so, but that is only on that rare occasion.
Embrace your sensitive side
Step two is to manage your power output down to a micro level. Once you get settled in to the pack at pace, the pressure you put on the pedals is hugely important. I know that sounds simple, but it’s really more complicated than it sounds. It’s not as easy as simply dropping your wattage output as you close in on the rider in front of you. As the group settles into the pace that it will maintain for a good portion of the race, holding your position can become more challenging. Nobody will want to be at the front or the back, but not everybody can be in the same spot. Thus, you have to fine-tune the art of small pressure changes on the pedals. It can be something as simple as dropping from 93 RPMs to 87 RPMs over a short period of time or picking up the cadence. Those small changes are enough to keep you from accidentally overtaking or dropping off the rider in front of you.
Look for danger up the road
Step three is knowing the terrain in front of you. Zwift has given us the luxury of showing us the grade of the road we are are about to encounter. As the road kicks slightly up, many riders skyrocket their w/kg, as the change in resistance on the smart trainer surprises them. That is a rookie mistake. No, really, stop doing that. Every time you do this, you are lighting a match. You may not completely burn it, but you did some level of damage.
When the riders at the front accidentally accelerate, it becomes carnage at the back. Those at the back often burn one or two matches trying to get back on to the group, and then we are back at the whole overshooting problem again. Now that you have read my instruction to not do that, I will assume that everyone here is an excellent student who listens and implements. However, there are still one or two Zwifters who do not pay attention to the SDR lessons. They cause chaos in the bunch and normally get blown out the back later in the race. If you keep a pretty vigilant watch on the terrain that you will encounter a hundred meters up the road, you can have a much better sense of when stupidity might strike. You will be able to monitor your own output to ensure that you are not needlessly expending energy, but you will also be ready in case a number of people do make that mistake or attempt to launch an attack. This requires some mental training, as you need to constantly scan ahead of you to be aware of danger areas. Really, this is no different than what you do when riding on the road. On Zwift, though, we’re not looking for potholes, loose dogs, or random people walking out in front of us.
Why we care
Mastering your ability to maintain a position in the peloton really matters in racing, as it directly affects energy expenditure and tactics. My TeamODZ teammate, JWagz, is a master at this. He routinely finishes with .3 w/kg less than the other riders in the front of the race. Oh, I forgot to mention that he wins most of those races, too. Yeah, that’s right. He averages nearly a half watt per kilo less than other riders and still beats them! He’s strong, but he’s not “Hulk Smash” strong. He uses his brain to save energy to use it when it counts the most.
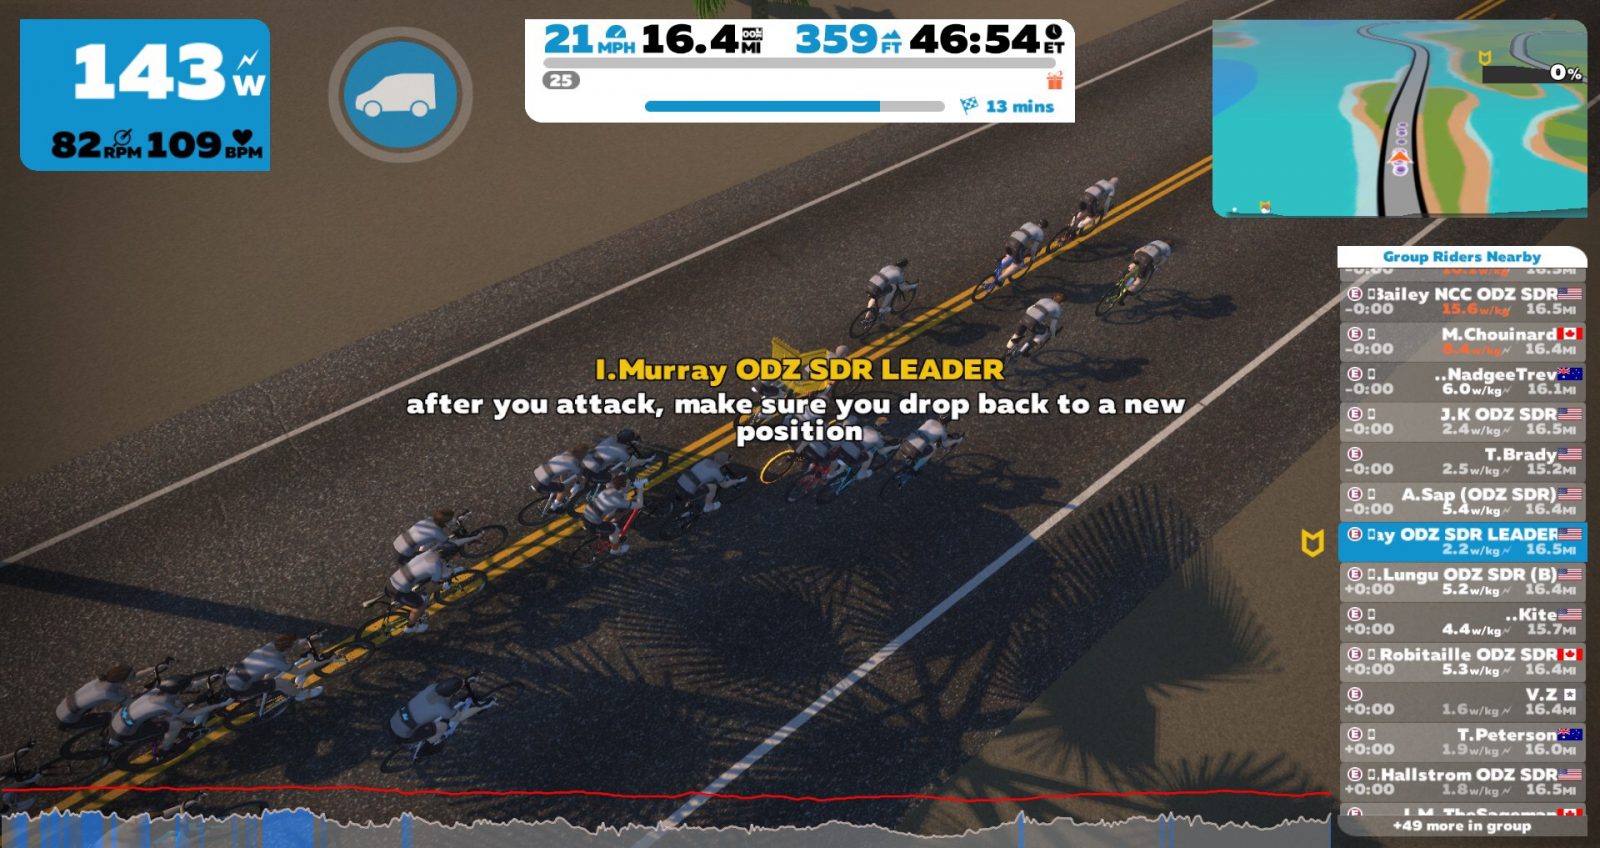
As for tactics, we did a little drill at the end of this week’s ride to show how positioning matters when attacking. The group rode at a constant 2.0-2.5 w/kg, and riders attempted to attack the group from different places in the peloton. Despite some of the riders going all-out, they could barely get off the front after ten seconds of dead sprinting when launching from the back. An attack is not going to be successful if you are completely spent before you even get a gap off the front of the group. Holding a front-third position allows the rider to benefit from the draft before attacking and use it to slingshot off of the front during the attack. Trust me, it matters.
The road to Worlds
While we won’t have anymore SkillZ and DrillZ Rides prior to Team Worlds (sorry), you can still practice these critical tasks. During your next ride, put some effort into paying attention to the road ahead and see if you manage your gearing to the point that you do not increase more than .5 w/kg when you hit the small rises. It’s tough, but it is definitely doable with a bit of practice. Likewise, try to make some small pressure changes on the pedals that result in only a small change in your power output. Those micro adjustments will serve you well when trying to hold the wheel of a steady rider.
Well, that is going to wrap us up for this time. Good luck to everyone racing in the Zwift Team World Championship. We’ll be back on 29 November for another class. Until then, Ride On!
Build your own “Rockit Launcher” trainer rocking plate
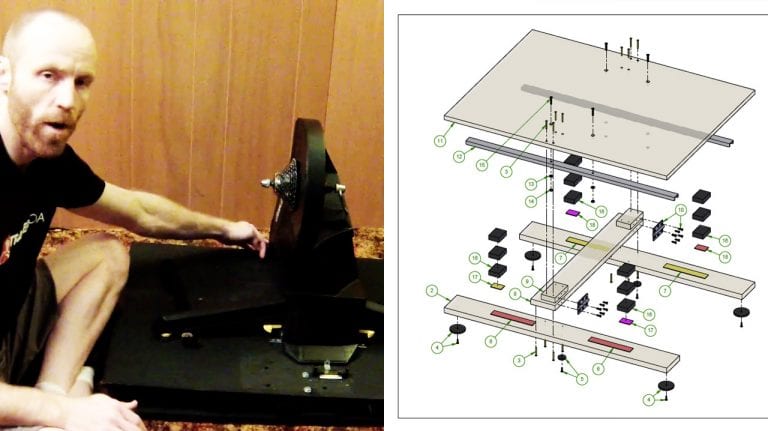
After much refining and testing, Zwifter Chad McNeese has released detailed plans and a tutorial video showing how to build a trainer rocking plate. He has dubbed his design the “Rockit Launcher.”
What is a Rocking Plate?
The vast majority of trainers on the market (with the exception of the Kurt Kinetic Rock and Roll) hold your bike in a rigid upright position which is quite unnatural compared to outdoor riding. This is especially noticeable during hard seated efforts or when riding out of the saddle.
A rocking plate is a hinged platform placed beneath your trainer which allows the trainer (and by extension your bike and body) to move side to side in a natural motion. This reduces stress on your frame, reinforces proper riding technique, and makes the Zwift experience even more immersive.
Build a Rockit Launcher
Chad has furnished Zwifters with a helpful ~15 minute tutorial video, which I recommend watching first. This outlines everything you need to know to complete your own Rockit Launcher.
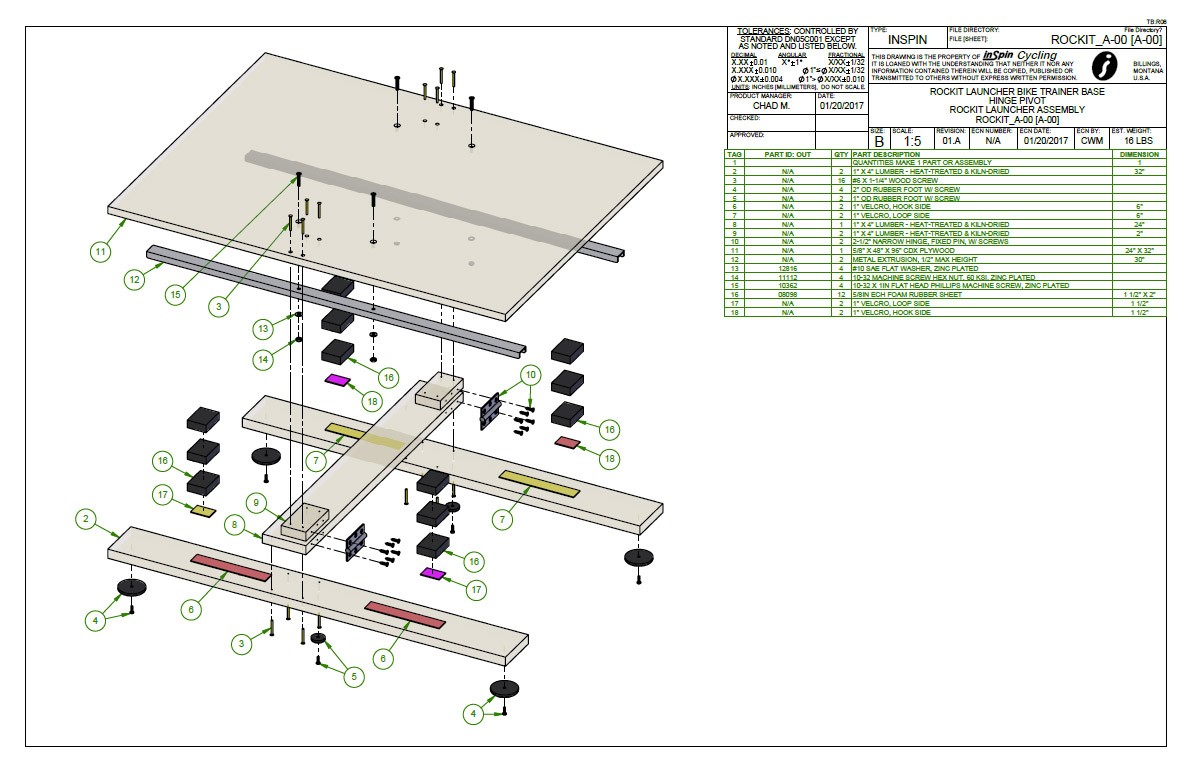
If you have questions on specific measurements or materials, Chad has also created a very detailed set of assembly plans:
Chad was kind enough to put together a video tutorial showing how to set up the Rockit Launcher’s springs. He also includes information on proper riding technique (hint: it’s the same as what you would do outdoors!)
Comparison: Rockit Launcher vs CoPlate
You may recall that BikeAcces.com‘s “CoPlate” rocking plate has been on the market for a couple years now. I actually have two of them in my garage for our Zwift setup, and they work well!
CoPlate may be a bit more polished in appearance than a DIY Rockit Launcher assembly. But CoPlate is also quite expensive, especially when you factor in shipping to the US. Additionally, they have been a bit difficult to order due to a lack of automated checkout and some inventory challenges.
Chad’s DIY approach produces similar results as the CoPlate, but at a fraction of the cost (provided you are willing to put in some elbow grease.) Well done, Chad!
What about you? Do you use a rocking plate? Have you designed your own? Perhaps you’ve built one based on Chad’s design? Share below!
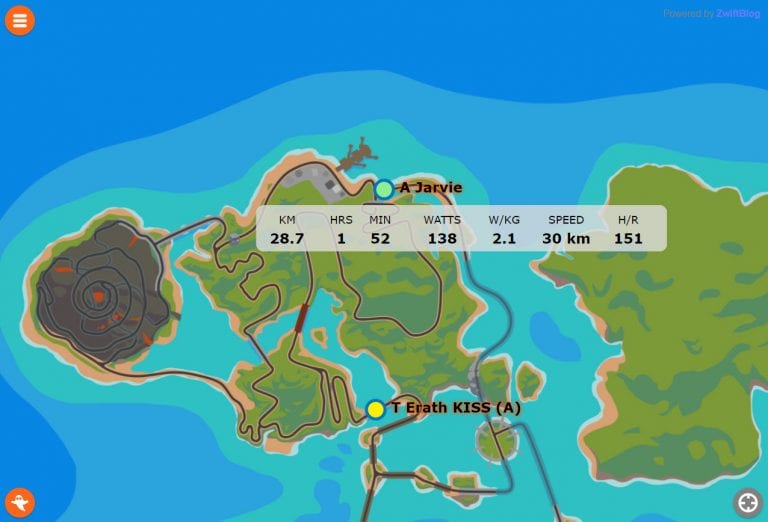
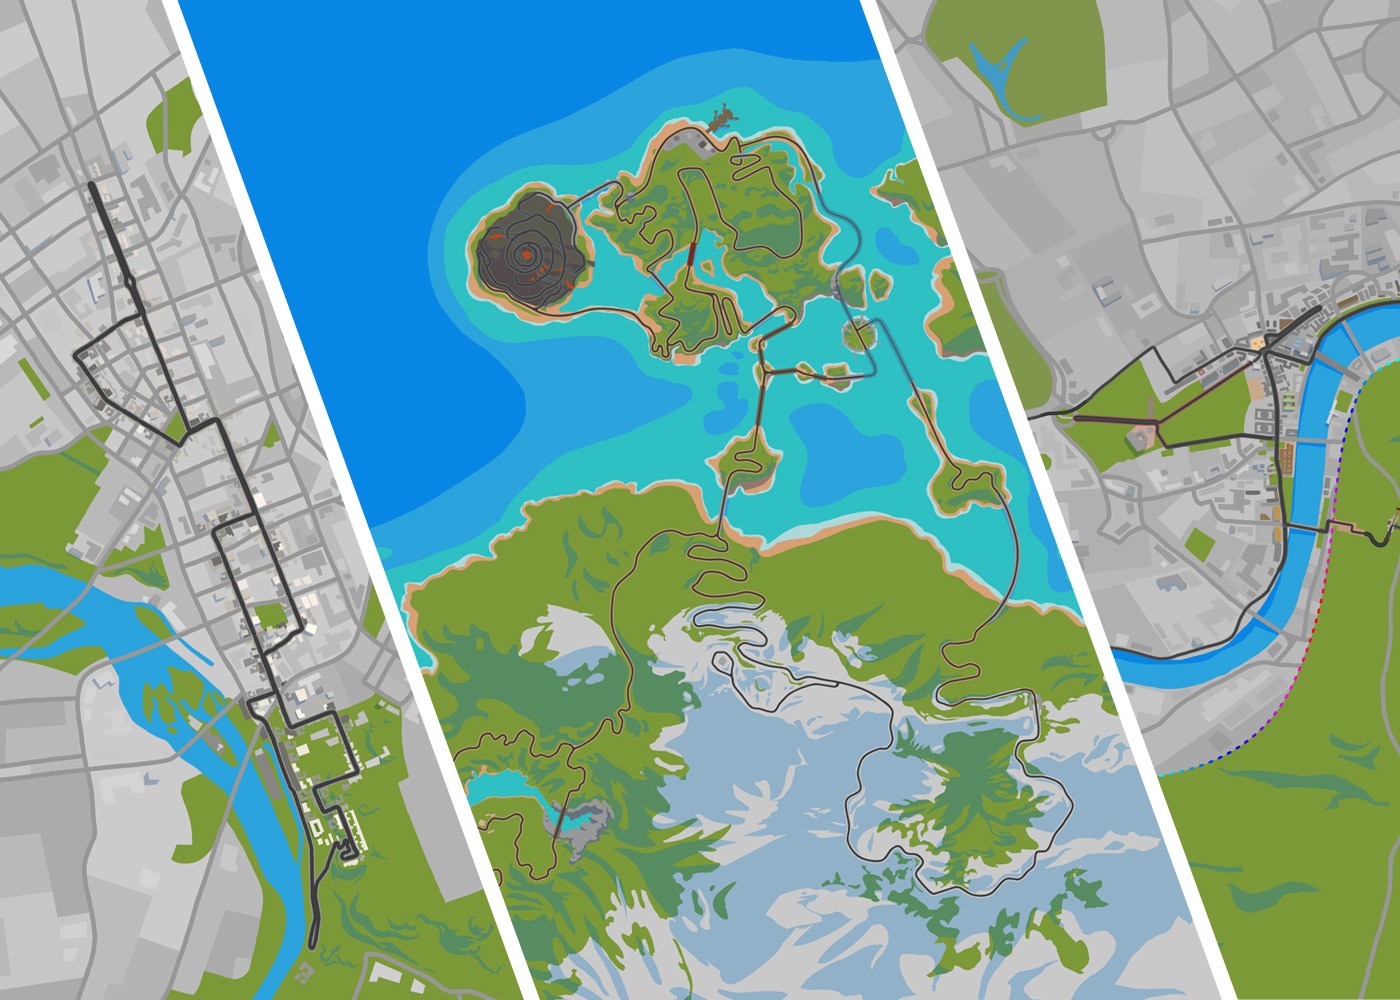
ZwiftGPS, the “second screen” mapping app created by Andy Lee in partnership with Zwift Insider, has been updated with current maps reflecting new routes.
The app was using Zwift Insider’s map graphics, but has switched to maps supplied by ZwiftHQ to ensure accuracy moving forward. The app is looking cleaner than ever!
ODZ SkillZ and DrillZ Ride, 21 June – Having run the Keys 100 from Key Largo to Key West, FL, two times, I am acutely aware of the difference between running on the protected land vs being on the unprotected bridge all by lonesome. Crossing the gap from one group on the road to another is pretty much the same thing. Today, we focused on crossing smaller time gaps. To see the complete video, check out Zwift Live by ODZ on Facebook or watch it below:
Why is it called bridging?
Well, the easiest way to explain the concept is to look at my earlier metaphor. Groups of riders offer safety and protection, allowing you to draft and get some respite. When you attempt to cross the gap, that move is usually done solo or with one or two other riders. During that crossing, you are left completely exposed to the elements, really the wind, and there is no assistance. Think of the groups of riders like islands in the vast sea of suffering we call a bike race. Between those islands, you have to cross that sea of suffering, fighting the currents alone and unafraid. The action of the crossing is like a bridge. Thus, we call it bridging.
All bridges are not created equal
In previous classes, we covered how to bridge a large gap of a minute or more. Today we discussed the shorter gaps. That does not mean that it is any easier. In fact, a ten-second gap could take just as long and be just as hard as a one-minute gap, depending on the effort being put in by those up the road.
Just think about it for a second: if the group up the road has a ten-second advantage and is riding at 20 MPH, and you close the gap at 21 MPH, it will take you nearly 3.5 minutes of solo riding to cross that gap. Depending on the effort required to go that 1 MPH faster, you could end up imploding before the catch. Going 22 MPH, though, cuts that time down by almost 2 minutes.
How hard of an effort can you hold for 90 seconds vs 3 minutes and 30 seconds? What about 60 seconds? Maybe it makes sense to go harder to cross faster, or maybe it doesn’t. It will all depend on what you can hold and for how long.
The burst bridge
Sometimes during a race, you daydream. It happens.
The pace settles, and you get into a rhythm. You drift back a little in the bunch and get comfortable in the draft.
Then, the bad things start to happen. It could be a crash somewhere in front of you. It could be a turn or a weather shift that changes the wind direction. Or, it could simply be an attack from the front of the bunch. Whatever the reason, all of a sudden there is a group five seconds up the road.
What to do? If it is big enough or has enough strong riders to hold off the pack, then you need to get to that group. The bad news is that you will have to throw in a monster effort. The good news is that it will be a short effort as long as the front group doesn’t drill the pace.
To bridge the gap, you need to get up to the higher end of your power abilities as quickly as possible. First, that will help you get away from your current group, potentially reducing the likelihood that the front group will hit the gas in an effort to keep the group from coming back together. Second, the quick burst will probably get you across the gap before the front group notices you coming, again limiting the group’s ability to accelerate to keep away.
Once you make the move and close the gap, you need to pay very close attention to your closing speed. One of the worst mistakes you can make is to put yourself on the front immediately upon arriving. All you are doing is setting yourself up to get attacked and spit out the back. Complete the bridge and ease into the back of the group. As you approach, let off the pedals a little bit. During IRL events, you can bleed off speed by sitting up a little higher or putting your nose in the wind for a second. DO NOT HIT YOUR BRAKES! If you hit your brakes, you will create a yo-yo effect. Just ease off as you approach.
The sparkler bridge
What happens if the attack you missed gets further up the road and doesn’t ease off the gas? Ooh, more bad news for you. You are just going to have to dig deep and hammer away. But be careful! This is not the time to throw down your sprint power in an attempt to set a new five-second record. No, you need to do some quick battlefield calculus to assess the damage you can sustain.
Yes, I said that you need to assess the damage you can sustain. The bigger the time gap and the harder the front group is riding, the more matches you will burn to bridge up to them if you can even do it. Remember, at 20 MPH, a 10 second gap is almost 100 meters. A 30-second gap is almost 3 football fields in length. Go to your local soccer park, and see how big of a gap that is. How long would it take you to cross that distance if your target was stationary? If your target is moving just slightly slower than you, it can feel like it takes forever to close the gap.
The reason I call this the sparkler bridge is that a sparkler is not particularly bright, nor is it loud. However, it’s still pretty darn hot. Try to touch a lit sparkler, you’ll see. [DO NOT TOUCH THE LIT SPARKLER! That would be just plain stupid.]
To make this bridge, you have to accelerate quickly and settle into a pace that you can hold for a good three to five minutes with the possibility of having to hold it for up to ten minutes. Think of this as ten-minute power. It will be hard. It will hurt. But, you need to ride as hard as you can sustain without going so deep that you are vulnerable once you reach the intended group.
The bridge to Attackland
Why keep something in reserve if you get to rest once you get to the back of the bunch? Well, the front group may not want additional company. Worse, if you overshoot, putting yourself on the front, and show fatigue (aka blood) to the group, they may attack you just on general principle. Why keep a rider around who has already shown the strength to make the bridge? If that rider recovers, he/she could be very dangerous later in the race. It’s better to attack the rider and get rid of the threat before it becomes one.
If you are not careful with your bridge, you could accidentally trigger a slew of attacks that end your bid for glory very early in the day. Think of it like clapping your hands in an avalanche-prone area. One small, inconsequential action could lead to personal devastation and destruction.
Wrapping it up
Bridging is tough row to hoe. During IRL events, you have no idea of the effort level being put out by the front group. If you are fortunate enough to have time splits, that’s what you have. On Zwift, you have the luxury of seeing what power everyone is putting out. It’s just up to you to match it and go harder. Like we discussed earlier, you have to keep something in reserve, and you have to protect yourself once you get in the next group up the road. Ease into the back of that group and try to recover without showing too much weakness.
Of course, the best way to avoid having to bridge is to maintain a good position in the bunch and being very attentive at all times. Once the race is on, there is no break. There is no down time, and no quarter is given. That’s it for now. Until next time, Ride On!
As a science-loving numbers guy, cycling appeals to me. I love experimenting on myself, tweaking variables like workout structure, recovery, nutrition, and CdA then observing the results with tools like Strava, WKO4, and Golden Cheetah. Cycling (both indoors and out) has taught me much about how to test and move beyond my limits.
When it comes to nutritional supplements, I’m not ashamed to say I’ve tried many. While I would never use anything illegal, banned by USADA, or potentially harmful, there are plenty of perfectly legitimate products on the market. When I come across a new supplement which may improve my racing, training or recovery I typically dig into the research, read what other cyclists have to say, and give it a try if it looks promising.
Hello, Topical Edge
When I first heard of Topical Edge’s “Performance and Recovery Lotion” (PR Lotion) I was immediately intrigued since was described as sodium bicarbonate lotion. I knew from past research that sodium bicarbonate (aka “baking soda” or “bicarb”) was a well-known and legal performance enhancer for cyclists, runners, and swimmers. The science is proven and simple to understand: bicarb is a base, counteracting the acid which causes your muscles to burn when you go anaerobic too long.
The big challenge with bicarb, though, is the gastric distress it can cause when ingested. In fact, I read so many stories of gut-wrenching stomach pain and diarrhea that I avoided trying bicarb at all!
But this product was a lotion, which eliminated my gastric concerns. I was intrigued, so I placed an order and my box arrived a few days later. I decided to give it a try on my next hard ride.
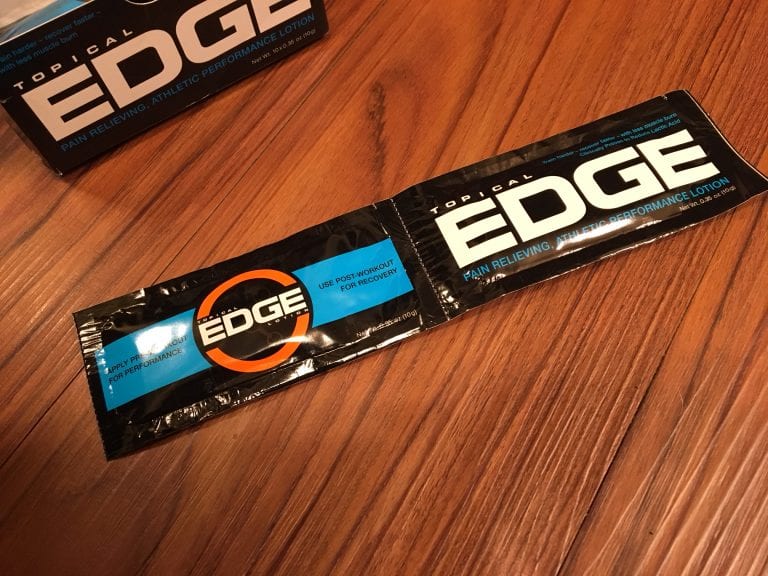
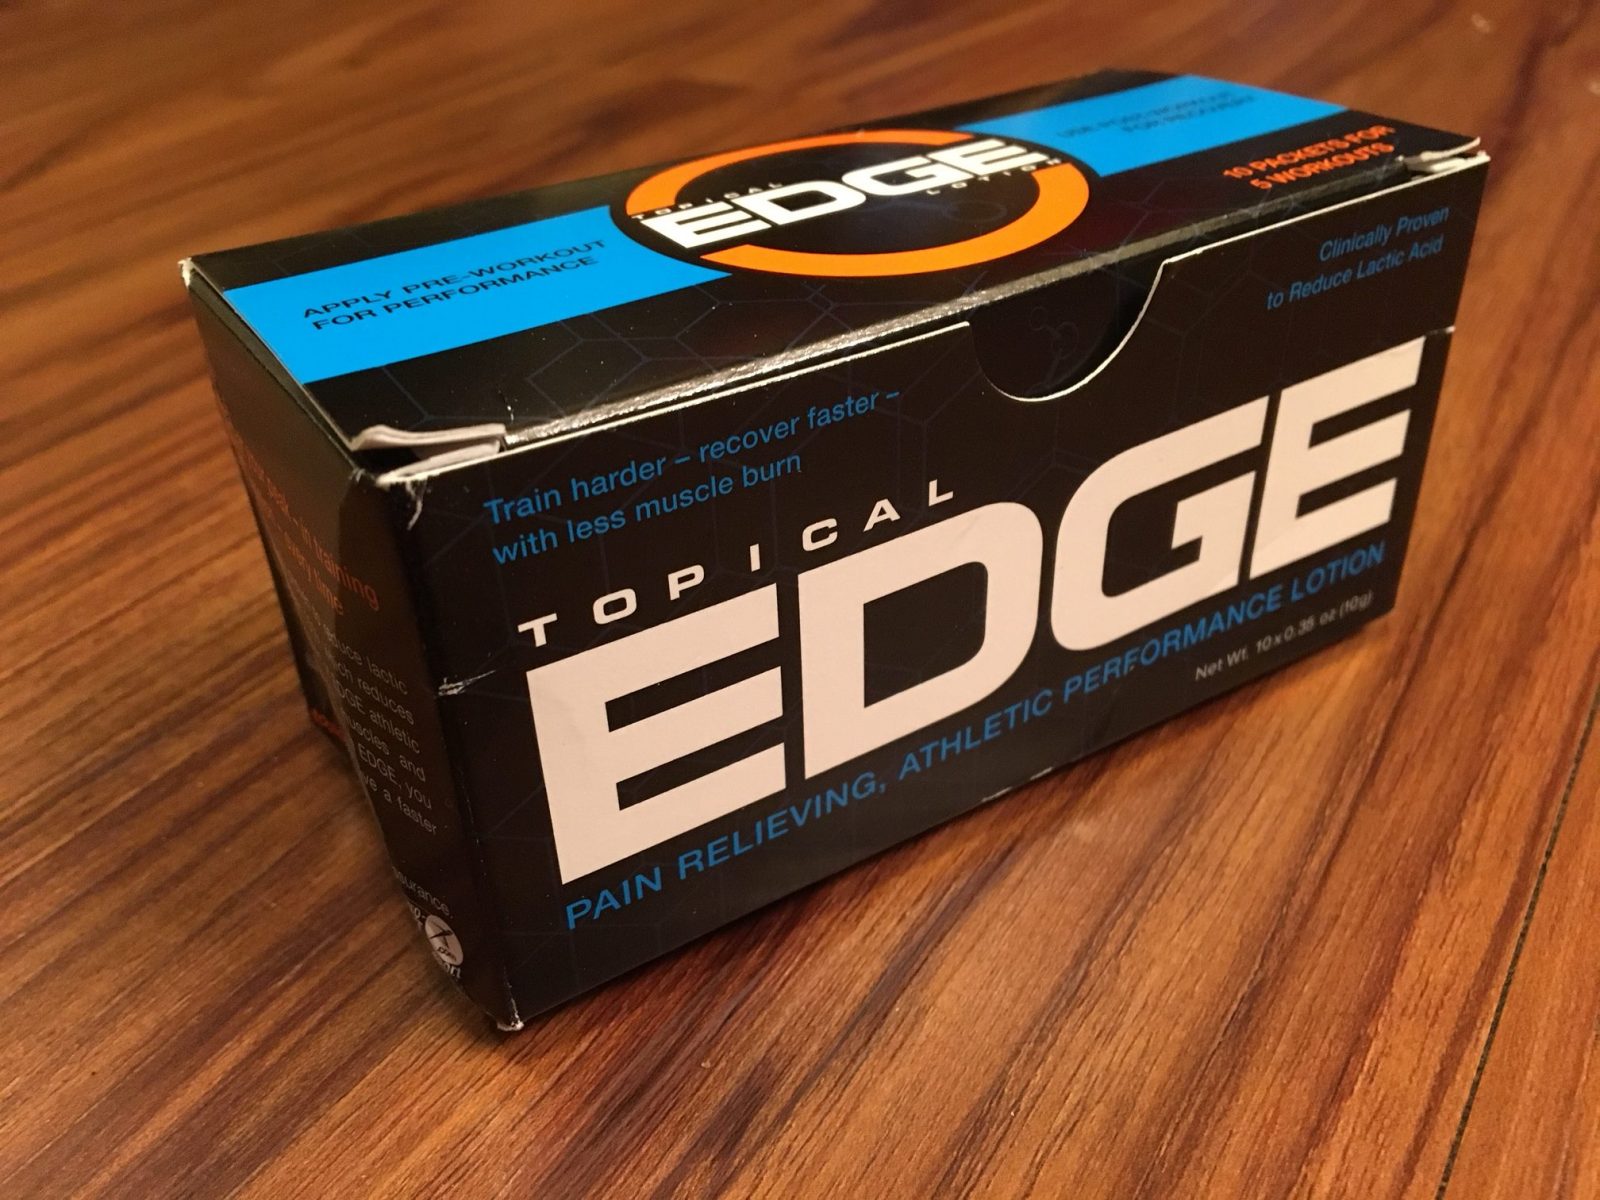
My initial box of Topical Edge… 10 packets, for 5 workouts.
My First Ride
My plan was to ride a favorite local Saturday loop, 65-miles around the lake with my good buddy Zane (here’s that full ride on Strava). Zane didn’t want to push hard since he was racing the next day, so I told him I would do most of the pulling on the flats. I also let him know I wanted to hit the climbs hard, and I’d wait for him at the top. That’s what friends are for, right?
As instructed, I rubbed one packet of PR Lotion into each of my legs (my quads, really) just before kitting up. We rode at a medium tempo for the first 25 miles, enjoying the beautiful Northern California morning as our legs warmed up. Then we came to the first climb.
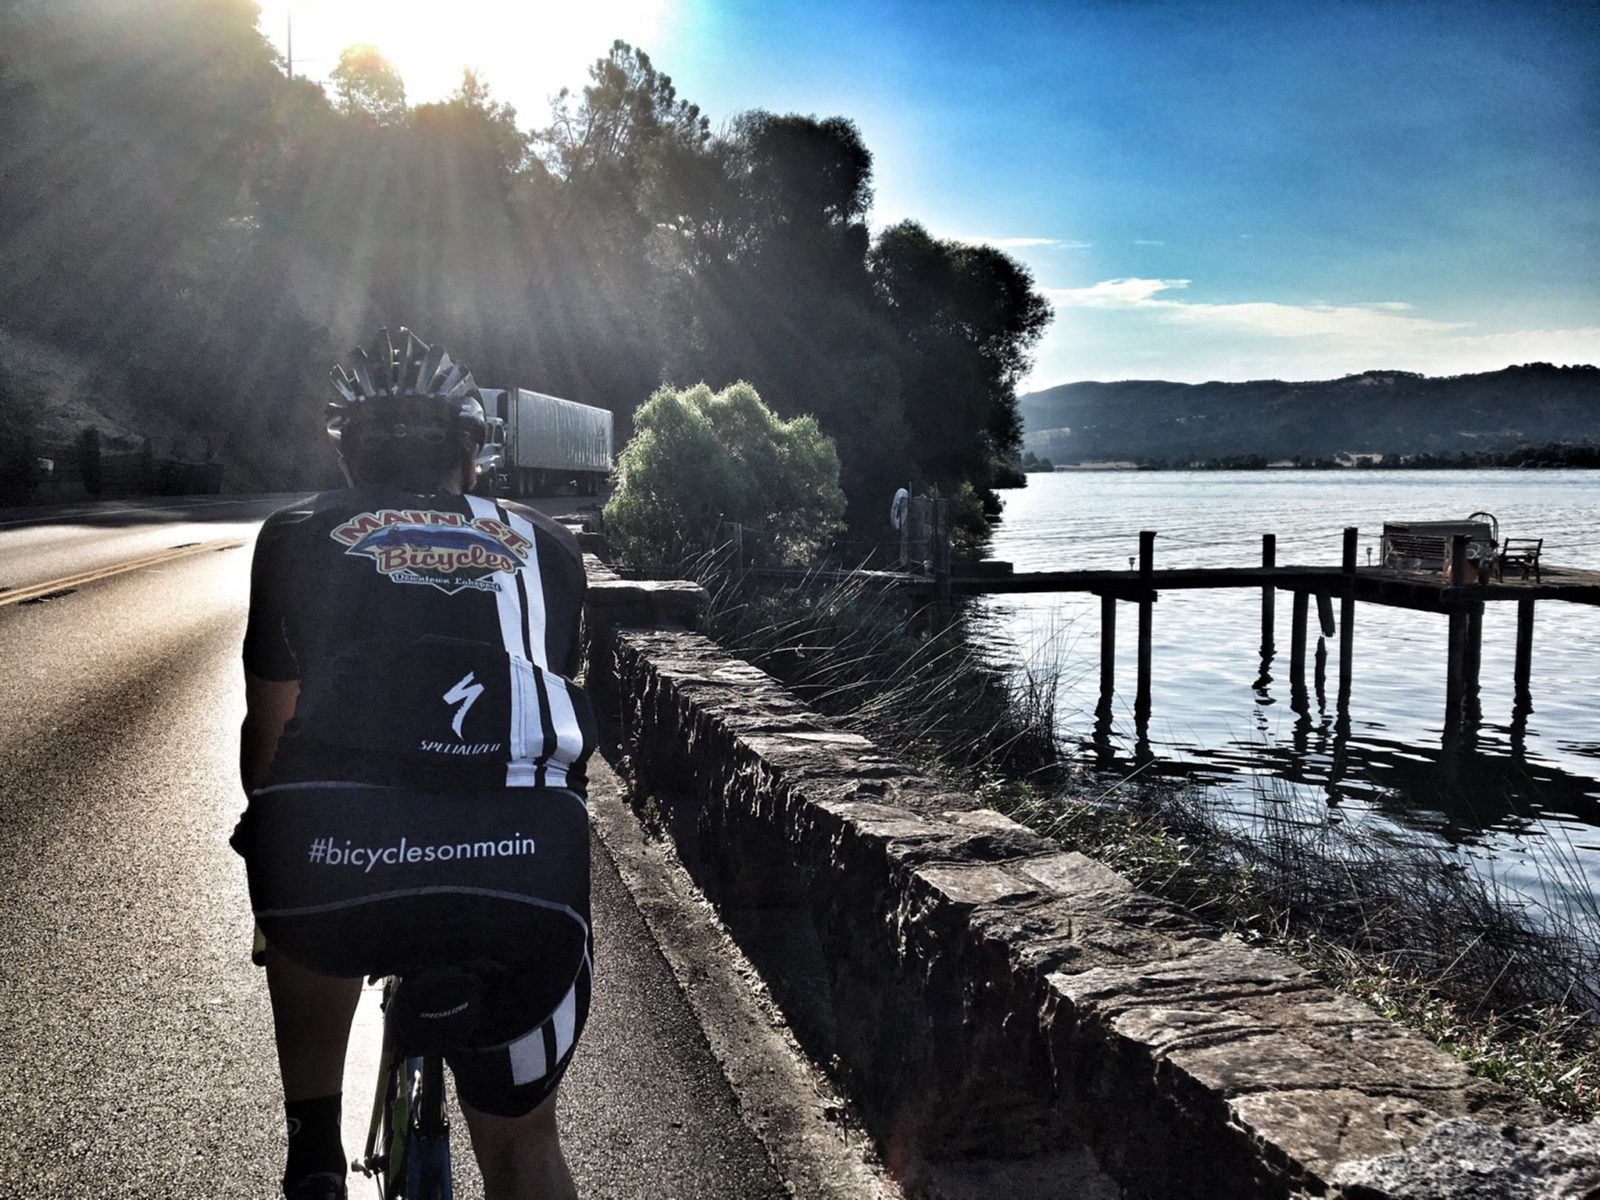
Spinning with Zane along the northern edge of Clear Lake, CA.
Sulphur Bank is a 6%, 1.1 mile segment on Strava. My PR of 6:38 had been set 4 months earlier when I last hit this loop hard with Zane and another buddy. Today Zane told me he would pace me up the climb, because he wanted to get in a couple short efforts. So I sat on his wheel and started working.
He pushed it pretty hard up the beginning of the climb, then pulled off to let me finish on my own. I kept hammering to the top, and when I arrived I couldn’t believe my time: 5:52! This was only 13 seconds off the KOM (7th overall)… and 12% faster than my PR. I was happy with my time, and we continued. One climb down, two to go.
The second climb is only .4 miles long at a steady 7%. My PR of 2:43 had been set over a year earlier in a hard group ride. I hammered this short climb, and purposely paid more attention to my body this time, curious if there were noticeable effects from PR Lotion. What I found as a climbed was my legs were burning, but not so bad that I felt I needed to let up.While my heart rate was about where it would normally be for that sort of power effort, the legs just didn’t hurt as bad.
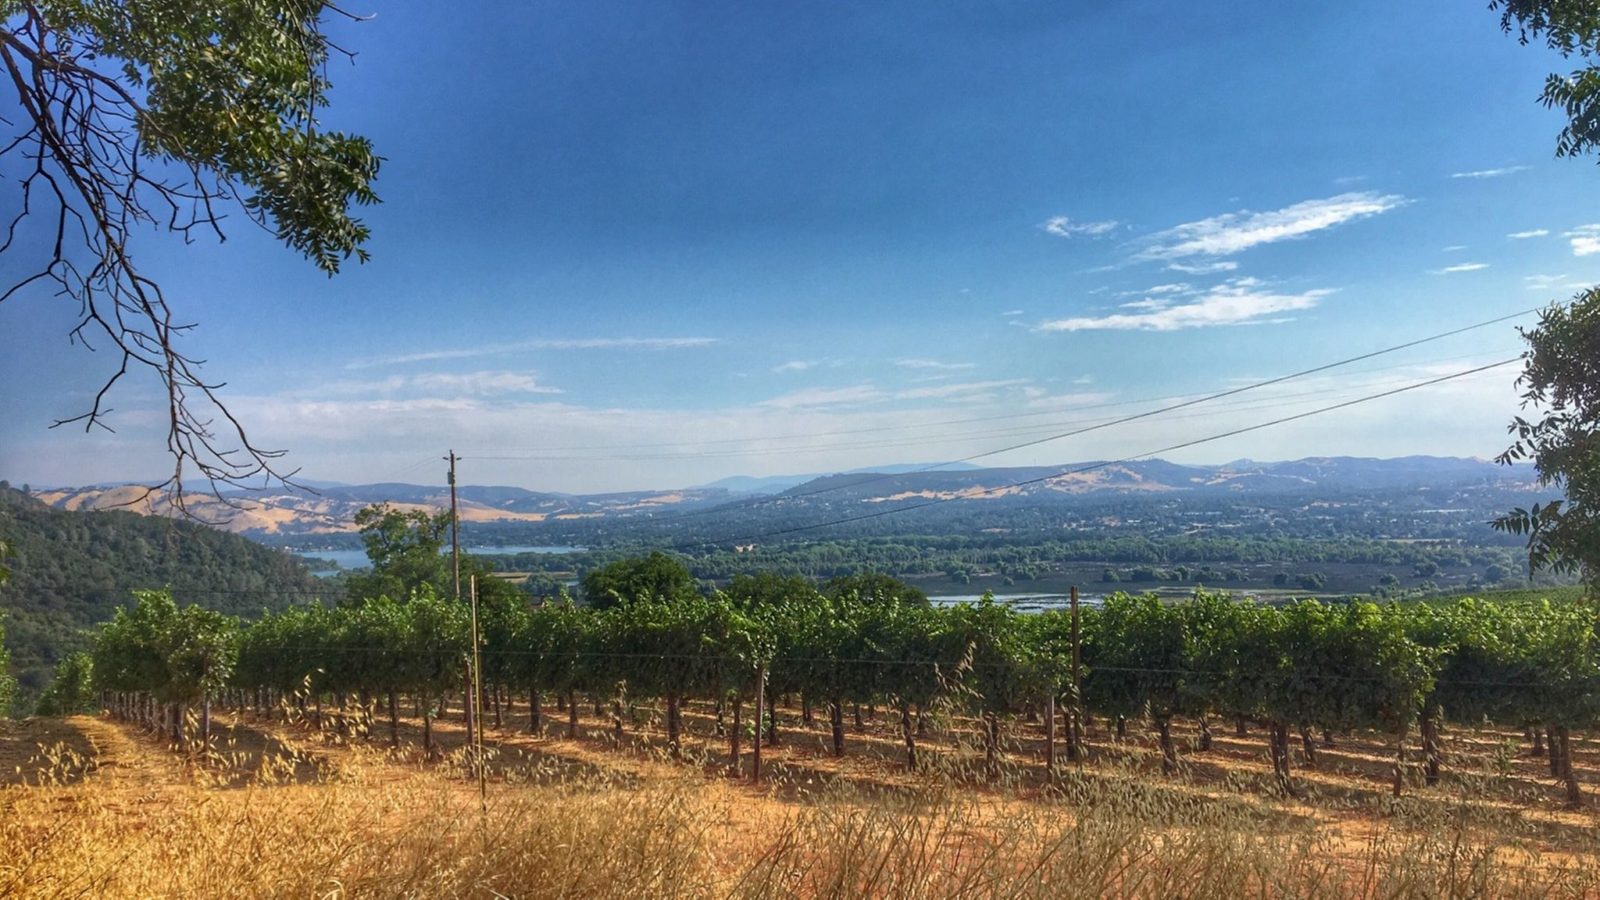
View from the top of the second climb, looking north over Vigilance Winery vineyards towards Anderson Marsh.
At the top my segment time showed 2:29… another PR! (PR Lotion was living up to its name!) My time put me within 17 seconds of the KOM (3rd overall), a 9% improvement over my previous time. I spun easy at the top, waiting for Zane. When he arrived I told him my secret, “I’m trying this new lotion from Topical Edge… and it actually works! The legs just don’t hurt like they normally would!”
The third and final major climb was Point Lakeview Rd, 1.3 miles at 5%. My previous best was 7:18. I told Zane I was going to try to beat this PR as well, and set off on a steady pace. As I climbed I notice I was easily ahead of my PR pace, so I switched my Elemnt over to show my time vs the KOM. Imagine my surprise when it showed me a couple seconds ahead of KOM pace! The fight was on. I focused on keeping the effort steady and hard, and when I got to the top I was amazed to see that I had claimed the KOM. Me, a 185lb guy who never gets KOMs on climbs over 90 seconds! Zane couldn’t believe it when I told him, and honestly, I was quite surprised myself. My time was 6:18, a 15% improvement on my PR.
The Aftermath
When I returned home I noticed a slight white residue around my knees, which I assume is what happens when rubbed-in PR Lotion meets with sweat. I also noticed that my body felt like I had put in a good hard workout–which I had! I told my wife it felt like my body had done all the work required for those efforts, but my legs just didn’t hurt as much while I was doing them.
Although Topical Edge’s literature says it aids in recovery and after-workout muscle soreness, I felt like these didn’t really change for me on this first experiment. BUT (and this is a big but) I didn’t re-apply after the ride, which is what Topical Edge advises. That experiment would have to wait until next time.
Coming Up
I plan to write at least two more posts about my PR Lotion experiences, talking about rides which came after the one above. I’ve learned some interesting stuff about the product and my own limits thanks to these tests, and I want to share those insights with you, dear reader. So stay tuned!
Where to Buy PR Lotion
Buy PR Lotion here. It comes with a 30-day money-back guarantee, and shipping is free on orders over $75.
Watopia’s “Road to Ruins” was added with the Mayan jungle expansion in late October 2017. It begins just like the Jungle Circuit, but takes you to the Volcano Flat and back home to the start/finish banner instead of leaving you riding jungle laps.
Currently this is the only route which takes you through the jungle and back through the start/finish banner without going over the Epic KOM. It is sure to be a popular group ride route for this reason.
Watopia’s “Big Loop” was added with the Mayan jungle expansion in late October 2017. It includes the Epic KOM, Mayan jungle roads, and a portion of the Volcano Flat route.
Route Description
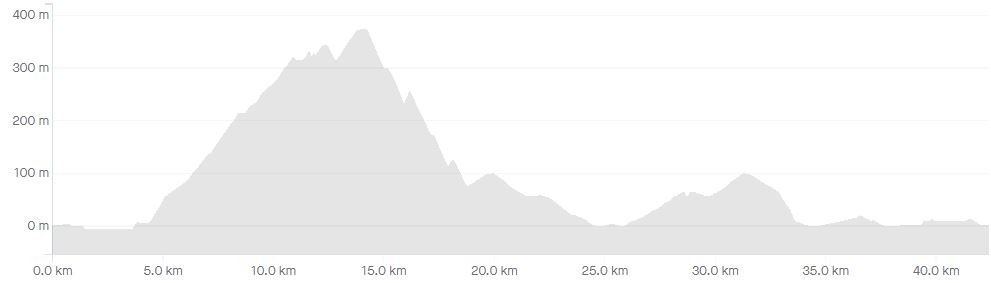
We begin with a short, flat lead-in to the route’s biggest climb: the Epic KOM. At 9.4km long and 3.9% average grade, this climb will split any race apart.
Enjoy the descent after the KOM banner–it’s a great time to supertuck. Then hang a left toward the Jungle Circuit. Savvy racers might consider swapping bikes once they hit the dirt since a mountain bike is much faster than a road bike on the Jungle Circuit. But you’ll want to practice that swapping, because you’ll need to change back to the road bike after the loop through the Jungle, and those are precious seconds lost as you fumble to change bikes!
After climbing out of the Jungle you’ll descend towards Watopia, going through the fishing village then Italian Villas before heading around the volcano and into downtown Watopia for the finish.
The “Watts up with Power?” ride is likely the slowest group ride you’ll find on Zwift, because it focuses on learning the basics of power based training while riding together on Zwift. Each ride is streamed to Zwift LIVE by ODZ on Facebook, and focuses on teaching specific principles of power-based training. For viewers that are unable to attend live, the teaching is made available for all to review afterwards.
Here is the summary for November 1st from ride leader Taylor Thomas.
A power meter is the single best investment a cyclist can make if they’re serious about improving. The data that a power meter provides helps both athletes and coaches interpret a performance, as well as make meaningful and insightful adaptations to training and racing methods. With a little understanding a power meter can revolutionize the effectiveness of an athlete’s training.
1: Identifying Strengths and Weaknesses
The first step in utilizing the data that a power meter provides is to record, and then download the data. A post-ride analysis will help you see where you were strongest and where your weaknesses are.
Heart rate alone does not accurately provide an athlete with the information necessary to know if they’re making progress. The nature of an individual’s heart rate is such that it’s impacted by too many outside factors to rely solely on it for training. Combining it with power helps to contextualize the body’s aerobic response to a given effort.
Knowing when, why and how to apply a training stimulus are some of the best reasons to train with power. Being able to review your training data to see what types of efforts are working, and where you need improvement, is at the core of what it means to progress.
Some of the best data comes from race day performances. Looking for critical moments in the race like a climb, breakaway, or moment where the athlete was dropped are great places to start. These numbers can help to inform future training and improve areas that may need attention.
2: Using Power for Improved Coaching
Most coaches prefer to have their athletes train with power. It’s the clearest way to provide the appropriate “dose”, and then measure the athlete’s response to that dose.
Detailed power analysis by a coach leads to a better understanding of an athlete’s strengths and weaknesses. This means that the coach can better prescribe the training needed to help achieve the goals the coach and athlete have identified together.
A power meter enables very clear communication between an athlete and their coach. The coach can immediately see the type of effort that was done, and if that effort aligned with the prescription. There’s no hiding behind the numbers when training with power.
When training and racing with a team a power meter shows who is strongest, and who is best suited for specific jobs on race day. The data helps to build confidence throughout the team when all of the riders see how each member is progressing.
3: Using Power for Motivation
Power meters can help to motivate athletes to push a bit harder to achieve their wattage goal. They’re also the best way to ensure riders are maximizing their time on the bike and not using time ineffectively.
Seeing the relationship between power and speed can facilitate some very impactful changes to an athlete’s bike fit. By optimizing the position on the bike, the pedal stroke, and subsequent power output, will be maximized.
After establishing an accurate FTP, power zones can be used to ensure proper pacing on any type of ride. Whether it’s a long endurance ride, hill climb, or TT, the rider knows exactly where they’re at for the duration of the ride.
Indoor training allows for a “cleaner” approach to interval style workouts. Without the disruptions of the road, wind, traffic etc. the athlete can dial in the power and use the numbers to make the time indoors pass by effortlessly.
4: Achieving Peak Performance
With all of the tools and advancements that a power meter provides to athletes, it’s almost impossible to not achieve new peak levels of fitness.
The advancements in training tools and post-ride analysis software provide any athlete with the same tools that used to be reserved only for the pros. The barrier to entry for training with power is now nearly non-existent.
The information that a power meter provides allows athletes to expand their knowledge base, and have a better grasp on what it takes to produce race winning efforts. Taking the time to learn and understand the data is critical. It’s only as powerful as one’s ability to apply it to their training.
SAS Cycle Club (Australia) raises over $30k AUD for Children’s Cancer Institute
The Spin and Sprint (SAS) Cycle Club is a team of Zwifters based in Australia and led by Col Brown from Campbelltown, NSW. The club motto, “We Spinneth, We Sprinteth & We Taketh the Pith” is Col’s quirky tribute to Monty Python, and a hint that there is a lot of banter during their group rides. As Col says, “That’s what makes it so much fun, it also makes the kilometers go by faster!”
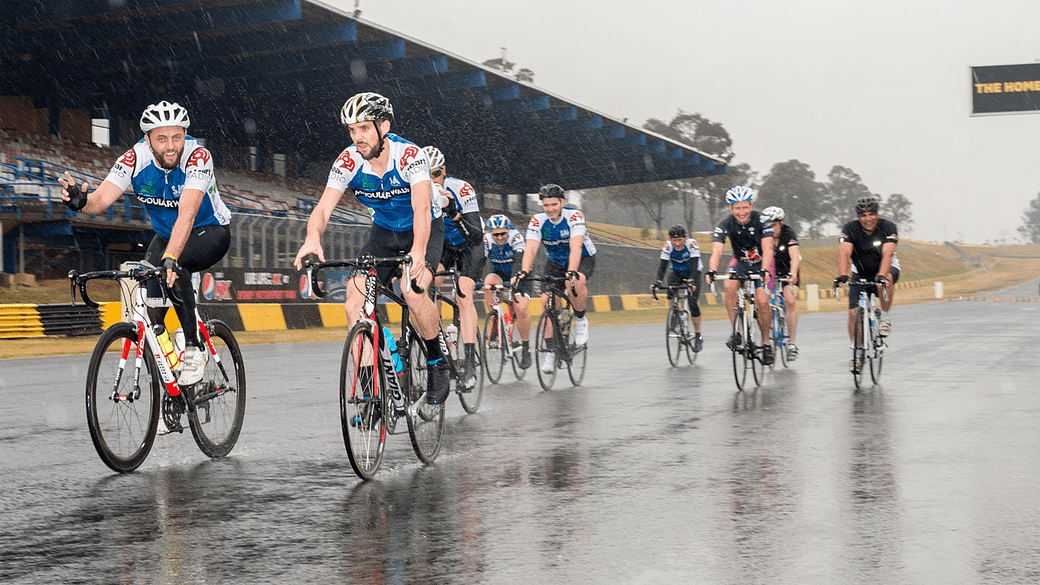
On Friday, October 20, a group of SAS riders got together for a rare outdoor group ride, taking part in the 12-hour Endure for a Cure event. Their goal was to raise $10,000 (AUD) but to date they have raised $33,150.00 (AUD). Awesome job!
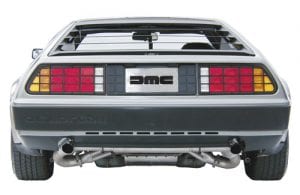
The 23-strong team was supported by their sponsor Nick Holden, who brought a DeLorean along to entertain the kids. See ride photos and more here >
SAS has already begun preparations for the next Race 4th May 2018 (Star Wars Day).