Home Blog Page 412

Zwifters: Don’t Fry Your Dongle

Zwifters: Don’t Fry Your Dongle

Many Zwifters use an ANT+ dongle on the end of a USB extension to connect to their smart trainer, heart rate monitor, and other devices. This is generally a very stable and simple way to get going on Zwift.

However, as we’ve learned over the years, sweat from indoor training can cause a lot of unintended damage. It can corrode bike parts (especially aluminum handlebars) and it can also destroy your ANT+ stick!

Matt Curbeau is a top A racer with the Indoor Specialist squad. He recently completed a ride without a fan (which is generally a bad idea, unless perhaps you’re training for heat adaptation.)

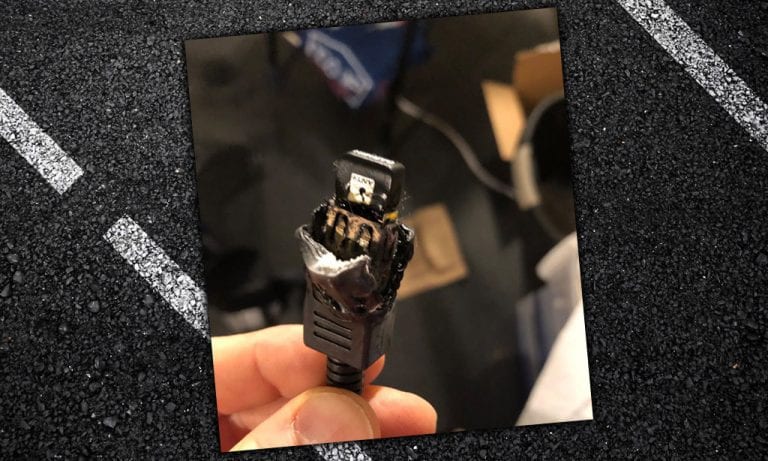
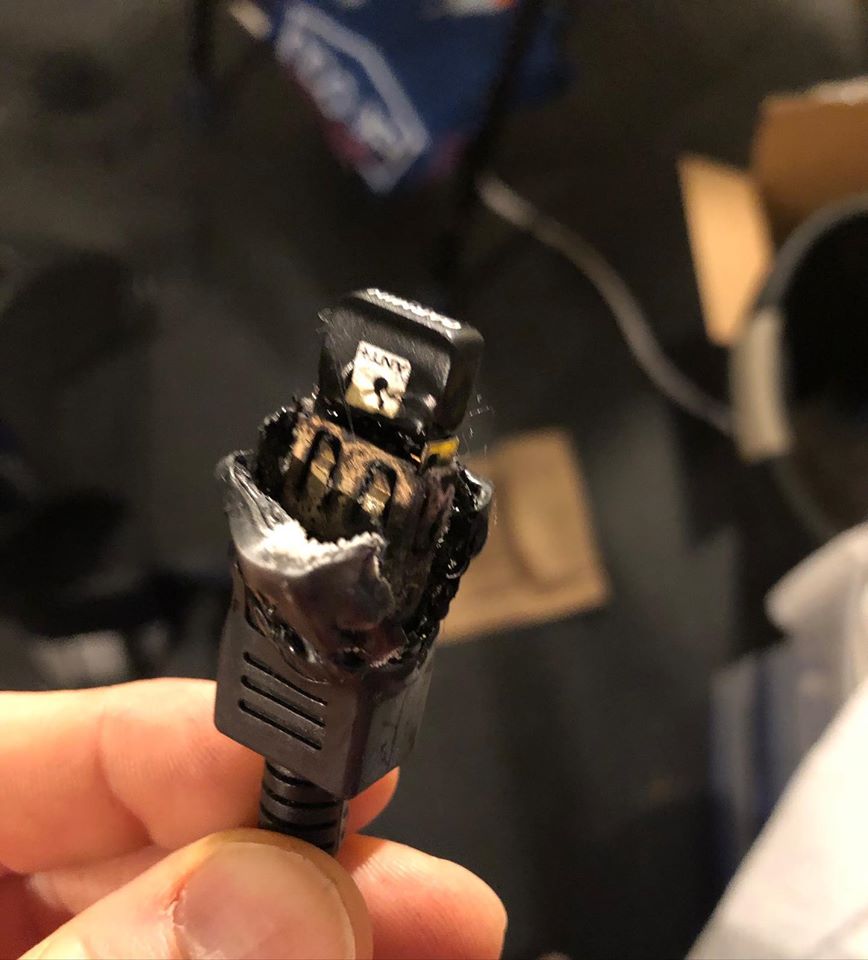
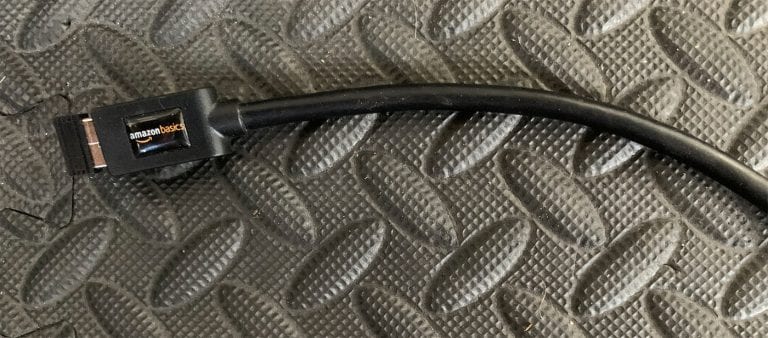
When his workout was finished he had accumulated a small lake of sweat beneath his trainer. Unfortunately, his ANT+ dongle was also in that lake of sweat, and the next morning when he went to ride, this is what it looked like:

Water and electrical currents are a bad combination. Water filled with electrolytes combined with electricity is even worse!

One easy way to avoid this: see if you can get the dongle off the ground. This will save it from the sweat pool issue. Some Zwifters even tape their USB extension to their trainer.

Protect Your Dongle with this Easy Hack

We typically place our ANT+ dongles on the ground near where sweat falls because that’s easy and we want the dongle close to our smart trainer. How do you protect the dongle in that situation?

Easy: seal up the dongle. Slide it into a plastic bag or wrap it in plastic wrap. Done!


How Zwift Sizes Your Avatar’s Body

15

How Zwift Sizes Your Avatar’s Body

UPDATE Feb 13, 2024: Zwift now lets you choose the size of your avatar’s body. Still, we’ll keep this post up since your avatar’s body size will follow the rules below unless you decide to change it.

Your Zwift avatar is a virtual representation of yourself, and some people take that very seriously. Think of everything that goes into your avatar’s “look”–your jersey and shorts, headwear, head type, hairstyle and color, skin color, sock style and length, shoes, gloves, sunglasses, facial hair… it’s a lot!

Zwift has a challenging task on their hands in building tools to create avatars people can feel good about.

What about the avatar’s actual body? Sure, your avatar is “decorated” with all the clothing and accessories listed above, but have you ever wondered how Zwift sizes avatars?

We did a little research to figure it out.

3 For Men, 2 for Women

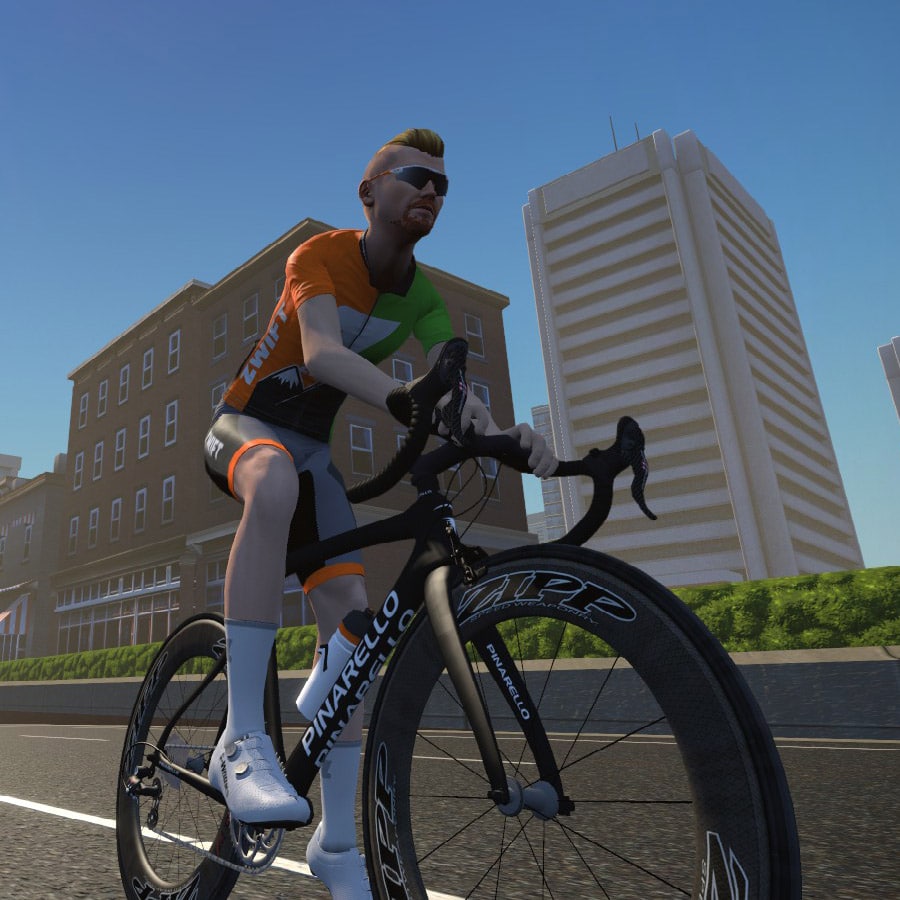
Zwift’s avatar sizing is actually quite simple. There are only three avatar body types for men, and two for women. Here’s what they look like:

What determines which body size you see? It’s the rider’s weight and height. It appears body types change at a particular BMI.

Men’s Avatar Sizing:

  • Small: BMI <21
  • Medium: BMI 21-26
  • Large: BMI >26

Women’s Avatar Sizing

  • Small: BMI <22
  • Medium: BMI >22

That’s it. Your body doesn’t slowly grow larger or smaller as you change weight or height–you are given one of three (or two if you’re female) body sizes based on your BMI.

Example: men with a BMI of 26 or more will all have the same avatar body. Even if your BMI is 40 it will look the same as someone with a BMI of 26.

Sometimes this helps: if you’re very overweight, you might be happy with how your “gorilla” avatar makes you look. But BMI can be a bit of a silly measurement: I have two real-life friends who sport the “large” men’s avatar on Zwift, but neither would ever be confused for being big or overweight guys. One is a very lean guy, all muscle, and the other is a very tall guy with a bit of belly fat.

So it’s not a perfect system, but it works.

Want to calculate your BMI? Go here >

About Height

Your height affects your speed in Zwift and helps determine (along with weight) which avatar body type you get. But it does NOT change the visual height of your rider in game.

All avatars are the same height, regardless of your setting. This was probably done so kits and bike frames wouldn’t need to be scaled for each rider, but wouldn’t it be cool if you could see people’s actual size? It would add some nice variety to the visuals.

Your Thoughts

Any questions about avatar sizing, or thoughts on why Zwift does it this way? Comment below!


Ronnie Schildknecht on Athlete Management and Athlete Contracts (Zwift PowerUp Tri Podcast #18)

0

Ronnie Schildknecht on Athlete Management and Athlete Contracts (Zwift PowerUp Tri Podcast #18)

When it comes to life as a pro athlete, performance is only half the battle. To truly reach the next level, you need to know the business of sports.

In this episode, we bring in an expert on the matter: 9x winner of Ironman Switzerland, Ronnie Schildknecht. He dives into and corrects misconceptions about how athletes make their living.

Beyond that, we also chat about news regarding aerodynamic effects of drafting riders and motos.

About the Podcast:

The Zwift PowerUp Tri Podcast is hosted by former pro triathletes Matt Lieto and Jordan Rapp, lending their in-depth knowledge of the multisport to the Zwift Tri audience.


How many calories am I actually burning?

How many calories am I actually burning?

While losing weight isn’t the only goal for cyclists, it is often an important one. An accurate count of calories burned for each ride becomes a key metric if you are using the “calorie counting” approach to weight loss which is effective for many.

If you’ve been riding long and using tools such as Zwift or TrainingPeaks to track your rides you know each service delivers different calorie numbers. Why is this, and which numbers should you trust?

Let’s try to answer this question by first understanding the basics of calories, kilojoules, and efficiency.

Calorie

A Calorie (or more accurately, a kilocalorie) is a unit of energy. How much energy? Scientifically speaking, a kilocalorie is the amount of heat required to raise the temperature of 1 kilogram of water one degree Celsius.

Kilojoule

A kilojoule (kJ) is also a unit of energy, and some countries (like Australia) even use it instead of calories to measure food energy. A kilojoule is equal to 1000 joules, and a joule is the amount of work required to produce one watt of power for one second.

Therefore, the number of kilojoules you put into your pedals over the course of a ride is equal to (average watts × ride length in seconds) / 1000.

Examples:

  • If you ride for 60 minutes (3600 seconds) at 200 watts you will have put 3600 x 200 / 1000 = 720 kJ of energy into the pedals.
  • If you go harder and ride for 60 minutes at 300 watts you will have put 3600 x 300 / 1000 = 1080 kJ of energy into the pedals.

If you have an accurate power meter then you are accurately measuring your kilojoules on each ride.

Calories can be converted to kilojoules easily: 1 Calorie=4.186 kJs

(Note: in the absence of a power meter, calorie calculators use some combination of heart rate, body weight, age, distance, time and incline to approximate your work. These approximations produce widely varying calorie counts. Since this post is for Zwifters I’m assuming you have an accurate measurement of kilojoules–that is, an accurate power meter.)

Efficiency: the Big Question

When you ride a bike, your body converts stored calories into kinetic (movement) energy. Those movements show up as wattage in Zwift.

But here’s the rub: not all of your calories’ energy is turned into kinetic energy. In fact, most of your calories are converted into heat energy, not kinetic energy. That’s why you sweat when you ride.

How much of each calorie becomes heat, and how much becomes movement? That’s the efficiency question. And there’s no way to answer it outside of lab testing, so in everyday life, we rely on approximations.

Scientists agree that when cycling, 20-25% of each calorie burned is actually applied to your pedals. The more efficient your body is, the higher that percentage will be. And remember, we also know 1 calorie can produce 4.186 kJs of work. Using those numbers, let’s look at some example calorie burn calculations.

Examples (using our rides above):

  • 720 kJ ride at 25% efficiency burns (720/4.186)/.25 = 688 Calories
  • 720 kJ ride at 20% efficiency burns (720/4.186)/.2 = 860 Calories
  • 1080 kJ ride at 25% efficiency burns (1080/4.186)/.25 = 1032 Calories
  • 1080 kJ ride at 20% efficiency burns (1080/4.186)/.2 = 1290 Calories

Different tools factor in different efficiency levels, and that’s why you may see different calorie numbers for any given ride if you track it in Zwift, on your Garmin, etc. Heck, some tools use totally different equations for calculating calorie burn, even when power data is available! For example, my Wahoo ELEMNT seems to calculate calories using a funky heartrate-based algorithm while Zwift uses my wattage and a 25% efficiency factor.

Which Calorie Number is Correct?

The answer is: none of them are. Unless you are in a lab which can accurately measure your complete energy output, you must rely on tools that crunch numbers and deliver approximations.

Conclusion

Tracking your calories to lose weight? Use the tool that calculates calorie burn based on power, not heartrate–because power is more accurate. And if you’re ever in doubt, consider using the tool that gives you the lowest calorie counts, so you aren’t accidentally replacing too many calories when eating to fuel your workouts.


Rebel Routes: The Snake

11

Rebel Routes: The Snake

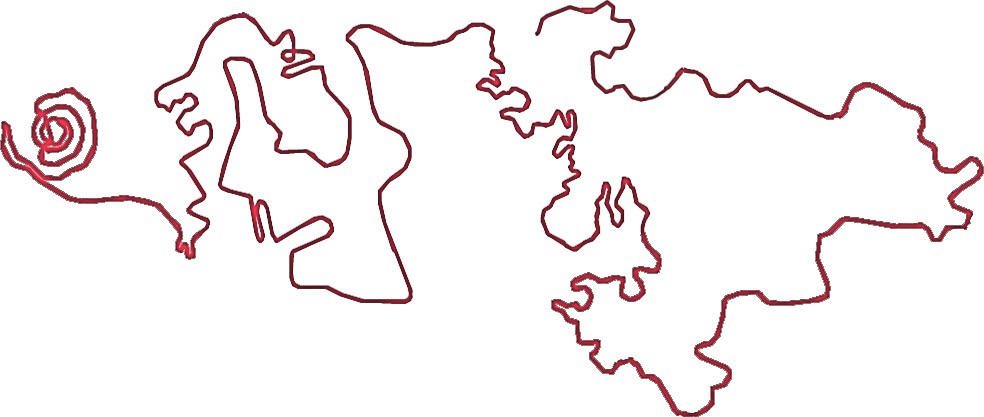
“The Snake” covers most of the roads in Watopia proper in both directions, which means you’ll hit 5 timed KOMs and 3 timed sprints. It’s a true “Out and Back” route, and we call it the snake because it looks like this:

About Rebel Routes

“Rebel Routes” are Zwift rides which are not available on Zwift’s routes list, thus requiring manual navigation.

See all rebel route posts >

The reward for your rebel ride? Exploring a new route, knowing you’ve gone where few Zwifters have gone before. And a Strava segment rank in the tens or hundreds instead of the thousands!

Route Description

This longer route winds through the less mountainous portions of Watopia then doubles back and retraces itself in reverse.

We begin in the desert, riding over Fuego Flats before turning into Titans Grove for the forward KOM. Then make your way down to Ocean Boulevard and over to the reverse Hilly KOM for our second timed climb.

Next we travel through downtown Watopia, hit the Esses and the reverse sprint, and make our way across the land bridge to the volcano. This is the largest climb of our route. Make it to the top, take a look around–you’re at the head of the snake, halfway through the ride. Now it’s time to retrace your path!

Ride the land bridge to the Italian Villas, hit the forward sprint, then fly through downtown Watopia and up the forward Hilly KOM. Make your way down to the Fishing Village and into the Ocean Boulevard tube, then hang a right as you come out of it to head back to the desert.

But before we reach the desert proper we’ve got to turn into Titans Grove and have a go at the reverse KOM. Then it’s back through the desert, finishing at the desert rock arch. Well done!

Profile

Even though you will ride over 5 timed KOMs, this route is actually quite flat with only 661 meters of elevation over 77.4km. The Volcano KOM halfway through is the largest climb. Since this is a true out and back route, you can see the profile mirrors itself.

Getting Started

Start by choosing the Tempus Fugit route, or any route that puts you near the desert start pens. The route begins at the desert sprint arch.

Turn by Turn

Here are the turns you’ll need to make to successfully complete The Snake. Start by choosing the Tempus Fugit route, or any route that puts you near the desert start pens. The route begins at the desert sprint arch.

  1. Straight (Right) to Epic KOM
  2. Right to Titans Grove
  3. Left to Ocean Blvd
  4. Left to Ocean Blvd
  5. Straight to Italian Villas
  6. Straight (Right) to Italian Villas
  7. Right to 360 Bridge
  8. Straight (Right) to Reverse KOM
  9. Straight (Right) to Reverse KOM
  10. Straight (Right) to Downtown
  11. Straight (Left) to Downtown
  12. Straight (Left) to Sprint
  13. Right to Volcano Circuit
  14. Straight (Left) to Volcano Circuit
  15. Straight (Right) to Volcano KOM
  16. Straight (Left) to Volcano Circuit CCW
  17. Straight (Right) to Italian Villas
  18. Left to Sprint
  19. Straight (Left) to Sprint
  20. Right to Downtown
  21. Straight (Right) to KOM
  22. Straight (Left) to KOM
  23. Straight (Left) to Bridge
  24. Straight (Left) to Italian Village/Sprint
  25. Left to Sequoia Circle
  26. Straight (Left) to Sequoia Circle
  27. Straight (Left) to Downtown
  28. Right to Desert Flats
  29. Right to Titans Grove
  30. Straight (Left) to Desert Flats

Route details:
Distance: 77.4km (48.1 miles)
Elevation Gain: 661m (2170′)
Strava Segment

Rebel Route Suggestions

Got an idea for a great rebel route? Share it below and maybe we’ll publish a post about it!


Recommended ANT+ Sticks (Dongles) for Zwift

36

Recommended ANT+ Sticks (Dongles) for Zwift

Zwift connects wirelessly to your devices (smart trainer, HR monitor, cadence sensor, etc) via ANT+ or Bluetooth. While iOS, AppleTV, and Android users can only use Bluetooth, ANT+ is the most common method among Windows PC users.

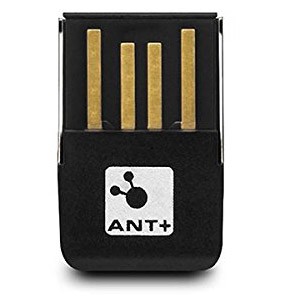
ANT+ USB sticks (sometimes called “dongles”) plug into your computer, allowing it to talk to your devices using the ANT+ protocol. Here are the top sticks we’ve used and recommend:

Garmin USB ANT Stick

~$50

A premium (even overpriced) solution from a reputable fitness company, Garmin’s ANT stick is pricey but also reliable, with good support behind it.

COOSPO USB ANT Stick

~$16

Works just as well as other dongles, for a fraction of the price. If you need an ANT extension cord, grab this bundle instead!

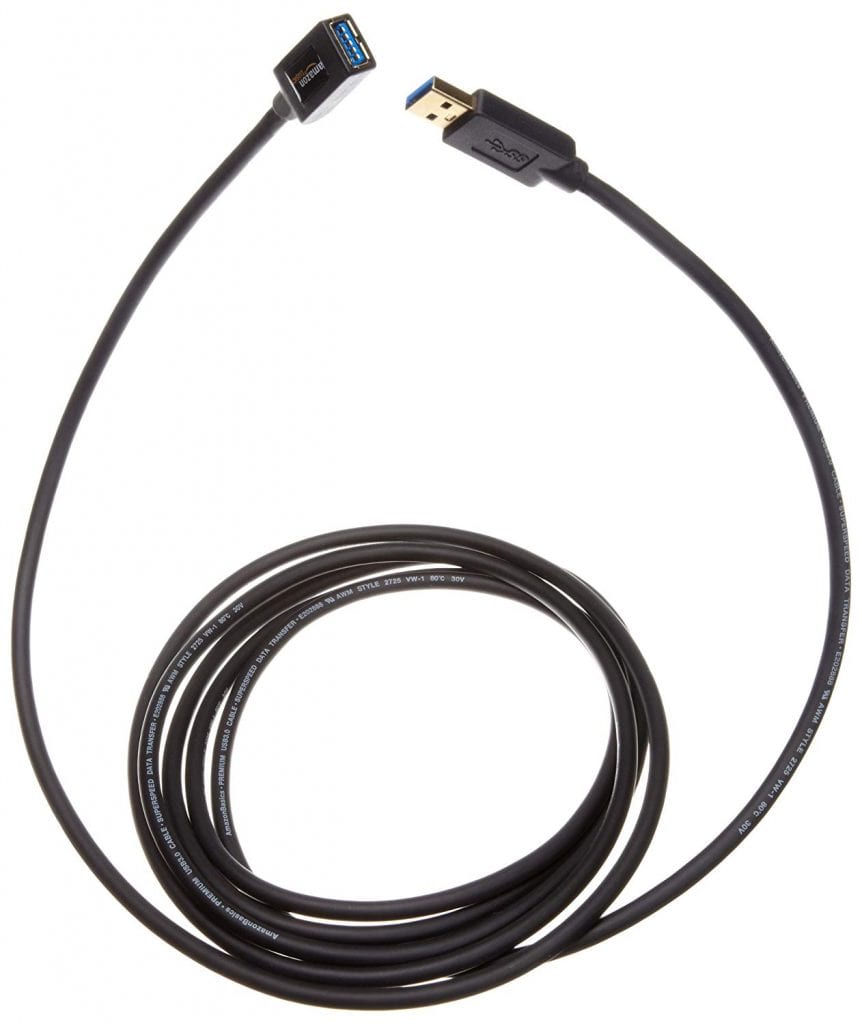
While you’re at it, get a USB extension cable. They’re cheap, and allow you to move your ANT+ stick as close to your trainer for the strongest possible signal. The AmazonBasics cables work well and only cost ~$7. If your cable needs to be more than 3 meters long, get an active USB extension cable.

Getting Dropouts?

Problems getting your ANT+ stick to work properly with Zwift? Check out the “ANT+ Dropout Troubleshooting” post.


How to Use Zwift in 3D

2

How to Use Zwift in 3D

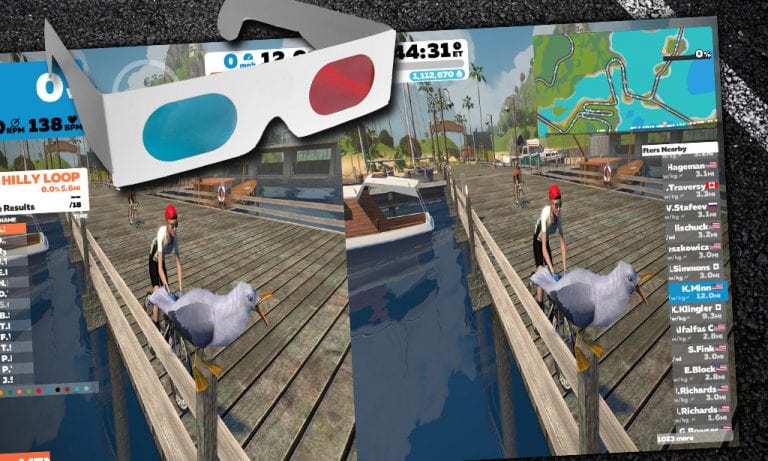
Did you know that you can Zwift in 3D? The right equipment and a few keystrokes will add a new dimension to your ride.

We can’t find this officially documented anywhere, but Zwifters have posted about the hidden feature on forums and the Zwift Riders Facebook group.

How do I do it?

You’ll need a TV, monitor, or projector that can display 3D content in a side-by-side format, connected to a computer running Zwift. 3D TVs are hard to find these days, but you can still get your hands on 3D-enabled projection systems and computer monitors.

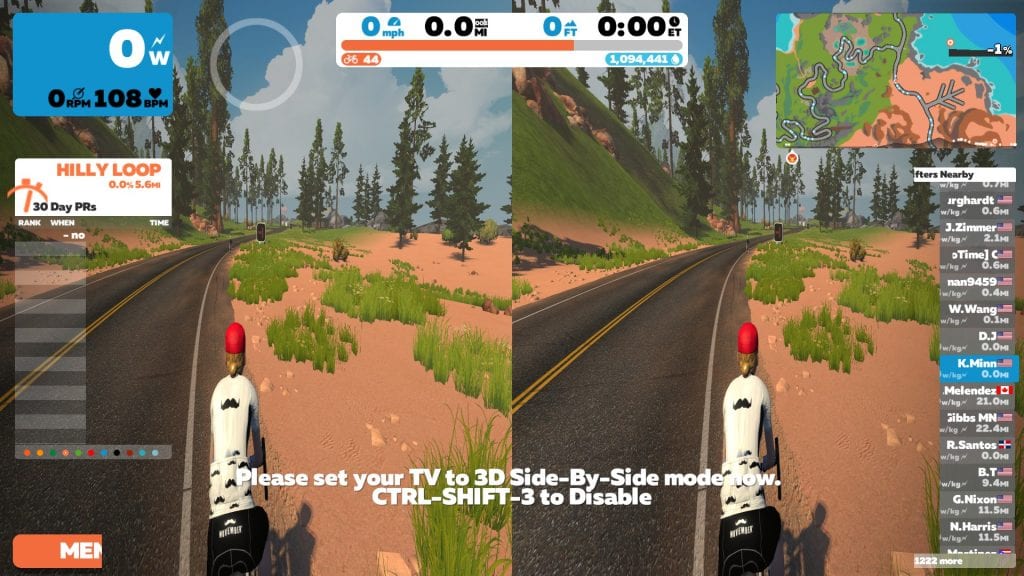
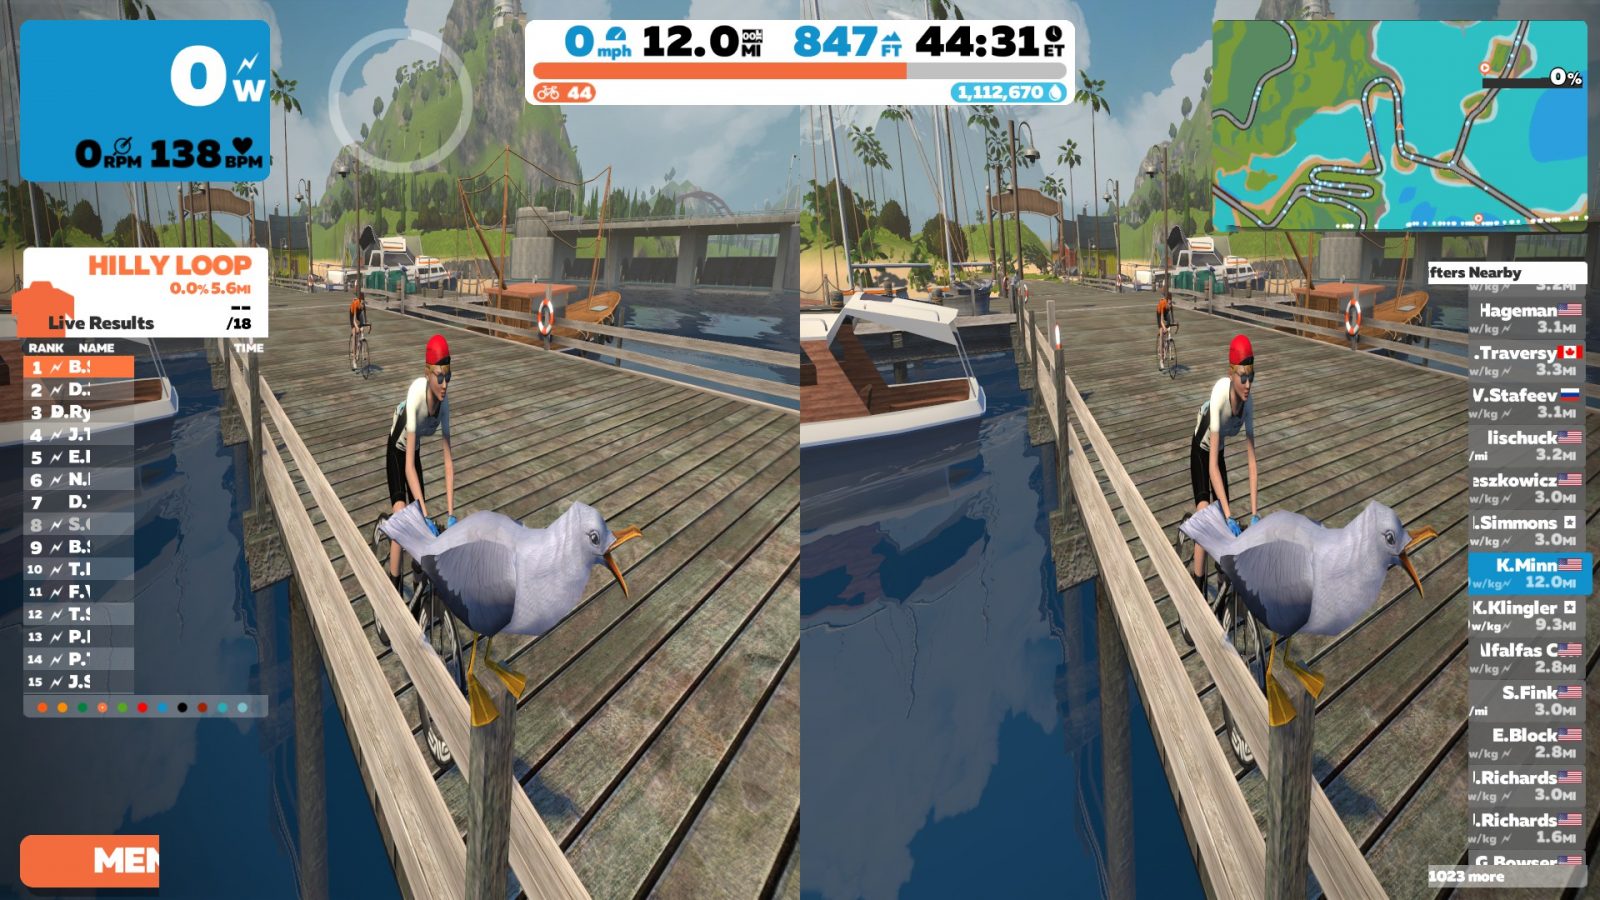
To turn on 3D mode in Zwift, press Ctrl-Shift-3 on your PC or Mac computer. It’s best if you do this once you’re paired and you see your avatar in the chosen world. Activate “side by side” 3D on your display. Put on your 3D glasses and you’re ready to ride! To turn off 3D mode in Zwift, just press the same key combination again.

What is it like?

It’s pretty cool! And it has some very distracting glitches. But let’s start with the cool.

The first thing I notice when I put on my glasses is that my avatar seems closer, and riders and runners are popping out from the road. Certain other things have a strong 3D effect, too. With each “Ride On,” a shiny blue thumb spins around in midair like I’ve flicked it with my fingers. Someone gets a PR at a banner ahead, and Zwift throws confetti at me. A small flock of birds flies toward and above me. Riders’ names jump out from the bottom of the screen as they approach.

The effect on the rest of the world is more subtle, and it seems to move deeper in instead of popping out. The road stretches out ahead, and things like bridges and buildings in the distance look far away. (The illusion does have its limits, and a mountain scene on the far horizon can look like a flat background.) The roadside trees in the Titans Grove forest look nice, and so do its dinosaurs, but what makes me say “whoa!” is a large overhanging branch moving toward me.

Different camera views also change the experience. First-person view is immersive, but I think the view from below (press 5 on the keyboard) showed off the 3D the most. It gives a good perspective on roadside objects as they get closer and whiz by. Pressing “0” in any view and moving the camera around is a fun way to play with it.

Zwift’s log files say my average frame rate dropped by 10-15 FPS compared to my last ride on the same computer, down to about 35 FPS. It’s not clear how much of that is due to 3D mode.

What doesn’t work?

Some of the graphic effects cause issues, and there are sometimes artifacts on the horizon. Rain, snow, and dust are fine. But the heat haze in parts of Watopia’s desert and volcano areas turns into a flat, shimmering wall. Roads inside the volcano are unrideable. But that’s not the biggest problem.

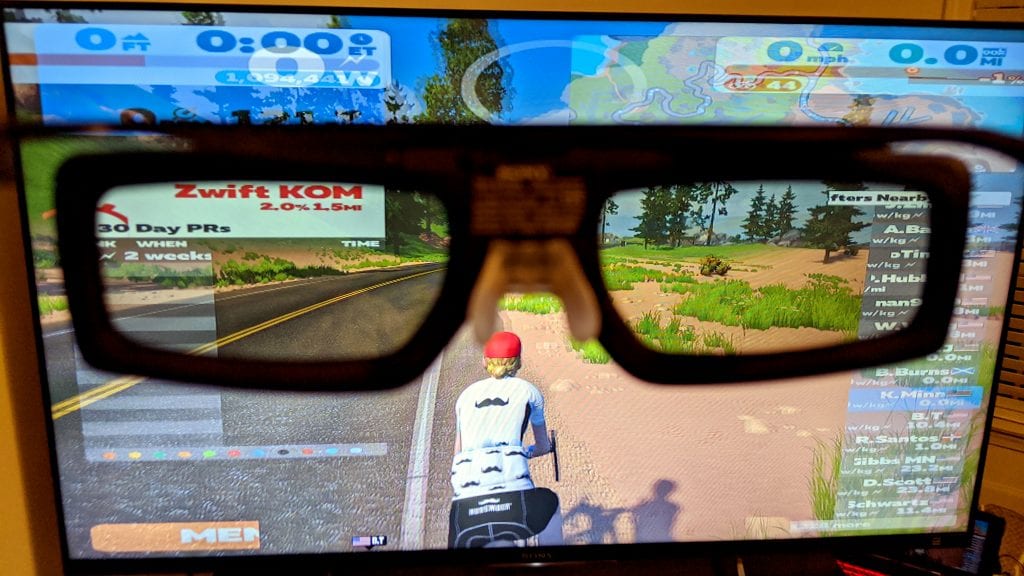
While the Zwift worlds themselves look impressive in 3D, the user interface… doesn’t. Menu screens and sidebars are cut in half. The top bar is split into two halves that are in the wrong place, overlapping with the data display and maps. Chat bubbles appear in the middle of the screen. Most of these things are semi-transparent and some are too large. Oddly, navigation icons at intersections didn’t appear at all.

I could ignore this at first, but later I used the Minimal UI hack to get those distracting graphics out of the way. Much better, and more immersive!

When I looked at the images Zwift was sending to my TV, this all started to make sense. Here’s why.

How does it work?

Most 3D (three-dimensional) content is made up of a pair of similar 2D (two-dimensional) images–one for your right eye and one for your left. Zwift places them side by side, but you may also see “top and bottom” and other formats. 3D displays typically combine these into a single picture in one of two ways:

  • With “passive 3D,” the left and right images are displayed on alternating lines of pixels. Polarized 3D glasses (or special screens) filter each image to the eye that’s supposed to see it. This is what 3D movie theaters use.
  • With “active 3D,” which my TV uses, the left and right images are broadcast one at a time and switch very quickly. The 3D glasses alternate blocking the right and left eyes at the same rate. Each side is visible only when that eye’s image is showing.

The two side-by-side images are supposed to be near duplicates, with small differences to create the illusion of depth. But on Zwift, while the riding environment is doubled, the UI overlay isn’t. It stretches over both the left and the right images at once, meaning the display can’t convert it properly to 3D. I’ve seen reports of this working fine for others in the past, so it may be a glitch that’s easily fixed.

Should I try it?

At the moment, I wouldn’t recommend racing or doing a structured workout in 3D. But if you just want to ride around Zwift, it’s a cool and different way to lose yourself in our favorite virtual worlds. You’ll probably want to limit your time if you’re prone to motion sickness.

We’ve heard that a UI redesign is on the way, so maybe that glitch will be fixed soon. In the meantime, the Minimal UI hack can hide the HUD so nothing gets in the way of your 3D Sasquatch hunt on Alpe du Zwift.

See you out on course… perhaps in 3D!


10 Reasons Why I Love Zwift Racing

1

10 Reasons Why I Love Zwift Racing

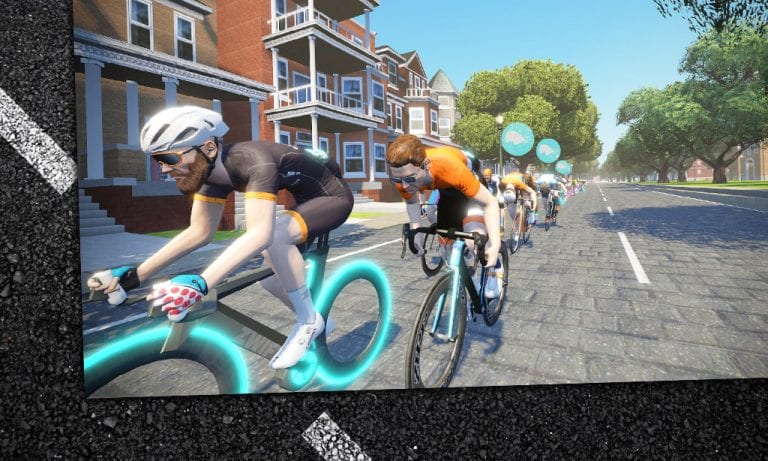
It’s no secret that Zwift racing is exploding worldwide. We’ve got the UCI planning an eSports worlds in 2020, world tour pros participating in races, and Zwift’s own CEO talking about the Olympics in 2028.

And while today’s Zwift racing experience is far from perfect, it’s worth taking a step back to appreciate what Zwift and its community have built in just a few short years. Think about it: right now, any cyclist can sign on and race their guts out against a global list of competitors.

It’s a brave new world, and there’s much to love about it. Here are my top 10 reasons to love Zwift racing.

#1: Stiff Competition

I live in a small Northern Californian town, and while our cycling community is dedicated, it’s also tiny. It’s easy to get deluded into thinking I’m something special as I snatch Strava KOMs from a short list of competitors.

But Zwift racing humbles me. If ever I’m feeling especially gifted, one race up Box Hill puts me in my place. And that’s a good thing.

#2: Keeping the Rubber Side Down

In just the past few years, several of my local riding buddies have sustained major injuries while on the bike. Some from vehicles, some while racing. Sometimes the cyclist’s fault, but often not.

I chose to stop crit racing last season after yet another dicey finish with riders wiping out just ahead of my front wheel. Especially in crits, it’s only a matter of time before you crash, no matter how skilled of a bike handler you may be. For me, the risk just isn’t worth the podium t-shirt.

Zwift is an crash-free zone. Go as hard as you want. You might avoid that 15-year-old chopper outside, but inside you can half-wheel him to your heart’s content. Pure, risk-free bliss.

#3: No Charge

No more race entry fees–Zwift races are free!

In my case, most outdoor races became an all-day affair: driving 2 hours to San Francisco or Sacramento, racing, eating lunch out… a guy could burn through $100 easily. And while my team covered most of those costs, what I couldn’t get back was the time it took to make it all happen–and time is money. Speaking of which…

#4: Time Efficient

There’s no more efficient way to race a bike than Zwift. No traveling to the race track. Just kit up, hop on, and go!

You’ve also got a lot of flexibility with Zwift races: no longer are you stuck racing the one date and time slot for your category on a Saturday or Sunday. Now you can make the schedule work for you! Decide which time works best, then race at that time. There’s almost always one available. Let’s talk more about flexibility…

#5: Have It Your Way

Zwift racing has a much larger universe of options than outdoor racing. Where my outdoor calendar basically has one doable race every week or two, March-August, Zwift has multiple races every day, year-round, and those races vary in terrain, length, and field size.

I can pick the race that fits my schedule. I can pick a race that uses a course which suits me. (Or, if I’m feeling masochistic, I can pick a hilly route and get my butt kicked!) I can ride TT races, double draft events, or chase races. So many options!

#6: Teamwork

Since my outdoor race team was so small, I rarely got to experience teamwork on race day. But on Zwift, I often have teammates in races, and we can communicate via Discord and ride strategically.

Racing is fun. But working as a team in a race: that’s next-level fun.

#7: Data

Like any good cyclist, I love data. And racing on Zwift gives me a window into race data which I simply never get outdoors. Suddenly I can see my competitor’s power numbers and heart rate data. I can see their historic performances. Thanks to ZwiftPower, anyone can drill down and really learn about the competition so they can ride more strategically.

#8: Weather Be Damned

Who cares if it’s cold or wet outside? I control the climate in my pain cave, so my race day isn’t dictated by Mother Nature.

#9: Family Fans

I love having family and friends on-sight to cheer me on for a Zwift race. Outside, the best they could do was yell something incomprehensible as the group flew past on the crit circuit. But when I race on Zwift, they can stand near, watch the action, and cheer loudly. It really does help!

#10: Pushing Limits

I still remember my first few Zwift races, because they were a revelation. I was just beginning to race outdoors, and Zwift showed me that I had a lot more to give than I’d been giving.

There’s something about being in your own home that lets you push harder. It’s not needing to worry about making the call of shame when you bonk 40 miles out–it’s not being concerned with threading the needle in the finishing sprint. Leave it all on the mat, because after your Zwift race you can fall off the bike, crawl to the shower, and wash up.

Pushing it to the max builds fitness for sure, but it also builds mental toughness and helps you surpass self-imposed limits, even in outdoor riding.


What about you?

Got more reasons to love Zwift racing? Share them below!


Using Discord on Zwift

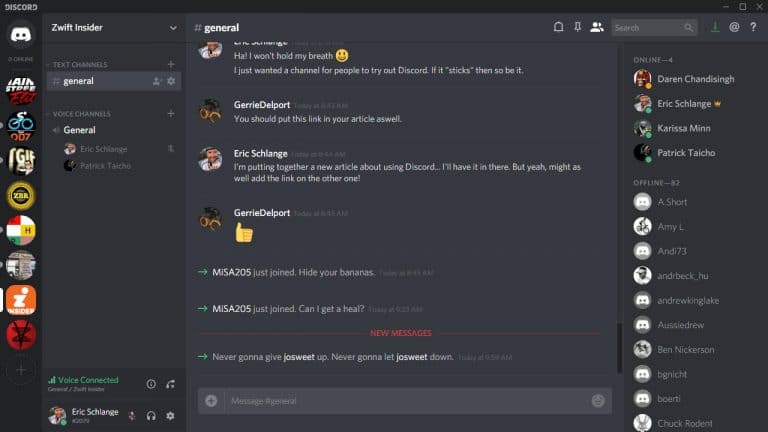
As part of our push for more Discord in the Zwift community I’ve put together this simple tutorial. Following the simple steps below will get you started using the Discord voice chat app while Zwifting.

But before we get to the meat of the tutorial, I wanted to share this video–one of my favorites in the Zwift universe. Here you can watch TeamODZ’s Justin Wagner finishing the big Zwift Team Worlds 2017 race. You can hear his interaction with teammates via Discord, making this a perfect example of audio chat bringing the Zwift experience to the next level.

BEFORE YOU BEGIN – HARDWARE REQUIREMENTS

All you need to get Discord working is the device to run it (your mobile phone or computer), a microphone, and speakers. A standalone phone will do the job, but isn’t ideal due to poor speakers and mic positioning.

The most common setup is to run Discord on your mobile phone, using hardwired or Bluetooth earbuds with a built-in mic. 

I don’t like a lot of cords hanging around, so I use true wireless Jaybird Vista earbuds. Love ’em. (The Tarah earbuds are much cheaper and also work well, but they have a connecting wire.)

STEP 1: INSTALL THE APP

Discord runs on mobile devices as well as Windows and Mac. Installation is simple: just search for “Discord” on your mobile device, or visit https://discordapp.com/ on your computer and click the link to download the app.

STEP 2: CREATE YOUR ACCOUNT

Just click “Register” and enter your email and desired password. Easy!

STEP 3: ENTER THE INVITE CODE

To join a Discord server you must have an invite code.

Click this link from the device you’ve installed Discord to, or just enter “zwiftinsider manually into Discord to join our server: https://discord.gg/zwiftinsider

CONGRATS, YOU’RE IN!

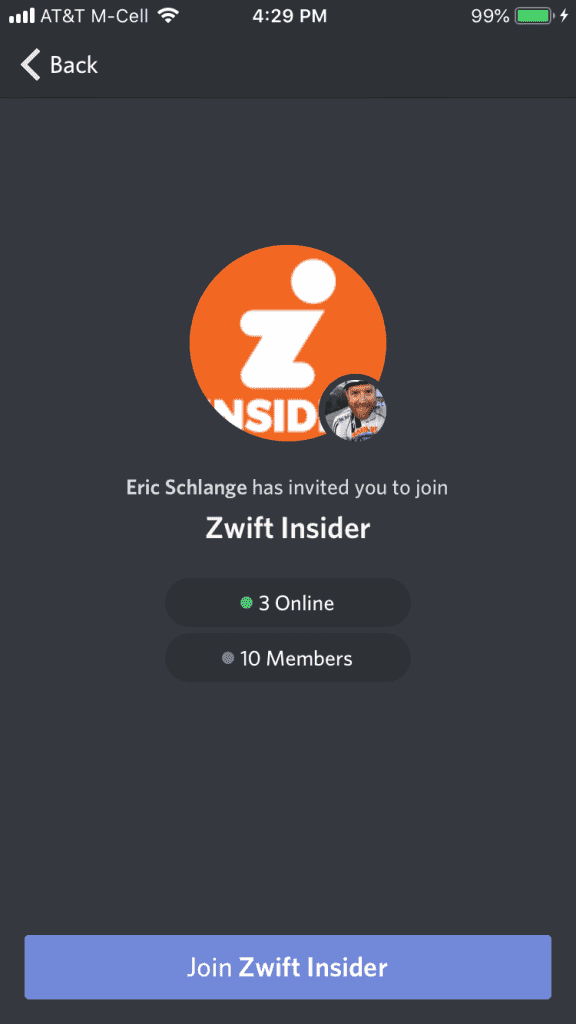
Just click the “Join” button and you’ll be logged into the Zwift Insider Discord server.

STEP 4: HERE’S THE TRICKY PART

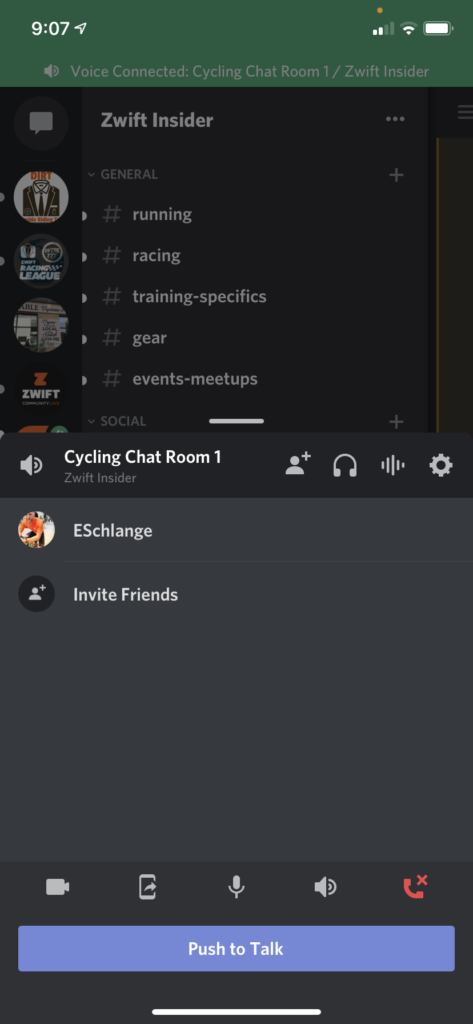
Discord automatically places you in the text chat channel, which isn’t where you want to be. Click the hamburger menu (3 lines at top-left) to view all the channels on the server. Scroll down and pick a chat room under Cycling Chat Rooms, then click “Join Voice” to join the audio chat.

YOU’RE ALL SET!

Once you see yourself on the list of other users in your chosen voice channel, you’re all done. As long as you have your microphone and earbuds/speakers hooked up correctly, you’re good to go.

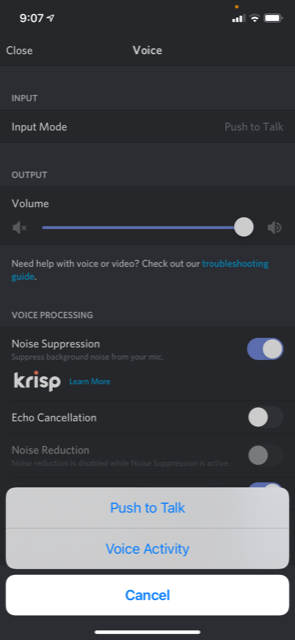
Recommendation: Use Push to Talk

In voice channels, Discord has two different input modes:

  • Push to Talk: you have to push a button in order to transmit your voice across the channel
  • Voice Activity: when Discord detects that you’re speaking, it transmits your audio across the channel

In Zwift land, it is generally considered good practice to use Push to Talk, so people only hear you when you’re actually speaking. If you set it to “Voice Activity” (which is the default setting) your noisy fan, trainer, or gear shifts may be detected as audio input and broadcasted across the channel.

Push to Talk ensures you’re only transmitting audio when you want to be!

Elite Zumo: the First $699 Direct Drive Trainer

0

Elite Zumo: the First $699 Direct Drive Trainer

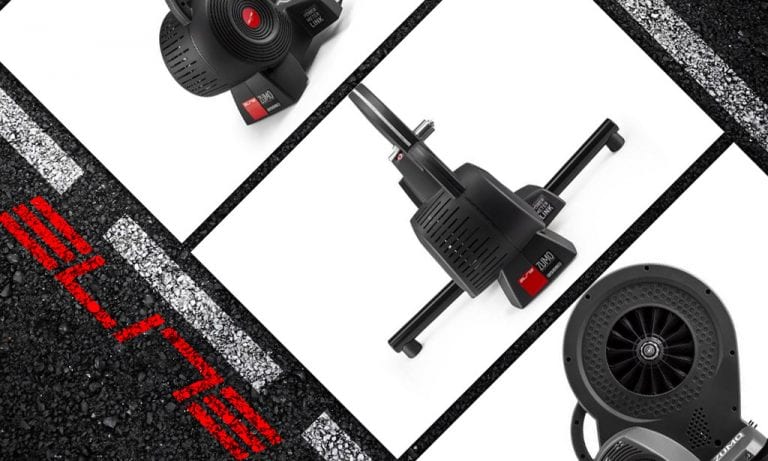
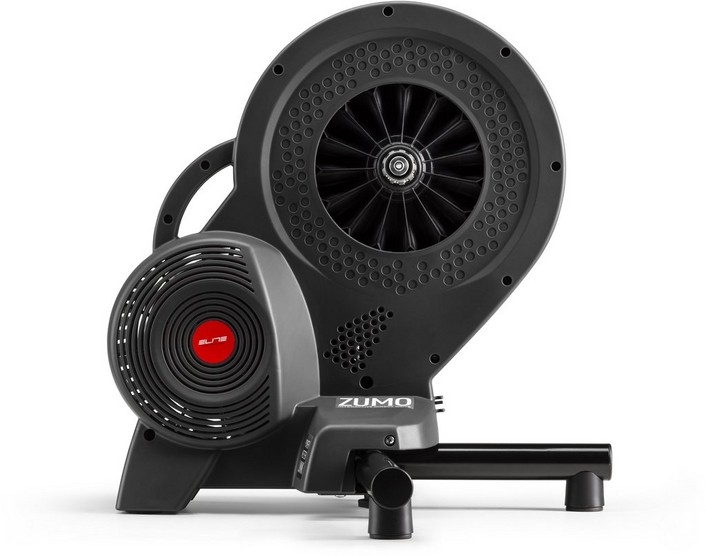
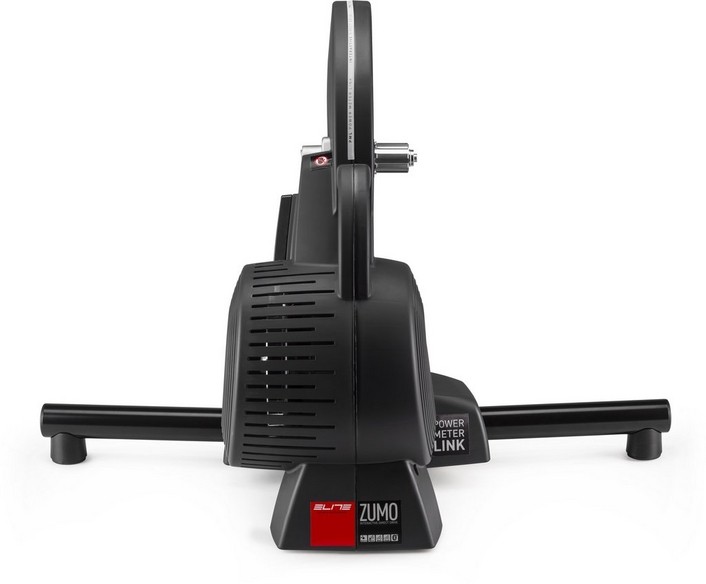
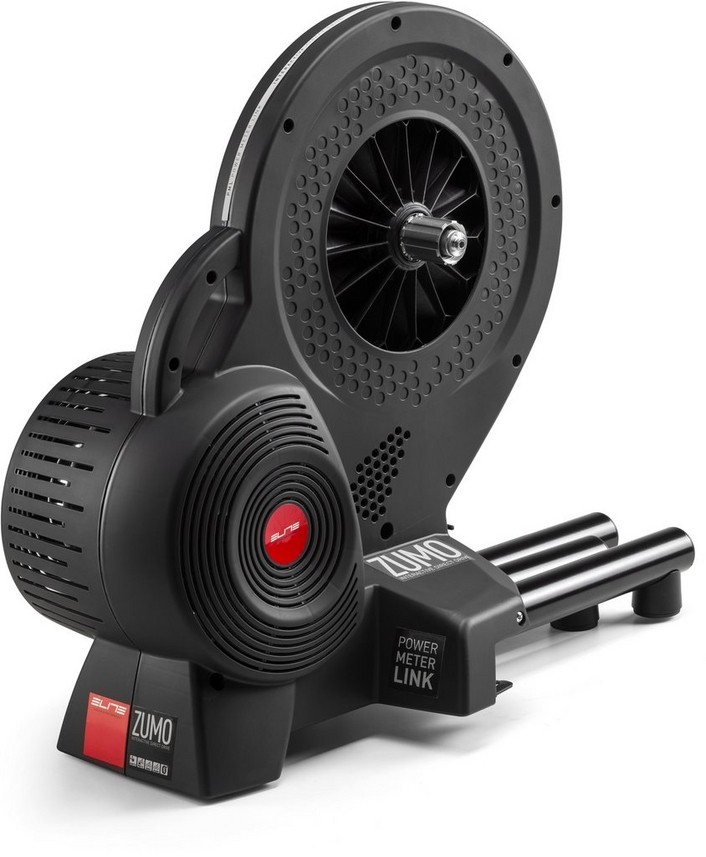
The good folks over at Elite have rolled out what we believe is a first: a direct drive trainer with a regular price of $699USD!

The Elite Zumo was announced almost a year ago, and has been selling for £399 at Halfords in the UK for a while. The Halfords Zumo page says it is “manufactured exclusively for Halfords.” But it sounds like that is changing, with Shane Miller saying the trainer is going to be available in wider markets.

We expect to see it available in the USA for $699 soon, but it’s not even listed on Elite’s website as of today.

Basic Specs

  • Maximum wattage: 1340W @ 40km/h, 2200W @ 60km/h
  • Realistically simulates slopes up to 12%
  • Power measurement accuracy to within +/- 3%
  • Compatible hubs QR 130-135x5mm and Thru Axle 142x12mm
  • Does not ship with cassette
  • Standard Bluetooth and ANT+ compatibility
  • Low noise level

Why It’s Special

The specs above aren’t anything special when stacked up against other direct drive trainers. Units like the Tacx Neo, Wahoo KICKR, or even Elite’s own trainers have better accuracy and max power specs. And they should–they cost more!

(That said, Shane Miller’s review below shows the Zumo performed very very well in terms of power accuracy.)

But here’s what is really special about the Zumo: this is the lowest-priced direct drive trainer to ever hit the market. (The Tacx Flux S is the closest competition price-wise at $749USD).

Seeing a new pricing floor is good for consumers like us. As manufacturers realize efficiencies and compete on price, we are the winners.

The Zumo is $100 less than Elite’s Suito, which may actually be its closest competition given that the Suito has slightly better specs and ships with a cassette.

More Details

Check out DC Rainmaker’s in-depth review, and watch Shane’s Lama Lab Test review below: