Team Fearless 3rd Annual Women’s Team Championships Coming Soon
Team Fearless has announced they are once again hosting their Annual Women’s Team Championships! This isn’t your average race, it’s meant to test your resilience and endurance. Each category gets to crown its own Champions, so this race is for all ability levels.
Last year they had nearly 140 participants and a hot lap.
This year will be even bigger and better and will include sprint and QOM
points!
Date and Time
Saturday Dec 14 2:30 PM EST (7:30 PM GMT, 11:30 AM PST, Sunday Dec 15 6:30 AM AEDT)
Route Details
Race will be held on the Sand & Sequoias route, with a different number of laps based on category.
Cat C & D will be completing 2 laps each, with B doing 3, and A doing 4. The thought is that all categories should be finishing around the same time.
Race Categories
A: 3.7 w/kg FTP or higher 4 laps (51.54 miles or 82.95 km with Lead-in)
B: 3.20-3.69 w/kg FTP 3 laps (39.05 miles or 62.85 km with Lead-in)
C: 2.5 to 3.19 w/kg FTP 2 laps (26.56 miles or 42.75 km with Lead-in)
D: 2.49 w/kg FTP and under 2 laps (26.56 miles or 42.75 km with Lead-in)
The Teams
Teams will consist of 3-5 women working together to get their team across the finish line.
While only the top 3 finisher’s points (per team) are counted, every racer matters as their placements “steals” points from those below them. (See the rules for a full explanation.)
If you aren’t already on a team you’re encouraged to be proactive and reach out to a trade team of your choice. A list of teams is available here: Zwift Teams.
Other team options are listed in the full rules below.
There’s a simple brake hack for anyone using a keyboard on Zwift: just hit “A” to bring up the pairing screen. This immediately applies the brakes, stopping you within a few seconds.
To get out of the pairing screen and return to riding, hit the Escape key. Easy!
Here’s a quick video demo:
Improvement Suggestion
Oddly enough, even if you keep putting out power, your rider will not move with the pairing screen up. This has bitten me in the butt many times when I’m in a group ride and accidentally hit A on the keyboard.
My suggestion: Zwift shouldn’t apply the brakes at the pairing screen unless my wattage or cadence is at 0. This saves us from accidentally getting dropped, and shouldn’t cause any problems.
Have You Hit “A”?
Have you ever used this hack (on purpose or on accident)? What was the situation? Share below…
I’ve worn many hats after 20+ years as a self-employed tech guy. One of my favorite hats has been photographer. I’ve shot portraits, products, weddings, food, landscapes… you get the idea.
Nowadays, though, most of my photos are taken with an iPhone out on the bike. These photos really only see the light of day on my Strava profile. Some are taken so I can remember that moment in time, while others are taken so I can share the experience with my Strava followers. I upload pics from my Zwift sessions for the same reasons.
Just like “real” photography, getting a good shot on Zwift isn’t as easy as pushing F10. You’ve got to pay attention to lighting, angles, background, etc. It’s a more restricted environment, but one with plenty of possibilities. And while it may seem silly to some, pushing the limits of these possibilities is fun for many, including myself.
So here it is: your definitive guide to shooting and sharing good Zwift screenshots.
How to Shoot: the Basics
Taking the Shot
There are three ways to take a photo in Zwift:
Your computer keyboard: press F10 to snap a shot.
Zwift Companion app: scroll the action buttons at the bottom of the map screen until you see the camera (last button on the right). This is the only way to take a photo on AppleTV.
In-game action bar: in iOS/Android, just tap the screen to get this pop up.
What’s Your Angle?
The first thing you can do to make your photos more interesting is to change camera angle. The default angle on Zwift is great for zwifting, but completely uninteresting for screenshots!
On a computer, just hit a number key to change it:
1: Default 6 o’clock view 2: Third person view 3: First person shooter perspective 4: To the side front-left of the rider 5: Rearview from the right of the rear wheel 6: Head on to the rider 7: Spectator view 8: Helicopter view 9: Bird’s eye view (PC/Mac only) 0: Drone View – use the arrow keys, +, and – keys to move and zoom camera (PC/Mac only)
On Zwift Companion or iOS/AppleTV/Android look for the eyeball button to click and change the camera angle. Here’s what each camera angle produces:
Light Up Your Life
Any photographer worth their screen cap will tell you lighting is always a top concern. Photography is just capturing light, after all. Zwift shots also require good lighting, but for most shots it basically comes down to the difference between your rider being in the shade (bad) or full light (good).
Here are two samples for you. Notice how the second picture of each pair is much more interesting, as the subject of the photo is well lit.
Runner is shaded, not good
Runner is lit, very nice
Rider is shaded, not good
Rider is lit, very nice
Of course, the lighting challenge on Zwift is that you can’t move lights around to get the look you want! And some courses like New York have a lot of foliage or buildings which create spotty shade.
If you’re really chasing a good shot, you may need to flip a u-turn or take multiple shots to get one where your avatar is lit the way you’d like. The good news is, you’re not having to pay for extra film!
Advanced Shooting Tips
Using the Drone Camera
If you want a real pro Zwift pic, you’re going to be on a computer with a keyboard so you can hit 0 and move the camera yourself.
Tapping 0 puts you in “drone view” where you can use your four arrow keys to move the camera up, down, left and right. Additionally, hitting the – or + keys will zoom in and out.
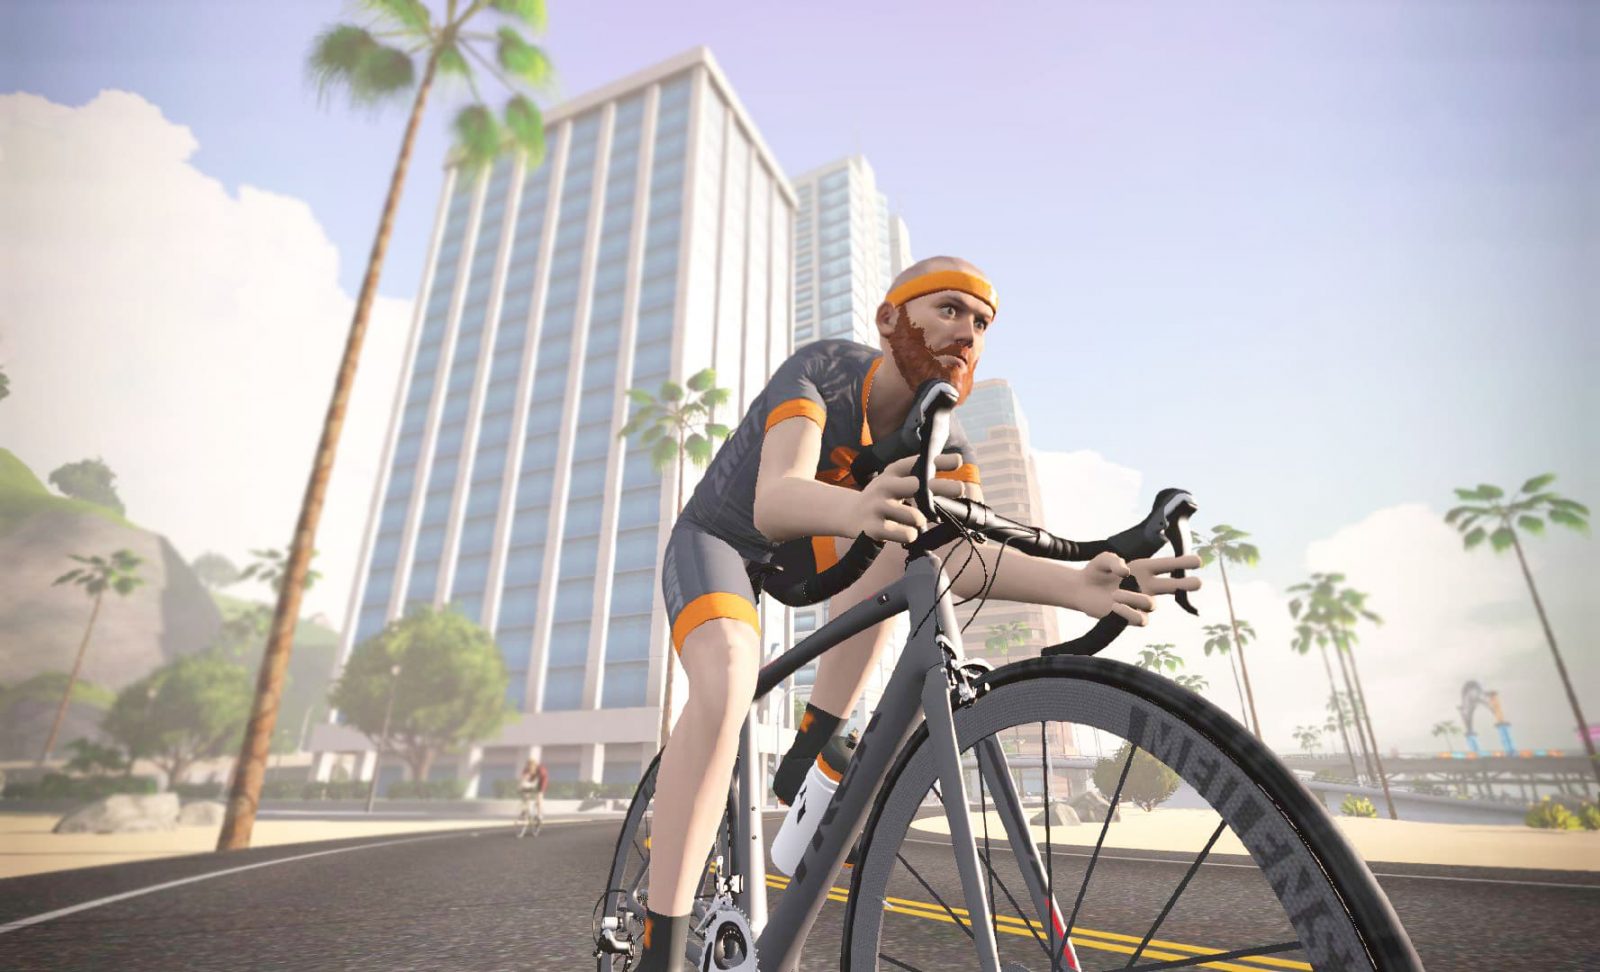
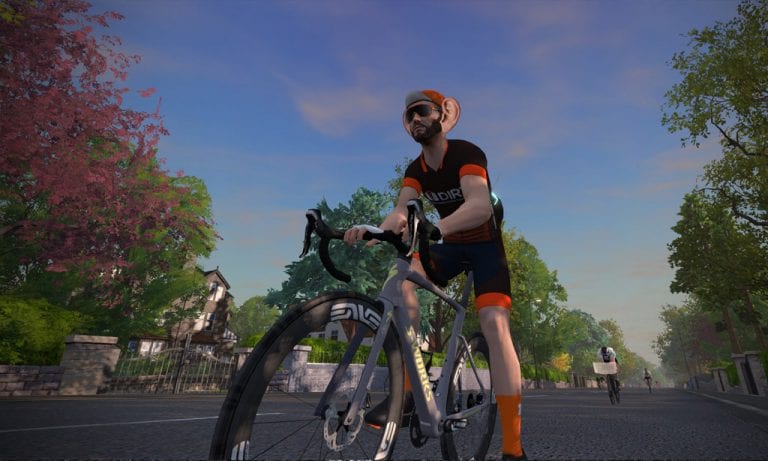
Once you get comfortable with this setting it is very easy to use, and that’s good because the angle of your shot can make all the difference. I’m partial to low angles, taken from near street level. Here’s an example:
I’ve found in drone mode the camera doesn’t usually want to go low if you just hit the down arrow. But if you hit the up arrow first for a bit, THEN down, it will go lower than it would before! Give it a try.
Clean Is In
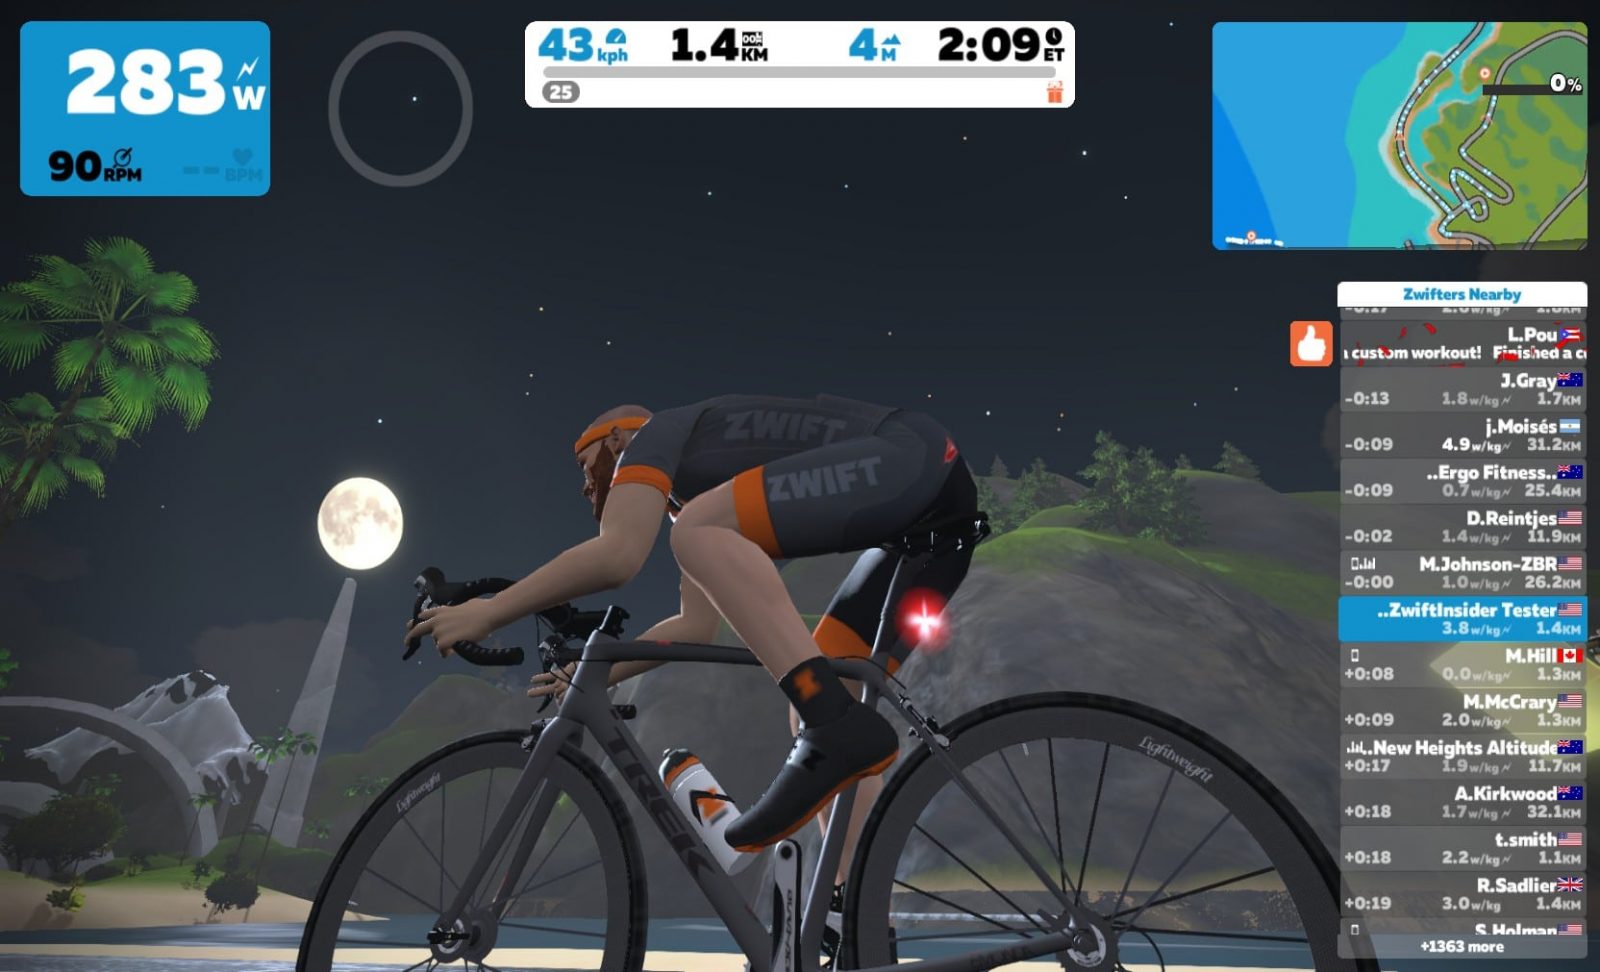
Unless you have a reason for displaying the various on-screen metrics, “clean” shots look much cooler. But you can only take clean shots if you’re using a computer or Zwift Companion! Shots taken using the iOS/Android versions of Zwift always include the HUD.
Sharing Your Shots
Where Pictures are Stored
If you use a computer to Zwift, but take a photo using Zwift Companion, it will be saved to the computer which is actually running the game as well as your mobile device.
If you’re running Zwift on AppleTV, your screenshots taken with Zwift Companion will be saved only to your mobile device.
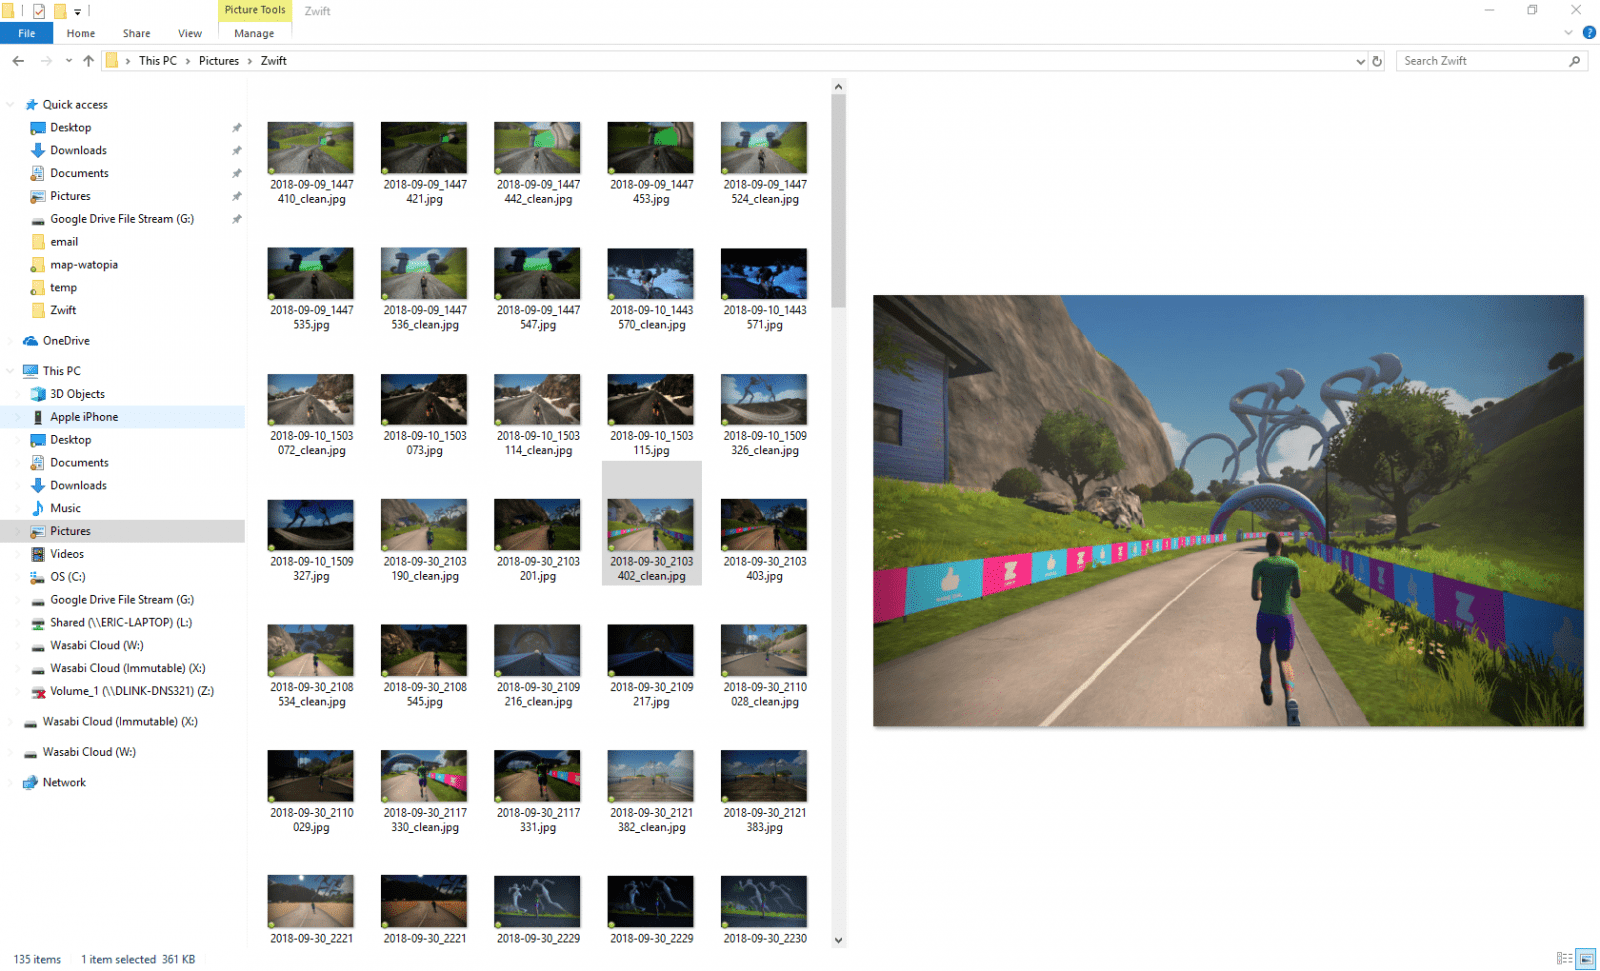
On Windows, photos are stored under Photos/Zwift. Here’s what my folder looks like:
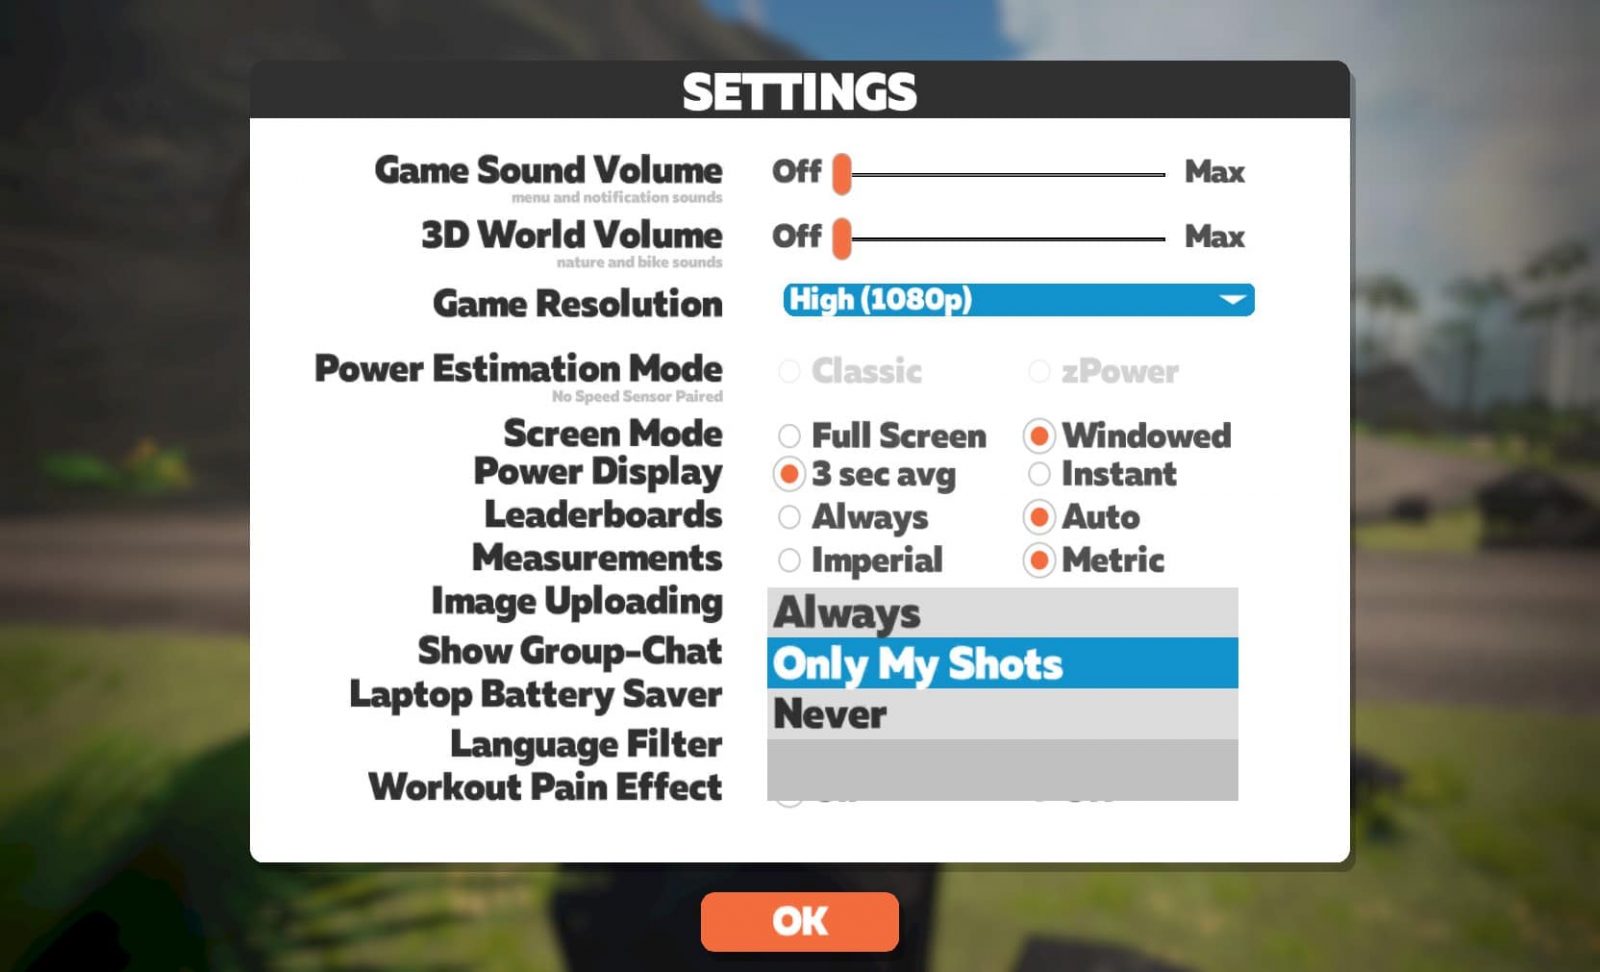
“Image Uploading” Setting
By default Zwift takes some snapshots as you ride and uploads them to Strava. You can change this behavior through the Settings menu so it only uploads the photos you take (my preference), or never uploads photos.
Important: if you choose “Never” for this setting, you will not be able to take pictures from within game on your computer! You will however still be able to take pictures using Zwift Companion.
Selecting Photos to Share
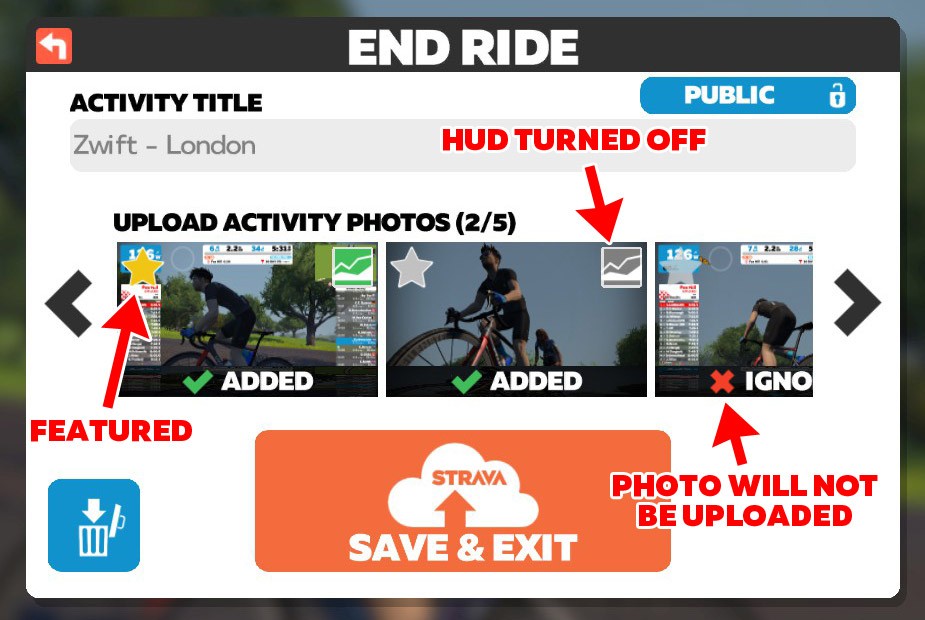
Select which photos to save to your Zwift activity and Strava when finishing your activity:
Select up to 5 photos on the ride saving screen. Click in the top-right of a photo to toggle between saving the clean version, or the version including the HUD. You may also select one photo as the “featured” photo, indicated by the star in the corner.
Changing the Strava Highlight Photo
Strava will choose the first picture you upload as your activity’s “highlight” photo. (If you’re on a computer, the photo you star when saving the activity will be the Strava featured photo.)
If you’d rather use a different shot (this is often the case), simply edit your activity, clicking the photo you want to highlight, and choose “Set as Highlight Photo”.
Your Tips Welcome
Got any other tips for Zwift photographers? Share them below!
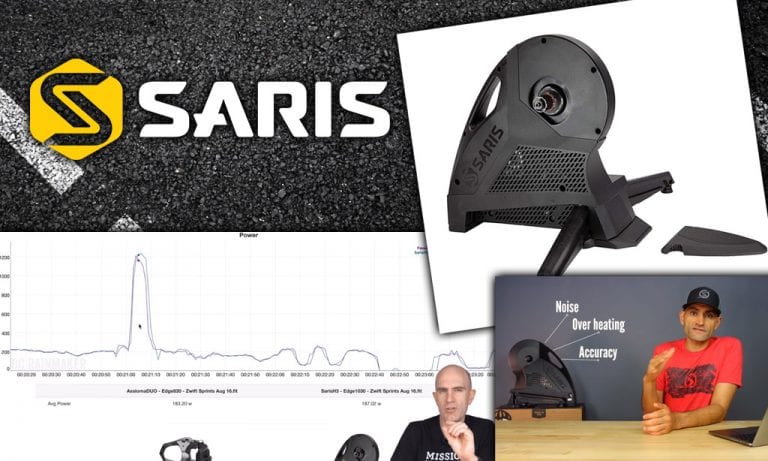
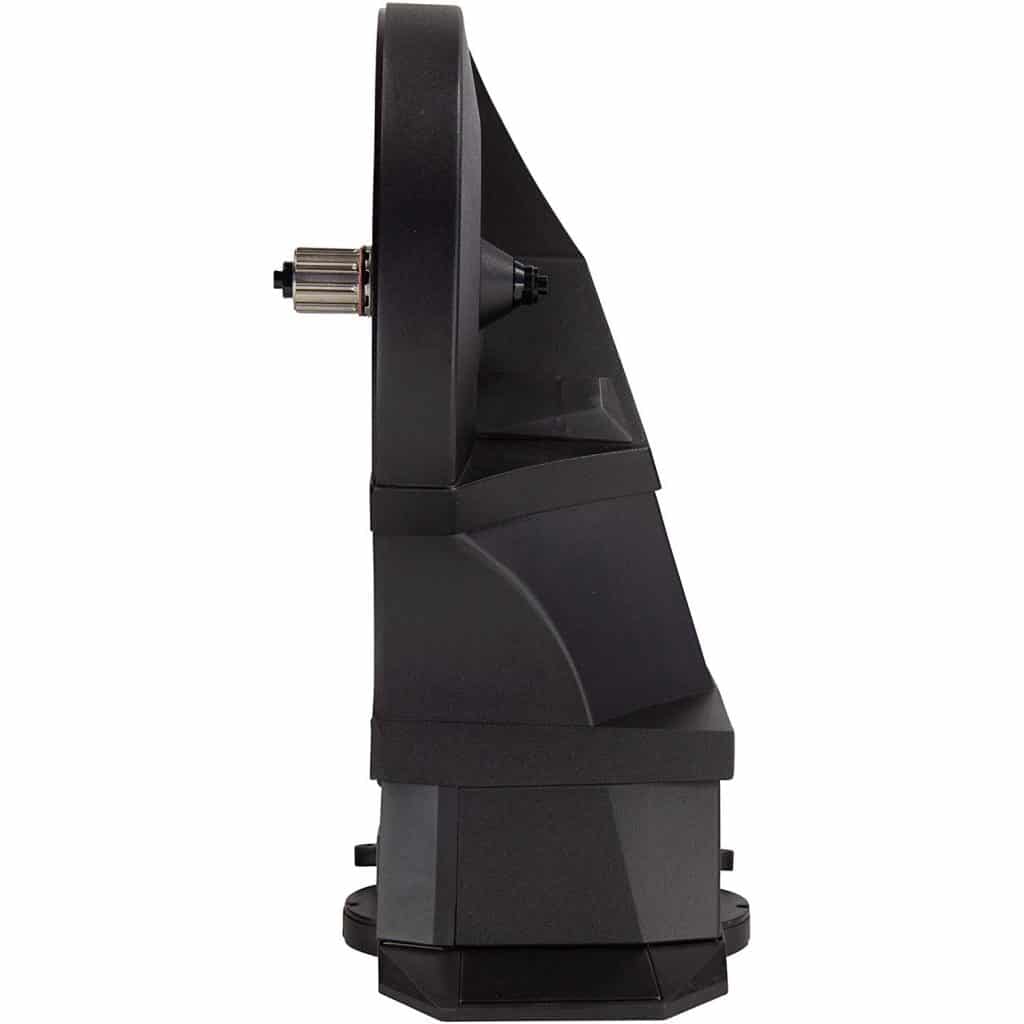
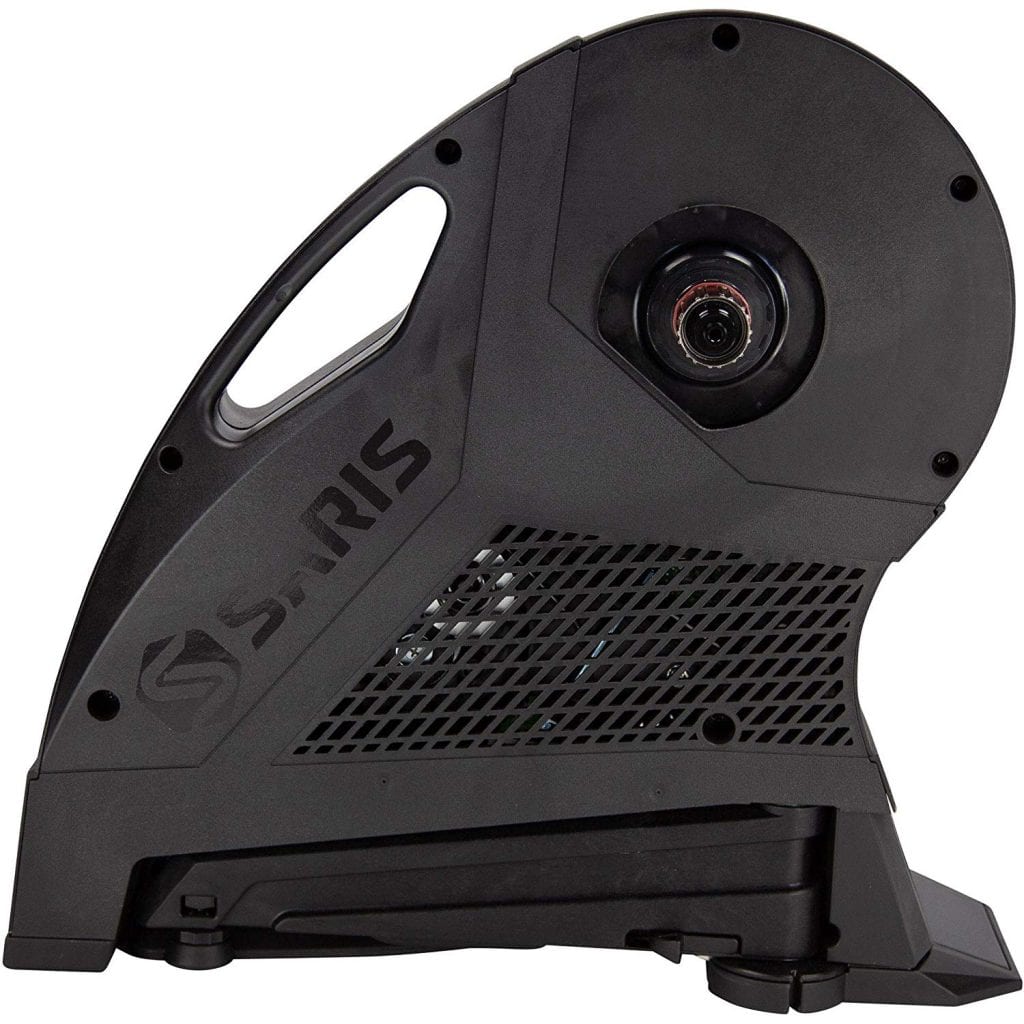
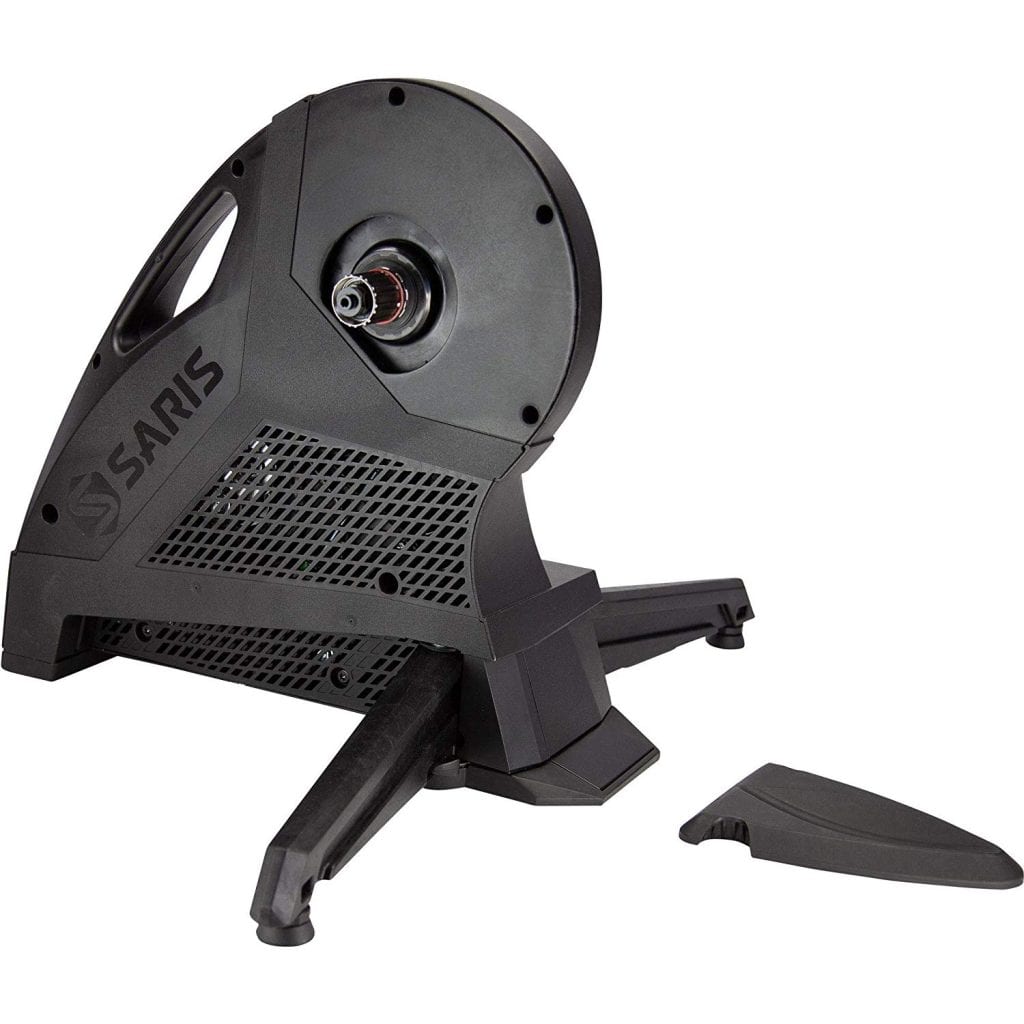
We’ve combed the web seeking Saris H3 reviews and information, summarizing our findings so you can learn everything worth knowing about this very popular smart trainer. If you decide to purchase the Saris H3, please consider doing so through the shopping links at the bottom of this post, as this will help support Zwift Insider.
Wisconsin-based Saris announced the H3 late August 2019, and it may be the most exciting new trainer of the year. Compared to the previous version (H2) the H3 is quieter, more accurate, and fixes some overheating issues. Significant upgrades: and it retails for $200 less than the H2!
With a solid build and a price that undercuts the competition, this trainer should appeal to anyone looking to upgrade to a direct drive experience.
But it’s not perfect, and we may still be waiting on some firmware updates to give it polished (see below for more on this).
… the cadence algorithms need work any time significant power shifts are applied… But it is quieter than most other trainers, so I think for now it’ll hold it’s own.
We’ve taken a look at the best Saris H3 review videos and summarized them for quick digestion.
SHANE MILLER
Power accuracy needs improvement on SIM hill climbs and sprints (reading low)
Cadence needs work
Thru-axle clearance is a problem
Saris Mobile App needs polish
SMARTBIKETRAINERS
Solid build, good feel
Power accuracy: Overmeasured power by ~10% at high flywheel speeds.
Built-in cadence measures 2-3RPM low
Very quiet
CONCLUSIONS
The H3 is a definite improvement over the H2, and at a $999 it’s a value that may be difficult to beat. While slightly louder than the KICKR and Neo, it’s still quieter than your fan.
Clearly, there are/were some accuracy problems with power and cadence in the initial firmware release, which (sadly) isn’t surprising given our experience with new trainers in the past. Saris released new firmware Oct 29, 2019 which addressed cadence and power, so hopefully these issues are resolved.
In the end, if the cadence and power accuracy problems get fixed, the H3 will be the trainer to beat at a price point well below the competition.
Chloé Dygert on Her Younger Years and Overcoming Adversity (Zwift PowerUp Cycling Podcast #39)
When eight-time World Champion Chloé Dygert comes to chat, it’s time to listen. Her coach Kristin Armstrong speaks with her about her sensational performance at the UCI Road World Championships in Yorkshire, and together they peel back the layers and look at the sports-filled childhood that contributed to Chloé’s many successes. This includes record-smashing highs as well as the lows, including coming back from a concussion after years honing her mental strength.
Getting on Zwift: A Step by Step Guide for Cycling
With Zwift, you can use your own bike on an indoor trainer to ride alongside others in a virtual world. When you pedal your bicycle, your avatar – a representation of you – does the same. This step-by-step guide will walk you through how to get cycling on Zwift, including links to help with your specific setup.
What you need
A device to run Zwift
A Zwift account
A bike
One of the following
Smart trainer/rollers
Classic trainer/rollers AND a speed sensor
Power meter AND any trainer/rollers
If you buy one of the new “smart bikes” that takes care of the bike and the smart trainer in the list above.
You also will need an ANT+ USB dongle if you are using a computer and connecting devices to Zwift that transmit only via an ANT+ wireless signal.
1. Find a device to run Zwift
Here is a summary of devices which can run the Zwift software and the wireless connections they allow:
Smartphones/Tablets: Bluetooth only
iPhone
iPad/iPod
AppleTV
Android
Computers
Windows 10 64bit or higher: ANT+ supported if you plug in an ANT+ dongle, Bluetooth supported on Windows 10 with Bluetooth 4.
macOS 10.14.4 or higher: ANT+ supported if you plug in an ANT+ dongle, Bluetooth also supported.
Note: if your smartphone/tablet/computer was made in the last few years, it should be able to run Zwift. But you may want to double-check by looking at Zwift’s current device requirements.
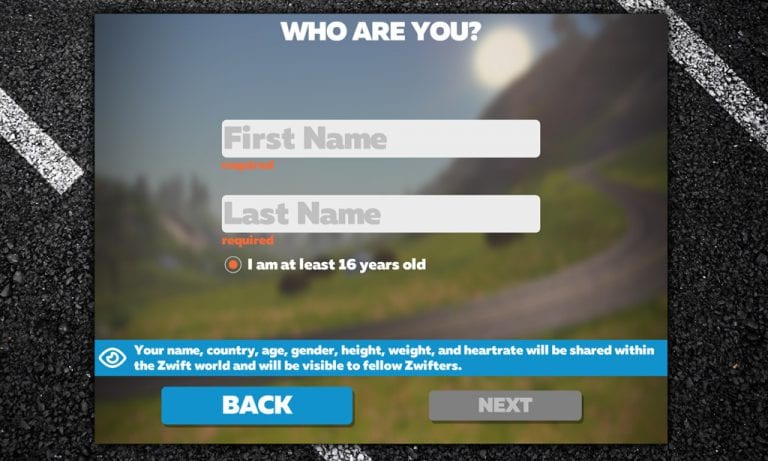
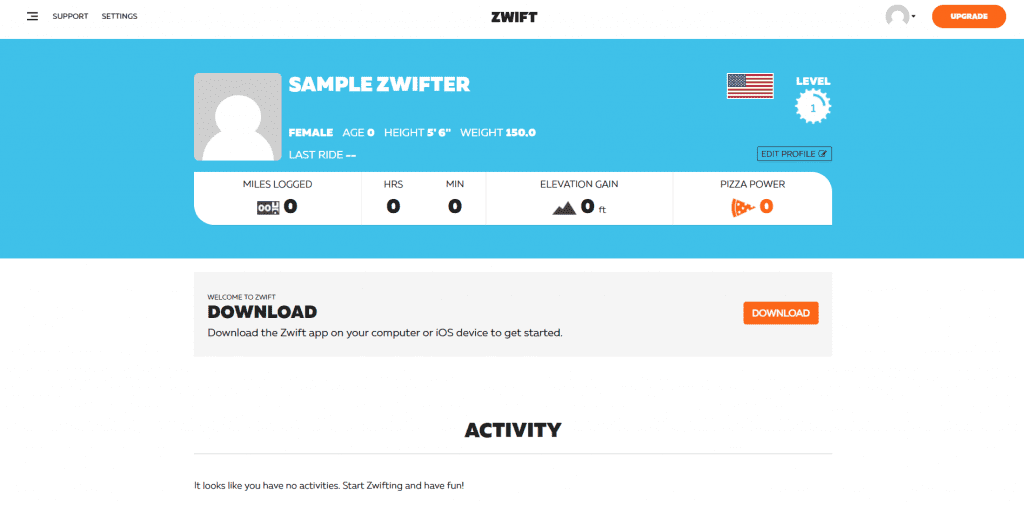
Once you have answered the required questions, you’ll be taken to your new profile at my.zwift.com. If you’re ready, you can click the “Download” button to go to the download page, then click “Download” again underneath your operating system (Mac or Windows). Open the file and follow the instructions to install Zwift. On the download page, there is also a link to install Zwift from the App Store on an iPhone, iPad, or Apple TV.
If you download Zwift before signing up for an account, Zwift will prompt you to sign up at the login screen. On a Mac or PC, click the words “Create an account.” On an iOS mobile device or Apple TV, search for the Zwift app in the App Store. After downloading and installing it, open the app and select “I’m New.” Answer the required questions and tap “Let’s Go” to get started.
An unlimited subscription to Zwift costs a monthly fee ($14.99/month in the United States). When you first sign up, you get a 7-day free trial subscription. After that, you will get another 25 kilometers (15.5 miles) of distance free every month. (If you signed up on a mobile iOS device or Apple TV, activate your 7-day free trial by selecting “Join Now” after you’ve used your first 25 km / 15.5 mi.)
Clicking “Join Now” at the bottom left of the starting screen on Zwift; OR
Clicking “Join Now” in Zwift on an iPhone, iPad, or Apple TV and paying through your Apple/iTunes account
3. Choose a bike
Most bicycles will work with Zwift as long as they can be mounted on a trainer. When you choose a trainer, check to see which wheel sizes it supports. Very small wheel sizes may need an adapter for certain trainers. (This is most likely if you’re using a children’s bike, a BMX bike, or a recumbent bike.) To get on Zwift with a smart trainer, your safest bet is a standard 10 or 11-speed road bike, as this will work on virtually all smart trainers.
If you have a Zwift-compatible “smart bike,” you obviously won’t need a separate bicycle!
4. Choose and pair a trainer
The type of trainer you use will depend on your budget and the features that are important to you. A controllable smart trainer can transmit power to Zwift, simulate the feel of hills on the virtual roads, and help you hold your target watts in workout mode. A classic trainer doesn’t have those features, but it is cheaper. Can’t decide? This post can help you choose between a smart trainer or a classic “dumb” trainer. If you have a power meter you can use any type of trainer.
When setting up your bike on a classic trainer, make sure your rear tire is properly inflated and that you set the trainer tension according to the manufacturer’s instructions. Zwift uses the reading from your speed sensor and the stored power curve of your trainer to calculate virtual power or zPower.
If your smart trainer requires calibration, it’s a good idea to calibrate it regularly following the manufacturer’s instructions (usually after a good warm-up). If you’re using a wheel-on smart trainer instead of direct drive, also make sure your rear tire is properly inflated. With a controllable smart trainer, you can set the trainer difficulty to change how it simulates gradients on the virtual roads, or use Erg mode to help hit your targets in structured workouts.
Rollers: To use Zwift with rollers, it’s best to have either a power meter or a set of smart rollers that will transmit power to Zwift. Follow the instructions for getting started with a smart trainer or power meter above. You can use Zwift with a speed sensor and a normal set of rollers, but your estimated power probably won’t be accurate. In that case, set it up as a classic trainer.
Smart bikes:Most exercise bikes aren’t compatible with Zwift, but some are. Smart bikes broadcast power through open ANT+ or Bluetooth signals so that Zwift can communicate with them. Check here to see if yours is compatible. If it is, follow the above instructions for getting started with a smart trainer.
Once you click “OK” on the pairing screen, you’ll be greeted with the “Startup Screen.” Click the big orange “Ride” button to get going right away, “Training” for a structured workout, and “Routes” to browse the available routes. Keep in mind there are always two worlds available on a given day: Watopia and a “guest world”. Each world has its own unique set of routes, and the guest world rotates based on a monthly schedule.
Optional Steps
Pair a Cadence Sensor
A cadence sensor will sync the movement of your avatar’s legs with your own and give you cadence data. Power meters also transmit cadence. Some smart trainers estimate cadence, but it may not be accurate.
Pair a Heart Rate Monitor
A heart rate monitor gives you more information about how hard you’re working. Some races require one to place in their official results.
Connect Zwift to Other Services
If you want to connect Zwift to other fitness apps and services, go to your Zwift profile at my.zwift.com and click “Settings” at the top left. Here, you can edit your profile and change your password, but for now click “Connections.” This will allow you to connect Zwift to Strava, TrainingPeaks, MapMyFitness, Garmin, and other services.
Recommended: Zwift Companion
While it’s not required to use Zwift, Zwift Companion is a handy tool with some features that are only found in this mobile app. Find it in the Apple and Google Play stores.
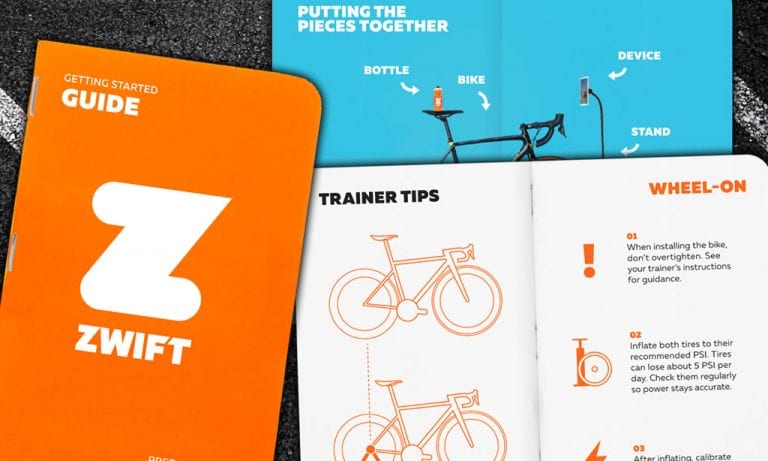
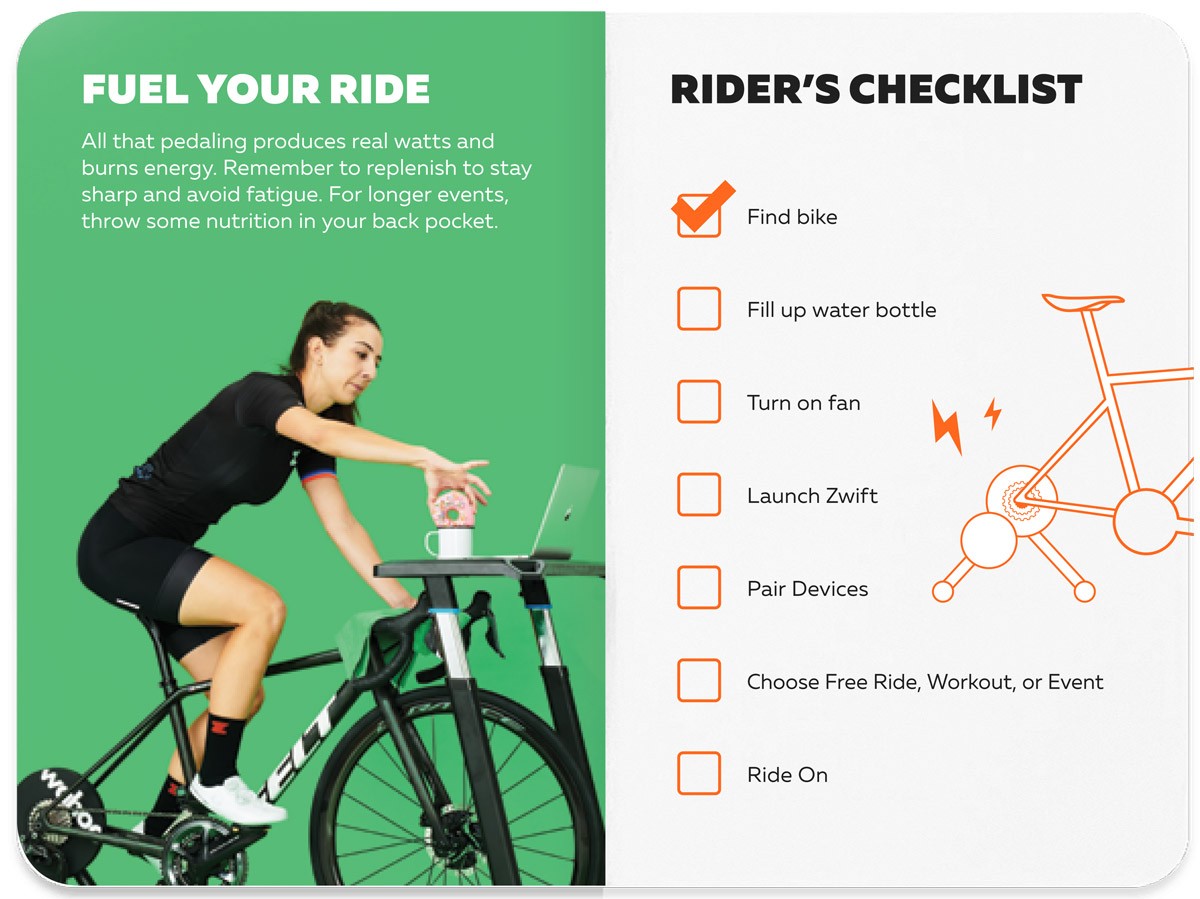
I recently ordered a new trainer from Zwift’s online shop (a Wahoo KICKR, if you’re wondering) and it arrived with a handy little “Getting Started Guide.”
If you haven’t ordered a trainer from Zwift, you’ve probably never seen this guide. But it’s really well done! It should ship with every smart trainer, whether Zwift sells it or not! (Because we all know what those smart trainers are going to be used for, right?)
The Lamb Chop Series is Back – Handicap Racing for All
Black Sheep Cycling and AHDR Chop have launched another Lamb Chop series which began yesterday. These races are always popular among Zwifters–let’s learn more about them and find out why.
Handicap Racing: the Basics
Handicap races are known as chase, cat and mouse, or pursuit races. Unlike the standard Zwift road race or TT formats, handicap races are designed to encourage category riders to work together, and to give all riders a chance to win regardless of category.
In a handicap race, slower categories are released before faster categories. Each category’s time gap is calculated by the race organizer, with the goal of having all categories meeting up near the end of the race for a final sprint.
So this format encourages each category’s riders to work together to stay away from chasers and catch any riders up the road. But if you’re caught by a faster group from behind–all bets are off. Grab those wheels!
Live Streaming
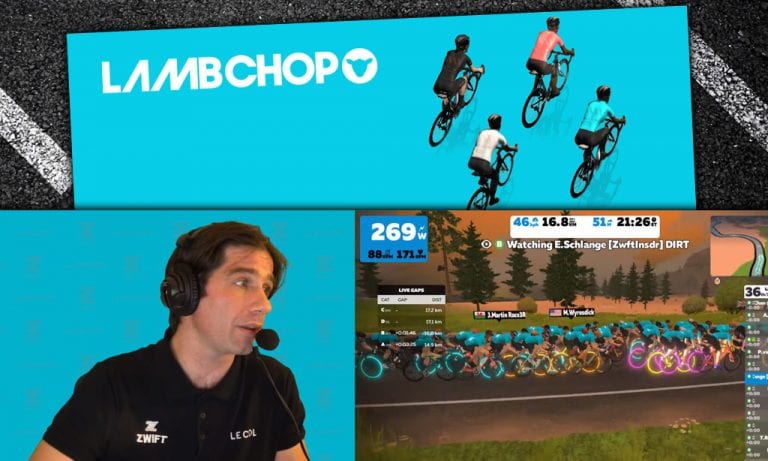
The Lamb Chop series is being covered by the great Nathan Guerra on Zwift Live, available on YouTube and Facebook. Here’s today’s broadcast of the women’s and men’s races:
Series Schedule
The Lamb Chop Series is happening weekly on Thursdays, with two different time slots and separate races for men and women.
Glancing at the upcoming race schedule, it’s clear Lamb Chop organizers gravitated toward flatter courses. This makes sense, because those flatter courses allow groups to work together rather than having a TT-style race up a longer climb.
Kit Unlock
Complete any of the six races to score the new Racing Club kit by Black Sheep Cycling.
My Story: Today’s Race
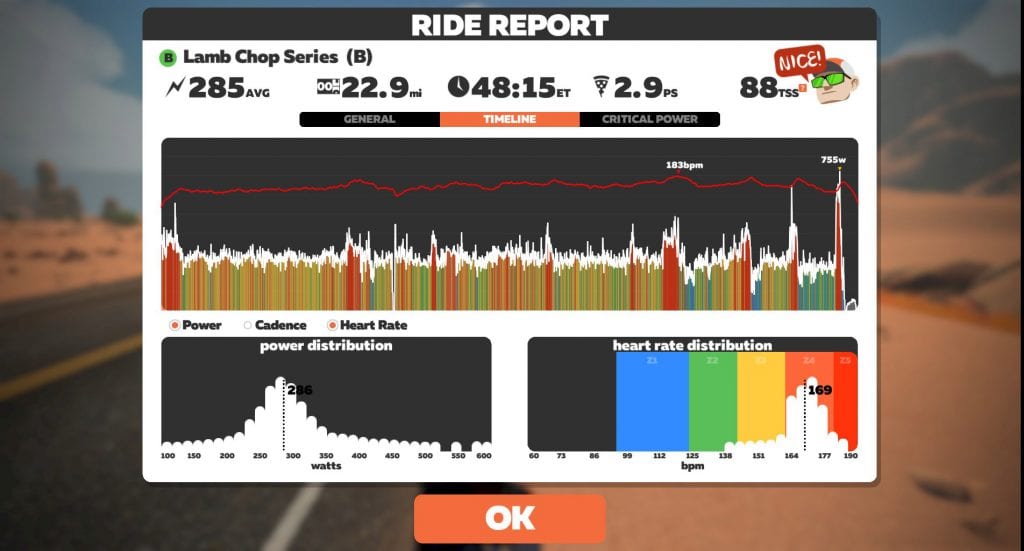
I joined the early race today, racing with the B’s (see my race on Strava). We completed two laps of the Tick Tock route, and it was a tough race. A fun group of B’s, though, and plenty of banter flying early on.
We began with 101 riders in our group, but that was quickly whittled down to ~60 as the group surged ahead. We averaged 29.5mph in the first 30 minutes!
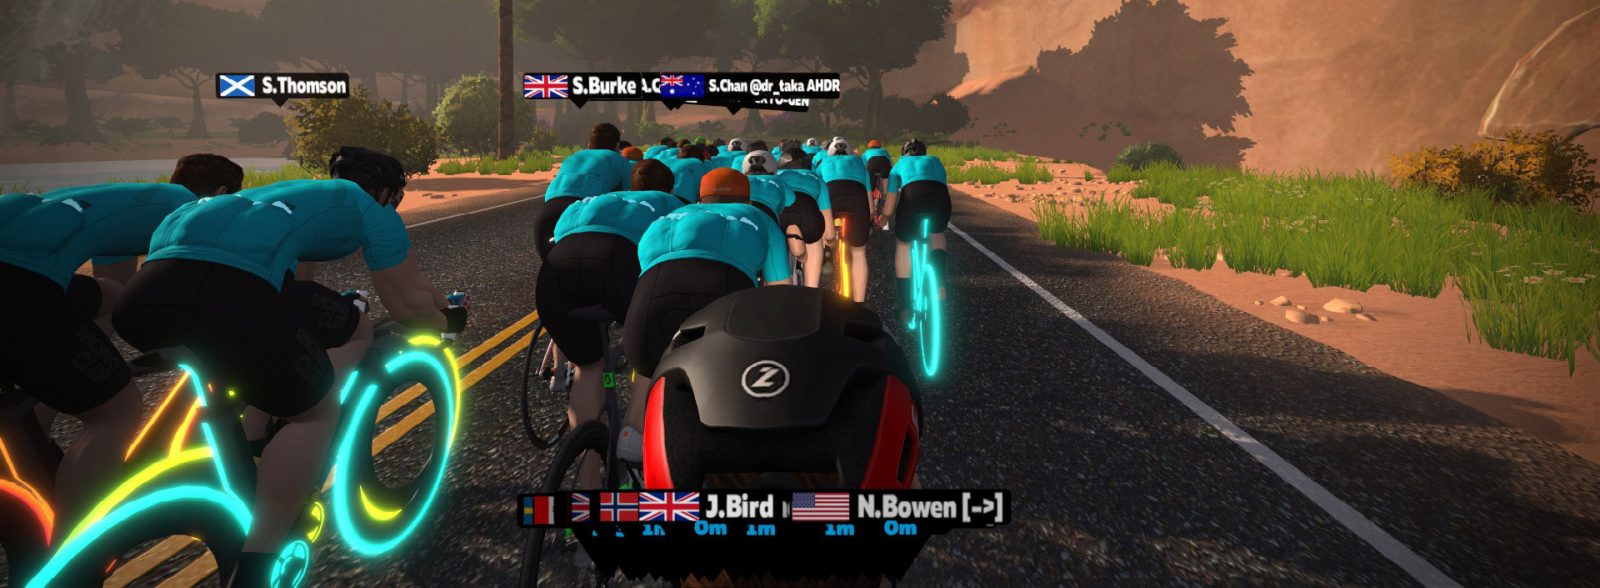
I like to race in first-person view (camera angle 3) in chase races, because it’s difficult to know who’s who when everyone wears the same kit!
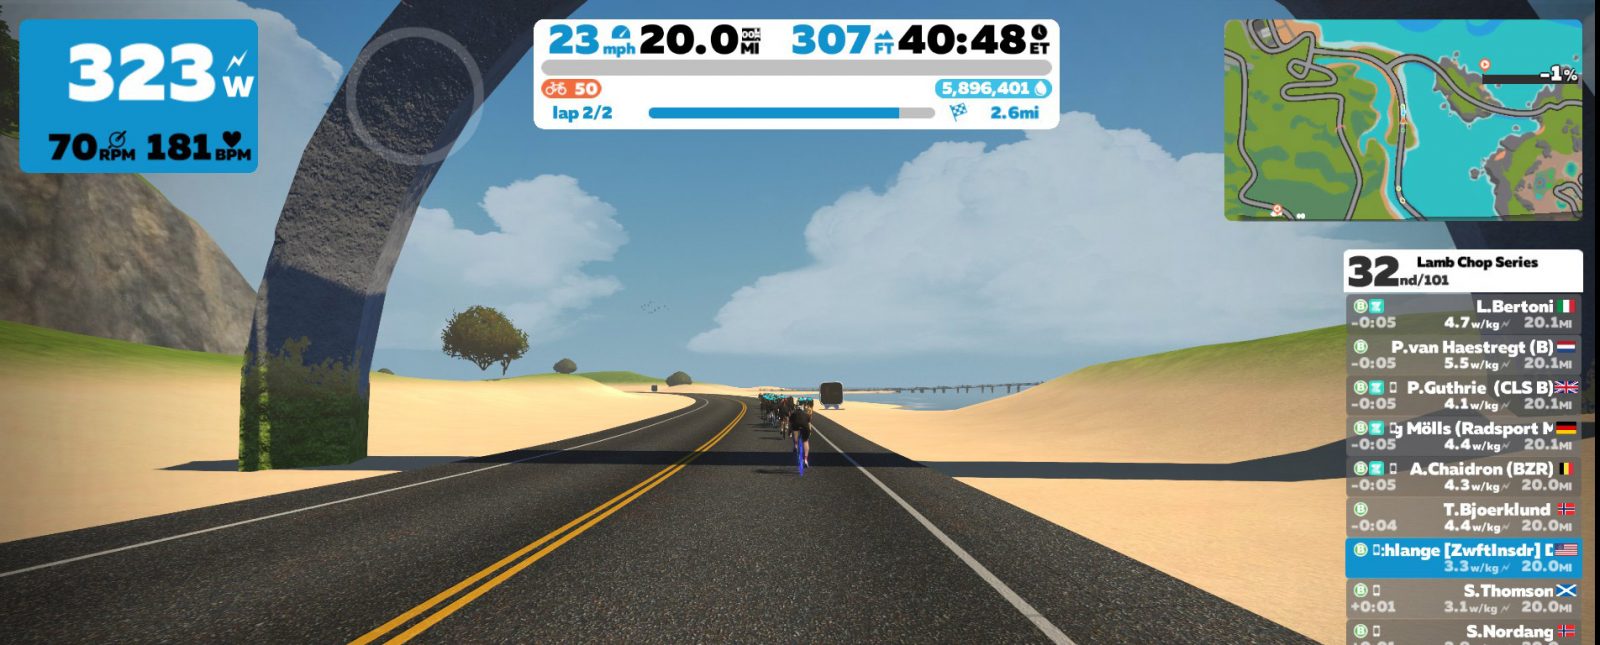
I held on until the final kicker coming out of the Ocean Blvd tunnel, just 4km from the finish. I wasn’t riding quite as attentively as I should have been, and let too much of a gap open up as the group stretched out. Race over for me!
The race rides away…
My B group raced well, though–catching the C and D groups ahead and staying away from the A’s. That’s the goal of a chase race!
In the end, this was the hardest effort I’d put into a Zwift race in months. Great (type 2) fun!
Other Handicap Races
If you’re interested in chase-style racing but can’t make the Lamb Chop schedule, check out DIRT DADurday races on Saturdays, or the long-running ZHR (Zwift Handicap Races). There are other handicap races available throughout the week as well, including those organized by Peel Cycling.
Feedback
Have you tried any chase races? Which ones are your favorite? Share below!
About Zwift’s Recent Spawn Point and Lead In Changes
Zwift’s November 1st update included a note about some updates made to the lead-in setup:
Reworked ‘lead-in’ system for events. This should improve the lead-in countdown before lap based events, as well as resolve some of the other discrepancies we saw in the user interface during those events.
The new system had some initial bugs (showing different distances on the top bar and sidebar and counting down inaccurately at the end of events). But those bugs appear to be ironed out with Zwift’s latest minor update.
Lead-In Changes
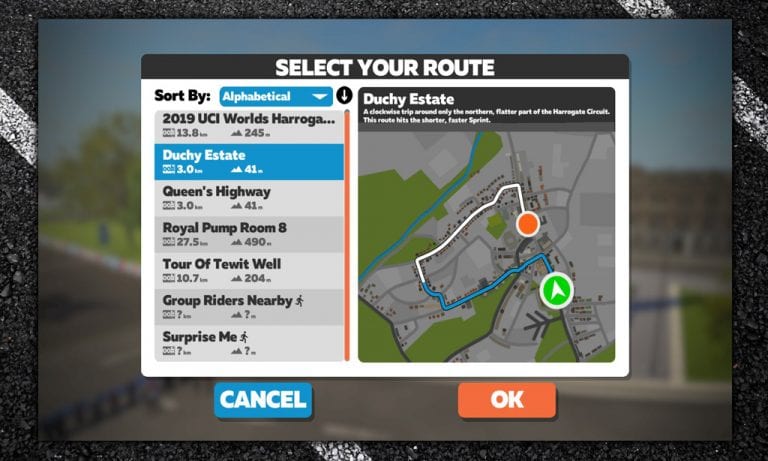
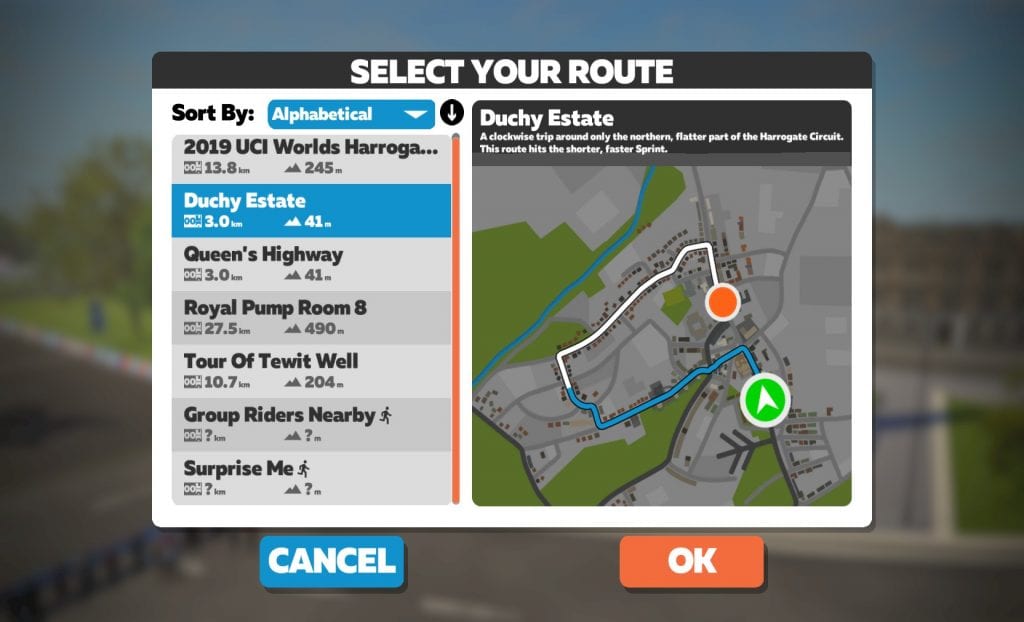
Along with those distance indicator changes, Zwift updated their animated in-game route maps to show the lead-in portion of routes in blue. Here’s an example:
This should help alleviate some of the confusion around the lead-in portion of routes. (The confusion became especially apparent when Zwift introduced route achievement badges and Zwifters began to track their completion of certain routes in earnest.)
Many routes have a lead-in segment not included in the route’s stated length, and Zwifters were understandably frustrated after riding for the stated length but not earning a badge. Surrey Hills is a common example of such a route: the lead-in takes you all the way from downtown London to the top of Fox Hill before the route actually begins!
If you’re going for a route badge, here’s our simple advice: the route will begin and end at an arch of some kind. So if you’ve already ridden the proper distance but haven’t seen the achievement pop up, keep riding to the next arch.
New Spawn Points
*sigh* Sometimes we wonder if Zwift just likes assigning us Strava homework. 😊
Spawn points were also moved for several routes in the recent updates:
Duchy Estate: spawn point now comes before the start banner
Road to Sky: spawn point now comes just before the not-yet-opened start pens on the road to the Jungle Route, making it easier/quicker to get to the Alpe
The improved lead-in maps and distance metrics are a good improvement, but there are still some small bugs to be worked out. Two examples:
Queen’s Highway: this route’s spawn point should have logically been moved with the other Yorkshire routes to before the start banner, but it was not.
Tour of Fire and Ice: the route animation shows this beginning with a lead-in from the downtown Watopia start/finish banner, but it actually begins at the Volcano Circuit banner.
Your Feedback
If you’ve spotted any other recent lead-in or spawn point changes, let us know below!