Double Draft Analysis: a Tale of Two Races
Double draft mode is one of the biggest changes we’ve seen in Zwift racing’s recent memory, but it is still being tested by race organizers and used only in a minority of races. (As of November 9th only ~20% of upcoming races are using double draft mode.)
After finishing a ZHR Hare & Hounds race last night I realized it might provide me with the numbers needed to analyze the effects of double draft on racing. You see, I had done the same race a month earlier and put in a very similar effort. But the earlier race was not in double draft mode, while yesterday’s race was. Perfect!
Disclaimers: obviously there is no way to account for each and every variable and make a perfect comparison of two races. While both races were quite similar (similar effort levels, same course, etc) the second race did have more riders in it, which would logically increase the overall speed somewhat. Also, it is worth mentioning that most of this analysis really only applies to the flatter portions of races. Once the road turns uphill drafting matters less, and your watts per kilogram matter more.
First: the Data
Here are some key numbers from the two races.
| Draft Type | Normalized Power | Average Power | Average Speed | ZwiftPower Link | Strava Link |
|---|---|---|---|---|---|
| Standard | 285 watts | 278 watts | 41.4kph/25.74mph | ZwiftPower | Strava |
| Double | 289 watts | 283 watts | 43.3kph/26.9mph | ZwiftPower | Strava |
I also looked at the numbers of two A racers who rode in both races, and the differences in their numbers match up with my experience in the B’s.
- Greg Hagele’s first race was at a normalized power of 289 watts, average power of 287 watts, and a speed of 43.4kph (26.95mph). His second race had a normalized power of 283, average power of 283 watts, and a speed of 44.7kph (27.77mph).
- Joseph Noack’s first race was at a normalized power of 262 watts, average power of 256, and a speed of 43.22kph (26.86mph). His second race had a normalized power of 263, average power of 257 watts, and a speed of 44.7kph (27.77mph).
Ride Feel
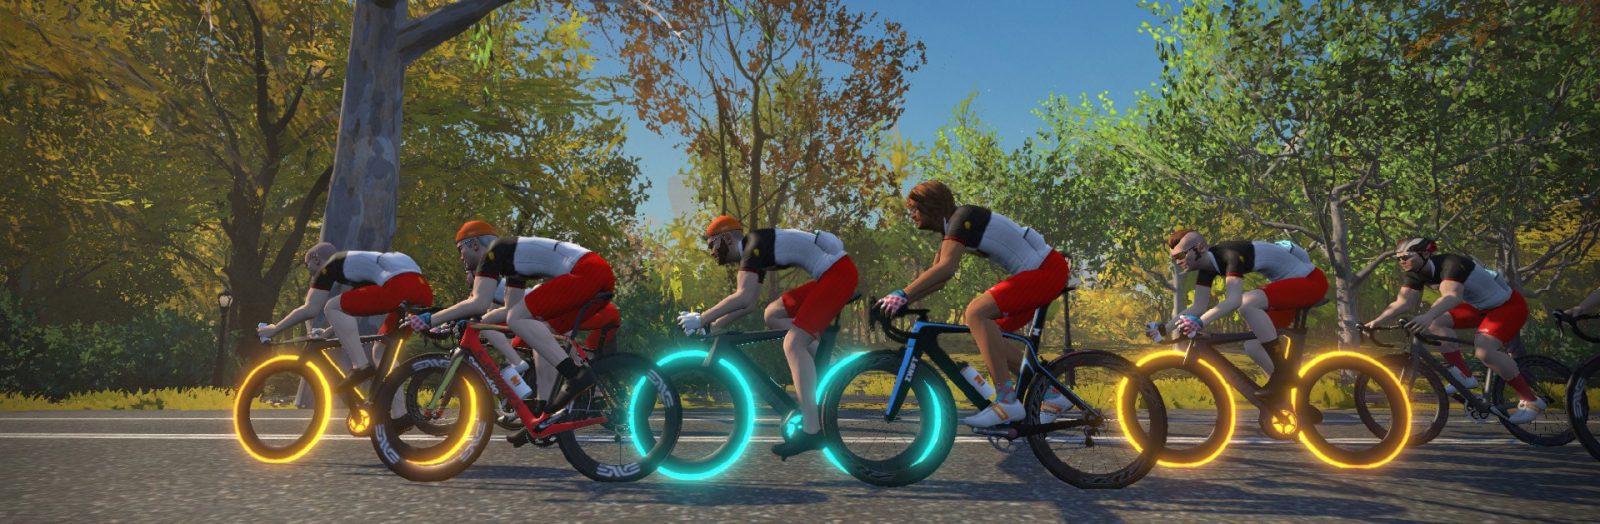
It is definitely easier to “sit in” while in double draft mode, as the increased draft effect means even more power savings for those drafting. I analyzed Zwift’s draft effect a while back, and while I haven’t done any draft tests in double draft mode, my guess would be that at race speeds, power savings is approximately 35% in double draft mode (compared to 25% without double draft).
I like the feel of double draft more than standard draft, because it’s closer to what I experience outdoors. (Now if we could just be allowed to freewheel a bit without auto-braking…)
Effort
As you can see from the numbers above, my efforts in terms of pure watts haven’t varied much between standard and double draft events. But I will say my perceived effort levels in double draft races have been slightly lower than their standard draft counterparts. I attribute this to three things:
- Fewer attacks to chase: racers are learning that it’s hard to pull off a solo breakaway in double draft mode, so you don’t see as many attacks. Those that do happen are rarely followed because the group knows they can catch the break by continuing to push at their current effort level.
- Less variability: because of fewer attacks, the group’s overall effort stays more even. My VI for the first race was 1.06, but dropped to 1.03 in the double draft.
- Ease of sitting in with the group: with fewer attacks and a stronger draft effect, those who are in the wind continue working at a typical level while those in the draft are holding the wheel with less effort than a standard draft race would require.
It is worth noting that while perceived effort may be slightly lower, the overall group speed is actually higher in double draft races.
Group Speed
This is the most notable effect of double draft: group speed increases. At nearly identical effort levels my speed increased by 1.9kph/1.16mph in the double draft race. The two A riders I looked at showed slightly less difference between races, but still around 1.3kph/.81mph.
My experience also aligns with what I’m hearing from other racers who are saying double draft races are just fast. Recently we’ve seen some A racers get handed the “cone of shame” for going too fast on certain segments in double draft events, and to my knowledge this simply hadn’t happened in standard draft races. Double draft races seem to have brought group speeds to a higher level than we’ve seen before on Zwift.
Are there negative implications to increased group speeds? If you’re a person who likes to solo off the front, yes! The only breaks that will survive with double draft mode will be group breaks which take advantage of the increased draft.
So teamwork looks like the key to winning double draft races from a breakaway. If you’re not the breakaway type, your results will come down to the ability to hang in then unleash a killer sprint for the line.
What about you? Are you a veteran Zwift racer who has tried some double draft events?
I’d love to hear how your experience compares to mine. Please share below!