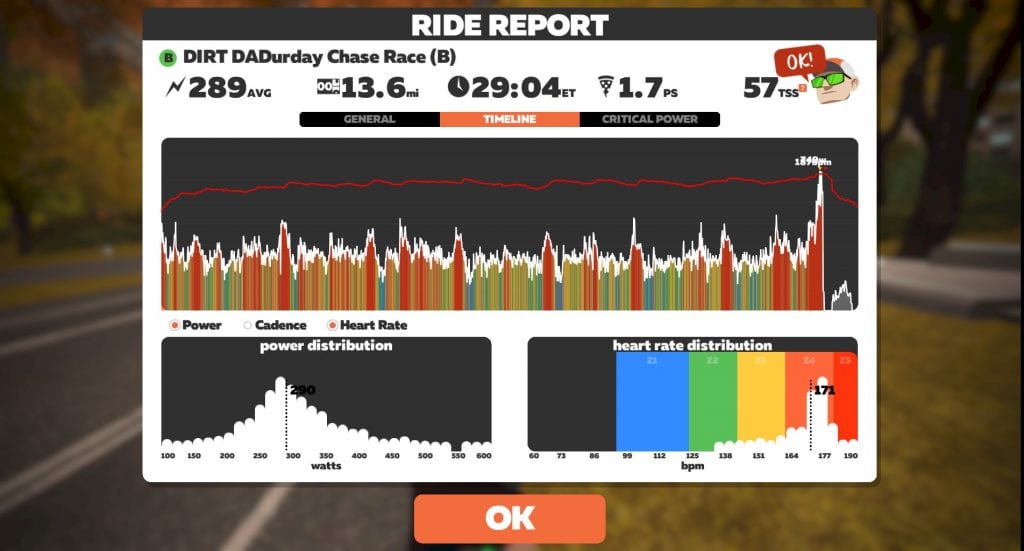
Are your power numbers accurate? Take a quick test.
For many cyclists, Zwift is their first experience of riding “with power”–that is, seeing a wattage reading for their effort. And they have no idea if what they’re seeing is way off or absolutely accurate, and if that number means they are super strong or very weak.
We feel your pain, and we’re here to help!
Today’s Accuracy Outlook
Smart trainers and power meters are improving in terms of accuracy and reliability as the technology matures, and I think the vast majority of Zwifters enjoy acceptably accurate power numbers today.
But we still see riders on “classic” (or “dumb”) trainers which use Zwift’s virtual power algorithms to calculate power numbers–and those numbers may be inaccurate due to simple mistakes like under-tightening the roller or having low tire pressure. Additionally, other riders may be using uncalibrated trainers or trainers with known accuracy issues.
How to Test
The only way to test the accuracy of your power numbers precisely is to compare them with a power meter you know is completely accurate. This article doesn’t cover this sort of testing.
Instead, let’s discuss two simple ways you can learn if your power numbers are at least in the neighborhood of being accurate.
Test #1: The Outdoor Speed Test
The easiest way to approximate your FTP is to look at your solo outdoor efforts on a flat stretch of paved road. Ideally, you would do a one-hour out and back effort on the flattest roads possible with as little wind as possible. Flat roads are essential for this because when the road is flat, your weight doesn’t affect your speed much once you’ve accelerated to “cruising speed.”
Sidenote: I actually enjoy doing these rides a few times each year, I call them my “one-hour challenge” rides, and it’s a fun test to see how much stronger I’ve become since my last attempt. Here’s one I did July 2018 targetting 24 miles in the hour, and I made it by just two seconds according to my trusty Wahoo Elemnt.
Even if you can’t do an all-out solo hour on flat roads, you should know by now what kind of speed you can hold by yourself outside on a flat road with no major winds for a longer stretch of time (20+ minutes).
Here are rough estimates of the power needed for a solo road cyclist to hold various speeds:
- 25kph (15 mph) – 92 watts
- 30kph (18-19 mph) – 143 watts
- 35kph (21-22 mph) – 212 watts
- 37.5kph (23-24 mph) – 254 watts
- 40kph (24-25 mph) – 301 watts
- 45kph (28 mph) – 415 watts
So if you’re unsure if your power numbers are accurate in Zwift, just find the speed above that you can hold outdoors on a flat ride going all-out for 20+ minutes. Then see if that wattage matches what you see in Zwift when you’re riding alone and giving it everything you’ve got for that same amount of time.
Disclaimer on the Numbers
- Of course, the numbers above assume you aren’t extremely lightweight or overweight, or extremely short (or tall). They will be most accurate for a person in the 60-80kg range, and of average height.
- If you’re sitting in the draft on Zwift, your speed will be much higher than if you’re riding alone. Best to test while riding outside of the Zwift draft.
- The numbers above are an average from several bike speed calculators to check for accuracy. Each calculator computes speed a bit differently, but if you want to calculate numbers for your own weight/height, we recommend giving kreuzotter.de a try.
- Speeds can vary greatly if you are in a more or less aero position. The numbers above were done assuming riding in the drops on a standard road bike setup (not TT).
Test #2: The Sniff Test
The sniff test is much simpler than the outdoor speed test. But it’s also less scientific.
If you aren’t a trained athlete (let’s say you’re in your first year or two of serious cycling) and you are of average size, chances are very slim that your FTP is anywhere above 300 (for males). Chances are it’s close to 200, and maybe 250 if you have good genes or have been training for several months. Many riders will be significantly lower than 200 at this phase, especially if you are an older rider. And that’s OK too!
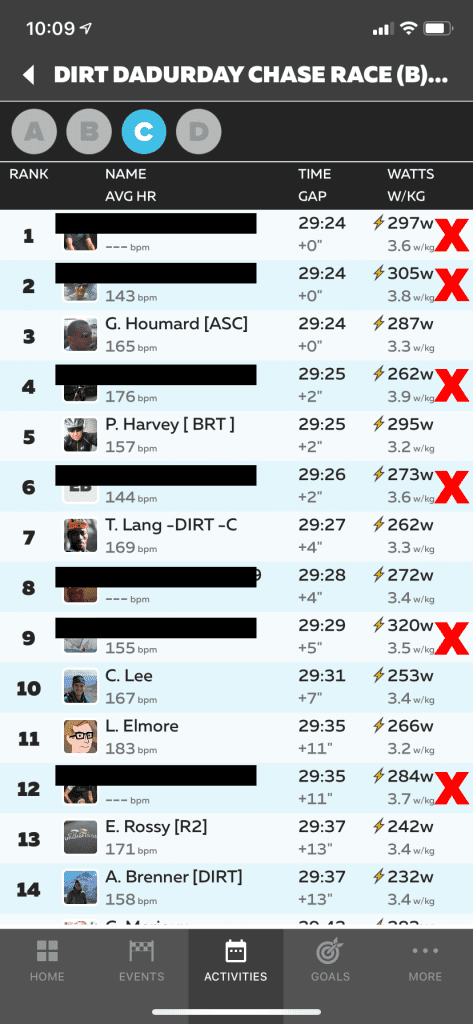
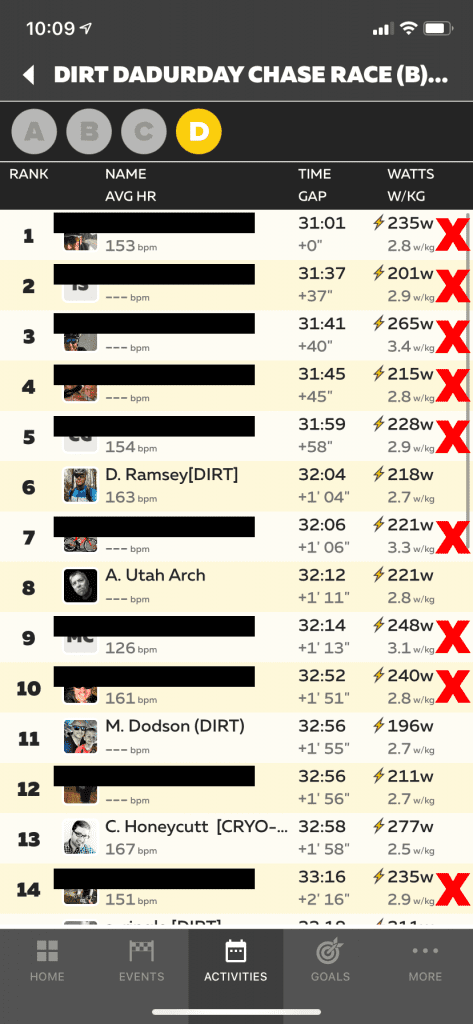
The important thing to understand is that you certainly won’t have an FTP above ~325 at this phase in your training, which is why any time a newbie rider posts about such an FTP increase in on Facebook, folks laugh it off.
It doesn’t pass the sniff test.
Pro male riders often have FTPs in the mid to high 300s, but these are genetically-gifted experts who have been training hard for hours per day, for years on end. If you’ve only been riding a year or two and you weren’t a serious endurance athlete beforehand, it will take you at least a few years to get into anything touching pro territory. (And even then, once you get there you’ll realize you’ve got a long way to go.)
Got Problems? Here are the solutions.
If you believe your power numbers are inaccurate, there are several ways to get them fixed:
- If you are on a classic trainer, make sure you’re following the manufacturer’s setup instructions regarding how tight the roller should be against your wheel. This is essential, since Zwift’s calculated power numbers assume you are following these instructions.
- If you are on a smart trainer, make sure your trainer is properly calibrated. Using the manufacturer’s suggested calibration procedure (usually via a simple phone app) is the way to go.
- Consider an upgrade! Today’s direct-drive smart trainers bring a high-quality Zwift experience within reach of more riders than ever before. See our Top-Ranked Turbo Trainers >
Conclusion
That’s it–two ways to quickly see if your numbers are at least somewhat accurate. I hope this helps some folks out!
Comment below if you have questions, or if this post has helped you figure out your power situation.