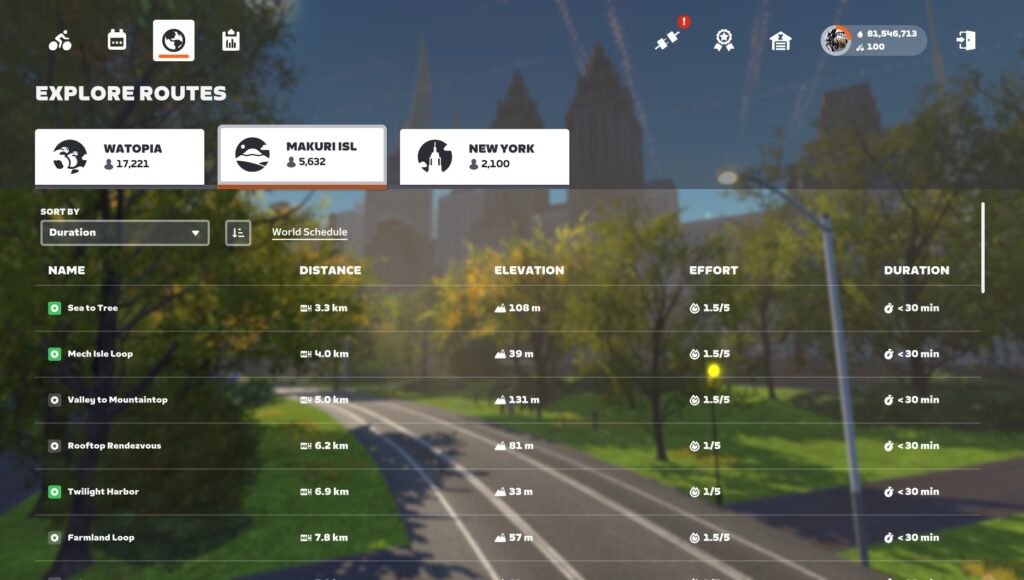
While Zwift contains 10+ worlds and 200+ routes, only three worlds (and their corresponding routes) are shown on the homescreen when selecting a route to run or ride:

Watopia is always available, and the other two worlds (Makuri Islands and New York in the screenshot above) rotate on a set schedule that changes monthly (see the Zwift course calendar).
Zwift restricts the available worlds to keep roads feeling “busy” since the social side of fitness is part of Zwift’s special sauce. But what if you are more concerned with riding a particular route than having other Zwifters nearby? Maybe you’re chasing route badges, or trying to finish a tough workout, and you have a particular route you’d like to ride that is in a world that isn’t on today’s schedule.
The good news is, it’s pretty easy to access the route you want. Here are four ways to do it…
Method #1: Fake Workouts
This is going to be the easiest method for most people.
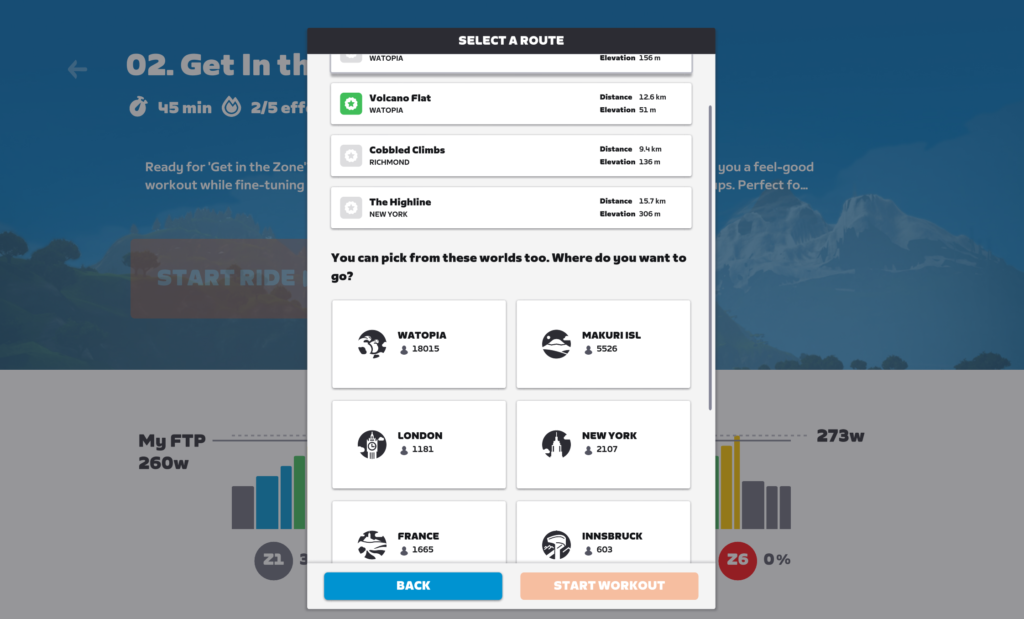
Simply choose any workout from the homescreen, click “Start Ride”, and the game will pop up a window asking you to select a world and route. This gives you access to all the free-ridable routes in the 10 open worlds (so no Bologna or Crit City).

Once you’re on your chosen route, you can get out of your workout by tabbing through the intervals or skipping them using the Companion app. (Tip: if you use this trick regularly, you might consider creating a simple, short, custom workout that is just a minute of free riding, so you don’t even need to skip the interval.)
Method #2: Meetups
Meetups are perhaps the next easiest way to access the 10 open worlds. When you create a Meetup, you select which world and route it’s on, and you have access to all the open worlds and routes, just like the Fake Workouts hack delivers.
There are two hassles with the Meetup method, though:
- You must invite a friend to the Meetup. This has to be someone who follows you. Some people have created second trial Zwift account for just this purpose!
- You must give the Meetup a start time/date. That means you can’t just pop into your desired map… you may need to wait a few minutes.
Learn all about Meetups on Zwift >
Method #3: Club Events
While Clubs are meant to be gathering places for groups of Zwifters, anyone can create a Club and host events from it.
Club events give you access to the same 10 open worlds as the two methods above, but also (somewhat oddly) let you create events on Crit City’s “The Bell Lap” route (but not Downtown Dolphin).
There are two hassles with the Club Events method:
- Creating your Club takes a few minutes: you only have to set your Club up once, but it takes a few minutes to set the various options.
- You must give the event a start time/date. Like Meetups, this means you can’t just pop into your desired map… you may need to wait a few minutes.
Learn how to create Club events on Zwift >
Method #4: <world> Tag Hack
The <world> tag hack is perhaps the most common hack used by Zwifters over the years. Nowadays the ease of the Fake Workouts method has diminished its use, but it still holds a special place in the hearts of many.
So how does it work?
You have a prefs.xml file in your Zwift user directory (which is in your Documents/Zwift directory on PC/Mac). Before starting up Zwift, open this file in a text editor like Wordpad and simply add one of the following tags to force Zwift to place you in your desired world.
To ride Watopia, add: <WORLD>1</WORLD>
To ride Richmond, add: <WORLD>2</WORLD>
To ride London, add:<WORLD>3</WORLD>
To ride New York, add:<WORLD>4</WORLD>
To ride Innsbruck, add: <WORLD>5</WORLD>
To ride Yorkshire, add: <WORLD>7</WORLD>
To ride Makuri Islands, add <WORLD>9</WORLD>
To ride France, add: <WORLD>10</WORLD>
To ride Paris, add: <WORLD>11</WORLD>
To ride Scotland, add: <WORLD>13</WORLD>
This text should go just after the opening <ZWIFT> tag near the top of the file. (If you place it inside of a section like “<DEVICES>” then it will not work.)
Important: Do not insert bogus values into your preferences file! Invalid values will just make Zwift behave unpredictably or even crash. Follow the instructions above carefully and you’ll be safe.
Using Zwift iOS? This method can still be used, but it’s more of a hassle. Here’s how to accomplish this same hack on your iDevice.
Using Apple TV? You’re out of luck when it comes to <world> tag hacking.
Sample
Here is a sample prefs.xml file which forces Zwift to always allow Richmond access (added text is bold):
<ZWIFT>
  <WORLD>2</WORLD>
  <DEVICES>
     <LASTCADENCEDEVICE>720996</LASTCADENCEDEVICE>
     <LASTPOWERDEVICE>720996</LASTPOWERDEVICE>
  </DEVICES>
  <CONFIG>
     <RICHMOND_BRANCH_PREFERENCE>0</RICHMOND_BRANCH_PREFERENCE>
     <BRANCH_PREFERENCE>4</BRANCH_PREFERENCE>
  </CONFIG>
  <WORKOUTS>
     <USE_ERG>1</USE_ERG>
  </WORKOUTS>
</ZWIFT>
Shoutout to ZwiftHacks
If you’d rather not edit your prefs.xml file directly, you can also use the handy ZwiftPref (for MacOS) or Zwift-Preferences (for Windows) tools from ZwiftHacks to accomplish the task via a simple user interface. (These tools let you tweak other Zwift settings as well.)
One Final Caveat
The title of this post says “(Almost) Any Zwift Course” because the methods above only give you access to Zwift’s “open” worlds. Bologna and Crit City are considered event-only worlds, so you can’t hack your way into them using these methods (although Club events will get you into Crit City).
Additionally, the methods above may still not get you into certain “event-only” routes like Watopia’s 2022 Gran Fondo or France’s France Classic Fondo. (Some methods, like Club events, will get you access to certain event-only routes. It may be best to do a bit of experimenting if you have a particular event-only route in mind.)
Questions or Comments?
Share below!
