If you’ve been following this “How the Race Was Lost” series, you know that I, like many Zwifters, race for different reasons on different days. Usually I race to win: I find the event best suited for me, and I ride to give myself the best chance at 1st place. Other times I might join a race in order to get a specific type of workout – putting in repeated short attacks, for example. Sometimes I’ll do a hard, long race, knowing I stand zero chance at winning, but also knowing that the only way I’ll go hard for three hours is in a race!
I might also race with teammates – riding a TTT, or putting in work for a rider who stands the best chance at winning. And occasionally, I find myself in self flagellation mode, looking to find a race that hits me right in the weak spots so I can be pushed to the limit in my area(s) of weakness and hopefully get stronger.
That was my plan for today’s race: 13 laps around Yorkshire’s Queen’s Highway in a race of Team Fusion’s “BEUNSTOPPABLE” series. No race in Yorkshire had ever been kind to me, and I anticipated more of the same today.
Recon + Warmup
This was a mid-morning race, so I ate my favorite breakfast (oatmeal with pecans and blueberries) a few hours beforehand. As race time approached I chewed two pieces of caffeine gum and rubbed PR lotion on the legs, then headed over to Yorkshire to ride my warmup while doing a bit of recon.
I’m quite familiar with Watopia‘s roads, as well as Richmond, Crit City, and most of London. These maps I can navigate in my mind, pointing out every rise and turn. I’m definitely less familiar with portions of Innsbruck (the climb loop), the upper roads of NYC, parts of Bologna, and the upper loop of Yorkshire. While I’ve ridden in Yorkshire a fair amount, it’s always been for events – I don’t really go there when free-riding. Those events typically only hit the smaller, upper loop of the course once or twice, so while I was familiar with the general layout of the Queen’s Highway route, I wanted to know all the nooks and crannies. Time for some recon work.
There were other racers on course, and we had a nice chat. Here’s what I found in my pre-race recce:
- There is no portion of this circuit which is flat. In general terms, the first third of the loop is downhill (from the sprint banner to the bottom of Cornwall Road). Then the next third consists of a couple of rollers. The final third is a gentle climb back to the sprint banner. Wash, rinse, repeat.
- The second half of the descent seemed steep/fast enough for a short supertuck. This might prove useful.
- The two rollers before the longer climb to the sprint banner could be managed nicely by maintaining momentum – hammering a bit at their base in order to build speed which could be carried over the crest
- In the sprint section, the road flattens before turning left toward the sprint banner. Then it pitches up for a final steep kick to the banner. This would be a logical attack point, because you could hammer for a bit and gap riders who were gassed from initial longer climb. But… that kick to the line is followed by a long descent, which would make it hard to stay away. My conclusion: attacks would naturally happen here, but they wouldn’t stick.
After half an hour and five laps of Queen’s Highway, I was ready to race the loop. Let’s do this!
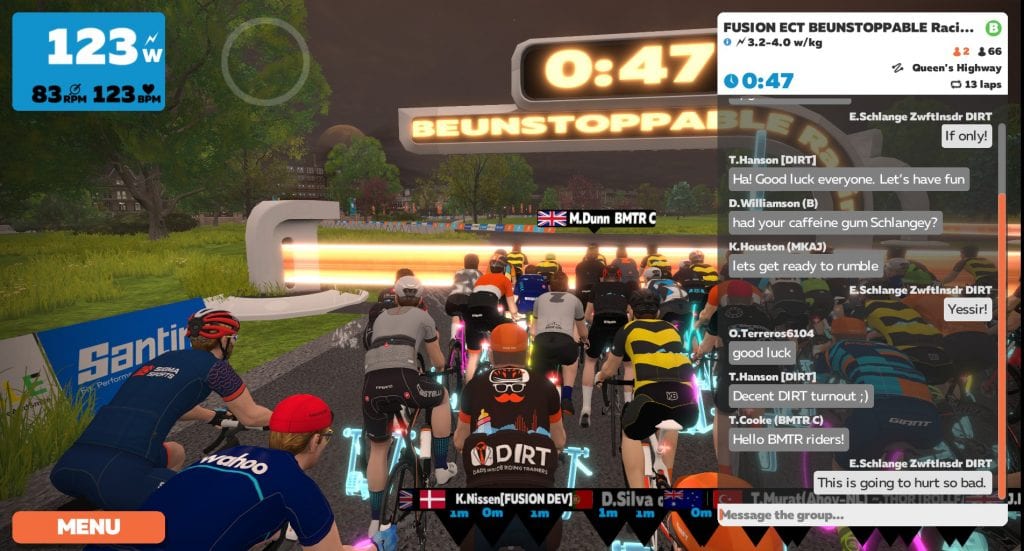
The Start
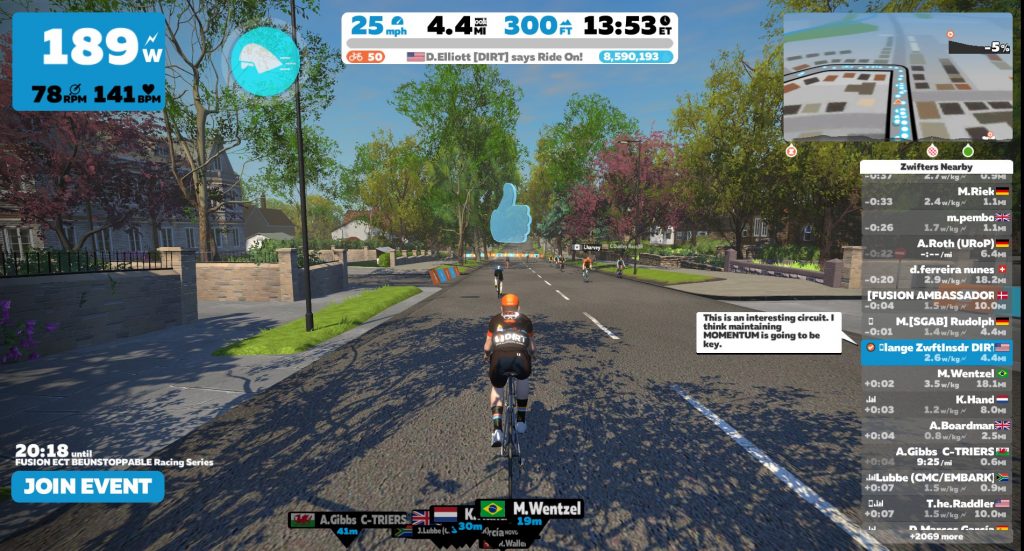
This route’s lead-in is around 1.8 miles long, taking you over the challenging bits of the Queen’s Highway loop before you hit the sprint/lap banner for the first time and your laps begin to count down. I averaged a reasonable 317 watts from the start line to the lap banner, making the front selection which broke our starting pack of 66 neatly in half.
I had my eye on only two riders in the pack: Kristian Nissen (Fusion Development), who was ranked at the top of our B field, and my friend Dafyyd Williams (KRT) who was ranked #2 and I knew to be a very strong rider.

Dafyyd attacked across the lap banner a few laps in, but I just sat in the pack who easily reeled him in on the descent. “Boring,” Dafyyd messaged to all riders. Perhaps. But I didn’t think I would be able to hang with the front for the full 13-lap event, so I wasn’t going to waste my legs trying to join him!
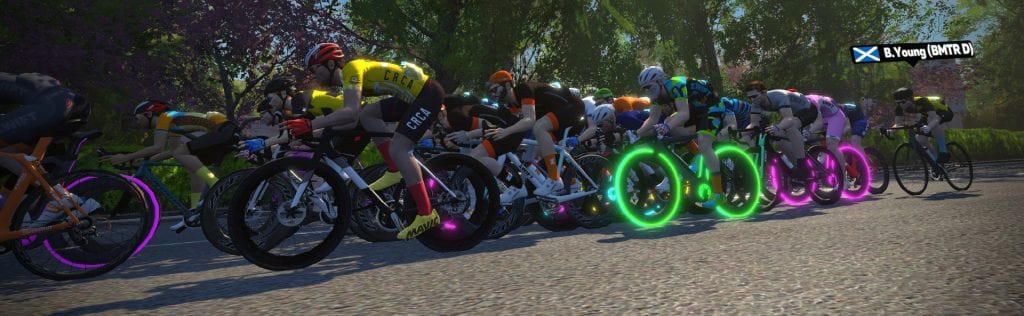
The Middle
Our group found a good rhythm after a few laps. PowerUps were disabled, which made the group even more sedate. The only way the group could have really been broken up would have been by a strong attack by multiple riders on back 2/3 of the loop – but nobody seemed willing to do that.
For my part, I was just happy to be able to hang with the group on the uphill portions of the route! Here’s how I rode the loop – keep in mind I’m a bit heavier than most (~81kg) so, compared to a lighter rider, the descents are friendlier to me, and the climbs a bit more punishing:
- The descent from the sprint banner was easy enough – just go hard enough to stay with the pack
- Supertuck at the bottom of the descent, gaining plenty of speed so I could just put in a few good pedal turns in order to crest the first roller with the pack
- Descend that first roller, then put in a few more good turns as the road tilts upward for the second roller. (For whatever reason, I always ended up at or near the front at this part of the course, which was fine with me – my well-timed momentum-carrying power bursts were making it easy!)
- Settle in for the longer climb up toward the start banner, maintaining good pack position
- Put in a final hard kick on the last pitch to the banner
I kept waiting for one of the well-represented teams (BMTR or Fusion) or one of the stronger riders to put in a hard attack. But it never came! On the 9th lap of 13 it finally sunk in – I could make it to the end of this race! No one was more surprised by this than myself.
The Finish
No strong attacks came in the penultimate lap, although Nissen moved up near the front of our pack. He was obviously a smart racer – but what was his strength? I hadn’t done enough digging to know if he was a sprinter who would win in the last 15 seconds, or perhaps better suited to the long attack with strong 1-5 minute power. I kept a wary eye on him, deciding I would try to follow his wheel if he attacked any time after the descent on the final lap. (If he attacked any sooner I figured the group would pull him back before the race was done.)
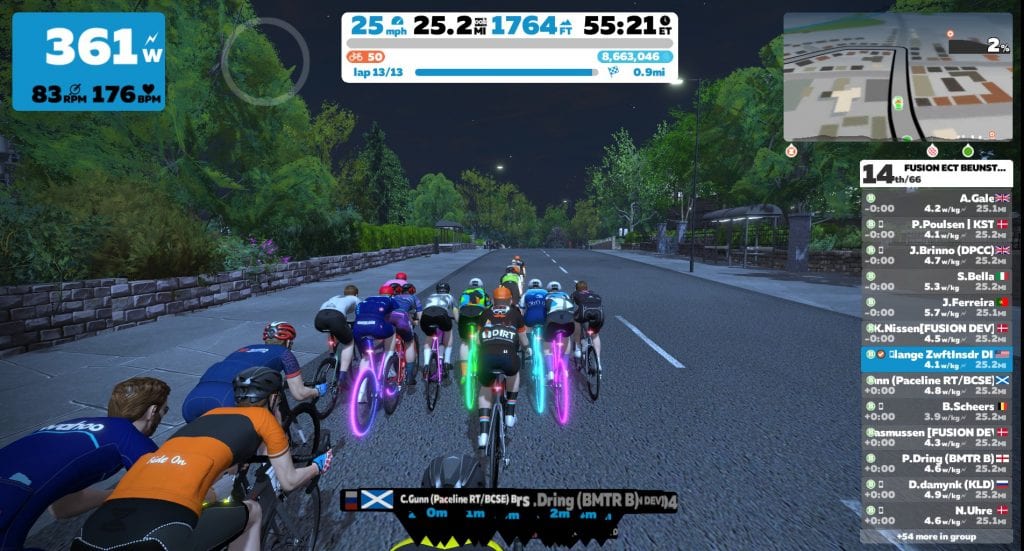
We began the final climb, still a group of ~30 riders. I was well-positioned within a few wheels of the front, but little did I know how unprepared I was! Nissen jumped… hard. His numbers went orange, he gapped our group, and even though I pummeled the pedals with everything I had, I couldn’t get back onto his wheel.
I averaged 436 watts for the final 90 seconds of the race, chasing Nissen up that cursed climb. My legs were so gassed that my final “kick” to the line was more of a heel-click. I finished 7th according to Zwift, but 4th on ZwiftPower. Not a win, but I was very happy to have hung in until the end. Nissen took first with his strong, long attack. Well done, sir.
See my ride on Zwift >
See my ride on Strava >
See race results on ZwiftPower >
Takeaways
One strategic exercise I enjoy is figuring out a sort of “attack profile” for each portion of a race course. In each section, a racer can ask: are attacks likely to happen here? Will those attacks stick? And the all-important question – is this a smart place for me to attack?
I rode this race 100% defensively, never looking to attack, because I was quite sure I wouldn’t be able to hang with the front to the end. If I was to race this again, especially if I was working with teammates, I would probably attack on the middle third of the circuit, on the rollers. Because it’s here that a well-timed kick can give you the momentum needed to quickly gap the group. Even if you don’t stay away, they’ll probably burn a few matches bridging the gap up the climb.
Overall, I was pleasantly surprised with my experience on the Queen’s Highway. Losing a bit of weight and getting a bit stronger allowed me to stay in contention, and the constantly changing pitch made for a an exciting race. I would race here again!
Questions or Comments?
Share below!
