Developing a Power-Based Training Plan
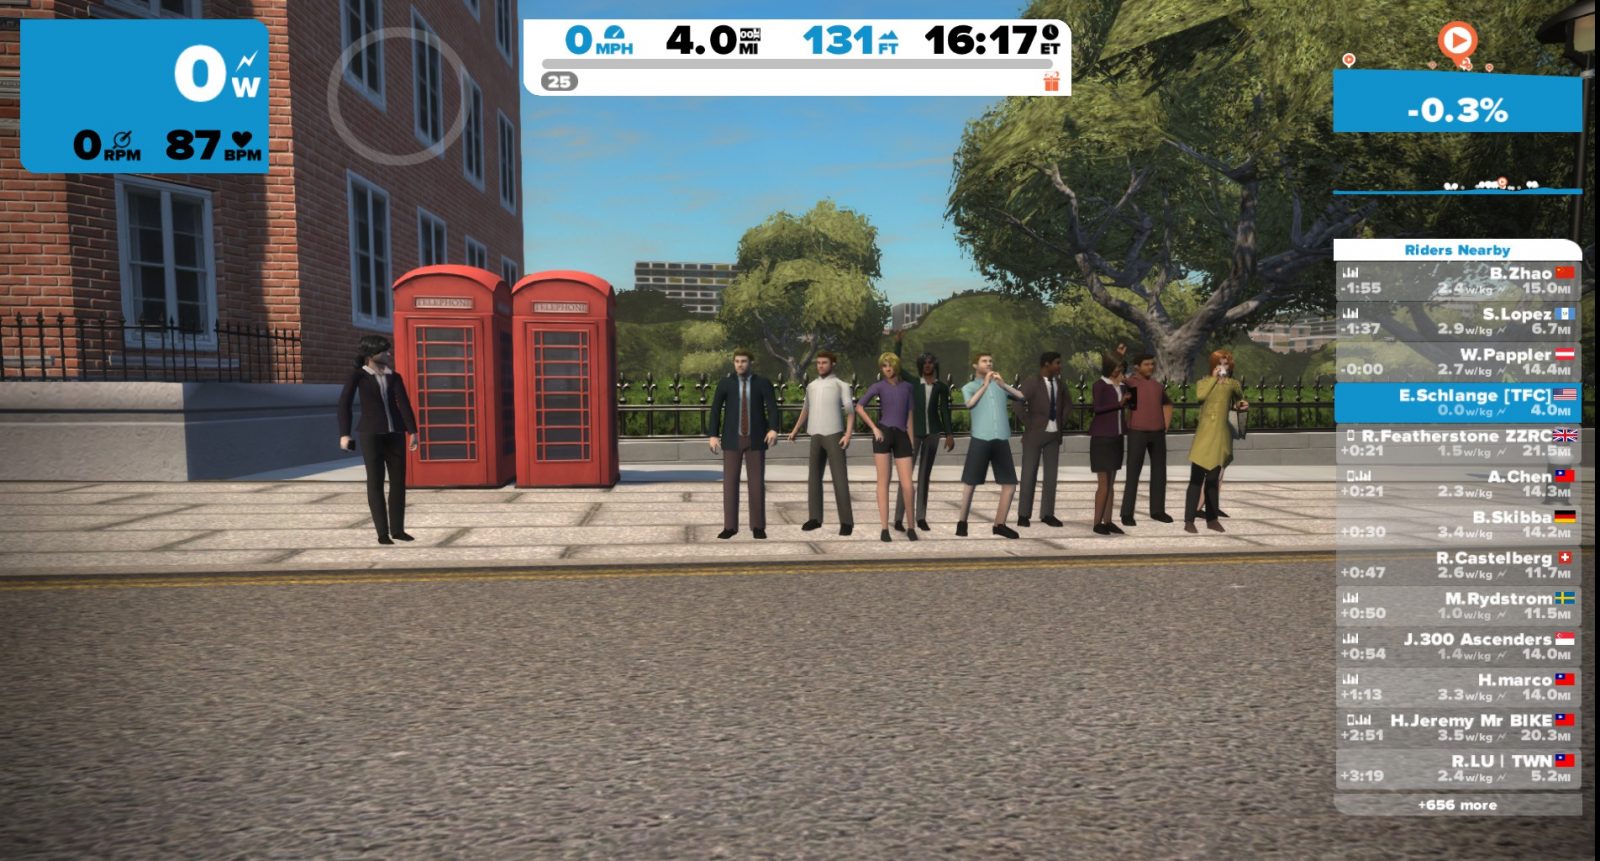
The “Watts up with Power?” ride is likely the slowest group ride you’ll find on Zwift, because it focuses on learning the basics of power based training while riding together on Zwift. Each ride is streamed to Zwift LIVE by ODZ on Facebook, and focuses on teaching specific principles of power-based training. For viewers that are unable to attend live, the teaching is made available for all to review afterwards.
Here is the summary for June 14th from ride leader Taylor Thomas.
The end goal of every rider that trains and races with power should be to use that data to construct an individualized power-based training approach. The available data allows for the identification of a riders strengths and weaknesses, as well as what workouts will help that rider improve. Using your power meter to think through and construct a training plan is the culmination of the experience and knowledge you’ve gained while riding and racing with a power meter.
1: Identify Your Strengths and Weaknesses
The first step is to map your power profile for all critical durations. Those durations are 5 seconds, 1-minute, 5-minutes, and at FTP. This will give you an idea of your strengths and weaknesses and how they correspond to different systems in the body.
You should also map out your fatigue profile for zones 4-7. Understanding how your body responds to intensity and duration through all 4 zones will help paint the full picture of where you’re at as a rider, and where you need to improve.
Use quadrant analysis for further review. Compare races and training rides to understand how and where power and force are produced. Use this information to inform the types of workouts you build, and to back up any assumptions gained from the power and fatigue profiles.
2: Make Sure Your Training Plan and Goals Align
Are you working on the skills necessary to improve your racing? The workouts you perform should bolster your weaknesses and help you prepare for race day.
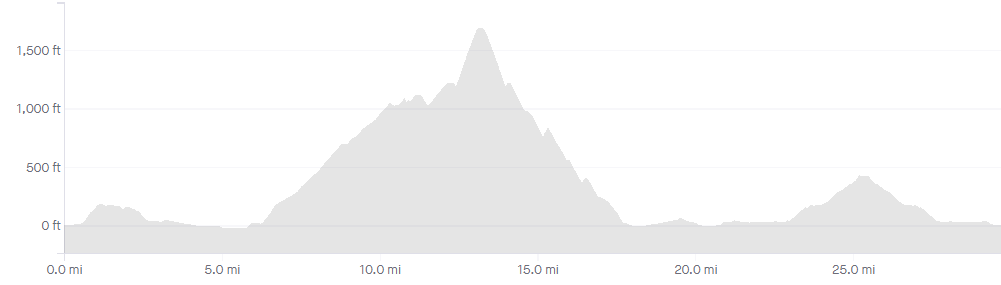
The workouts should also match the demands of the races you’ll be competing in. Analysis of course profiles, sprint and breakaway opportunities, and past results should shape the types of efforts you prescribe.
Does your available time match the training prescription? It’s important to be realistic regarding how much time you have to train, and be sure to build a training plan that matches your availability. Over committing can lead to missed workouts and potentially burnout.
3: Maintaining FTP
Perform “monthly” testing protocol at least every 8 weeks to ensure your FTP and power profile are current. You’ll need to test for all critical durations in the power profile so that you can use those numbers to inform future workouts, as well as understand how you’ve improved.
Review your data! Download and analyze your data after every ride to understand how you’re progressing, and how each workout is moving you forward.
4: Don’t Cram Your Training
Cycling takes time, and an entire training week can’t be crammed into a weekend. Make time for key workouts, recovery, and racing.
If you miss a workout it’s usually best to move on to the next session. The caveat to this is if the workout, or type of workout, doesn’t occur again for at least 2 weeks, then you may need to work it into your schedule sooner.
Don’t fall victim to other rider’s approaches. Once you’ve identified where it is you need to focus stick to the workouts that will help improve those areas. You may not need to strengthen an area that other riders in your group or race are working on. Stay focused!
Stay away from “stacking” workouts. This means that missed workouts during the week can’t or shouldn’t be made up during the course of a weekend. This often leads to overtraining and burnout in very short order.
5: Be Flexible
Following a training plan requires a certain degree of flexibility. Don’t be afraid to switch up mid-week workouts if needed to fit your schedule. Life gets busy, so you must be able to “roll with the punches”.
Listen to your body. If you begin to feel too tired or overly fatigued, then take a rest day. You can also move your rest week up to accommodate how your body’s feeling. It’s important to be pliable and listen to the cues your body provides.
Conversely, don’t be afraid to push yourself. You have to push through some amount of fatigue to see gains. If you have more to give, then give it! This may mean pushing back a rest week to continue to train and realize even greater gains.


 Three finalists will be selected to join CANYON//SRAM Racing at their pre-season camp in Majorca, Spain. After a tough week of training and spending quality time with the team, the CANYON//SRAM team and their management will select 1 rider to be crowned 2017 Zwift Academy Champion and the newest pro cyclist on CANYON//SRAM Racing.
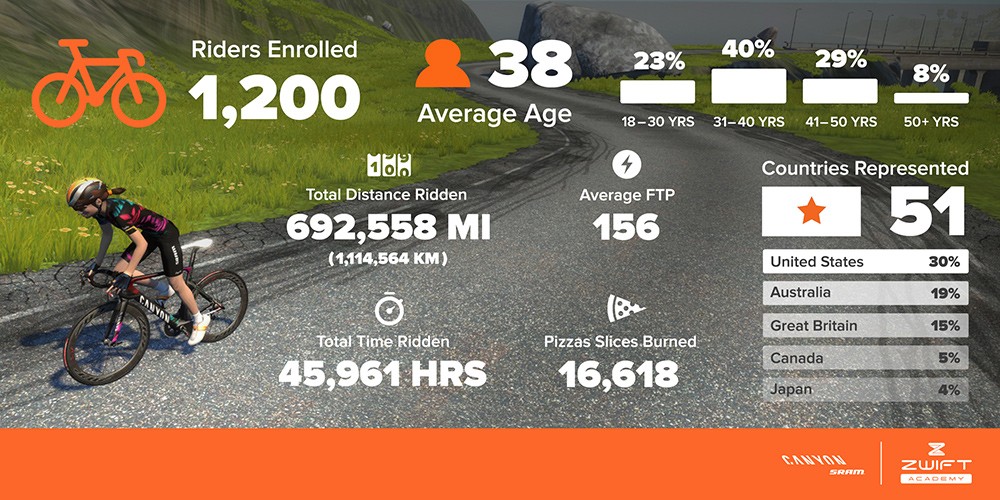
 Here are some stats from the 2016 Zwift Academy: