So you’ve installed Zwift, set up your trainer or treadmill, and paired your devices. Now it’s time to get moving! Here are some tips that will help you make the most of Zwift as a beginner.
1. Get ready ahead of time.
Make sure everything is within arm’s reach before your ride, your water bottles are filled, your batteries are charged, and your Zwift client is updated. Sure, you’re at home, so anything you need is a short walk away. But when you’re doing a race or you really don’t want to lose a group, a little preparation can save you a big headache.
Some Zwifters even use a pre-ride checklist to make sure nothing is forgotten.
Pro tip: if you’re using ANT+ to connect to your devices, you can help prevent signal dropouts by using a USB extension cable to bring the ANT+ dongle closer to your bike.
2. Use a fan. Or two.
Even if the temperature is cool, if the air is still, you’re not getting the benefit of evaporative cooling. A small, enclosed training space also can heat up pretty quickly! If you get too cold during warmups and cooldowns, try beginning your ride with a jacket or find a way to control your fan remotely. (Some fans come with remote controls, but if yours doesn’t, a “smart” plug or power strip can work too.)
Further reading: How Much Fan Do You Need When Riding Indoors?
3. Get social.
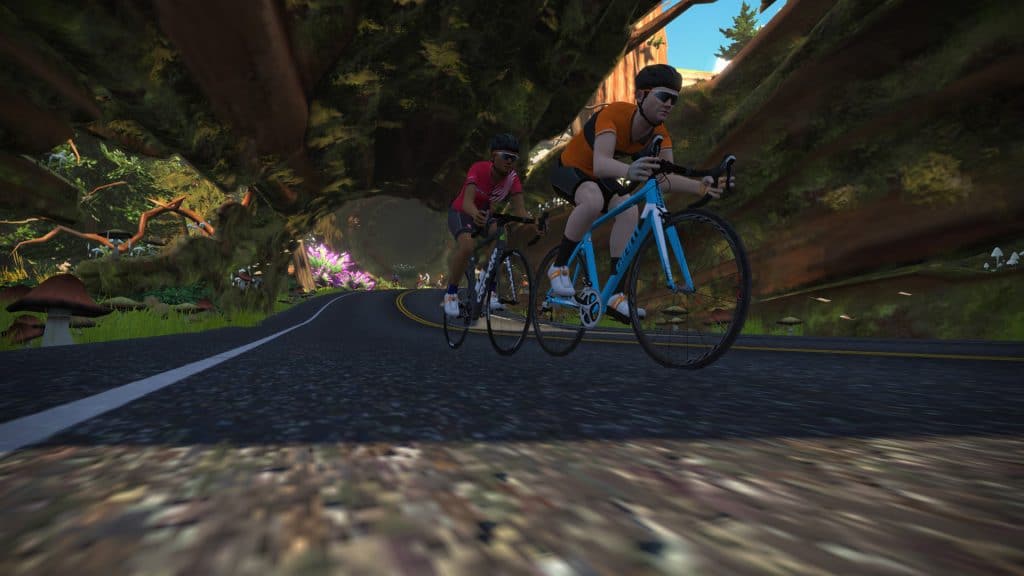
Wherever you are, Zwift lets you ride or run alongside people from all over the world. Don’t miss out on this part of the Zwift experience! Type a message to say “hi” and give someone a wave and a Ride On. If you notice someone is on a long ride, maybe offer them your wheel for some relief (but don’t be offended if they decline). Join a group ride and enjoy making conversation (or not) while working toward a common goal. Consider joining a Zwift team, which gives you allies in races and friends on the road. And if a group ride includes a Discord voice chat, give that a try too!
Check out the Zwift forums, where you can chat with others and get help. If you have a Facebook account, you can join “Zwift Riders” and/or “Zwift Runners” – the official unofficial Zwift groups. If that’s not enough, search around to find communities that suit your interests.
4. Pay attention to challenges.
Zwift offers three “challenges” that keep track of your progress toward certain goals and reward you with an in-game bike when completed. Two of them, Ride California and Tour Italy, add up the distance of your Zwift rides. A third, Climb Mt. Everest, counts your total elevation. From the menu screen, click the challenge image in the top right to select one.
Here’s the key: Your rides only count toward a challenge when it’s selected, and each challenge will track either distance or elevation – not both! The challenges will save your progress when you switch to another one, though. It’s possible to target Everest when you’ll be climbing, and then switch to California or Italy when you’re sticking to flat roads. When you have finished one challenge, make sure to select another one… unless you just got to the top of Everest! Keep climbing with Everest selected for another reward.
5. Sign up for missions.
Once in a while, a mission box will appear at the left of the starting Zwift screen. These often give you the chance to win prizes, both within Zwift and in real life, for completing certain goals in a set amount of time. To participate, click the “Join” button on the mission and agree to the terms and conditions.
6. Learn to draft on the bike.
Drafting is an important skill to learn on Zwift, especially if you’re going to be doing group rides or races. A quick way to get a feel for how it works is to approach a rider going a steady speed and try to draft them. Ease up a little to see your avatar drop back, and then gently add power to bring yourself back onto their wheel. Now see if you can pedal with the least effort while staying right behind them. It’s good etiquette to come around the other rider and let them sit in the draft too! (Remember, some people may want to ride by themselves. Try not to stay on the wheel of a lone rider for too long unless they invite you to keep them company.)

Important note: time trial bikes can’t draft. If it has aerobars/tri bars sticking out the front, save it for TT races or solo riding.
7. Try a little of everything.
Not sure what to do? Try it all! Spend a session on your own getting lost on Watopia, admiring the scenery, and going for jersey segments. Then chill out with a relaxed group or push your limits by competing in a race. Get a taste of structured training with an individual workout or jump into a training plan. Maybe join a group workout. Don’t limit yourself – your favorite thing might not be what you expect.
8. Read event descriptions.
You can join events directly from Zwift, but you won’t get much information about them in game. Before your event starts, look it up on the Zwift events page or the Zwift Companion mobile app. An event’s description can give you vital information about the format, the rules, the pace of a group ride, which category to join in a race, and more.
9. Connect a ZwiftPower account to Zwift if you race, and maybe even if you don’t.
Zwift sometimes gives race results in-game, but some organizers choose to turn this off. Why? To encourage you to use ZwiftPower. On this third-party website, you can see how you fared against others who are really in your category and who followed the race rules. You’ll also see performance data for yourself and the people who raced with you. All your past results and performance data will be organized here in one place. It’s also a good spot to see recent and upcoming Zwift events, including group rides and runs, at a glance.
10. Ride flat ground to level up faster and get a better wardrobe.
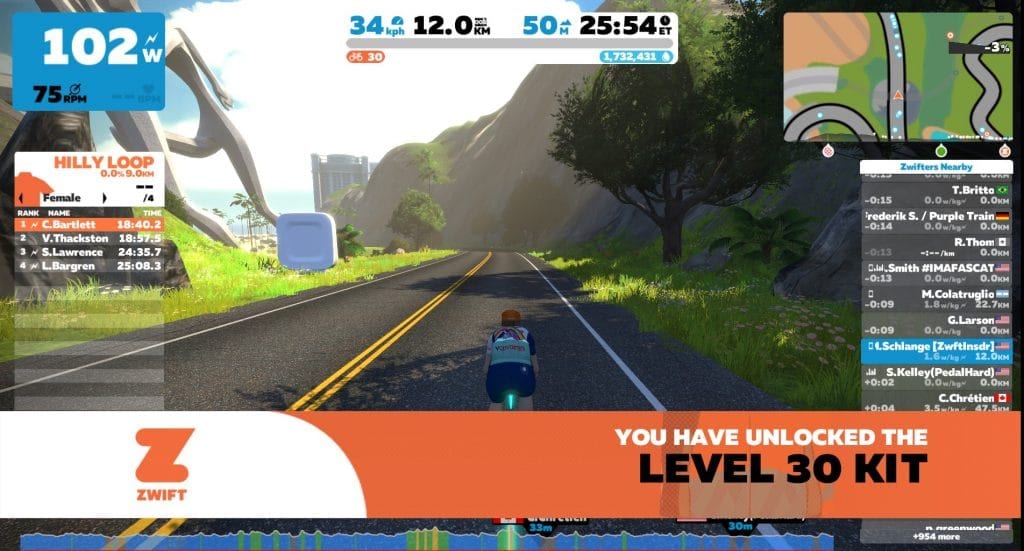
Higher levels reward you with new kits and accessories for your avatar. They also let you pass level gates for certain areas and unlock more bikes and wheels in the Drop Shop.

To level up as quickly as possible, seek out flat routes. XP is mainly awarded based on the distance you cover. (Cyclists get 20 XP per kilometer or 30 XP per mile, so using kilometers will earn them faster!) Also, use PowerUps as you get them – the next banner may randomly give you an XP bonus. If you’re riding solo, try a time trial bike. TT bikes don’t collect PowerUps, which means you’ll get more XP at every banner. Finally, workouts will award XP based on the “stars” you get for successfully completing intervals.
11. Go climbing to get more gear.
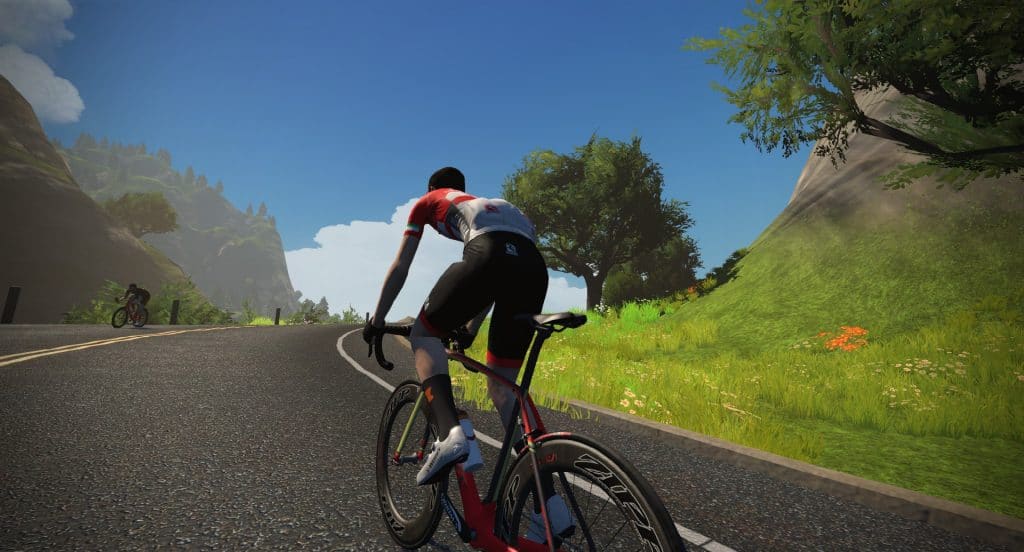
You can exchange Drops for in-game bikes and wheels for your avatar. Some of these help you go faster, while others you might just want for the look. To collect Drops as quickly as possible, head for the hills. You earn them faster while climbing a 3% grade or higher.

12. Learn to use shortcuts.
Not cutting corners – keyboard shortcuts! They can be a little confusing. “A” for the pairing screen? “E” for workout mode? “T” to customize your avatar? “M” for message is easier to remember, and so is “G” for a graph of your power and heart rate. It might help to write them down or print out a list (found here).
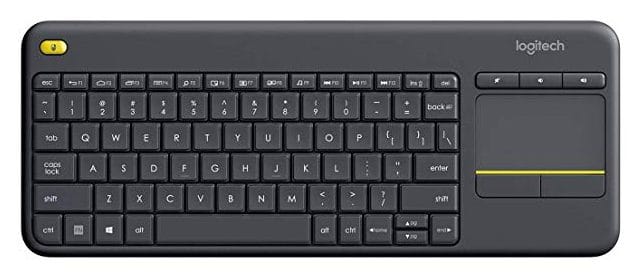
Don’t have your keyboard handy? A Bluetooth keyboard and mouse is great for Zwifting. If you’re using Zwift on an iOS or Android device, tapping on the screen will bring up the Action Bar, which has buttons representing some of the shortcut actions. You can also bring up the Action Bar on a computer screen by pressing the “Up” arrow. The main menu button appears in the lower-left when you stop riding or running, move the mouse (on a computer), or tap the screen (on a mobile device).
Important: pressing “A” also works as an emergency brake. Avoid during races! Stopping pedaling won’t stop your avatar on a downhill, and you’ll coast to a halt on the flat. To stop right away, just bring up the pairing screen.
13. Check Zwift Insider for route info, bike stats, expert tips, and more.
OK, this one’s a little self-promoting. But it’s a good tip! Other helpful websites include:
- What’s On Zwift? for information on which courses are on the calendar and a handy list of Zwift workouts.
- ZwiftHacks for useful tools and reference pages.
- And, of course, Zwift support, where you can see Frequently Asked Questions and submit a ticket to get help with a technical problem.
Happy Zwifting and Ride On!

