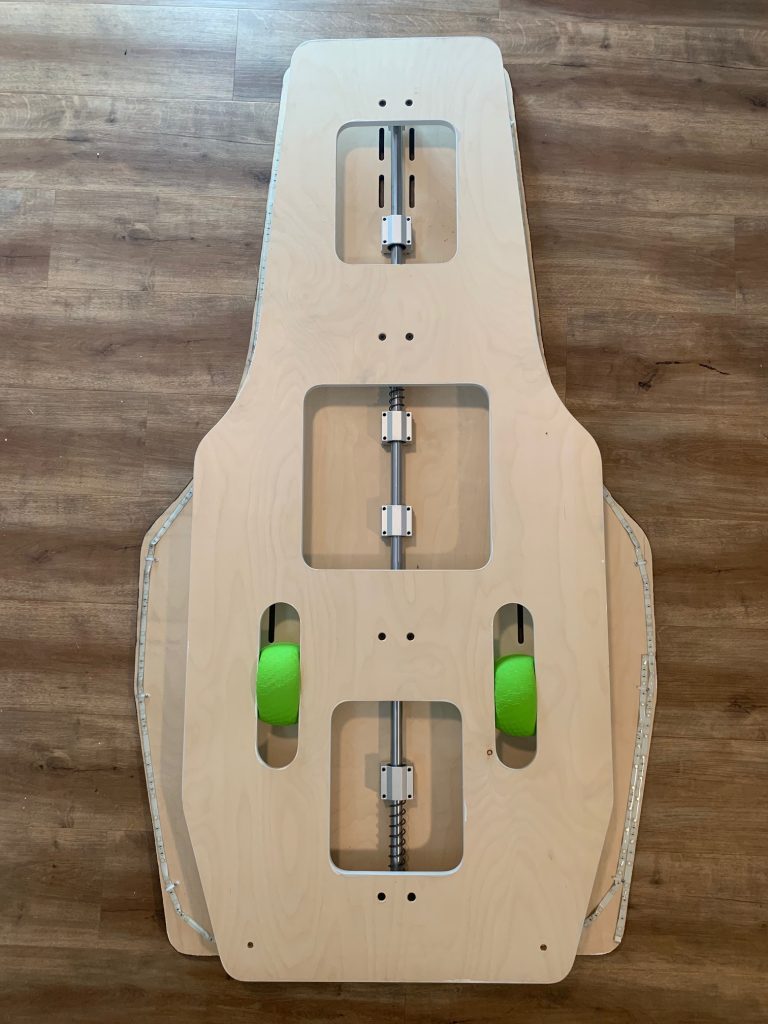
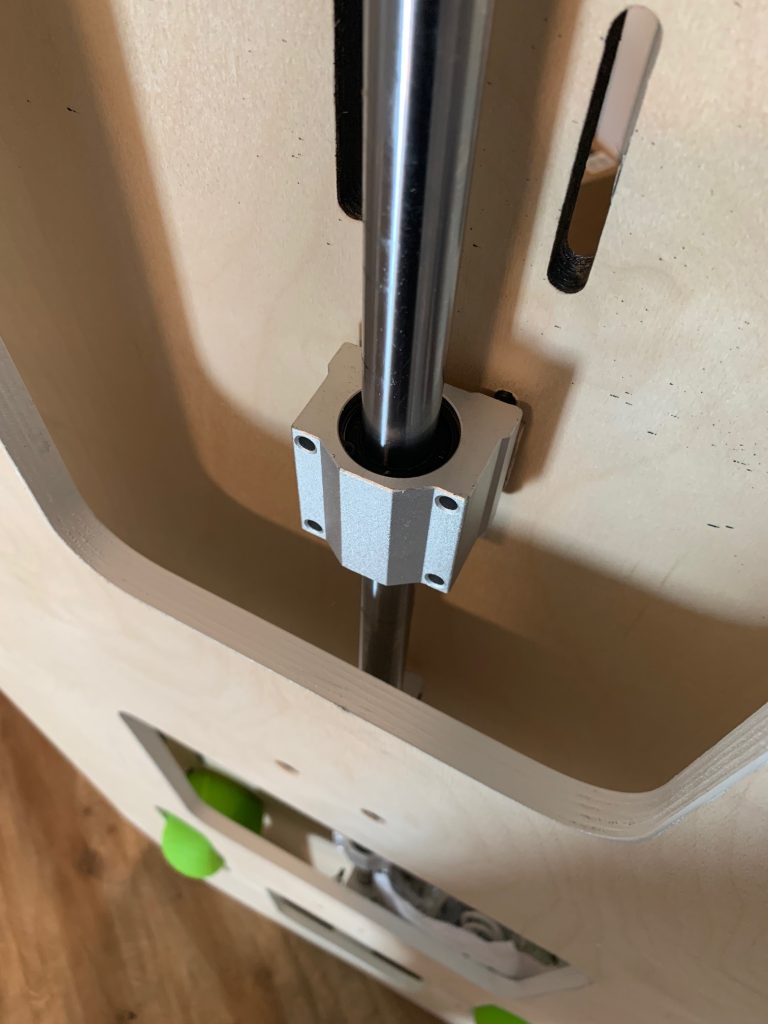
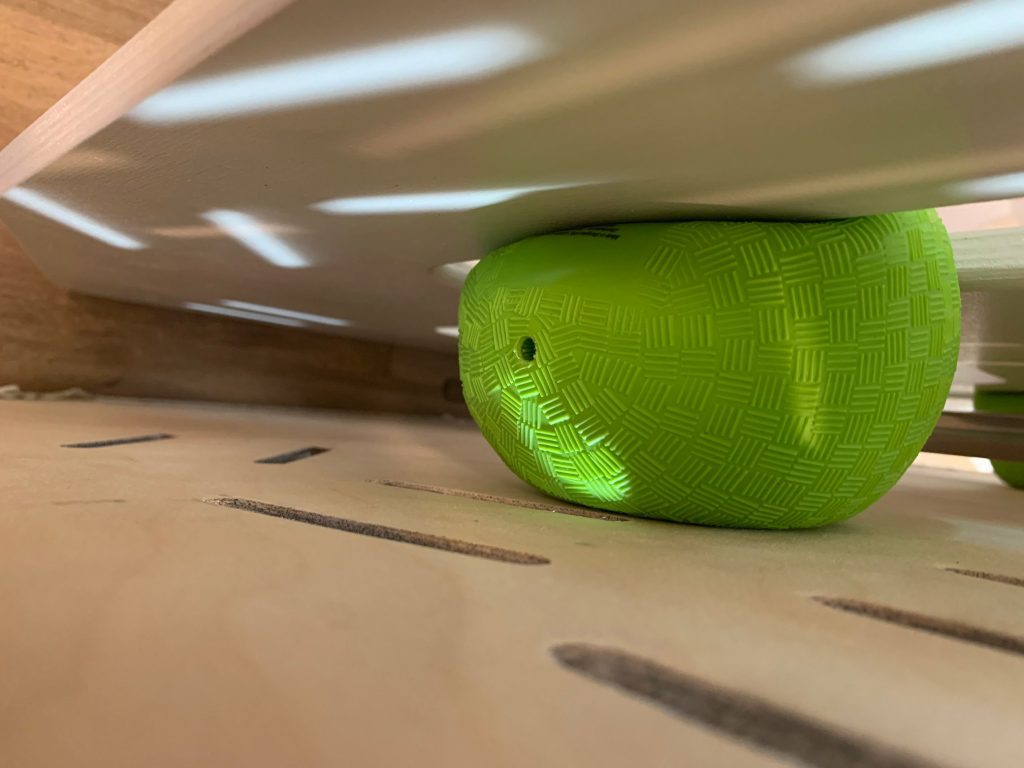
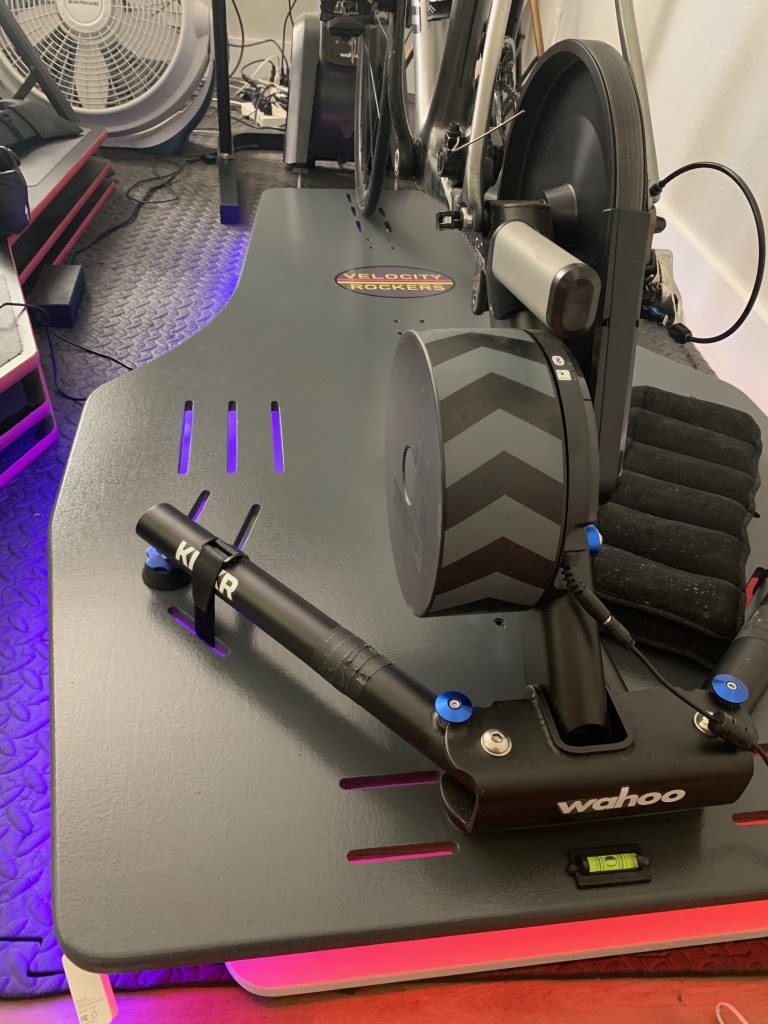
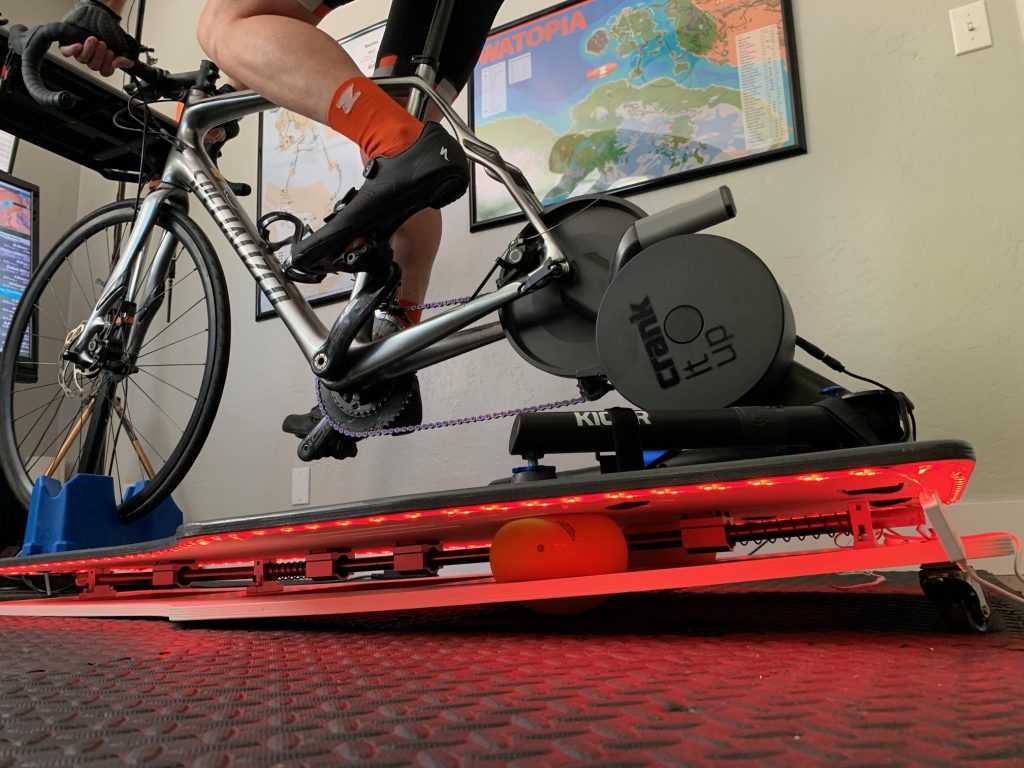
Back in April I received an email from a company I hadn’t heard of before: Velocity Rockers. Owner Albert Knowles piqued my interest with this description of his rocker plate: “It is a 2-axis rocker plate using the linear rod and bearing architecture with 5 inch balls for the lateral movement.”
2-axis, you say? And a linear rod/bearing architecture? I was intrigued.
I’ve logged almost all of my 54,616km Zwift kilometers from a trainer perched atop a rocker plate, but I haven’t spent significant time on a rocker with fore-aft motion, or one that uses a linear rod/bearing architecture for its central structure. So I was keen to experience it for those reasons alone.
But I’m also a big fan of rocker plates in general, so reviewing new products in this niche market is one of my Zwifty pleasures. I’ve said it before, and I’ll say it again: I’m amazed that so few Zwifters use rocker plates because for me, while rocker plate motion doesn’t perfectly replicate outdoors, it’s waaaay more natural than a non-rocking setup. Not to mention more comfortable and easier on your frame!
Anyway, I’ll get off my rocker plate soapbox. Now that I’ve logged lots of races and miles on the Velocity Rocker, a review is in order. Let’s rock!
Setup
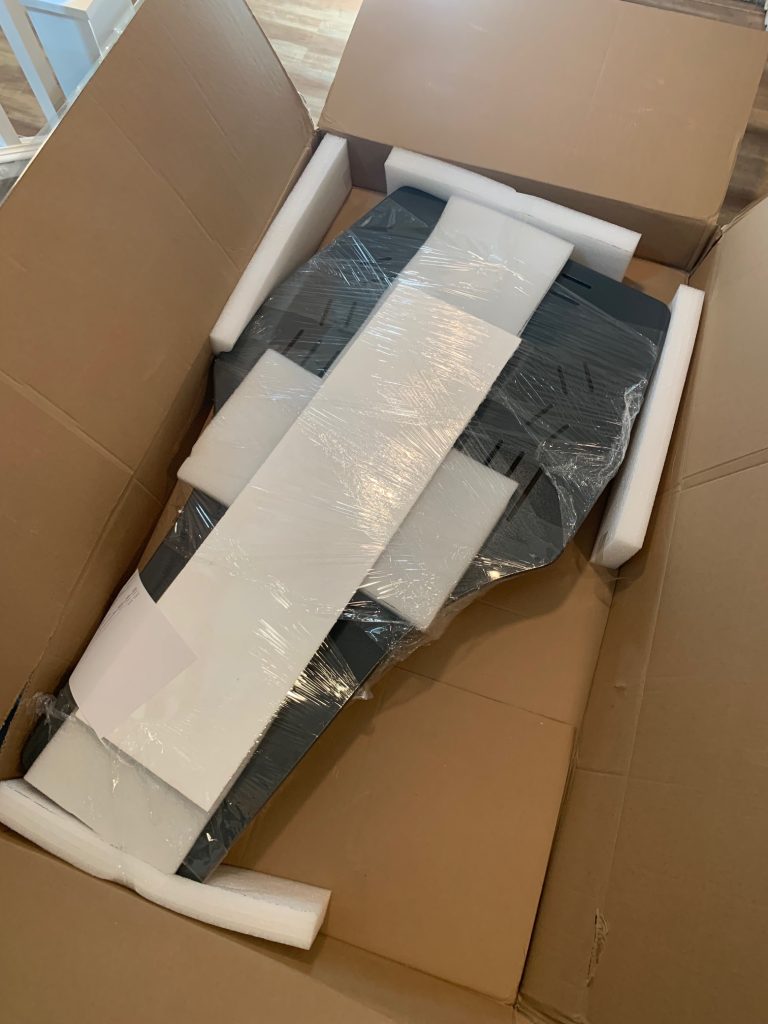
The Velocity Rocker arrives fully assembled, which is pretty standard when you’re talking about full-length rocker plates nowadays. All you have to do is unpack it, mount your trainer, inflate the two suspension balls, and you’re ready to ride!
Out of the box I was immediately struck with two things:
- High build quality: it feels sturdy and looks great
- Light weight: the Zwift Insider Pain Lab is upstairs in our house, and I told Monica (my wife) I would need her help hauling the plate up the stairs. But I was surprised when I picked up one end – it didn’t feel any heavier than other full-length simple left-right rockers I’ve used. Perhaps even lighter! I hauled it upstairs myself, easy peasy. (It weighs around 47 pounds.)
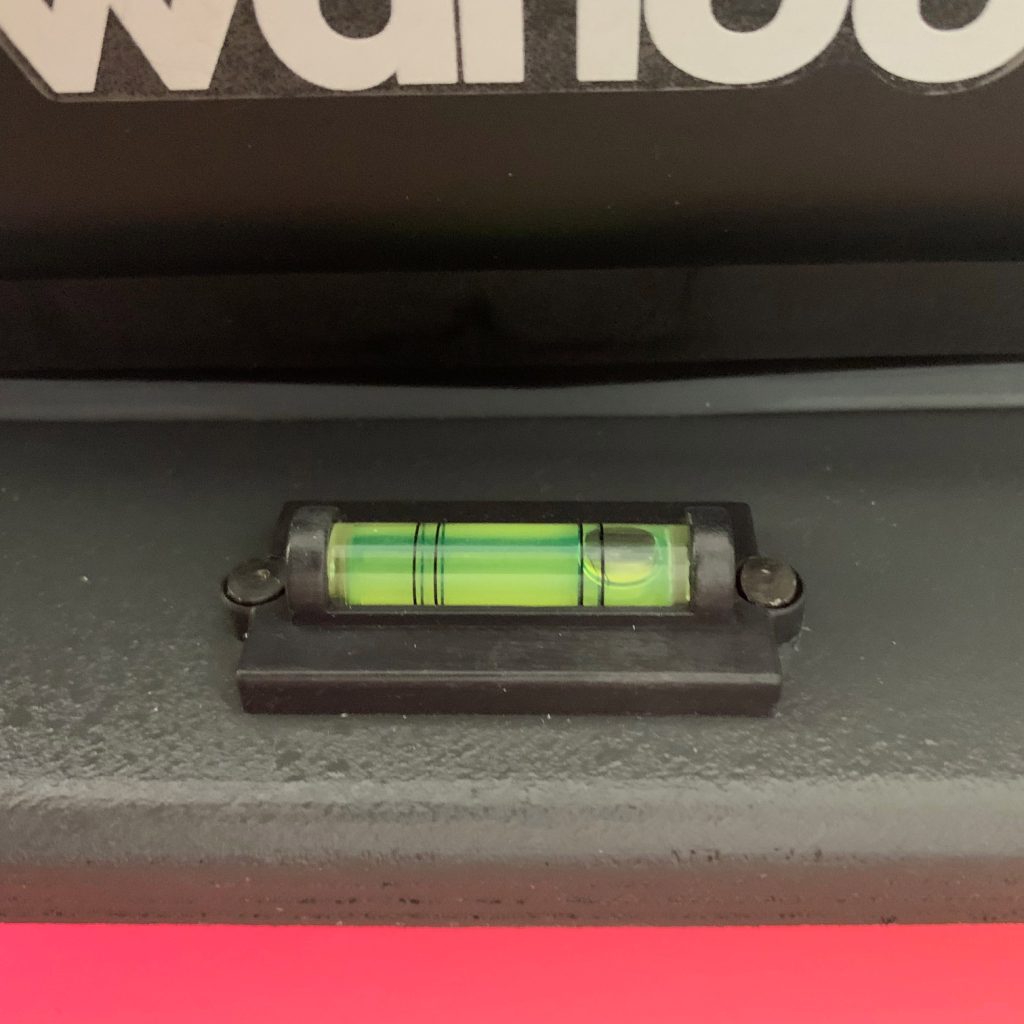
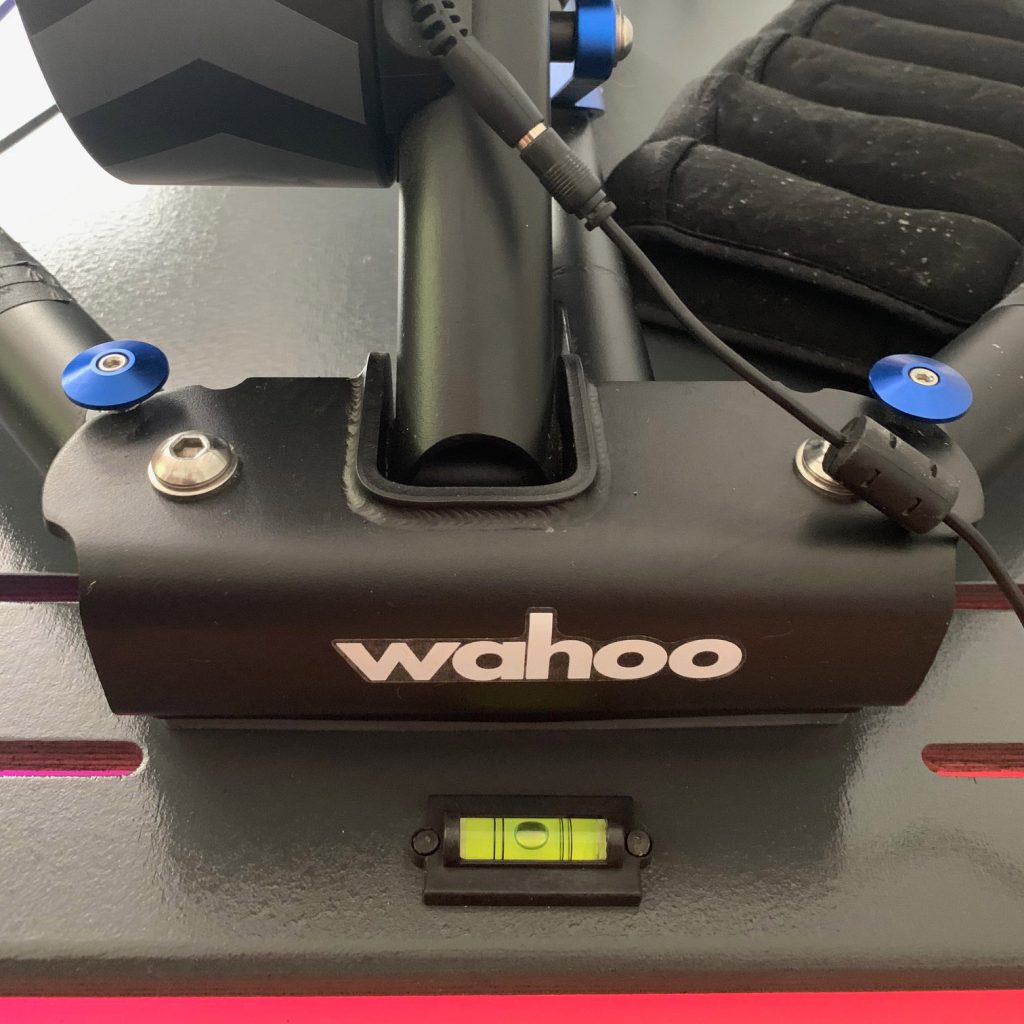
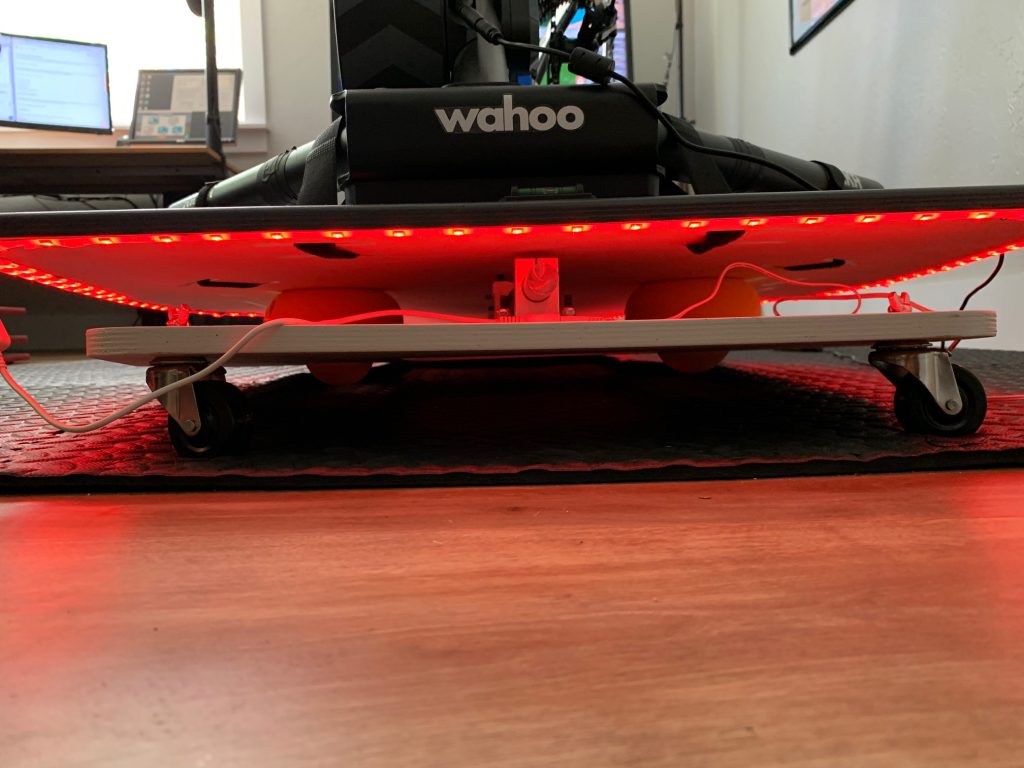
Once it was upstairs I placed my Wahoo KICKR 5 (still attached to my bike) onto the platform. The built in spirit level showed everything leaning left, which wasn’t surprising since the KICKR’s heavy flywheel is off-center. Adding my ever-useful ankle weights to the right side leveled things out perfectly.
I hopped on the bike to test out the initial feel, but quickly realized the two dampening/shock absorber balls were not inflated enough. So I dismounted and gave them each 5 pumps with my small handheld pump, making sure the spirit level still showed everything flat afterward. Back on the bike, and it felt great.
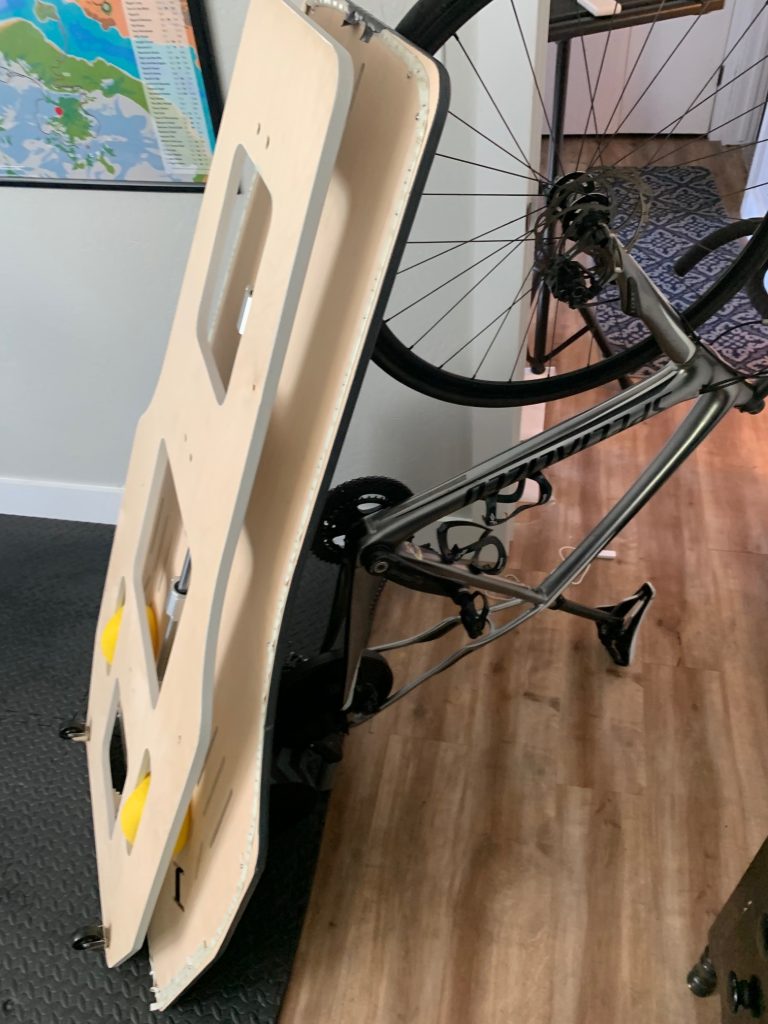
Inflating the balls for the Velocity Rocker was a bit more of a pain than other rocker plates, because the balls aren’t set up in a way where you can insert a needle through a hole cut in the top plate. Instead, you have to reach in between the top and bottom plates to insert the needle.
This design makes for a very clean-looking rocker plate, but as with many things clean-looking (looking at you, internal cable routing on bikes), it can make maintenance a bit more of a hassle.
Complete setup time: 10 minutes.
Dimensions
The Velocity Rocker is 60″ long, 34″ wide (at its widest point), and 3.5″ tall.
Setup Options
How Much Air?
The ideal “tightness” of a rocker plate’s side to side movement is determined by how much air you put into the two balls. How tight you want your rocker’s movement is somewhat a matter of personal preference, although I would argue that you can certainly go too tight, which can result in “opposite form” that’s a big no-no. And you can go too loose, which results in you having to work to stay upright, which of course isn’t ideal either! Read more on this topic >
Strapping It In
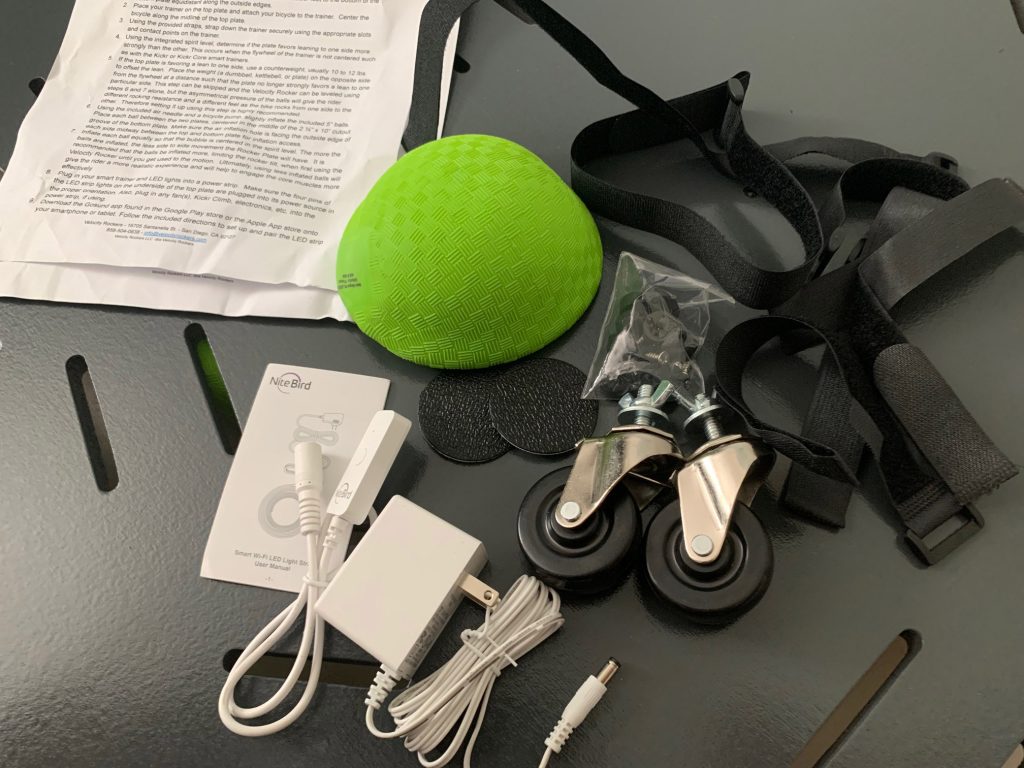
The Velocity Rocker comes with pre-drilled holes and plenty of velcro straps so it’s compatible with most trainers. Velocity says “Fits most trainers on the market: Wahoo Kickr, Tacx, Elite, Saris, and older trainers, the Kickr Climb and all front wheel risers.” Not sure if your trainer will work? Just contact Velocity and ask.
For my Wahoo KICKR, I ended up using five straps. One at the end of each leg, and two in the back near the blue knobs. These two straps are crucial to keep the trainer from shifting left/right under heavy load.
Your Front Wheel
One reason riders are drawn to full-length plates is because they’re compatible with front wheel risers including Wahoo’s KICKR Climb and Elite’s new Rizer. Those are certainly valid options.
I prefer to use this simple front wheel block from KOM Cycling. You could also just put your front wheel directly on the plate and even strap it in with velcro.
You may notice in some of my photos that I placed black tape on the plate below the front wheel block – this was just to make sure my wheel block didn’t scratch up the plate during testing. (It wasn’t pretty, but it worked!)
Lights, Camera, Action!
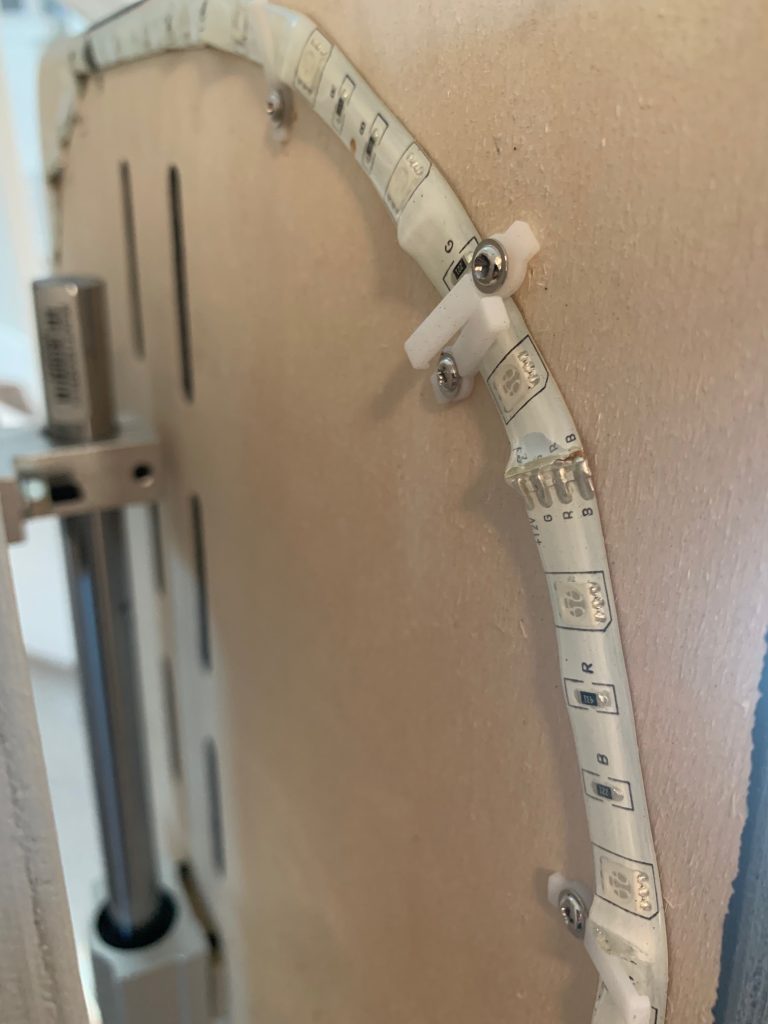
This is the first rocker I’ve tested with built-in lights. While some might say this is a gimmicky feature, I think it’s a super cool, low-cost add-on that will appeal to many.
The lights are simple LED strip lights and can be controlled on a very basic level from the on-off switch where they plug in. But if you really want to have fun, install the “Gosund” app and pair your lights to your WiFI so you can set the colors, choose a “scene” for automated color changing, or hook it up so it changes to the music (heard through your smart phone’s microphone).
The music control sounded fun to me, but to be honest it was a bit underwhelming – like the app couldn’t hear the music well enough.
The lights can also be controlled by Alexa/Google, but I haven’t gone down that road. Yet.
Someday perhaps Zwift will open up a lighting API so we can have LED lights in our pain caves that change color based on the Zwift environment or our effort level (it was done three years ago by Jon Mayfield). Until then, we can have fun with lighting solutions like Velocity Rockers and fun stuff like Philips Hue Smart Lighting.
Wheels for Portability
The Velocity Rocker ships with two caster wheels which can easily be installed by hand into pre-drilled holes in the back of the plate, allowing you to pick up the nose of the plate and roll the whole assembly around (bike and trainer included).
I didn’t really need these wheels for my setup, but I installed them anyway to test them out. If you were on a hard surface I think the wheels would be a bad idea, as your plate would swing back and forth under heavy sprinting loads. But on carpet or a foam surface like mine everything stayed put even when I was putting a lot of power into the pedals.
I did notice the bottom plate bends a bit when the wheels are installed – at least when a 185-pounder like myself was on top. I don’t think this would affect anything adversely over the long term, though.
Using the Velocity Rocker
I tested this rocker plate in a wide variety of Zwift situations: casual riding, Zwift Academy workouts, races, Sprintapaloozas, and more. Here’s a quick demo video I made running the plate through its paces:
Fore-Aft Notes
The first thing I noticed – and to be honest it annoyed me out a bit – was how the plate would move forward and backward by just a fraction of an inch on each pedal downstroke when I was pushing harder (say, 300W or above) while in the saddle. You can see it in the demo video above.
But I got used to that motion after spending several hours on the plate, and now I’m curious if a boring old left-right rocker will feel too static!
Where I really like the fore-aft movement is when I get out of the saddle, and when I sit back down. This movement feels more natural with a fore-aft rocker, and I think it’s also more comfortable having the whole assembly slide back a bit each time I sit down.
There is some “sliding noise” when you make big fore-aft movements due to the architecture of the board. Here’s a quick sample:
To my ear, the video makes the board sound noisier than it really is. Keep in mind what you’re hearing is the noise of the board making a full fore-aft movement (around 6.5 inches), which only happens if you get out of the saddle forcefully or sit down forcefully. Smaller movements are much quieter, and even unnoticeable.
Left-Right Notes
Left to right motion on the Velocity Rocker felt natural and comparable to other full-length rockers I’ve tested including the KOM Rocker RPV1 and SBR ROCKR Pro.
Velocity says their plate allows for 15 degrees of left-right movement, while KOM allows for 13 degrees and SBR ROCKR Pro allows for 18 degrees. Did I notice a difference between them? Nah. As long as the suspension balls are inflated enough you won’t “bottom out”, and many riders won’t even get close to using the full range of movement.
Wrapping It Up
As far as I know, this is the only fully-assembled 2-axis rocker currently made in the US apart from Saris’ $1200 MP1. Because of that fact alone, the Velocity Rocker is a welcome entry into the marketplace!
But it’s also a well-built product. The top plate’s finish is water (sweat) proof and seems pretty bomb-proof as well, not easily marred by cleats like some plates I’ve used. It’s priced reasonably, and the personal support from owner Albert Knowles is a nice bonus.
Where to Buy
The Velocity Rocker is priced at $675 and available on their website at velocityrockers.com. They only ship to the USA and Canada.
Shipping is free within the continental US, and $50 to Canada.
Questions or Comments?
Share below!
