I’ve been on some form of a rocker plate since my second season on Zwift, which means I’ve put in something like 45,000 rocking kilometers on Zwift. So you could say I’m no stranger to rockers. For me, riding on a “static” trainer feels very odd and unnatural. Rocking feels right. Yes, it doesn’t feel 100% like riding outdoors, but it’s much closer than a static setup could ever be.
For my first few rocking seasons I used a CoPlate from the Netherlands, which is a great product (and the first rocker plate ever put into production that I know of). I’ve also spent a lot of time on other rocker plates (see my reviews of the SBR Rockr as well as the Axxion Rocker Plate.)
Today, though, I’m excited to review the RPV1: a full-length rocker plate from our friends at KOM Cycling.
We’ve used various KOM products over the years in our Zwift setups – I still use their front wheel riser, and Monica uses their universal phone adapter to attach her iPhone to her Garmin mount. I’m impressed by KOM’s ability to deliver solid products at a great price. Nothing flashy or overpriced because of some hard-to-define “brand panache”. Just usable items for a good price.
And their rocker plate is no different. It’s a disrupter, in fact, at least in terms of what’s available here in the USA.
Key Details
- Retail price: $449.99 US on Amazon with free shipping
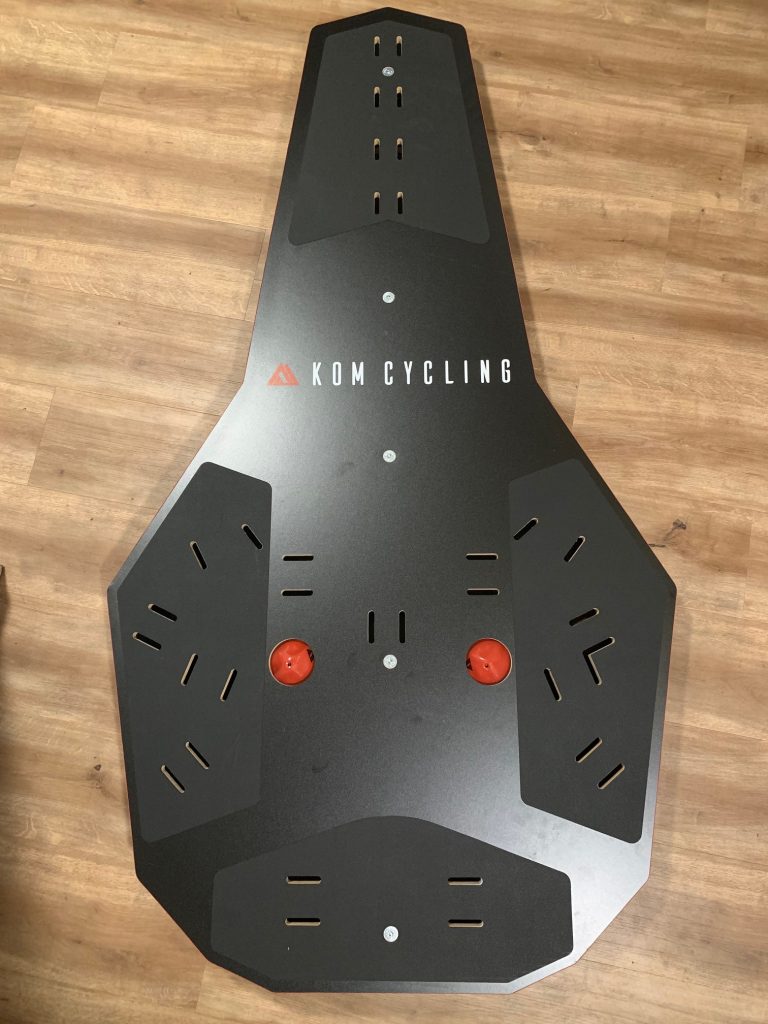
- Full-length plate measures 66″ (167.6cm) long and 34.5″ (87.6cm) wide
- Two inflatable balls are used as shocks
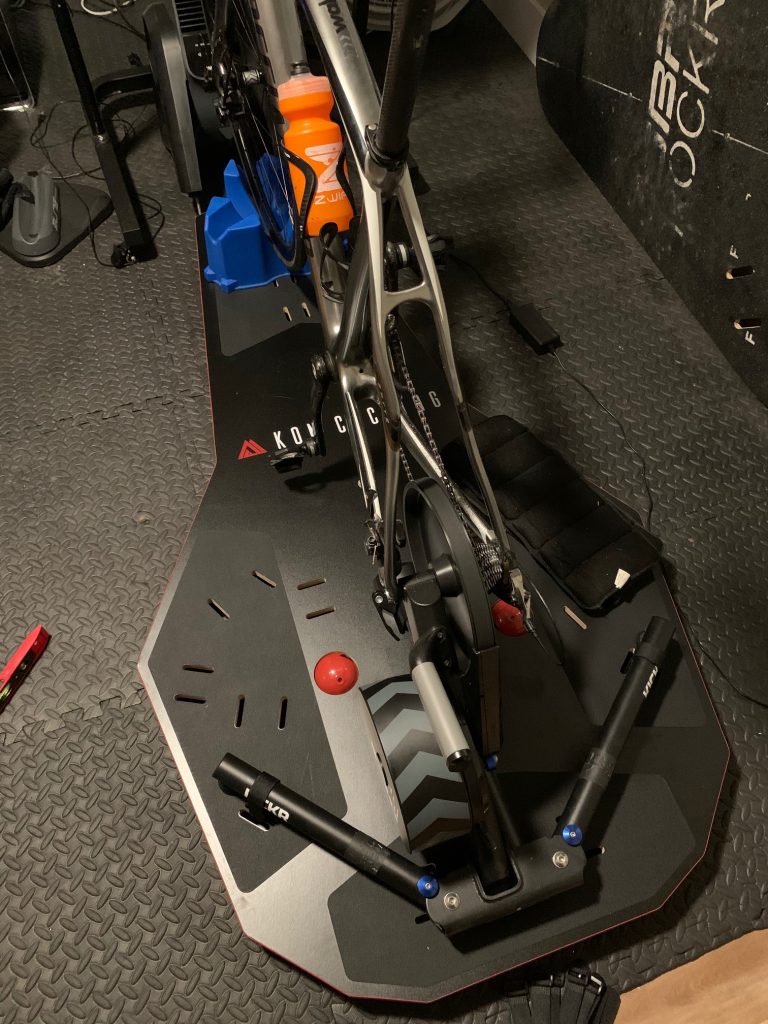
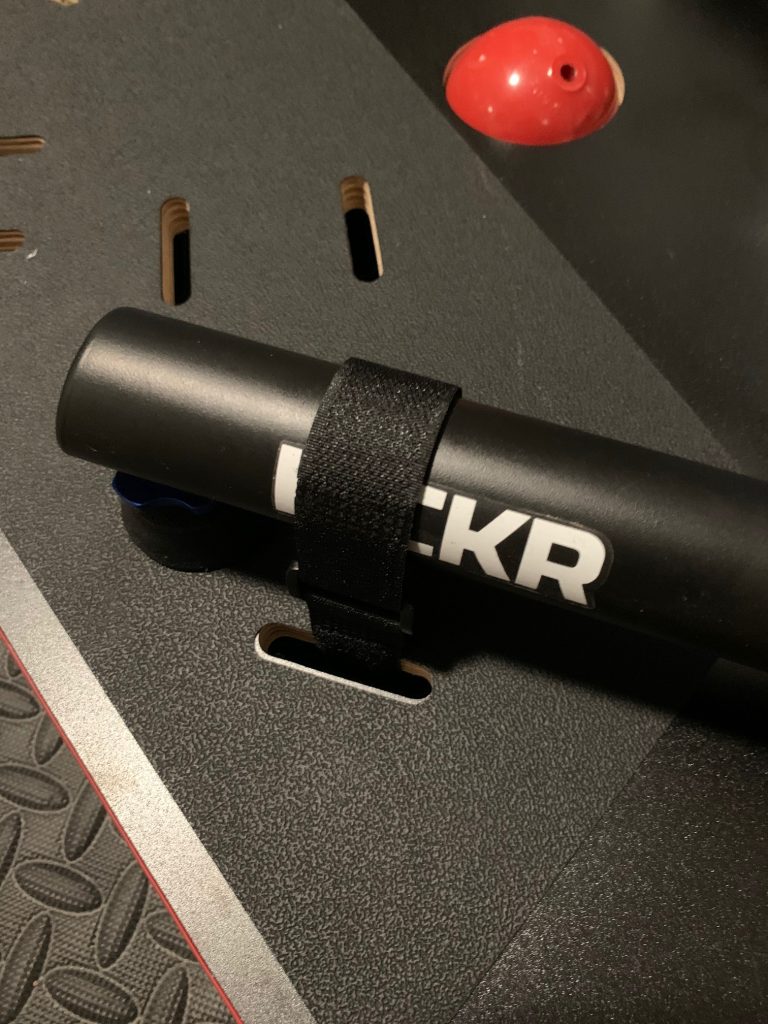
- Velcro straps are used to attach the trainer and front wheel to the plate
Unboxing and Setup
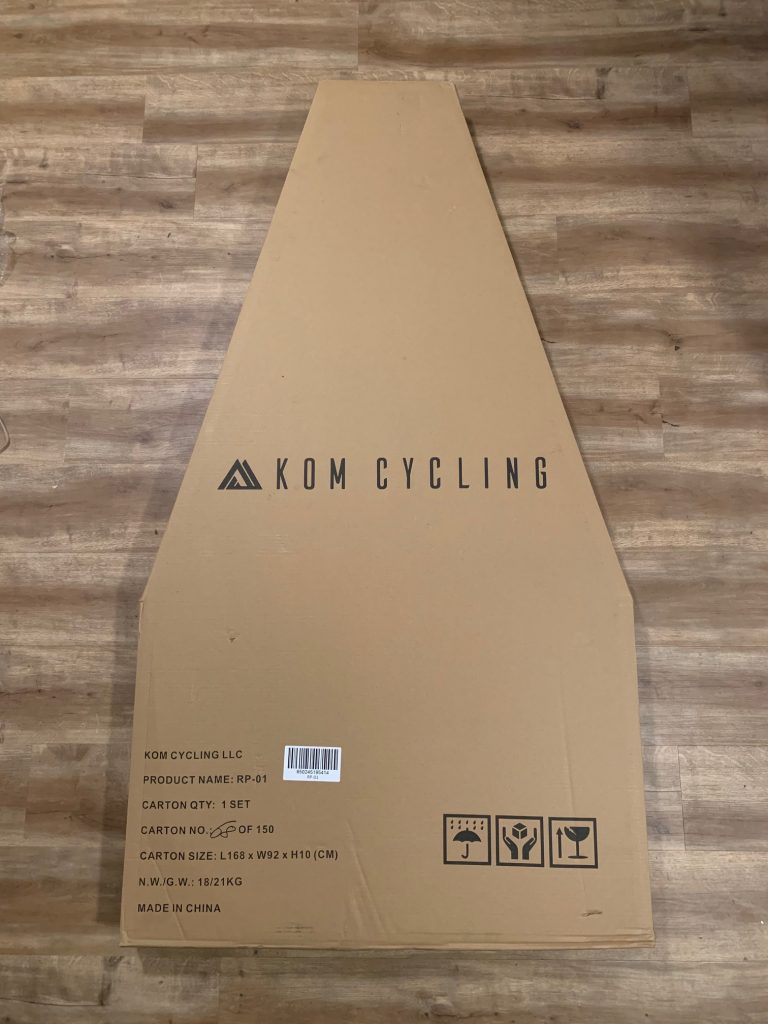
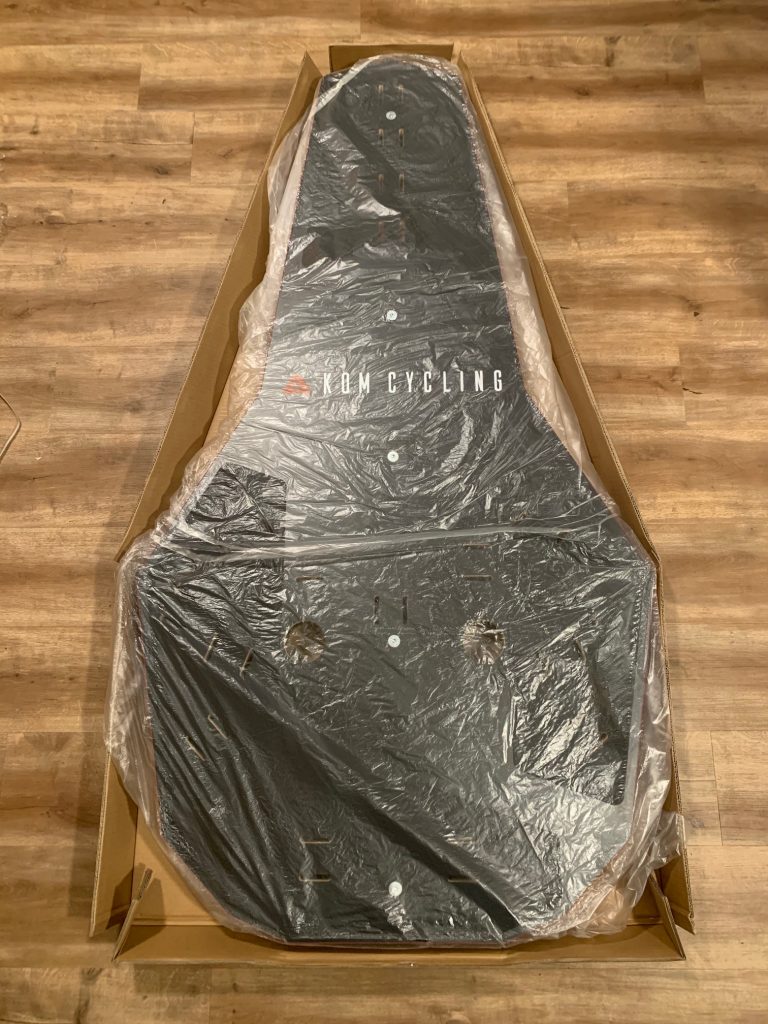
The KOM rocker plate arrives almost entirely assembled – and it’s a big box!
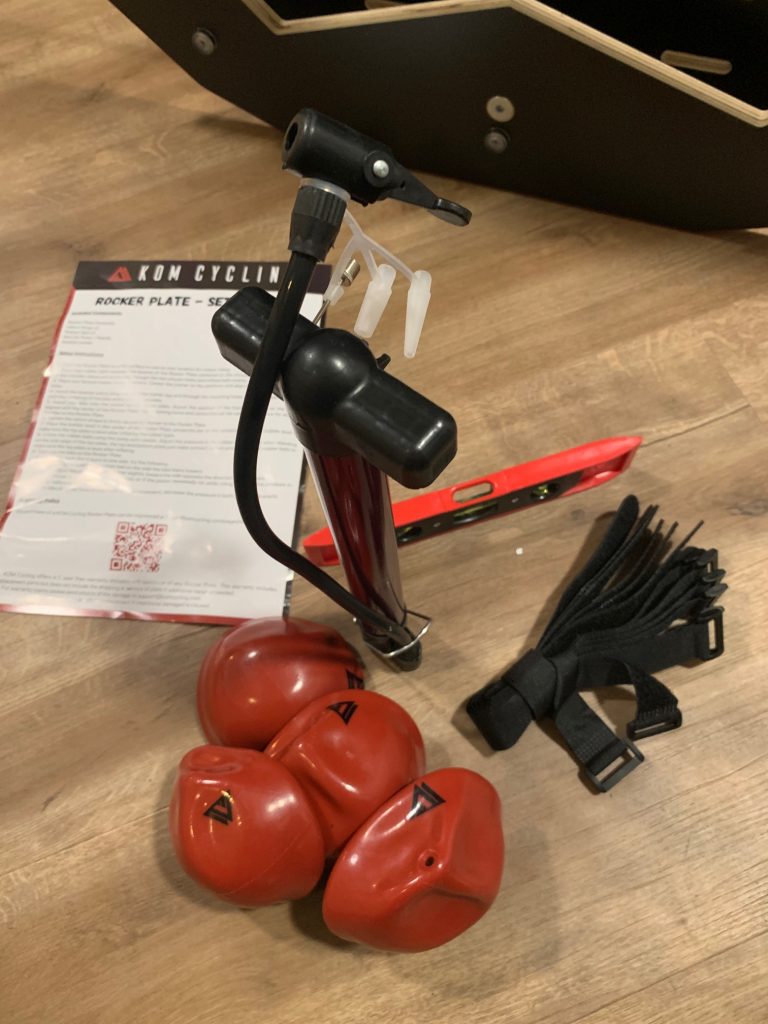
The package includes:
- KOM Rocker Plate
- 4 red balls (2 spares just in case)
- Velcro straps
- Pump with needle for red balls
- Instruction manual
- Level
Setup is simple, and can literally be done in 5 minutes. All you have to do is:
- Insert and inflate the red balls
- Place your trainer/bike on the plate and strap it down
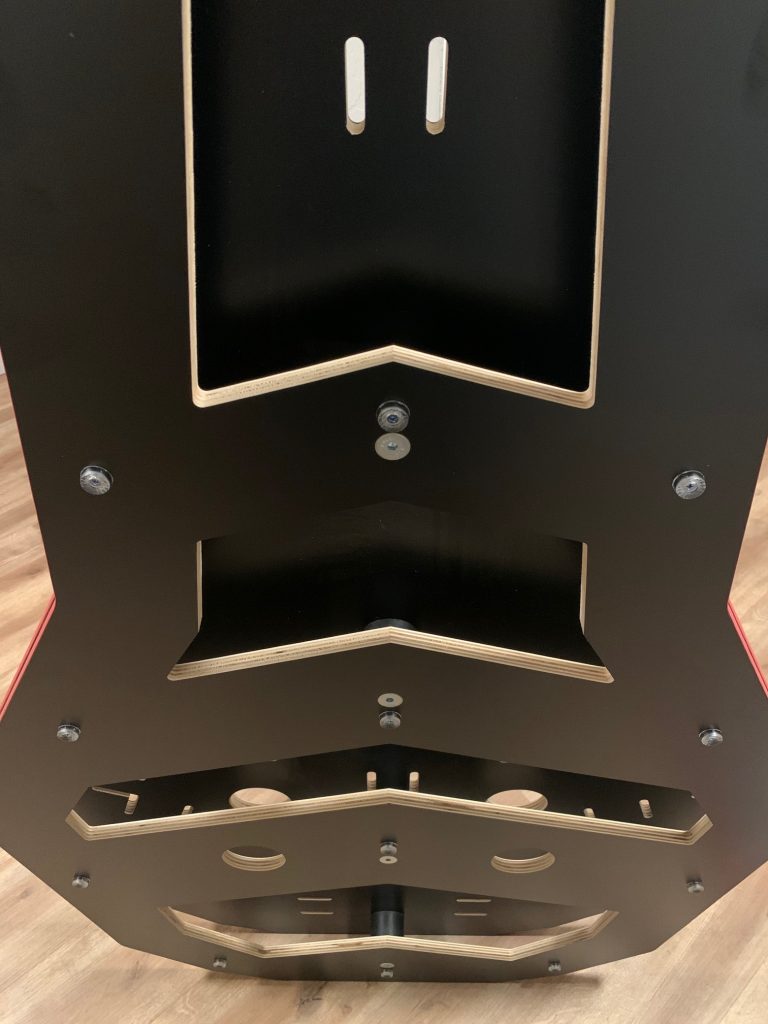
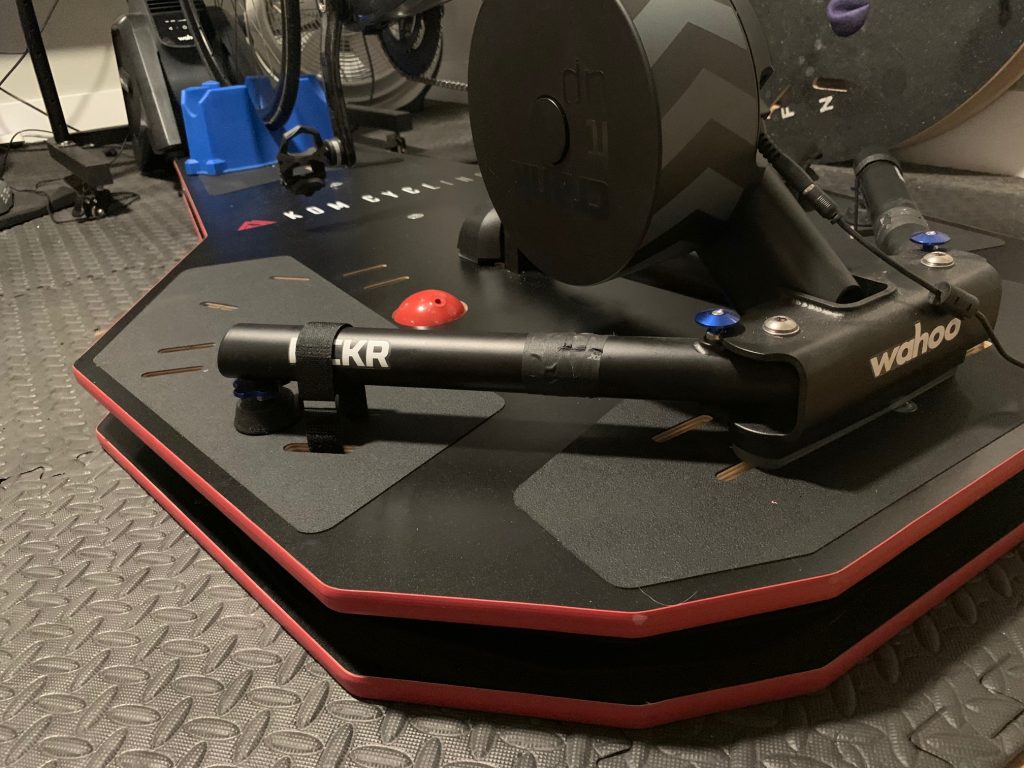
Being full-length and made from two sheets of thick plywood, the rocker plate is a decently heavy object! So if you have to move it up stairs and aren’t particularly strong (cyclist arms, amiright?), you might want to enlist the help of a friend.
Dialing It In
As with any rocker plate, getting your setup dialed in is key to a good experience. The most important thing is that you don’t feel like you’re leaning to either side when trying to be upright on your bike.
This can be accomplished by altering the air pressure in the red balls, but I prefer to use a counterweight with my Wahoo KICKR 5 setup, since the flywheel means the trainer’s weight isn’t centered. For me, I think it feels more natural to have even weight on both sides, and thus even air pressure in the red balls, than to simply use the red balls to even things out.
I have two ankle weight straps placed on the right-hand side of the rocker plate to offset the KICKR’s flywheel. The nice thing about these straps is they don’t shift around while riding, but I can move them easily to get the balance just right.
Demo Video
Here’s a quick demo video I made, showing the plate in action under normal seated riding as well as standing sprints and climbs:
How Does It Feel?
Having tested my fair share of rocker plates, I had two concerns going into this review:
- KOM says the rocker plate allows 13 degrees of side-to-side movement. The SBR ROCKR I had been using provides for 18 degrees. Would I notice the difference and “bottom out”?
- Would the velcro straps be sufficient for holding my KICKR in place?
After using the plate for a couple of months (around 2,500 virtual kilometers ridden), I can answer both questions:
- I didn’t notice the reduced degrees. The plate feels perfectly fine in full side-to-side movement.
- The velcro straps aren’t good enough. For me, at least. Let me explain…
Velcro Strap Shifting
Some trainers are easier to mount to a rocker plate than others, due to their size and/or leg design. The KICKR presents some challenges, and I’ve found in the past that, unless my KICKR is mounted very solidly to the plate, it will move around a bit under hard efforts.
This movement isn’t noticeable during the effort, but I’ll notice that my front wheel is no longer perfectly centered – and eventually, the whole bike may feel off-center, leaning to one side. Then I’ll have to re-adjust things to get them centered again.
The velcro straps used in the KOM Rocker Plate aren’t sufficient to keep my KICKR in place. Now, it may be different for you – if you use a different trainer, or don’t torque your bike and trainer as hard under power, you may never have any issues. But I know for me, and for some others, the velcro straps aren’t enough with this rocker plate.
To be clear, though: this is a minor quibble. The velcro straps don’t add much hassle to my life, and recentering things takes only a minute. But a rock-solid trainer mount setup would mean no hassle at all!

Alternative Mounting Options
One Zwifter pointed me to these heavy duty stage lighting clamps, which do a wonderful job of solidly mounting a KICKR to any rocker plate. You’ll just need to drill three holes and bolt them in.
Another option would be to purchase the $50 KICKR mounting kit from Max over at Traxxion Dynamics. Again, it will require drilling holes in the plate – but this kit bolts your KICKR directly to the plate, giving you a rock-solid mount.
LifeLine Rocker Plate
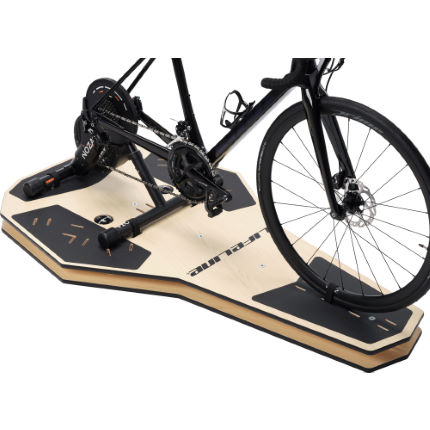
Some of you may recognize the KOM Rocker Plate – it appears to be the same as the “LifeLine Rocker Plate” sold by Wiggle. Just a different color. And you know what? I bet they are! The KOM Plate was made in China, so my guess is both are made in the same factor, with different “finishes” depending on where they’re shipped.
So if you can’t get the KOM Rocker Plate wherever you’re at, the LifeLine Rocker Plate from Wiggle should do the trick quite nicely. But with shipping included, KOM’s plate is more affordable here in the US.
Other “Features”
The KOM Cycling Rocker Plate (RPV1) incudes lots of different slots cut into the top plate, to accommodate velcro mounting a wide variety of trainers. I tested it with the Tacx NEO, KICKR Core, KICKR Bike, and standard KICKR. It works with many others as well.
It also includes grip-tape in key spots, which is more important than you may realize the first time you step on a non-grippy part of the board while wearing cycling shoes! I actually wish the grip tape on the sides extended more toward the front of the board, because I find myself putting my feet on the non-grippy portions when mounting my Zwift steed.
Wrapping It Up
The KOM Cycling Rocker Plate (RPV1) is a solid product for the money, and I would recommend it to anyone looking for a full-length rocker plate. It’s got a clean look, delivers natural out of the saddle side-to-side motion, and setup is a snap.
Well done, KOM Cycling. Rock on!
Questions or Comments?
Share below!
