 Step 1: Install Zwift
You’ll need to download the software from Zwift.com, install it, then run it and create a free account. Warning: installation can take an hour or more.
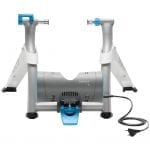
 Step 2: Prep Your Vortex
Besides just getting your bike set up on the trainer, you’ll need to make sure the firmware is up to date and make sure you are properly calibrated.
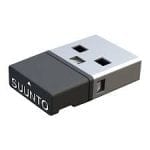
Step 3: Install ANT+ USB dongle (or Use Bluetooth)

More and more Zwifters are using Bluetooth instead of ANT+ to connect their trainers. You can use Bluetooth through the Zwift Mobile App, or even use your computer’s built-in Bluetooth if you are a Mac user.
Step 4: Pair Up
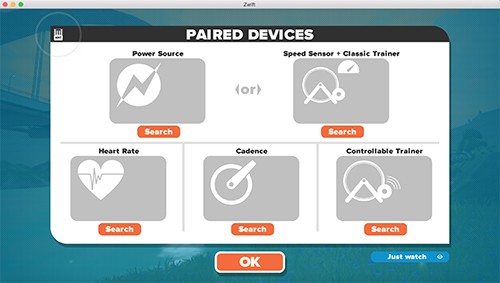
Once you fire up Zwift and sign in you’ll be taken to a pairing screen. Click Search in the “Controllable Trainer” box (bottom right) and click the trainer it finds. This will automatically pair the trainer as your Power Source and Cadence meter as well.
If you want to use a different cadence sensor for improved accuracy you’ll need to click unpair, then search for your cadence sensor to pair up.
If connecting via Bluetooth you will need to click the Bluetooth icon at the top-left.
Step 5: Ride On!
Got problems? See the Tacx Vortex Smart and Zwift Unofficial Guide for help.
 Step 1: Install Zwift
 Step 2: Prep Your Vortex
