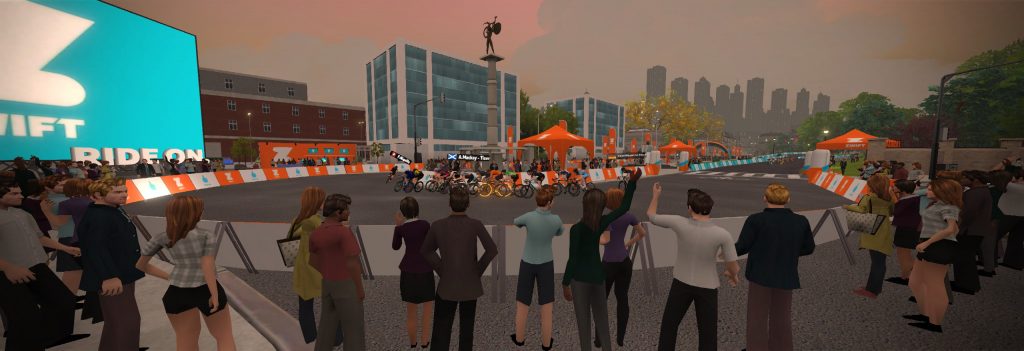
Downtown Dolphin is one of Zwift’s most popular race routes, and for good reason: events here are typically short, and the course is well-designed.
After racing literally hundreds of Downtown Dolphin laps, I thought it would be fun to put together a video with my tips for racing the course. Find the video below, with more detailed text notes to follow.
The Start
Starts on Downtown Dolphin are hard, like any other Zwift race. But the hardness here comes in two stages:
- The first 15-20s you’ve got to hammer your way out of the gate to get up to the speed quickly and avoid being dropped. Several riders are always dropped here – don’t let it be you!
- The first ~90s, to the end of the Brick Climb, will be a hard effort. Often 30-50% of the field gets dropped from the front group by this point. Don’t miss this key selection point!
After the brick climb things typically settle down and you can recover a bit on the downhill twisties and through the lap banner.
Dissecting the Route
Downtown Dolphin breaks into the following sections:
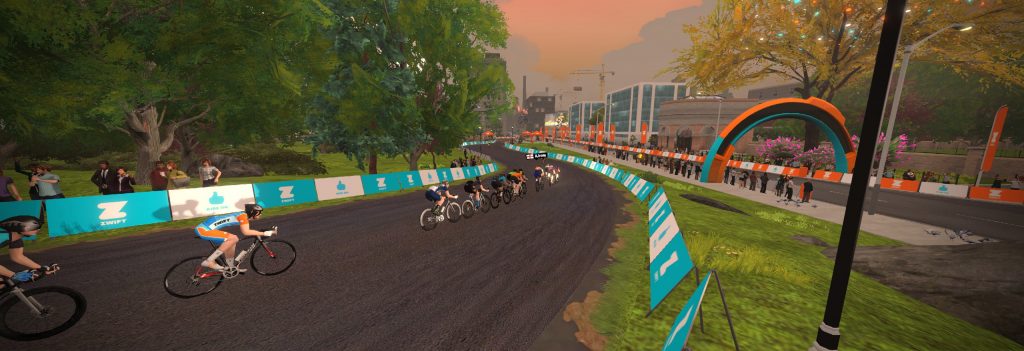
- False Flat After Lap Banner: the slight uphill makes this a great place for a sneak attack – but that rarely happens. Usually riders are resting here for the Brick Climb effort just up the road.
- Lead-in to Brick Climb: the slight downhill means you can recover just a bit, but watch out for riders pushing the pace as they move to the front before the Brick Climb!
- Brick Climb (Prime) to Dead Turn: this is the most crucial attack point on the course. You’re looking at around 15 seconds of hard effort, followed by another 5-10 seconds to get up to speed after the short climb.
- Straightaway Past ZwiftHQ: this is where the pack stretches out in the final lap, and where selections are cemented which began on the Brick Climb. Mind those wheels!
- Downhill Twisties: the start of your recovery section, unless you’re in the final lap – then it’s a rollercoaster of pain!
- Finishing Straight: more recovery, unless you’re sprinting for glory on your final lap. Also, the place where powerups are handed out!
The Finish
Finishes on Downtown Dolphin are always exciting. Someone always attacks on the final Brick Climb, which stretches things out. Then more people begin attacking on the Straightaway Past ZwiftHQ. If you’re not a strong sprinter, but have the power (or powerUP) to jump away and stay away for a minute, this is the place to attack.
You’ve only got ~50 seconds of racing left once you make the hard right dead turn after the Brick Climb. For sprinters, positioning is crucial here: if you’re too far back in the pack, you’ll probably be gapped and never see the front of the race again. So try to surf the wheels of the early attackers, without poking your nose into the wind just yet.
Sometimes those early attacks stick, but usually, the W goes to the cagey rider with a kick who surfs those early attackers’ wheels then hammers a well-timed sprint beginning near the bottom of the Downhill Twisties. For these riders, an aero powerup is highly desired. Trigger it well before the hairpin turn, then sprint to glory!
Powerups
Most Crit City races include powerups handed out at the lap banner. (If you don’t understand how each powerup works, read “Your Guide to PowerUps on Zwift“.)
With a fresh powerup every couple of minutes, it’s important to use those powerups to your advantage:
- Lightweight (feather): this is an easy one – use it on the Brick Climb, triggered just as the bricks begin.
- Draft Boost (van): I like to use this as a recovery aid on the Straightaway Past ZwiftHQ, since my heartrate is typically up there and the pack is stretched out. It will help you sit on a wheel or even work your way up in the pack a bit.
- Aero Boost (helmet): highly desired for the sprint finish. Also comes in handy if you’re looking for some recovery mid-race, or looking to attack on a flat or downhill section.
- Burrito: you’ll see a lot of these on the False Flat After Lap Banner, but it may be smarter to use it on the Straightaway Past ZwiftHQ when the pack is strung out and riders are struggling to stay in the draft.
- Cloaking (ghost): can be used to surprise the competition in the final sprint or up the final Brick Climb, but only if you’ve got the kick to get away from the pack. This is the least-desirable powerup.
- Steamroller: another easy one – use it on the Brick Climb. That’s the only place where it makes any difference at all.
Strategic Notes
Most riders race Downtown Dolphin in a simple fashion – sit in, then try to win the sprint. Heck, that’s what I do most days, unless I’m feeling especially strong, working with teammates, or trying to execute a workout instead of taking a race win.
Stronger riders will push hard up and over the Brick Climb, stretching out the pack, creating gaps, and dropping weaker riders from the front group. This is an effective way to thin the herd lap after lap.
Teamwork can be a lot of fun on this route – I’ve seen teams plan a hard jump on the Brick Climb, usually with 2-3 laps to go. If 3+ teammates all jump hard, you may be able to drop the rest of the group and stay away to the finish for ultimate team glory!
The penultimate lap is typically one of the easiest laps of your race on Downtown Dolphin. The pack has been thinned, and riders are keeping their powder dry for the final effort. If you’ve got a weak sprint but strong VO2 power, this is a great place to go for a surprise long attack, especially if the front pack is fairly small (5-10 riders).
The last strategic note is simply to know your power profile. If you don’t have strong 15-second power, don’t wait for the final sprint, because you’re sure to lose it! Instead, consider attacking on the Brick Climb, or just after it.
Bike Recommendations
Aero rules the day here. Yes, the Brick Climb is the key pinch point of the route – but it’s only 15 seconds long, and not terribly steep. Speeds through this segment vary from approximately 35 to 42kph (21-25mph), so even on the climb, air resistance is a major factor.
See “Fastest Bike Frames and Wheels at Each Zwift Level” for recommendations.
Your Comments
This is my first attempt at a “How To” video for a particular route. A trial run, you might say. (Also, a way for my 14-year-old son to work on his video editing skills, which he’s having a lot of fun with lately.)
I’d love to hear what you think of the video (the good and the bad) and the prospect for future videos/posts covering other racecourses. Share your thoughts in the comments below!
