Indoor bike racing has evolved into a cycling discipline of its own, and every platform has its own idiosyncrasies. The more you ride on Zwift, the more you’ll learn strategies and tricks that can give you an edge. Here are five intermediate-level tips for next-level eRacing on Zwift.
If you’re new to Zwift racing, be sure to read “How to race on Zwift (setup, strategy, and more)” first, which covers the basics.
#1: Attack Dirty
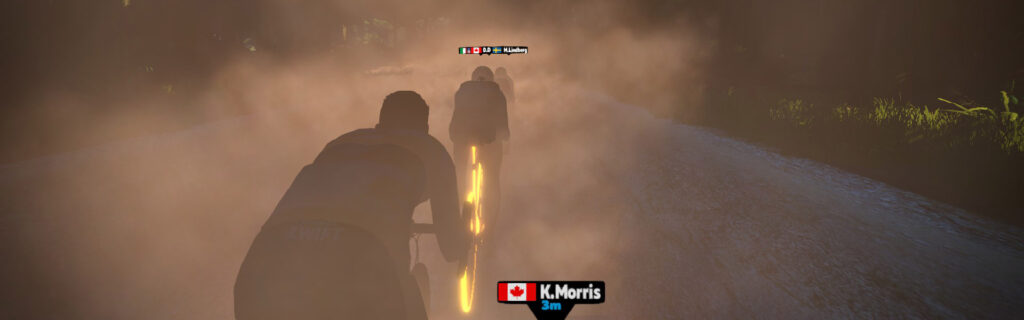
Watopia and Makuri Islands have several dirt sections, and even though it’s virtual, riding in the dirt is different than riding on tarmac! Dirt has a higher rolling resistance on Zwift, so your smart trainer’s resistance will increase a bit on dirt sections, and your speed will drop compared to riding on tarmac. Additionally, dirt sections are dusty, which limits visibility in larger groups.
Another way to look at it: these dirt sections essentially behave like small climbs, with the added benefit of reduced visibility. If you’re feeling good and want to attack, consider the dirt.
Attacks in the dirt are what dropped GCN’s Simon Richardson from the lead group in the famous “Si vs the Volcano” race in Zwift’s early days. The takeaway is: if you’re barely holding onto the pack and are approaching a dirt section, try to start near the front of the group and be ready to put in an extra dig to avoid getting dropped.
This also gives you better visibility, because unless you’re near the front, you won’t be able to see more than a few bike lengths ahead in a large pack. (Pro tip: for visibility, you can also change the camera angle – hit 9 on your keyboard for an overhead view without dust.)
#2: Don’t Over-Power It
Thanks to updates in pack dynamics, Zwift’s draft isn’t nearly as “sticky” as it used to be, but there is still a wattage range that will keep you in the draft. That is, if you are drafting behind someone who is pulling at 300 watts, you will stay in their draft if you do 250 watts… but you may also be able to stay in the draft at ~225 watts. So why put out the extra wattage?
Related: The Watt Wasting Window: Riding Second Wheel Efficiently on Zwift
Racing is all about conserving energy so you’ve got the watts when you need them most. So try to maintain the minimum wattage necessary to hold your desired position in the pack. This will require constantly adjusting your power output, but once you’ve spent some time doing it, it becomes second nature. (Riding with Robopacer groups is a great way to practice efficient pack positioning.)
#3: Know Your Draft Status
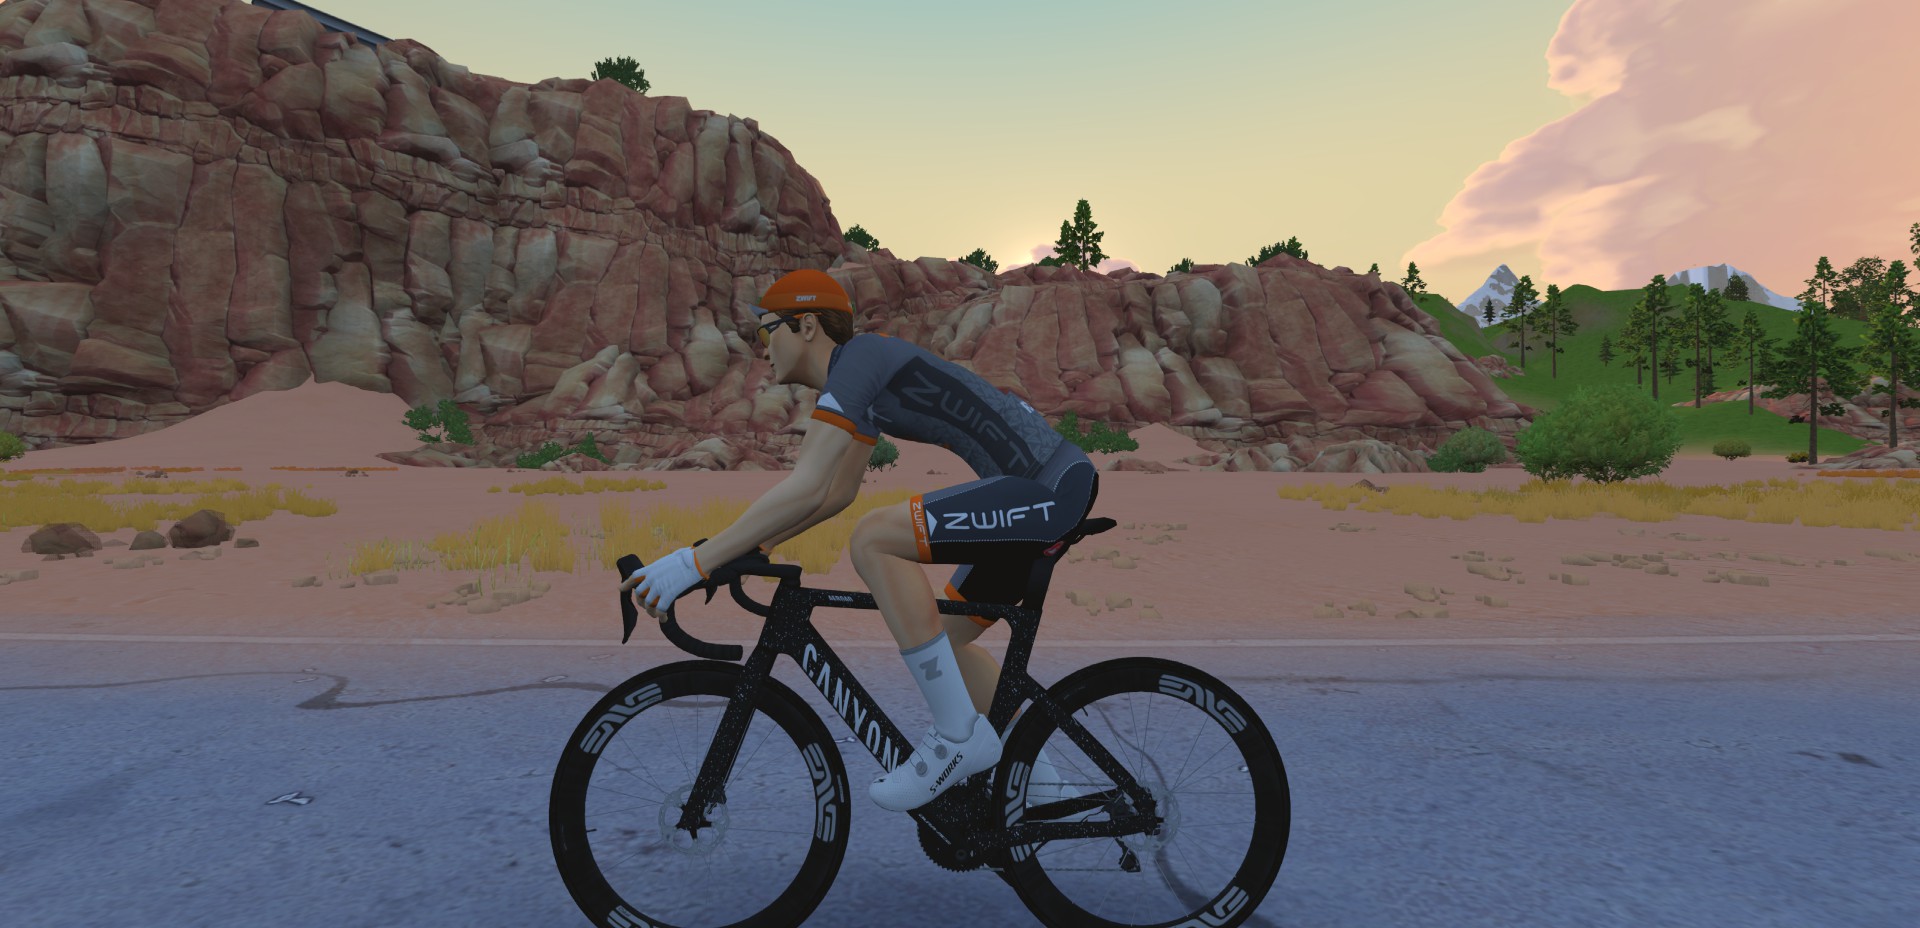
One key aspect of efficient pack riding is knowing whether or not you are currently drafting. Zwift uses the visual cue of having your avatar “sit up” on the hoods to indicate when you are in the draft on a road bike, with two key exceptions:
- Your avatar will also sit up at slow solo speeds (but in a race situation, this rarely applies).
- When riding the Tron bike or a TT bike, your rider will never sit up, even though it is drafting. This is simply because Zwift never created those rider positions for those bikes!
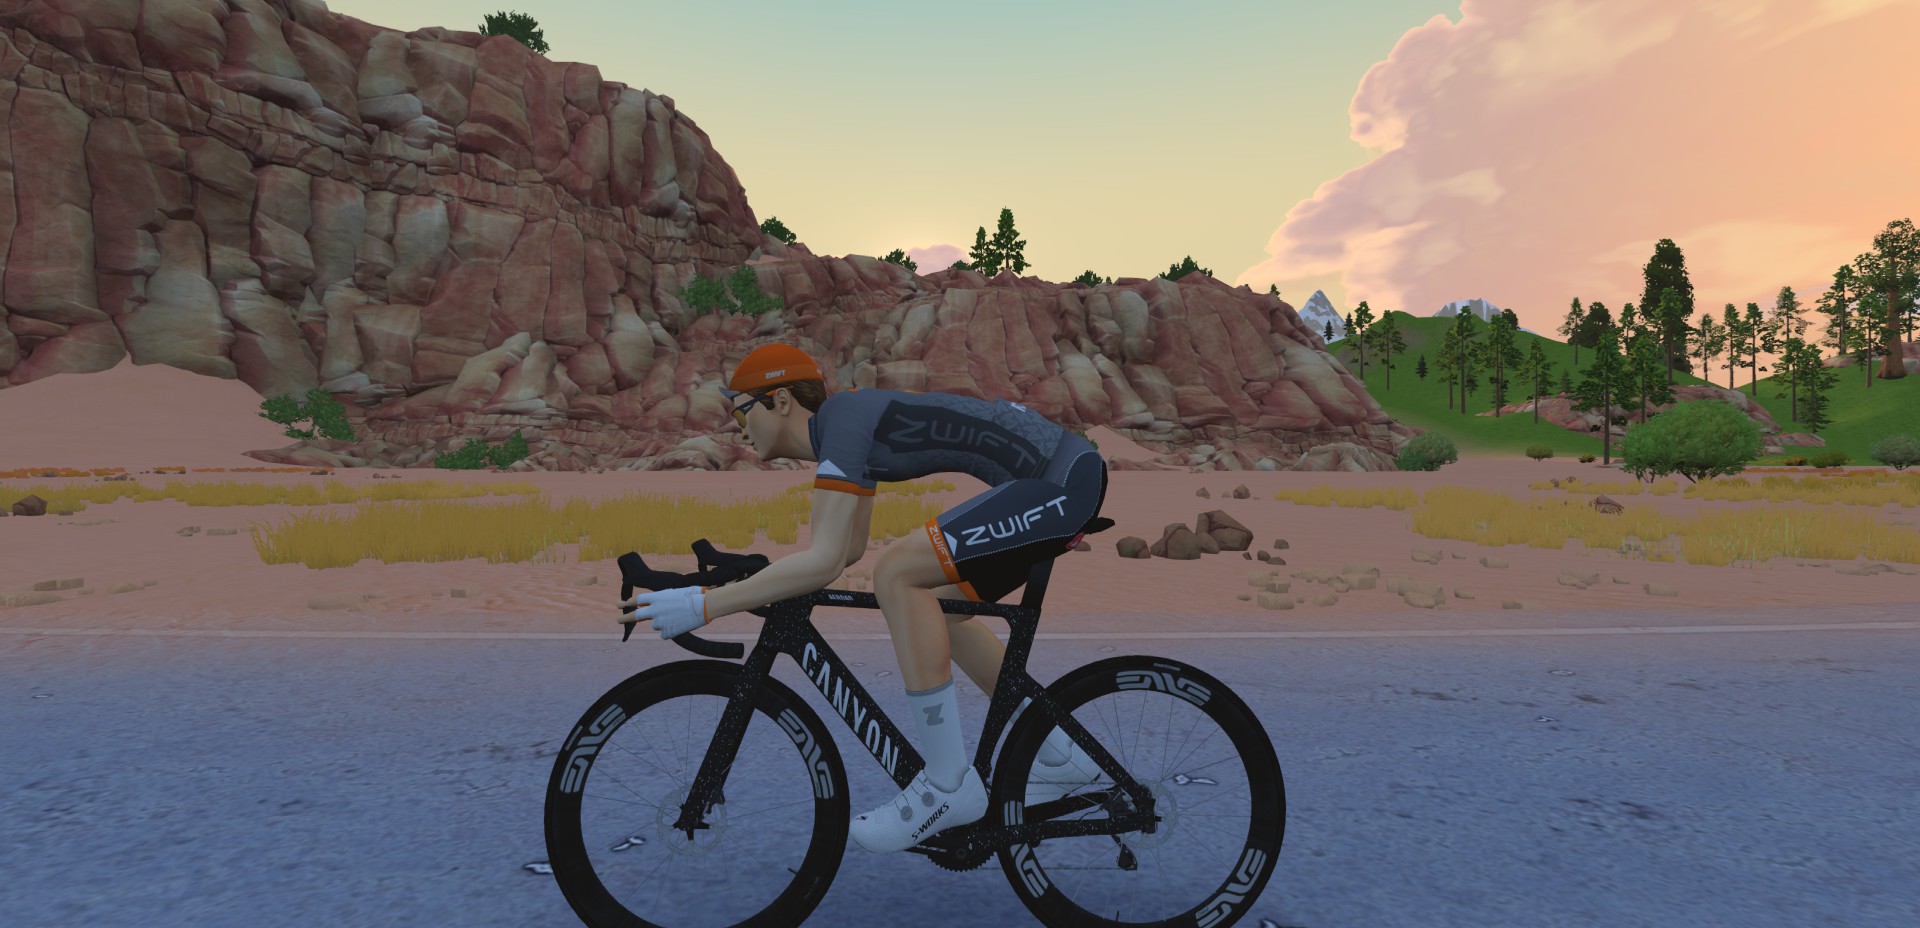
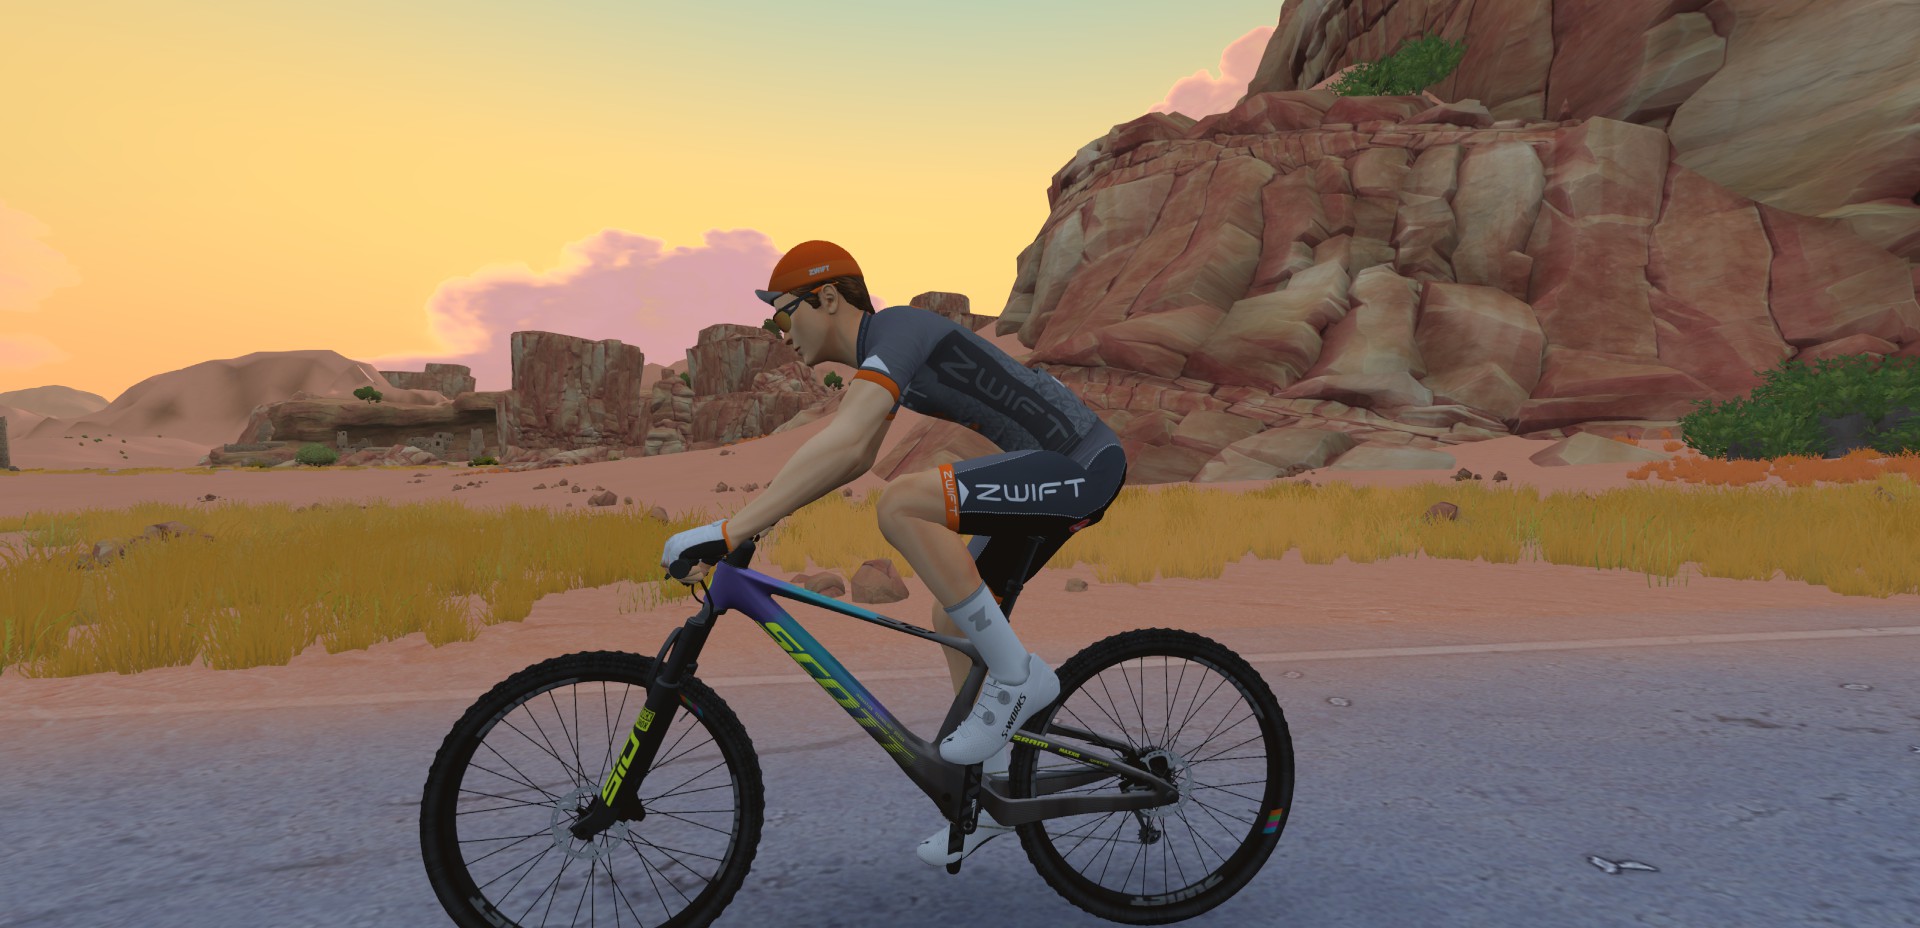
If you are moving at 33kph (20mph) or more and your avatar is sitting up, you are in the draft. If you’re hunched down in the drops, you are out of the draft and probably working harder than you want to be. Here are side views of the two positions (for road bike and MTB):
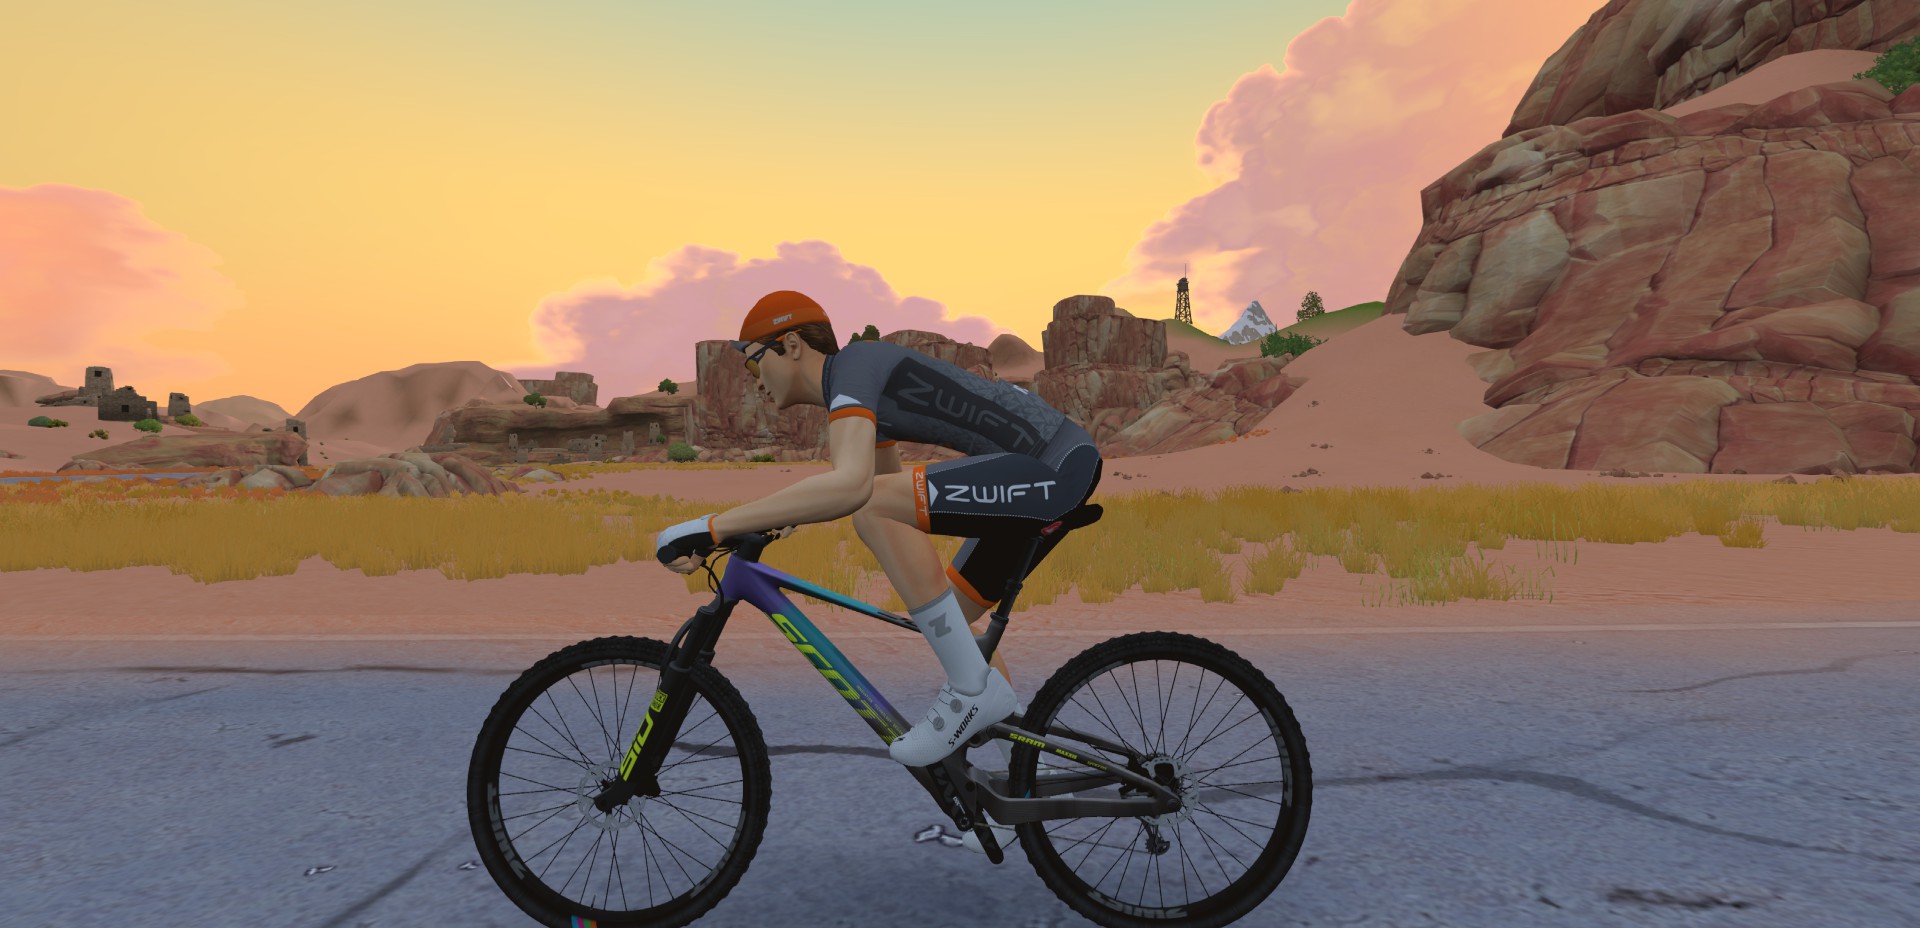
The only other exception to this is if you’re drafting on a downhill of 3% or more, going ~50kph or faster, Zwift will put you back into the drops (normally the “non-drafting” posture).
Drafting in Zwift actually introduces some randomness into group riding, as the game positions you right to left automatically unless you are actively steering. Sometimes this means you get moved out of the draft – when this happens and your rider crouches down, be prepared to work a little harder to keep pace with your group until Zwift takes you back into the draft.
Related: Drafting in Zwift: Power Savings, Tips, and Tricks
One last tip: if you’re on Windows or Mac, the Sauce for Zwift add-on includes a draft meter. Learn more here >
#4: Cruise with a Supertuck
Supertucking can be the most efficient way to make others work hard to stay with you on a descent. But you need to know how the supertuck works in order to use it to maximum advantage! Supertucking in Zwift requires four conditions to be met:
- You must be traveling at least ~36MPH (~58km/hr)
- The gradient’s decline must be at least -3%
- Your power output must be below 11 watts
- You must not be drafting (safety first!)
Because of these requirements, supertucking is most efficient if you’re in a group where others aren’t fighting for the supertuck slot. When others aren’t fighting to be the rider in the front who isn’t drafting (and thus is able to supertuck), you can stay in that slot with little or no effort apart from what’s required to move to the front of the group at the start of the descent.
If others are fighting for that slot, though, it may be easier to simply ride the wheels of the supertuckers, sitting in their draft with as little effort as possible. You will need to pedal, though!
A word of warning: the supertuck works great until you hit a flat section or slow down enough that the game sits you up. At that point, if you’re with a group that is hammering, you can get dropped very quickly. Pay close attention to the road and other riders, and start pedaling hard if you see flat road just ahead or riders begin to pass you quickly.
Related: All About the Supertuck On Zwift
#5: Tweak Trainer Difficulty
In races, do you typically overtake riders on short climbs, then need to put down extra power to stay with the pack on descents? This can happen if you’re a strong climber or if you’re racing against riders who have turned down their Trainer Difficulty. (For the details behind why this happens, read “Hanging with the Group Over Gradient Changes“.)
Related: Using the “Trainer Difficulty” Setting in Zwift
One way to reduce this yo-yo effect is to adjust your trainer difficulty settings under Menu>Settings>Hardware to something in the 10-30% range. Doing so will make your resistance change less in response to gradient changes, helping you keep power more consistent so you can ride more efficiently.
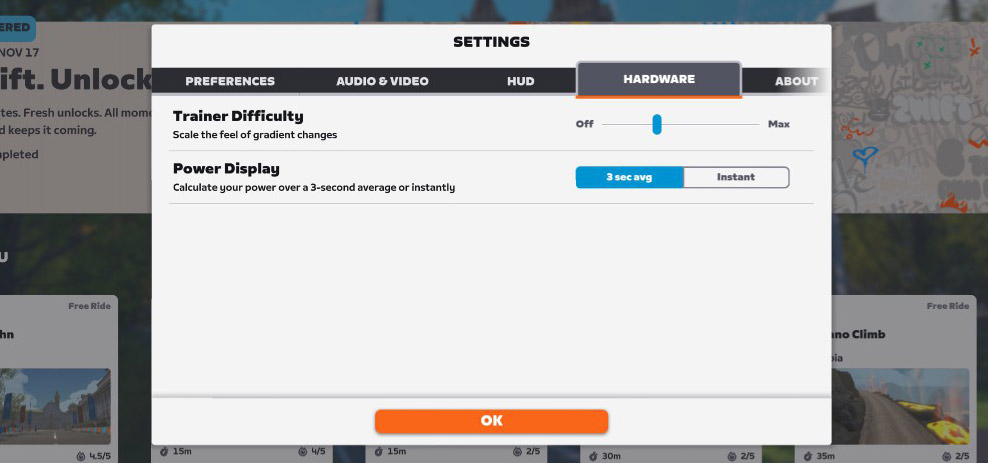
Reducing Trainer Difficulty also means you won’t have to shift as often, which some people prefer. Of course, the lower you set Trainer Difficulty, the less “realistic” your trainer resistance will actually be. So if you want your trainer to reproduce the actual in-game gradients, go ahead and slide this setting all the way up to 100% and get ready to shift.
Note: this tip only applies to smart trainer users – but that’s pretty much everyone these days.
Share Your Tips
Got any racing tips of your own? Share them below!
