

The Queen Stage of Zwift Racing League 2026/27 Round 2 is in Watopia on Tuesday, November 24. A and B teams will take on Muir and the Mountain, while C and D teams will face Elevation Evaluation.
A and B teams, your race guide is here. C/D teams, your race guide is below.
This is one for the climbers, make no mistake. But what about everyone else? Read on for course advice, bike choice tips, and more.
Looking at the Route
C and D squads will be racing 1 lap of Watopia’s Elevation Evaluation, which is 27.6km long with 410m of elevation. Here’s the route profile:
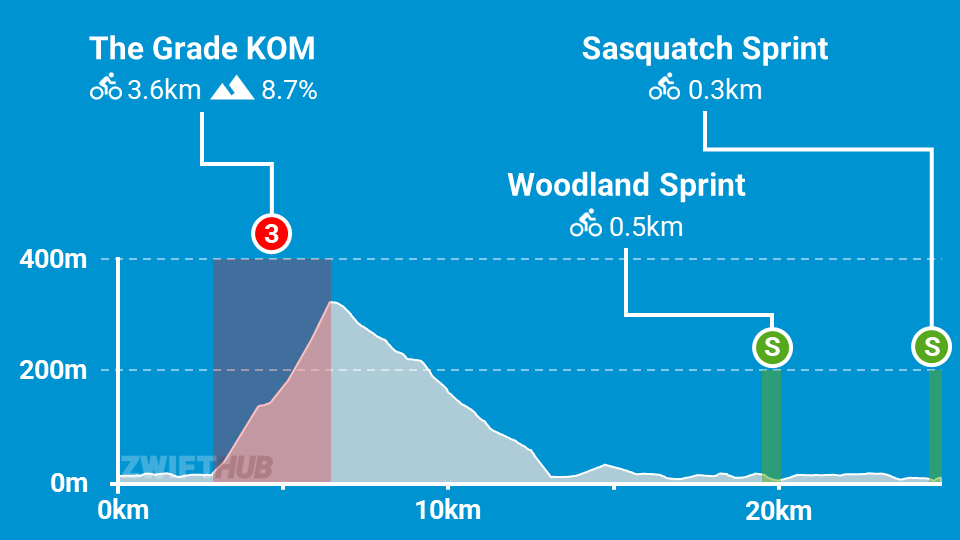
This is a scratch race, so the only thing that matters is your position across the finish line. Here’s how I break up the route conceptually (I’ve included a few tips with a view towards maximizing your finish line placement):
- The Lead-In (0-5.9km): Instead of heading straight up The Grade, you’ll turn right from the pens and head down the Southern Coast Road for a flat lead-in, taking you through the Sasquatch Sprint banner before a quick turnaround back through the banner. That’s the end of the official “lead-in”, but you’ve still got almost 3km of flat road back to the base of The Grade. I wouldn’t expect anything interesting to happen in this section, so just keep your legs spinning and conserve energy for the effort to come.
- Feather at Sasquatch Sprint arch (twice!)
- The Grade KOM (5.9-9.4km): The defining feature of this course, the steep slopes of The Grade will force the pack to stretch then separate into a painful parade of suffering cyclists. This is a steady climb, and you’ll want to pace this one steadily in order to get your best time. Tip: know how long it will take you in a maximal effort. Top A riders can do this in under 10 minutes, while D riders will be closer to 20.
- Feather at The Grade KOM arch
- Descent (9.4-16.1km): A long descent follows the long climb, as you make your way down the Epic KOM to sea level. I wouldn’t expect big pushes here, as riders will want to recover after The Grade, and attacks are less effective on descents than flats or climbs.
- Climb to Saddle Springs (16.5-17.6km): After ~400 meters of flat road, you’ll climb up into the redwoods. This isn’t a particularly steep or long climb, but it is the last real uphill of the route. If you’re feeling strong, you might use it to launch an attack, or bridge to a group ahead.
- Rolling to the Finish (17.6-27.2km): This long stretch of rolling Southern Coast road looks flat in the profile, but it definitely has a few bumps where you can launch attacks to bridge or thin the pack. With riders grouped into smaller packs by this point, it’s very possible that a small group of motivated riders could jump off and split groups further. Keep your eyes open and mind your pack position.
- Feather at Woodland Sprint Reverse arch (22.8km)
- Finish on Sasquatch Sprint Reverse (27.2-27.7km): The road begins to descend slightly with 500 meters left, and stays downhill until you’re ~250 meters from the finish. Use this descent to gather speed, then go all-in with your power when the road tilts upward. Hold it to the line!
Read more about the Elevation Evaluation route >
PowerUp Notes
We’ll get a 250 XP bonus in the start pens, then every arch we ride through will award a Feather powerup. That’s a total of four feather opportunities during this race (as listed above).

Lightweight (feather): reduces your weight by 10% for 30 seconds. Use on climbs, where weight slows you more than it does on flats and descents. Very useful on The Grade, and any other uphill segments in this race.
Bike Recommendations
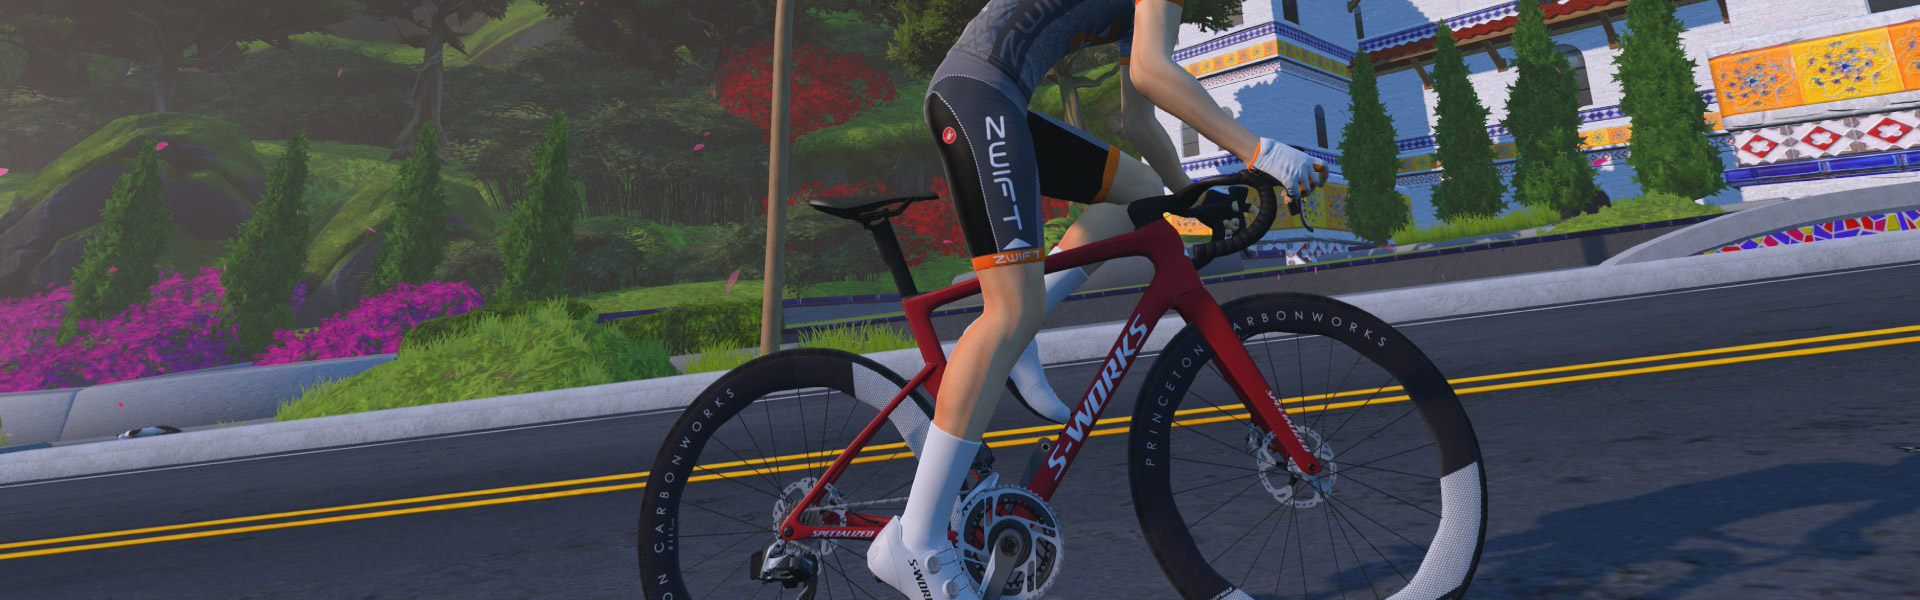
Most riders will want their best climbing bike for this race, as the big moves will come on the steep The Grade e KOM. A fully-upgraded Specialized Aethos S-Works is the best climber in game, basically ~20 seconds faster across an hour of climbing compared to the popular all-arounders like the Specialized S-Works Tarmac SL9.
The Aethos loses ~20 seconds across an hour of flat performance to the SL9, but that’s a trade most riders will be willing to make.
For wheels, it’s hard not to once again recommend the Princeton Carbonworks Wake 6560 hoops, because these are basically “superwheels” that barely lose to the top climbing wheels in game, while performing very strong when speeds are higher.
Of course, your frame’s upgrade status should impact your decision.
Related: All About Zwift’s “Bike Upgrades” Functionality >
See Speed Tests: Tron Bike vs Top Performers for more nerd-level detail on frame and wheel performance, and check out Fastest Bike Frames and Wheels at Each Zwift Level to determine the fastest setup available to you.
More Route Recons
Lots of recon events are scheduled on upcoming ZRL routes, led by various teams. See upcoming ZRL recons for this race at zwift.com/events/tag/zrlrecon.
Additionally, riders in the Zwift community do a great job every week creating recon videos that preview the courses and offer tips to help you perform your best on the day. I’ll add them below as I find them!
J Dirom

John Rice
TacticalWatts

Strategic Options
It’s been a while since we took on so much elevation in a ZRL race. Climbers, this is your week to shine! The tough thing about bigger, steeper climbs like The Grade is that there’s simply nowhere to hide. For some riders, there is simply no strategy brilliant enough to keep you in podium contention to the end. Bike choice and route knowledge can only take you so far.
So the race becomes a series of decisions made to secure the highest finishing position possible. Those decisions will look different for each rider and each team.
Remember: only your finishing position matters.
Here are some of the strategies we’ll be seeing on Tuesday:
- All In On The Grade: Minor moves may happen elsewhere on course, but make no mistake: the key selections will happen on The Grade. With a long downhill immediately following, it’s worth digging deep and going all-in on this climb, because rider groupings will be largely established by your positions through the KOM arch.
- Pacing: Riders who don’t trust their W/kg will seek to limit damage on The Grade by riding within themselves and pacing the climb evenly. This is wise, but don’t be afraid to dig a little deeper in the final minute or two to hang onto riders up the road. Proper pacing on The Grade will probably gain riders 5-10 spots in the end, but poor pacing will cost some even more.
- Post-Climb Consolidation: There will be no “pack” over the top of The Grade. But riders will group up on the long descent that follows, and many decisions will be made about whether or not to work to close gaps. Good team communication may gain you some finishing positions in this phase.
Your Thoughts
Any insights or further thoughts on this race? Share below!

