

The third race of Zwift Racing League 2026/27 happens on Tuesday, October 6, and it’s a points race in Makuri Islands.
Don’t understand how ZRL points races work? Read our explainer >
If you’re on an C or D team, you’ll be racing one lap of Urumaze, a course ZRL hasn’t used before. This guide is for you. A and B teams will be on Makuri 40 (read that race guide here).
Most riders will be unfamiliar with the Urumaze route, since it only launched in game August 2026. Let’s look at crucial course segments, powerup usage, bike decisions, and strategic options!
Looking at the Route
This is a points race, and all 5 intermediates are flat sprints. Apart from those key intermediates, there are also two key climbs. Let’s talk about each key segment in order of appearance:
- Tidepool Sprint Reverse @1.7km (0.31km, 0%): this pan-flat sprint signals the end of the route’s lead-in. It’s the first points segment of the race, and will be hit twice more!
- Pain Cavern @3.2km (2.1km, 3%): although this isn’t an official points segment, it’s a crucial callout since riders will be dropped on this hard effort. This is our first and longest climb on the day, and it comes at us in three sections separated by short flat stretches. The pack typically stays together on the first section – it’s the second section (the longest and steepest!) through the figure 8 where things really break up. The final section is your last chance to close the gap to riders ahead (or keep pushing to drop riders struggling to hold on). See the Strava segment for details >
- Tower Sprint @7.7km (0.32km, 0.4%): another flat sprint, although in this direction it has just a bit of an uphill to its start. If you want to top the FTS leaderboard, you’ll need to push extra watts up that false flat to begin the segment fast!
- Tidepool Sprint Reverse @15km (0.31km, 0%): our second go at this sprint.
- Festival Harbor Climb CW @18.5km (2.5 km, 2.1%): our second climb of the day, and another crucial non-points section where riders will be dropped. Expect stronger riders to attack this climb hard to grab FAL points on the Shisa Sprint Reverse and/or form a breakaway that may survive to the finish. See the Strava segment for details >
- Shisa Sprint Reverse @20.2km (0.28km, 0%): this longish sprint comes just after the Festival Harbor Climb, so expect tired legs and a strung out pack.
- Tidepool Sprint Reverse @26.4km (0.31km, 0%): one final sprint, but this one carries extra weight as your FAL points are effectively doubled, since you’re getting FIN points based on your position as well! All the more reason to go all-in in this final effort.
Powerups
In fact, you’ll get a 250 XP bonus each time through the Tidepool Sprint arch, as long as you aren’t holding a powerup when you go through the arch.
This is how the powerup situation should unfold, according to WTRL. (But don’t shoot the messenger if it turns out differently – there’s no way for me to test this on my end):
- Aero Boost given in start pens
- Mech Isle virtual start/finish: aero boost
- Tidepool Sprint Reverse @1.7km: 250 XP bonus
- Tower Sprint @7.7km: aero boost, draft boost, or feather (equal probability)
- Virtual start/finish for Castle to Castle @9.3km: aero boost
- Tidepool Sprint Reverse @15km: 250 XP bonus
- Shisa Sprint Reverse @20.2km: aero boost, draft boost, or feather (equal probability)
- Mech Isle virtual start/finish @22.5 (approximate): aero boost
- Tidepool Sprint Reverse @26.4km (0.31km, 0%): 250 XP bonus

Draft Boost (van): increases the draft effect you are experiencing for 40 seconds.
Use at higher speeds (flats and descents) when you are already drafting off another rider (since this powerup only helps when you are drafting).

Lightweight (feather): reduces your weight by 10% for 30 seconds. Use on climbs, when weight matters the most.

Aero Boost (helmet): makes you more aerodynamic (reduces your CdA by 25%) for 15 seconds.
Use at higher speeds (flats and descents), especially when no draft is available (although it is still useful when drafting). Deploy when contesting sprint points.
Bike Recommendations
- Specialized S-Works Tarmac SL9 or SL8
- Cannondale Supersix EVO Lab 71 (Team Edition is even faster)
Wheel choice feels a bit trickier here, because we have the option of the most aero wheels (disc wheelsets), better climbing wheels (to help you survive the twowo climbs), or something in between. Zwift has strong options in each of those categories, so I’d say take your pick, depending on whether you want a bit of an edge on the climbs, on the flat sprints, or strike a balance between the two:
- Shimano DURA-ACE C99/Disc: the most aero wheels in game, but a bit heavy compared to non-disc wheels
- Princeton CarbonWorks Wake 6560: very lightweight wheels which also feature strong aero performance
- SwissSide HADRON Ultimate 650: a compromise between light weight and strong aero performance. A bit heavier than the Wake 6560, but also a bit more aero.
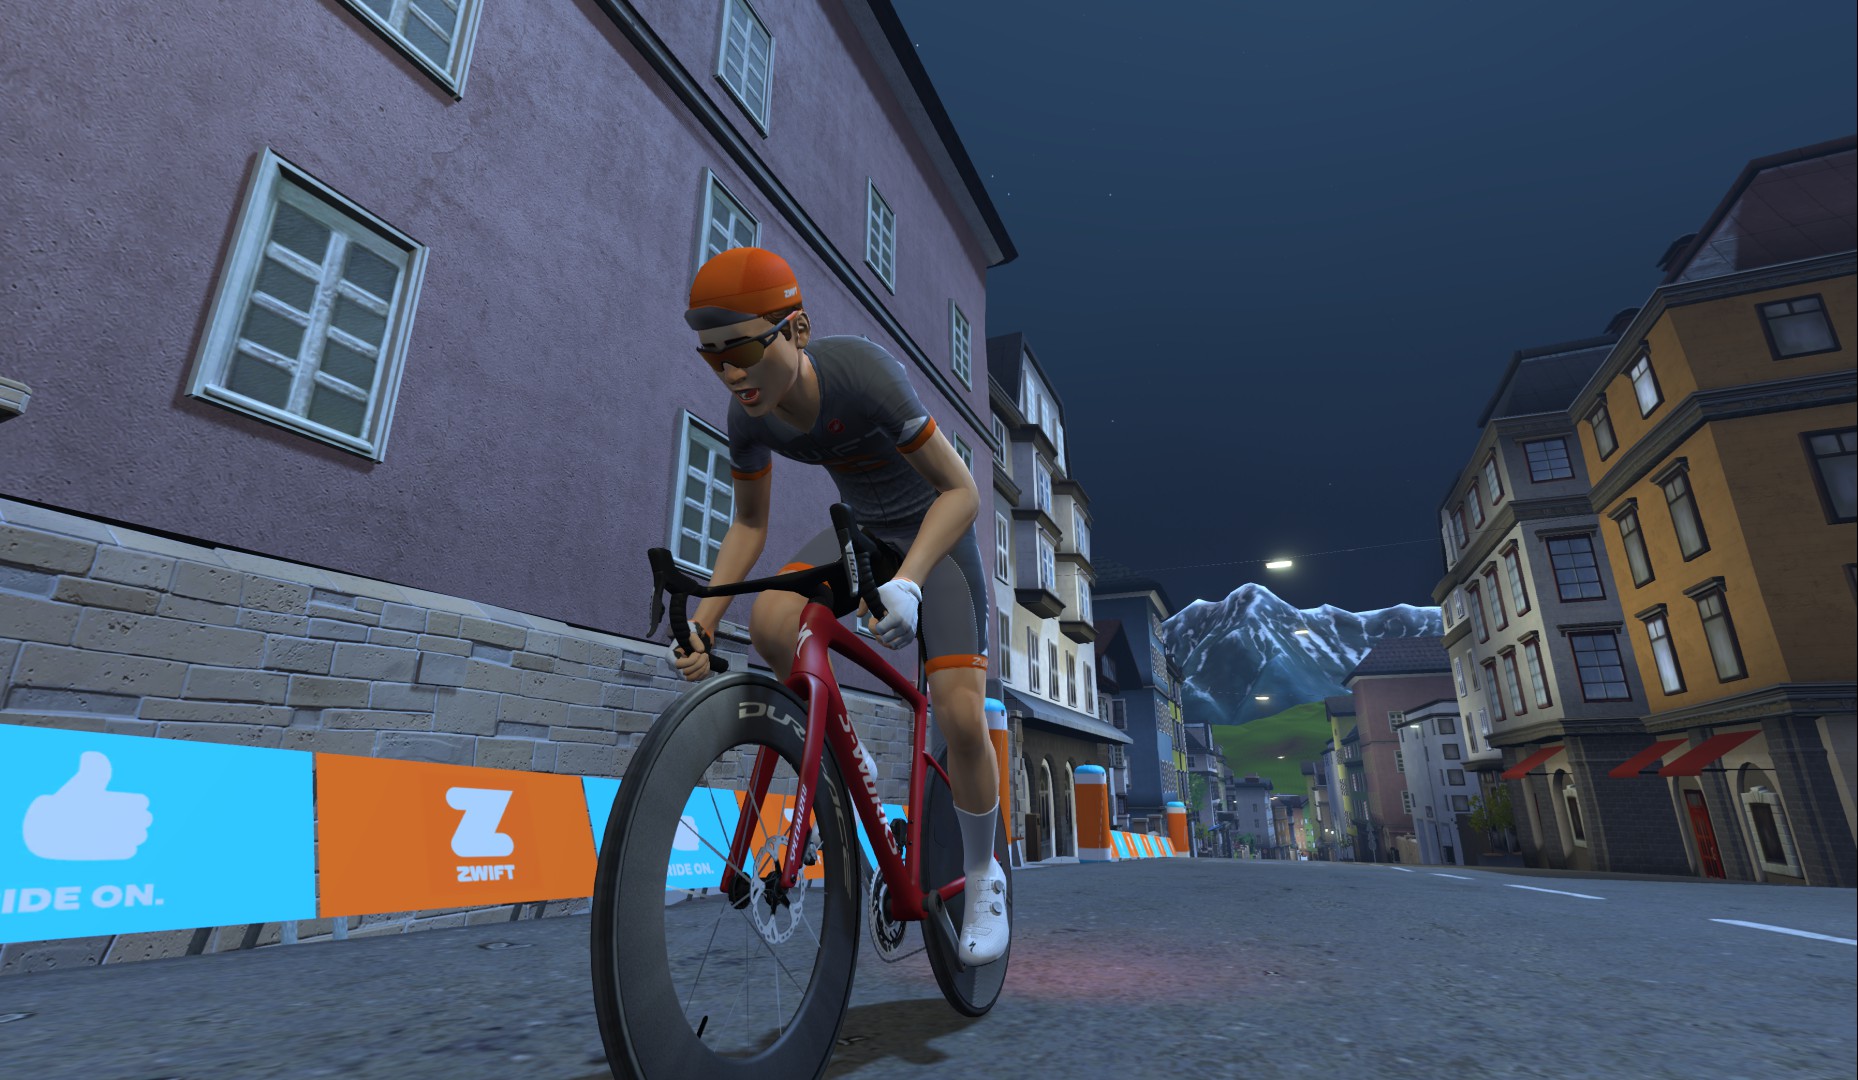
Of course, your frame’s upgrade status should impact your decision.
Related: All About Zwift’s New “Bike Upgrades” Functionality >
For more info on bike and wheelset performance in Zwift, check out:
- Wheel Charts: For precise performance data on all wheelsets. and wheel performance.
- Speed Tests: Tron Bike vs Top Performers for head-to-head comparisons of various frame and wheel combos.
- Fastest Bike Frames and Wheels at Each Zwift Level: Determine the fastest setup available to you.
- Bike Frame Charts: For precise performance data on all road frames.
More Route Recons
J Dirom

John Rice

Nathan Krake
Strategic Options
Points Distribution: Urumaze, 1 Lap
How will the race unfold, and what strategies will riders employ in the first points race of the season? Here’s what I predict:
- First Time Tidepool Sprint FTS: with most riders holding an aero powerup heading into the first tidepool sprint, and the pack at its largest and freshest, expect most or all top 10 FTS times to be set on the first go-around.
- Pain Cavern Attack: got a team full of stronger climbers but weaker sprinters? It would make sense to push hard up the Pain Cavern climb to drop some sprinters so you stand a better chance of grabbing FAL points on the four sprints up the road.
- Selective Sprints: almost 60% of the race’s points are from sprint FAL (even more if you include the finishing Tidepool Sprint), but the powerups we receive from some arches are (somewhat) random. Riders will approach each sprint differently based on which powerup they’re holding, but make no mistake: riders will be targeting those sprint points, because that’s how you’ll win this race.
- Chasing It Back On the Flats: from the top of the Pain Cavern climb, you have ~5km of flat road followed by ~4.3km of descent. Expect riders dropped in Pain Cavern to work to rejoin during this section. Riders ahead will need to decide if it’s worth pushing the pace on what is otherwise a “recovery section” to hold onto higher FAL points.
- Punch Into the Final Sprint: the last sprint segment (Shisa) offer punchy climbers opportunities to attack off the front and take high FAL points by keeping the power/speed high through the sprint arch. It also offers a chance for a reduced front group to stay away for the final 6km if they can work together.
Your Thoughts
Any insights or further thoughts on this race? Share below!

I think you have a typo for the km marker of the Festival Harbor Climb — also i thought power ups were all randomly assigned???
Fixed the typo!
According to WTRL’s schedule (https://www.wtrl.racing/zrl/schedule/) and confirmed in my chats with them, anything designated as a “lap arch” gives an aero powerup. That SHOULD include the two virtual arches I mentioned above.
Thank you!
I’m the weakest rider on my team but have the best sprint. Unfortunate that I can’t generate enough points being an FTS hunter but it makes sense given the entire race should be more important.
Unfortunately a few teams took FTS hunting too far when it was worth more. Stopping and resting before each segment, finishing the race over 30 minutes behind the pack. I would have preferred they kept the points available but added a time cut rule, finish too far behind and your FTS doesn’t count.
I think it’s a good balance atm, you don’t want FTS to be worth sacrificing FAL for, otherwise three is zero point trying to agitate the race. Losing out on points because you created a breakaway should never be the situation.
Thanks for the guide. It is always useful. Please check the description on the feather powerup which mentions the Brooklyn Bridge as the place to use it.