I recently took on the project of building out Zwift Insider’s route info data by adding lap leaderboard segments to our route pages. This meant doing a fair amount of legwork to learn which laps in Zwift award leader jerseys, and which routes include those laps.
In the end, after publishing a page listing all of Zwift’s lap segments and linking all the lap segments to routes that contained them, I was left a bit surprised by how few Zwift routes encompass full lap segments.
This is particularly true in Watopia, which has no less than 8 lap leaderboards: the Hilly, Volcano, Jarvis, and Jungle laps, in both directions. It seemed only right to create a route that hit all of these laps, allowing a strong rider (in theory at least) to top all 8 lap leaderboards in one ride. Now that would be impressive!
In the end, I actually created two routes. The first, “Lap It Up”, just covers the laps close to downtown Watopia: Hilly, Volcano, and Jarvis. Then I created an extended afterparty version, titled “Lap It Up + Jungle Afterparty”, which takes you out to the Jungle for forward/reverse laps.
Both routes are described below. Enjoy!
About Rebel Routes
“Rebel Routes” are Zwift rides not available on Zwift’s routes list, thus requiring manual navigation.
The reward for your rebel ride? Exploring a new route, knowing you’ve gone where few Zwifters have gone before. And a Strava segment rank in the tens or hundreds instead of the thousands! Rebel Routes are also included as a separate category on our Veloviewer Route Hunter leaderboard.
Route Description
Our basic ride plan is to hit the reverse versions of the three lap segments close to Watopia proper, then hit their forward versions, then head to the Jungle for an afterparty to do a forward and reverse lap.
A complete turn-by-turn tour of this route would be too much, so I’ll summarize it instead.
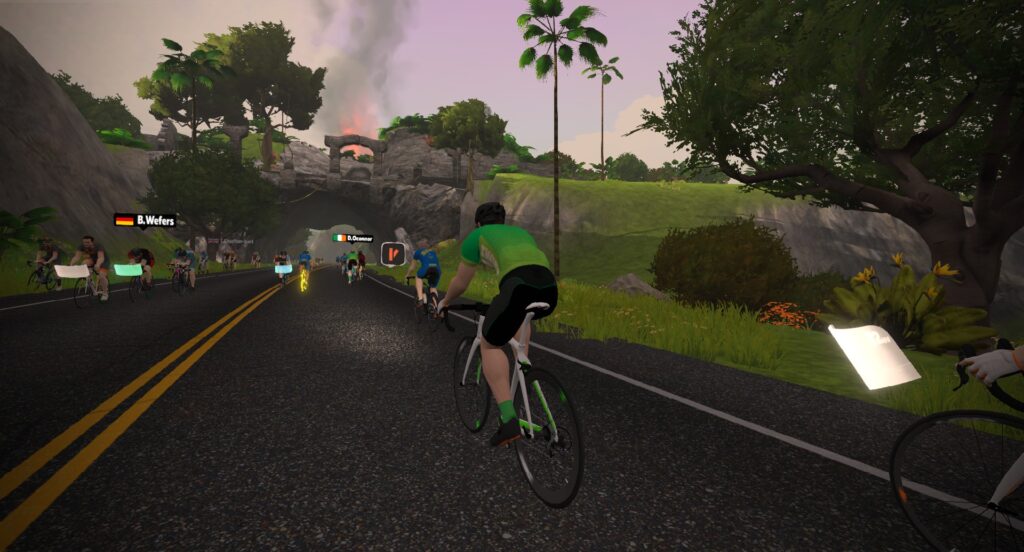
You can set yourself up easily by selecting the Figure 8 Reverse route. This puts you at the route’s start point, riding through the downtown Watopia lap arch, heading toward The Esses.
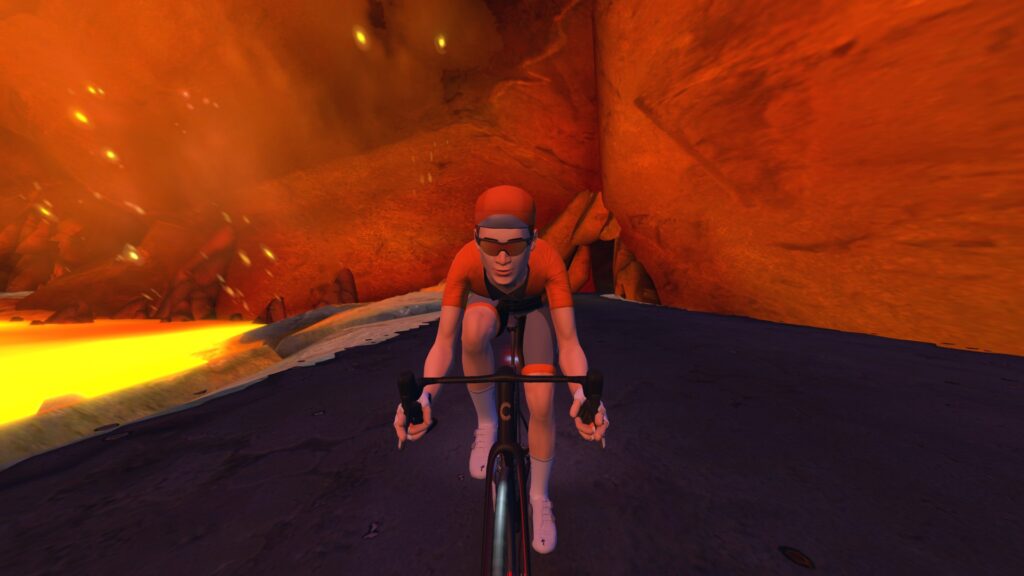
Our first lap is the Hilly Route Reverse. Finish this, then head over to the Volcano for a lap of the Volcano Circuit CCW.
Note: you may feel like you’re doing lots of laps of the Volcano and Jarvis today, because the lap start line locations mean you have to ride a partial lap to get to the start of the full lap. You will also end up riding a partial lap after your lap is complete!
After your Volcano lap, you’ll head to Jarvis for a clockwise lap, which is officially the “reverse” direction for Jarvis. Finish that full lap (which requires riding two laps of the loop), then we head to the Volcano as a way to “turn around” so we can hit Jarvis in the other direction.
Now it’s time for our forward laps! Jarvis first, replicating “The Classic” (again, two laps), then to the Volcano for a clockwise “Volcano Circuit” lap (which requires 2.5 laps of the Volcano). Then we head to downtown for our last lap in Watopia proper: the classic Hilly Route lap, the very first route Watopia ever had!
Once you finish the Hilly Route at the downtown Watopia lap arch, you’ve completed the Lap It Up Rebel Route. But we also have an “afterparty” version which takes you out to the Jungle, to complete a lap in both directions, so you’ve done laps of all the lap segments in Watopia. Are you up for it?
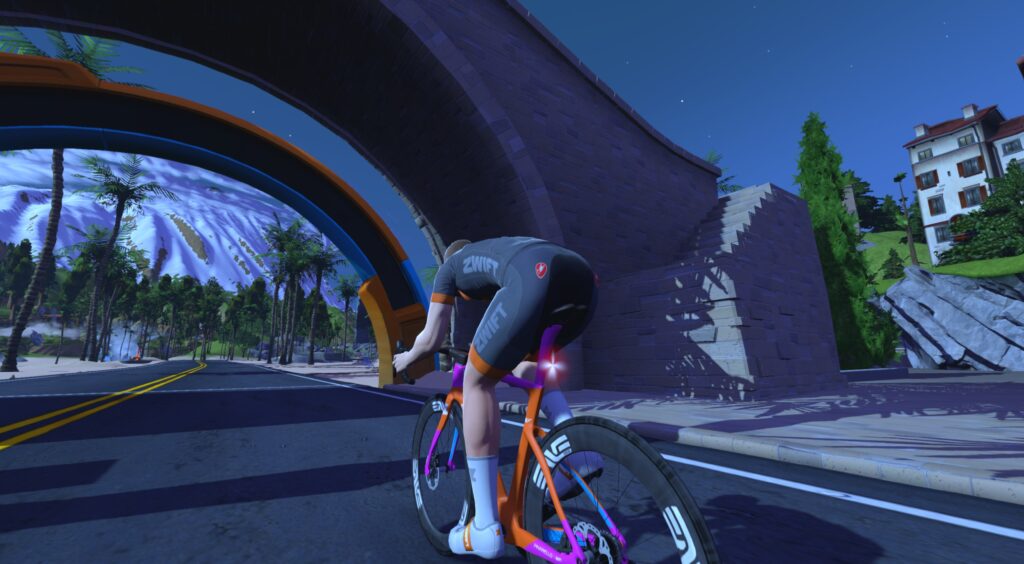
If so, head out on Ocean Boulevard and up to the Jungle, finishing a full Jungle Circuit lap in the forward (CCW) direction first, before taking the Mayan Bridge cutoff to change direction and do a final full Jungle Circuit Reverse lap in the clockwise direction. The Lap It Up + Jungle Afterparty route ends at the Jungle Circuit arch once you’ve finished that full reverse lap!
Turn By Turn Directions
Begin by choosing the Figure 8 Reverse route, which starts you in downtown Watopia, heading in the right direction for at least the first several turns.
- Straight (Left) to Sprint
- Straight (Left) to 360 Bridge
- Straight (Left) to 360 Bridge
- Straight (Right) to Reverse KOM
- Straight (Right) to Reverse KOM
- Straight (Right) to Downtown
- Straight (Left) to Downtown
- Right to Volcano Circuit
- Right to Volcano Circuit CCW
- Straight (Left) to Volcano Circuit CCW
- Right to Volcano Circuit
- Straight (Left) to Volcano Circuit
- Left to Volcano Circuit CCW
- Straight (Left) to Volcano Circuit CCW
- Straight (Left) to Volcano Circuit CCW
- Right to Volcano Circuit
- Straight (Left) to Volcano Circuit
- Left to Volcano Circuit CCW
- Straight (Left) to Volcano Circuit CCW
- Straight (Left) to Volcano Circuit CCW
- Right to Volcano Circuit
- Right to Jarvis Island
- Left to Jarvis Island Clockwise
- Straight (Right) to Jarvis Island
- Left to Volcano Circuit
- Left to Volcano KOM
- Left to Volcano Circuit
- Straight (Right) to Volcano
- Straight (Right) to Volcano
- Right to Volcano Circuit
- Left to Jarvis Island
- Right to Jarvis Island Counter
- Straight (Left) to Jarvis Island
- Right to Volcano Circuit
- Left to Volcano KOM
- Left to Volcano Circuit
- Straight (Right) to Volcano
- Straight (Right) to Volcano
- Right to Volcano Circuit
- Straight (Right) to Volcano KOM
- Left to Volcano Circuit
- Straight (Right) to Volcano
- Straight (Right) to Volcano
- Right to Volcano Circuit
- Straight (Right) to Volcano KOM
- Left to Volcano Circuit
- Straight (Right) to Volcano
- Left to Downtown
- Left to Downtown
- Straight (Right) to KOM
- Straight (Left) to KOM
- Straight (Left) to Bridge
- Straight (Left) to Islands
- Straight (Right) to Italian Villas
- Right to Sprint
- Straight (Left) to Sprint
- Right to Downtown End of “Lap It Up” Route
- Left to Ocean Blvd
- Straight (Right) to Ocean Blvd
- Straight (Right) to Italian Villas
- Left to Jungle/Epic KOM
- Right to Jungle/Alpe
- Right to Jungle/Alpe
- Straight (Right) to Mayan Loop
- Straight (Left) to Jungle Loop
- Straight (Left) to Mayan Loop
- Straight (Right) to Mayan Loop
- Straight (Left) to Jungle Loop
- Straight (Right) to Mayan Loop
- Straight (Left) to Jungle Loop
- Straight (Left) to Mayan Loop
- Left to Mayan Bridge
- Right to Mayan Loop Reverse
- Straight (Right) to Reverse Jungle
- Straight (Left) to Mayan Loop Reverse
- Straight (Right) to Mayan Loop Reverse
- Straight (Right) to Jungle Loop
- Straight (Left) to Mayan Loop Reverse
- Straight (Right) to Reverse Jungle
- Straight (Left) to Mayan Loop Reverse
- Straight (Right) to Mayan Loop Reverse End of “Lap It Up + Jungle Afterparty” Route
Route details (Lap It Up):
Distance: 65.7km (40.8 miles)
Elevation Gain: 505m (1,657′)
Strava Segment
See on ZwiftMap.com
Route details (Lap It Up + Jungle Afterparty):
Distance: 103.5km (64.3 miles)
Elevation Gain: 882m (2,894′)
Strava Segment
See on ZwiftMap.com
Rebel Route Suggestions
Got an idea for a great Rebel Route? Share it below and maybe we’ll publish a post about it!
