Home Blog Page 33

Heat Training with CORE on Zwift, Part 2: Science, Metrics, and More

Heat Training with CORE on Zwift, Part 2: Science, Metrics, and More

I like to say, “I was heat training on Zwift before it was cool.” Mostly I like the wordplay, but also, there’s some truth to it: I hadn’t seen or heard of others doing heat training on Zwift when I began doing it in the summer of 2023. It seemed like the perfect training cheat code, though: if heat training delivers on its promise and indoor cycling lets you control your environment, then Zwift could be the place where heat training thrives.

So I got a CORE sensor and began a heat training cycle. I even wrote a post about it.

That post was supposed to be part 1 of a series, but that didn’t happen. Instead, I found myself struggling to make sense of the CORE metrics, and when I reached out to CORE for support, I got no reply. So I set the project aside.

Fast-forward to early 2025, and CORE was suddenly very visible in my world: Zwift added CORE metrics to the HUD, and CORE had lots of new staff, a completely revamped app and metrics, and a new version (2) of their sensor. It was time to dive back into the sweat sessions!

The Science

While CORE’s ability to measure your heat training is a relatively new development in the world of cycling, the concept of heat training is not new at all. Cyclists have done it for decades in preparation for hot races, and more recently, riders have embraced heat training to boost overall performance, following the results of various heat-training studies.

If you want to dig into the results of actual studies, here are a few:

What do the studies show? In summary, heat training leads to the following adaptations:

  • Increased hemoglobin mass
  • Increased red blood cell volume
  • Increased VO2max and FTP, in the neighborhood of +3-10%
  • Earlier onset of sweating and an increased sweat rate
  • Decreased sodium concentration in your sweat

Notably, these increases are observed in men and women equally, and occur among both elite and amateur athletes. So it’s no surprise that heat training, and specifically heat training with the CORE sensor, has become popular among pro cyclists and triathletes. It offers clear benefits for anyone racing in the heat, but also offers benefits similar to altitude training which lead to performance boosts even in cooler environments. Hence CORE’s mantra: “Train hot, race cool.”

(In fact, various sources have told me that most, if not all, World Tour teams are using CORE for heat training, even though CORE isn’t sponsoring the teams in any way. That should make us sit up and take notice…)

CORE Metrics (Just the Basics)

When I first jumped into heat training in 2023, the testing protocol and tracking were complex. Fortunately, CORE revamped their app and metric to simplify things! Here are the key metrics used when heat training with the CORE sensor:

  • Core Temperature: your internal temperature
  • Skin Temperature: your “external” temperature, as measured on your skin
  • Heat Strain Index (HSI): uses your core and skin temperatures to measure how hard your thermoregulatory system is working to cool itself, on a scale of 0-10 (read more)
  • Heat Zones: these break HSI into 4 zones
    • Heat Zone 1: HSI of 0.0-0.9
    • Heat Zone 2: HSI of 1.0-2.9
    • Heat Zone 3: HSI of 3.0-6.9
    • Heat Zone 4: HSI of 7+ (CORE recommends staying out of this zone, as too much time here can cause heat illness or worse)
  • Heat Training Load: ranges from 0-10 and measures how much a particular training session contributes to your heat adaptation (read more)
  • Heat Adaptation Score: tracks your heat adaptation progress to see how much of your potential you’ve reached, on a scale of 0 to 100%
    • 0–24%: Thermal Rookie
    • 25–49%: Heat Accustomed
    • 50–89%: Heat Adapted
    • 90–100%: Heat Champion

Putting all these together, what CORE users typically want to do is get their HSI to increase early in the session, so they are in the higher Heat Zones (upper zone 3 is ideal) where Heat Training Load accumulates more quickly during their session. This results in a higher Heat Training Load for the day, which means their Heat Adaptation Score will increase more quickly.

Zwift Integration: What It Is (and Isn’t)
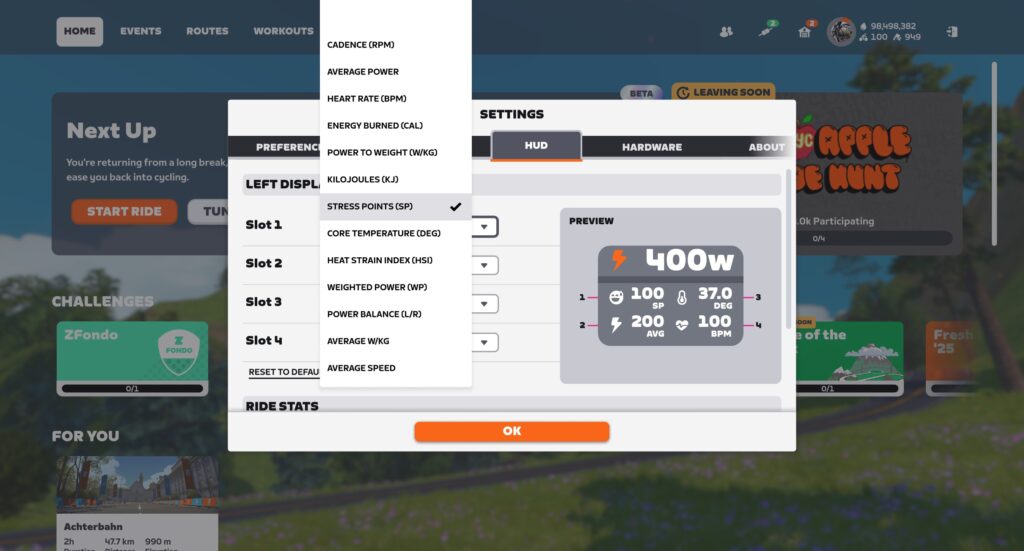
While CORE is now integrated into Zwift, it’s important to define what “integration” really means in this case. Zwift’s CORE integration simply means there are two CORE metrics available to be shown in the HUD (HSI and Core Temperature), and that data is recorded to your FIT file.

To really use CORE to its fullest, though, you’ll want to run the CORE app on your phone, so it can track your Heat Training Load for your session, and track your ongoing Heat Adaptation Score from day to day.

CORE App Basics

As explained above, despite Zwift’s basic integration with CORE, I think it’s safe to say the CORE app is essential for heat training with the CORE sensor.

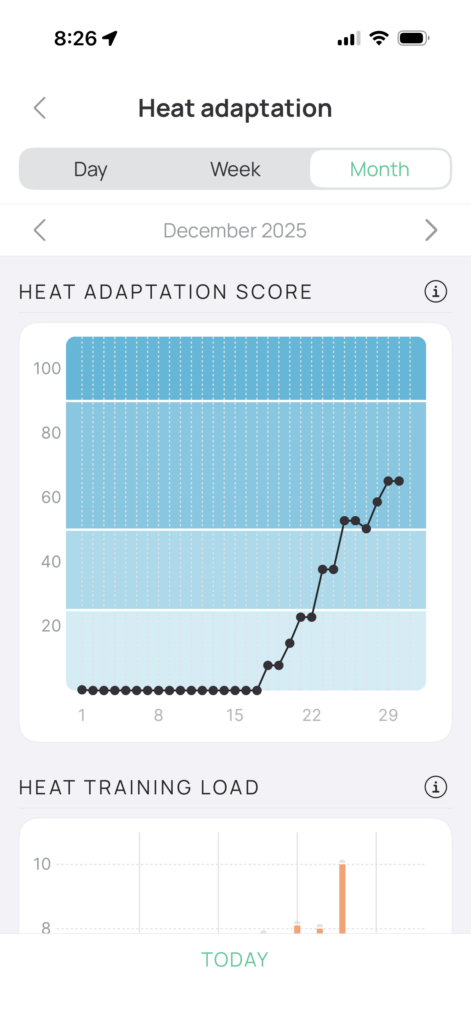
The CORE app lets you configure your CORE sensor(s), track metrics for your active heat session, and track your overall Heat Adaptation Score. You can tap the Heat Adaptation Score gauge to see a historic view of your data as well:
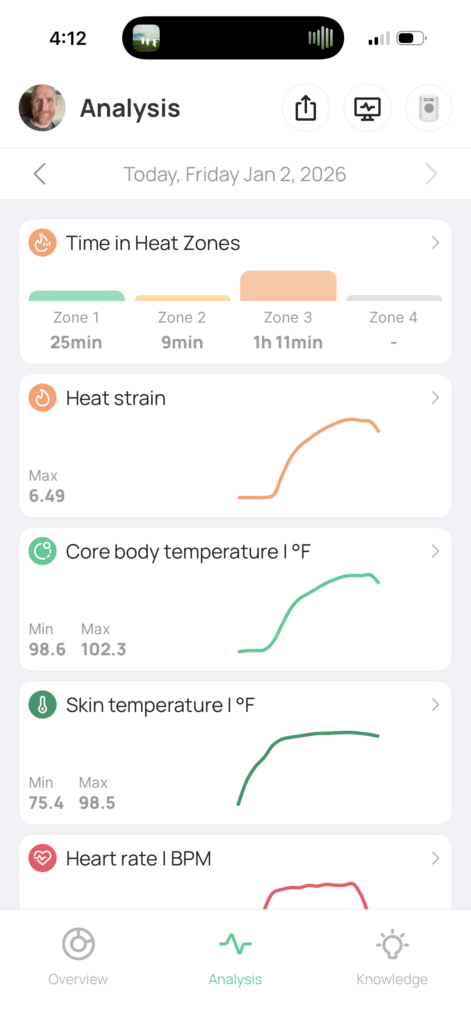
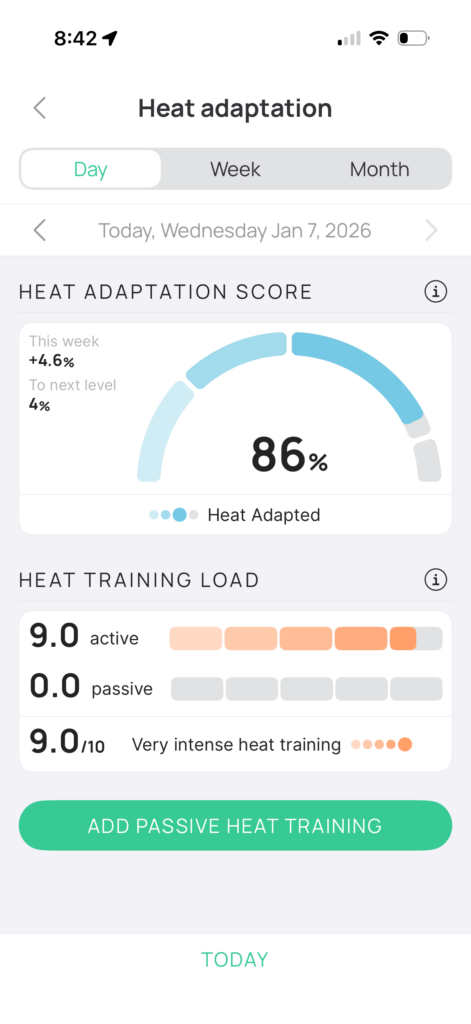
The CORE sensor has some on-board memory, so it isn’t just live-streaming data to connected apps… it’s actually storing that data. This is handy if you begin a session but forgot to open the CORE app, as it means you won’t lose that data.

The CORE app has come a long way since its early days. Today, coupled with simplified metrics explained above, it provides a clear view of your heat training progress. Still, there are some improvements I’d like to see:

  • Refresh frequency: the app doesn’t update its data quickly during an active session, and this can be a bit maddening when you’re sweating profusely and wanting to see your progress toward a higher Heat Training Load. I’d love to see the app update all metrics at least every minute, if possible.
  • Chart quality: the historic charts can’t be tapped to “drill down” into the data, and I’d like to see that feature added.

Trial By Fire

I’ve bounced in and out of heat training several times in the past years, without ever doing it enough to accumulate meaningful adaptation. That changed when I decided to buckle down and do some earnest heat training at the end of 2025.

Over a 3-week period from mid-December 2025 to early January, I completed heat sessions almost daily, working my way from a Heat Adaptation Score of 0 to 96%. And while the sessions were rather sweaty, I began to look forward to the efforts, to the ridiculousness of dripping so much water on the floor, to seeing my Heat Adaptation Score inch closer to 100%.

I learned a lot during those sessions, including:

  • What to wear to stay as comfortable as possible, while keeping my temperature high so I could accumulate a lot of adaptation.
  • How much I needed to drink, and what sort of electrolyte mix to use to facilitate replacing what I was losing.
  • How to arrange towels on the floor and on my bike and within reach, to control sweat while also keeping laundry loads as small as possible.
  • How to get my Heat Stress Index to increase quickly in a session, so I could get up to those higher Heat Zones and accumulate heat stress faster, resulting in an overall higher Heat Training Load.
  • The disgusting joy of sitting on the floor in my sweaty clothes after a session, letting my temperature and heart rate slowly drop while accumulating additional heat stress seemingly “for free” (more on this below as well).

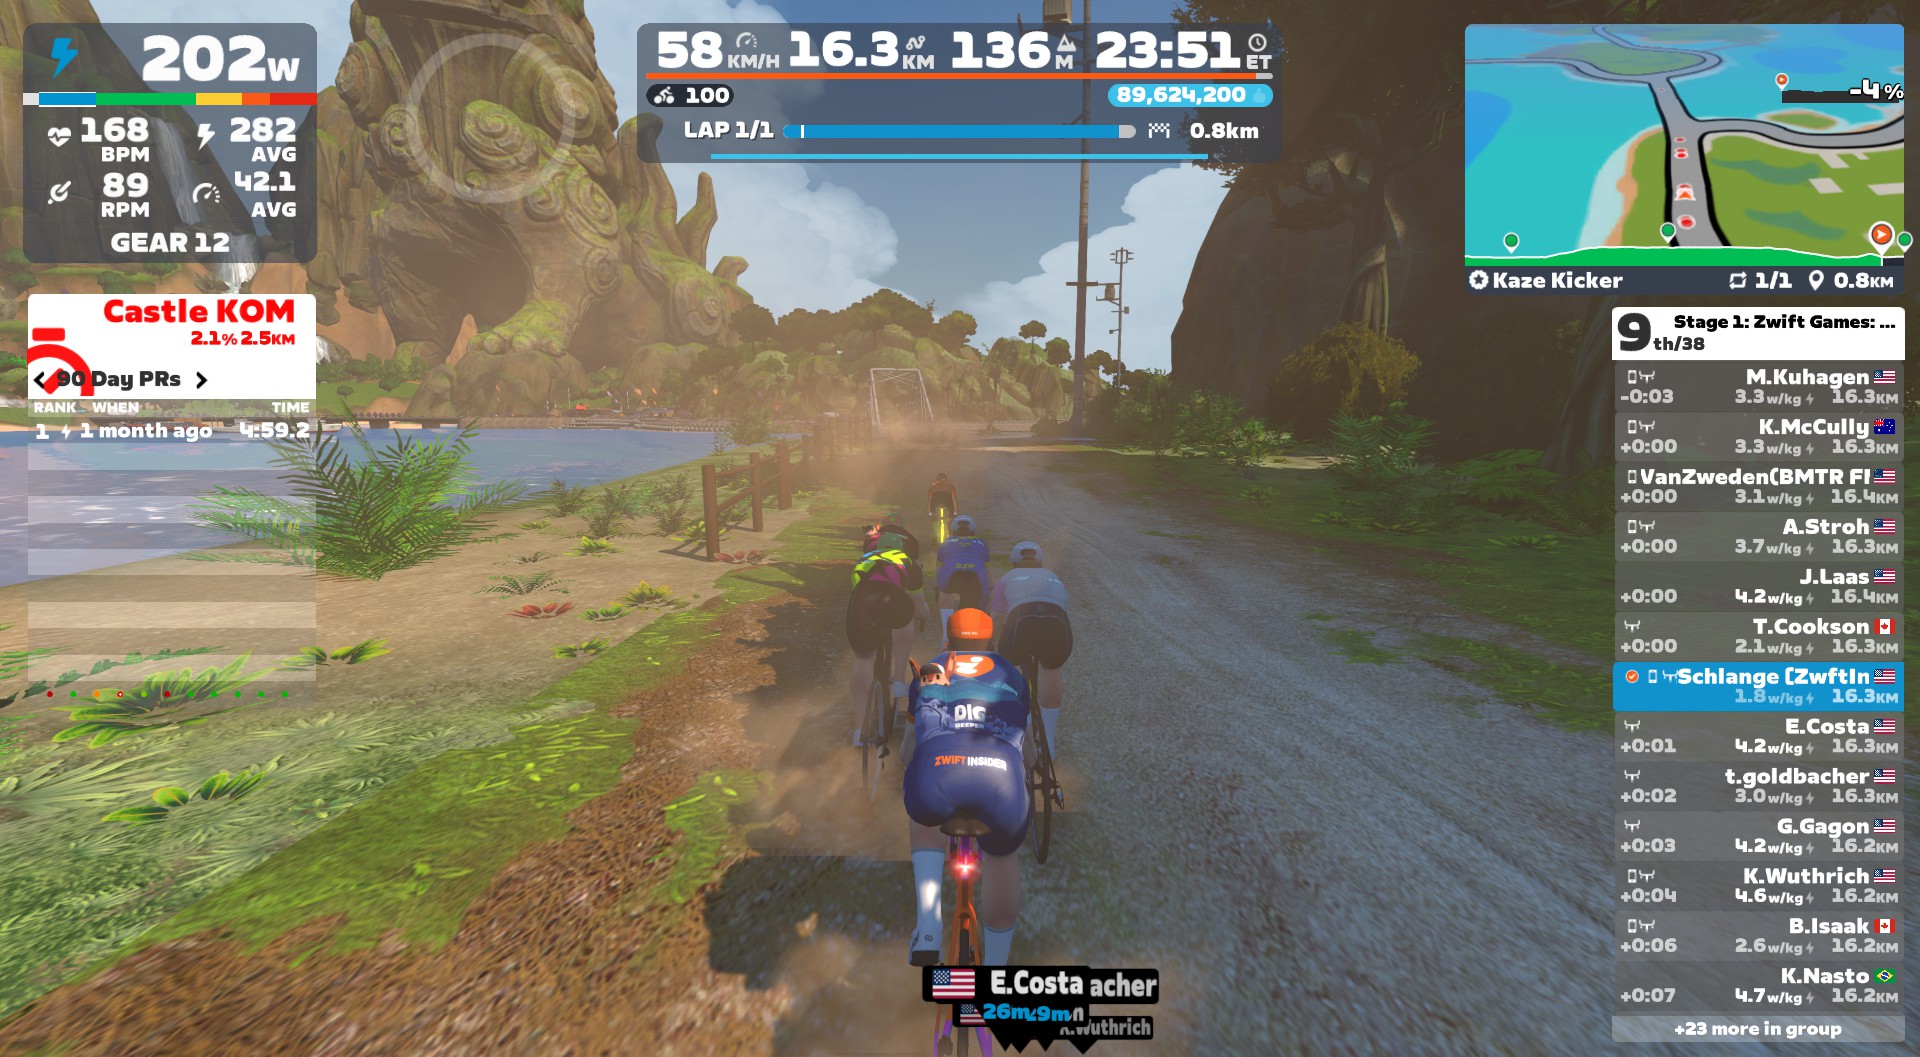
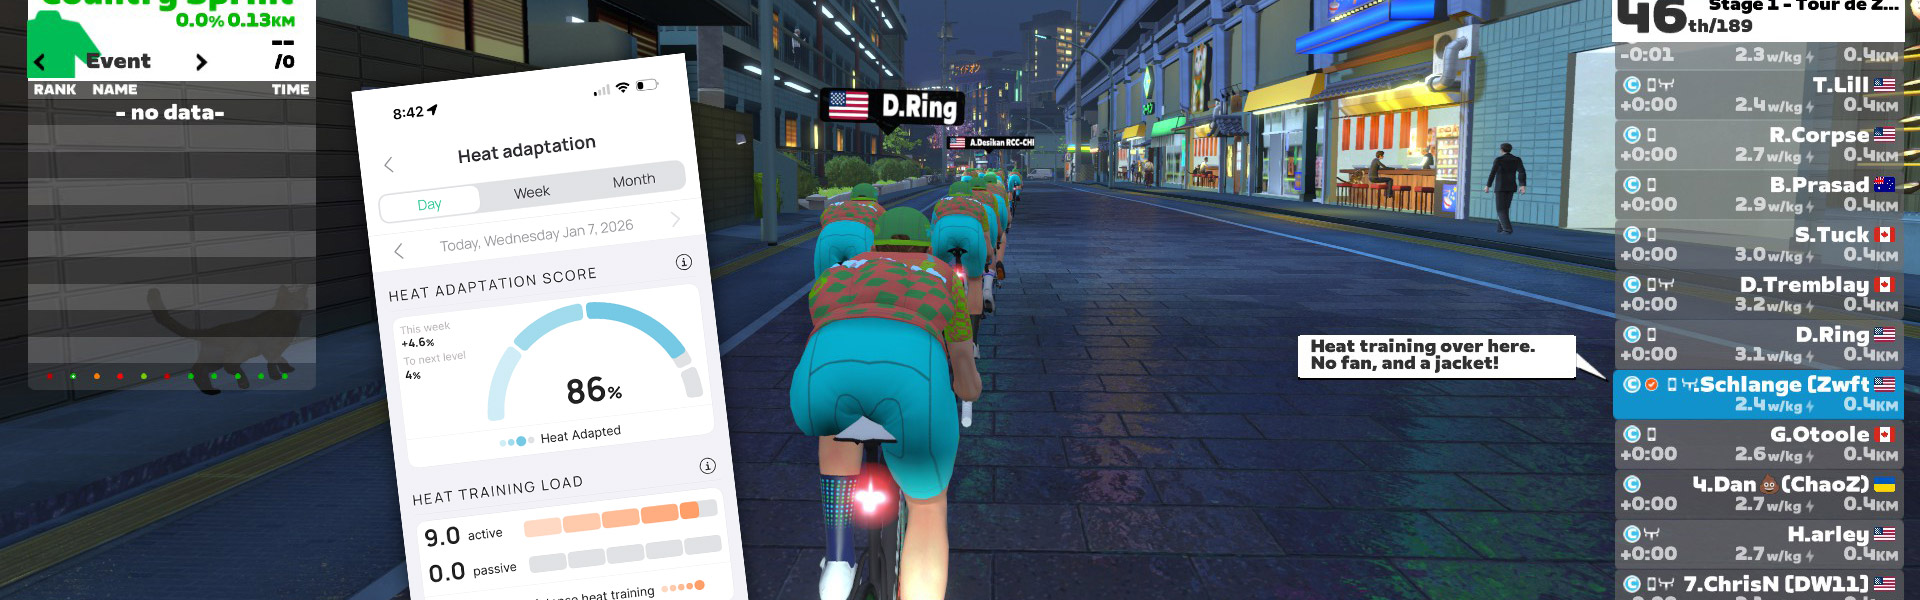
I’ll share more about these learnings in part 3 of this series, publishing tomorrow. Until then, here’s a recording of me riding a Tour de Zwift stage as a heat session. Watch as my power drops from the 200W+ to ~100W, while my heart rate actually increases! The human body is an amazing creation…

More Heat Training Resources

If you have questions about heat training, I highly recommend checking out CORE’s support articles, which are impressively detailed and thorough. Visit help.corebodytemp.com.

Up Next

This article began as one post, but it got way too long. So I’m splitting it into two, with the rest of the post publishing tomorrow. The second part covers my personal experience heat training, including lots of tips and tricks I learned along the way.

Performance improvements are also discussed, but (spoiler alert) I didn’t do a good job of tracking those scientifically, so the hard numbers aren’t really there.

Your Thoughts

Have you done any heat training? Have you used the CORE sensor to do so? Share your thoughts, questions, and experiences below!
Tiny Race Series – February 21 Routes – Loops and Mash

0

Tiny Race Series – February 21 Routes – Loops and Mash

See zwiftinsider.com/tiny for current Tiny Race details.


How the Race Was Lost: the Elastic Snaps (Zwift Games Race 1 on Kaze Kicker)

11

How the Race Was Lost: the Elastic Snaps (Zwift Games Race 1 on Kaze Kicker)

The Zwift Games 2026 series began this week, with popular races on new routes! So I decided to join in the fun. This week’s stage is in Makuri Islands on the new Kaze Kicker route, which has just enough climbing to make the race hard and interesting without it feeling impossible for an “overmuscled cyclist” like me:

The “standard” race events alternate hourly between two different racing score range schemes:

  • Range 1: 0-159 | 160-269 | 270-389 | 390-509 | 510-650
  • Range 2: 0-209 | 210-329 | 330-449 | 450-569 | 570-725

With my racing score of 555, range 2 gives me the better chance at a win (since I’m only competing with riders up to a score of 569), while range 1 will probably give me a bigger challenge and a faster overall race time, since I’m competing with riders who have scores up to 650.

As it turned out, my schedule for the day meant I had to race range 1, like it or not. So I jumped in, warmed up, then joined the pens on my virtual Pinerallo Dogma F 2024 with DT Swiss 65 wheels. Let’s roll!

A Hard Start (Pain Cavern)

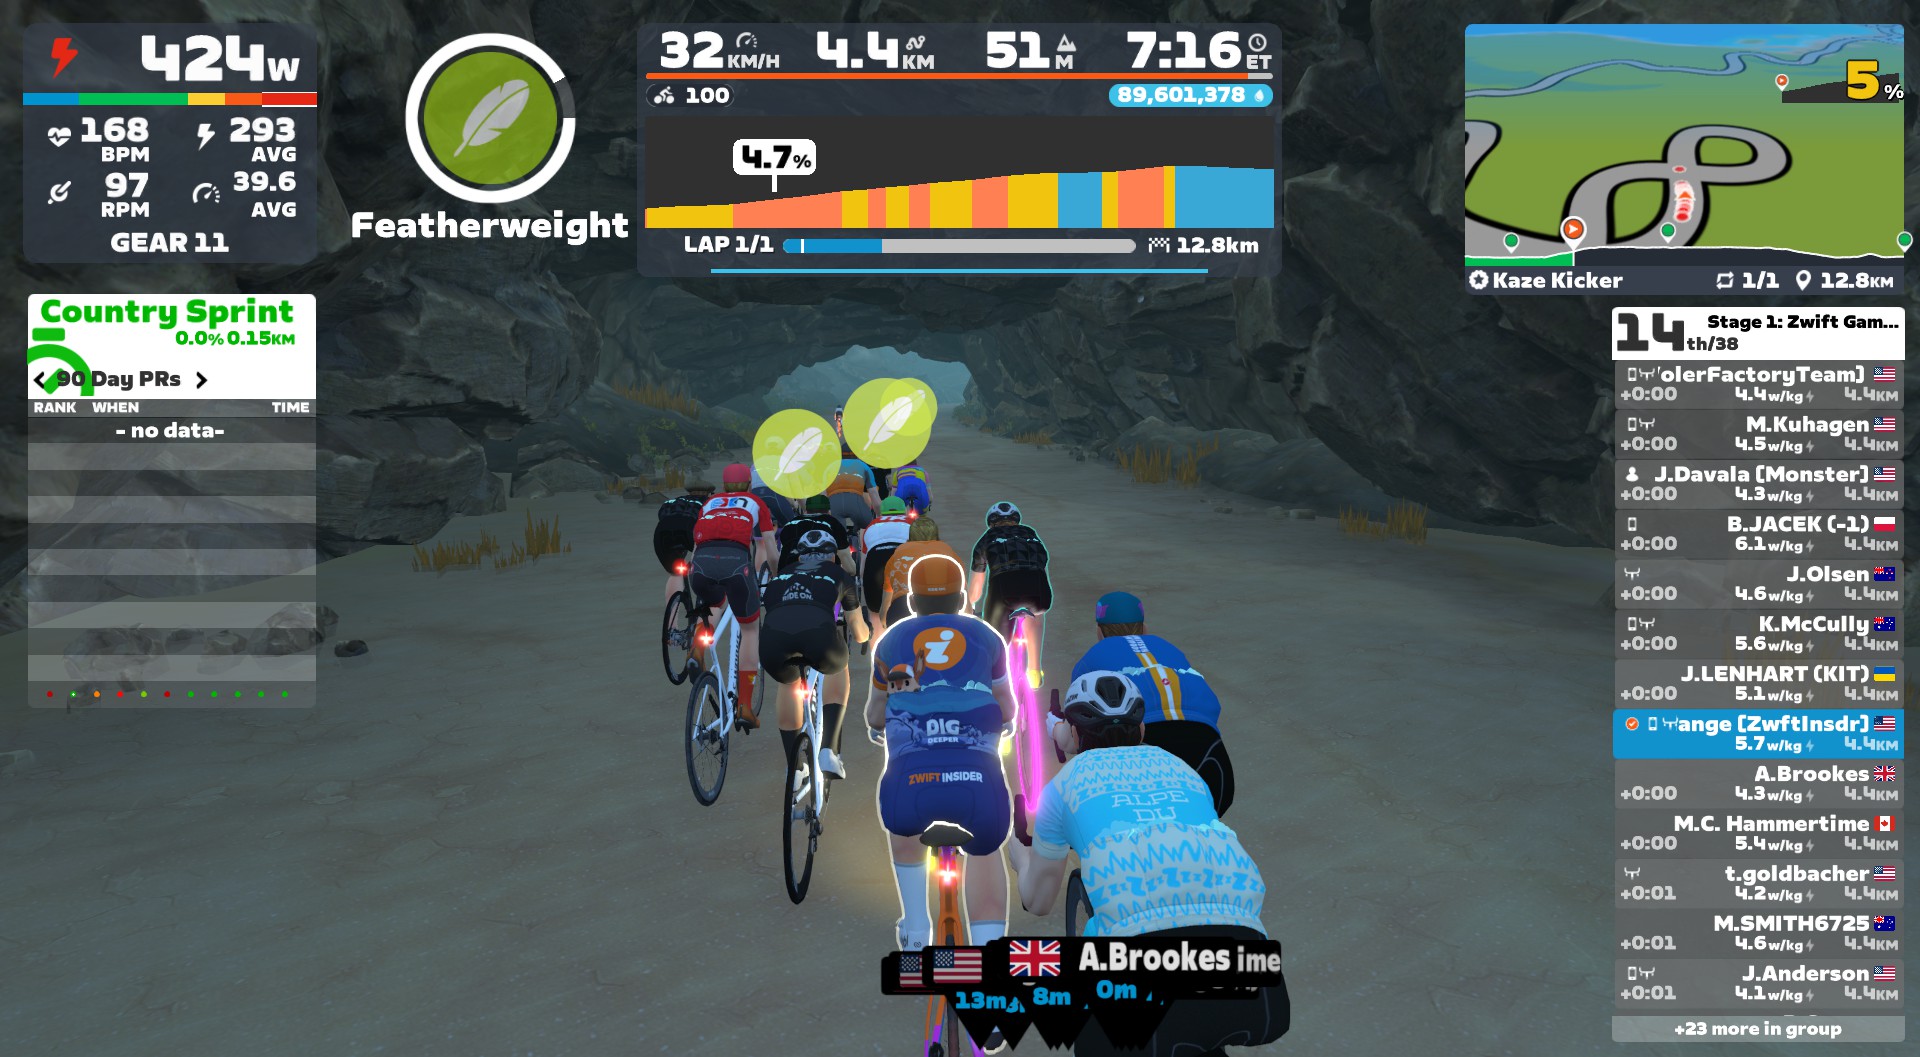
We rolled out of the Mech Isle start pens, the pack of 38 quickly dropping to 32 as we hammered up to speed.

The route begins with a short (3km) flat section which (a bit of Zwift nerd trivia here) includes the Tidepool Sprint Reverse segment. It’s the only route in-game that traverses this segment, in fact, but this doesn’t really matter much, as nobody is going to attack a sprint segment on a scratch race, especially with a hard effort just up the road.

One thing worth noting, since some riders in my race clearly didn’t realize it: you only get one powerup for this entire race. Everyone is given a feather at the start, and you get to choose where to use it! Save it for the Pain Cavern climb, or even better, if you know you’ll survive Pain Cavern, save it for the Mech Isle corkscrew near the end, or even use it on your final sprint. (I must say, I do prefer the single powerup approach to the default random powerup approach that randomly gives some riders an advantage over others.)

The longest, hardest effort of the race begins in Pain Cavern at the 3.3km mark, when the road tilts up to 5%. The climb is 2.16km long, averaging 3%, and will take most riders 3.5-4.5 minutes to complete:

I’ve been dropped on this climb more times than I haven’t, and it usually happens somewhere in the figure 8 section midway through. So I saved my feather as long as possible, waiting until I was fully in the figure 8 before activating it. Several riders around me had the same idea!

The pack often stretches out as the climb slackens yet continues after the figure 8. Finding a strong wheel can be helpful as speeds increase and drafting becomes more of a factor, and that’s exactly what I did. We had two riders on a breakaway 5 seconds up the road, but I was sitting in the pack of 21, near the limit, as we finished the climb.

I had survived! I was still in the peloton, and discovered after the race that I had shattered my Strava Pain Cavern PR with a time of 3:45 (my previous best was 4:02). Let’s goooo!

The Easy Middle

From 5.5km to 15.3km you’re essentially on flat or downhill roads. This doesn’t mean your race will be easy, since riders may choose to push the pace on the front. But chances are, this bit will be the easiest part of the race.

As we exited Pain Cavern, I just tried to sit efficiently in the draft to grab a bit of recovery time. My heart rate dropped from 172 to 154 over the next 5 minutes, and the burning in my legs went away as I spun a higher cadence at tempo power. Around the northern part of Neokyo we went, the two riders off the front staying away but not increasing their gap in a meaningful way.

(Zwift’s HUD doesn’t do a great job of showing gaps to riders up the road, since you don’t see them in the rider list if you’re sitting in a group of any size. But I was running Sauce for Zwift, so I could see the gap. Gotta love that rider groups feature!)

Exiting Neokyo, we caught the two attackers off the front, then turned into the Slot Canyon for a long descent. Zwifter “MC Hammertime” was providing plenty of color commentary from the peloton, and announced that he was going to take a hard pull on the front. It’s always nice when riders announce their intentions, since it gives everyone time to grab their wheel, which helps the group’s pace stay high and improves our GC rankings (more on that below).

Mech Isle Kicker

At the 15.3km mark we crossed the wooden bridge and hit the final obstacle of the day: the Mech Isle corkscrew! This little bugger is short enough that I can typically survive it in the peloton, but stronger riders often attack and get a gap. And that’s exactly what happened! I steered to the inside of the turn to shave off precious meters, then one rider, two riders, three riders attacked hard.

I found myself sinking backward, dropping from 3rd to 5th to 7th, with a gap building up the road. I was on the limit in a strung-out group, my legs heavy and burning as we crossed the bridge at the top. And all I could do was watch the race ride away, despite attempting to give chase.

The Finish

After the short descent, there were several riders around me, but everyone had given up on chasing the six riders ahead:

Maybe I’m a nicer guy when I’m glycogen-depleted. Or maybe I’m just dumber? Certainly the latter. I decided to put in a hard pull on the front to try to reel in some riders.

Unfortunately, 40 seconds of hard work did nothing but make my legs hurt. I eased up when it was clear we wouldn’t catch anyone, and a few seconds later, it was time to sprint! I pushed hard for ~10 seconds, crossing the line in 8th.

See my ride on Strava >

Watch the Video

Final Results

ZwiftPower gave me a finishing place of 6th, thanks to two riders not being signed up. But does that even matter anymore? Not really, since Zwift Racing Score doesn’t care about ZwiftPower, and neither do the Zwift Games GC Rankings at zwift.com/racing/leagues/zwiftgames2026.

As I write this post (10am Tuesday, Feb 17), my ranking shows as 1646 out of 11298 riders for race 1, with a race time of 24:56. We’ll see how that changes as more riders participate.

This race bumped up my ZRS from 555 to 561, my first score change in two months, since I haven’t been racing scored races.

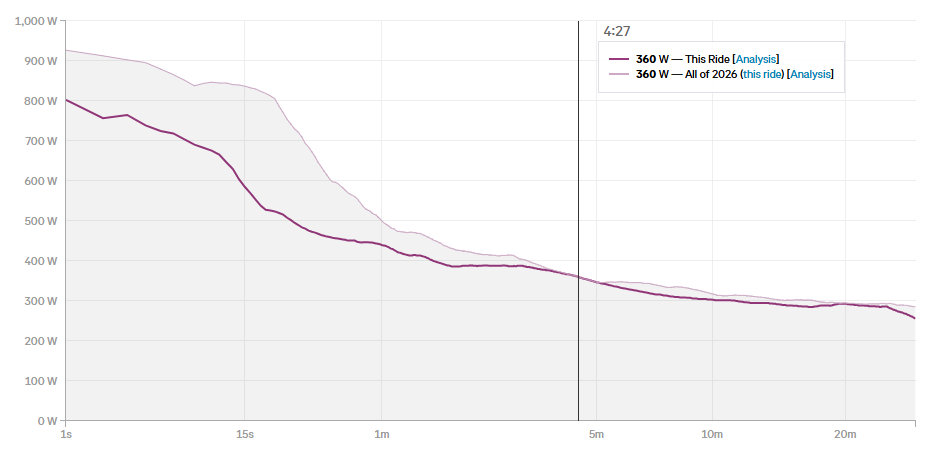
In terms of my actual performance, this was a decently challenging effort, giving me a new power curve PR for 2026 in the VO2max time window:

Could I have raced it smarter for a better result? I don’t think I had the legs to grab onto the riders who got away over the top of the Mech Isle corkscrew, so the only thing I could really change would be not taking that short pull near the end, to save my legs for the final sprint. This may have allowed me to outsprint the one rider in my group who finished ahead of me, improving my result by just one place.

What about you?

How did race 1 go for you? Share below!


Rebel Route: Big Ring/Little Ring (Watopia)

Rebel Route: Big Ring/Little Ring (Watopia)

I’ve been messing around with lots of different Watopia Rebel Route ideas lately, but this may be my favorite. It uses Watopia’s most classic roads in a combination that would work well for an easy short ride, a warmup + lap-jersey-grabbing ride, or (hopefully some day) an official Zwift race with a flatter start and a punchy and strategic second half.

This route is simply a combination of two well-known Watopia circuits: Volcano Circuit and Hilly Route. We begin with the Volcano Circuit – the “big ring” that is flat and fast. Then we hit the inner “little ring” of the Hilly Route with its namesake KOM.

One other tidbit: this is the first time I’ve created a “reverse” version of a Rebel Route, because I think the Big Ring/Little Ring Reverse makes a great course as well. The Strava segment is linked at the bottom of this post, and I’ll be including the reverse version in the Veloviewer Leaderboards.

About Rebel Routes

“Rebel Routes” are Zwift rides not available on Zwift’s routes list, thus requiring manual navigation.

See all Rebel Routes >

The reward for your rebel ride? Exploring a new route, knowing you’ve gone where few Zwifters have gone before. And a Strava segment rank in the tens or hundreds instead of the thousands! Rebel Routes are also included as a separate category on our Veloviewer Route Hunter leaderboard.

Route Description

You can set yourself up for an easy first 11km of navigating by selecting the Volcano Flat route to begin your ride.

A note about the Strava segment’s start point: it begins at the white line on Ocean Boulevard which acts as the official start line for some newer Watopia routes. This allows future events as well as free rides to match the Strava segment.

The first loop of this route – the “Big Ring” portion – is the Volcano Flat route. That means you’ll travel through the Ocean Blvd tunnel, the marina, down the Dirty Sorpressa and across the land bridge to the Volcano, then back into downtown Watopia. That’s the “Big Ring” done.

Next, instead of turning onto Ocean Blvd again, we go straight to head up the Hilly KOM for the spicy “Little Ring” portion. This is Watopia’s classic “Hilly Route” which takes you over the KOM, down through the Italian Villas, onto the JWB Sprint, then up the ramp and into The Esses before a fast finish at the downtown lap arch.

Turn By Turn Directions

Begin by choosing the Volcano Flat route, which starts you in downtown Watopia and routes you correctly until you need to turn right to hit the KOM after completing the Volcano Flat route (turn #12 below).

  1. Left to Ocean Blvd
  2. Straight (Right) to Ocean Blvd
  3. Straight (Right) to Italian Villas
  4. Straight (Right) to Italian Villas
  5. Left to Italian Villas
  6. Left to Volcano Circuit
  7. Straight (Left) to Volcano Circuit
  8. Straight (Right) to Volcano KOM
  9. Left to Volcano Circuit
  10. Straight (Right) to Volcano
  11. Left to Downtown
  12. Left to Downtown
  13. Straight (Right) to KOM
  14. Straight (Left) to KOM
  15. Straight (Left) to Bridge
  16. Straight (Left) to Islands
  17. Straight (Right) to Italian Villas
  18. Right to Sprint
  19. Straight (Left) to Sprint
  20. Right to Downtown

Route details:
Distance: 20.6km (12.8 miles)
Elevation Gain: 143m (469′)
Strava Segment
Reverse Strava Segment
See on ZwiftMap.com

Rebel Route Suggestions

Got an idea for a great Rebel Route? Share it below and maybe we’ll publish a post about it!


Top 5 Zwift Videos: FTP Tests, Starting on Zwift, and Fatigued Racing

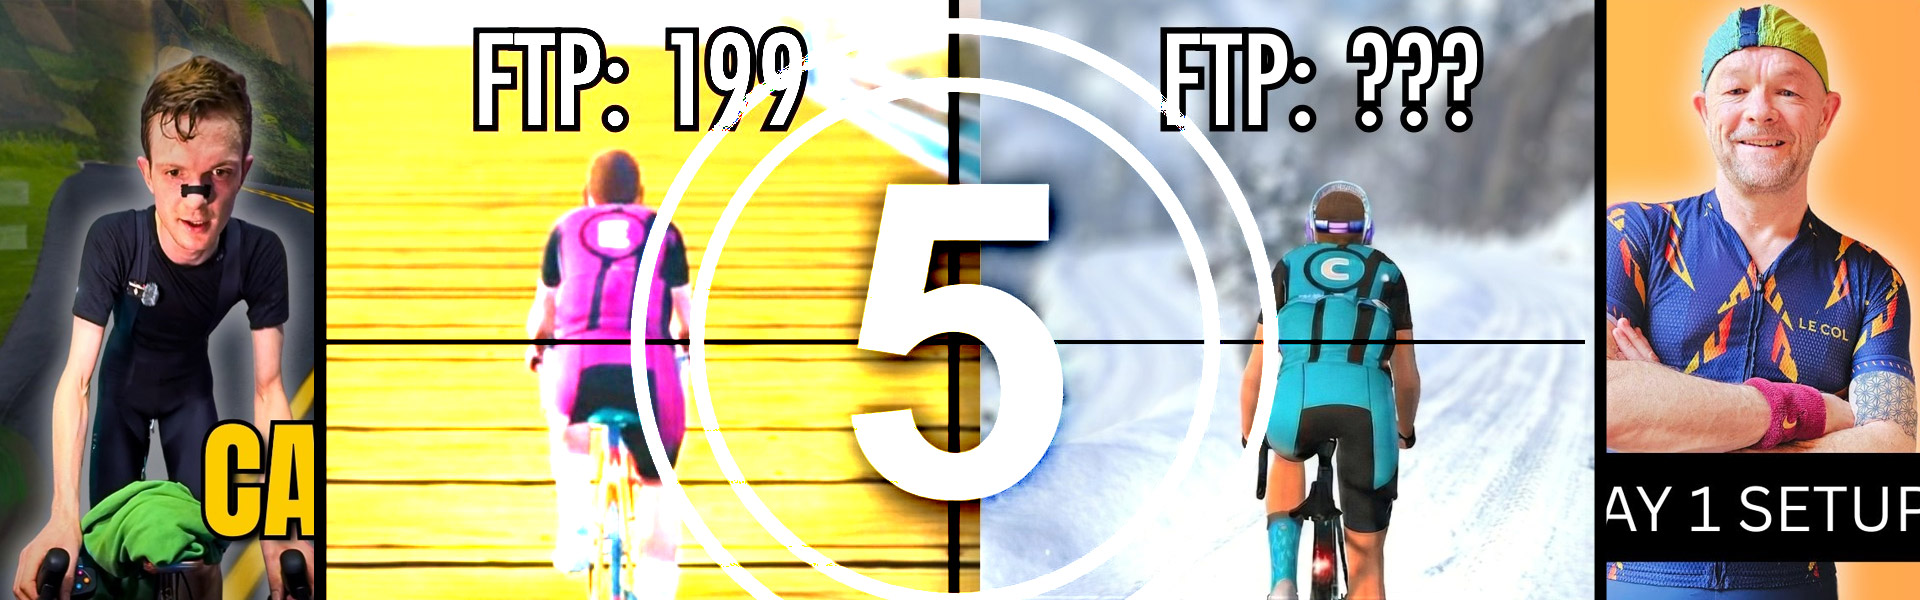
Ever wondered how much fitness you can gain in a few months? In this week’s top video, one Zwifter tests their FTP to see how much progress they have made over the last 5 months.

Also included in this week’s picks: getting started on Zwift, tough Zwift races, climbing Alpe du Zwift as a heavier rider, and a pain cave tour.

Over the last few months, Liam Shaw has been on a mission to go from category E to category A. In his latest video, watch as he tackles an FTP test.
As an experienced indoor cyclist, Chad Rides shares how he would get started with Zwift if he were to do it all again.
In an attempt to build resistance to fatigue, Tom Bowers Cycling attempts a Zwift race after a long zone 2 effort.
Ryan Condon climbs Alpe du Zwift for stage 5 of the Tour de Zwift. How close can he get to his previous times?
Ben Simpkin gives riders a walkthrough of his pain cave setup before tackling a Zwift race.

Got a Great Zwift Video?

Share the link below and we may feature it in an upcoming post!

Making the Impossible Possible: World Champion Caroline Pasedach 

Making the Impossible Possible: World Champion Caroline Pasedach 

In 2019, Caroline Pasedach thought it was all over. An experienced German competitive cyclist and a doctor at a big university clinic, she was also on the German National Team for 4X (a discipline between Downhill and BMX) and was the World Champion of a 24-hour mountain bike race (24h-MTB-Indoor World Championship in Freistadt, Austria). Then she went paragliding for the first time. And fell from the sky.

“You will never ride again.”

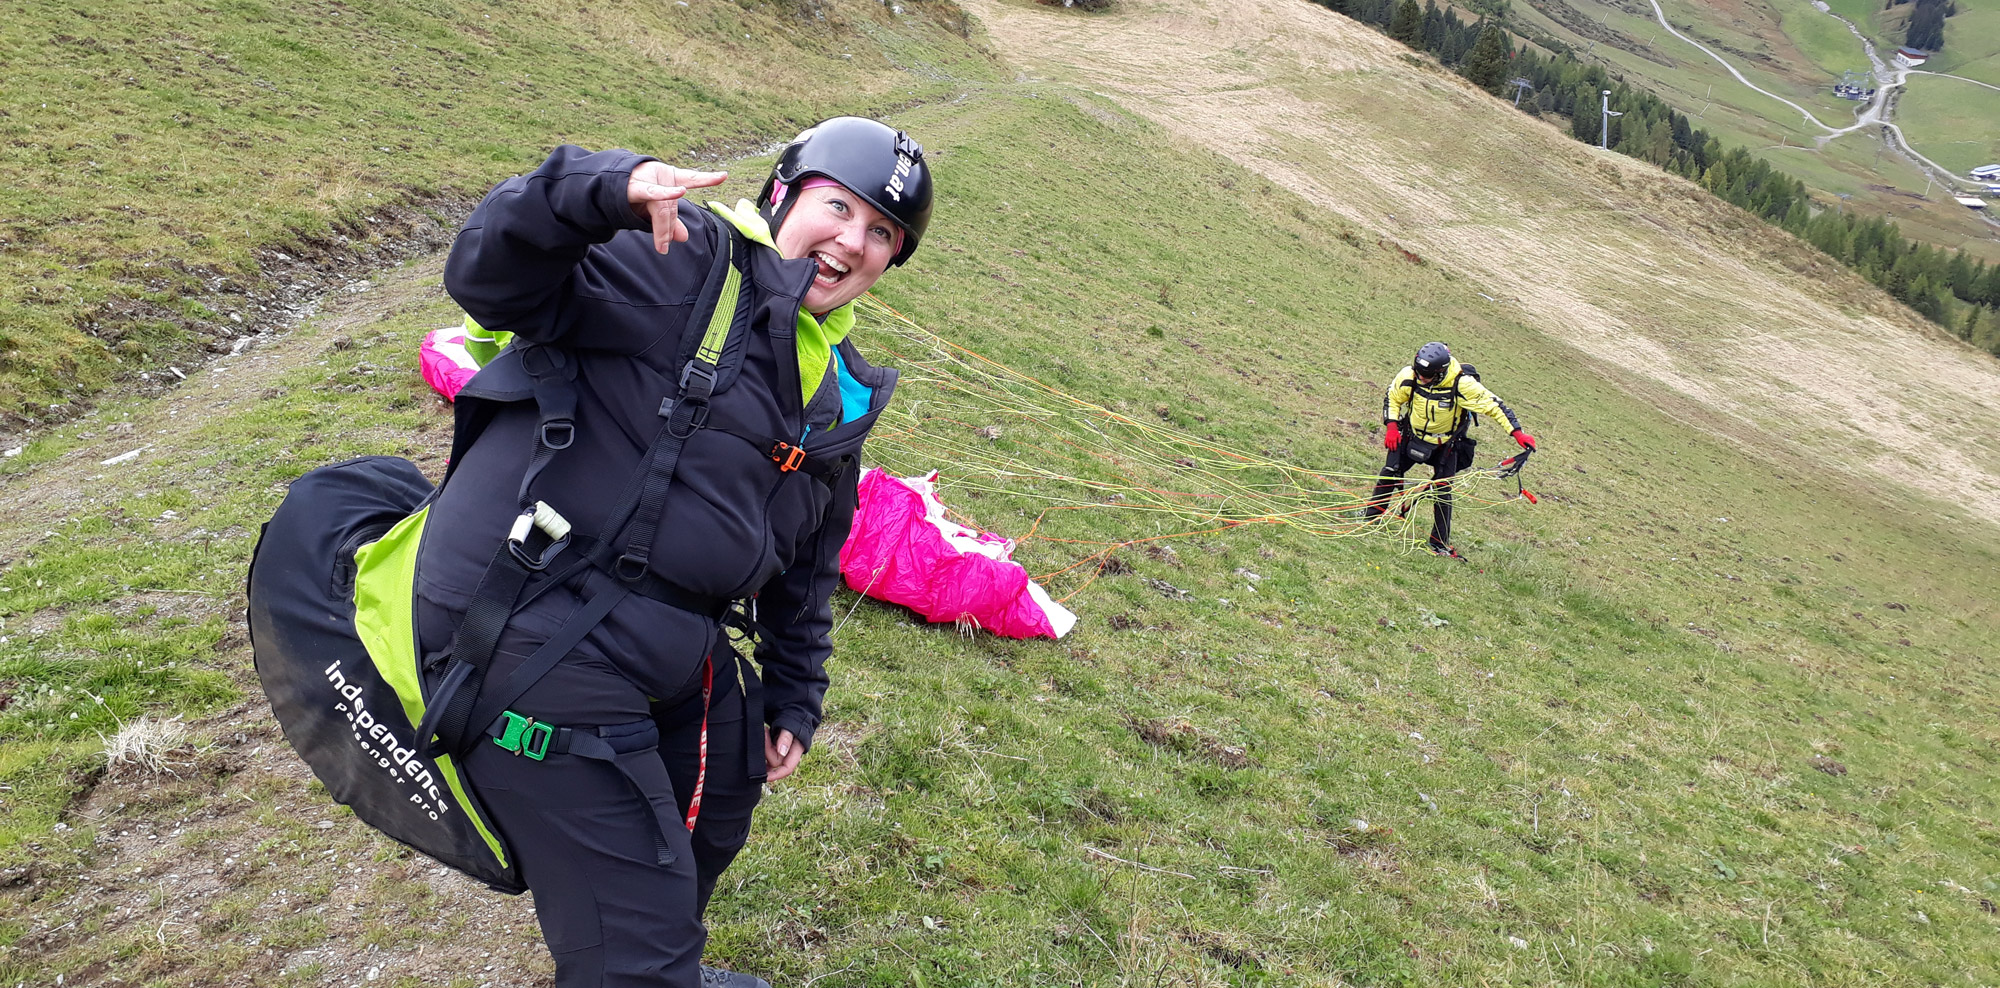
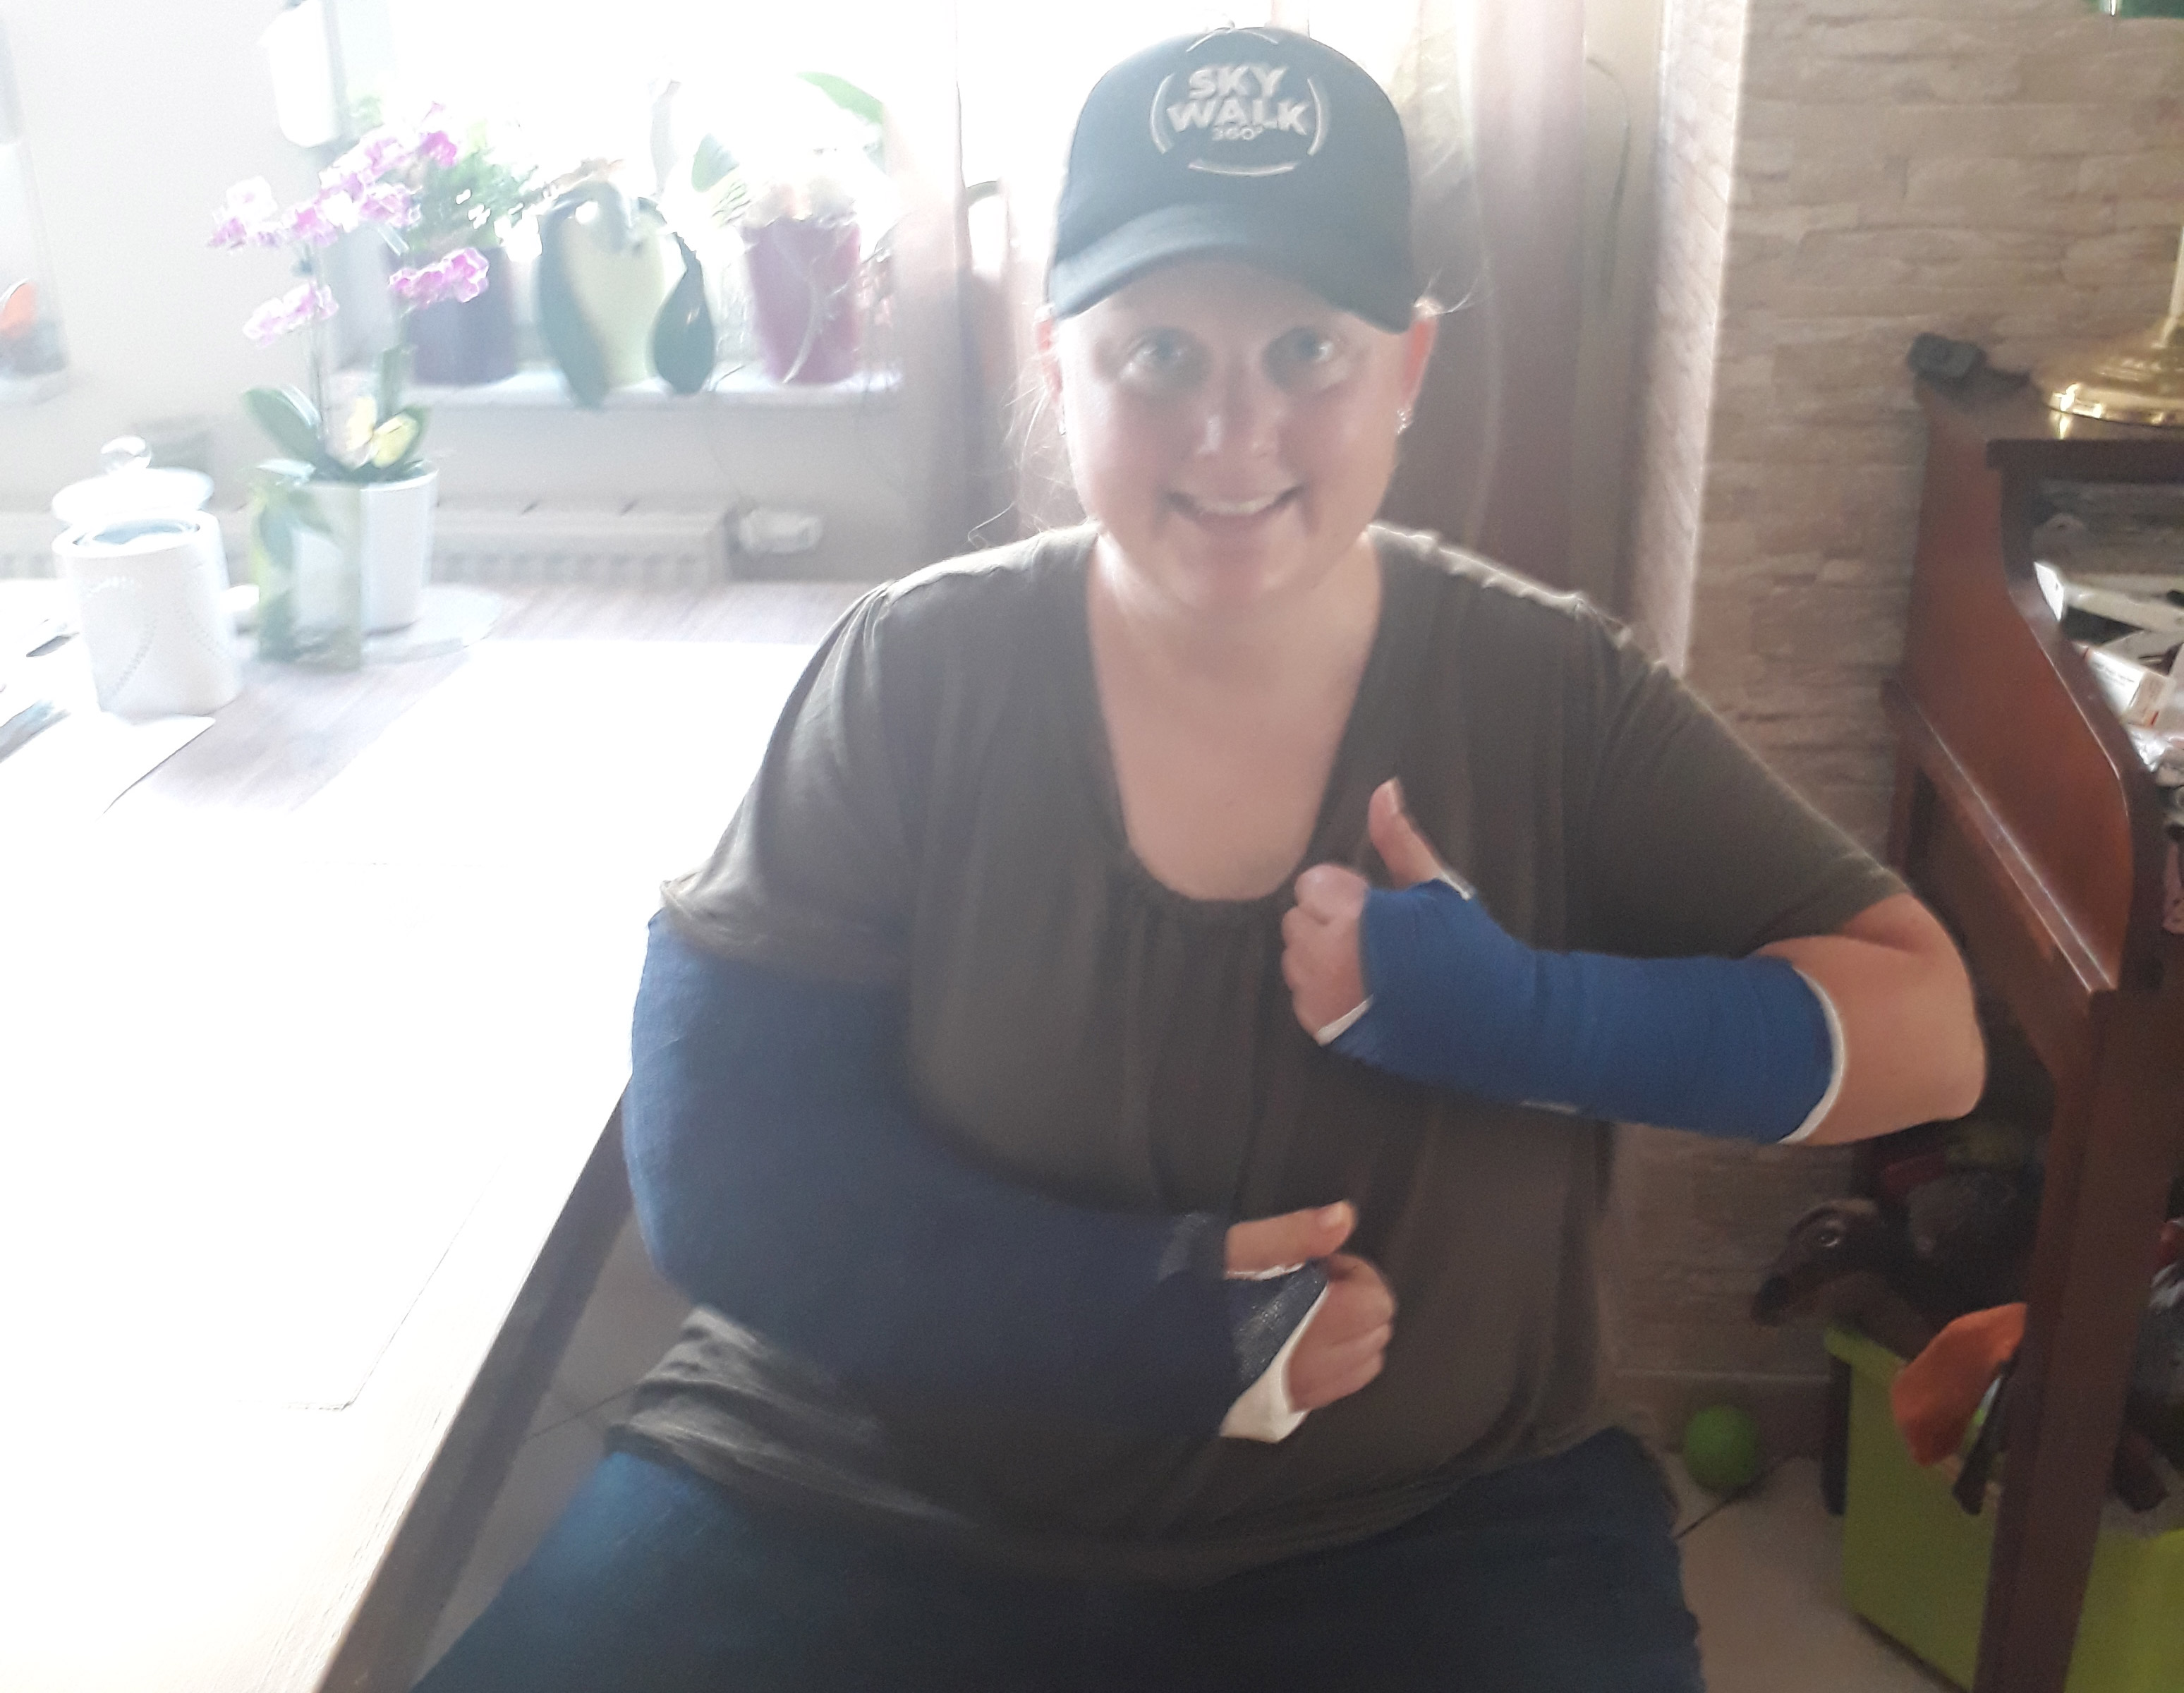
The accident happened shortly after the start of her flight. She and her pilot barely got off the ground when the wind gusted from an unexpected direction and folded the glider. They crashed back on the grass. HARD. Her pilot fell on top of her, and she damaged both wrists. 

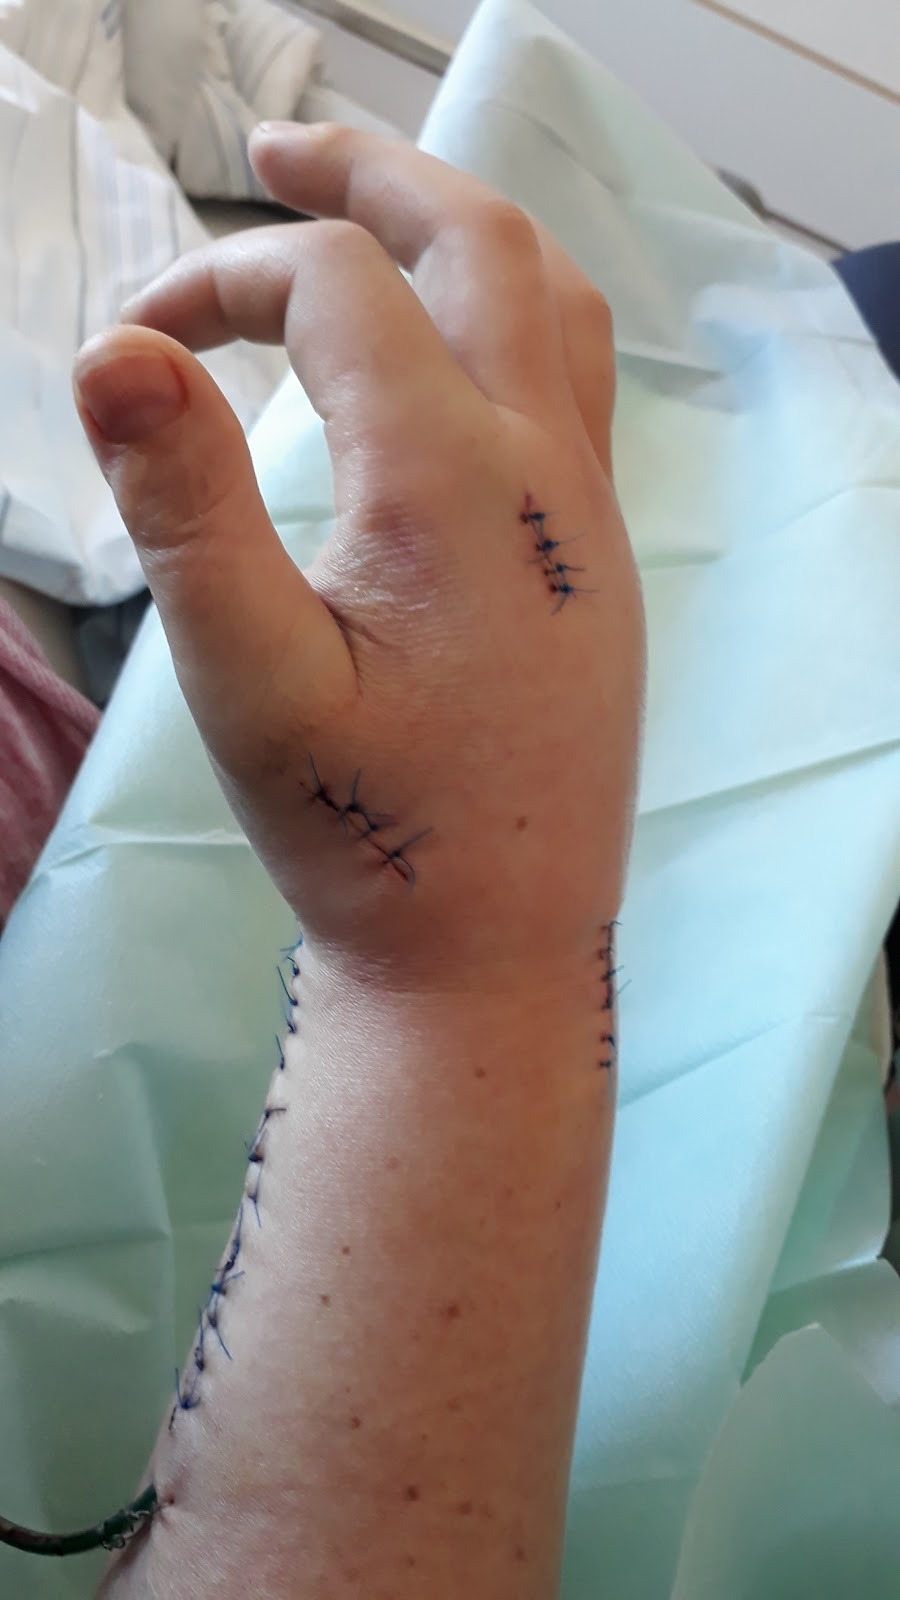
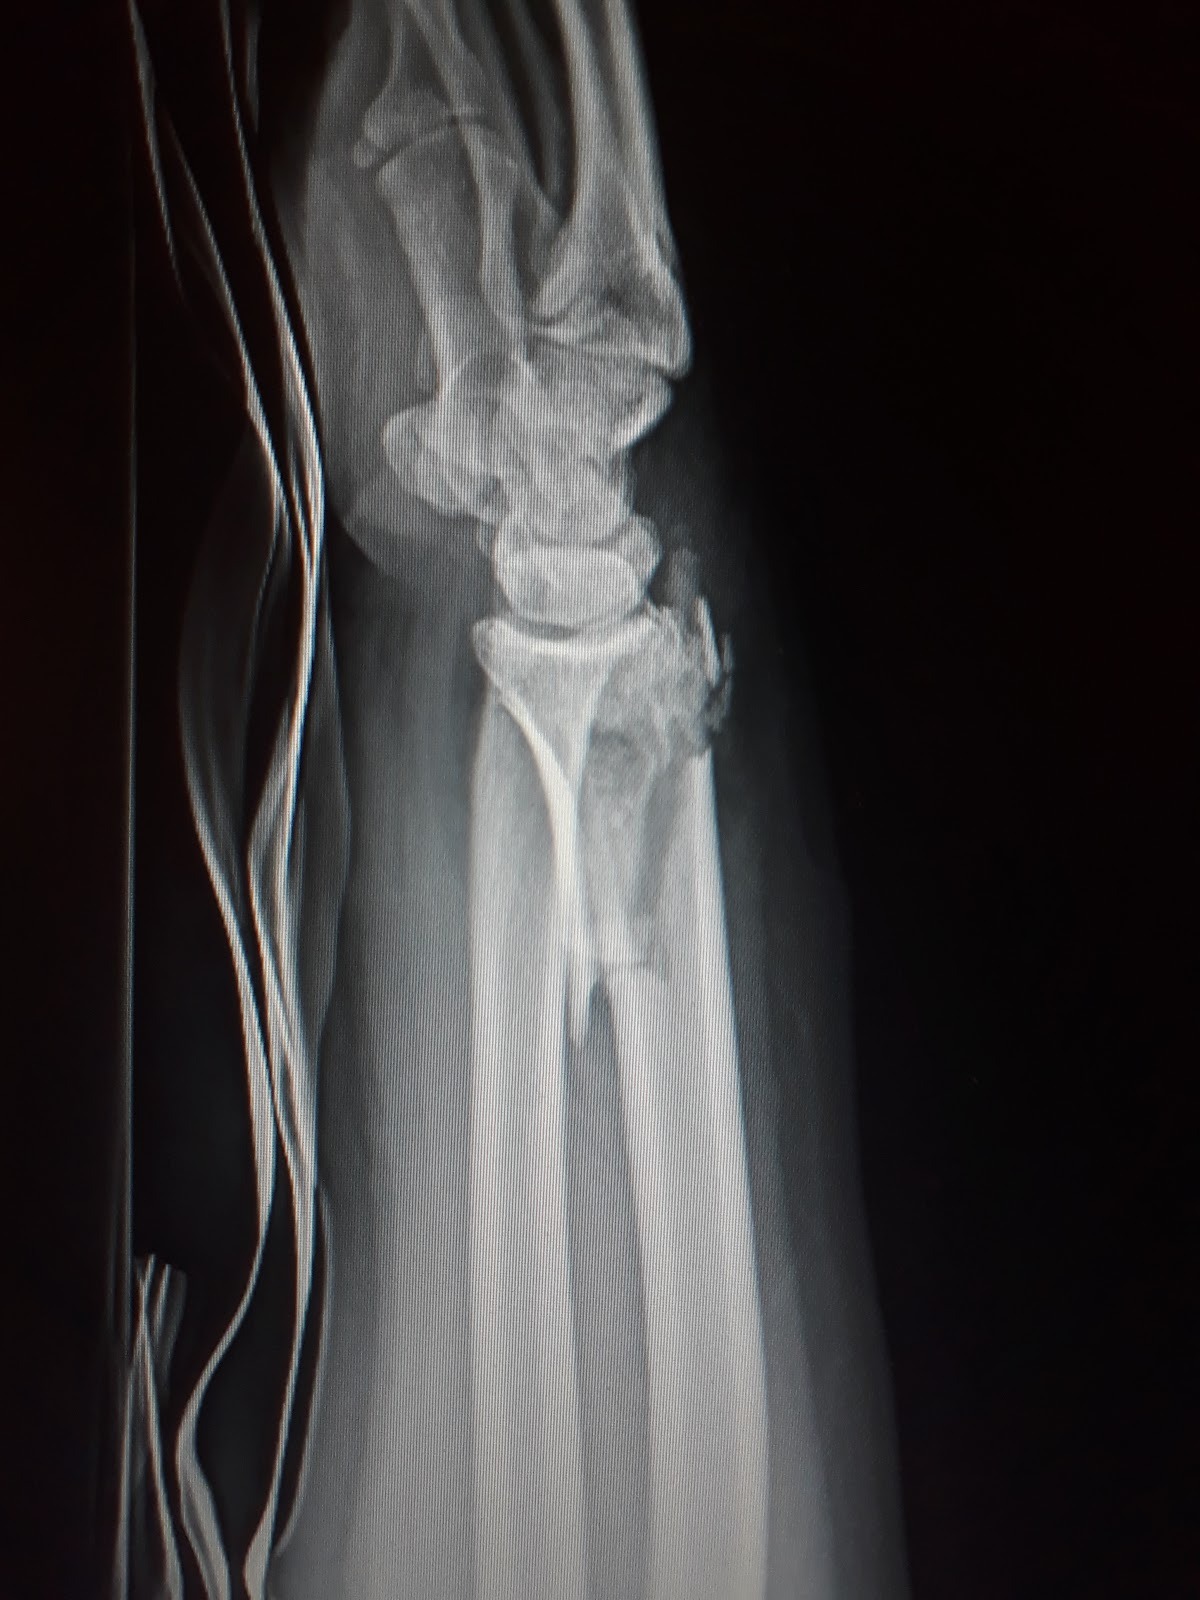
“My wrist was badly broken, and I also suffered a nerve injury to the hand,” she recalls. 

This caused a condition called complex regional pain syndrome (CRPS). It is a chronic illness for which there is no cure. She had to undergo surgery.

“The doctors told me I would never cycle again. I told them that they don’t know me!”

“My life was miserable.” She ate too much and became overweight. She was very unhappy with her life. Her life became a nightmare. This was not the way she wanted to live. 

“They didn’t know me.”

Then one day she woke up, feeling fat and disgusted, and said to herself, “I am a doctor. I’ve dealt with many obstacles in my life. Why!? Why am I doing this to myself?” It was time to meet this challenge head-on. She would change her life.

Since she couldn’t work with her injury, she quit her job. 

In the first two years after her accident, she focused on regaining normal hand function. Due to a broken tendon, she had to undergo a second surgery almost a year after the first one. The operation made the pain syndrome worse, and she had to be treated in a special clinic for six weeks to regain movement of her fingers. Cycling was not possible at all. 

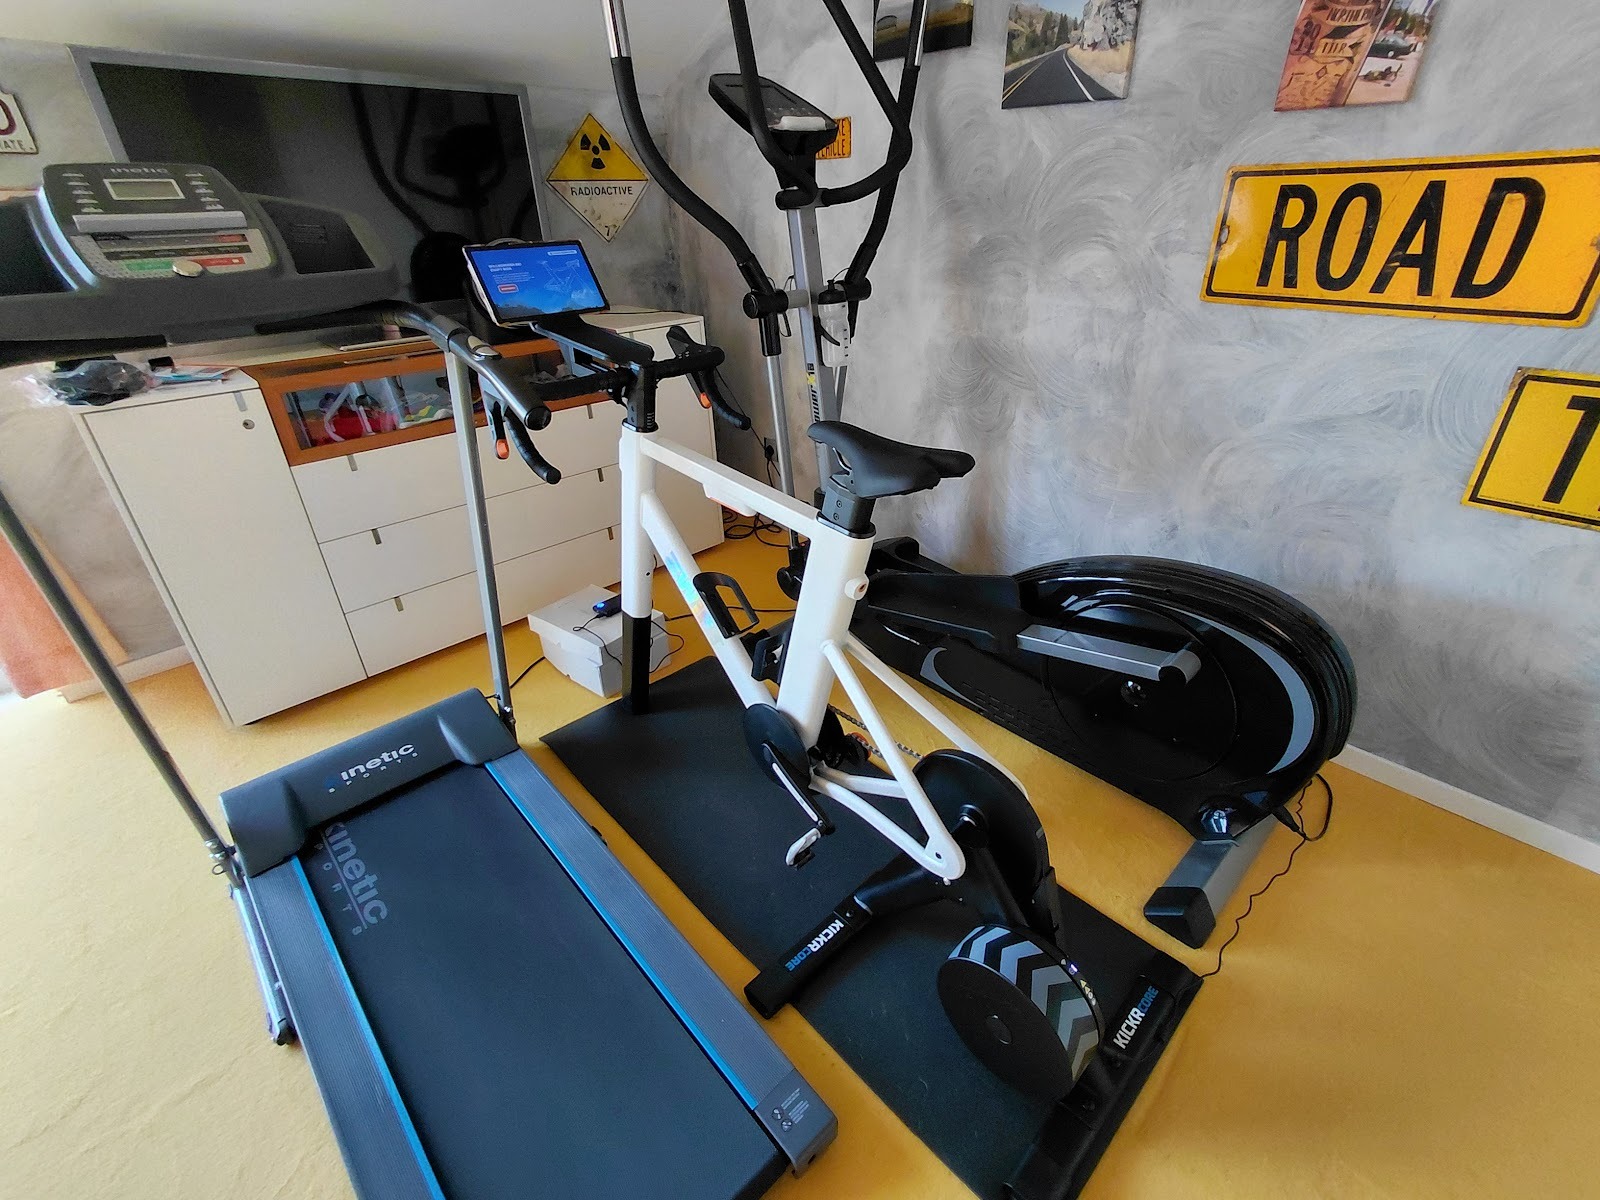
Since she was unable to hold the handlebars properly and outside riding would have been too dangerous, she turned to Zwift. She put some books under the front wheel of her indoor bicycle to reduce the pressure on my hands. 

Zwift gave her strength and confidence.

Zwift helped her lose weight.

Zwift turned her life around. 

“The doctors were wrong.”

She could ride. She could race. The doctors were wrong.

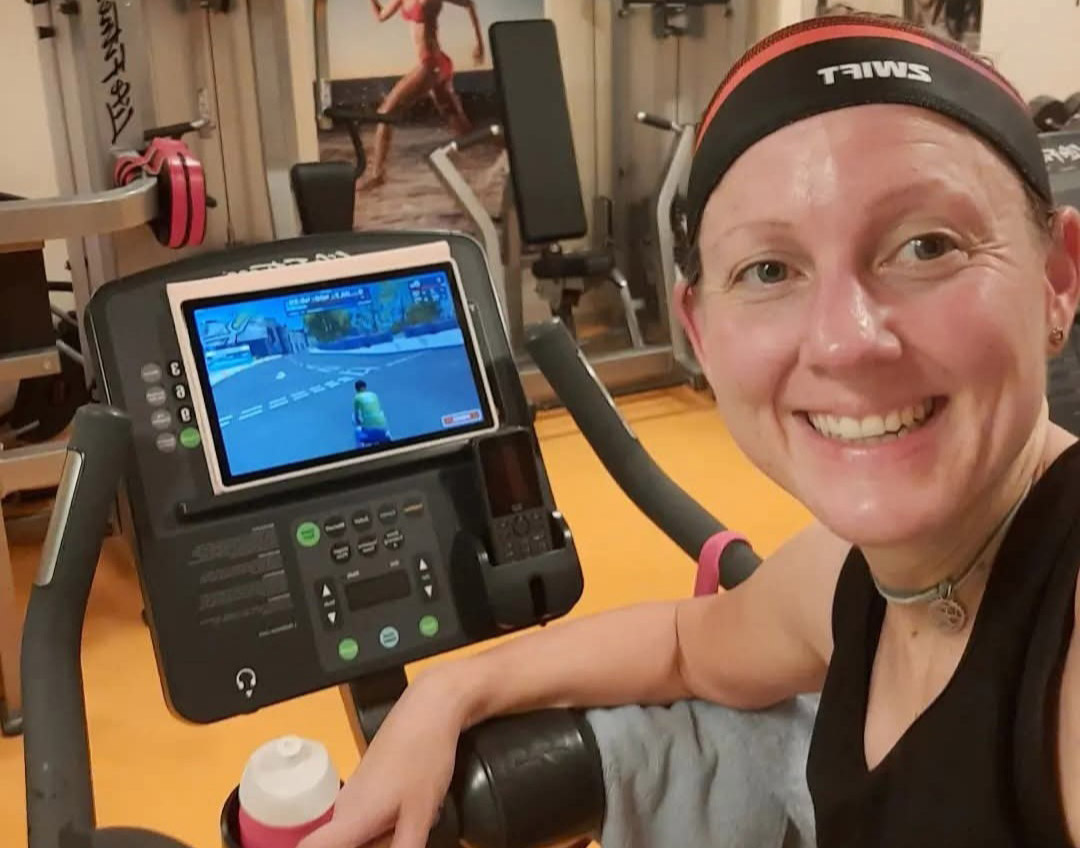
Now she trains almost entirely on Zwift. She loves it. It helped her get and stay in shape. Thanks to Zwift and better eating habits, she lost over 100 pounds, and is in the best shape of her life.

“Zwift helped me realize I was more than a long-distance cyclist.”

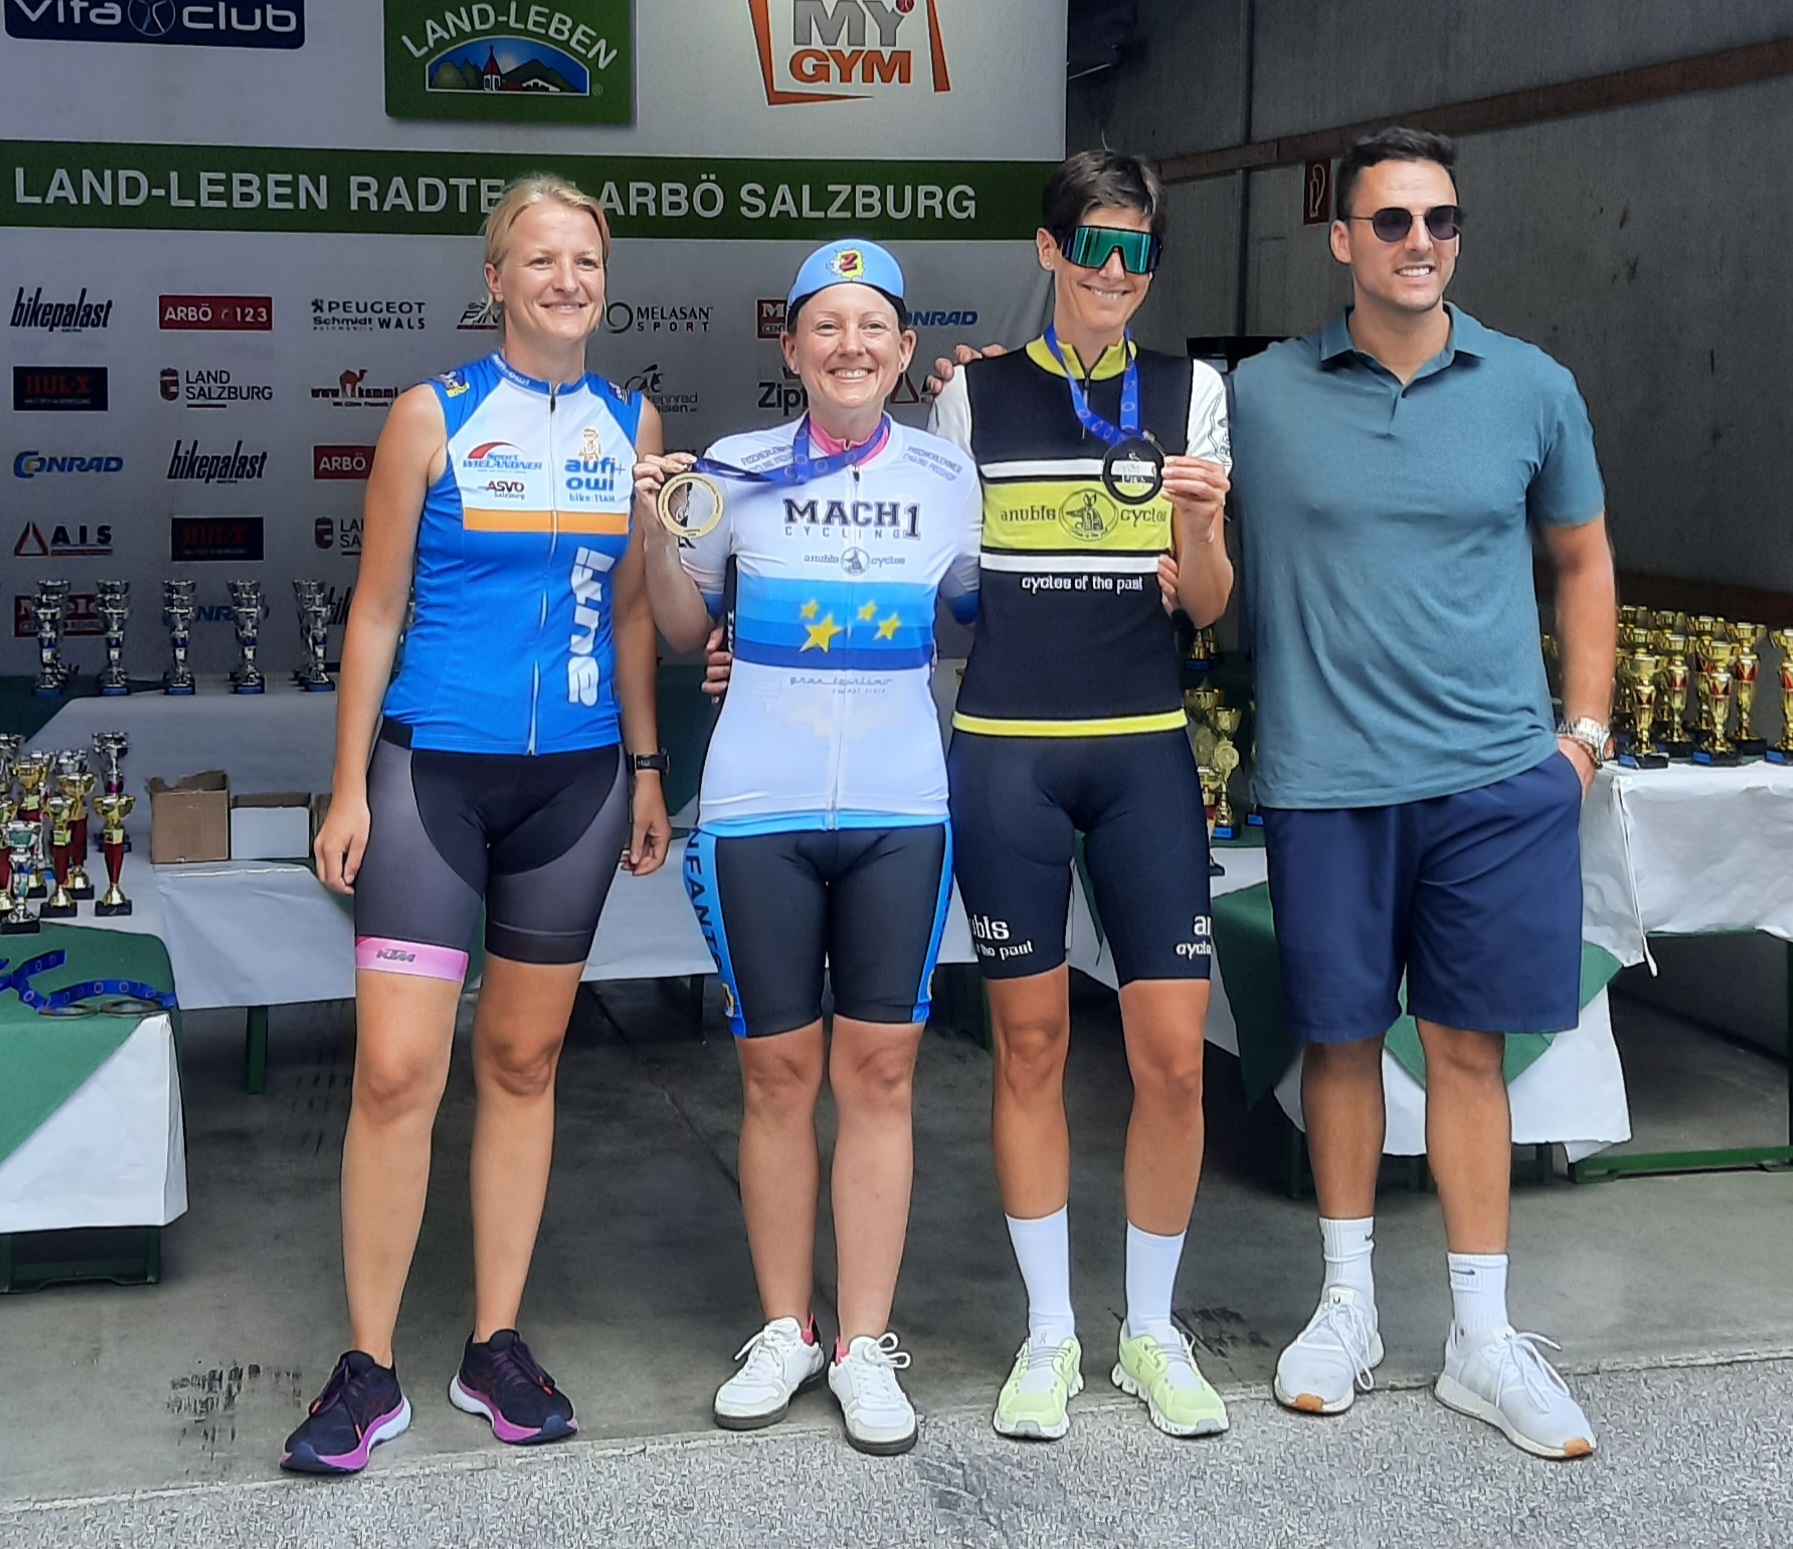
During her Zwift training, she started to snag a bunch of green sprinter jerseys, and she was really flying around the routes. She was fast! Faster than she thought she could ever go. This gave her the confidence to sign up for a European Championship Vintage Time Trial race in 2024. 

“I used the Zwift Time trial training plan and won that race! I couldn’t believe it! Zwift made me a better cyclist.”

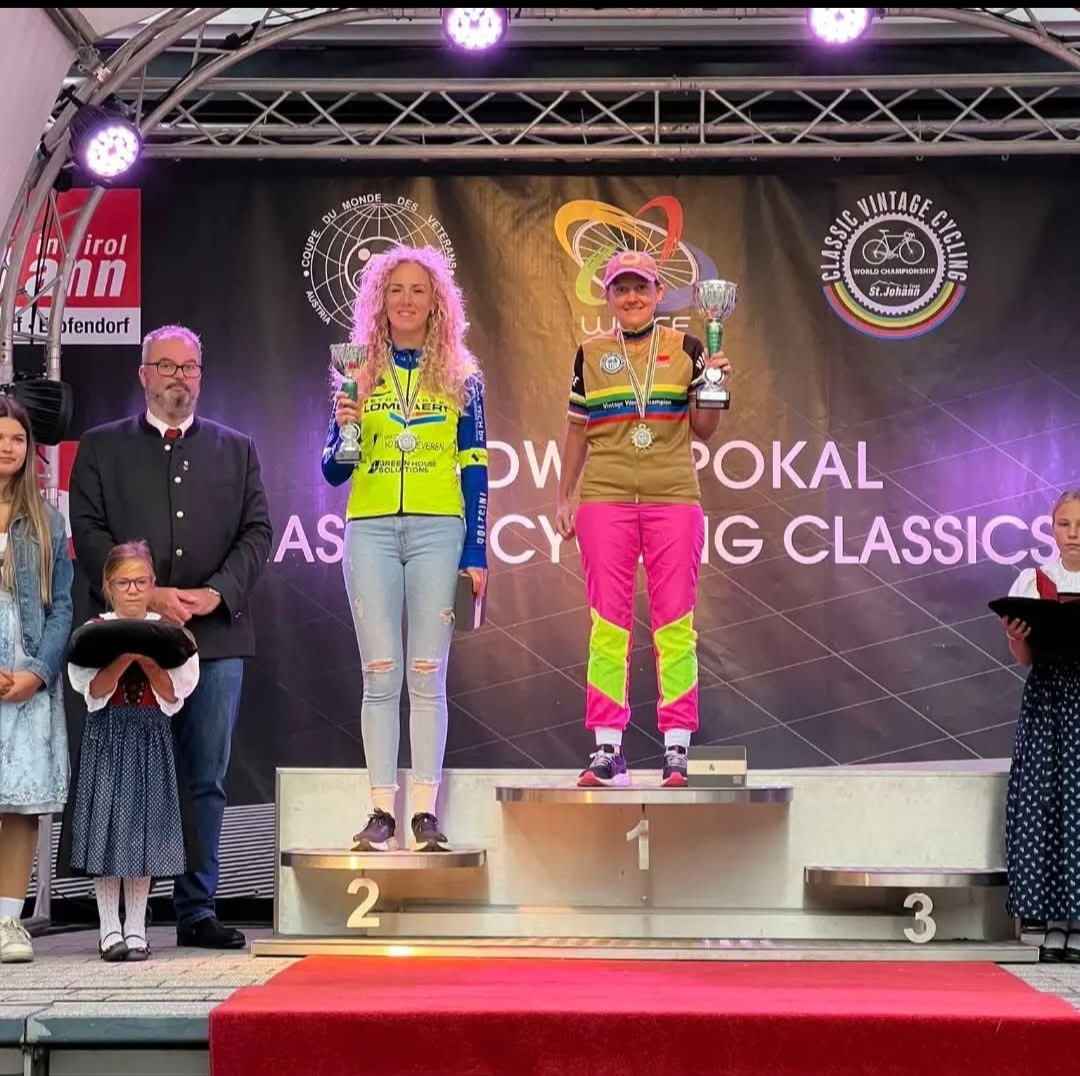
After the success at the European Championship, she competed at the Vintage World Championship for Road Cycling – and won again!

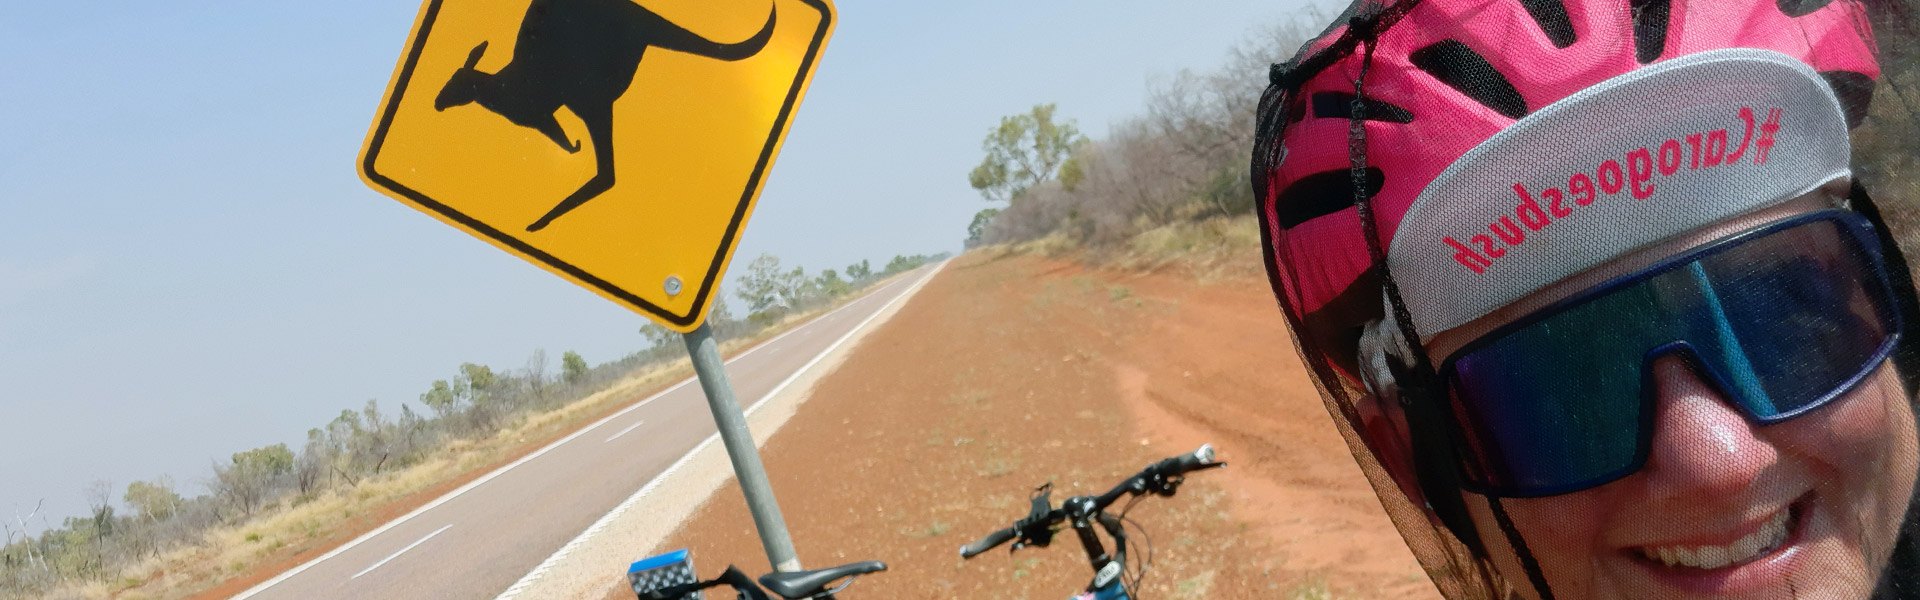
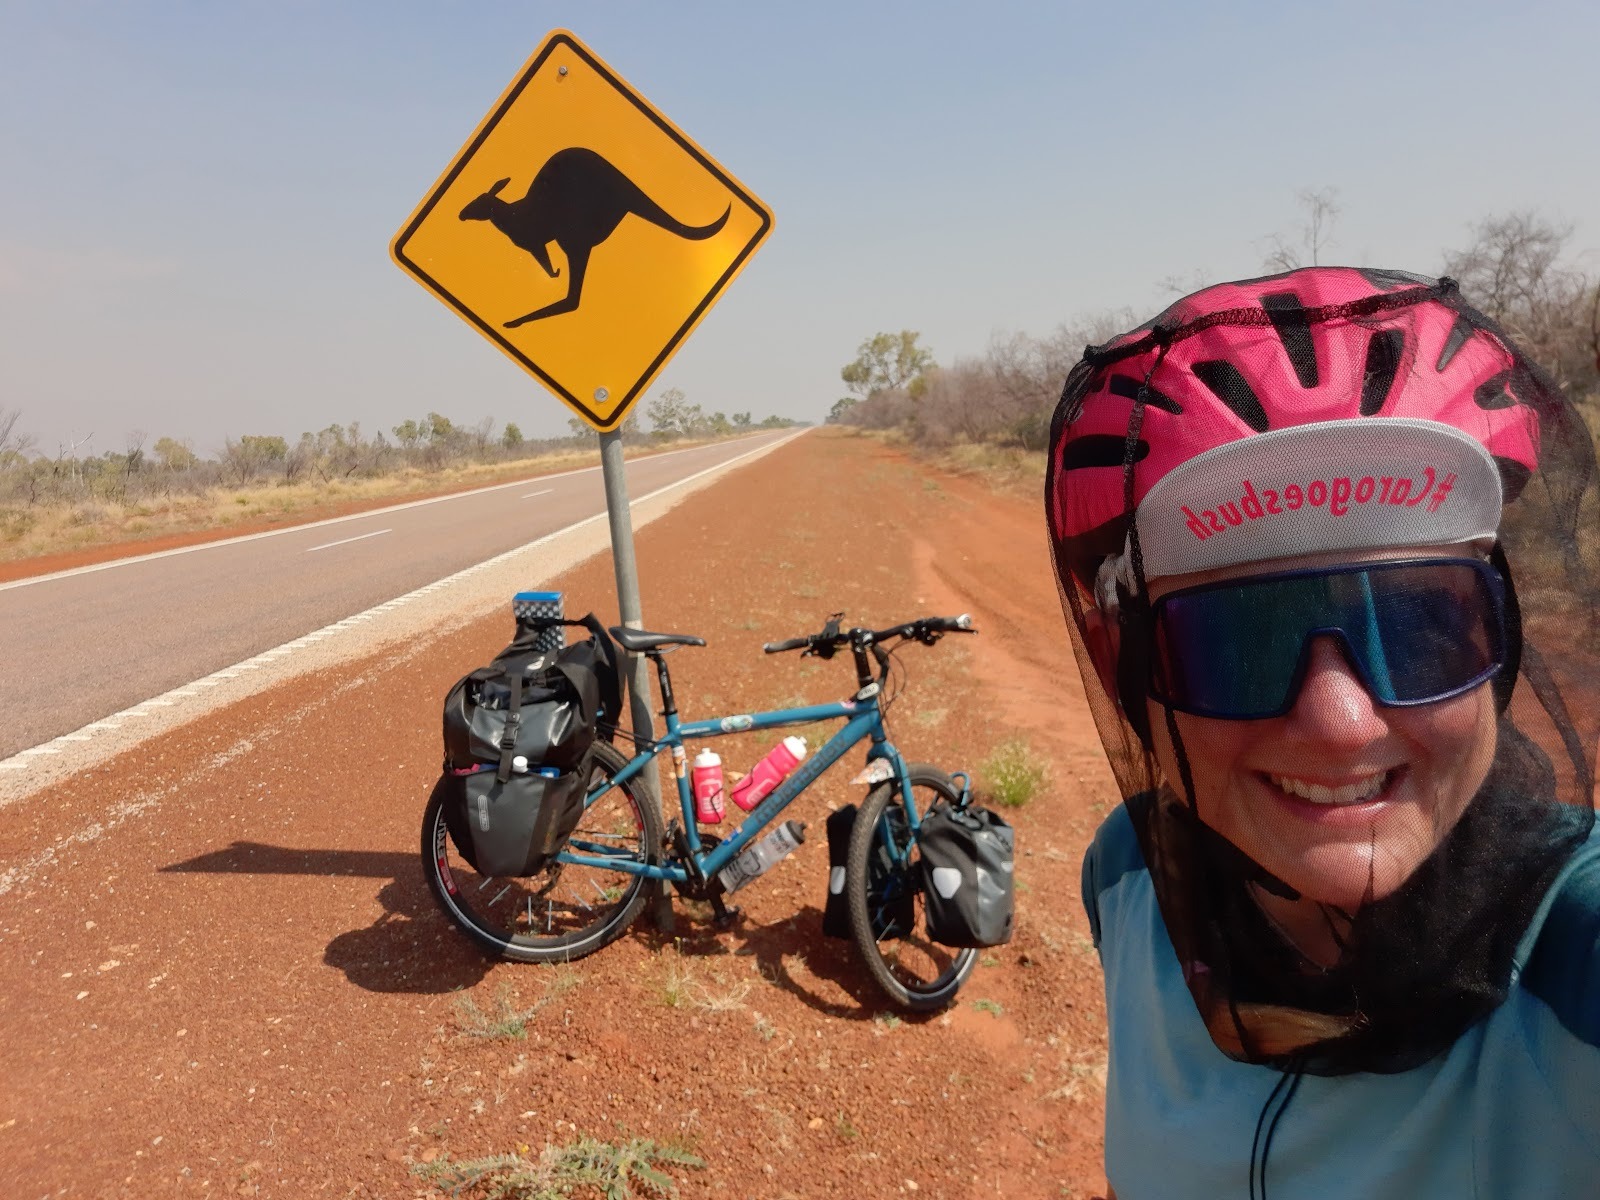
In 2025, she cycled across the Australian outback from Brisbane to Perth – 5,000 miles. 

“I made the impossible possible.”

Read Her Upcoming Book and Support Her Next Big Adventure

“I wanted to give all the patients with complex regional pain syndrome hope that they can reach their goals, like I did.” To that end, you’ll be able to read about her comeback as she kept daily notes on her experience and is now writing a book about her experience:  “I don’t know how many people will read it because everything I write is the truth and it is not always nice and shiny. But the world is exactly like that. I want to write about the ups and downs, because that’s how life is.”

Coming up for 2026, she plans to cross the United States twice. “I am signed in for the Transam Team for Bike the US for MS from June to August. After that I want to do the Southern Tier.” 

You can support her ride by clicking here.

Follow Caroline’s journeys and thoughts on Instagram at @caropasedach and Facebook at facebook.com/caroline.pasedach. 

Ride on, Caroline! 

Share Your Story!

Are you a Zwifter with a great story? Can we share it?

At Zwift Insider, we’re always looking for personal stories from the Zwift community that inspire, educate, or amaze. Email [email protected] with a quick summary of your story to get started!


How the Race Was Lost: Box Hill Survival (ZRL on London Loop)

9

How the Race Was Lost: Box Hill Survival (ZRL on London Loop)

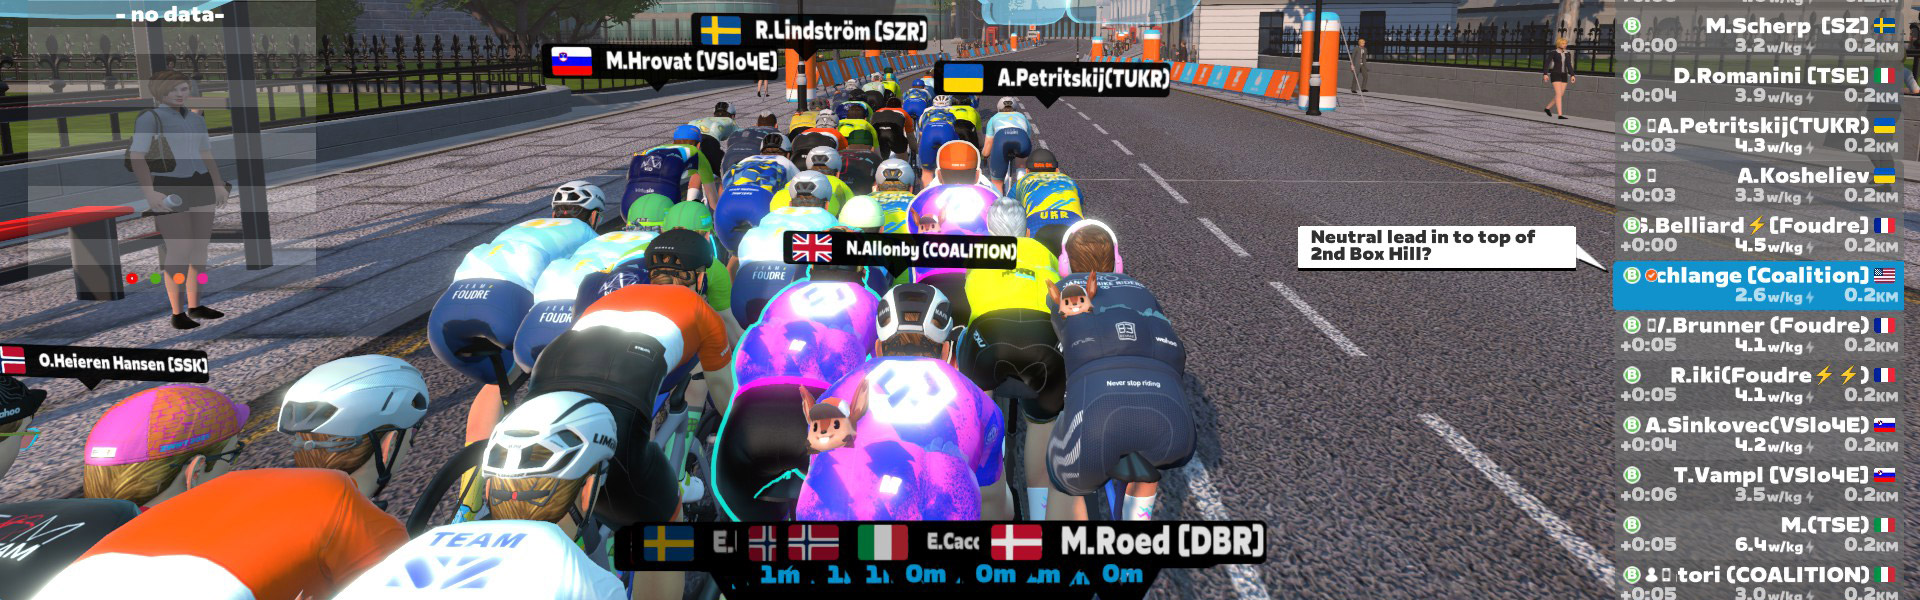
Tuesday was the last race of Zwift Racing League Round 3, and we were in London for a two-lapper of the classic London Loop. That meant 30km of racing but, more importantly, two trips up Box Hill! This was going to hurt…

Planning and Warmup

Heading into the race, we were scrambling to line up enough riders. We brought on a new Coalition teammate, Neale, and Captain Neil signed on to race even though he was going to be racing an earlier edition with another Coalition team that was short on riders. So our starting lineup was:

  • Captain Neil
  • Enrico
  • Dylan
  • Neale
  • Fabian
  • Myself

I pulled my S-Works Aethos out of the garage and installed the ENVE 4.5 wheels, because I wanted every advantage I could get on Box Hill. I got out on course early, so I could take my time with a 20-30 minute warmup. Then I signed onto Discord, downed a SIS gel, and got ready to rumble!

Lap 1

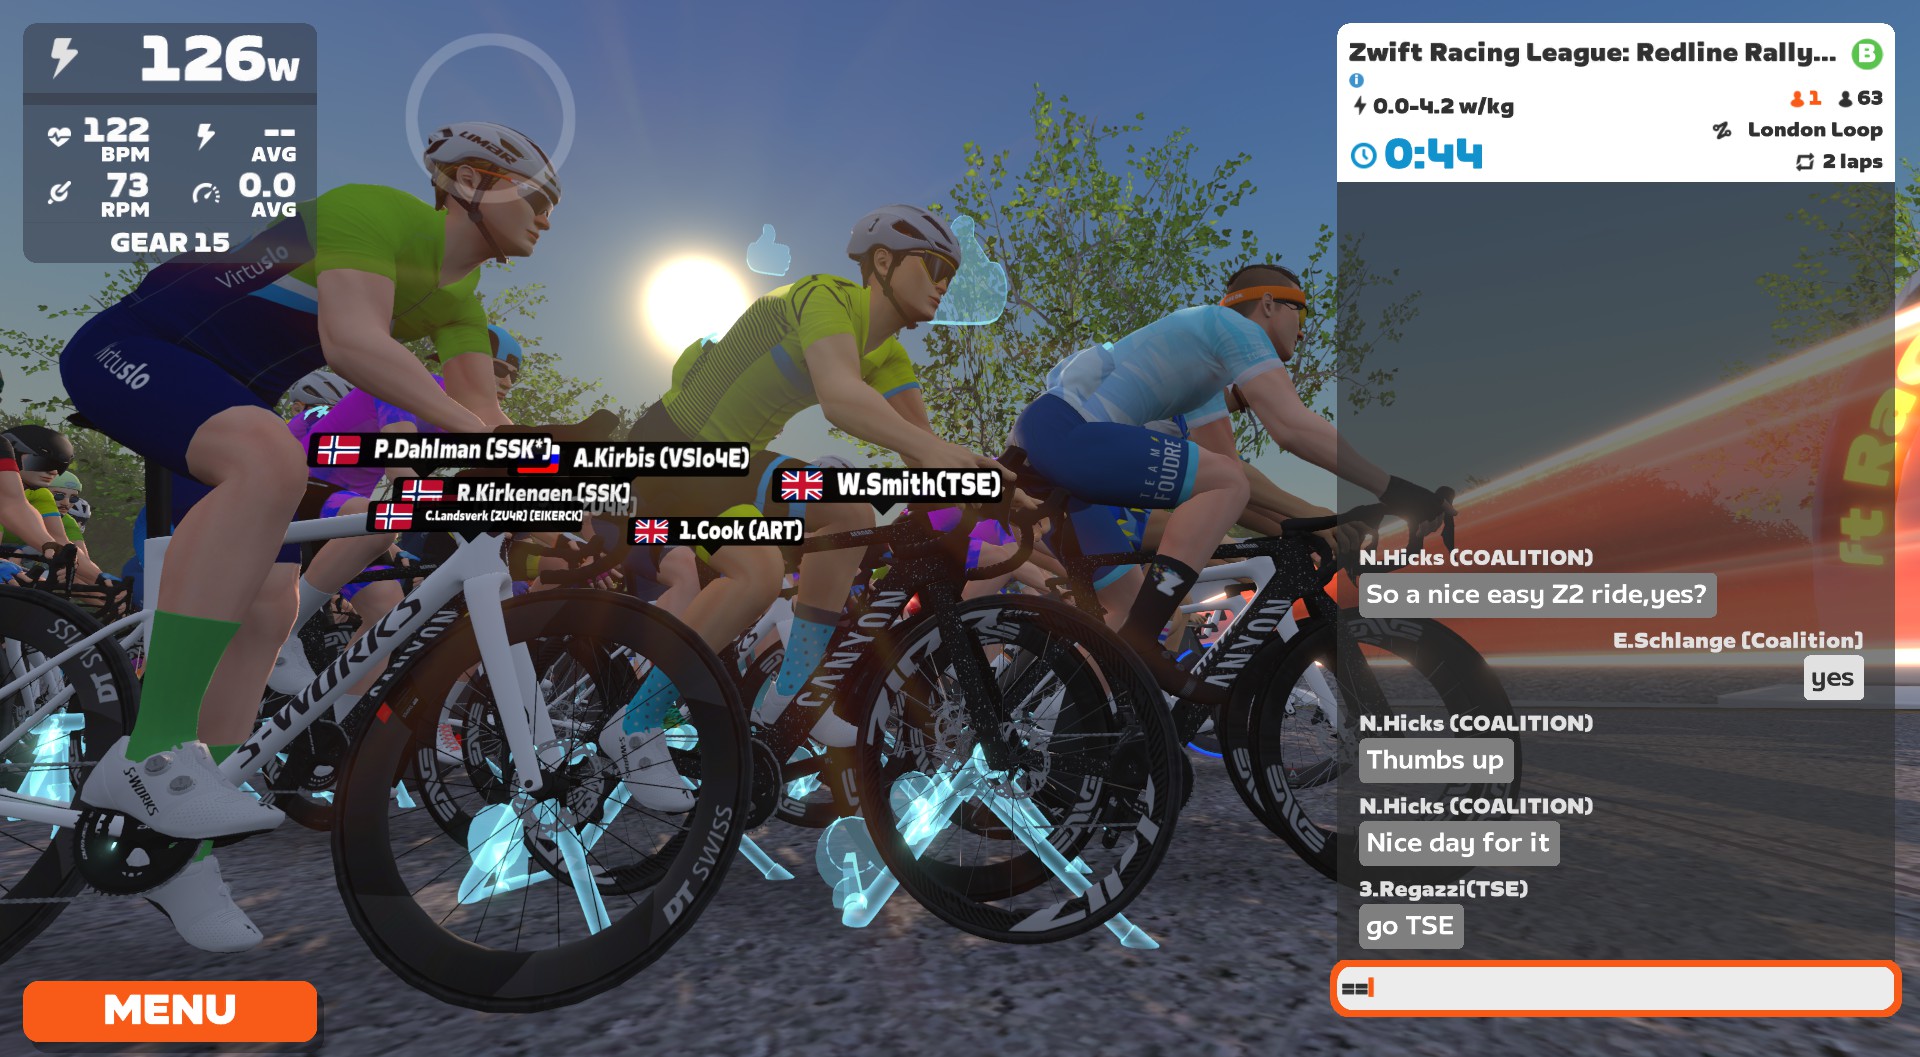
63 riders rolled out of the pens to begin the first of two London Loops. We all got feather powerups at the lap arch, and we all tucked them away for safekeeping. We knew what was coming up the road.

The first little effort of the race was short climb (Northumberland Avenue) you hit when you turn a hard right away from the Thames 3.5km into lap one. It wasn’t bad, though – just 30 seconds of slightly higher effort. The feathers still weren’t flying, and none of us was brave enough to attack in earnest this early.

An average of just 250W brought me (and all 63 starters) from the start of the race to the bottom of Box Hill. That’s where the action began.

While I know Box Hill is a ~7-minute effort for me, I don’t think of it that way. Rather, I mentally break it into a few sections:

  • The Lead-In: The bit before we turn a hard right and the climb gets steep. Nobody pushes hard this early.
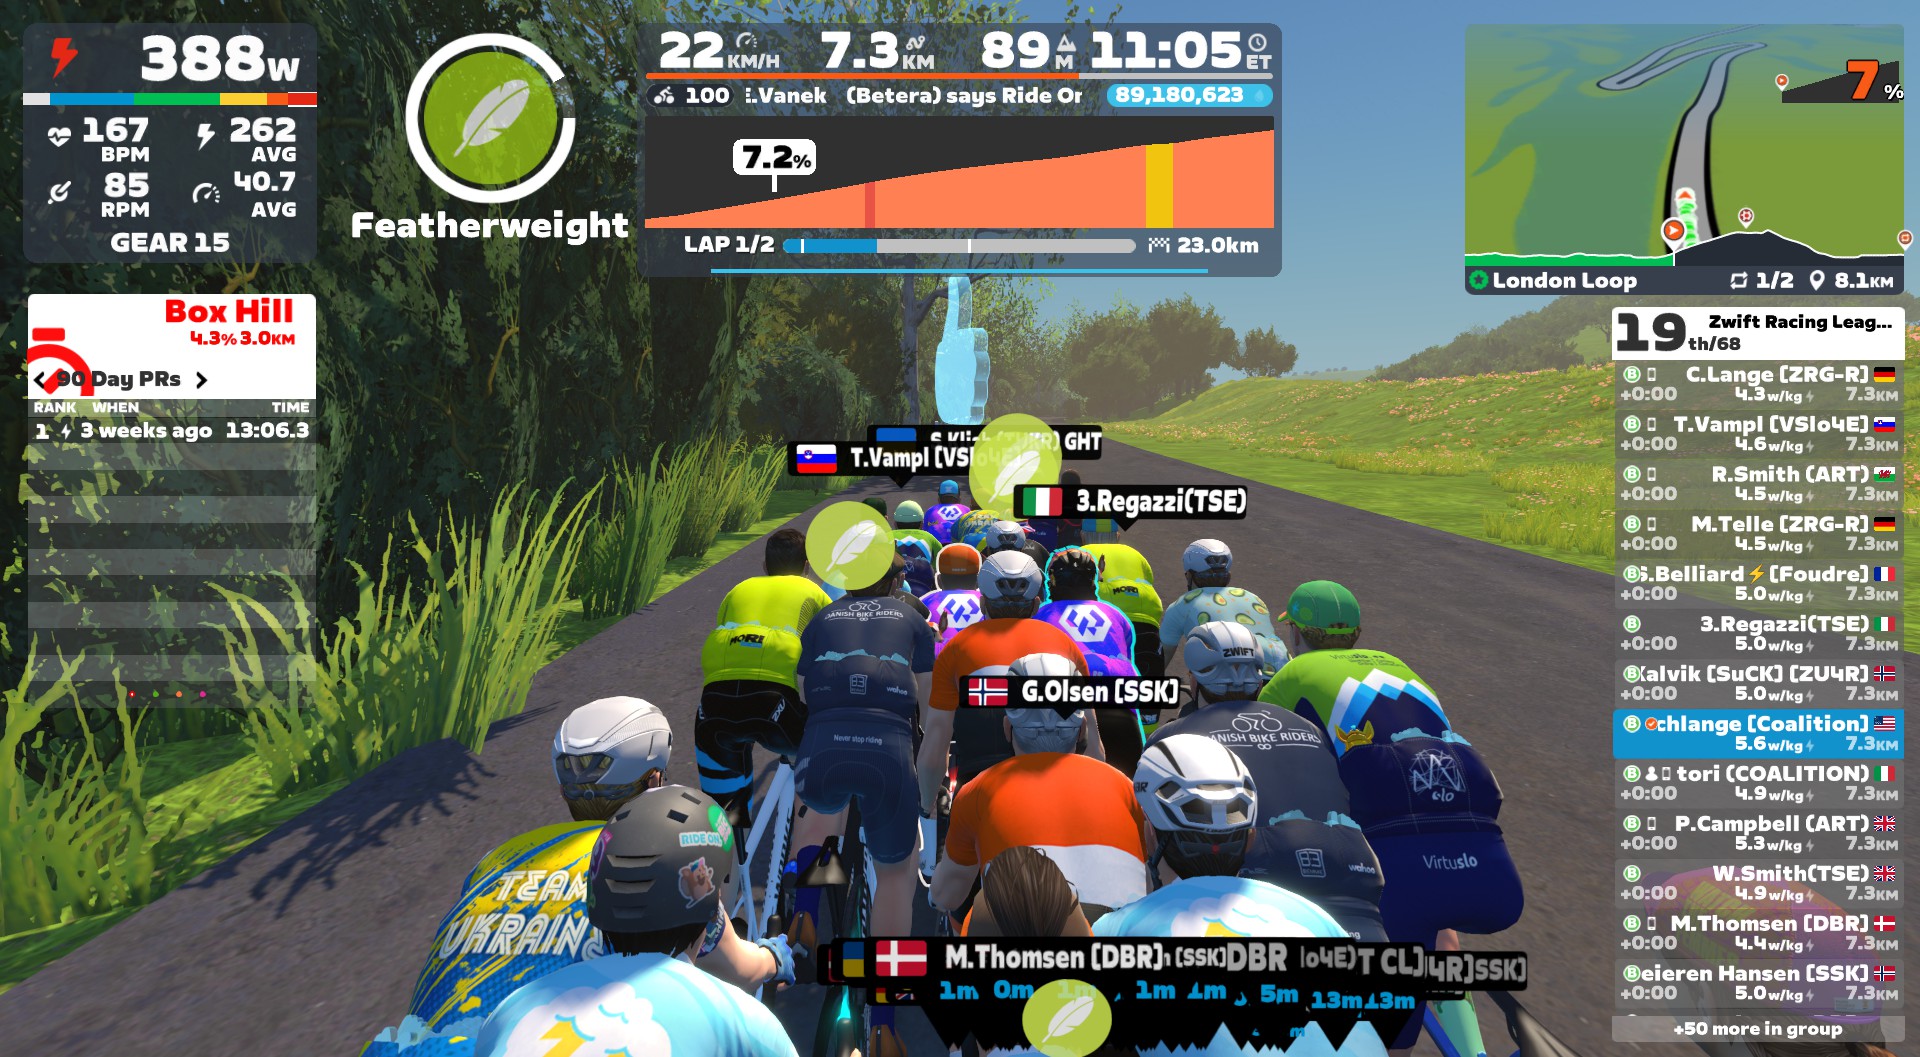
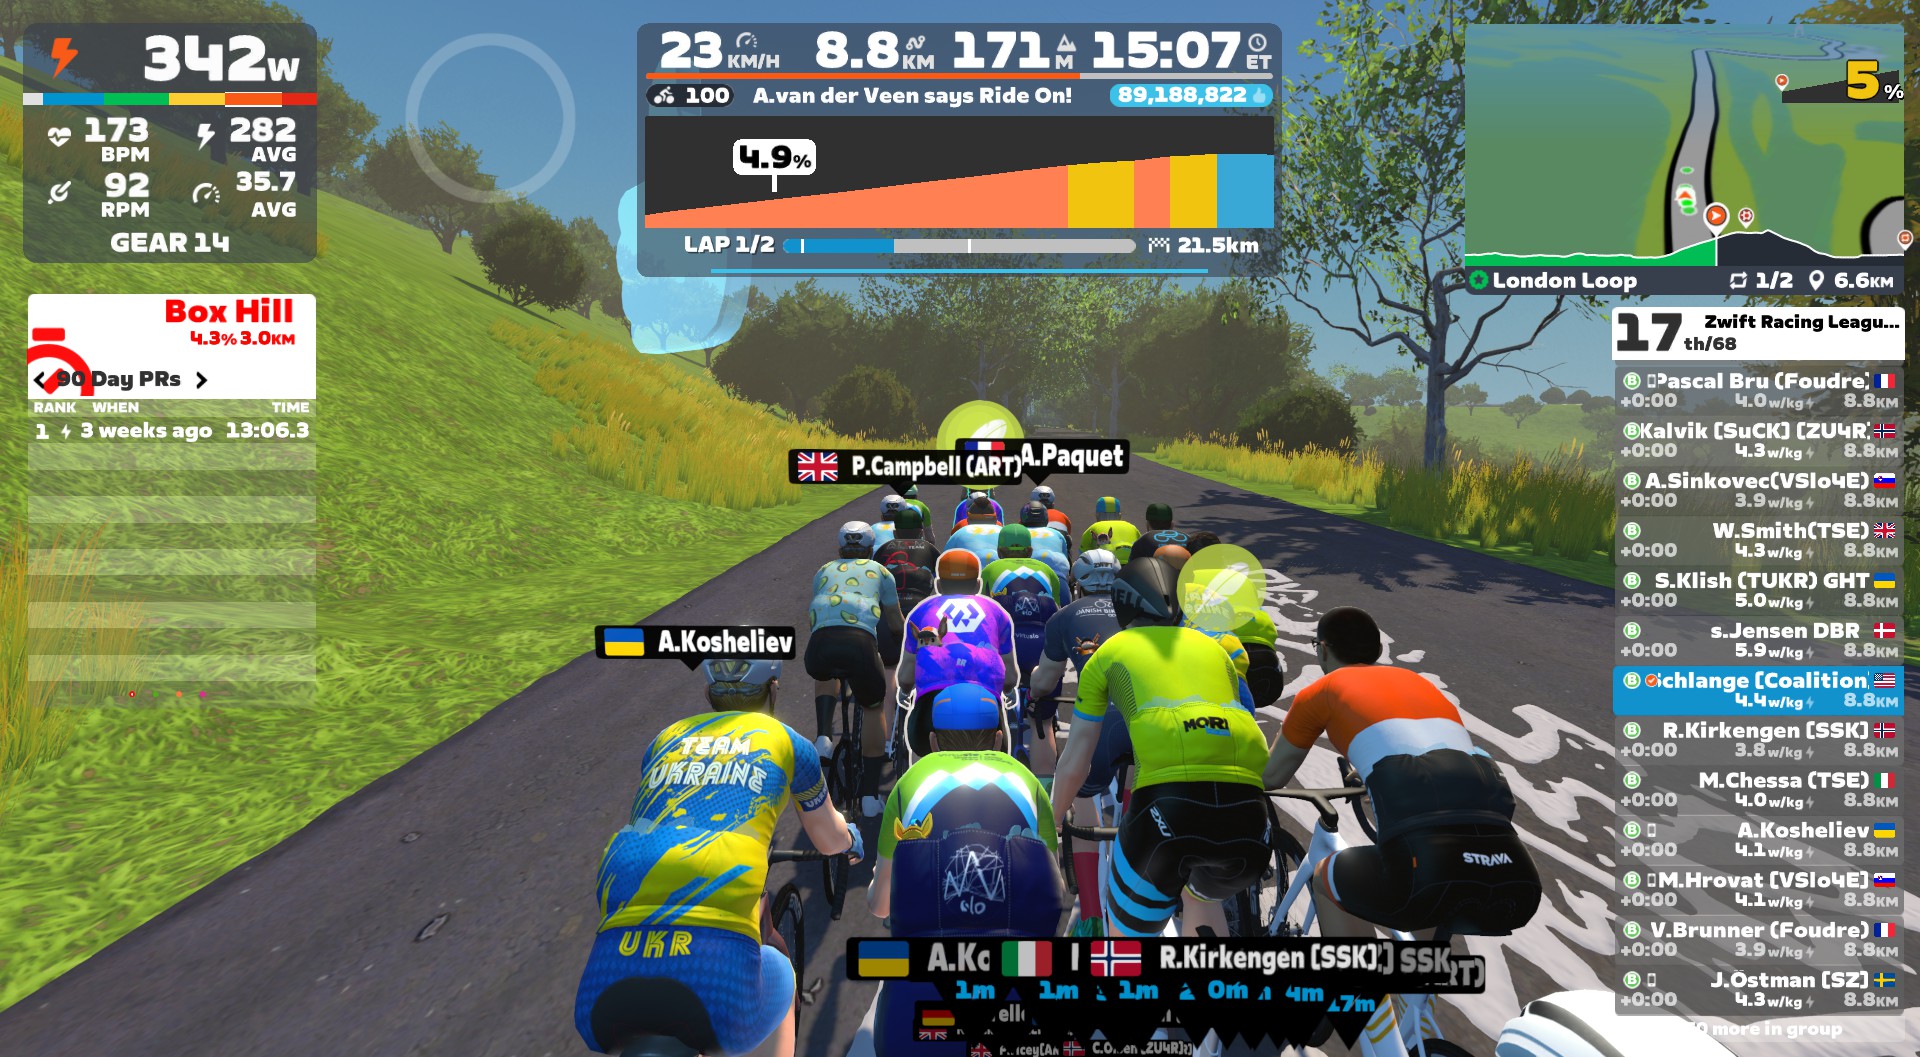
  • The Steep Bit: The first long stretch averages 7-8% until it eases a bit before the left hairpin. This is where the pack quickly separates and elastic snaps, and it’s where I’ve been dropped in the past. I used my feather to help me hold a good position near the front. Sauce showed the front group had shrunk to 44 by the end of this section.
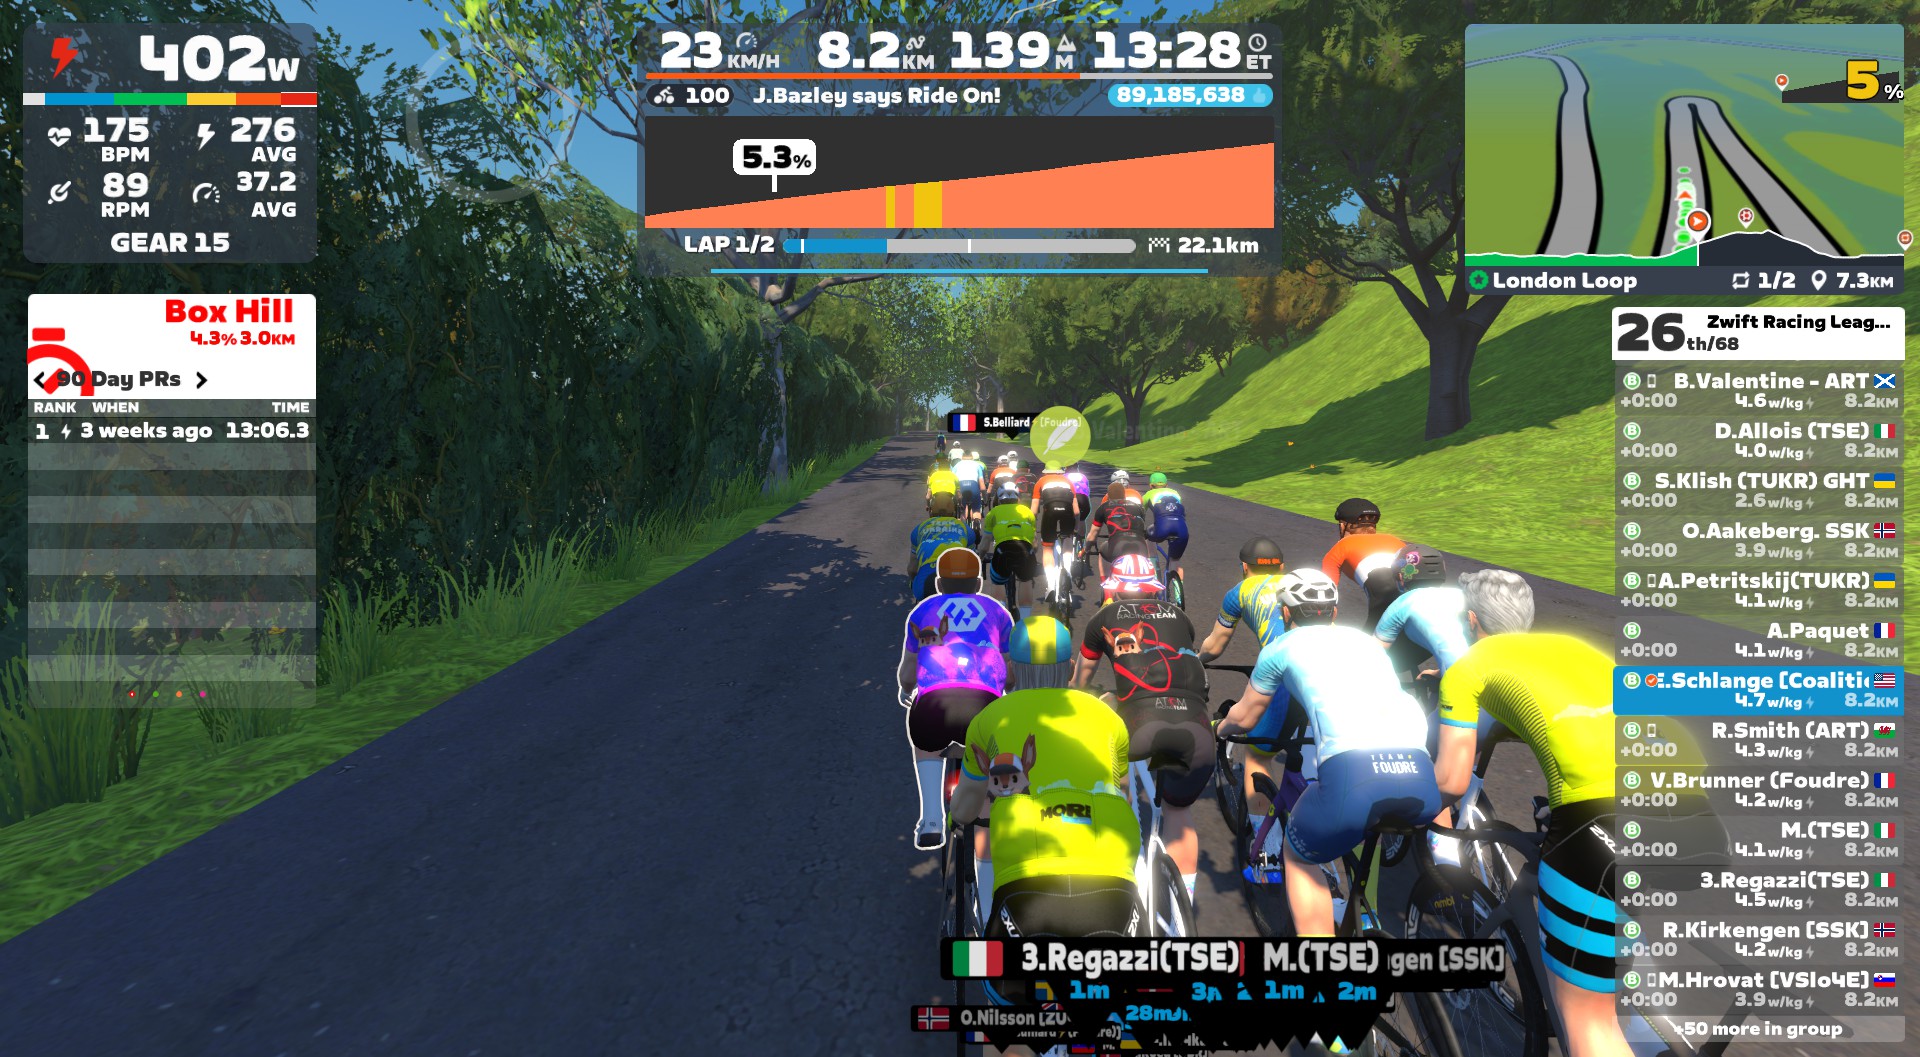
  • The Middle: When we “zag” back to the left, the pack tends to ease a bit, and the road even flattens momentarily, although it pitches back up and ends up averaging around 5%. Things often come back together a bit in here, but not for long.
  • The Long Haul: Turn a hard right and hit the white painted roads – this is the long final haul to the top. Some riders held their feathers for the end of this bit, which made me work harder than anticipated. I was close to being on my limit, but I also knew what was up the road, so I knew I could push hard here since recovery was waiting. Sauce showed 32 riders left at the top of this section.
  • The Flat Finish: Turn right at the top of the Long Haul, and you’ve got a flattish final 600 meters to the KOM banner. If I’m still in touch with the group at this point, I know I’ve survived the climb. And I was still in touch! Sauce showed 26 left in the group as we went through. This was the selection. This group of 26 would stay together to the end of the race.

Instead of the promised anvil powerup at the KOM arch, I saw the standard powerup animation pop up through the KOM arch, flipping between Draft, Aero, and Feather. I got a feather, which I used on the short kicker that comes just before the long descent of Fox Hill.

We all took a big breath as we flew down Fox, put in a quick dig to get up and out of The Underground, then spun our way to the finish of the first lap.

26 riders had survived in the front group… but only 2 of us (Enrico and myself) were Coalition. Clearly, this wasn’t going to be a team win for us, but if I could hang on over the second Box Hill, I would have a shot at the podium. That became my only goal.

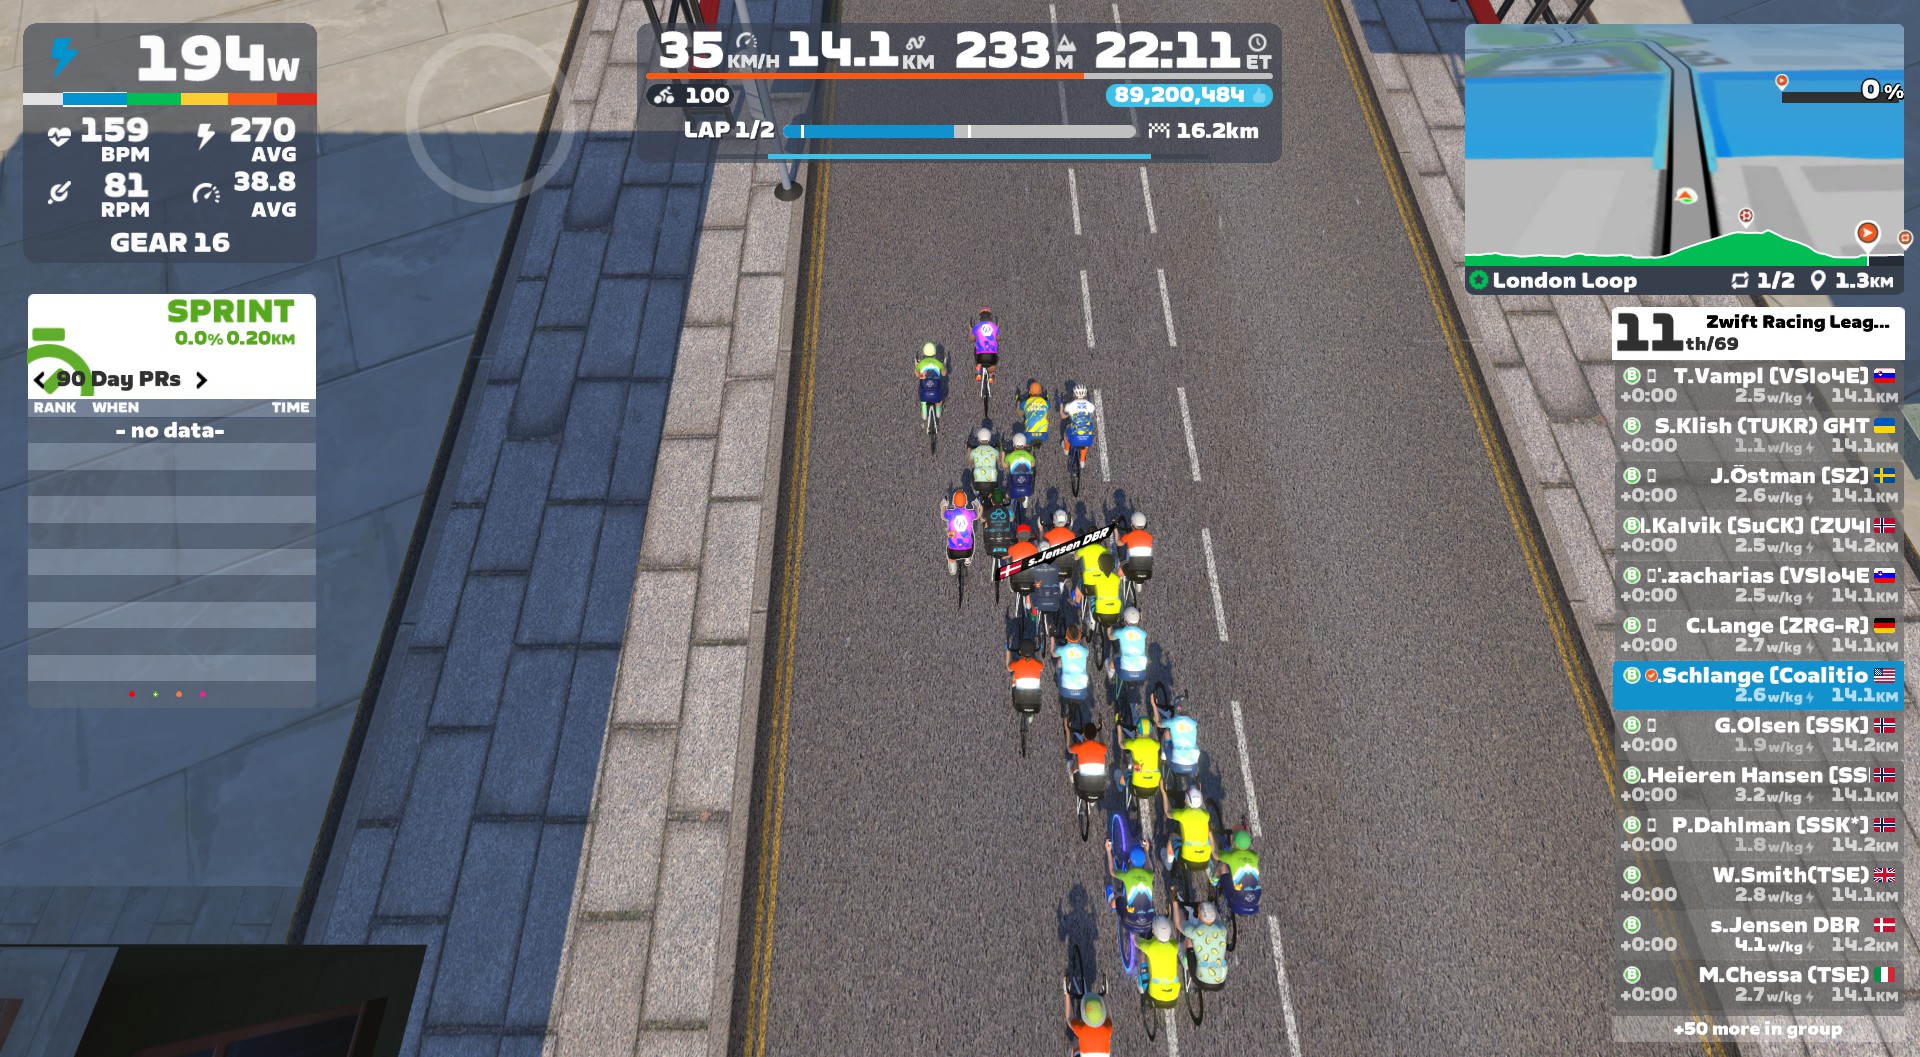
Continuing the powerup weirdness, we all got feathers at the end of Tower Bridge (there’s a white line on the road there that acts as a sort of “invisible arch” marking the start of some routes). I could have used my feather right there for a bit of relief, but I wasn’t convinced there was another one waiting for me at the lap banner, and I knew I wanted one for Box Hill. So I just held onto the feather I had.

Lap 2

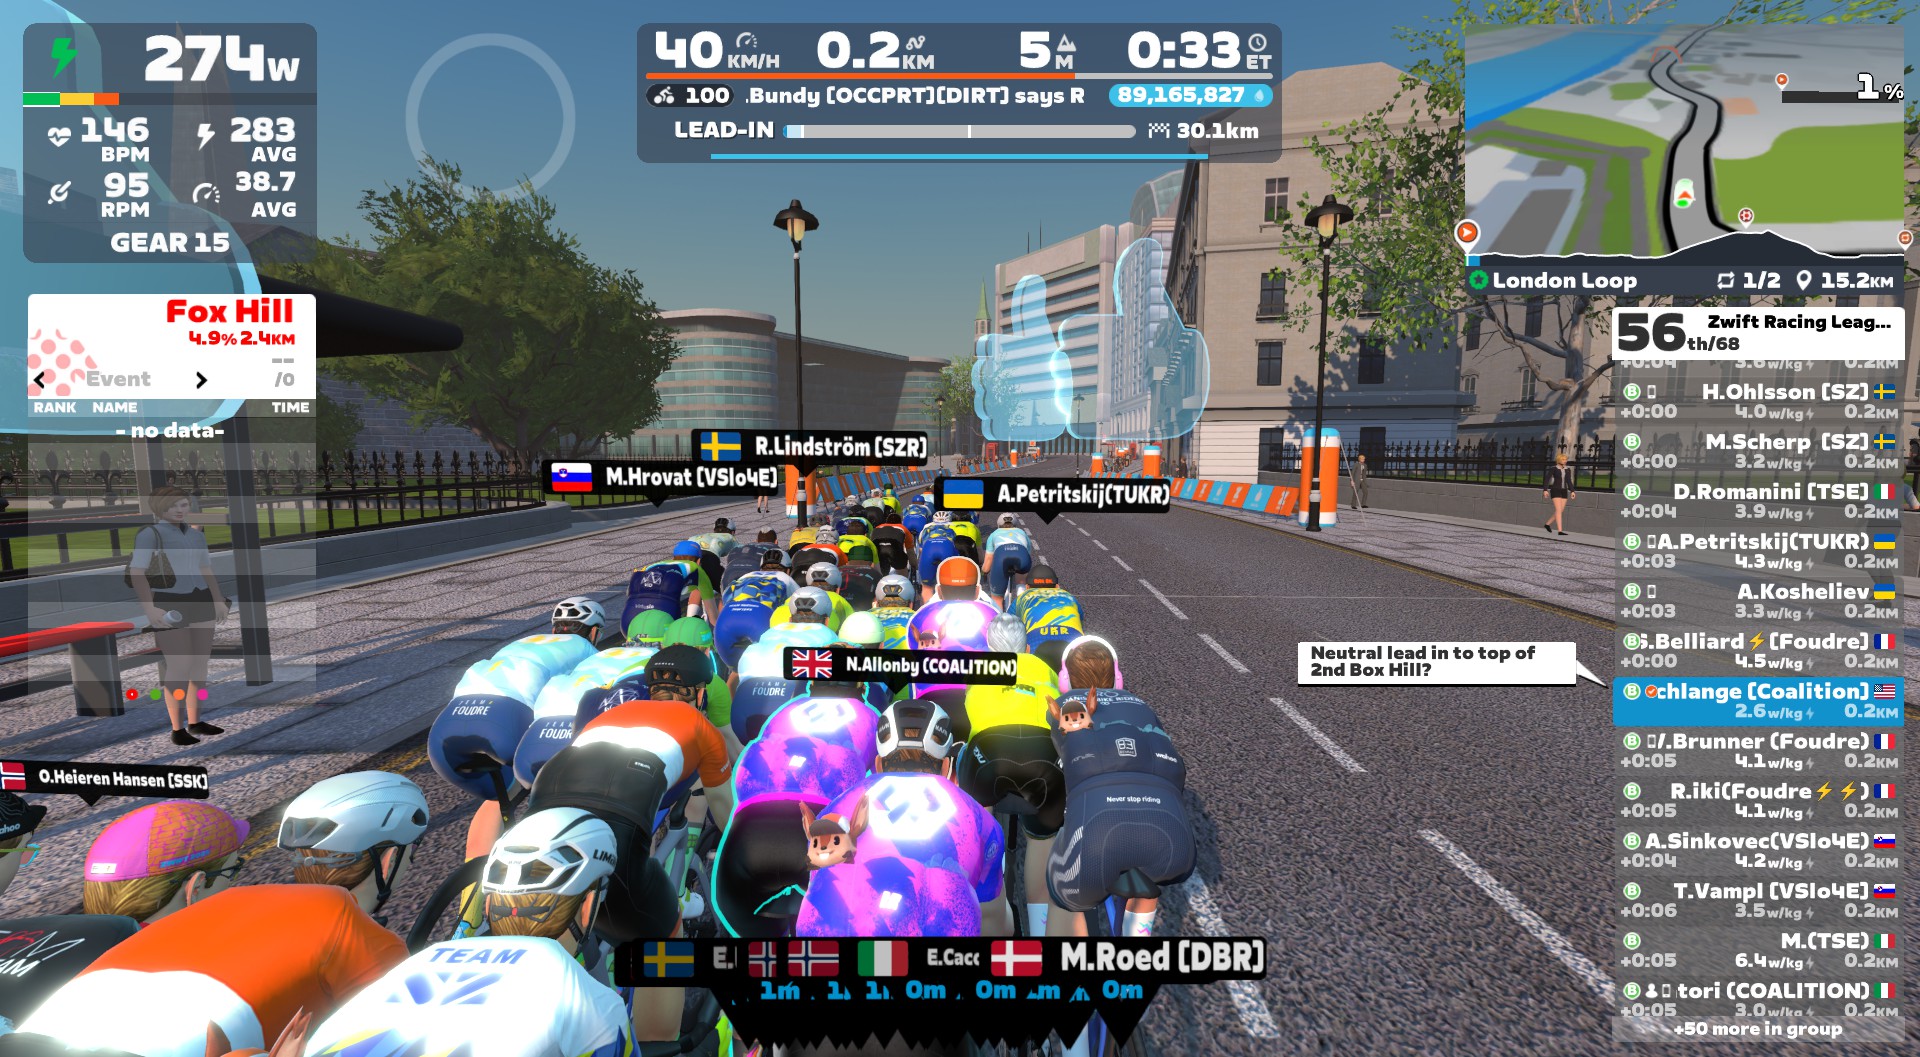
The lead into Box Hill #2 was unremarkable, with some riders putting in harder pulls on the front, but never hard enough to drop any riders. All 26 of us arrived at the bottom of Box Hill, ready for the next big battle.

This time around, I decided to hold onto my feather until the end of the climb, unless I felt like I was getting dropped. It seemed like everyone else had the same idea: I only saw a couple of feathers fly before we reached the final stretch of The Long Haul near the top of Box Hill.

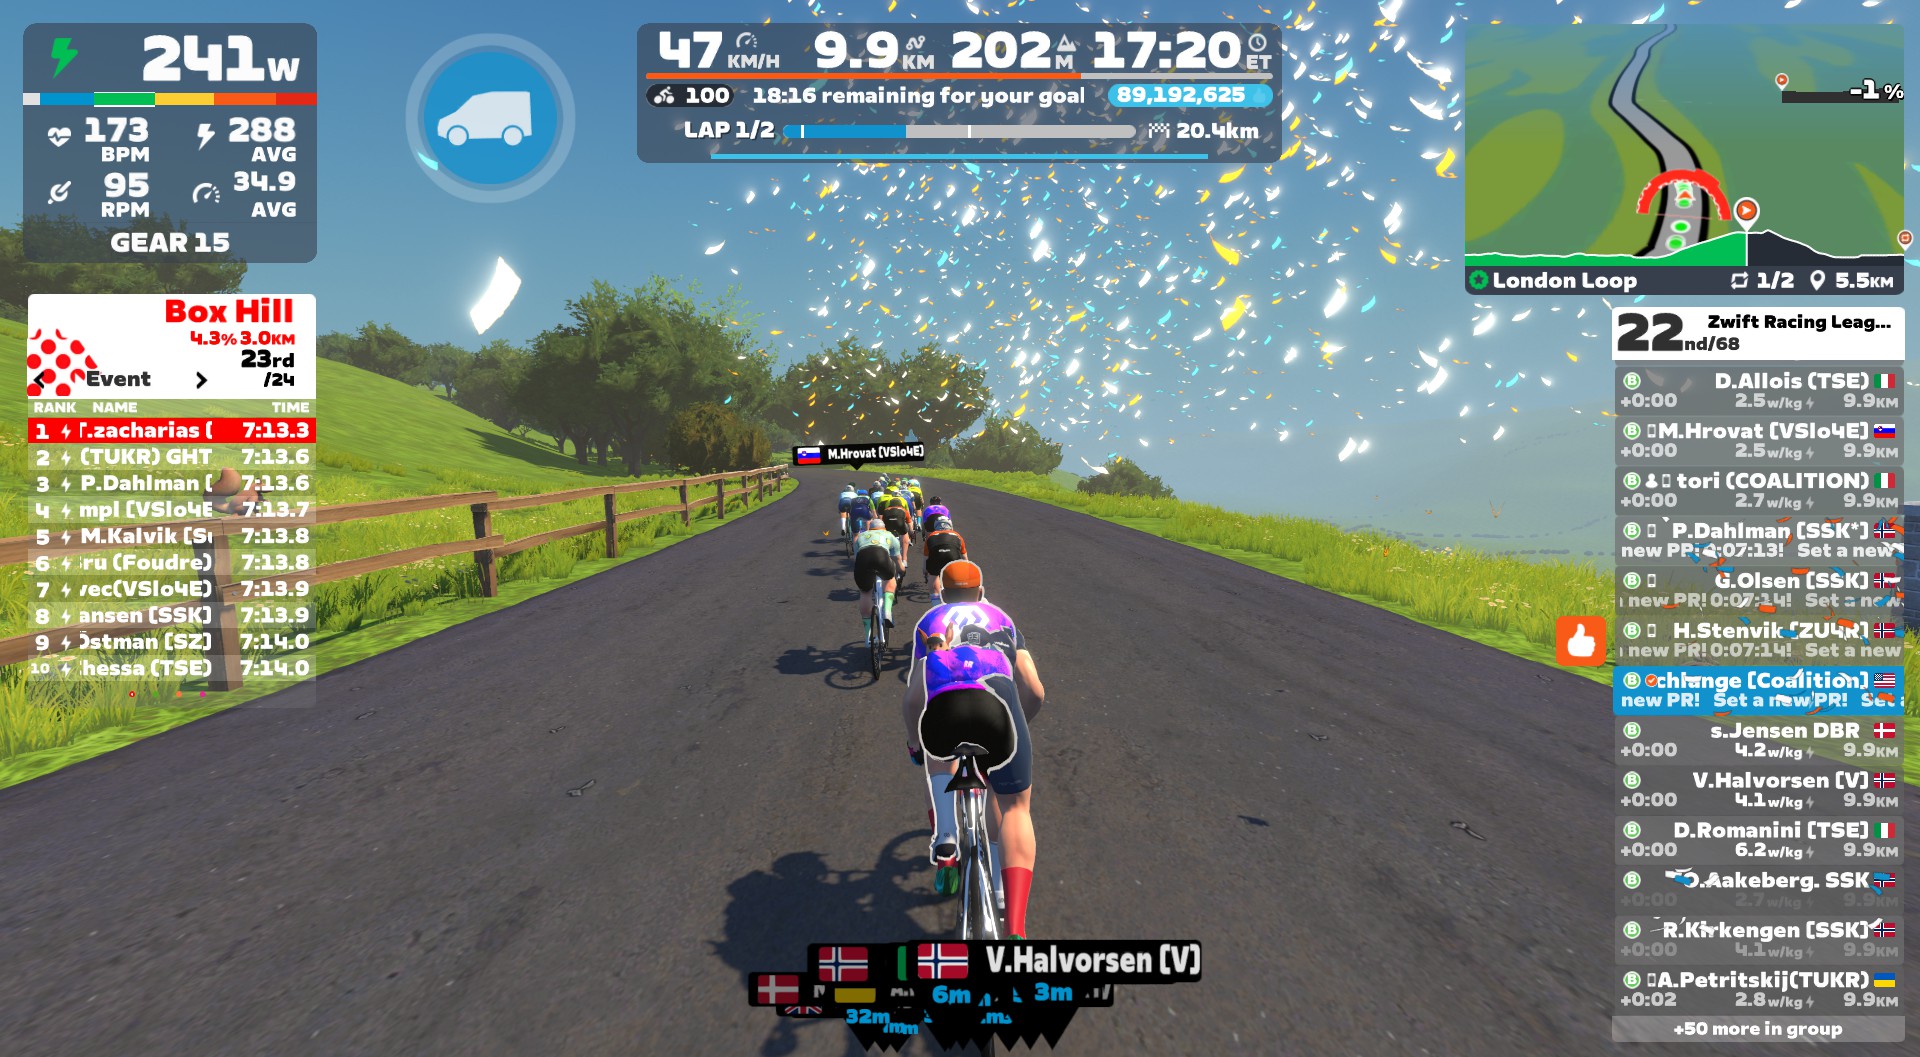
Even though the second climb was a bit slower (7:25 at 326W average vs the first lap’s 7:13 at 340W average), this second Box Hill effort was tougher than the first. I could feel that I was even closer to being on the limit, but I also knew everyone was suffering. This is bike racing, after all. So I kept digging, and eventually the road flattened, and I was still in the wheels. I’d made it! Hurray!

The powerup spinner at the top gave me a feather, which was not ideal (more on that later). I decided to hold onto it for use on the ramp out of The Underground.

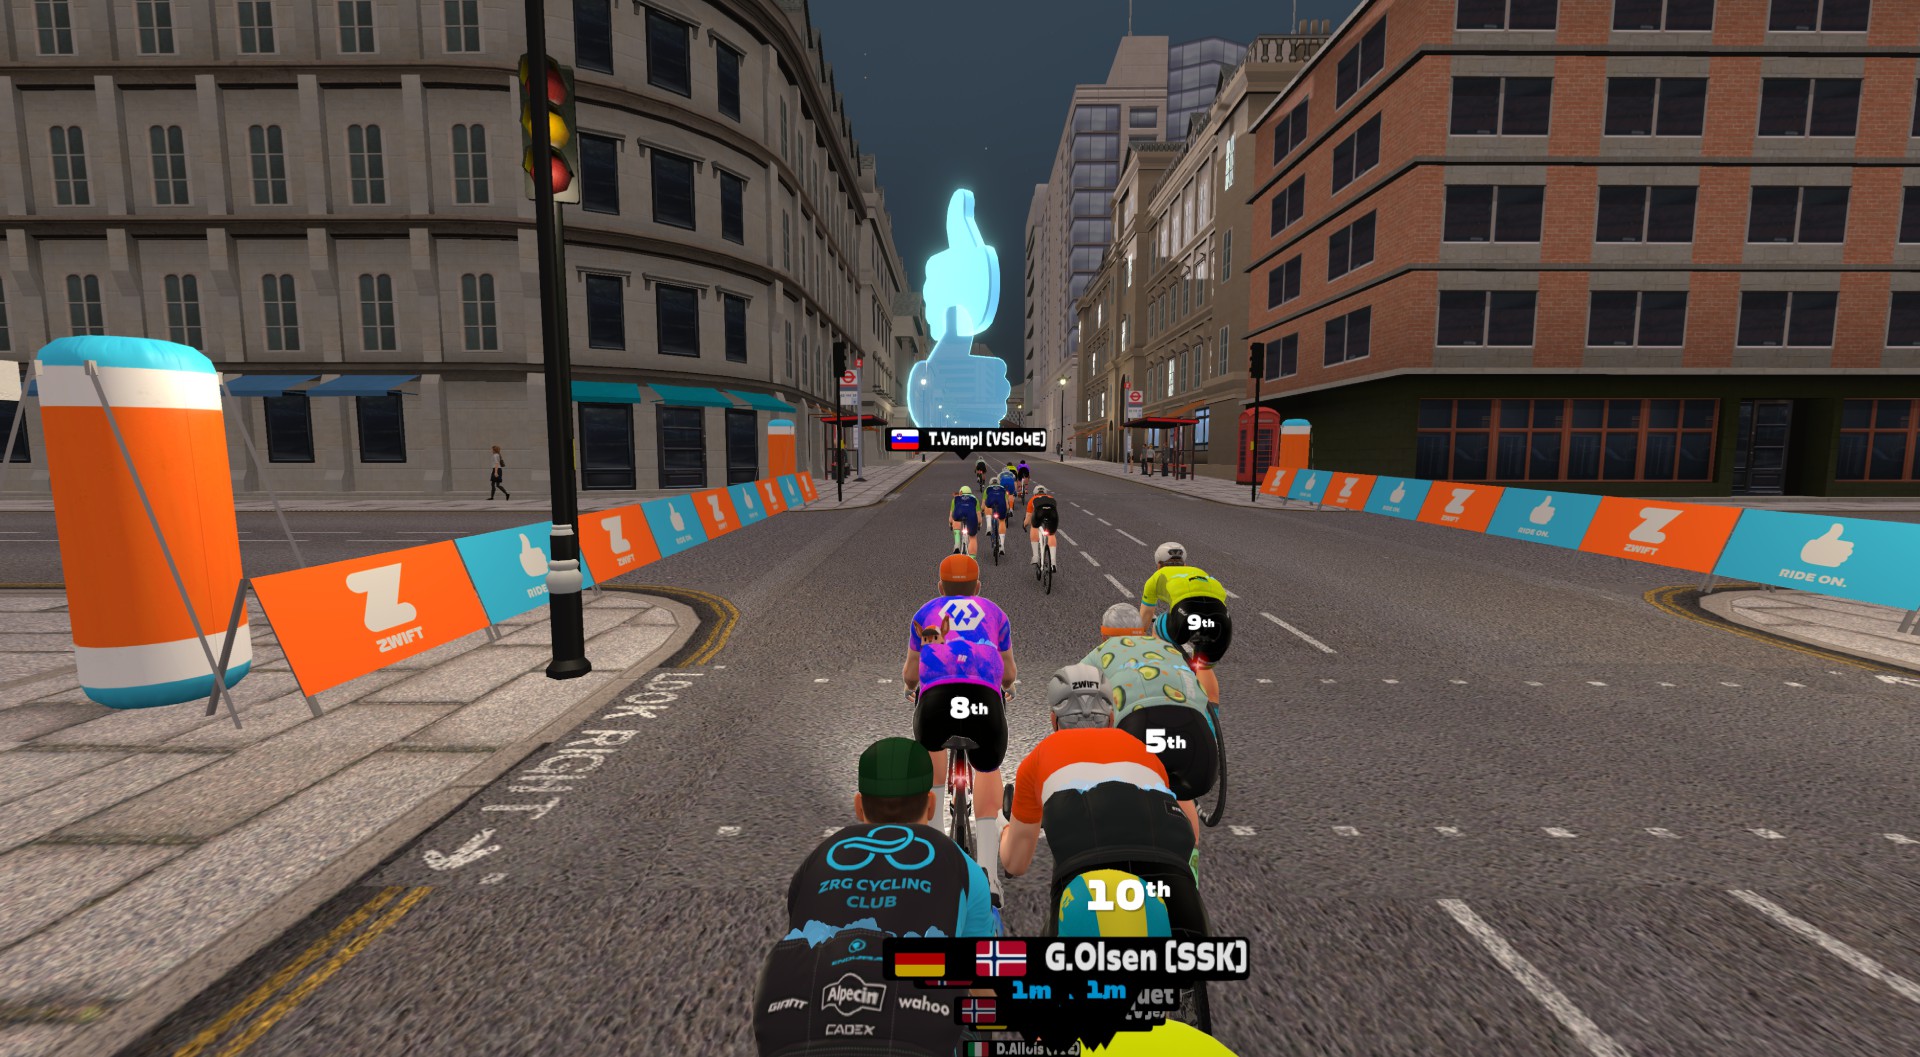
Everyone lit it up on that ramp, so the feather helped. I found myself in 2nd position, in fact, chasing on to a long attack from Allois (TSE). I quickly decided that was a bad idea, though, as my legs needed a break. So I sat up, getting in the wheels, and waited to time my final effort.

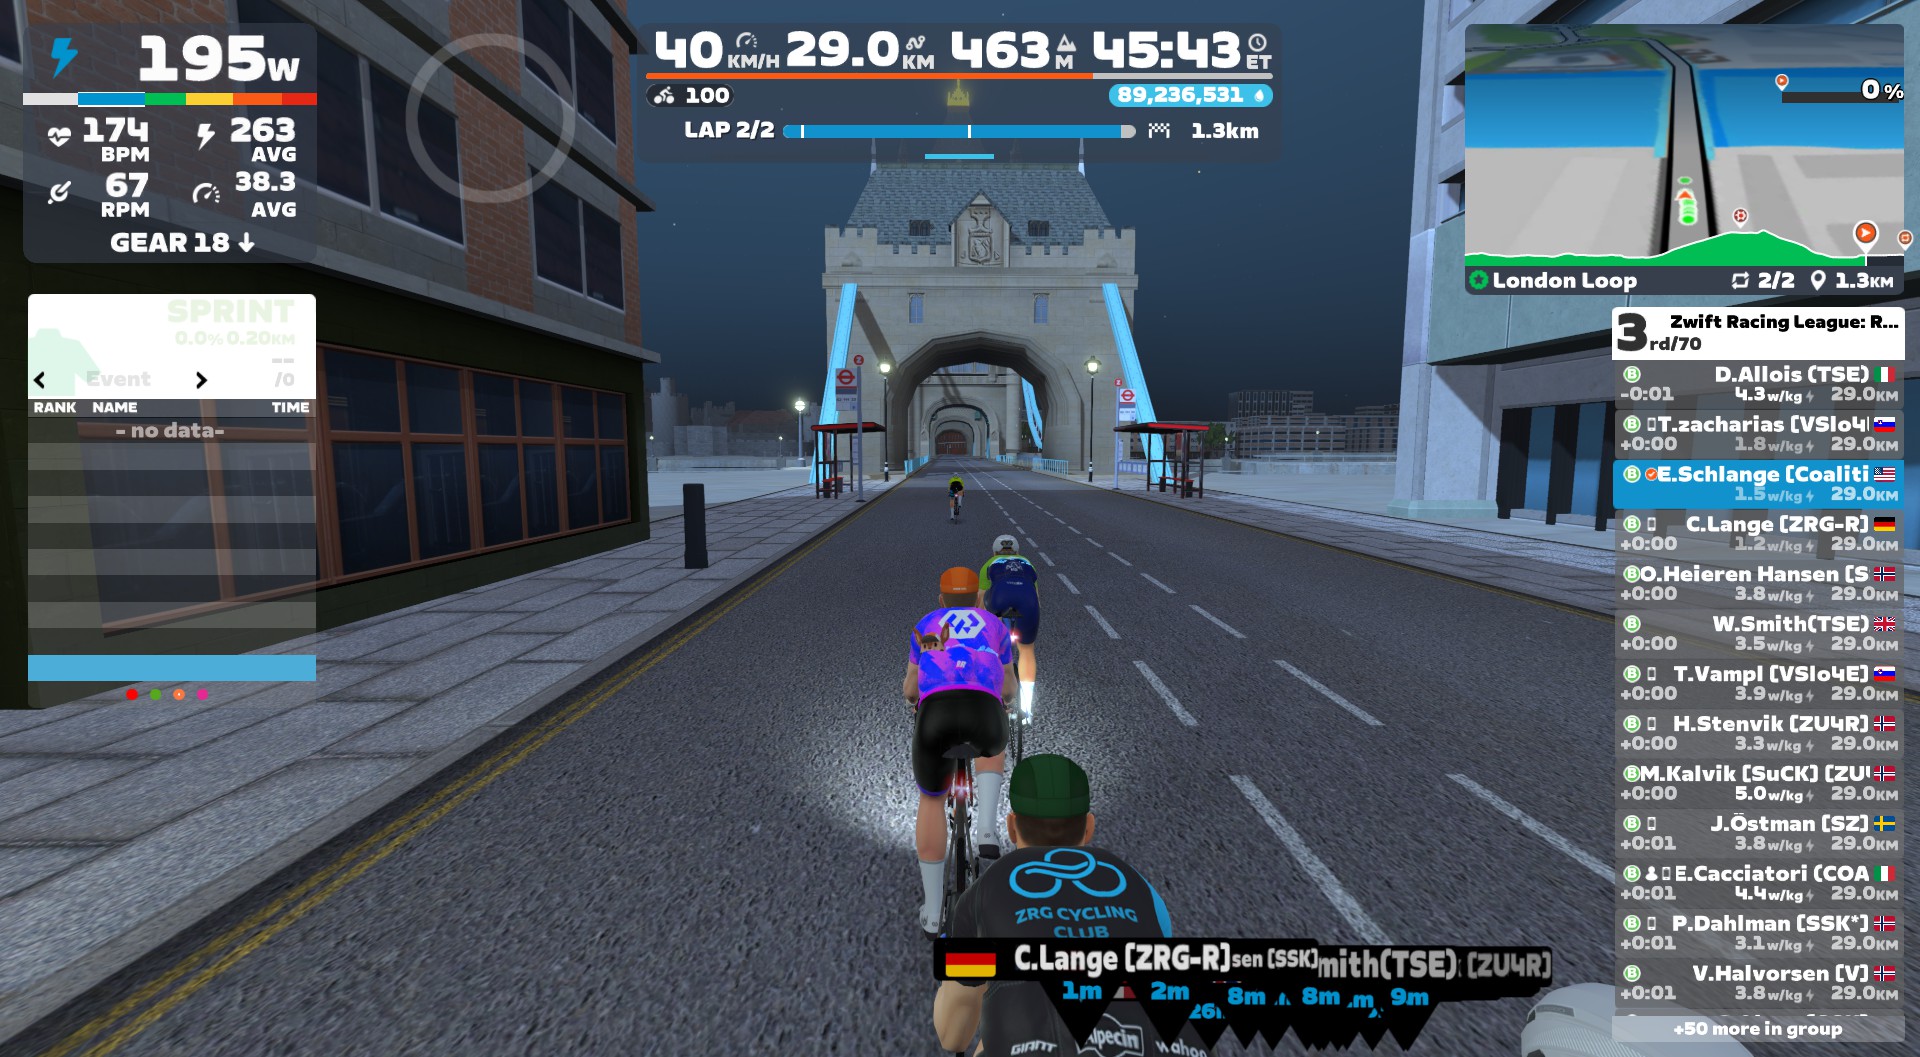
As we left Tower Bridge, we got another feather powerup. I used it right away, hoping it would give me a bit of relief, because I figured it wouldn’t be much help on the downhill finish. I was sitting in 6th in a strung-out group, and Allois was 2 seconds up the road.

With a few hundred meters left, the road tilted down a bit, and the powerups started to fly. First the feathers and the draft boost vans. The near the end, the aero boost helmets. I hammered with all my tired legs had, and came across the line in 8th.

See my ride on Strava >

Watch the Video

Results and Takeaways

I’m going to break this section up for clarity…

Finishing Position Inconsistency

While the on-screen results showed me in 8th, ZwiftPower (and WTRL’s final results) show me in 9th.

In the grand scheme of things, this doesn’t matter much at all. But it could have been a really big deal, because:

  • My team tied with another team (ART) in total points for this race, meaning it goes to whoever had the highest finishing points (not counting podium bonus points). That means ART beats us. But had I finished in 8th, we would have beat ART.
  • It turns out, we held onto 2nd place for Round 3. But just barely (by 2 points).

Look, we all know that, if Zwift wants to be taken seriously in the e-racing space, they need to solidify the finishing position experience. It’s been an issue for a long time. But this particular issue is a weird one I haven’t seen before: how is the game showing one result, while ZwiftPower/WTRL are showing another? That shouldn’t be possible, right? Aren’t both of those based on the same server-side system?

Powerup Madness

Can we talk about powerups… again?

If you watch the finish of this race (video above), you’ll see that nearly all (or possibly all, it’s hard to tell) of the riders who finished ahead of me had draft or aero boost powerups. (Reminder: I had a feather.)

Let me remind you: we were all supposed to get anvils at the KOM arch. Everyone was supposed to get the same powerup, and therefore have the same advantage in the finish.

But that wasn’t the case. A bug/misconfiguration of all the races on the day meant we got a random pick of three powerups at the KOM. I, unfortunately, got a feather. Had I landed a draft or aero boost, I can promise you I would have held onto it for the finish, used it wisely, and finished higher than 8/9th place.

This is the second time in Round 3 that my ZRL result was affected negatively by how powerups were handed out in the race (read about the first time here). And while I’m happy to take the blame for a poor race result, it’s irritating and demotivating to know that the finishes to these races were, in some part, determined by the “luck of the draw.” It shouldn’t work that way.

My opinion: powerups shouldn’t be randomly assigned, unless it’s an event like a Crit City race, where you’ve got lots of chances to get powerups, and thus the choice to use or hold them becomes a strategy in itself.

Personal Performance

I’m happy I survived in the front group in this race, as that was far from a foregone conclusion. Could I have played my cards better for a better result? Probably. Easing a bit more out of The Underground on lap 2, then saving my feather for the final 30 seconds may have gained me a few places.

Apart from that, I’m not sure if I’d change anything else about how I raced this one.

Final Team Result for Round 3

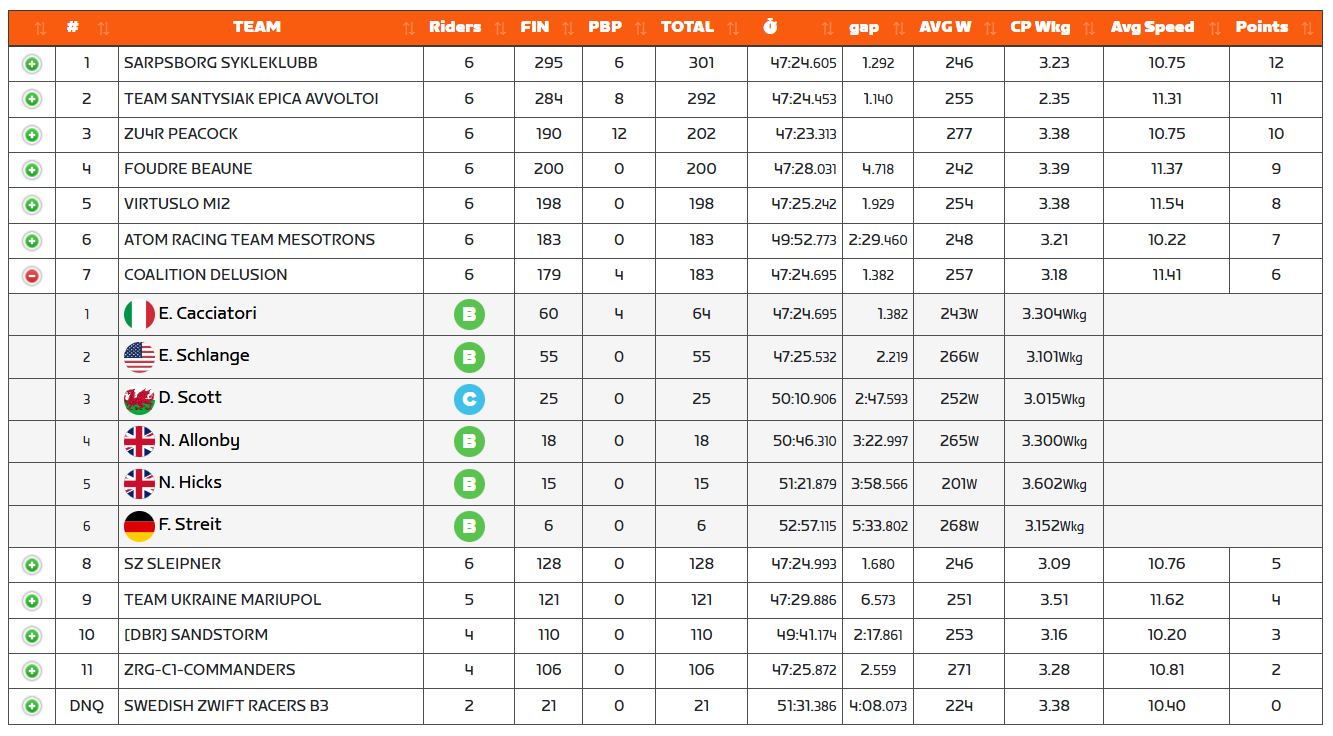
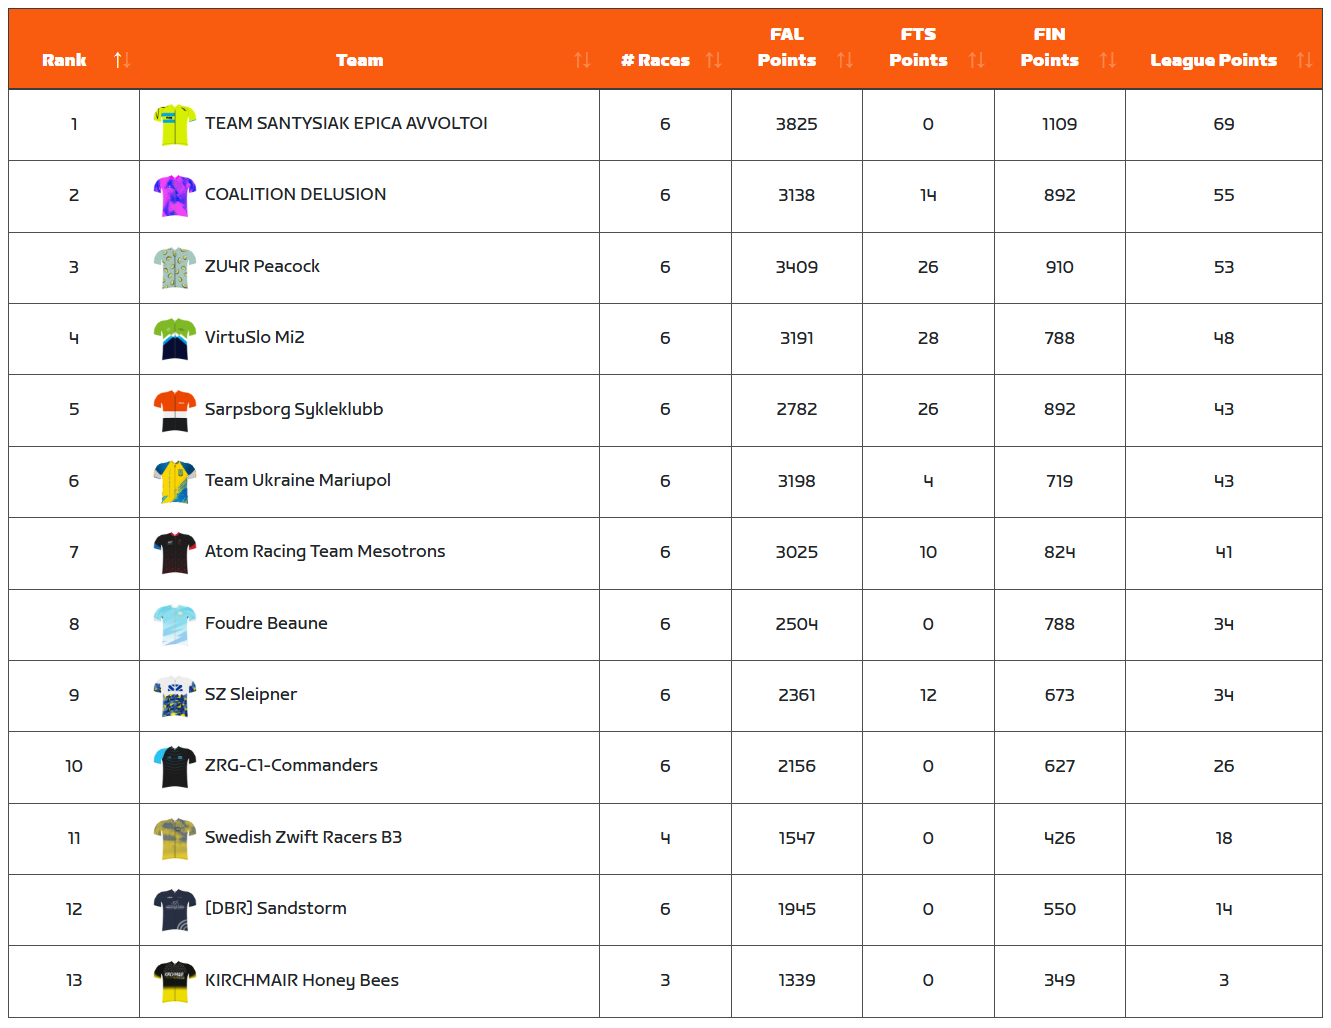
Despite an unimpressive 7th-place finish on the day, my team managed to hold onto 2nd place overall for Round 3. Congrats to TSE, who beat us once again, just like Round 2:

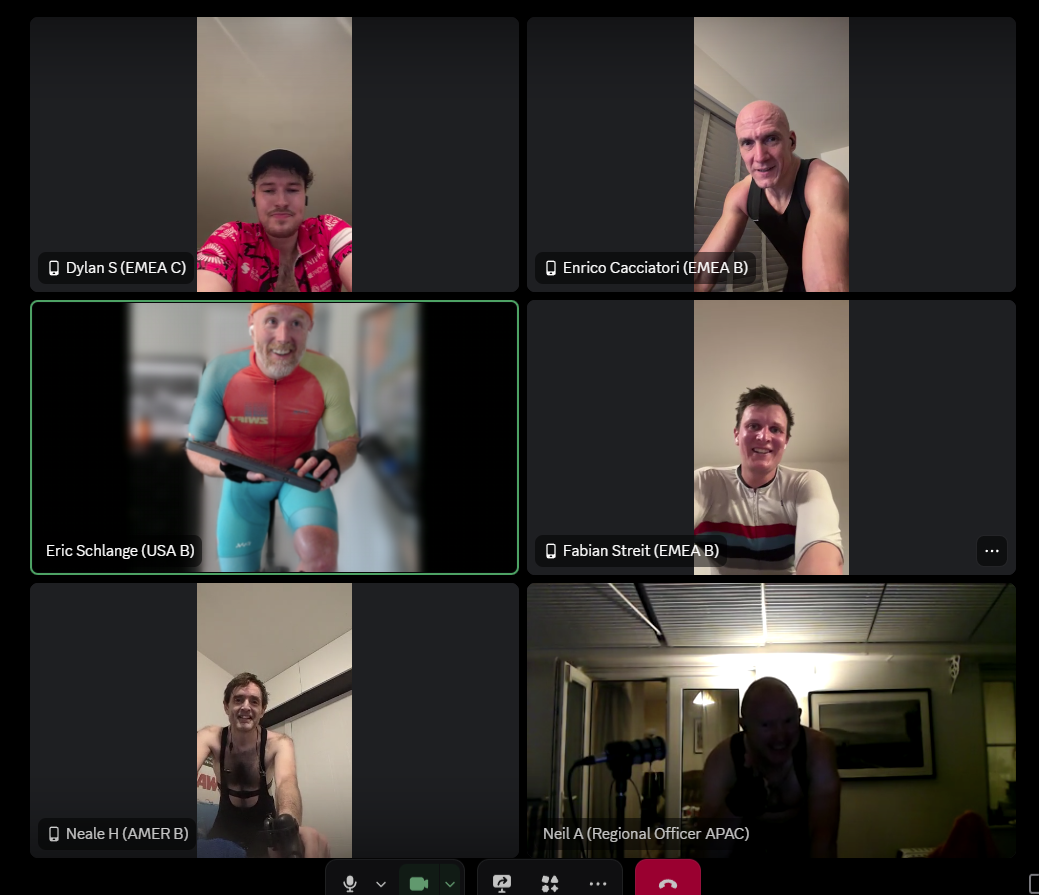
We finished off the round with our traditional team Discord photo:

It was good racing with you lads. See you in Round 4!

What about you?

How did your last race of Round 3 go? Did you win at powerup roulette? Share below!


Notable Zwift Events for the Weekend of February 14-15

1

This weekend we’re featuring a nice blend of events, from a super-short race to a 100-mile endurance ride, with plenty of variety in between. Check out our picks below!
✅ Popular ✅ Endurance Training 

The Vätternrundan group ride series continues to grow in popularity… and ride length! This week, the ride has increased to 150 minutes. With over 240 riders signed up when this post was composed, it’s the most popular event of the weekend.
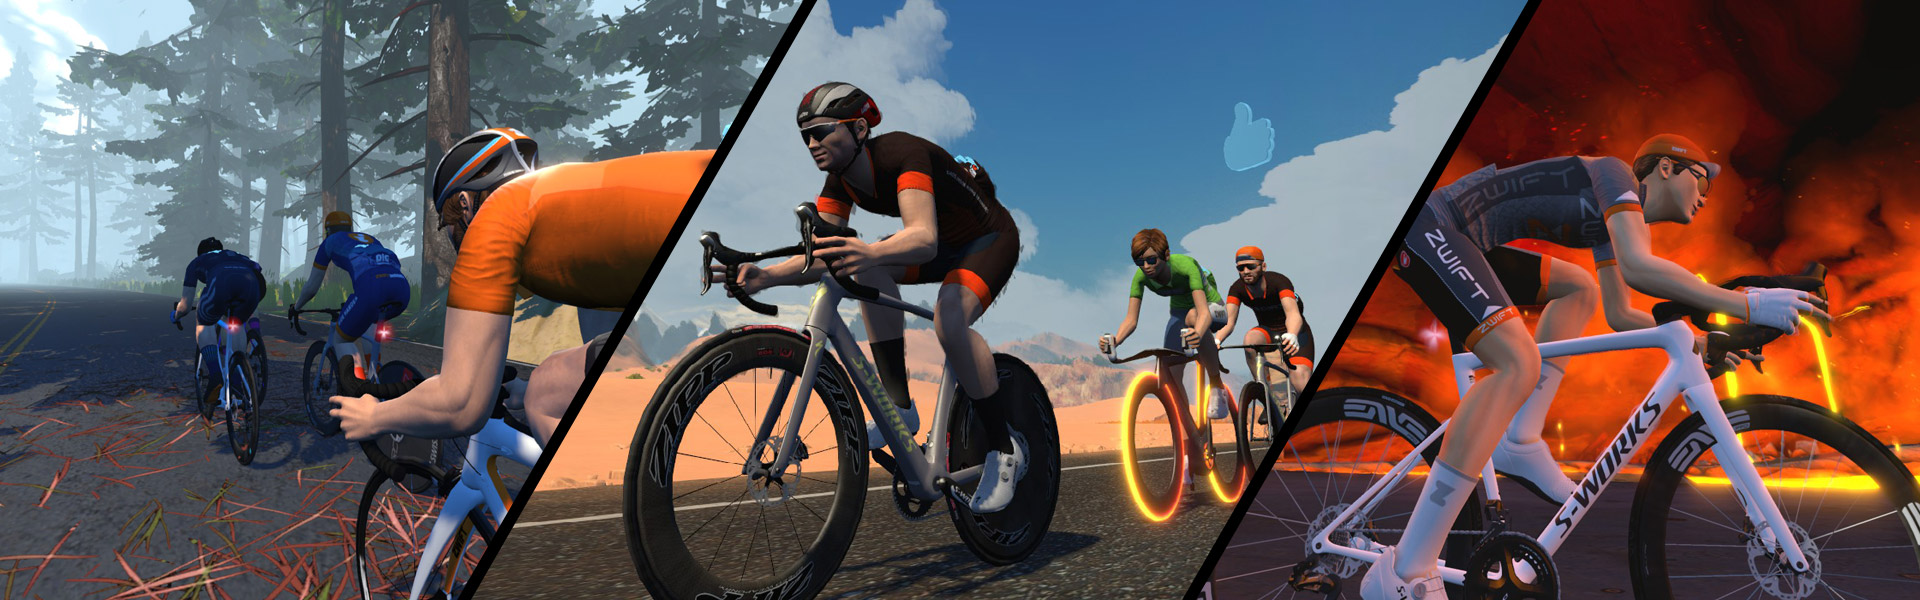
The premise of the series is simple: rides increase in duration from January 11 to March 1, with the goal of preparing you to handle many hours on the bike when the IRL race day arrives in June. (The Vätternrundan Group Ride Series is part of Vätternrundan’s official training program.)

This week’s ride is on Turf N Surf, and there are two pace group options (1.8-2.2 and 1.5-1.8 W/kg).

Sunday, February 15 @ 8am UTC/3am ET/12am PT
Sign up at zwift.com/events/view/5203607

✅ Popular  ✅ Unique Event

Tugaz Tour 2026 launched last Sunday, and we’re now on our second stage, held on one lap of Innsbruck’s 2018 Worlds Short Lap route (23.9km, 496m).

This tour consists of 15 standalone races, all held at a single time slot, always on weekends. The stages are inspired by the main competitions of the Portuguese Cycling Federation and will take place on the corresponding real-world dates. All races will be mass start scratch races – time gaps do not matter, only final placings count.

Registration, rules, results, and everything else related to the Tugaz Tour 2026 can be found on the official website.

Saturday, February 14 @ 10:05am UTC/5:05am ET/2:05am PT
Sign up at zwift.com/events/view/5370576

Top-down view of three cyclists in matching black BMTR jerseys riding on a road, with the BMTR logo featuring a bear on the left side of the image.

✅ Popular Ride ✅ Legacy Leader ✅ Endurance Challenge ✅ Kit Unlock

A regularly featured event here on Zwift Insider, the BMTR Flat 100 always gets lots of joiners because it’s well-led and run consistently week after week, year after year.

This week’s ride is on Makuri Islands’ Neon Flats, with three pace groups to choose from.

Saturday, February 14 @ 1:10pm UTC/8:10am EST/5:10am PST
Sign up at zwift.com/events/view/5428604

✅ Unique Event ✅ Sprint Race  

This is a unique event proposition indeed: a series where the race gets 1km longer every week, from 1km to 52km!

Learn all about the Rolling Ride Race Series >

The series kicked off last week, so this week’s race is just 2km long. And it’s on Watopia’s Three Sisters route, which means the race basically ends at the top of the Hilly KOM. Hup hup!

Three timeslots on Saturday, February 14
Sign up at zwift.com/events/tag/rollingtide

✅ Popular  ✅ Unlocks  ✅ Race If You Want

We’re nearing the end of Tour de Zwift, with the final stage wrapping up this weekend, and make-up events next week. If you’re looking for a group ride where you can set your own pace but still have some company, TdZ is just the ticket since hundreds of riders join each event.

Read all about Tour de Zwift 2026 >

Each stage has three route length options. For stage 6, we’ve got some big climbing options: The Greenway (36.8km, 292m), No Sleep Till Brooklyn (32km, 247m), and Richmond Rollercoaster (17km, 169m).

Hourly events all weekend!
Sign up at zwift.com/events/tag/tourdezwift2026

How We Make Our Picks

We choose each weekend’s Notable Events based on a variety of factors including:

  • Is the event unique/innovative in some way?
  • Are celebrities (pro riders, etc) attending/leading?
  • Are signup counts already high, meaning the event is extra-popular?
  • Does the ride include desirable unlocks or prizes?
  • Does the event appeal to ladies on Zwift? (We like to support this under-represented group!)
  • Is it for a good cause?
  • Is it just plain crazy (extra long races, world record attempts, etc)?
  • Is it a long-running, popular weekly event with a dedicated leader who deserves a shout out?

In the end, we want to call attention to events that are extra-special and therefore extra-appealing to Zwifters. If you think your event qualifies, comment below with a link/details and we may just include it in an upcoming post!

Tiny Race Series – February 14 Routes –

0

Tiny Race Series – February 14 Routes –

See zwiftinsider.com/tiny for current Tiny Race details.


Rebel Route: The Marvelous Metric (Watopia)

After leading the Thursday Pizza Burner 100km for over a year (sign up at zwift.com/events/tag/blameeric), I’ve started wishing for longer Zwift routes that are also fairly flat.

  • I want longer routes because seeing different sites and riding different roads is more interesting/engaging than riding multiple laps of the same circuit.
  • But the routes need to be fairly flat, because the Pizza Burner is about putting in a longer, steadier effort with a group.

Here’s the thing about Zwift’s current route library, though: all the long routes have too much climbing.

The mega-flat Tempus Fugit has only 1.5 meters of climbing per kilometer of distance, and routes typically feel “flat” to me if they have around 5.5m/km or less. But all of Zwift’s truly long routes (100km+) are over 12m/km (save the France Classic Fondo at 7.6km, which has two Petit KOM climbs early on, so that’s a no-go). And even if I wanted to do multiple laps of a shorter ~50km circuit, these medium-length routes typically have way too much climbing as well, or a key longer/steeper climb that would break up my group ride. (Watopia’s only exception is The Big Ring, and even that route takes us up through the Jungle each lap.)

So I got to thinking: surely we could piece together a 100km flat route using Fuego Flats, the Southern Coast, and the rest of Watopia’s flatter roads. We could pull various tricks to make it happen, including starting from a higher elevation and riding big flat sections in both directions.

What I’ve settled on is a non-loopable route with only 489 meters of elevation gain over 102 kilometers (so 4.8m/km). That makes this the 13th-flattest route in Watopia, and by far the least climby “long route” in the entire game.

Or looking at it another way: there are flatter routes in Zwift, but they are all much shorter (the longest is around 36km). Unless you include Litus Fugit, a 60km 4.4m/km loopable Rebel Route I created which hasn’t yet been added to the game but really should be.

I hope you enjoy The Marvelous Metric. And I hope someday Zwift adds it to the game, so I can lead The Pizza Burner on it!

About Rebel Routes

“Rebel Routes” are Zwift rides not available on Zwift’s routes list, thus requiring manual navigation.

See all Rebel Routes >

The reward for your rebel ride? Exploring a new route, knowing you’ve gone where few Zwifters have gone before. And a Strava segment rank in the tens or hundreds instead of the thousands! Rebel Routes are also included as a separate category on our Veloviewer Route Hunter leaderboard.

Route Description

A complete turn-by-turn tour of this route would be too much, so I’ll summarize it instead.

You can set yourself up easily by selecting the Mountain Mash route. This puts you at the route’s start point near the Jungle start pens, heading toward Watopia. (Starting from here is a tricky move on my part, as it lets us start with a bit of descent, making the start more gentle. It also gives us a faster overall speed, since we’ll descend more than we’ll climb.)

Cut across the Epic KOM Bypass (one of my favorite stretches of road in Watopia), then head down to Ocean Boulevard and out to Fuego Flats for a ride through the desert in the “forward” direction.

At the LAX Roundabout we’ll turn onto the long Southern Coast road for an out and back which quickly racks up 45 rolling kilometers. We use the bottom of the Jungle, and the Mayan Bridge Cutoff, road, for a quick turnaround at the end of the Southern Coast, allowing us to come back the other way.

When we arrive back at the LAX Roundabout, we’ll head up the Col du Saddle Springs and get onto Ocean Boulevard for a trip through the Marina and out around the Volcano into Downtown Watopia.

Head back out Ocean Boulevard and up into the edge of Titans Grove to hit Fuego Flats once more, this time in the “reverse” direction. By the end of the Fuego Flats road you’ll be over 95km in.

Wanting to make the final ~5km interesting, I’ve routed us across The Esses, down the Dirty Sorpressa, and out to the Volcano. Turn the first right to head into the Volcano for the route’s finish at the Volcano Circuit arch.

Turn By Turn Directions

Begin by choosing the Mountain Mash route, which starts you at the Jungle Pens, heading in the right direction.

  1. Straight to Epic KOM Bypass
  2. Left to Sequoia Circle
  3. Straight (Left) to Sequoia Circle
  4. Right to Downtown
  5. Right to Desert Flats
  6. Straight (Left) to Desert Flats
  7. Left to Ciudad La Cumbre
  8. Right to Ciudad La Cumbre
  9. Straight (Left) to Jungle Ruins
  10. Straight (Left) to Jungle Ruins
  11. Right to Mayan Loop
  12. Left to Mayan Bridge
  13. Left to Mayan Loop
  14. Straight (Left) to Jungle Loop
  15. Right to Ciudad La Cumbre
  16. Straight (Right) to Ciudad La Cumbre
  17. Straight (Right) to Fuego Flats
  18. Straight (Left) to Fuego Flats
  19. Left to Epic KOM
  20. Straight (Right) to Epic KOM
  21. Left to Epic KOM
  22. Right to Sequoia Circle
  23. Left to Italian Villas
  24. Straight (Right) to Italian Villas
  25. Left to Italian Villas
  26. Left to Volcano Circuit
  27. Straight (Left) to Volcano Circuit
  28. Straight (Right) to Volcano KOM
  29. Left to Volcano Circuit
  30. Straight (Right) to Volcano
  31. Left to Downtown
  32. Left to Downtown
  33. Left to Ocean Blvd
  34. Straight (Right) to Ocean Blvd
  35. Left to Epic KOM
  36. Left to Desert Flats
  37. Right to Desert Flats
  38. Straight (Left) to Desert Flats
  39. Left to Downtown
  40. Straight (Right) to Ocean Blvd
  41. Right to Downtown
  42. Right to Downtown
  43. Straight (Left) to Sprint
  44. Right to Volcano Circuit
  45. Right to Volcano Circuit CCW

Route details:
Distance: 102km (63.4 miles)
Elevation Gain: 489m (1604′)
Strava Segment
See on ZwiftMap.com

Rebel Route Suggestions

Got an idea for a great Rebel Route? Share it below and maybe we’ll publish a post about it!