Welcome to my week 7 “Build Me Up” (BMU) training log.
About this Series:
I’m journaling my way weekly through Zwift’s “Build Me Up” training plan and calling out tough workouts, minor bugs, and Zwift feature suggestions along the way. For your reference, my FTP is set to 321W, as detected by Zwift’s ramp test at the start of the plan.
Past weeks: Week 1 // Week 2 // Week 3 // Week 4 // Week 5 // Week 6
This was the toughest week so far, with 5 workouts and a big jump in TSS compared to prior weeks. Thankfully, next week is a recovery week!
Workout Journal – Week 7
Saturday, April 29: Kirizuma
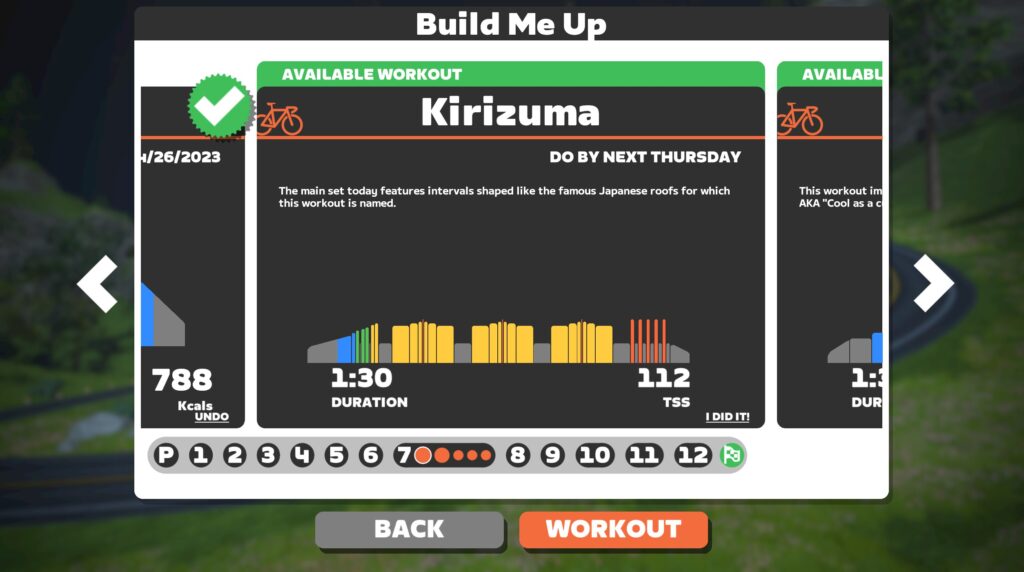
This looked like the toughest, longest workout of Week 7, so I tackled it first. I wasn’t sure just how tough it would actually, be, because the workout was designed unlike other workouts I’ve done:
- Set 1: 3x “Kirizumas” – 14.5-minute blocks that start at 93% of FTP (300W) and peak up to 110% (355W) before going back down again.
- Set 2: 5x 1-minute VO2 intervals at 110% (355W)
The Kirizumas were hard, with the third one pushing my legs very close to their limits – they were on the edge of cramping. But this workout was hard in a different way than the infamous 480W interval workout was tough a few weeks back, because it was much longer blocks of high effort.
Longer blocks, at least for me, made this workout mentally hard. The first Kirizuma was tough, and continuing forward through the next two blocks when I wanted to quit so badly took a lot of repeated decision-making. I had a lot of time to question my choices as I slogged my way through multi-minute block after block.
(In hindsight, I’m happy I’m documenting this BMU journey, because knowing I’d have to own up to quitting has helped me stay in the game many times already. Score one for accountability!)
For hours after this workout my legs wanted to cramp if I moved incorrectly – and even my brain felt tired.
Monday, May 1: Spaded Sweetie
A tough workout for sure. This one has two blocks – the “spade” at the start with its short, hard efforts is (I believe) meant to use up some of your high-end power stores. It’s not too bad. The part that hurts is the 5x 5-minute intervals afterward where the power bumps up on each interval.
The first two aren’t bad – sweet spot work, basically. But you get very little recovery between intervals, and with each new 5-minute block the power jumped up 10-15W, so my final two intervals were 4 minutes at 320W and 335W, with extra hard 1-minute punches at the end. Those last two 5-minute blocks were tough, and I was very happy that the recovery time in between was mercifully lengthened to two minutes.
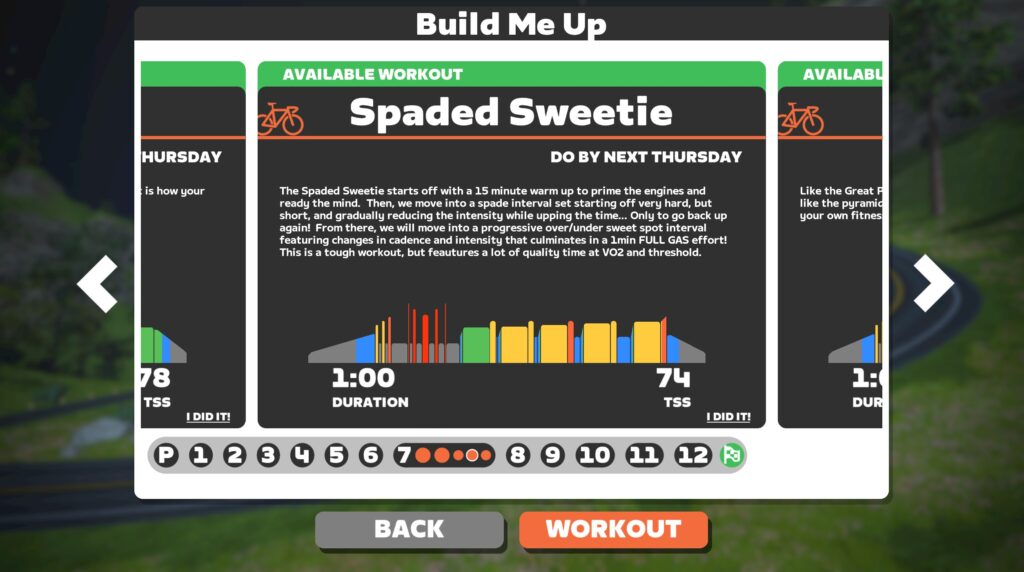
This one had me pretty close to my limit. As a sort of sweetspot-moving-to-threshold workout these were longer efforts than you’d get in a VO2 workout, but shorter and harder than typical sweetspot work.
Wednesday, May 3: Cucumber
A long sweetspot workout, with three pointy efforts mixed in. There are 5 sweetspot blocks – the first 4 are 10 minutes long, while the last is 15. In between there are three 75-second ramps from FTP up to 150% of FTP, with the final ramp coming right at the end of the final 15-minute block. That one hurt a bit!
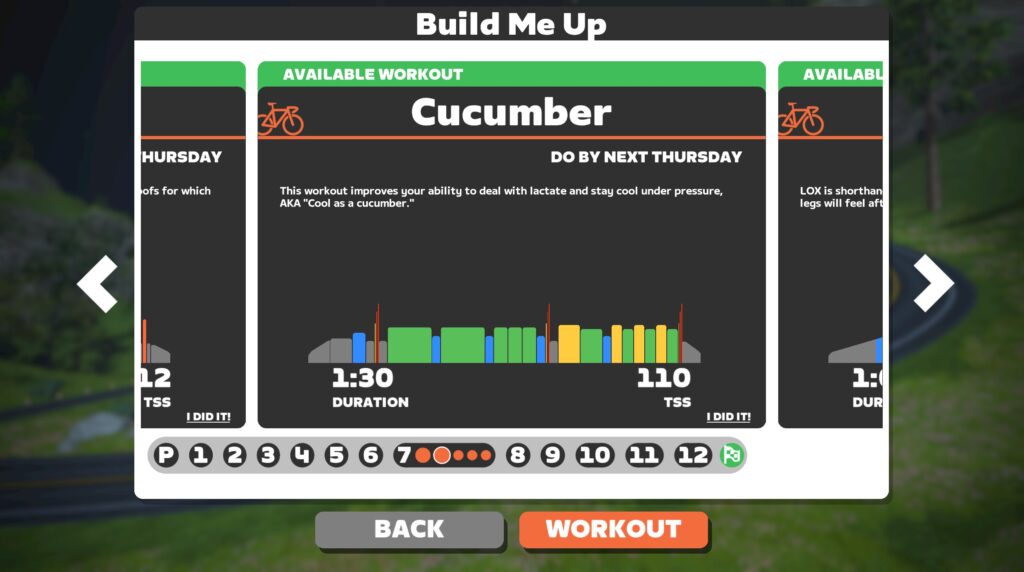
But overall, this wasn’t a super-tough workout. Just 90 minutes of solid work.
Thursday, May 4: Giza
“Like the Great Pyramid of Giza, this workout goes up… and then comes back down. Also like the pyramids, it is a big workout with sustained workloads. Build a monument to your own fitness here!”
The workout description makes this one sound pretty tough – but I could tell by looking at it that this was the easiest workout of the week. 5 8-minute blocks in the tempo zone… solid work, but nothing too taxing.
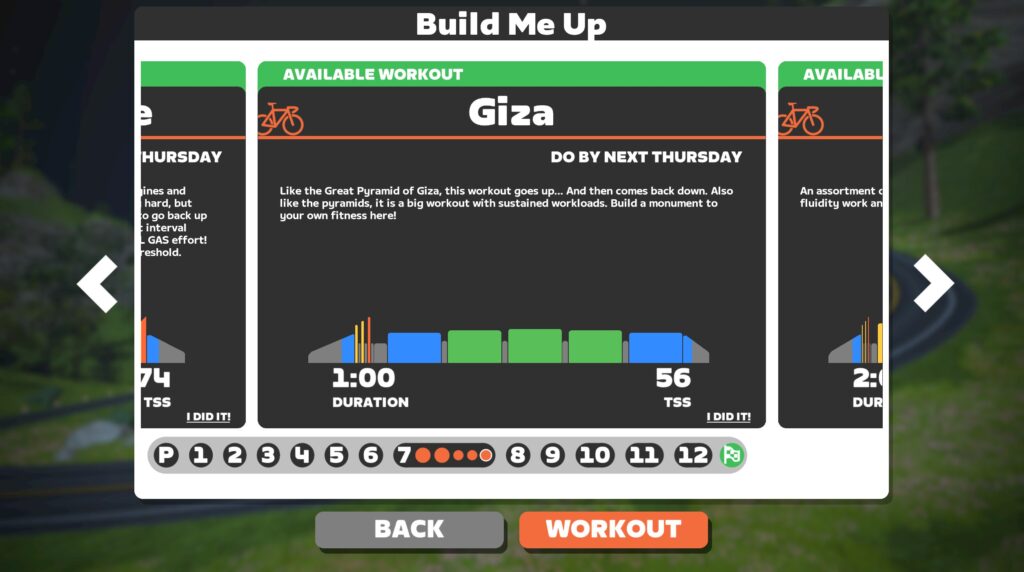
Still, with the week’s big VO2 workout coming the next day, this workout was a bit tougher than I would have preferred. But I’ll cross my fingers and hope I can pound my way through the VO2 intervals tomorrow!
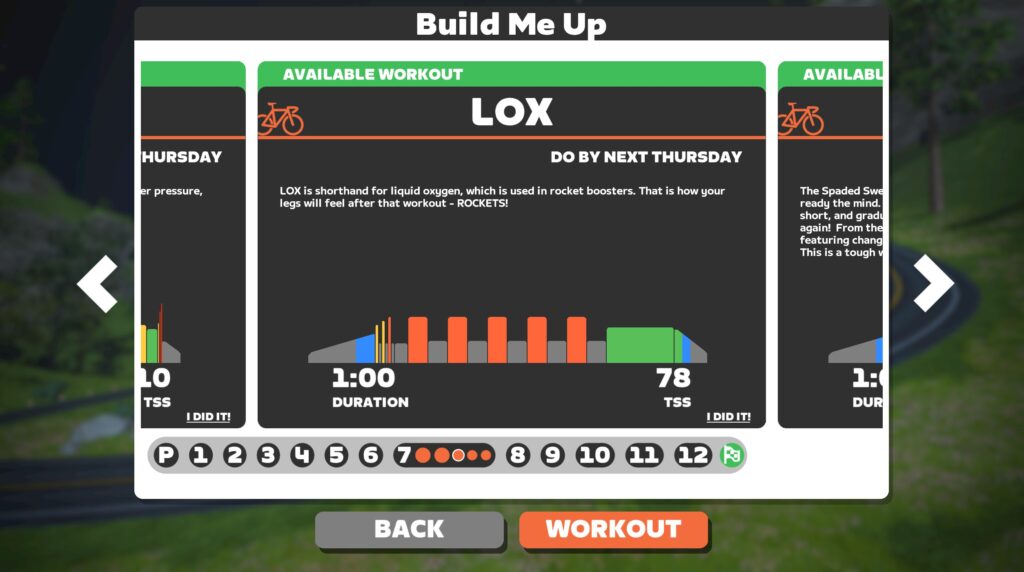
Friday, May 5: LOX
The first three VO2 blocks weren’t too bad, but I could definitely feel the fatigue on the last two.
Whine of the Week: Warmup/Cooldown Specifics
I’ve shared so many weekly whines at this point that I’m not sure if I’m repeating myself. But here’s this week’s: Zwift doesn’t display the start and end wattage of warmup and cooldown ramps!
This was especially cruel on my last workout of the week (LOX), when I finished the tough 10-minute sweetspot effort after the VO2 intervals, only to be taken into a cooldown that started at the same high wattage I was already doing. Coach Shayne knew how devious this was:
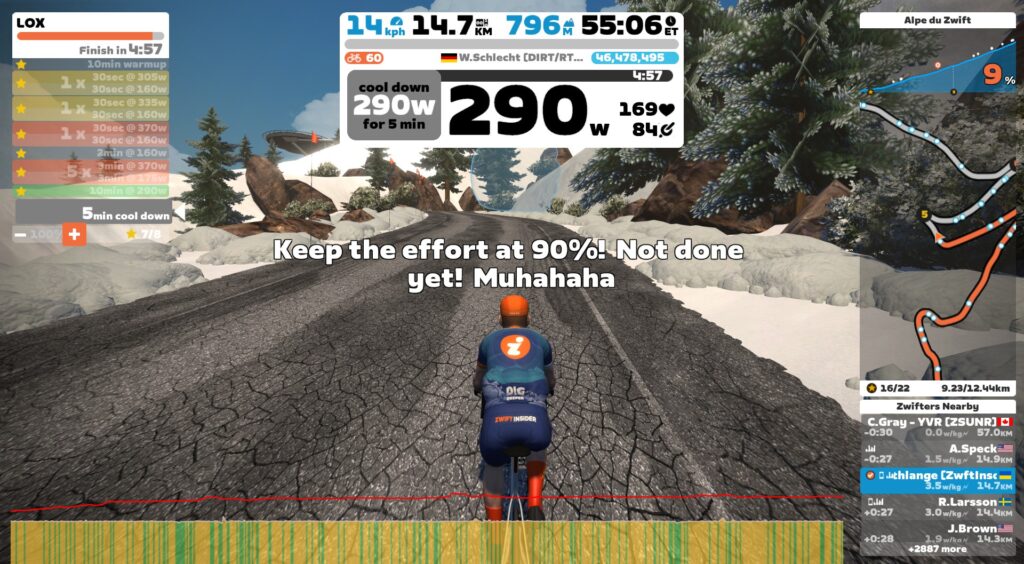
Currently, Zwift just displays the length of the warmup or cooldown block. It says nothing about the power level. Does my warmup take me from 200W to 800W? 100W to 150W? I have no idea. The only way to know is to actually finish the entire block.
So, here’s my wish: I’d love to see warmup and cooldown blocks display the starting and ending wattage, so you could know what you’re in for. Simples.
Summing Up Week 7
This week was the toughest one yet, but in the end I’d say it wasn’t as bad as I thought it would be. Still, I’m looking forward to a rest week before tackling the final block of BMU:
- Week 1: 274 TSS
- Week 2: 343 TSS
- Week 3: 363 TSS
- Week 4: 212 TSS
- Week 5: 312 TSS
- Week 6: 358 TSS
- Week 7: 430 TSS
One to Keep, One to Throw Away
I think each week of BMU features a key “cornerstone workout” and another which doesn’t really need to be done, so I thought it might be useful to call those out each week, in case your schedule is tight. For week 7, here are my picks:
- Key Workout – #LOX: With the focus on VO2max this block, finishing each week’s VO2 workout is what’s most important.
- Throw Away – Giza: easiest workout of the week, and I’m not sure it’s very beneficial since it’s too hard for a recovery ride, and too easy to get into those sweetspot+ zones where big fitness gains happen.
Coming Up Next Week
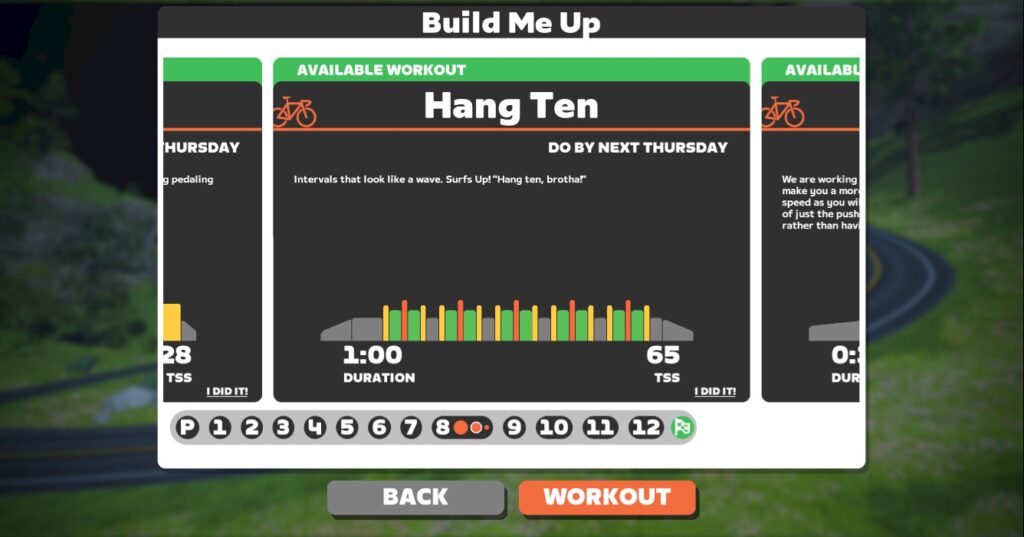
Week 8 is next, and it’s a super-easy regeneration/recovery week with a total of only 217 TSS. I’m hoping to get outside for some pleasant, easy rides.
Questions or Comments?
Share below!