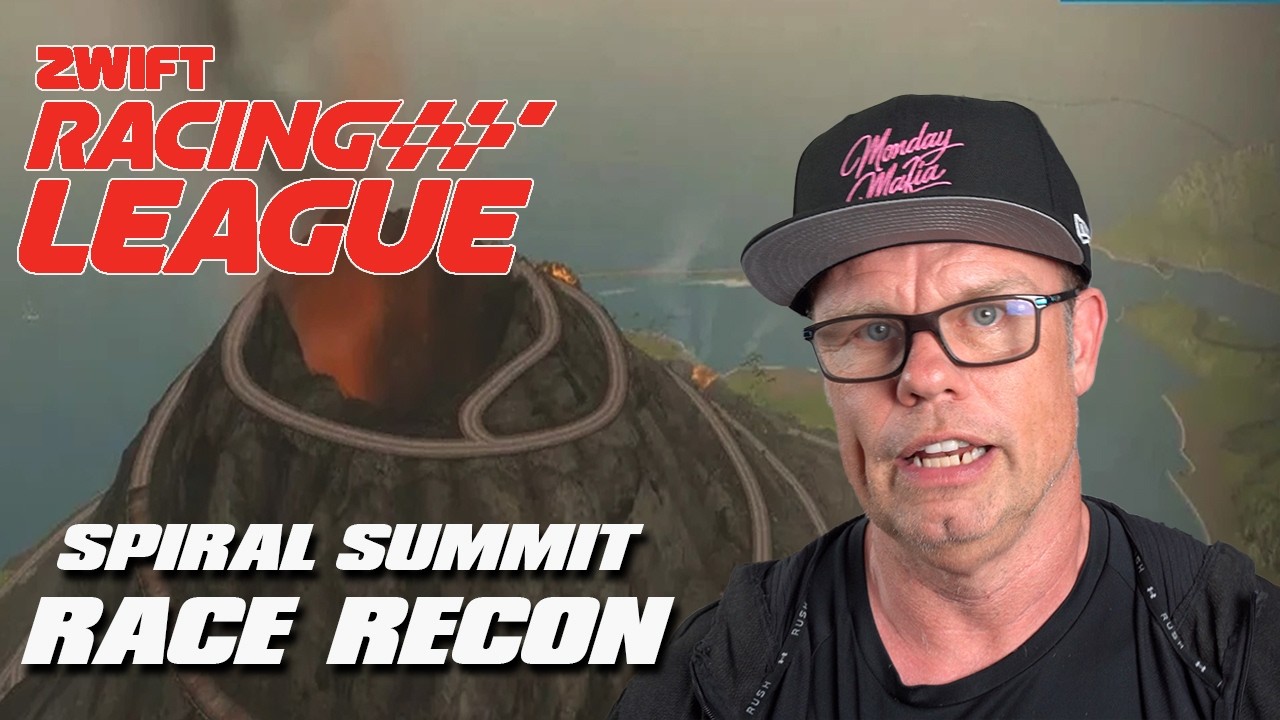
The sixth (fifth? fourth?) and final race of Zwift Racing League 2026/27 happens Tuesday, October 27, and we’re in Watopia for a points race on Spiral Summit – a new route created just for ZRL! It’s gonna be a spicy one, too, with a mix of sprint, climb, and event a lap segment being contested for points.
Don’t understand how ZRL points races work? Read our explainer >
There’s much to discuss, including crucial course sections, powerup usage, bike decisions, and strategic options. Let’s go!
Looking at the Route
This is a points race, and WTRL (as usual) is awarding FAL and FTS points on every timed segment on the route. That’s a total of 6 segments: 3 climbs, 2 sprints, and a rare lap. Let’s break the route down…
- Start: We begin from the Jungle start pens with ~2.5km of descent to the Marina… possibly the easiest race start ZRL has ever had, although the burrito powerups we all receive in the start pens may change that. Then it’s up the snaking climb to The Esses and through the Volcano to the Jarvis loop, where we’ll complete almost 2 laps and most of our points segments.
- Jarvis Lap @ 10.2km (4.7km, 0%): This loooong points segment begins at 10.2km, and contains two other points segments, the Jarvis KOM and Sprint. Interesting! Feather powerup at lap arch.
- Jarvis KOM @ 10.9km (1.8km, 1.8%): This is the climb that started it all – the first KOM on Zwift! Don’t let that average gradient fool you – this is really a two-part climb, starting with a 1km push, followed by 500 meters of flat/downhill before the final 300-meter push. Aero powerup at KOM arch.
- Jarvis Sprint @ 14km (200 meters, -0.1%): The pack will be carrying speed, chasing FAL by pushing the descent from the ride-through KOM tree, so this sprint will be fast. Aero powerups will make a big difference at these high speeds. Feather powerup at Sprint arch.
- Jarvis Lap ends at 14.9km. Expect riders to sit up after this arch, as everyone will be desperate for a bit of rest before the KOM begins again. Feather powerup at lap arch.
- Jarvis KOM @ 15.7km (1.8km, 1.8%): Expect another pair of hard pushes here, with front riders keeping the pressure on up and over in a bid to grab both KOM and Sprint FAL points. Aero powerup at KOM arch.
- Jarvis Sprint @ 18.8km (200 meters, -0.1%): Mind your position heading into this sprint, as speeds will be high and it will be hard to move up. Use your aero to move forward when needed. Feather powerup at Sprint arch.
- Volcano KOM @ 20.2km (3.8km, 3.2%): The final effort on the day! This is a 6-8 minute effort for most riders at race pace, and far from a steady, “whoever has the highest w/kg wins” effort. Instead, it’s a low-grade climb you can ride strategically for maximum results. See further notes below. 250 XP bonus at Volcano KOM arch, which is also the finish line.
Volcano KOM Notes
Let’s look a little closer at the Volcano KOM, since it’s the biggest climb in the race and effectively counts for double FAL points because the race finishes at the KOM arch.
While the average gradient is 3.2%, if you look closer, it’s more like 4-5% with a few flat spots and one steep section at the finish. It roughly breaks up like this:
- 1st climb (4-5% for 1.3km): Includes a few short downhills where you’ll want to be on a wheel for maximum draft benefit.
- Flat section (500m): the longest flat section of the climb, going through the heart of the mountain. Again, drafting is key here.
- 2nd climb (1km): ends in a short flat section
- 3rd climb (500m): ends in a short flat section
- Final effort (400m): begins flattish, but ends with a kick up to 10%. Sit in the wheels on the flat portion, hold your position, then put in your final dig and use your powerup (if you still have it) as the road kicks up to the finish!
This climb isn’t a steep one, and that’s so important to understand because it means two things:
- Aero over lightweight: The gradient is low enough that speeds stay high, and aero wins over lightweight when it comes to bike choice.
- Drafting makes a big difference: Hold a wheel if you can, and drop anyone hanging onto your wheel if you’re able
Powerups
Burrito: turns off the draft effect for riders in a cone-shaped window behind you for 20 seconds. Use when attacking off the front so opponents have to work harder to follow you, or in the peloton to make others work harder.

Lightweight (feather): reduces your weight by 10% for 30 seconds. Use on climbs, when weight matters the most. This will be best used on the Jarvis and Volcano KOMs.
Aero Boost (helmet): makes you more aerodynamic (reduces your CdA by 25%) for 15 seconds.
Use at higher speeds (flats and descents), especially when no draft is available (although it is still useful when drafting). Deploy this during the Jarvis Sprints.
Bike Recommendations
With all the race’s points hidden behind draftable climbs, “aero all arounders” are the choice of the day. That means the Specialized S-Works Tarmac SL9 or SL8, or Cannondale Supersix EVO Lab 71 Team Edition as the top picks.
For wheels, I ran a 4 W/kg test up the race’s two key climbs, to see where exactly we fell on the teeter-totter of aero vs lightweight. Here are the KOM timings of the three wheelsets who lead their categories:
| Wheelset | Jarvis KOM | Volcano KOM |
| Cadex 4-Spoke/Disc | 3:20.96 | 8:17.67 |
| SwissSide 650 | 3:20.89 | 8:17.16 |
| Princeton Wake 6560 | 3:20.88 | 8:16.75 |
So it looks like the climbing-friendly (but still very aero) Princetons win the day for race 6.
More Route Recons
J Dirom
Strategic Options
Points Distribution, Spiral Summit
How will these races unfold? What strategies will teams employ? Here’s what I predict:
- A BIG Push Up the First Jarvis KOM: With legs at their freshest, points on the line, and the Jarvis Lap in play, there’s good reason to believe this KOM will be an all-out effort for many riders.
- FTS Set On First Jarvis KOM and Sprint: With legs at their freshest and lap segment points on the line, the first time through these segments will surely be the fastest. I predict all or most the FTS slots will be taken by riders the first time around.
- Dropped Riders Will Stay Dropped: The first Jarvis KOM is effectively the “gateway” to the rest of the race, and if you get dropped, you probably won’t come back on, because the pack will be pushing to keep speeds high through the Jarvis Sprint and Jarvis Lap banners just up the road.
- Slower Second Jarvis KOM: With legs sapped and the points-heavy Volcano KOM up the road, riders won’t want to push the effort the second time up this KOM. Most riders will be happy to go as slow as possible, while maintaining a good position in the pack.
- Attack Near Volcano’s End: This climb is so draftable that smart riders will probably try to conserve energy in the wheels before going all-in in that final minute or so. Teams with a mix of strong climbers and puncheurs may want to send their climber off the front early, forcing other teams to chase while teammates sit in the draft.
Your Thoughts
Any insights or further thoughts on this race? Share below!