Let me begin by saying: I’m a big fan of rocker plates. At least when they’re built and set up correctly. In fact, I’m constantly surprised there aren’t many more rocker plate users on Zwift today. My assumption is the low number of rocker plate lovers results from a combination of factors:
- High Cost: obtaining a rocker plate typically costs $400-$600US, although Saris’ MP1 runs $1200US and you can build your own for ~$100US.
- Negative Reviews: rocker plates have received some mixed reviews, most notably from GPLama. People seem to love them or hate them.
- Availability: until Saris announced the MP1 a couple months ago, rocker plate makers were smaller outfits with limited marketing and distribution.
- Perceived as Unnecessary: with so many cyclists doing “just fine” without rocker plates for so many years, there is the perception that a rocker plate is an unnecessary addition to the pain cave.
- Unable to Demo: you don’t see rocker plates in your local bike shop, so anyone ordering them is doing it without testing one first. That’s always a tougher sell.
The American-made SBR ROCKR Pro rocker plate aims to answer the challenges to rocker plate adoption. And I’m going to do my part here by delivering a positive review on the test unit I’ve been riding for several weeks.
My History With Rocker Plates
I purchased my first rocker plate in August 2016. It was a CoPlate, made by a Zwifter named Co Boone in the Netherlands. As far as I know, this was the only commercially-available rocker plate on the market at the time.
After setting up the unit beneath my new Neo trainer I become an immediate fan. I love to climb out of the saddle for short bursts, and my rare outdoor race wins have happened from standing sprints. The CoPlate allowed me to do these things in a way that felt quite natural to me. It didn’t replicate outdoor motion perfectly, but it was 90% there, and that’s a big upgrade from a rigid setup.
In addition to letting me ride out of the saddle naturally, the rocker plate gave me a small amount of movement while riding in a seated position, which made everything more comfortable. I could also tell it was much less stressful on my bike’s frame, as the plate suspension took the load instead of my frame twisting whenever I started hammering.
Monica (my wife) loved the CoPlate as well, and immediately noticed a reduction in back and neck pain thanks to the increased movement it allowed. Her chiropractor was impressed.
Soon enough I purchased a KICKR and second rocker plate for myself. Our rocker plates and trainers have been next to each other in the pain cave ever since. I’ve put over 15,000 miles on mine!
Then I got a Wahoo KICKR Climb, and realized it didn’t work well at all with a rocker plate that only rocks the rear of your bike. Everything was way too wobbly. So I began looking for a “full length” rocker plate solution, and that’s how I found the SBR ROCKR Pro.
I tracked down Chip Self (Zwifter and SBR ROCKR creator) on Facebook, we chatted a bit, and soon enough a new SBR ROCKR had arrived from Chesterfield, MO. It was time to put it through its paces! Here’s my full review.
Setting It Up
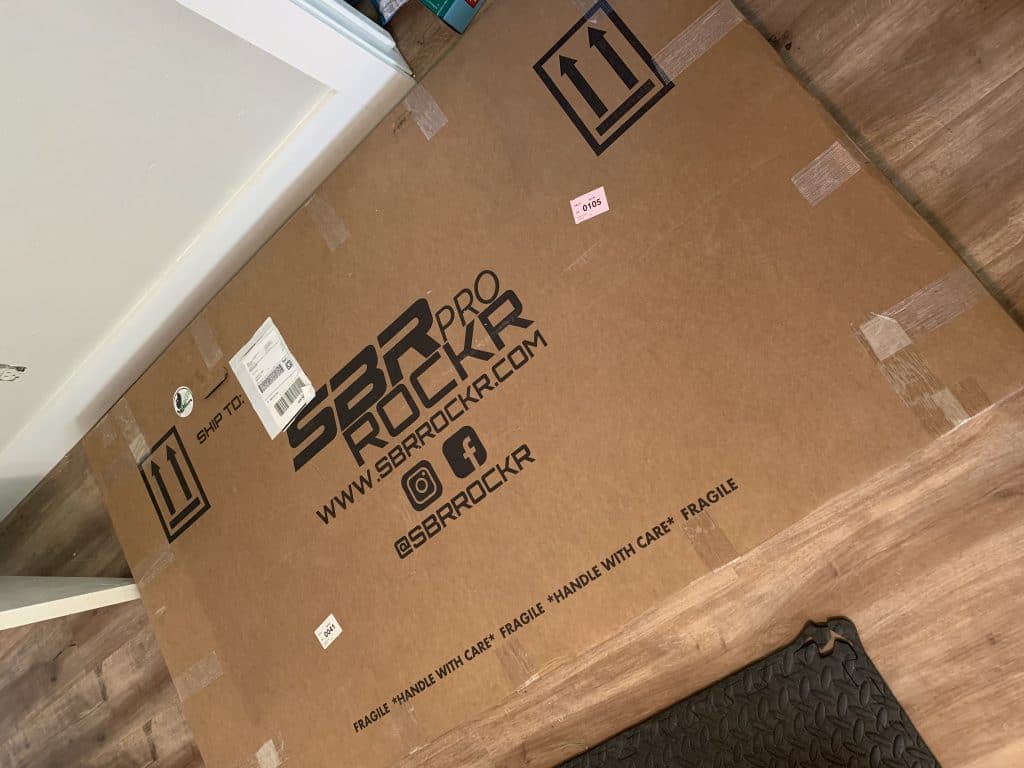
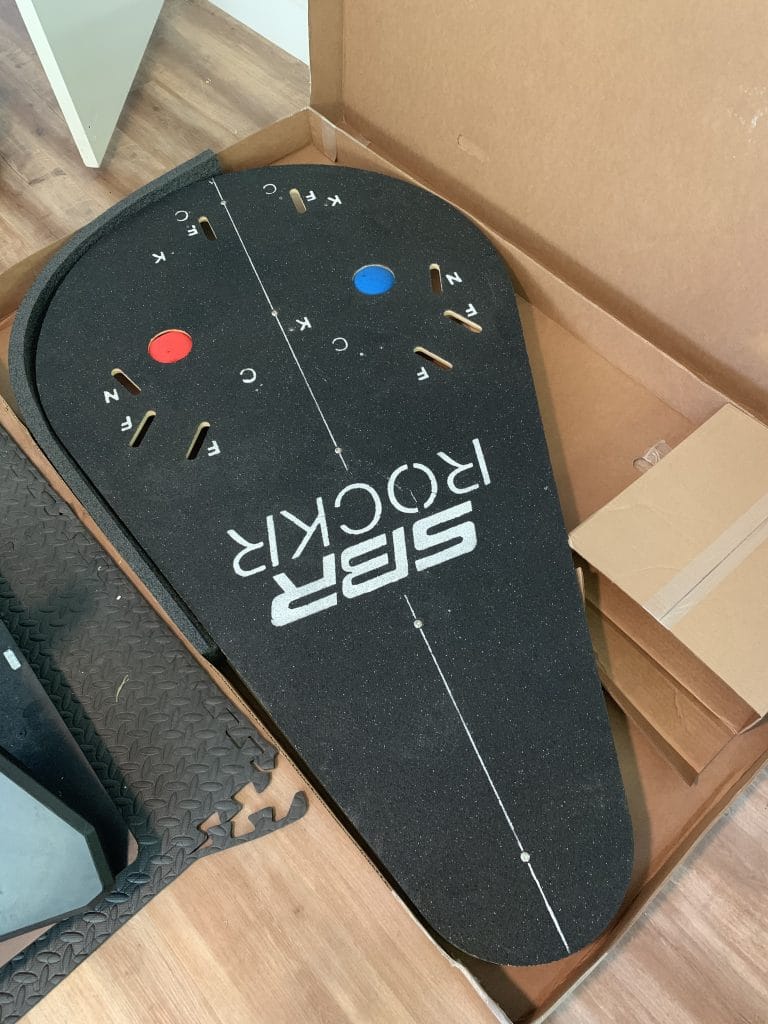
My ROCKR arrived in a nicely-labeled box, neatly packaged and full assembled. I was pleasantly surprised by the weight–being a full-length unit, I assumed it would be much heavier than my CoPlate. But it only weighs 47lbs.
After laying the unit on my pain cave floor I inserted the suspension balls (just a basic rubber kickball) into the cutouts and inflated them to what I thought was a good starting pressure. (You’ll need a pump and needle to do this.)
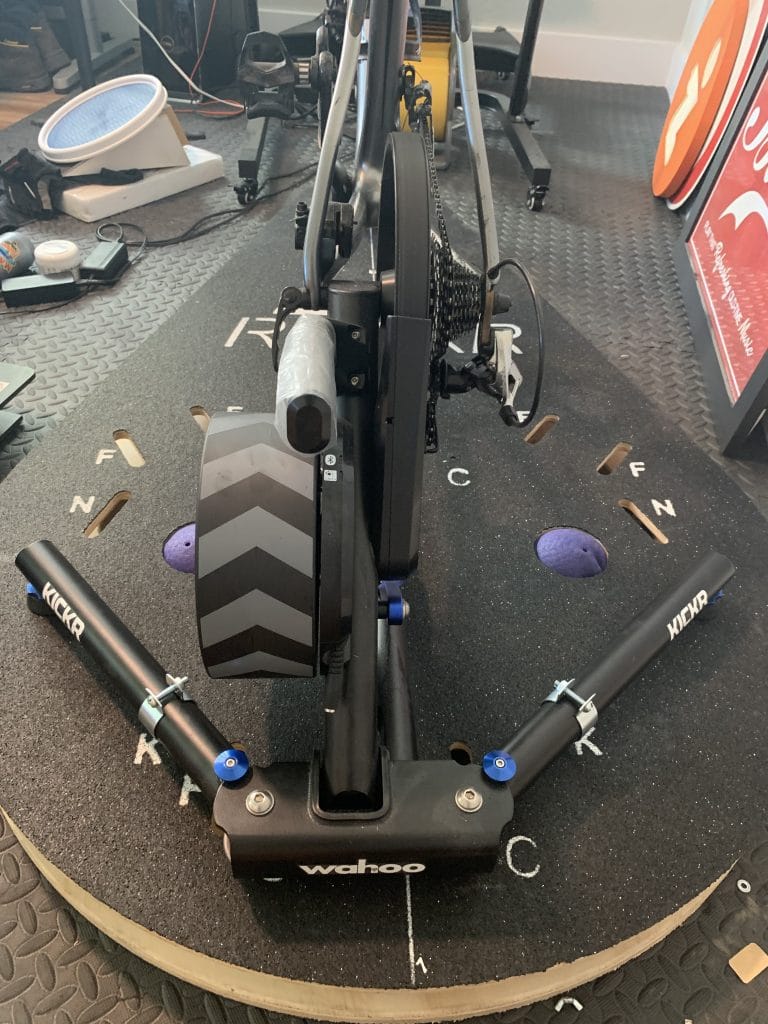
Setting up my KICKR on the unit was quite easy, since the ROCKR ships with cutouts and attachment hardware for the KICKR (as well as Tacx Neo/Flux, CycleOps Hammer, Elite Drivo/Direto, and Wahoo KICKR Snap/Core). How-to videos are available online if you have any questions, but all I needed was 5 minutes and a large screwdriver to get the job done.
Ready to rock!
A Note About Trainer Compatibility:
The ROCKR should work for every trainer on the market, although it may not have labeled attachment points or included hardware to make your installation simple and easy. A drill, brackets, and some nuts and bolts should work to get just about any trainer firmly attached to the ROCKR.
Key Features
Many of the features designed by Chip for the ROCKR have been copied by other rocker plate makers–so you know they’re good. Here are some of the noteworthy features in the ROCKR’s construction:
- Adjustable suspension: as you’ll see below, having the ability to easily modify how “loosely” the plate rocks side to side should be a required feature for rocker plates. Rider weights and preferences vary too much for a one-suspension-fits-all solution.
- Pre-cut trainer mounts: a variety of mounting locations, nicely labeled, make it easy to mount most popular trainers on the plate.
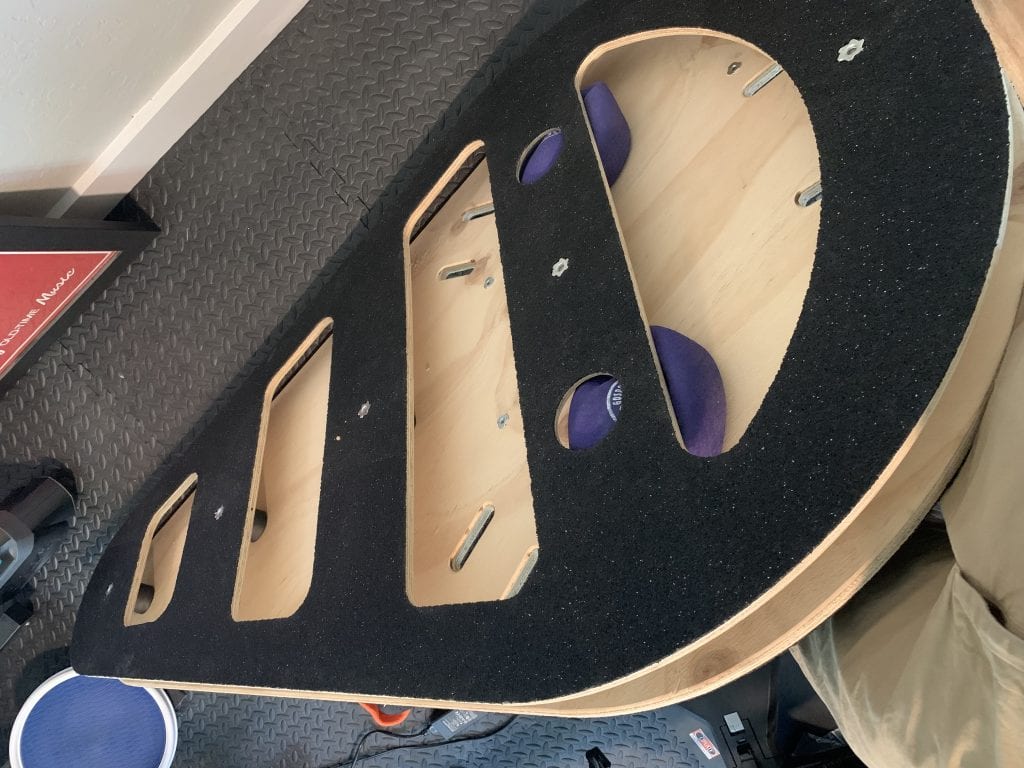
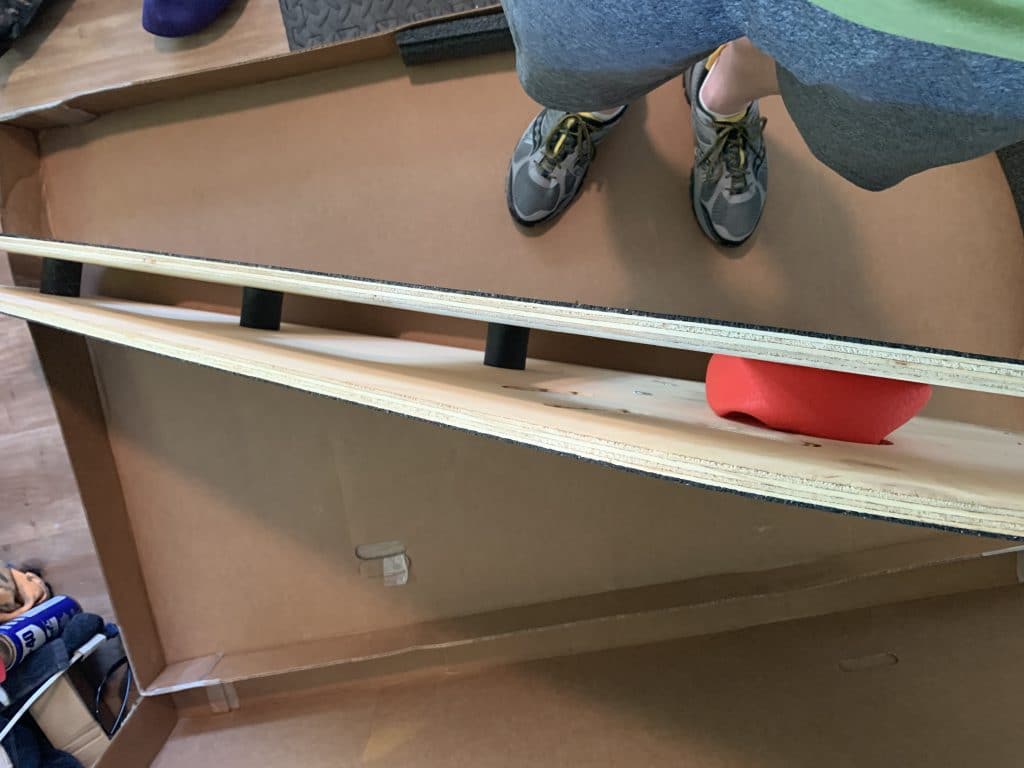
- 5 elastomers: the 5 central elostomer pivots keep the ROCKR steady as it moves side to side, while allowing for a bit of for-aft movement.
- Rubber top and bottom coat: according to SBR, adding this coating reduces vibration sound by 5.5 decibels. It also provides for a more grippy surface, which is nice when you’re wearing cycling shoes.
- Centerline: it’s the little things. Having your bike centered on the plate is important for a proper feel, and SBR has painted a center line to make this easy.
- Cutouts in base plate: cyclists love a little weight savings! Large cutouts in the bottom plywood plate save significant weight without sacrificing sturdiness.
Cutouts on base plate for weight savings 5 elastomers
Dialing It In
With my trainer firmly attached and the suspension inflated, I was ready to rock my first test ride (or ride my first test rock). Booted up Zwift, hopped on, and away we went down Fuego Flats.
I immediately noticed two setup tweaks that needed to be made.
Adjustment #1: Deflating the Suspension Balls
Having used a rocker plate for years, I prefer a very “loose” setup. In talking to rocker plate users, I find this to be a common theme: we start off with a setup that is harder to rock, but progressively loosen it up as we get used to the feeling.
I needed to let a LOT of air out of the suspension so my ROCKR could move side to side in a full range of motion. For me, full range of motion means my handlebars can move side to side ~10” when I’m out of the saddle putting in a decent effort.
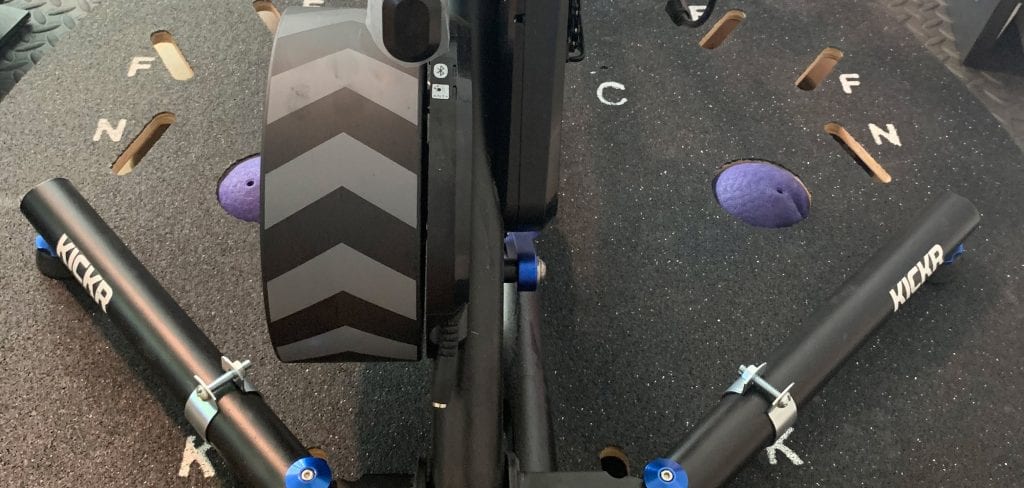
Once I deflated the suspension to the point where the rubber balls were quite flat, I had the freedom of movement I wanted, with the suspension still gently bringing me back to center.
Adjustment #2: Balancing the KICKR
The KICKR (and many other smart trainers) is not evenly weighted side to side. Its heavy 16-pound flywheel hangs off the left side, so if you center the KICKR on a rocker plate, your bike will be leaning left.
One way to combat this is to inflate the left suspension more than the right–but I don’t like the way this feels, since your rocking movement is more restricted to the left than the right.
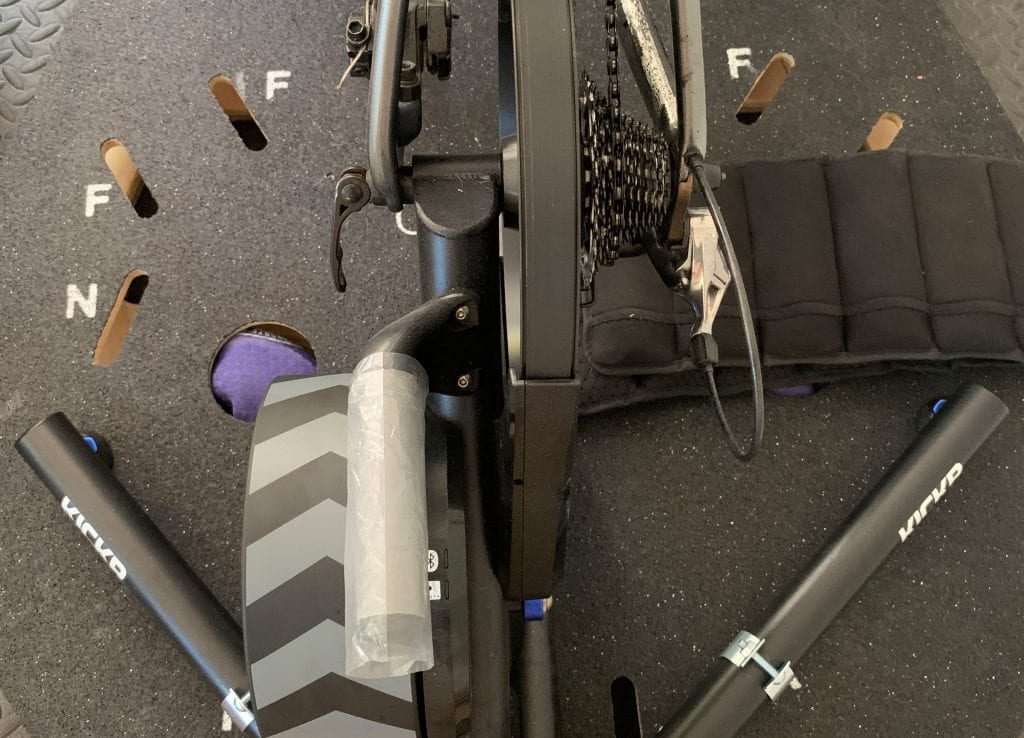
The better solution, and the one I used, is to place a counterweight on the right side of the ROCKR. I started with a 15-pound kettlebell, but settled on a set of ankle weights I had laying around (why did I buy these, anyway?). They sit securely on the platform and were easily shifted around to find the optimal location for a balanced feel.
Ride Feel
Once I got the suspension and counterweight dialed in, my ROCKR felt great. Very similar to the CoPlate, in fact, but even more “put together” since my front wheel moves with the rest of the bike.
The base is stable, rocking is silent and smooth, and like my CoPlate I even have a bit of for-aft movement (SBR says the ROCKR allows for 15mm of for-aft movement).
Here’s a quick demo video I shot so you can see the ROCKR in action:
Better still, the KICKR Climb fits on the ROCKR platform nicely. I’m still testing the Climb, so it’s not in the video, but suffice it to say it works on the ROCKR like it works on a rigid setup.
(One thing that doesn’t fit nicely is my makeshift steering turntable. The ROCKR would need to be 12″ longer for this to fit!)
Pricing and Availability
The SBR ROCKR Pro costs $499US, with US shipping running $100 for web orders.
If you don’t need a full-length rocker plate, the “trainer only” SBR ROCKR Pod Pro costs only $374.99, and web order shipping is $50.
International shipping pricing is available on request. Call SBR at (314) 305-0078 for a shipping quote and place your order over the phone.
At the time of this article, both SBR ROCKR designs were in stock.
Your Feedback
Have you tried an SBR ROCKR Pro? How was your experience? Perhaps you’re considering a rocker plate, but have questions. Share your comments and questions below!
