I’ve worn many hats after 20+ years as a self-employed tech guy. One of my favorite hats has been photographer. I’ve shot portraits, products, weddings, food, landscapes… you get the idea.
Nowadays, though, most of my photos are taken with an iPhone out on the bike. These photos really only see the light of day on my Strava profile. Some are taken so I can remember that moment in time, while others are taken so I can share the experience with my Strava followers. I upload pics from my Zwift sessions for the same reasons.
Just like “real” photography, getting a good shot on Zwift isn’t as easy as pushing F10. You’ve got to pay attention to lighting, angles, background, etc. It’s a more restricted environment, but one with plenty of possibilities. And while it may seem silly to some, pushing the limits of these possibilities is fun for many, including myself.
So here it is: your definitive guide to shooting and sharing good Zwift screenshots.
How to Shoot: the Basics
Taking the Shot
There are three ways to take a photo in Zwift:
- Your computer keyboard: press F10 to snap a shot.
- Zwift Companion app: scroll the action buttons at the bottom of the map screen until you see the camera (last button on the right). This is the only way to take a photo on AppleTV.
- In-game action bar: in iOS/Android, just tap the screen to get this pop up.
What’s Your Angle?
The first thing you can do to make your photos more interesting is to change camera angle. The default angle on Zwift is great for zwifting, but completely uninteresting for screenshots!
On a computer, just hit a number key to change it:
1: Default 6 o’clock view
2: Third person view
3: First person shooter perspective
4: To the side front-left of the rider
5: Rearview from the right of the rear wheel
6: Head on to the rider
7: Spectator view
8: Helicopter view
9: Bird’s eye view (PC/Mac only)
0: Drone View – use the arrow keys, +, and – keys to move and zoom camera (PC/Mac only)
On Zwift Companion or iOS/AppleTV/Android look for the eyeball button to click and change the camera angle. Here’s what each camera angle produces:
Light Up Your Life
Any photographer worth their screen cap will tell you lighting is always a top concern. Photography is just capturing light, after all. Zwift shots also require good lighting, but for most shots it basically comes down to the difference between your rider being in the shade (bad) or full light (good).
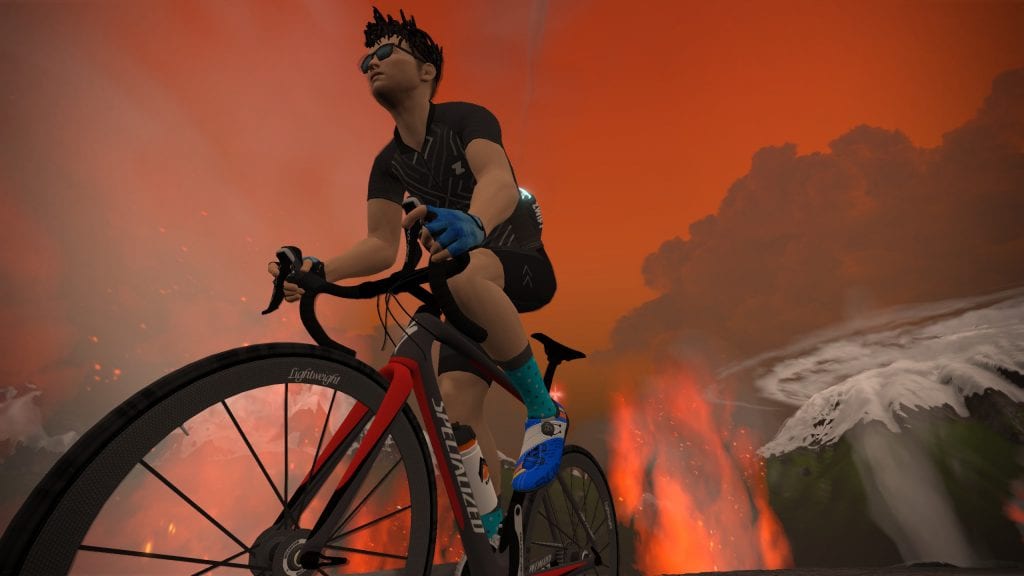
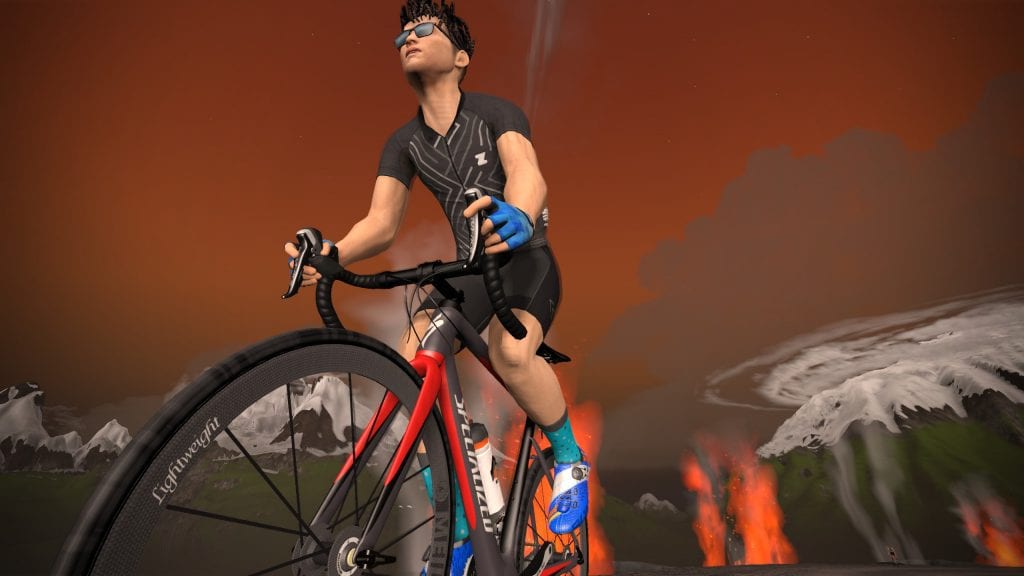
Here are two samples for you. Notice how the second picture of each pair is much more interesting, as the subject of the photo is well lit.
Rider is shaded, not good Rider is lit, very nice
Of course, the lighting challenge on Zwift is that you can’t move lights around to get the look you want! And some courses like New York have a lot of foliage or buildings which create spotty shade.
If you’re really chasing a good shot, you may need to flip a u-turn or take multiple shots to get one where your avatar is lit the way you’d like. The good news is, you’re not having to pay for extra film!
Advanced Shooting Tips
Using the Drone Camera
If you want a real pro Zwift pic, you’re going to be on a computer with a keyboard so you can hit 0 and move the camera yourself.
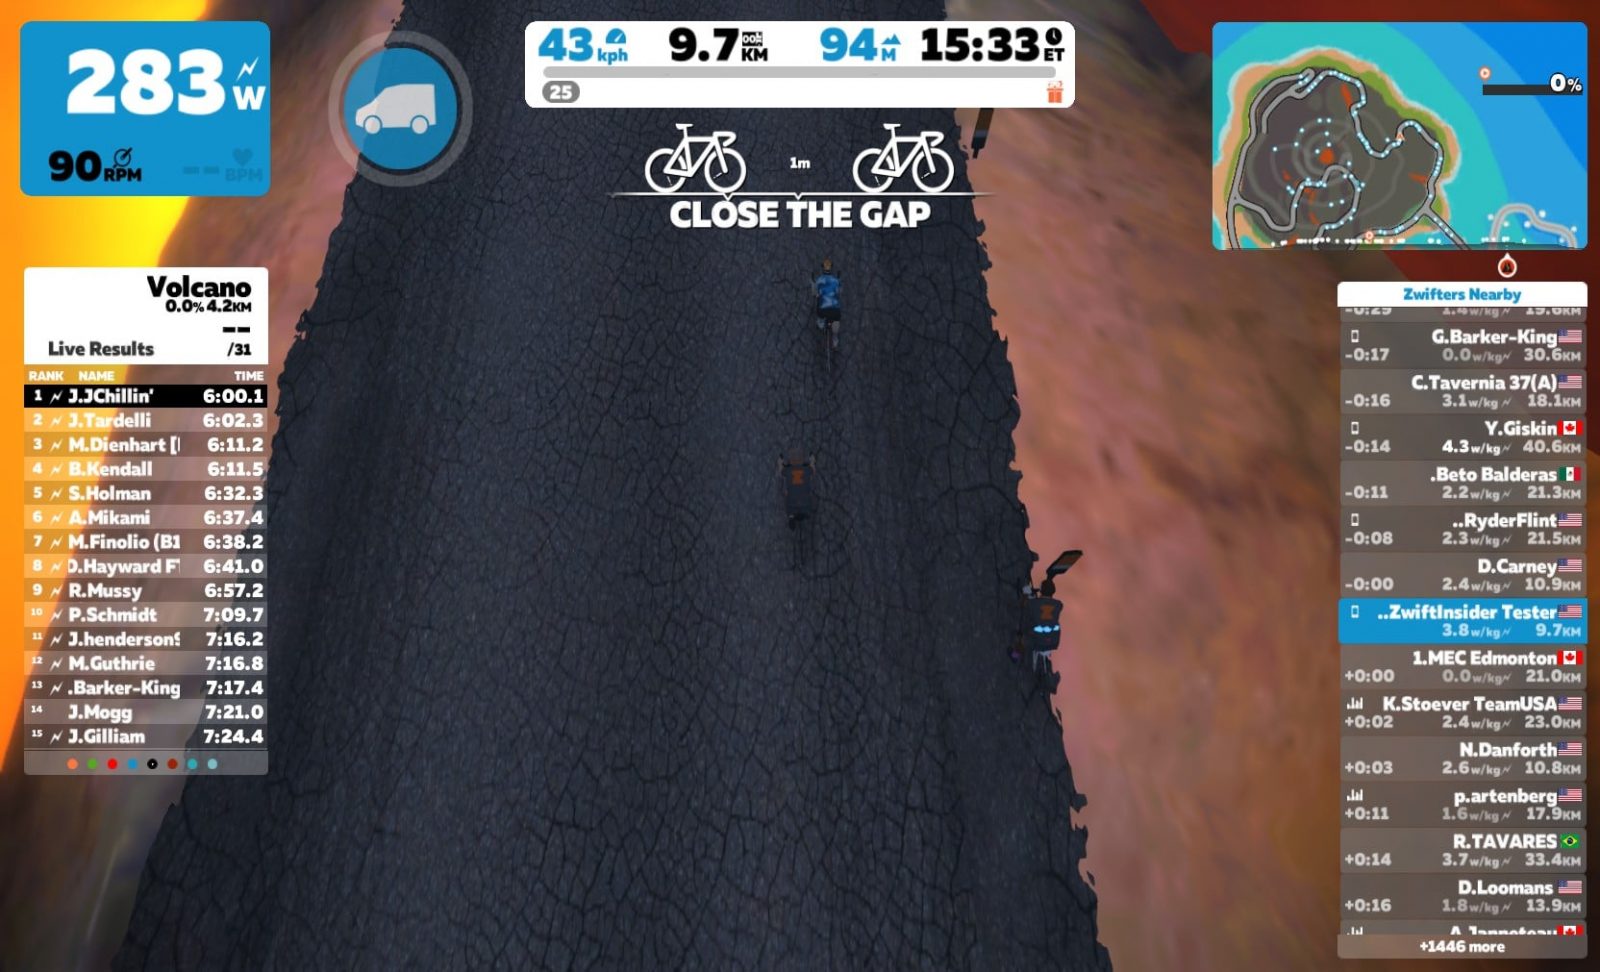
Tapping 0 puts you in “drone view” where you can use your four arrow keys to move the camera up, down, left and right. Additionally, hitting the – or + keys will zoom in and out.
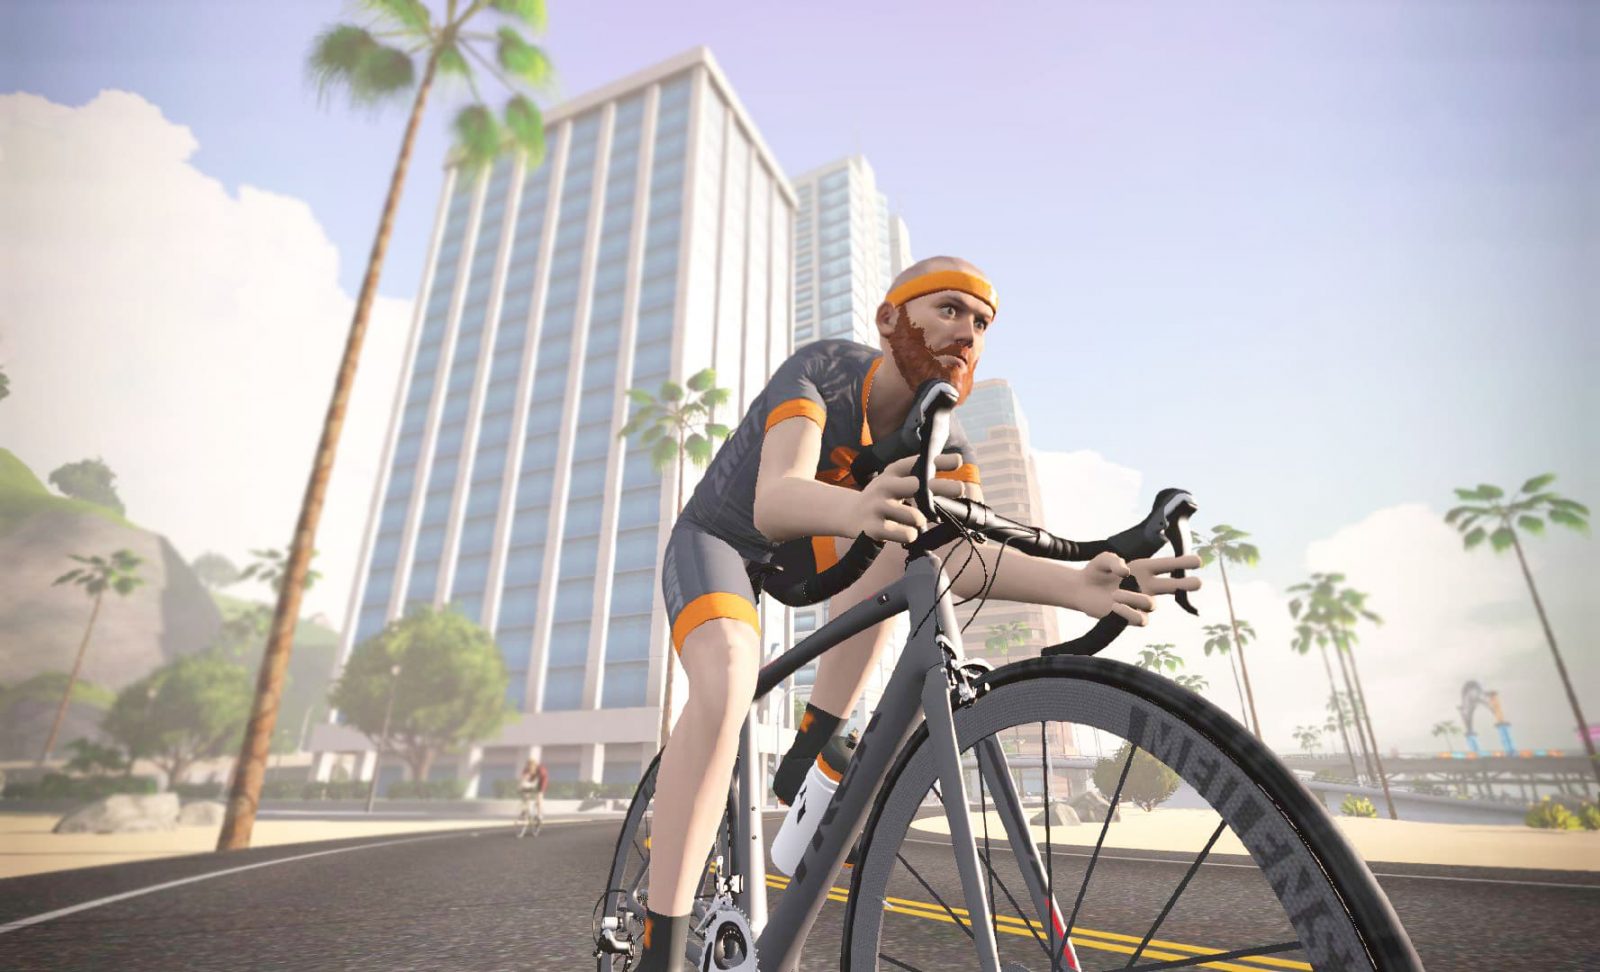
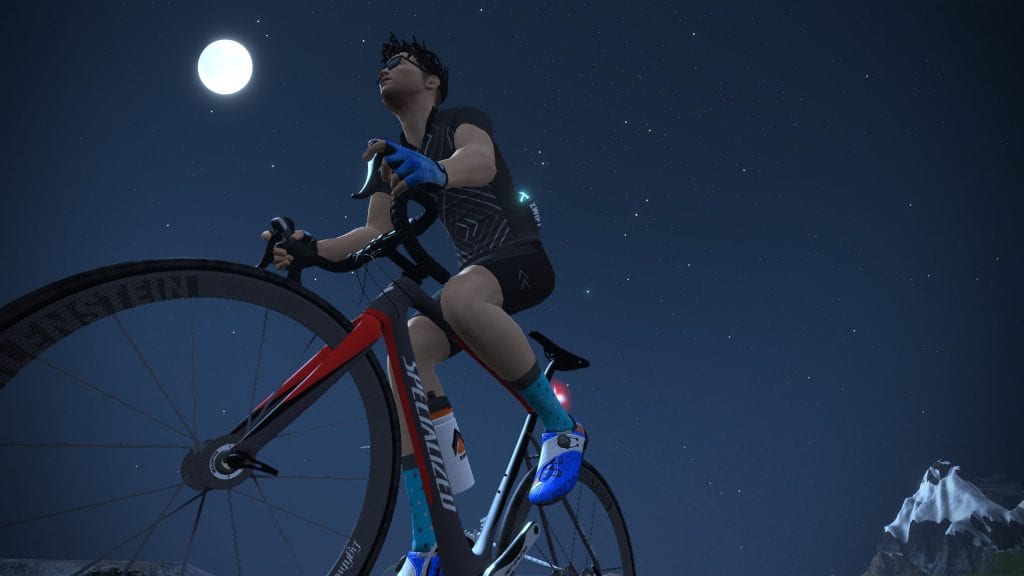
Once you get comfortable with this setting it is very easy to use, and that’s good because the angle of your shot can make all the difference. I’m partial to low angles, taken from near street level. Here’s an example:
I’ve found in drone mode the camera doesn’t usually want to go low if you just hit the down arrow. But if you hit the up arrow first for a bit, THEN down, it will go lower than it would before! Give it a try.
Clean Is In
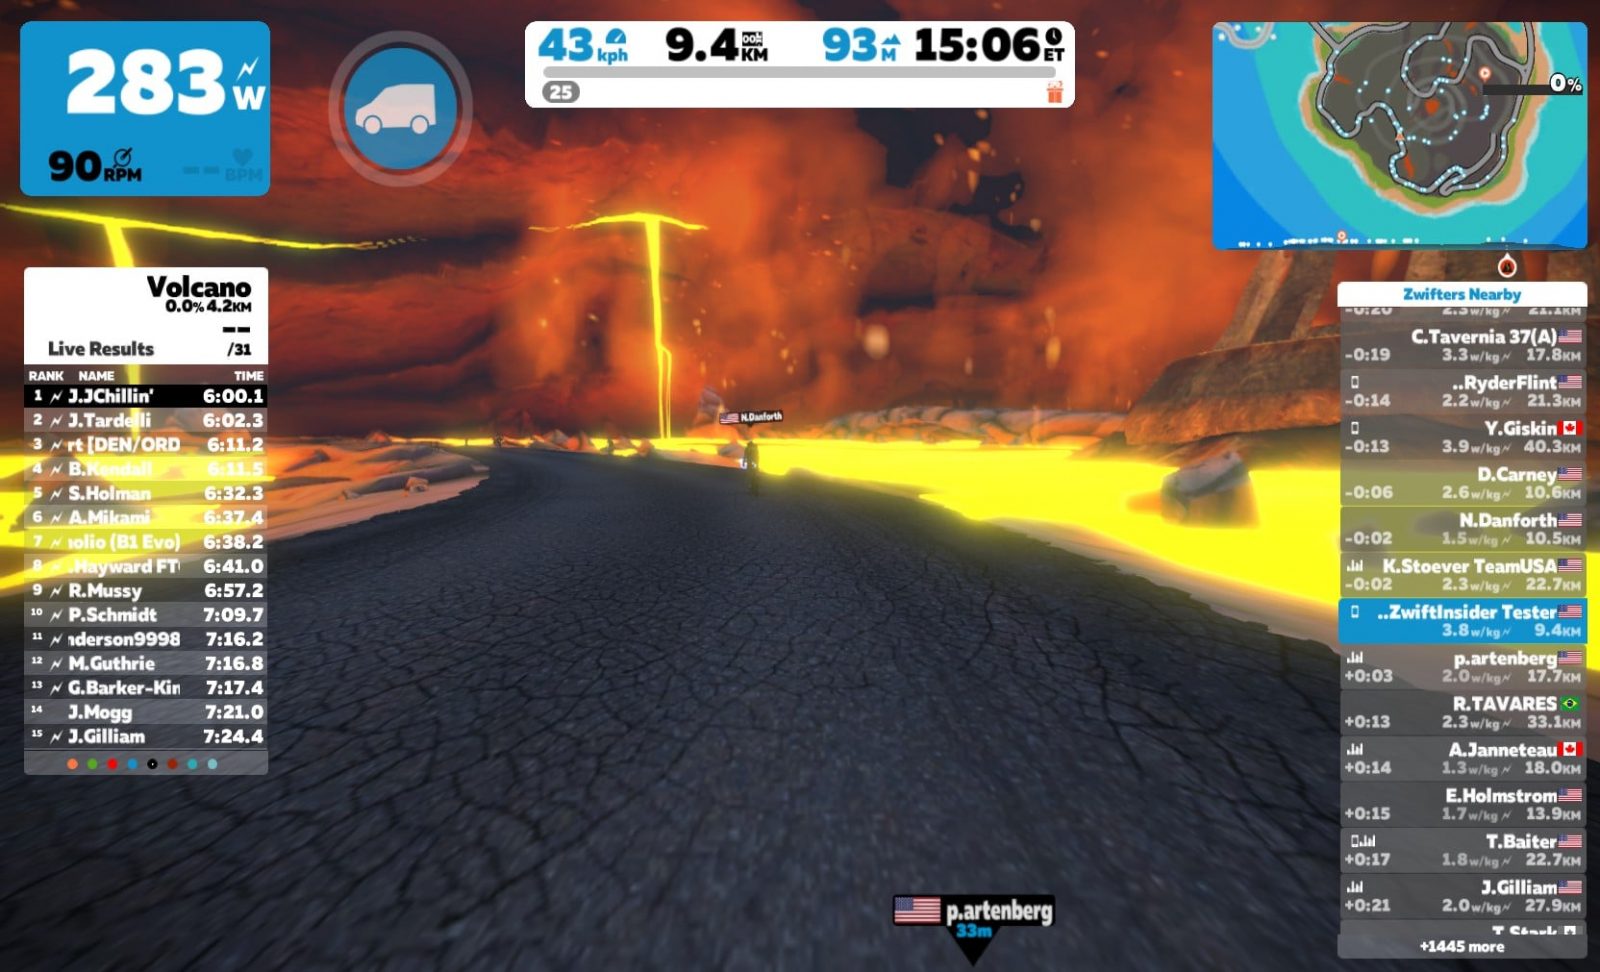
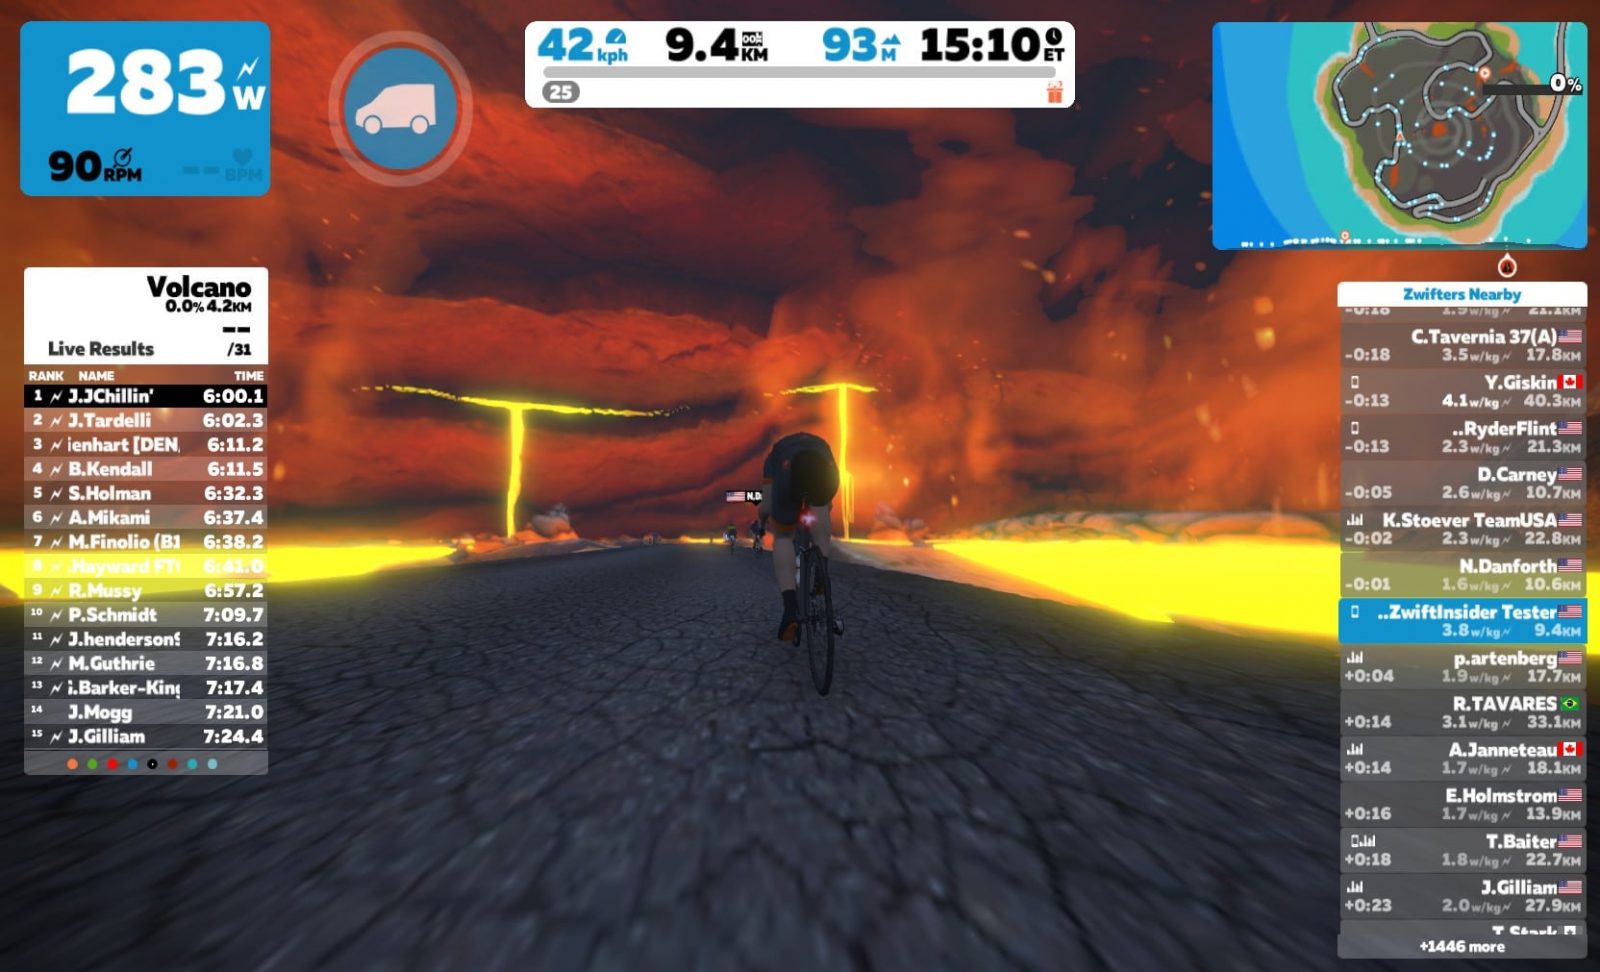
Unless you have a reason for displaying the various on-screen metrics, “clean” shots look much cooler. But you can only take clean shots if you’re using a computer or Zwift Companion! Shots taken using the iOS/Android versions of Zwift always include the HUD.
Sharing Your Shots
Where Pictures are Stored
If you use a computer to Zwift, but take a photo using Zwift Companion, it will be saved to the computer which is actually running the game as well as your mobile device.
If you’re running Zwift on AppleTV, your screenshots taken with Zwift Companion will be saved only to your mobile device.
On Windows, photos are stored under Photos/Zwift. Here’s what my folder looks like:
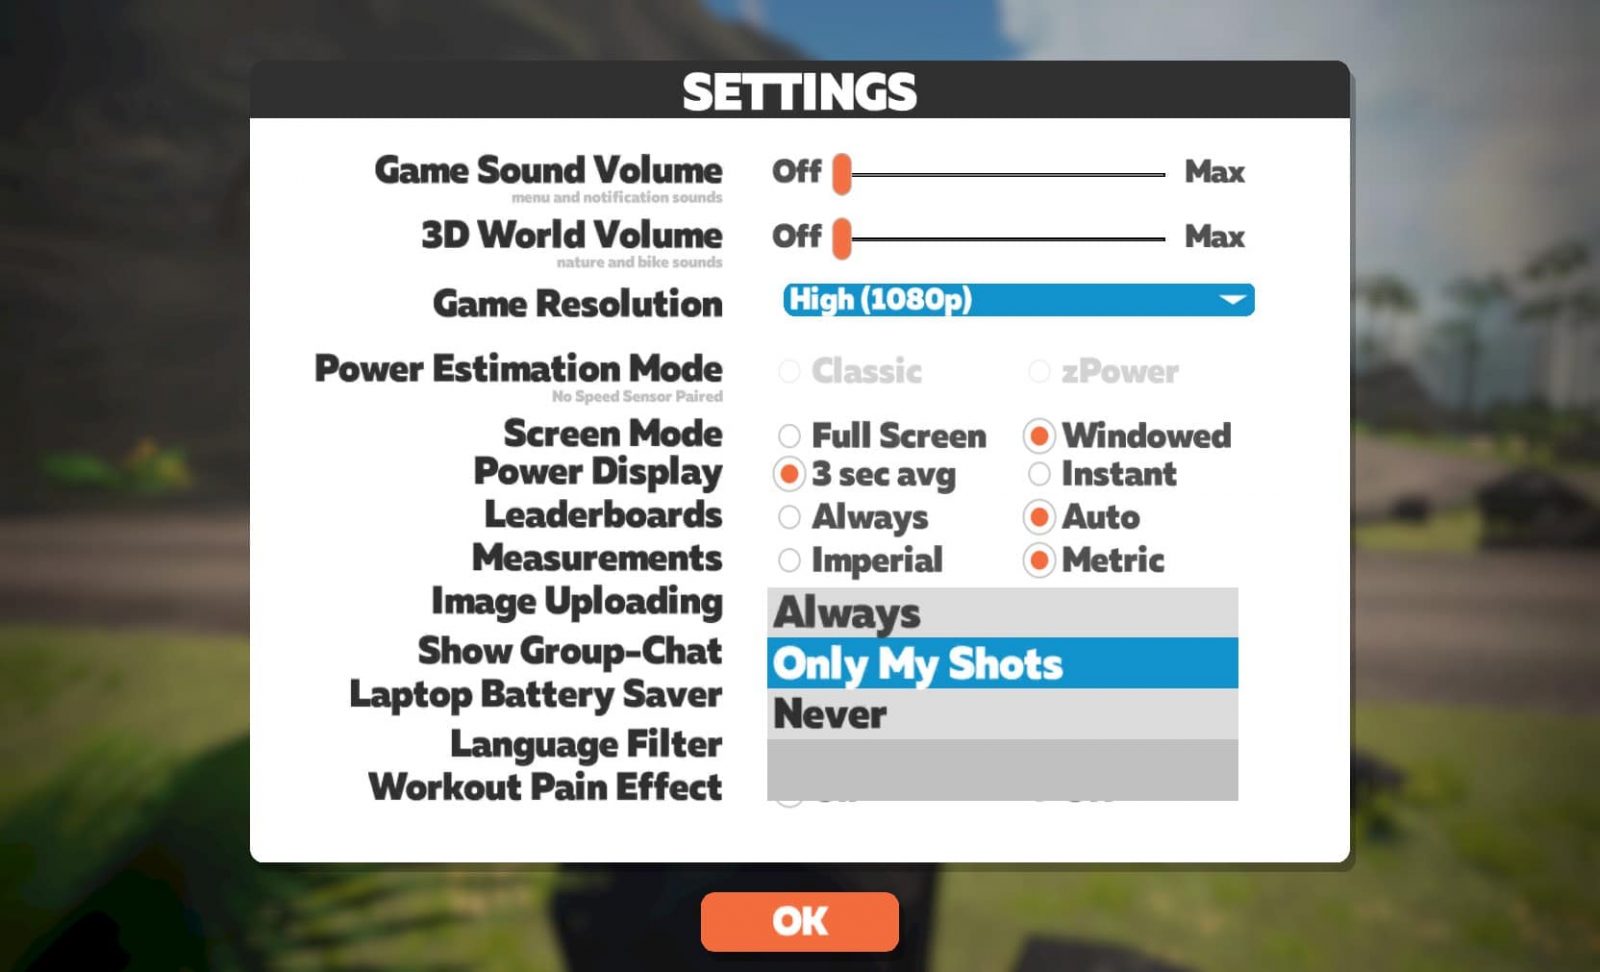
“Image Uploading” Setting
By default Zwift takes some snapshots as you ride and uploads them to Strava. You can change this behavior through the Settings menu so it only uploads the photos you take (my preference), or never uploads photos.
Important: if you choose “Never” for this setting, you will not be able to take pictures from within game on your computer! You will however still be able to take pictures using Zwift Companion.
Selecting Photos to Share
Select which photos to save to your Zwift activity and Strava when finishing your activity:
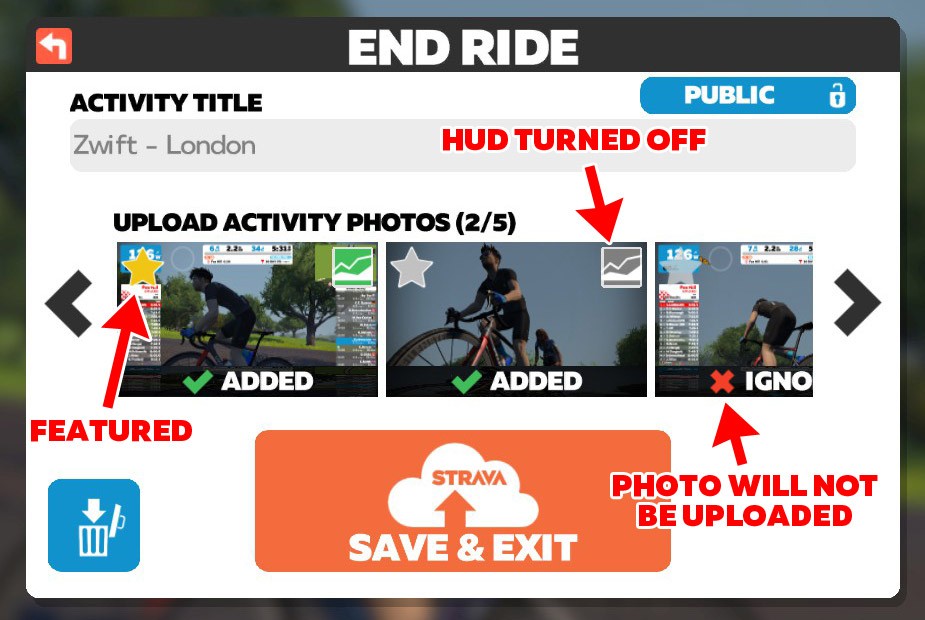
Select up to 5 photos on the ride saving screen. Click in the top-right of a photo to toggle between saving the clean version, or the version including the HUD. You may also select one photo as the “featured” photo, indicated by the star in the corner.
Changing the Strava Highlight Photo
Strava will choose the first picture you upload as your activity’s “highlight” photo. (If you’re on a computer, the photo you star when saving the activity will be the Strava featured photo.)
If you’d rather use a different shot (this is often the case), simply edit your activity, clicking the photo you want to highlight, and choose “Set as Highlight Photo”.
Your Tips Welcome
Got any other tips for Zwift photographers? Share them below!
