Building a Hardwired Zwift e-Controller

There are a few great posts out there on building a wireless Bluetooth e-Controller for Zwift, however in my tests I found it was interfering with my ANT+ signal and quite small for my big fingers. I wanted a simple solution, so I decided on a hard-wired button controller.

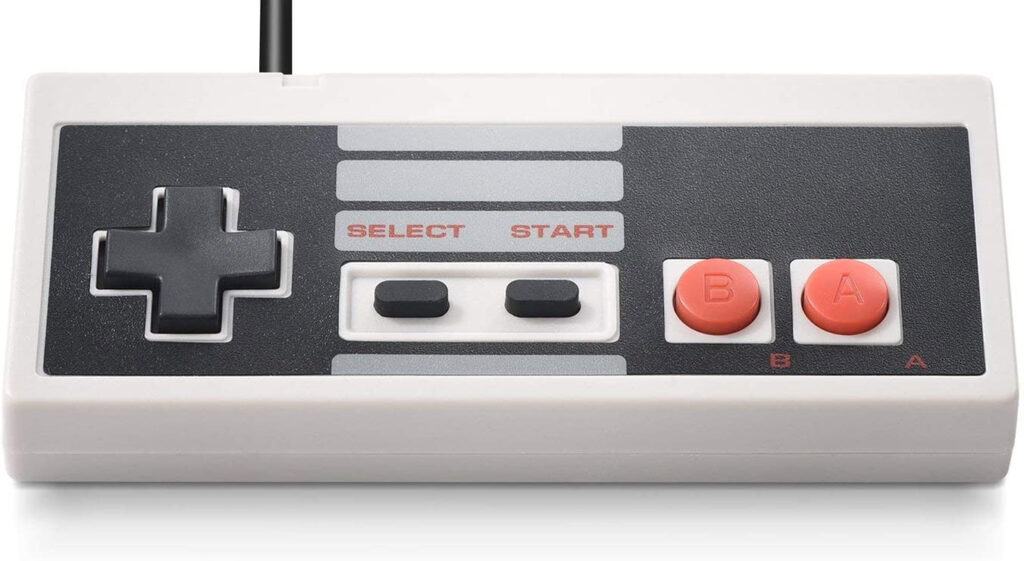
Prices online for a gaming button controller were over $100, so I rummaged through my parts drawer looking for a cheaper alternative. That’s where I found a USB Nintendo controller:

Controller

  • Hard Wired – No Interference
  • Inexpensive – On E-bay for less than $20 or on Amazon for $12.99 for a 2-pack
  • Big Buttons – Perfect for Big Fingers

The next step was working out how to make this work with Zwift. I found this great application called AntiMicro which is a graphical program used to map keyboard buttons and mouse controls to a gamepad. Useful for playing games with no gamepad support which works well for what I needed, Kudos to the developers! This was the 2nd part of the project.

Software

  • Ready Available – On the internet
  • Inexpensive – FREE Download
  • Highly Configurable – Opens possibilities to other projects

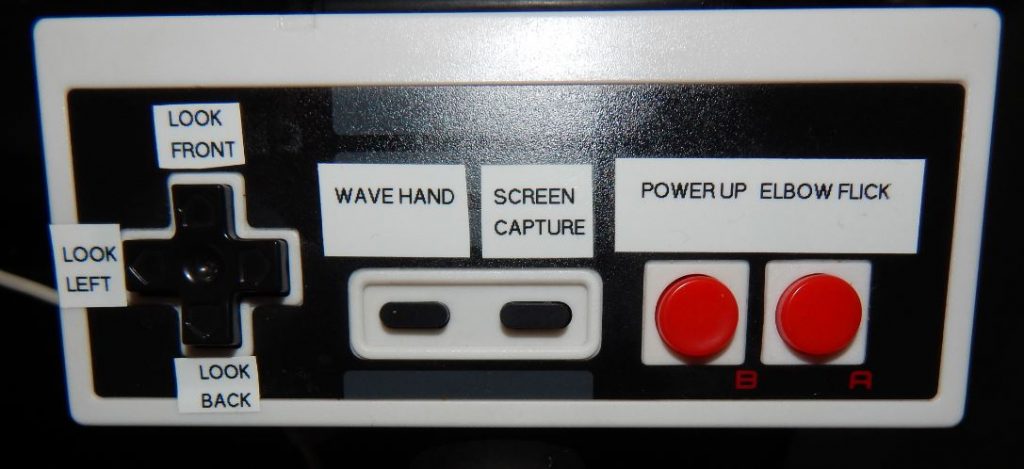
The next part of the project was programming. This was easier than I imagined, just plug in the controller and step through and allocate the various keyboard shortcuts for Zwift that you require. This completes the 3rd part of the project.

Programming

  • Power Up – Button A – Space
  • Elbow Flick – Button B – F1
  • Screen Shot – Button X – F10
  • Wave Hand – Button Y – F2
  • Look Forward – Up Stick – 1
  • Look Back – Down Stick – 6
  • Look Left – Left Stick – 4
  • Bird’s Eye View – Right Stick – 9

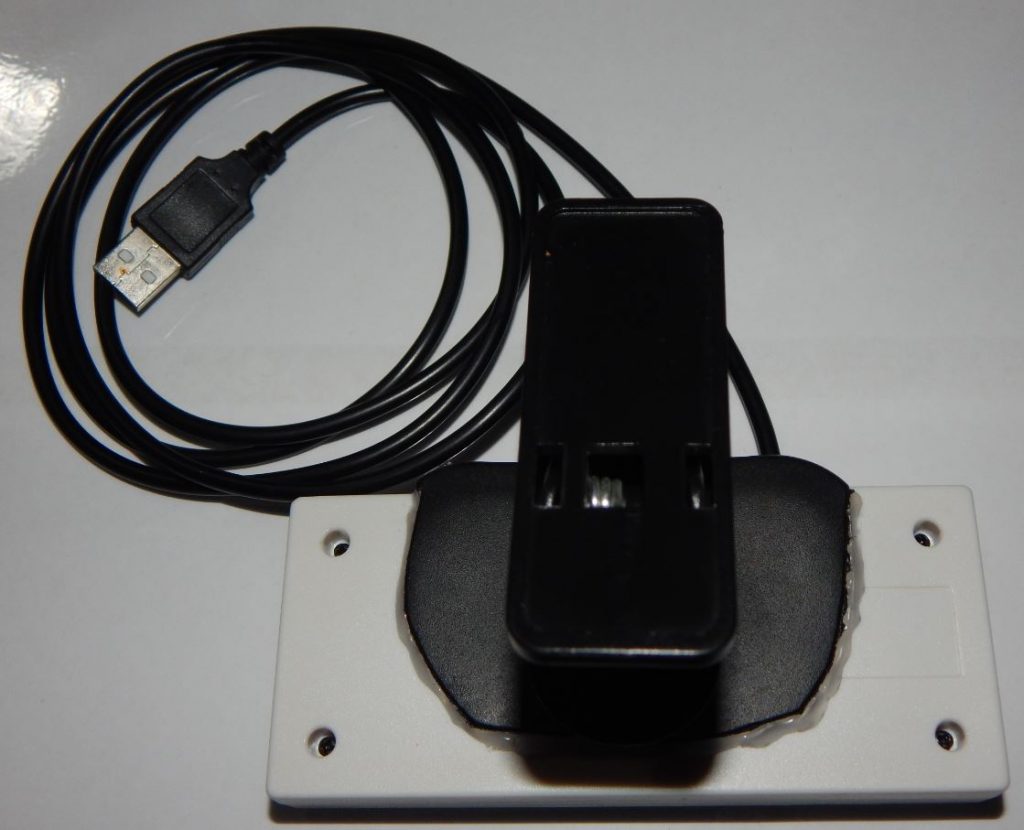
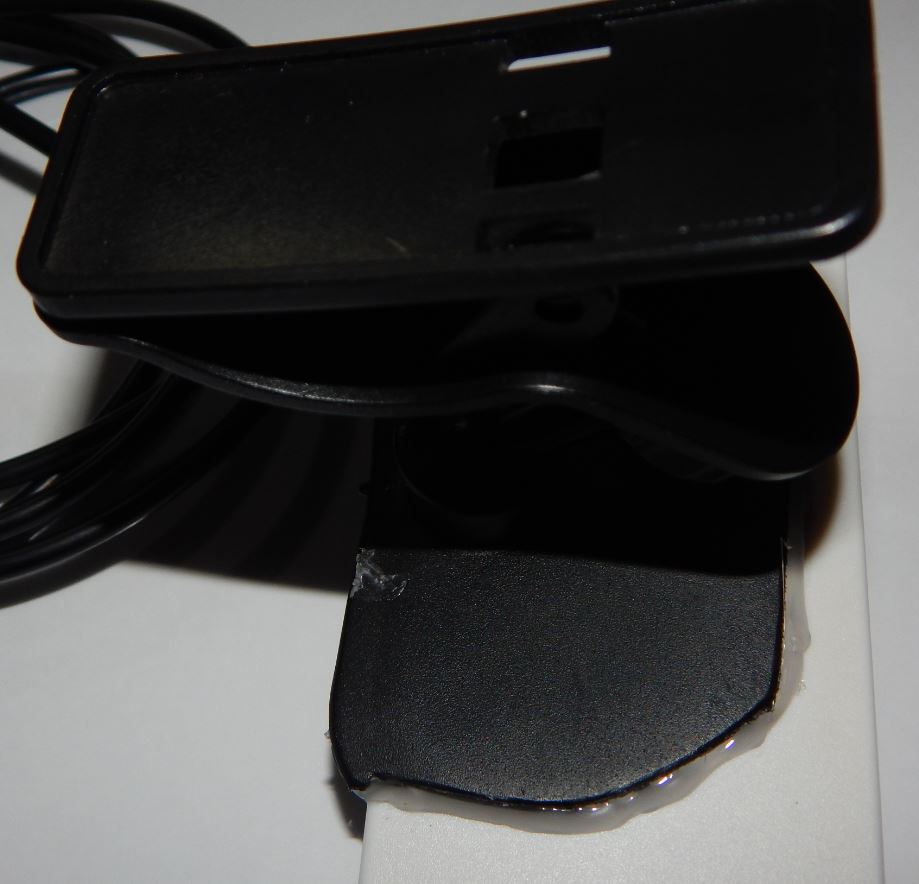
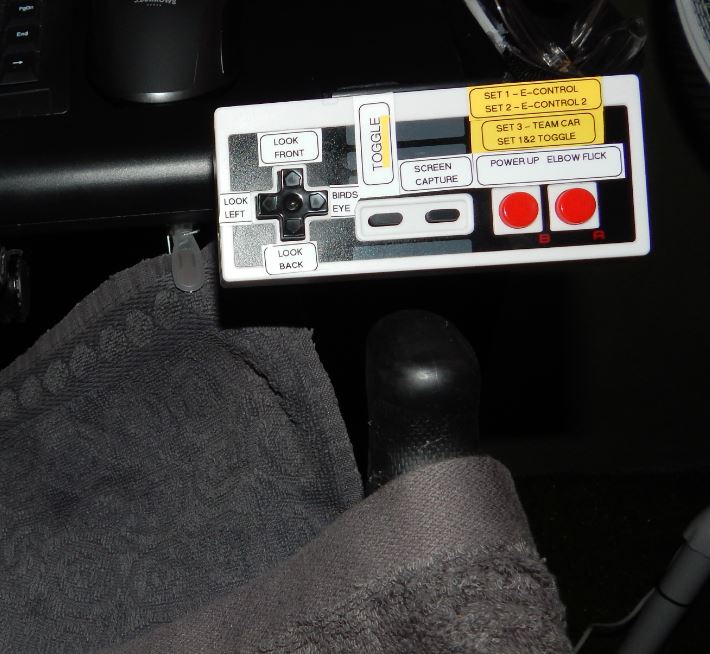
The final part of the project was mounting the controller and labeling the buttons until I memorize them. For mounting the controller I once again rummaged through the parts drawer and found a clip-on bicycle mirror which I modified by removing the mirror and cutting the surround to fit the controller, hot gluing it in place. I also had to superglue the pivot balls as there was too much movement when I pushed the buttons, the super glue fixed that problem.

Mounting and Labeling

By the time I finished this post I had already programmed more functions into the controller which might lead to further ideas. The next revision will include shortcuts for OBS Studio so I can change scenes from the controller using a toggle button to change sets to a new button layout.

The final revision as it stands is shown below:

  • Set 1 – e-Controller – My Default Layout
  • Set 2 – e-Controller 2 – Same as Set 1 except camera views are different
  • Set 3 – Team Car – Drone view controlled by joystick for better control
Mounted Just above the right hood for easy access

This works very well and the total cost of the project is about $20. Bargain!

Editor’s note: this post was originally published on bhbug.com.au. It is reposted here with permission.

Johnny Tselikas
Johnny Tselikas
Johnny started road cycling in late 2016, track cycling and Zwift in 2018, racing track and crit from 2019. He founded BHBUG in 2017 as a side project as well as completing his coaching, first aid and WWCC to be Aus Sports and Ride Nation Accredited as Road & Track Skills Coach in 2019. He joined Team Cryo-Gen in October and races for both the CRY-GEN Herons TTT and Cryo-Gen Mount Hotham Racing teams.

28 COMMENTS

Subscribe
Notify of
guest

28 Comments
Oldest
Newest Most Voted
Inline Feedbacks
View all comments
paperLast
paperLast
2 years ago

Can the button hotkey change to give ride on to other rider or 5 rider nearby?

David Jones
David Jones(@david-jones150)
2 years ago

Assume you can’t use this for Apple TV?

Richie Sheerin
2 years ago
Reply to  David Jones

Would probably have to be connected to your Companion app. Android phone app possibly?

M4rk0
M4rk0
2 years ago

For a second there I thought it said “elbow f***” on the controller

M4rk0
M4rk0
2 years ago
Reply to  M4rk0

Awesome hack and walkthrough nonetheless!

Sam
Sam
2 years ago

Thansk to opensource!!!

Elliott
Elliott
2 years ago

I feel like I’d destroy this with sweat, I wonder how water resistant it is.

Craig Claussen
Craig Claussen(@cjcjet)
2 years ago

Is there a comparable app for use on a Mac?

Dr. AL
Dr. AL
2 years ago

Joystick Mapper would appear to work but is $4.99 on the mac App Store. I did a bit of looking and found this which is free https://yukkurigames.com/enjoyable/

Seems to run in macOS Catalina and should work in anything lower. Don’t like Big Sur so I’ve avoided the update. I downloaded it and opened it, haven’t set anything up however so no confirmation that it works, but will probably try with a controller this evening. Have a beat up old PS4 control that I’ll give it go with… I’ll let you know if it works.

Dr. AL
Dr. AL
2 years ago

For a quick Mac update, enjoyable as an app works with zero issues. Basically download the zip and place the application in you applications folder or wherever you want it. You’re able to map any keys you should want and in this case I used an old PS4 controller which worked seamlessly. I presume it would work with a usb controller as well. Didn’t use it during a ride but mapped keys and opened up Zwift post ride this evening. Due to macOS system security you do need to grant access to enjoyable to control the Mac so the keys… Read more »

Stephane Rodier
Stephane Rodier(@stephane-rodier)
2 years ago
Max
Max
2 years ago

Great idea and design, the only flaw I can see is in the beta “boost mode” you wouldn’t be able to activate or charge your boost (but not many people take part in these races anyway).

Dan
Dan
2 years ago

Is “elbow flick” really that popular that it warrants placement on the A button?

ben
ben
2 years ago

Has anyone ever worked out an ‘erg shifter’? Use something like this and set bike in erg mode and be able to ‘shift’ up and down by set wattage increments? Instead of shifting gears, shift watts…

FKieser
FKieser
2 years ago

Great article and fun hack! The only thing I have not figured out is how to map the D-pad to use the arrow keys or anything for that much. I can’t program a key to them. Anyone else having this issue or fugue out how to do it?

Phil W
Phil W
2 years ago
Reply to  FKieser

Took me a while to figure it out as my d-pad left/right and up/down gave the same command. From the “home page” select I.e. axis 1 and you’ll get this view ( though I can’t quite remember how I got to this view – watch this space..).. From there you can program the up / down and left / right arrows individually.

20210306_094642_resized.jpg
Norm Smith
Norm Smith
2 years ago

This was perfect. I got one working as soon as I could after reading the article. Another option for the software is Joy2Key. I found this worked a little better for my purposes. But thanks for doing the legwork. Cheers !

Steve McWeavie
Steve McWeavie
2 years ago

Proves that there is life after death for old controllers. Well done🙂

Phil W
Phil W
2 years ago

Great hack, thanks for this. Got everything sorted but could you shed a little more light on how you set up the toggle please to switch between your sets. Thanks in advance..

Phil W
Phil W
2 years ago
Reply to  Phil W

ignore me, I’ve found it 😀

Jamie Jenkins
Jamie Jenkins
2 years ago
Reply to  Phil W

Hi – how did you toggle? I have a MAC so am using different software to program it. Thanks 😃

Get Started on Zwift

Newest Featured Posts

Support This Site

Write a post, shop through us, donate or advertise. Learn more

NEWSLETTER SIGNUP

Zwift tips and news every 2 weeks! Click to subscribe.

28
0
Would love your thoughts, please comment.x
()
x