When it launched in 2014, Zwift grabbed cyclists’ attention because it enabled real-time interaction between riders: a social platform. And this is truer today more than ever: the interaction with other humans, the camaraderie developed over time, and the friendships built on the platform are motivating and valuable.
But sometimes, you may just want to ride or run solo, and there’s nothing wrong with that! We’ve had several Zwifters ask us how to do this easily – here are three ways.


Solution #1: Turn Off Your Internet Connection
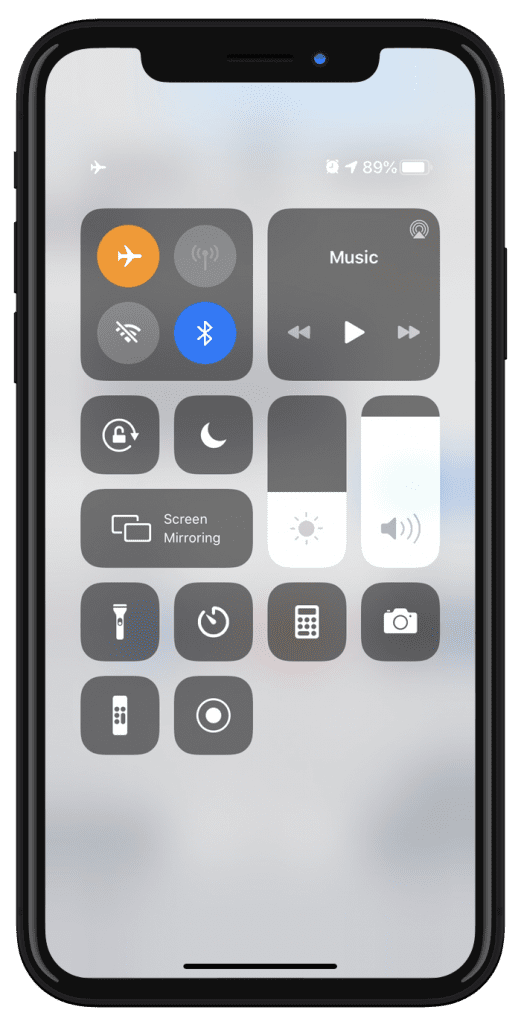
Once you’ve logged in and started your Zwift activity, turn off the Internet connection on your Zwift device. This will remove all other Zwifters from view, and remove you from their view.
It is quite easy to turn the Internet connection off on most devices – a click or two on Mac, PC, iOS, and Android. It’s more of a hassle on AppleTV, but can be done there through the Settings menu or by simply unplugging your ethernet cable if you’re using a wired connection.
Here’s the important part: reconnect the Internet before you save your activity and exit Zwift! This will allow the activity data to sync up with your account at my.zwift.com as well as Strava or other third-party connected apps.
Gotchas
Turning off the Internet may be the simplest way to ride alone on Zwift, but it also means your Zwift device will be without an Internet connection during your activity, which may be an annoyance. Additionally, your fans won’t be able to give you a ride on during your activity. If either of these an issue, try this next approach…
Solution #2: Firewall
This solution is really only practical if you’re running Zwift on a Mac or PC. Both macOS and Windows have built-in software firewalls that allow you to easily create rules governing the data flowing in and out of your computer. The nice thing about the firewall approach is it lets you maintain an Internet connection on your device while riding solo on Zwift.
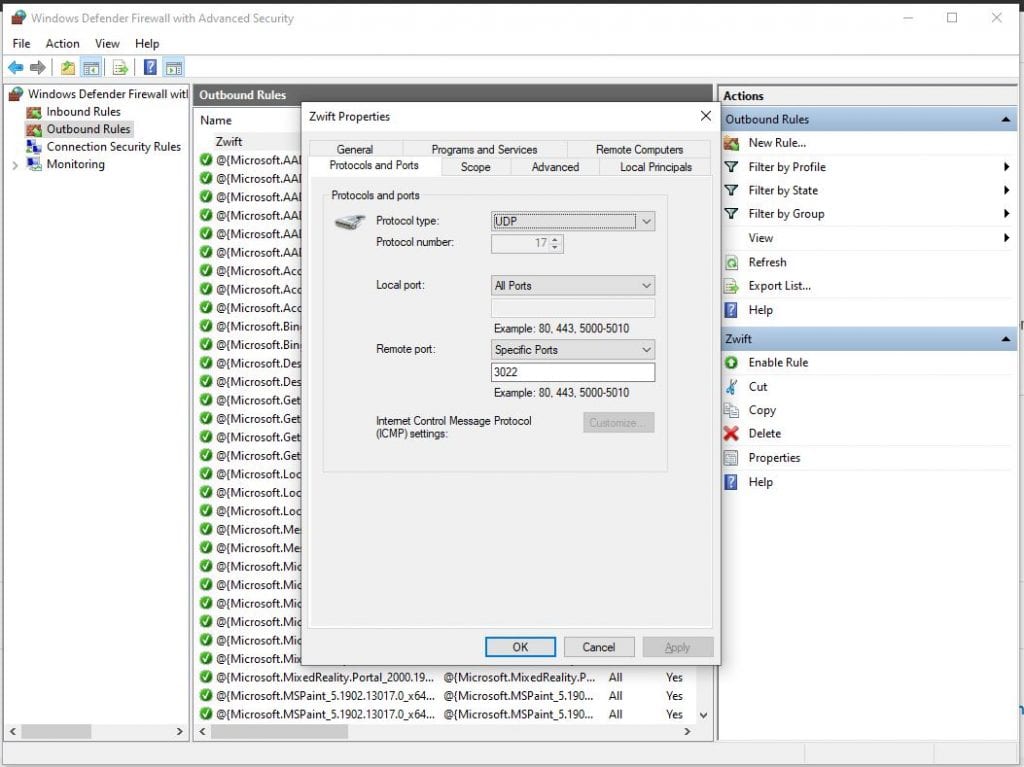
Simply put: if you turn off outbound traffic to certain UDP and TCP ports via a firewall, all riders on course will be hidden and you will be hidden from their screens.

You will need to set up and enable two different firewall rules – one for UDP traffic, the other for TCP.
Setting up your UDP firewall rule on Windows 10:
- Open up the Windows Defender Firewall app
- Click “Outbound” then click “New Rule”
- Select “Port” from “What type of rule would you like to create?”
- Select UDP, and enter 3022,3024 as the “Specific remote port”
- Choose “Block the connection” (which is the default)
- Let the rule apply to Domain, Private, and Public (which is the default)
- Give it a name such as “Zwift Solo UDP” and click “Finish”
- Done! The rule will automatically be enabled, but you can click to disable it and ride with others anytime you’d like.
Setting up your TCP firewall rule on Windows 10:
- Open up the Windows Defender Firewall app
- Click “Outbound” then click “New Rule”
- Select “Port” from “What type of rule would you like to create?”
- Select TCP, and enter 3023,3025 as the “Specific remote port”
- Choose “Block the connection” (which is the default)
- Let the rule apply to Domain, Private, and Public (which is the default)
- Give it a name such as “Zwift Solo TCP” and click “Finish”
- Done! The rule will automatically be enabled, but you can click to disable it and ride with others anytime you’d like.
We won’t include instructions for macOS or other Windows versions here, but the rules are pretty simple to create, and you can always delete the rule if you think you messed something up.
Gotchas
We use this firewall method for much of our Zwift Insider Labs speed tests, and occasionally we’ve had issues with Zwift crashing if we boot up Zwift with the firewall enabled and begin our activity. To avoid this, boot up Zwift with the firewall setting disabled, then only enable it after you’ve begun your activity.
With the advent of Pack Dynamics 3.0, we’ve found that if you start riding with your firewall rules not enabled, then turn them on, riders will still appear on screen. The only ways around this are:
- Enable your firewall rules before you get into the game
- After you enable the firewall rules from in the game, and you’re still seeing riders around you, try popping into a different world. You shouldn’t see any riders there. Then go back to the original world you were in – riders won’t show there either.
Solution #3: World Hack
This last solution doesn’t ensure you’ll be riding solo, but it will greatly reduce the number of riders on course. If you use the world tag hack to access a world that isn’t today’s scheduled guest world, the only Zwifters there will be other world hackers or those participating in an event – and chances are those event participants will be hidden from view.
World hacking, therefore, is a nice way to get yourself into a barely-populated map, if that’s what you’re looking for. Learn all about the world tag hack >
Questions or comments?
Do you like to ride alone on Zwift sometimes? How do you accomplish it? Share below!
