

There have been a myriad of posts over the years asking for help with getting a bicycle’s rear derailleur to index and shift correctly when installed on a direct drive trainer.
The conventional wisdom is to either use the cable barrel adjuster to re-index the rear derailleur, add/remove spacers behind the cassette to better match the spacing on the bike wheel, or some combination of both.
There’s another way.
⚠️WARNING
The shims (spacers) used here for tuning cassette offset from the dropout face were not originally designed for this purpose. Rather, they’re for taking up excess space on a freehub body when using fewer cogs than the freehub was designed to accommodate.
Installing more or thicker shims than were needed for their original purpose may result in insufficient threads for the lockring to secure the cassette. Tightening a lockring with only a couple of threads engaged can strip the threads on the freehub body.
You should ensure there is sufficient thread engagement between lockring and freehub body if attempting this solution.
This process assumes your bike is in good working order and the derailleur hanger is straight. Derailleur alignment is often overlooked by bike shops when delivering customer bikes and alignment tools (like the Park Tool DAG-3 34) aren’t commonly owned by the home mechanic. If in doubt, please bring your bike to a reputable bike shop to check derailleur alignment before attempting to tune your drivetrain.
Before You Begin
- Chains and cassettes should have similar levels of wear or they will tend not to shift well, may skip, and be overly noisy. Provided your bike is in good working order (per the assumption in the section above), the sure-fire way to eliminate this as a source of problems is to transfer the cassette from your bicycle to your trainer.
- Alternately, if your bike chain has zero wear, putting a brand new cassette on the trainer that is identical to what’s already there (number of cogs, number of teeth per cog, same brand and spacing) effectively matches them. (If you have problems, though, go back to step 1.)
- You will need some basic bicycle tools such as a cassette lockring tool and chain whip. I’m going to link to some Park Tools, specifically the least expensive versions you need.
- Additionally, the process below requires a digital caliper with a depth gauge, and you will likely need a set of cassette spacers of varying thickness (unless you happen to get lucky and have one on hand of the perfect thickness).
Matching Cassette to Dropout Spacing
Here we go!
- Remove your rear wheel from the bicycle and lay it on a surface you don’t mind getting greasy. (I like a yoga mat in my flat for this type of work.)
- Take the digital caliper out and zero it. (It should read zero when closed.)
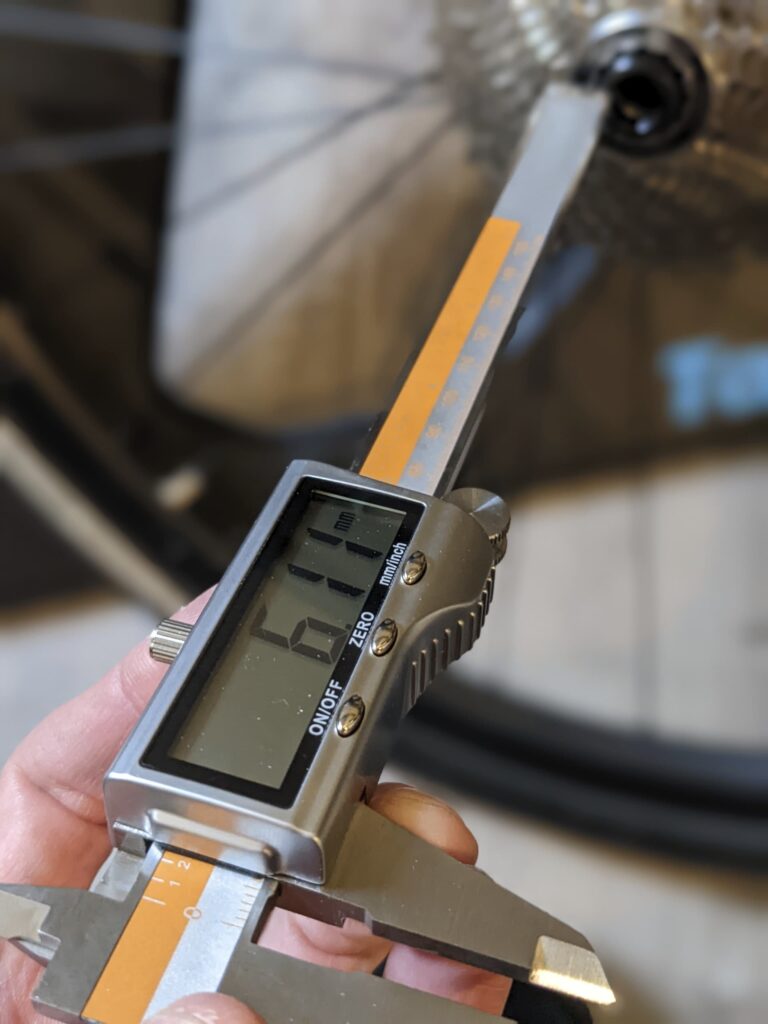
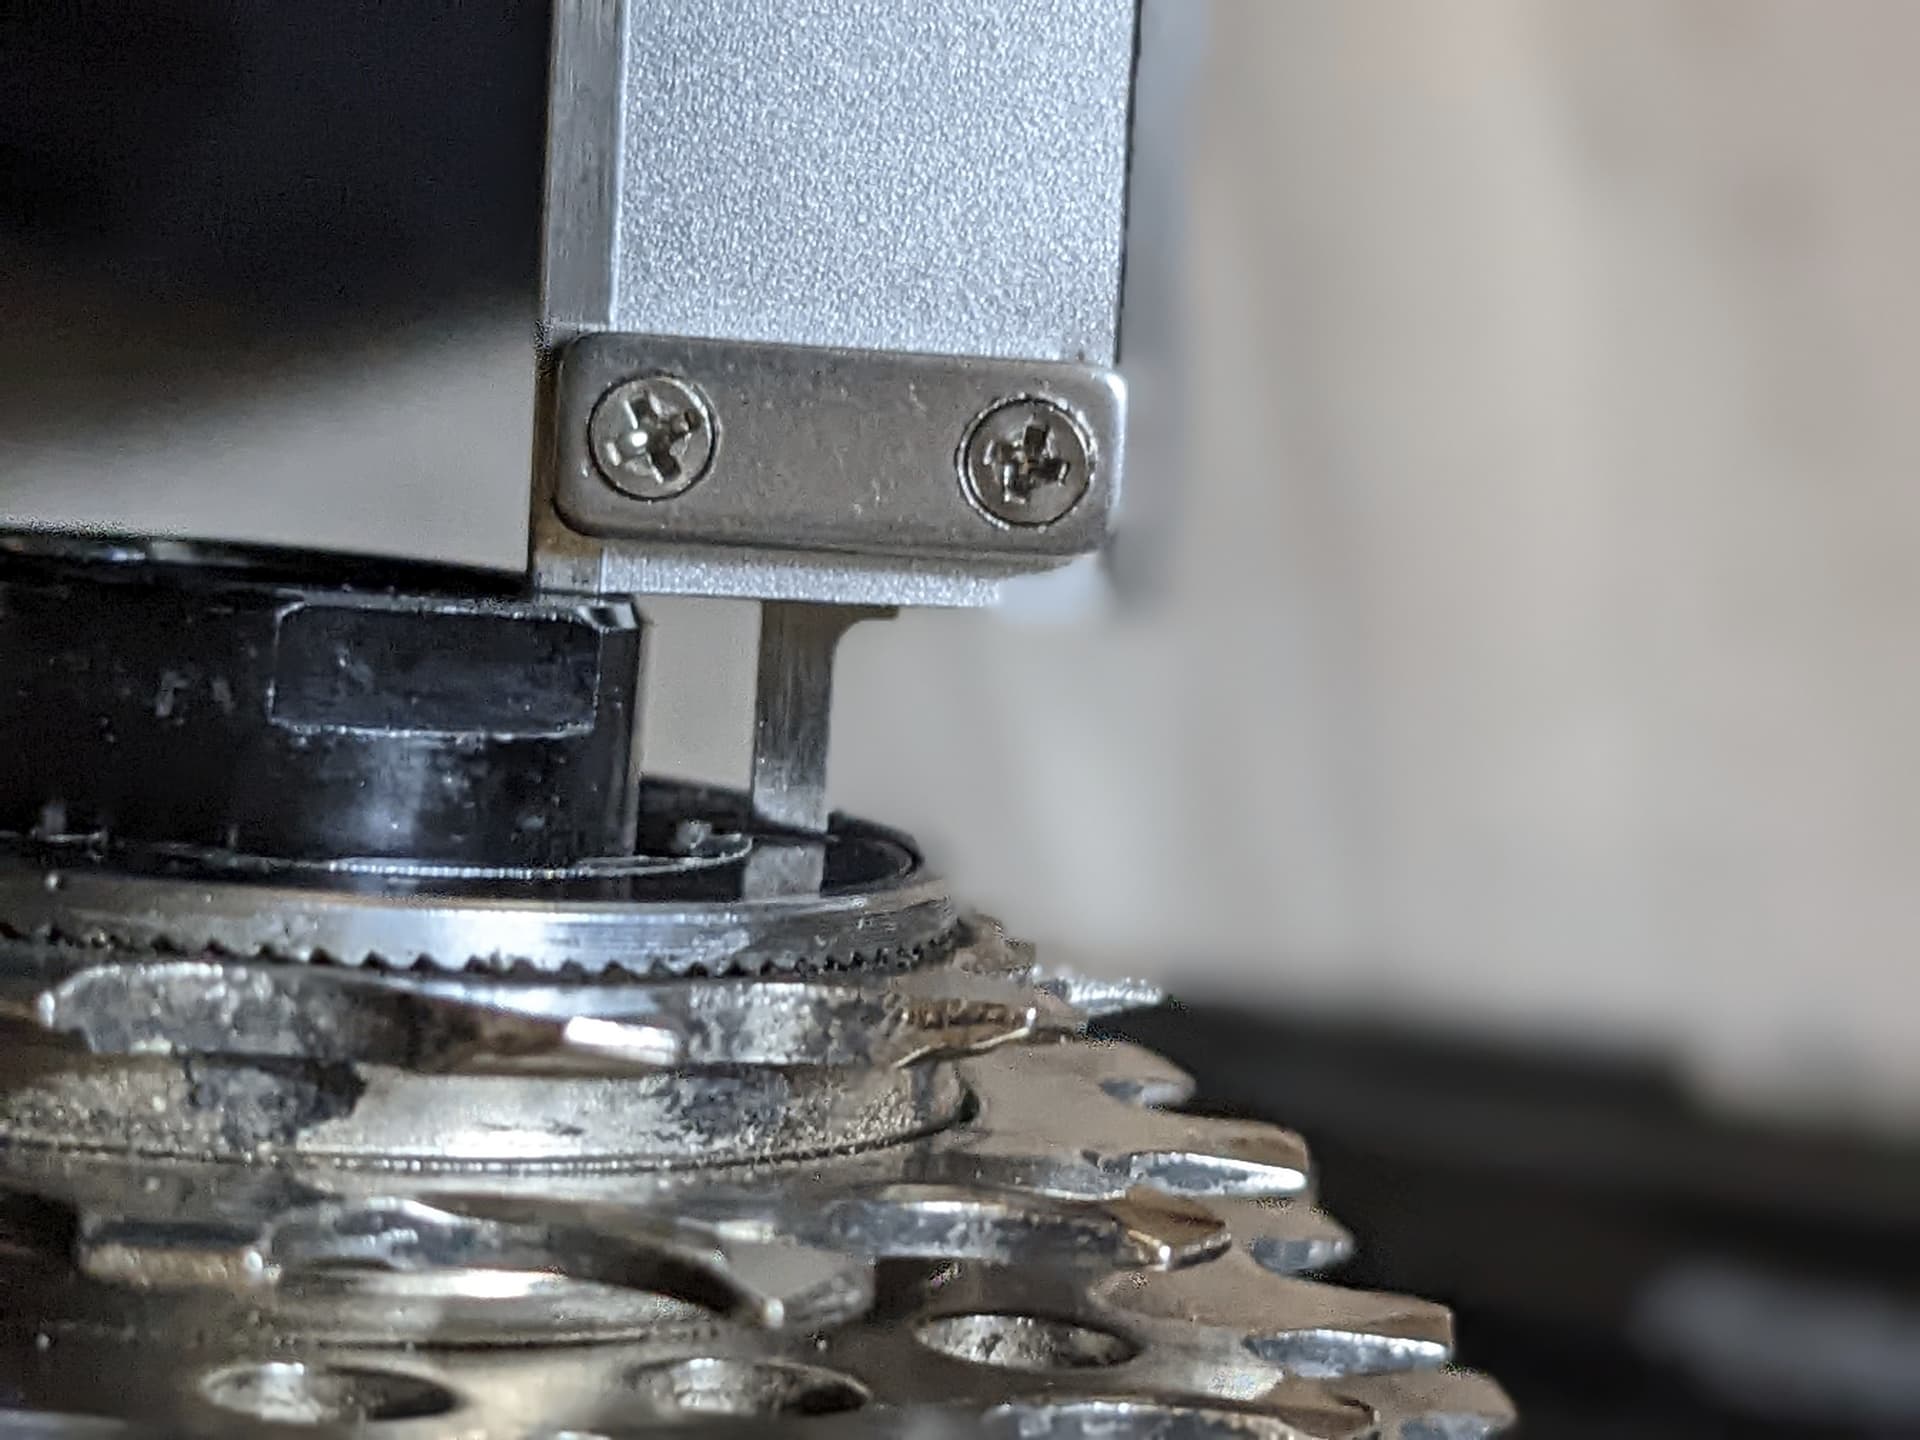
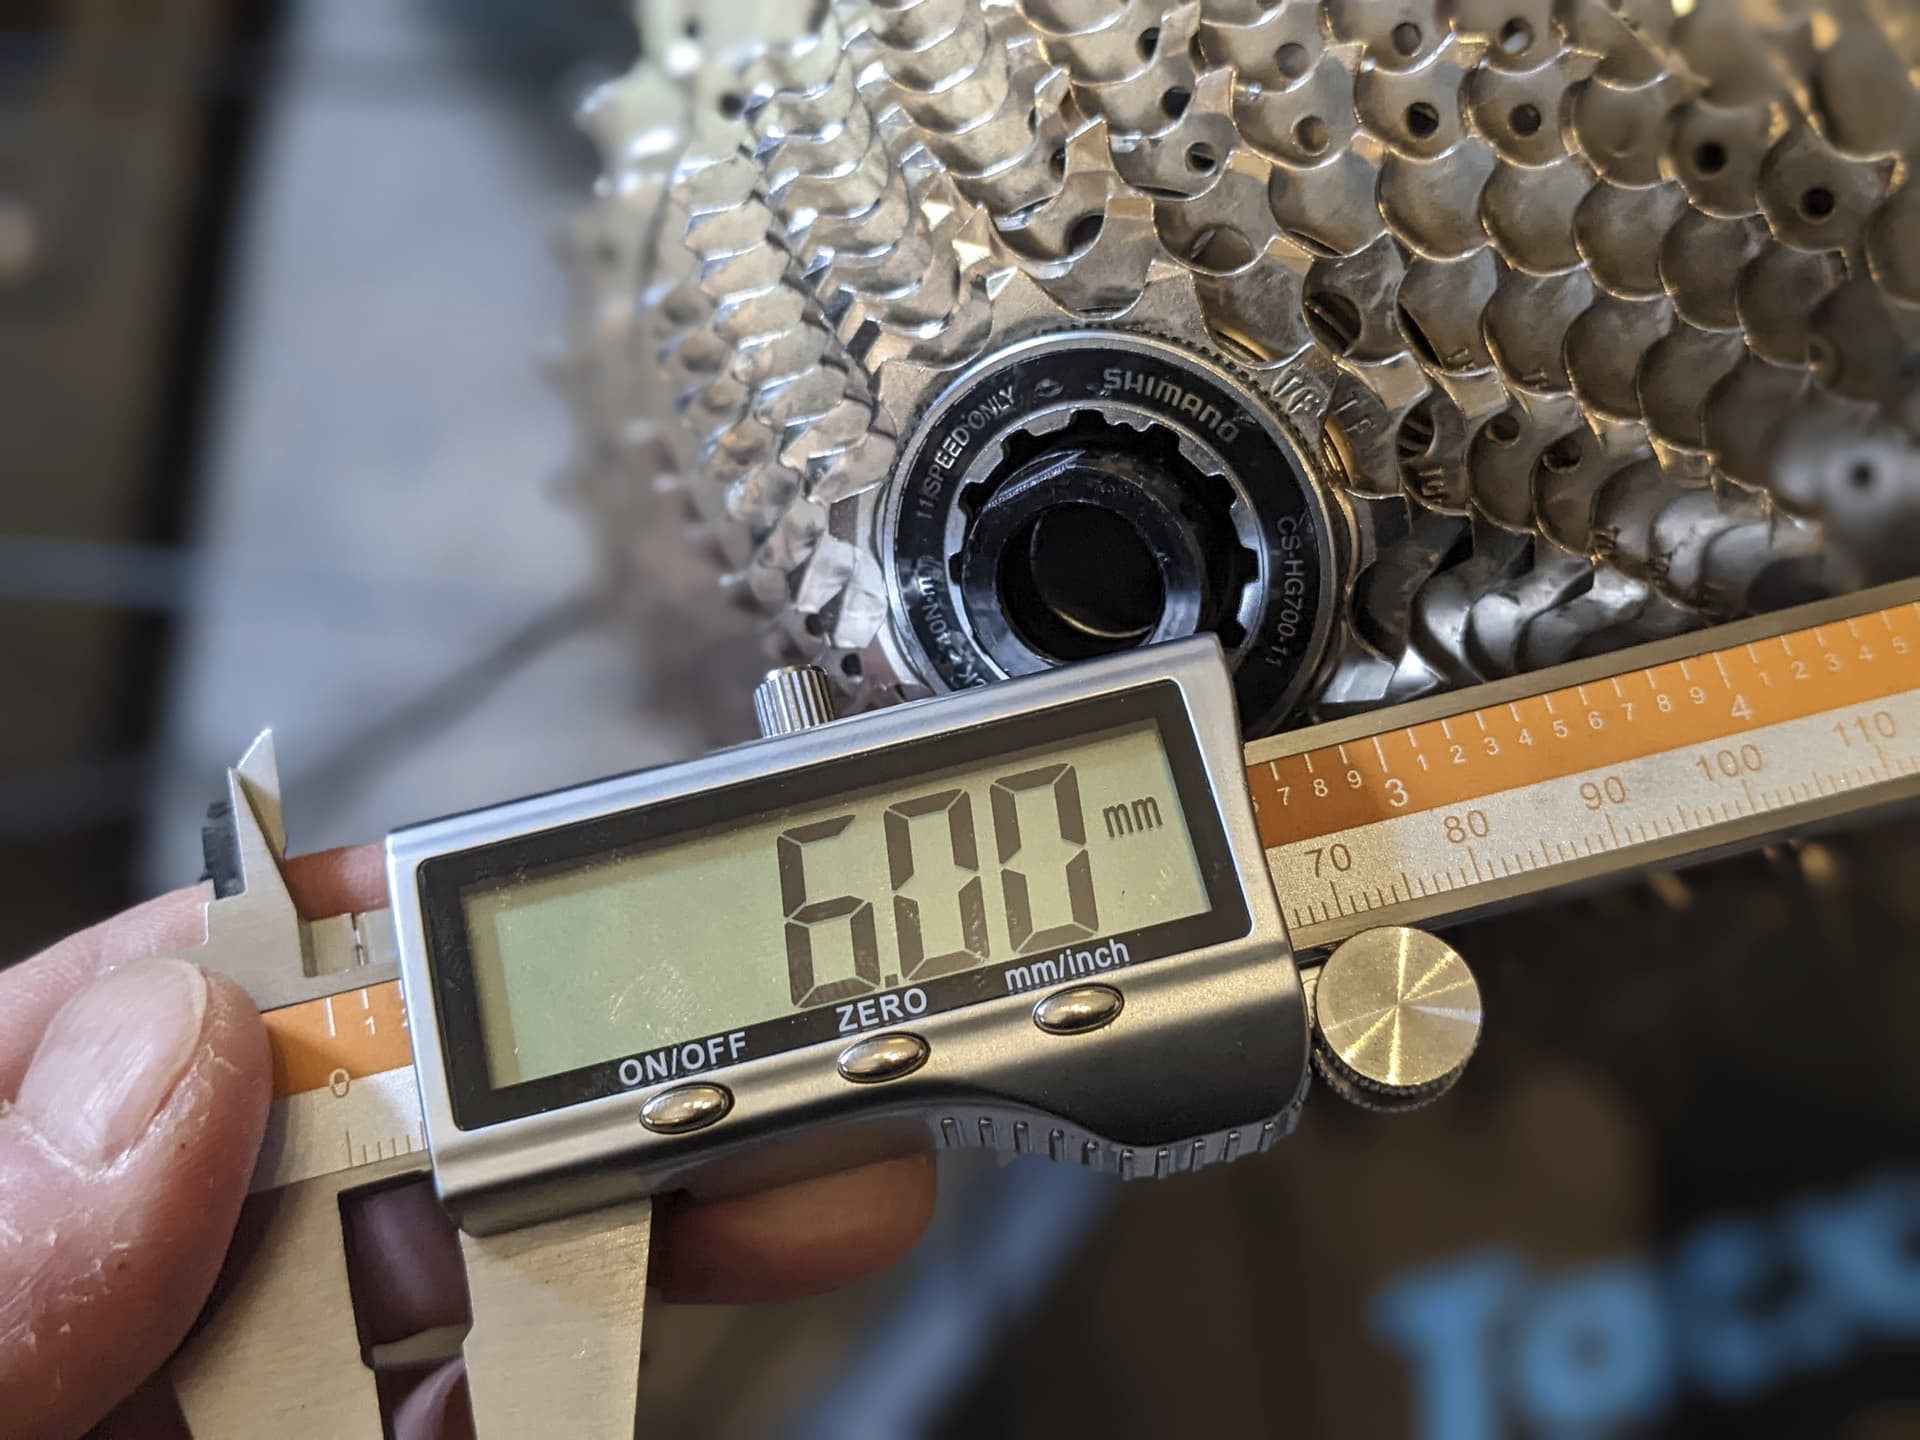
- Use the depth probe end to measure the distance between the cassette lockring and the hub axle. NOTE: if this is a QR axle type hub, you want the wide part of the axle which contacts the drop-out, not the narrow section that sticks out farther. Ensure you’ve aligned the caliper with the axle as best as possible – misalignment will throw this measurement off. CAVEAT: the thickness of the cassette lockrings on your bike and trainer must match for this to work. If they don’t, you’ll need to account for this in your calculations.
- Write the above measurement down. This is the distance between your cassette and the drop-out on the bicycle. We’re aiming for the exact same distance on the trainer so your rear derailleur “sees” the trainer as being identical to the bike vis-a-vis shifting.
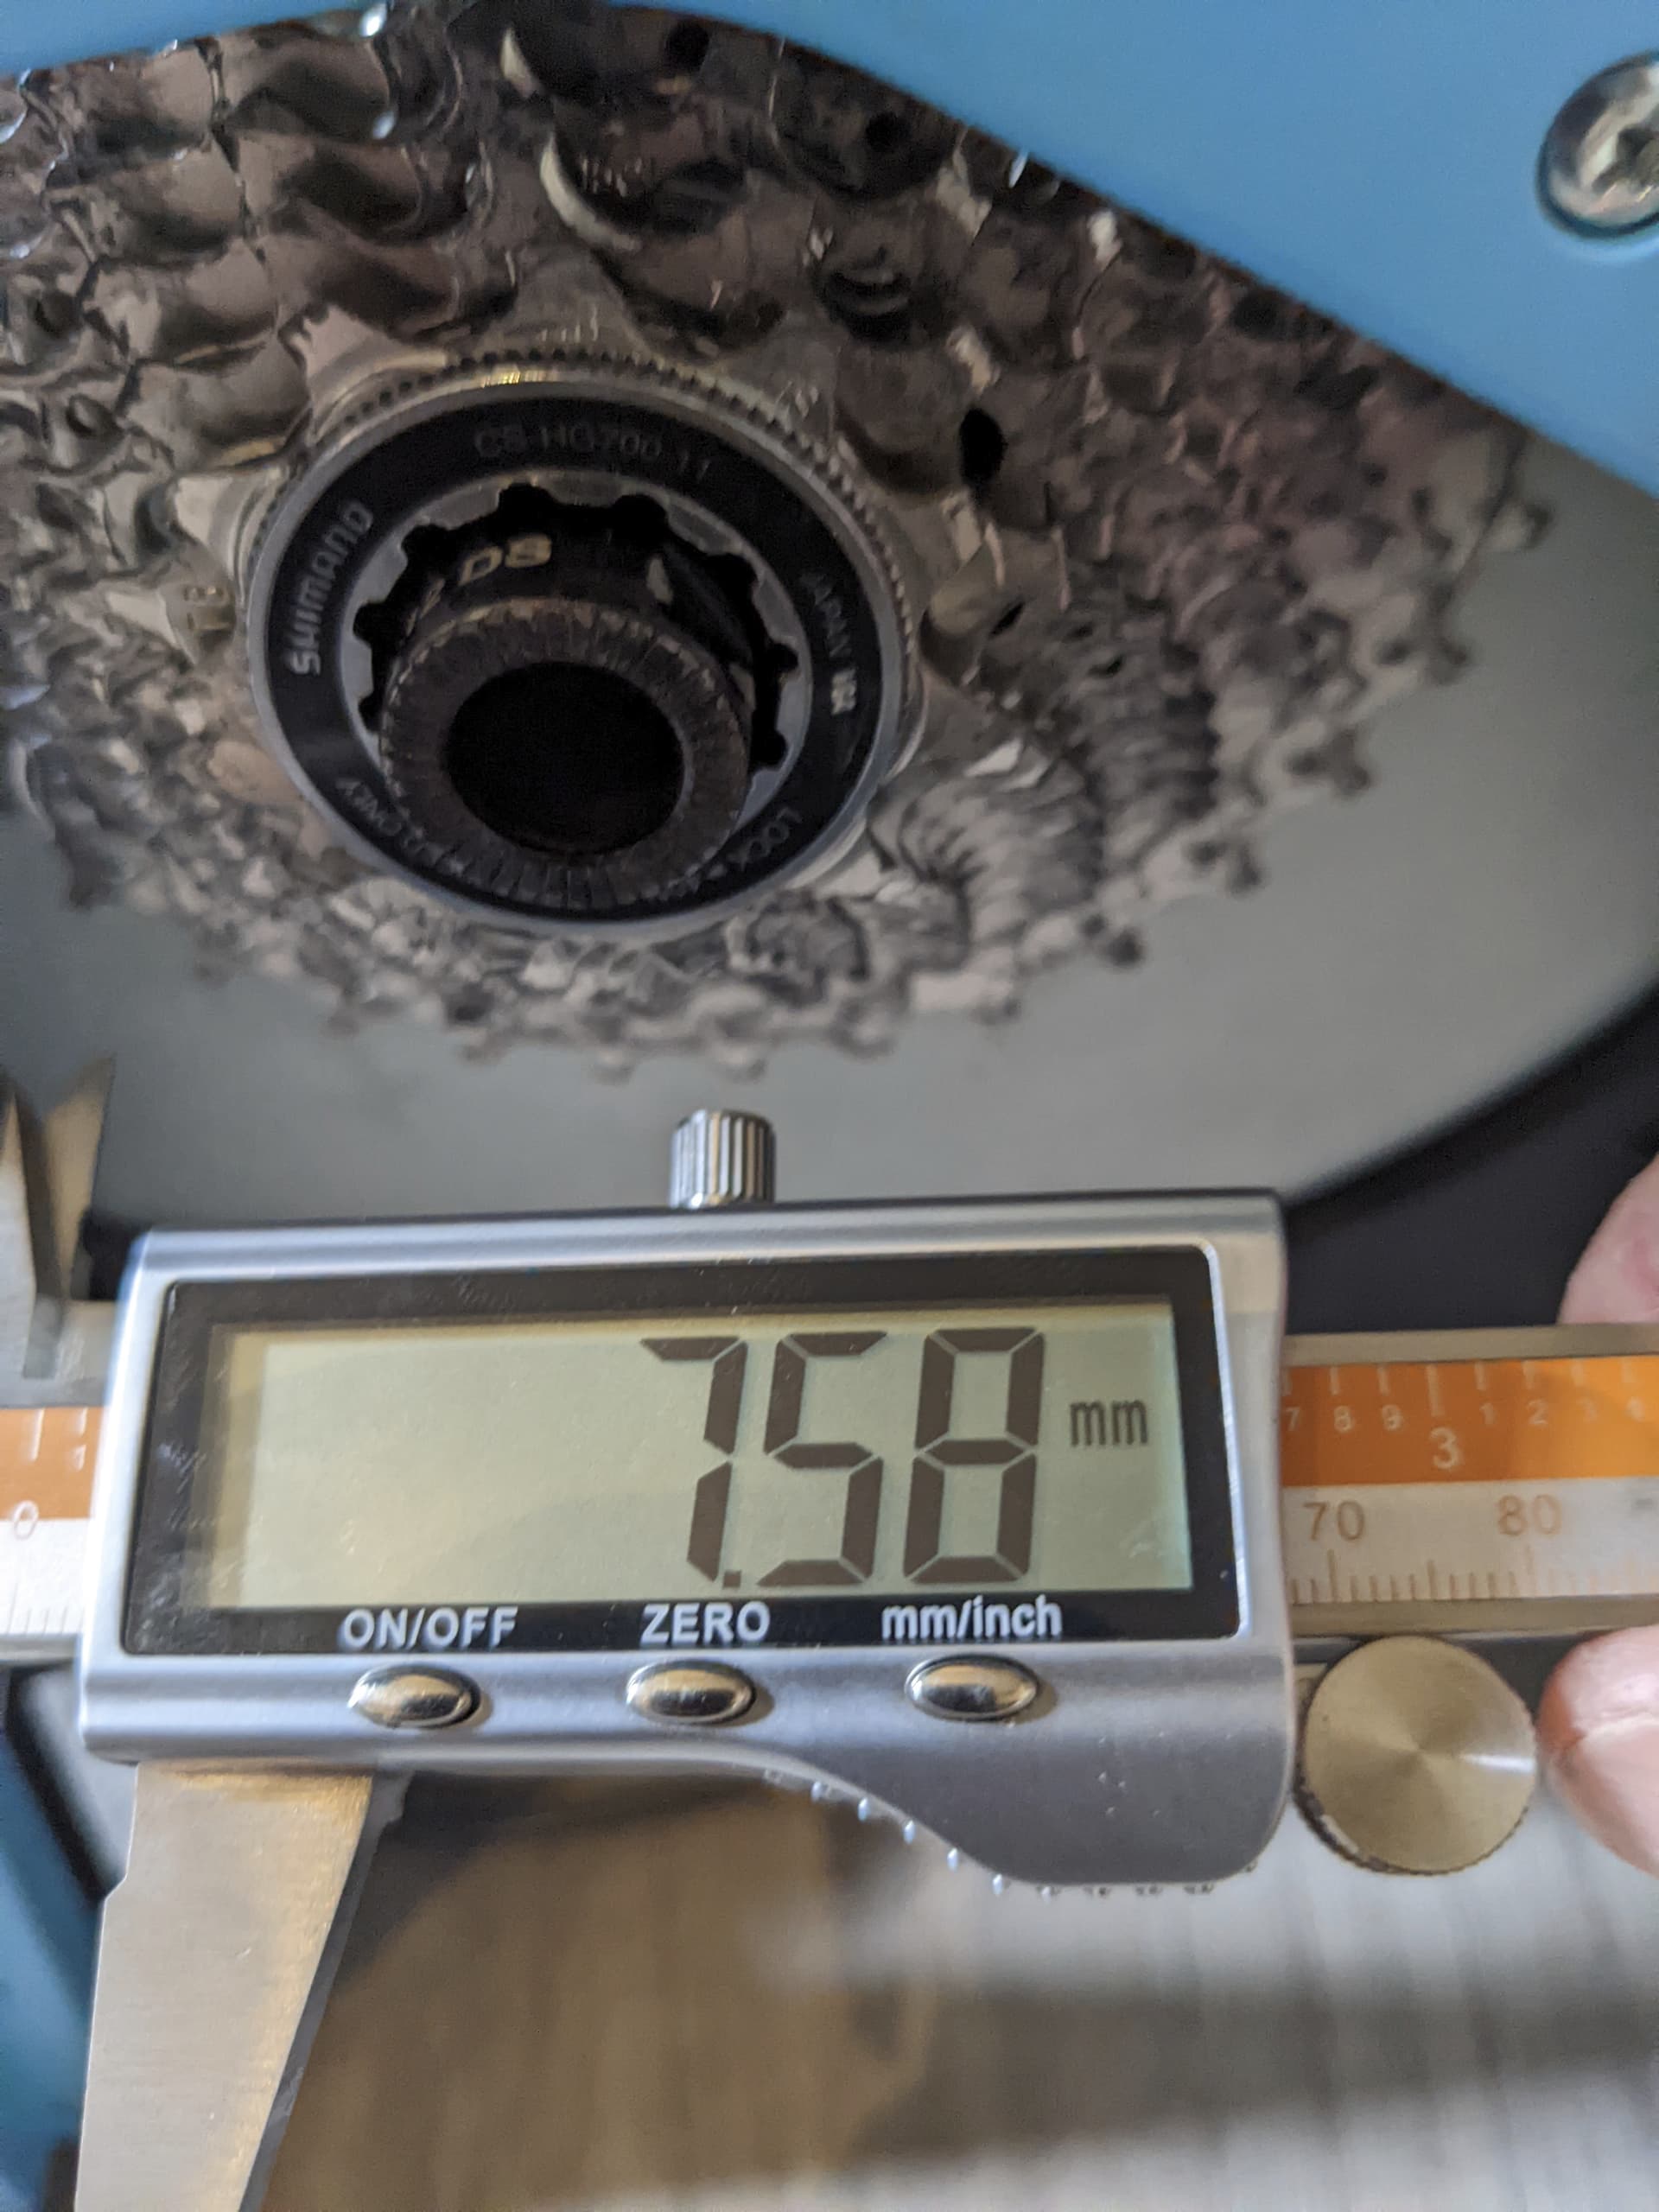
- Repeat step 3 above but this time on the trainer. Write this number down. If the two numbers are the same, great! Install the bike and test it out.
- If the trainer and bike cassette to dropout spacing don’t match, note the difference to the closest 0.1mm increment.
- Remove the cassette from the trainer. Take note of any spacers already installed and how thick they are. (The caliper jaws are ideal for this.)
- If the cassette to dropout spacing on trainer is less than that on the bike wheel, you need to remove spacers or install a thinner one. If the cassette to dropout spacing on trainer is greater than that of the bike wheel, you need to add spacers.
- Once you’ve added/removed spacers to match wheel spacing, reinstall the cassette, install the bike and give it a test ride.
Comment
My “trainer bike” gear indexing was already pretty close to matching between road and trainer use. Until I figured the above out, I was fine just spinning the rear derailleur barrel adjuster when moving the bike on and off the trainer.
However, adding a single 1.5mm spacer brought the two into perfect alignment (within 0.1mm). Zero adjustments necessary between the two! To me, this is the more elegant solution.
Measuring the Wheel
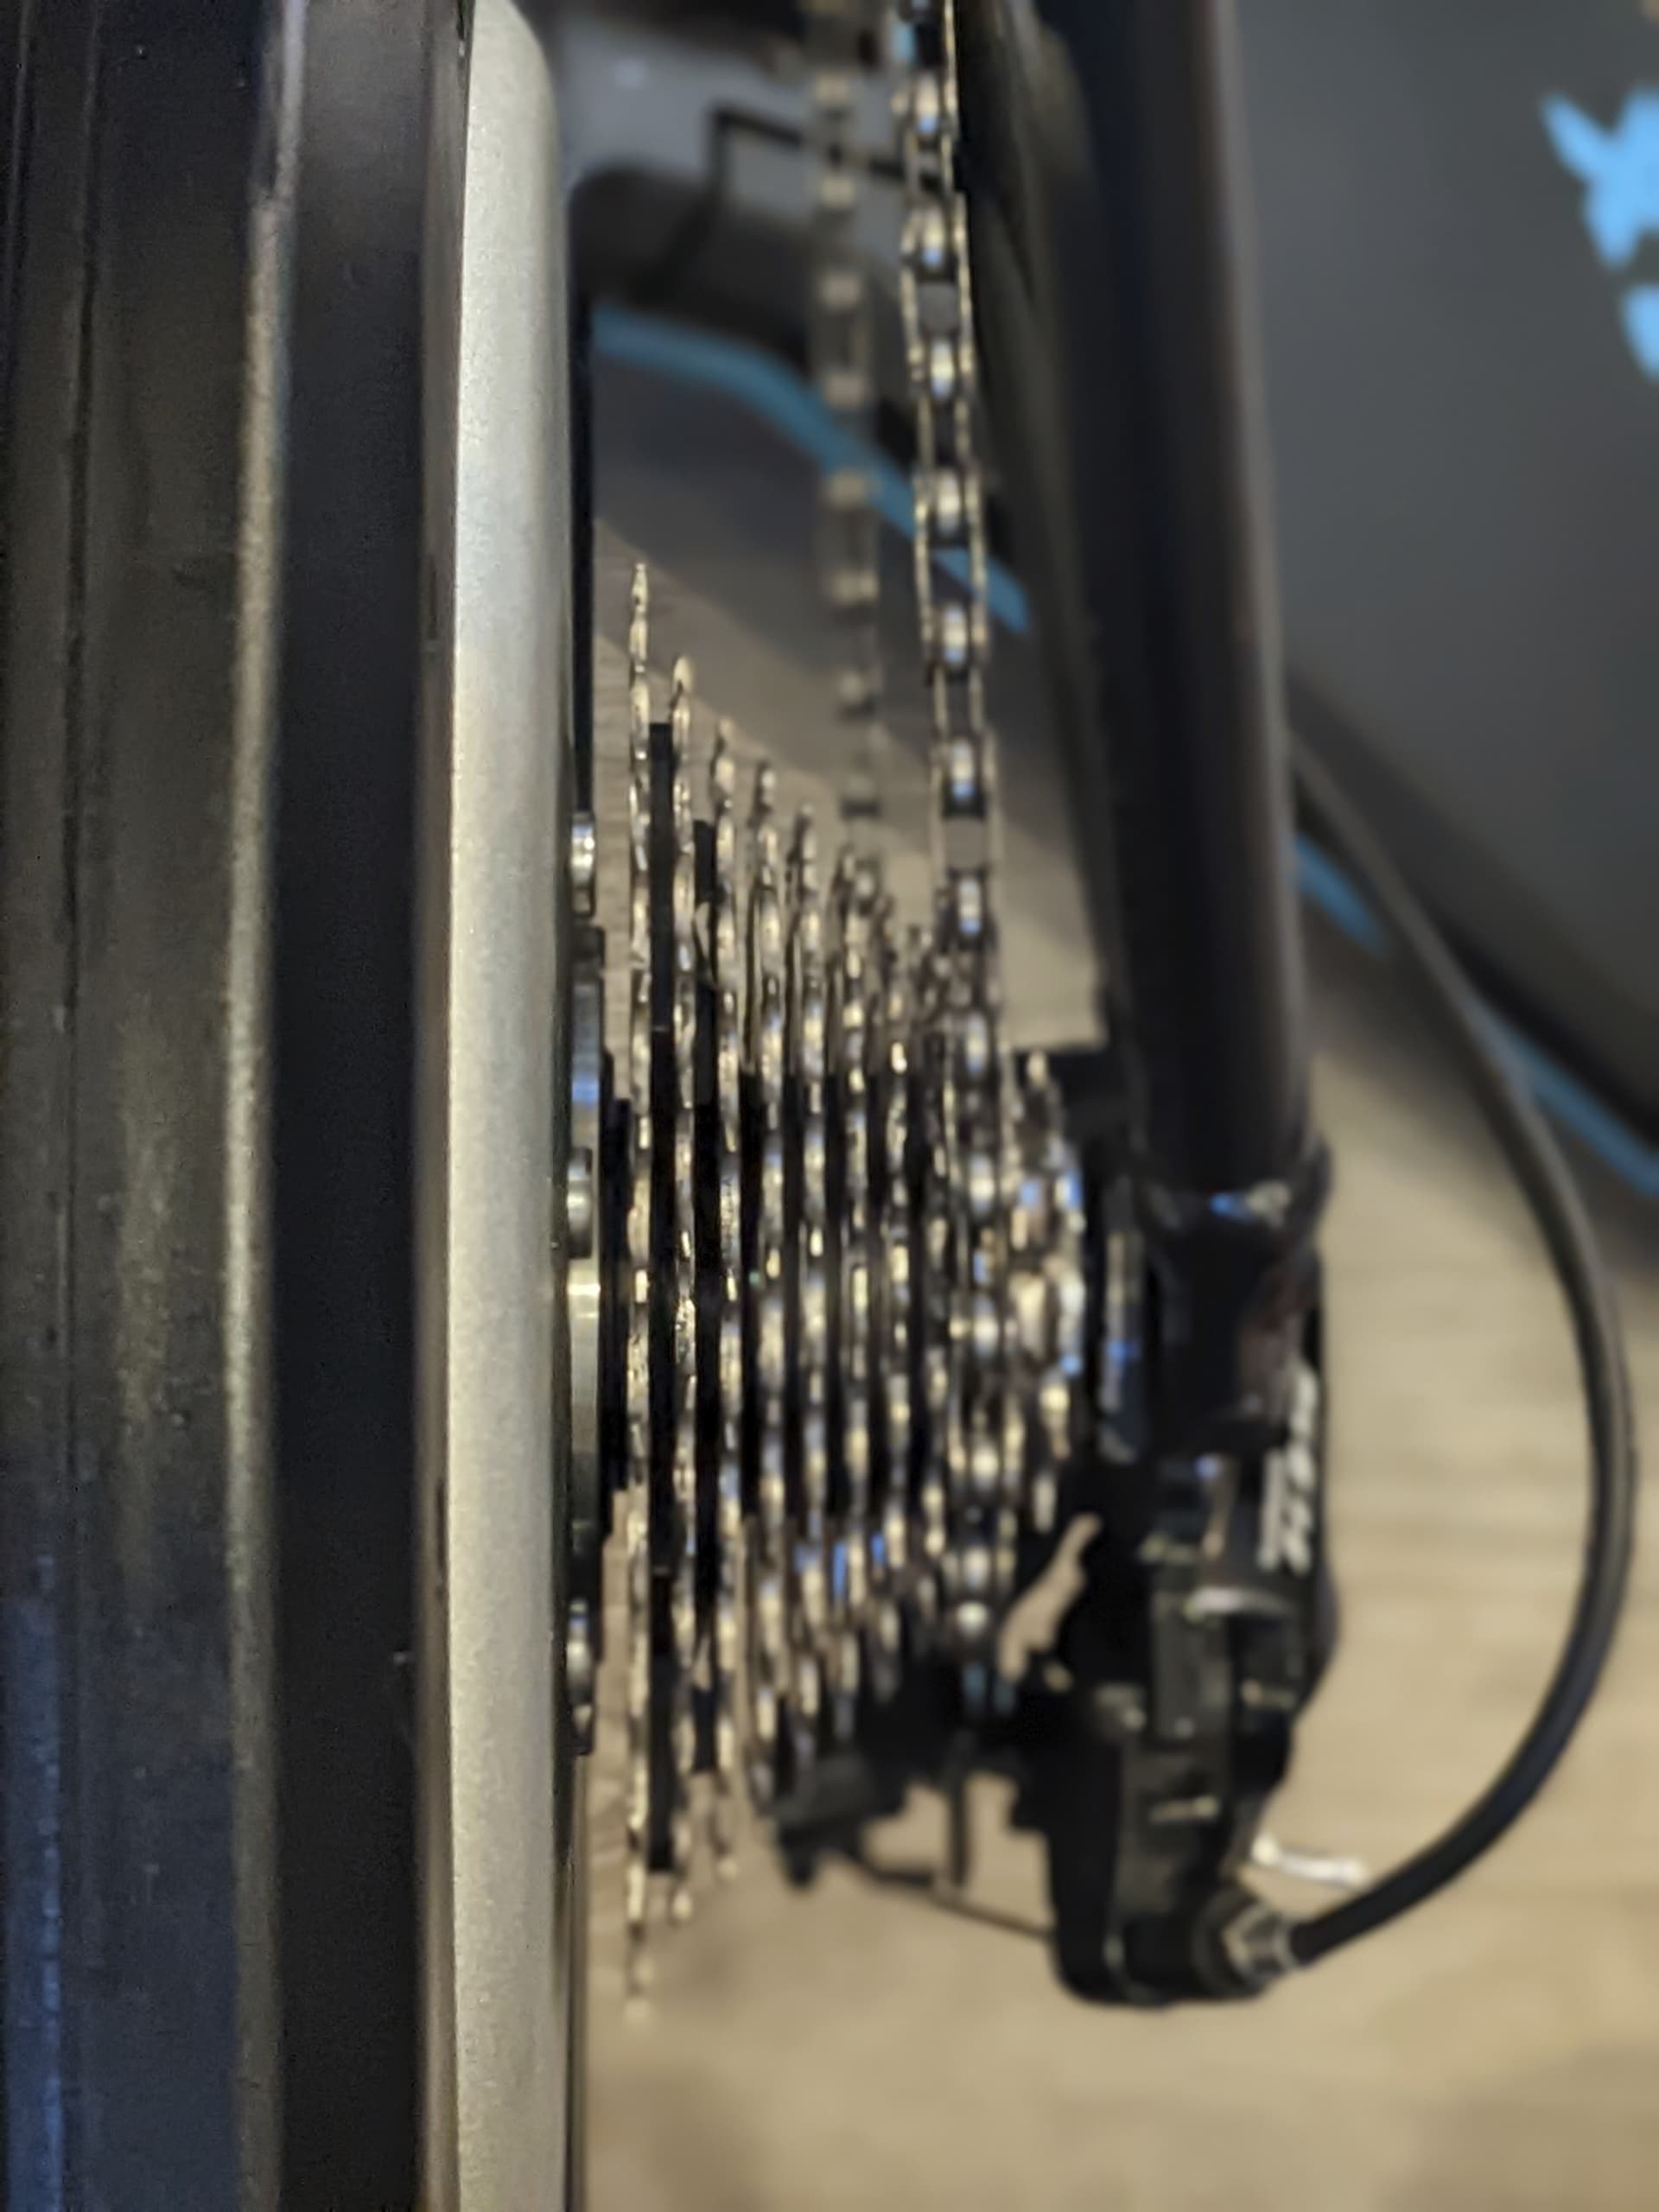
Tool & Parts
I’m not endorsing any specific brand, merely providing examples of functional tools. I appreciate the quality, availability, and warranty of Park Tool but there many other respectable brands such as Shimano’s “Pro Tools” line, Pedro’s, and (money-no-object) Abbey Bike Tools.
- Park Tool HCW-16 – combination chain whip and pedal wrench
- Park Tool FR-5.2 cassette lockring tool (you’ll need an adjustable wrench to use this)
- Generic digital calipers
- Drivetrain spacers by Problem Solvers 60 and WheelsMfg
- Park Tool CC-4 5 chain wear tool (not specific to this guide, a chain wear tool is just a good idea to have on hand. Measure your chain regularly for wear and replace earlier than later – a worn chain will result in poor shifting and chew through cassettes and chainrings. If you’re diligent, other drivetrain components can last through several chains)
Questions or Comments?
Share below!


First let me throw myself under the bus and say that I’ve been using digital calipers for 15 years and never realized there was a depth gauge on them. I feel like an idiot. 😥
Second, I had a <1.0mm mis-alignment that I solved with 0.25mm brake rotor spacers from November Bicycles: https://novemberbicycles.com/products/centerlock-hub-rotor-shim-pack-of-4
As with your caveat, these are not made for this purpose, but they fit, and SRAM eTap adjustments are, conveniently, 0.25mm per click.
You’re not alone Adrian. I didn’t realize there was a depth gauge either. It was probably in the caliper instructions but since those weren’t posted on Zwiftinsider, I never bothered to read them.
LOLz.
This is a detailed article for something I find irritating when my bike’s on the trainer; thank you.
I’m hoping Zwift will bring out virtual gears across more/all trainers soon, so we can put an end to slipping gears on the trainer for good.
It’s actually up to the trainer companies to bring out virtual shifting. Zwift already has the work done on their end… trainer companies need to update their firmware. I think we’ll set it happen as the months progress… beginning with Wahoo.
OooOOoooh, thanks Eric, that’s good to hear; when that happens it could encourage me to get a Zwift Play (or Wahoo equivalent).
Please please please… my number 1 wish for 2024… oh and also garage sale 😉
garage sale? More like paying to go to the local dump.
Or set it up to sponsor a newbie, or child account. Or make it so you have to use zwift play to steer to a “dump the Beverly hillbillies” junk wagon of extra stuff.
I could go on all day on how to make this something.
Like minimalism for the rich…..could be a badge to have the single best combo of bike/wheels. Or a Special slow roll bike or bigwheel for those riding 100k per day complaining about how fast they level up – make it a special hologram color restricted to super users and everyone would jump at it.
Could Zwift make this a feature purely implemented in zwift? The zwift play connect to zwift, so when the user presses the shift button on the zwift play have zwift send signals to the trainer to adjust resistance? Why does the trainer need to be in on it?
Another thing to be aware of is using a different quick release, often lightweight and/or wheel manufacturer outdoors, and basic big steel indoors. The indoor one has a bigger lever, is more solidly build, and may have a wider footprint – all of which applies more pressure to the replaceable dropout hanger that the rear mech bolts too. It only takes a bit more pressure on here to flex the hanger in the tiny hanger mounting screws, and this pulls the rear mech closer, just as a couple of turns to tighten the gear tension cable.
Good point! Influence of axle and quick release is bigger than you’d expect, even on lateral stability of the rim when riding outdoors! (based on my experience with Zipp 303 switching between original and more rigid quick releases)
What about Campagnolo 11 speed? I can’t use my 3 biggest cogs on the Neo 2T without excessive chainrub. On my normal roadbike for outside this isn’t the problem.
Does SRAM Microshift kinda do this for us already ? I’m using the 10-50T since I’m on a mullet and boy does it shift like trash on the trainer. Perfect w wheel. Can’t ever get it right.