Editor’s note: we all want to see our kids riding their bikes, but getting them up and running can be a bit tough since trainers are made for adult bikes. Zwifter Maurice D. recently got in touch with us and asked if he could share a few tips from his experience getting his kids up and riding on Zwift. We found his advice quite useful (who knew a bike setup would work ok just freewheeling?)
Here’s all the info you should need to get your children going on Zwift, even if their bikes are very small.
In the past year our children (a girl and a boy) have both used their Zwift Kids account regularly for sessions ranging from 20 minutes to 1 hour. Styling the avatar is their most favorite business, next to riding the Repack Ridge MTB trail. In total, they managed to use Zwift for almost 15 hours and have reached level 7. Here’s how we did it!
First Step: Get a Free Account
First, you need to arrange a children’s account for Zwift first. Since these accounts are free and not difficult to set up, we’ll assume your child’s account is arranged and the bikes need to be set-up.
This is how the login screen looks when signed into a kids account:

Note: minimum weight is currently 45kg in Zwift settings, which is almost double the weight of our oldest child (8 years old). Luckily the ‘watts” can be manipulated by choosing a bigger wheel size combined with a dumb trainer (more on this later). Here below is the account summary:

Choosing a Trainer that Fits
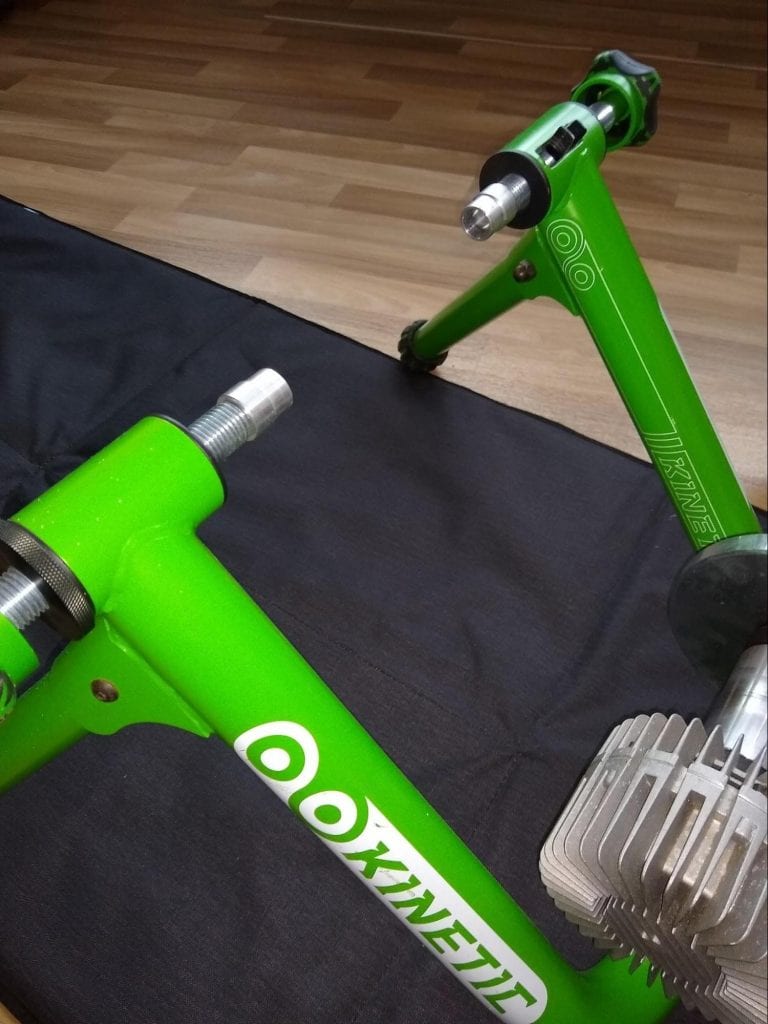
We place all our children’s bikes on a Kinetic fluid trainer. The good thing is that one can find these relatively cheap secondhand nowadays, as many people have upgraded to smart trainers.
The minimum distance between the two bolts is 12 cm. The bikes we used on the trainer are about 14-15 cm in width. A Tacx Sirius, in contrast, has a minimum width of 16 cm which is a bit too wide for the small bikes.
Although I made a wooden interposer block to fit a small bike, using a dumb trainer that directly fits the width of small bikes is easier. The good news is there are plenty of dumb trainers which can fit small bikes.
Note: I’ve used this fluid trainer with (calibrated) power meter occasionally as a second portable setup. It’s pretty quiet for a wheel-on trainer and definitely not a bad alternative to use now and then. When bought 2nd hand it’s one of the cheapest dumb trainers with the relatively accurate inRIDE power sensor. See Shane Miller’s video about the inRIDE >
We also bought an extension kit to get the fluid brake to reach 16-18″ wheels. But on small bikes without gears, the brake power is too strong for small kids. I wouldn’t buy it again:
The front wheel riser needs a little increased height, therefore we use a small ramp. This ramp can also be used for the front wheel support when steering on the Watopia MTB section (without riser block):
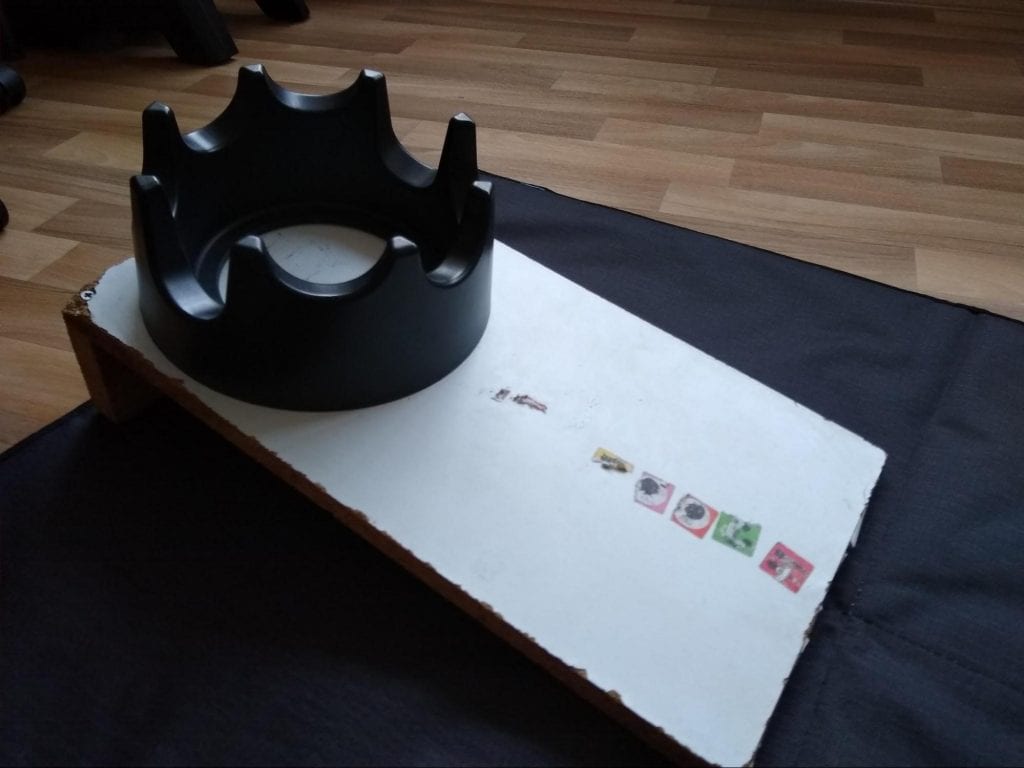
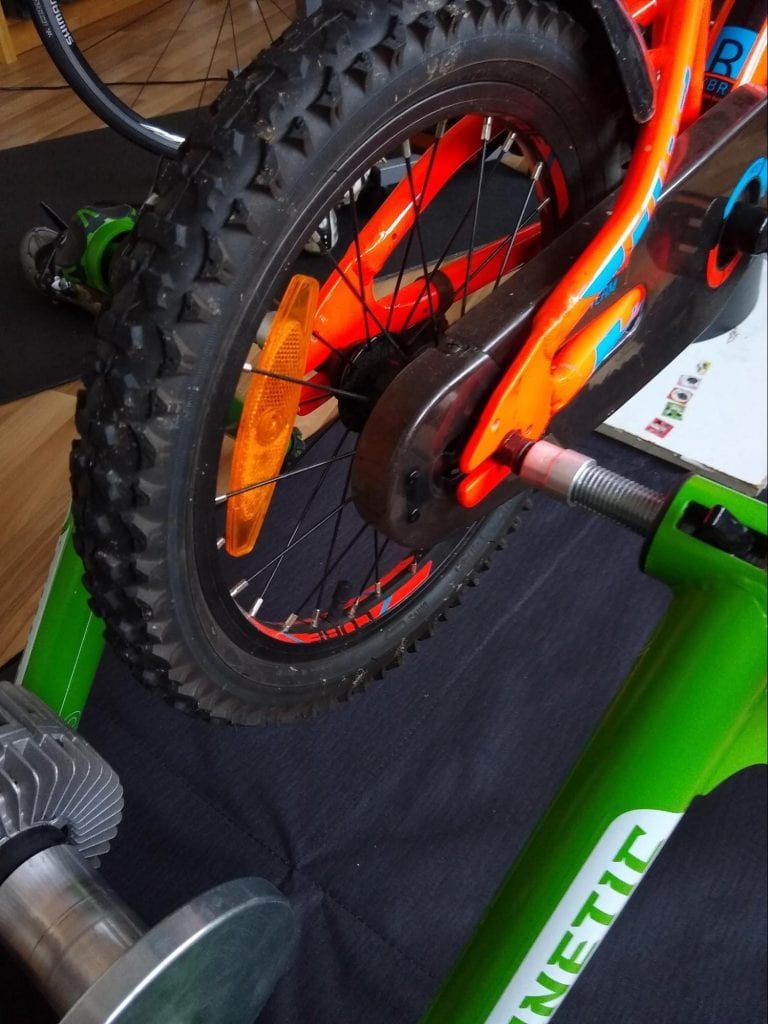
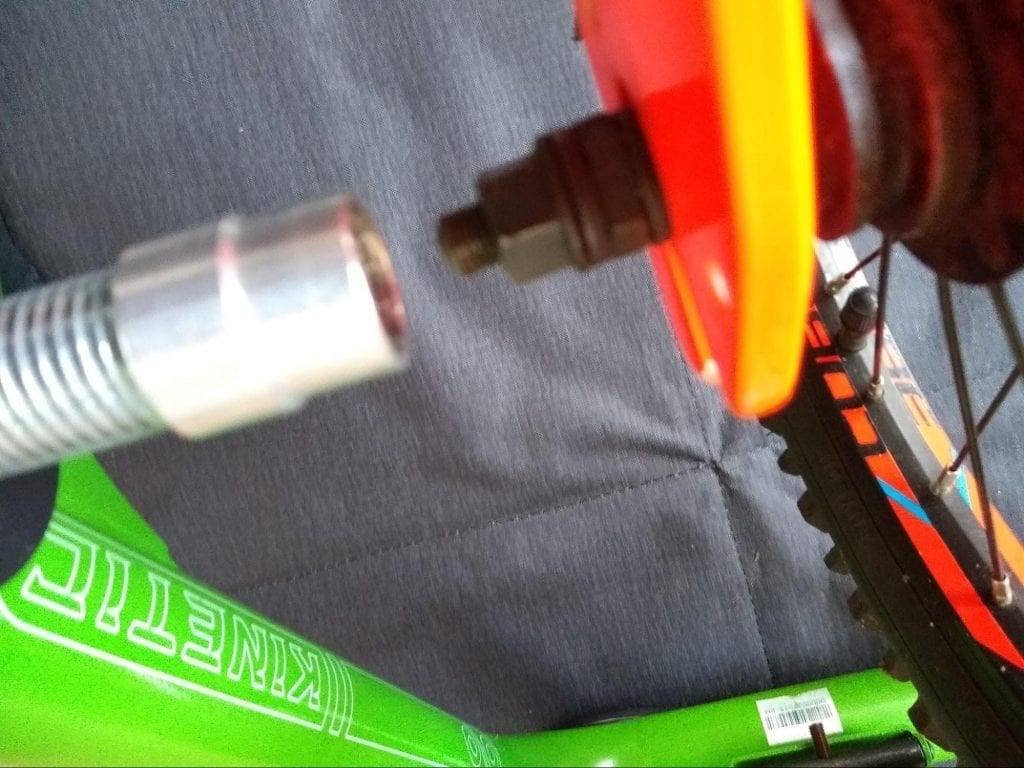
The good thing that I’ve observed is that the rear axle with hex nuts fits directly into the Kinetic fluid trainer. It doesn’t fit 100% perfect, but good enough for children’s bike purpose.
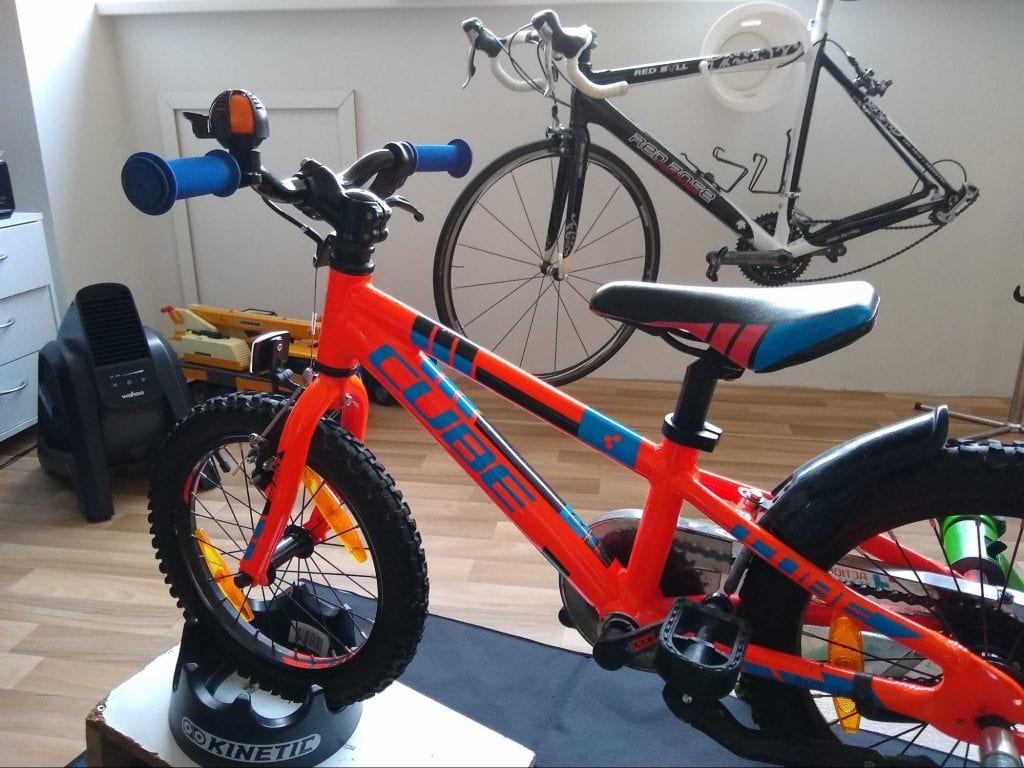
Here’s a look at the small bike (16”) mounted on the trainer:
For 100% correct fit, it’s also possible to buy ‘Axle Nuts for non-Q/R wheels’, for example from Tacx (T1416). But I don’t think it’s really needed to mount a simple children’s bike on a trainer.
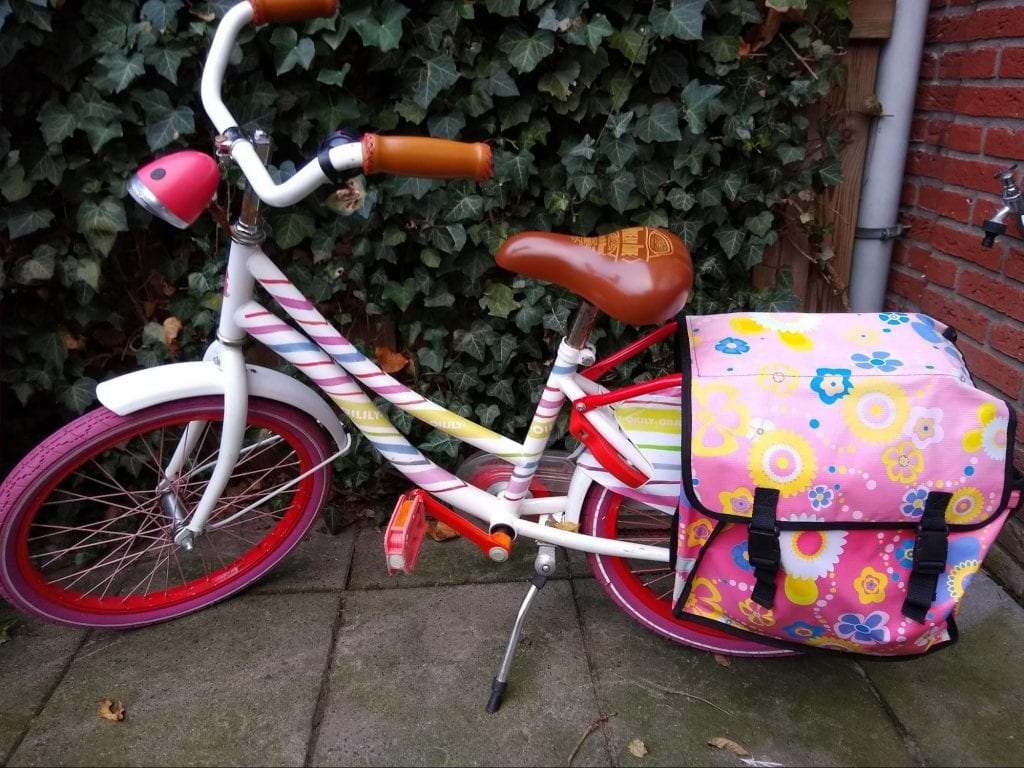
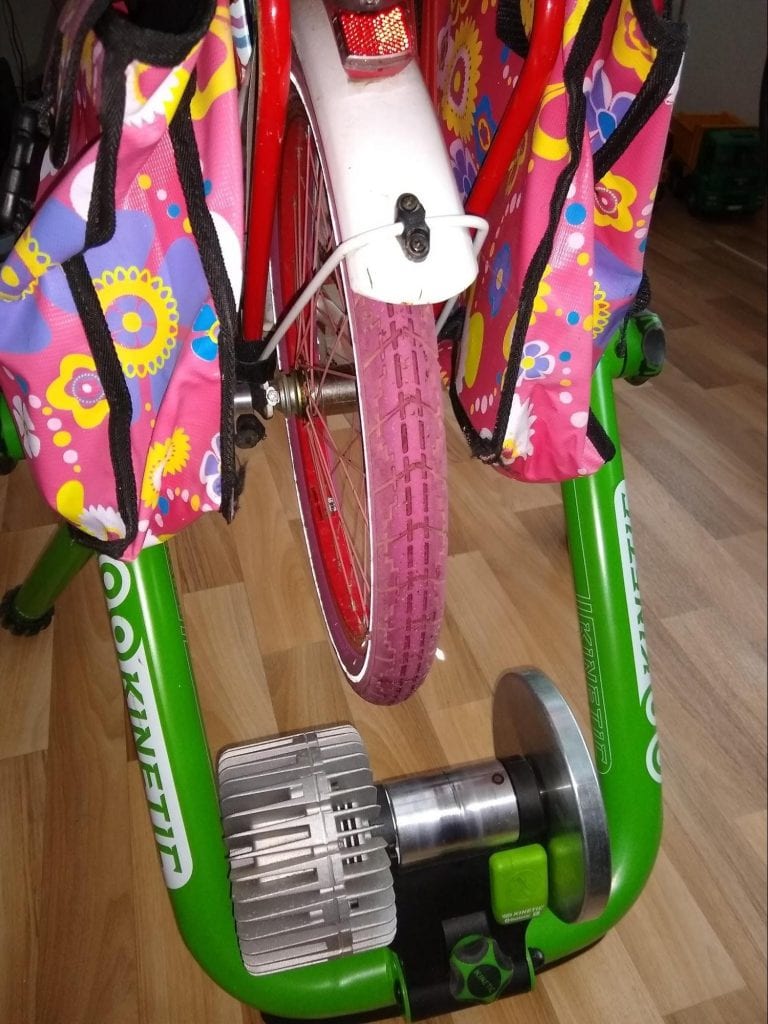
Below is an example of a girls’ single gear bike (20”) that we used on the trainer with Zwift. The rear axle has rounded hex nut which also fits onto the trainer. During the indoor session, the bicycle bags were still on the bike! (It’s too much work to remove the bags for a single Zwift session.)
A 20” bike wouldn’t touch the fluid brake when mounted on the turbo. However, as explained before the brake power is way too high for small kids (with single gear bike) and freewheel is the best working option (that we found).
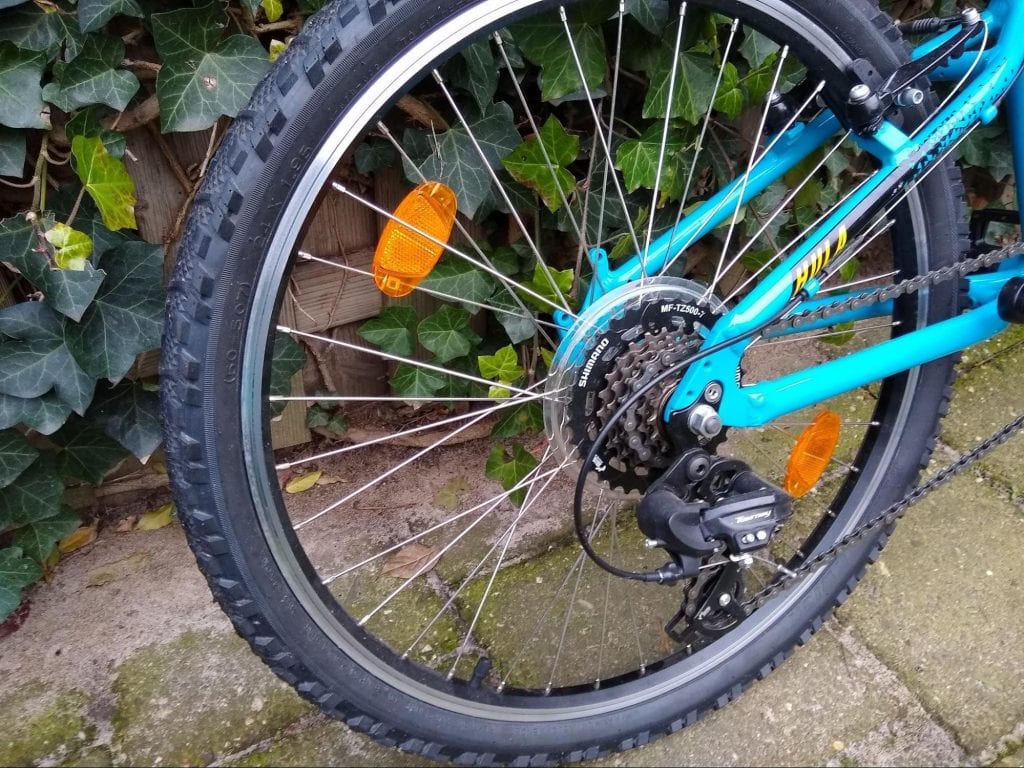
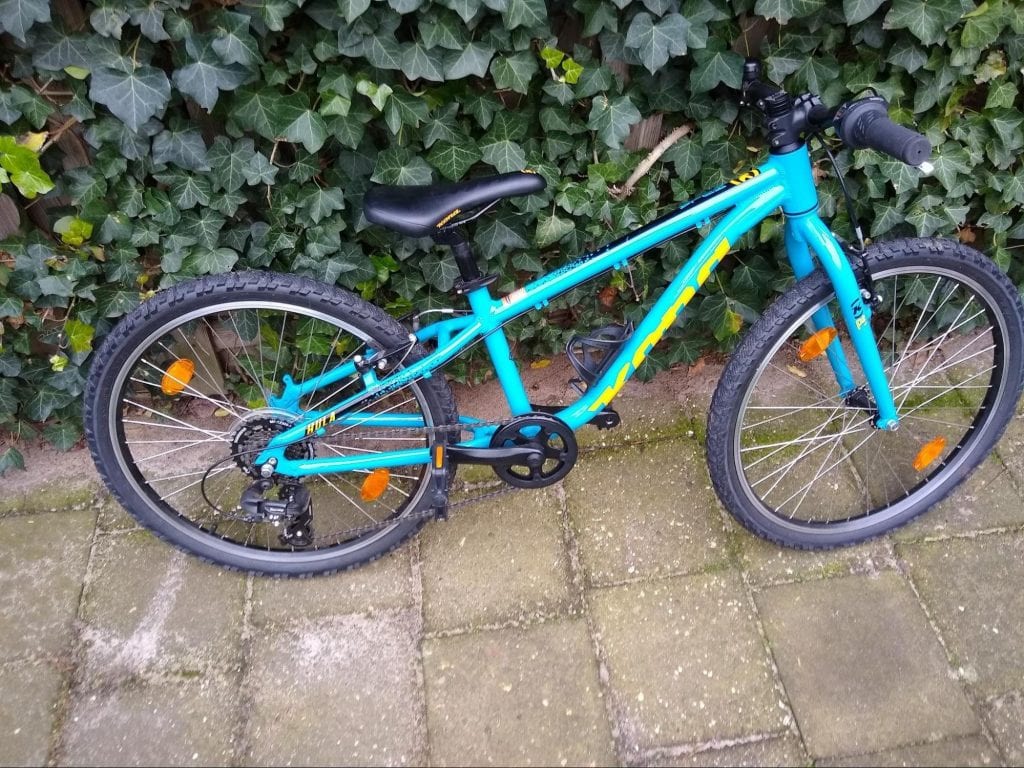
Recently we’ve bought a 24″ Kona MTB. This bike has gears, and again it has hex nuts on the rear axle, which we fit directly on the trainer without too many worries. This 24” rear wheel can be braked with the standard Kinetic fluid brake, although it’s quite noisy as there is some knobby rubber tread on the rear tire. We still use the ANT+ speed sensor as it lets us play with the wheel size to get decent w/kg in-game (whilst minimum weight setting is 45kg).
Our daughter uses the MTB on the lowest gear and prefers lower cadences as the brake power is quite high for her. Ideally, she would prefer no brake applied. But my opinion is that she should learn how to ride with a brake applied. Maybe it’s related to low flywheel momentum? As low speed, small wheel size doesn’t create a lot of momentum in the flywheel.
Sensor Pairing
To get an ANT+ signal to the computer a simple speed sensor on the rear hub is used. As the rear hub is pretty big compared to quick release hubs an additional elastic band is used to hold the speed sensor. Note we don’t use the standard ANT+/Bluetooth Power sensor on the Kinetic. Just the speed sensor on the rear wheel.
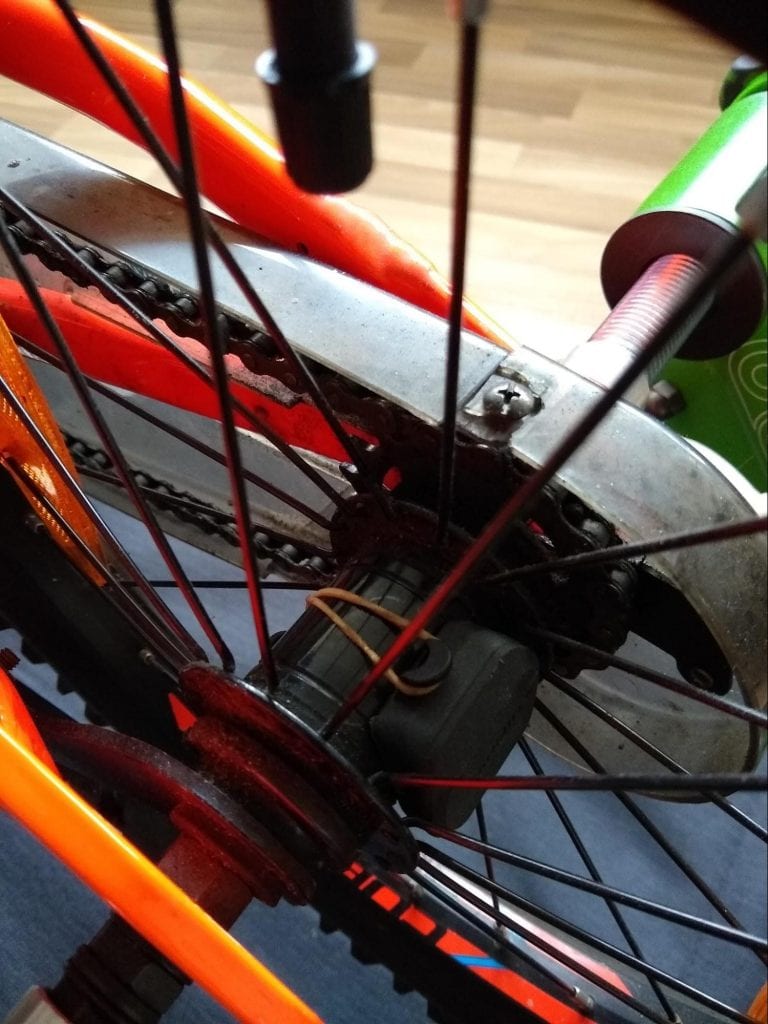
For ANT+ sensor pairing we use a tire size of 650c, which basically boosts the watts they produce and combined with 45kg weight the in-game w/kg is in the 2-4 W/kg range.
You want to avoid getting flagged by Zwift (the cone of shame!) and wheel size is a variable to play with: smaller wheel will decrease w/kg and a bigger wheel size will increase their w/kg.
Once we use the 24” bike with fluid brake the wheel size could be chosen a bit bigger and for the small bike without any braking (freewheel) the wheel size could be chosen a bit smaller.
Although the small bikes freewheel, our children only spin-out once they do a sprint. During normal cycling, they prefer pretty normal cadences.
The pictures here below show the pairing of the trainer in Zwift.
Selecting another kind of dumb trainer will probably work as well, but never tried.
Phone Mount for Steering
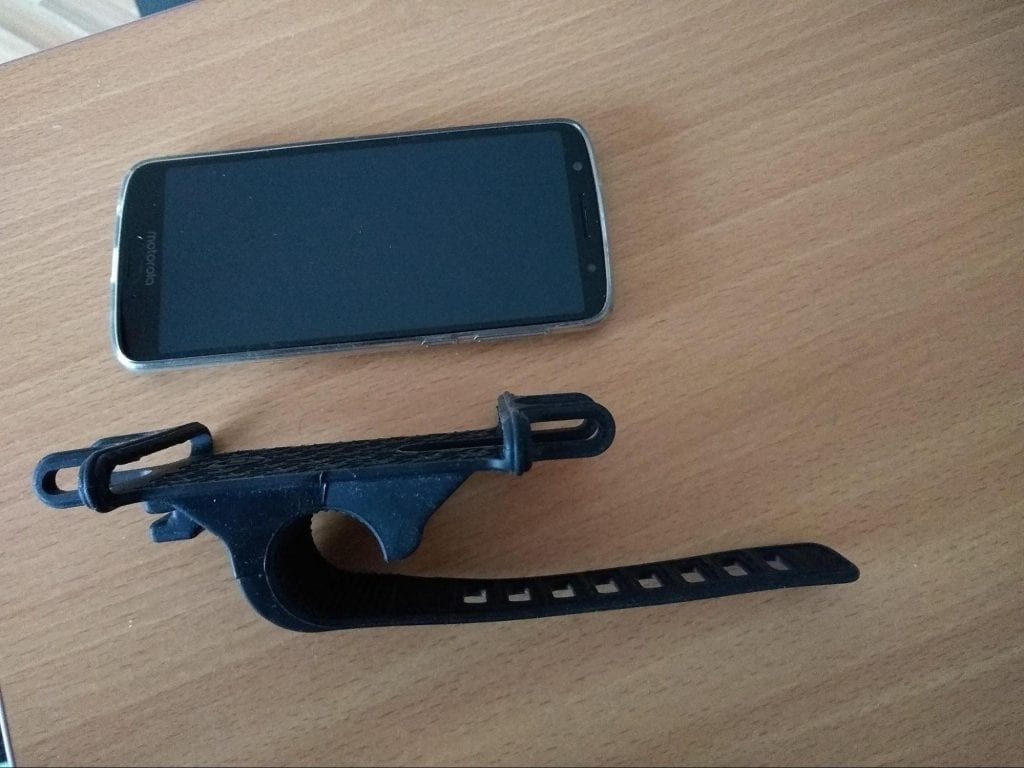
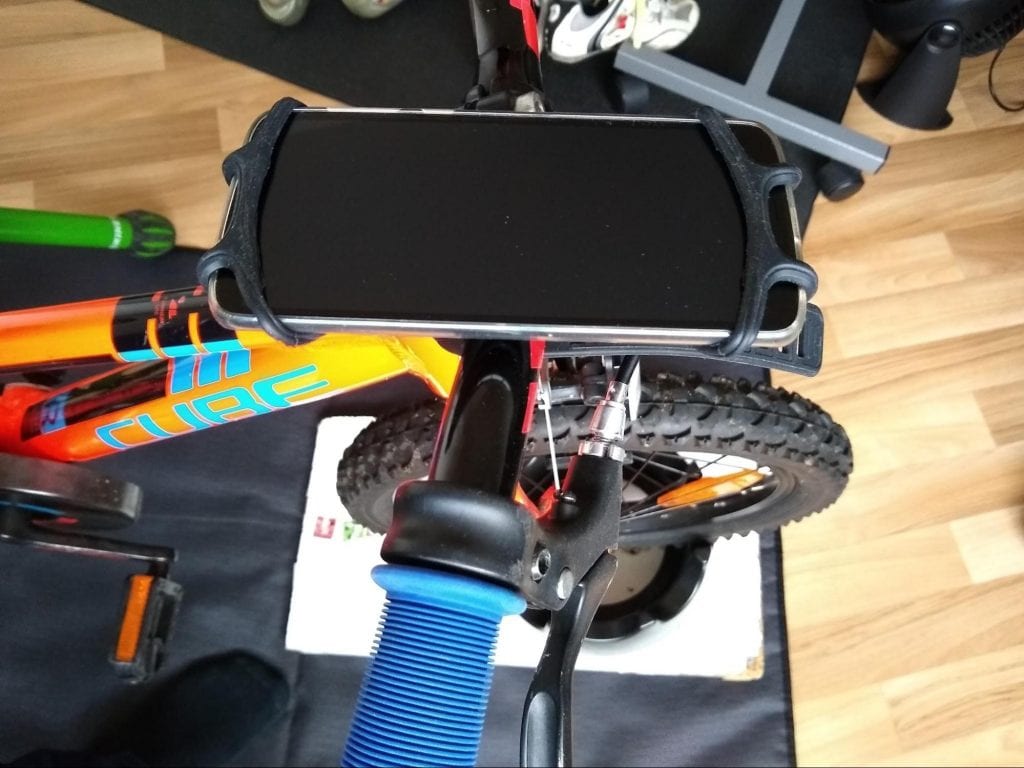
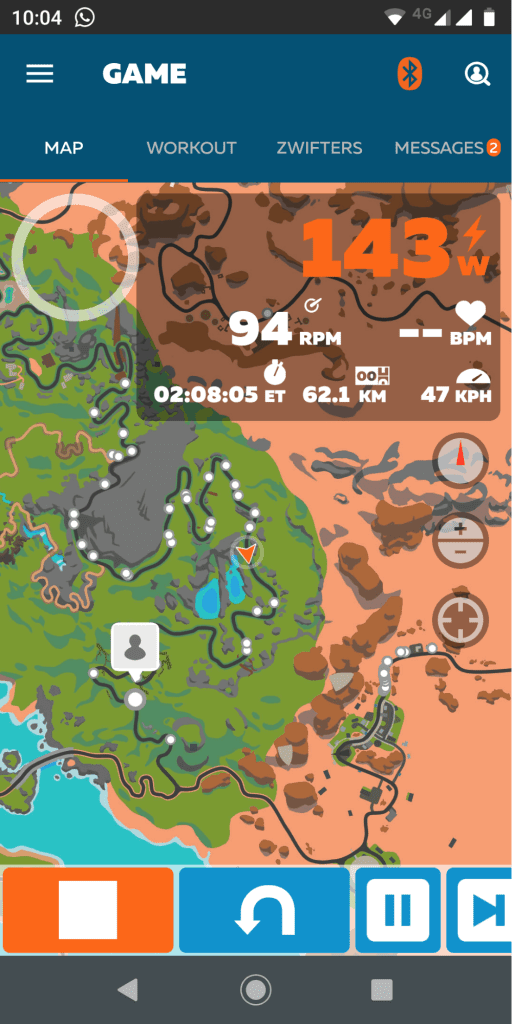
To enable steering in the MTB section of Watopia one of our mobile phones is used in combination with a simple phone mount on the bicycle steer. Important: log out of the Companion app (settings – log out) and log back in again with child’s Zwift account. Otherwise the steering won’t work!
Note: we remove the front wheel riser block for steering, and the phone is not exactly in the middle of the bars, but that works fine for steering. Kudos to Zwift!
Other Considerations
A fan is used to get some fresh air flowing as well. Both our kids seem to like some fresh air from a fan (a Wahoo headwind fan is used on manual mode at lowest intensity setting).
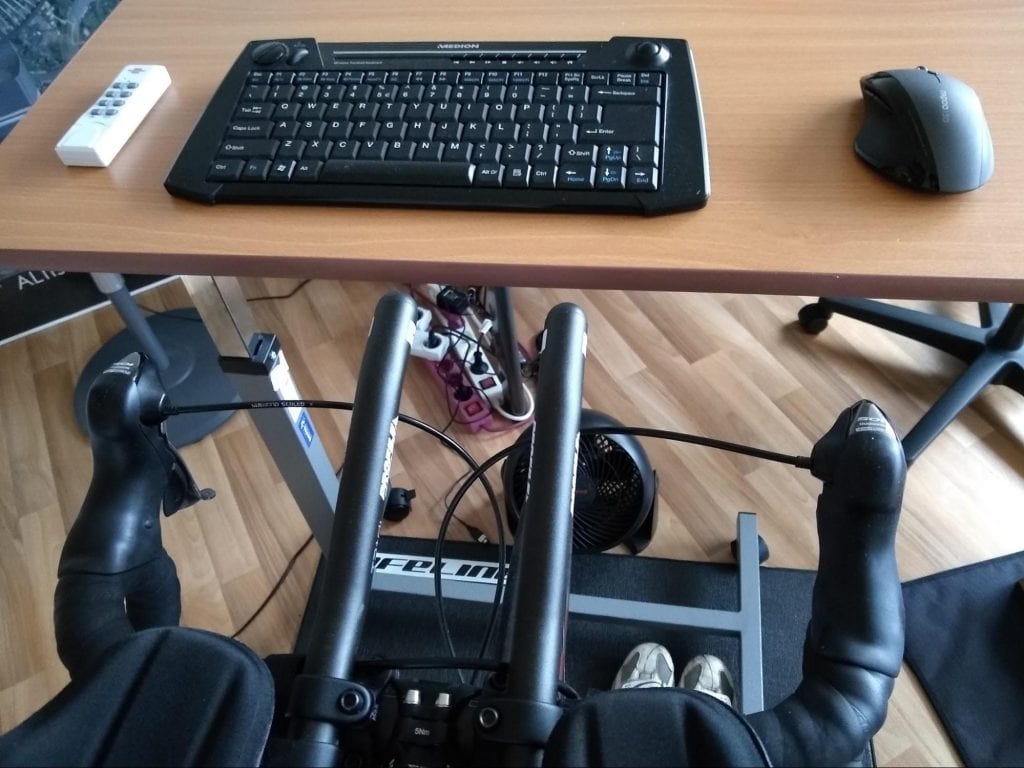
As we ride the trainer as well once our kids are moving on Zwift, it’s pretty handy to have a wireless mouse connected to the computer running the kid’s Zwift session to choose some basic setup choices at the start of the session.
This morning, I had started a long ride already before breakfast. I took a quick break for eating together with the family and after breakfast, our son started to Zwift as well. (He had pointed out yesterday that he wants to ride together again, so I set it all up already before starting my ride.)
You can follow your child in the Companion App, which allows you to see where to go to if you would like to ride together. After we met on the track we were riding together for about 30 minutes. He needs to learn to keep pedaling continuously (its really on/off style sometimes). The kids really like that we play their music during the Zwift session.
We use a nice playlist with songs for children on the phone and sing together!
That makes the time fly!
Ride On!
