Zwift Camp: Build is underway: a 5-stage route-based workout series, with each stage lasting one week and focusing on developing power over a specific time interval.
My plan is to do each of the five workouts before their weeks begin, so I can write a post unpacking the workout and delivering some tips along the way. This post covers Stage 4’s workout on Watopia’s Hilltop Hustle route, which takes you up The Grade KOM. Let’s roll!
Stage 4 Intro: Find Your Pace
The fourth stage of Zwift Camp: Build is focused on “One 20-minute attempt,” according to the event description. That may be a bit of an over-simplification, but it’s close: all we’re doing is hitting The Grade KOM for a single max effort, which means you’ll be riding at just over your threshold (FTP) power.
The only tricky part here is knowing ahead how long the climb will take you, so you can pace yourself accordingly. When I tested The Grade with Nathan and Gabi Guerra just before it was released, Nathan finished the segment in 10:37, Gabi in 11:46, and I in 14:02. So this won’t be a “20-minute attempt” for many riders.
If you’ve never done a max effort up The Grade, here are a few metrics from bot tests with a 75kg, 183cm rider on the Tron bike that give you some idea of how long it may take you to finish the climb at your pace:
- 150W (2 W/kg): 27:46, 146W FTP (97.3% of average)
- 225W (3 W/kg): 18:47, 210W FTP (93.3% of average)
- 300W (4 W/kg): 14:22, 267W FTP (89% of average)
- 375W (5 W/kg): 11:44, 328W FTP (87.5% of average)
- 450W (6 W/kg): 10:04, 388W FTP (86.2% of average)
- 525W (7 W/kg): 8:49, 449W FTP (85.5% of average)
- 600W (8 W/kg): 7:54 (not FTP detected for efforts below 8 minutes)
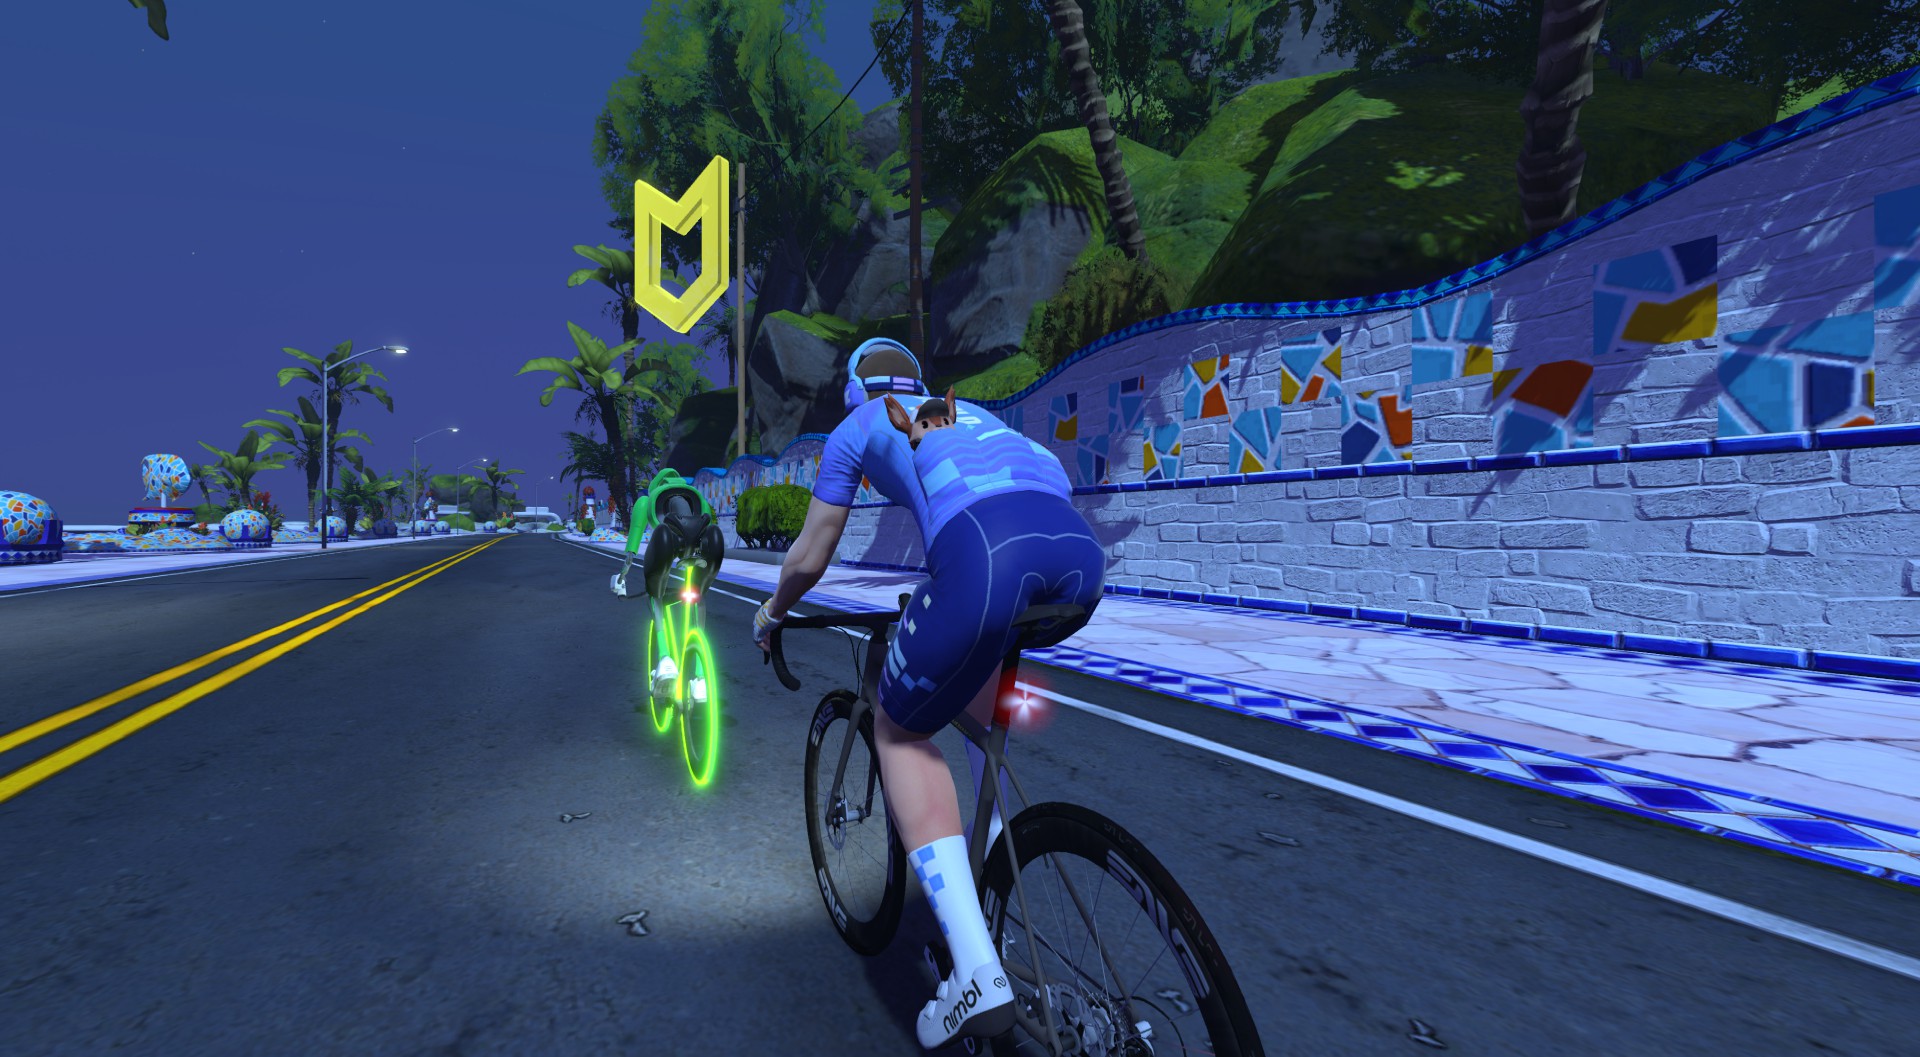
The stage is built around the Hilltop Hustle route in Watopia, which begins in the Southern Coast start pens, taking riders out to the Sasquatch Sprint turnaround for a flat warmup, up The Grade KOM for your big effort, then down the hill and out to the Sasquatch Sprint for the finish.

Differences from Previous Stages
Apart from the single power interval you’re targeting, this stage’s setup differs from stages 1-3 in other ways:
- RoboPacers! When you sign up to do the stage as an event, you pick a RoboPacer group to join. (Note: All bots and riders will be visible in your event, so you can actually chase whatever bots or Zwifters you’d like.)
- No script: there are no on-screen instructions like the previous stages. You’re expected to know when to begin and end you The Grade KOM effort.
- No Splits or Ride Stats HUD: Instead of these elements, The Grade HUD is shown, which shows your stats for each of the The Grade’s 10 segments.
Stage 4 Walkthrough
Once again, I came into this workout with legs that weren’t primed and ready for a 100% effort. (I had actually done Stage 3 the day before, simply because it was the only way to fit these rides into my schedule.) So I decided to target sweet spot-level power (~275W) for the first portion of the climb (up to the flat spot), which would keep me basically even with my B RoboPacer at 3.2 W/kg. Then I would increase the power for the second portion if my legs would allow it!
The route begins with a flat 6km warmup. Use these ~10 minutes to spin up your legs, put in a couple of short efforts at high cadence to blow out the cobwebs, and raise your heart rate so you’re properly warmed up for The Grade.
RoboPacer Details
If you do stage 4 as an event, you’ll have RoboPacers riding with you. If you do it as an on-demand ride, there are no RoboPacers.
If you care about using the RoboPacer to pace you up The Grade, you’ll want to be careful not to lose your target RoboPacer during the warmup! The nice thing is, the bots ride at a much lower pace during the warmup than they do on the climbs.
Here’s a chart showing each of the available RoboPacers, their climb paces, and their (approximate) warmup pace:
| Bot Letter | Bot Name | Climb Pace | Warmup Pace |
| A | 14 Minutes | 4.2 | 2.8 |
| B | 18 Minutes | 3.2 | 1.9 |
| C | 22 Minutes | 2.6 | 1.7 |
| D | 26 Minutes | 2.2 | 1.5 |
| E | 30 Minutes | 1.9 | 1.3 |
I knew I wasn’t up for holding the A RoboPacer’s pace, but I figured I could beat the B RoboPacer. So I decided I would target that B bot, starting The Grade with the bot then making sure I beat it across the line at the top!
I found it really easy to stay ahead of the B RoboPacer during the warmup, and had to ease up before starting The Grade so the bot could catch me and we could start it together:
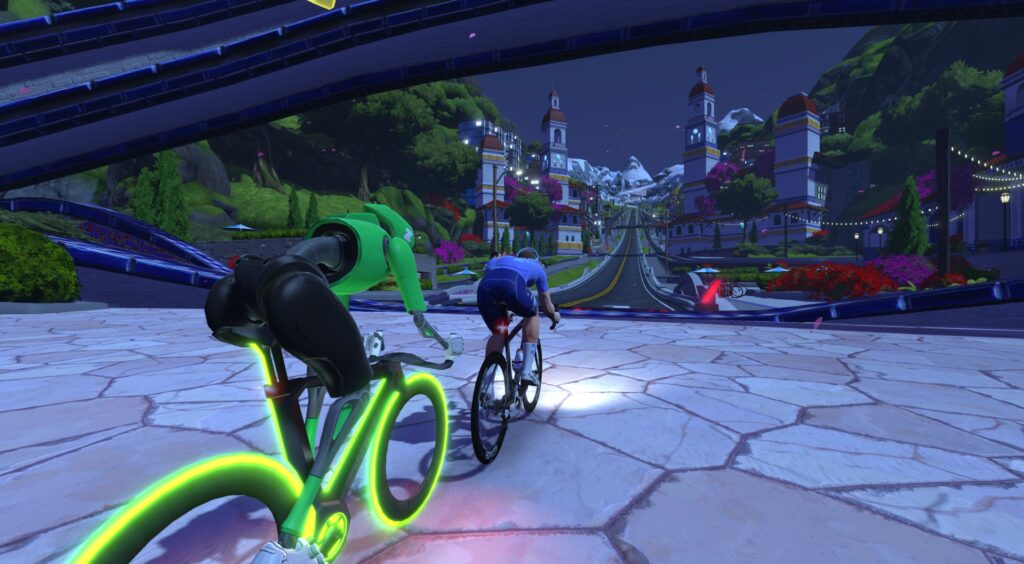
Once we crossed the line to start The Grade, it was “on like Donkey Kong,” as the great Dave Towle likes to say. That RoboPacer wasn’t going to beat me to the top, even if my legs were a bit tired!
After quickly putting ~35 meters into the B bot, I basically held that gap up to the flat section, holding a similar W/kg as the bot. But I knew something the bot didn’t know: the bot was programmed to drop its power on flat roads. This was my chance to keep the power high and put more time into the bot! So I did just that, extending my lead further as that lazy bot sat up on the flats.
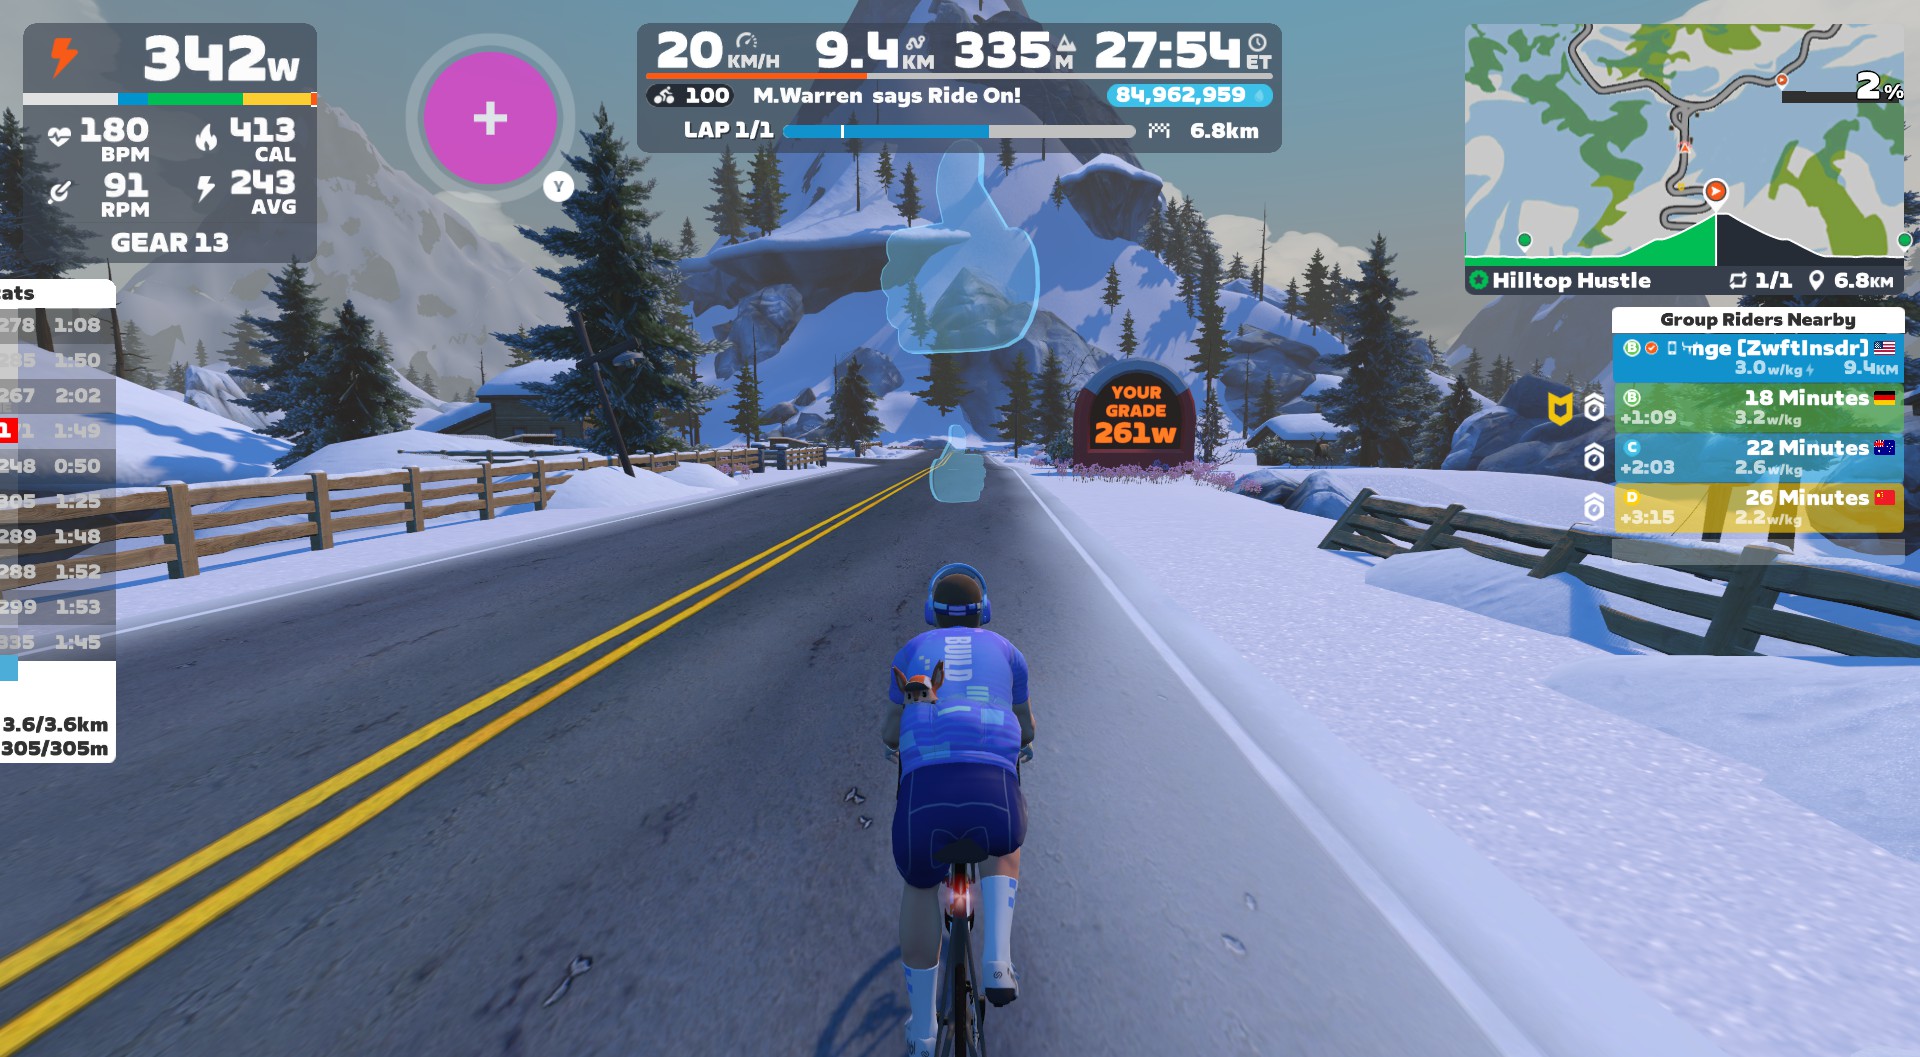
The second portion of the climb is the tougher bit. It feels steeper, it’s definitely longer than the first part, and your legs are starting to feel the effort. I bumped up my effort from ~275W to ~300W, and began steadily putting more time into B bot. 25 seconds, then 30, then 35…
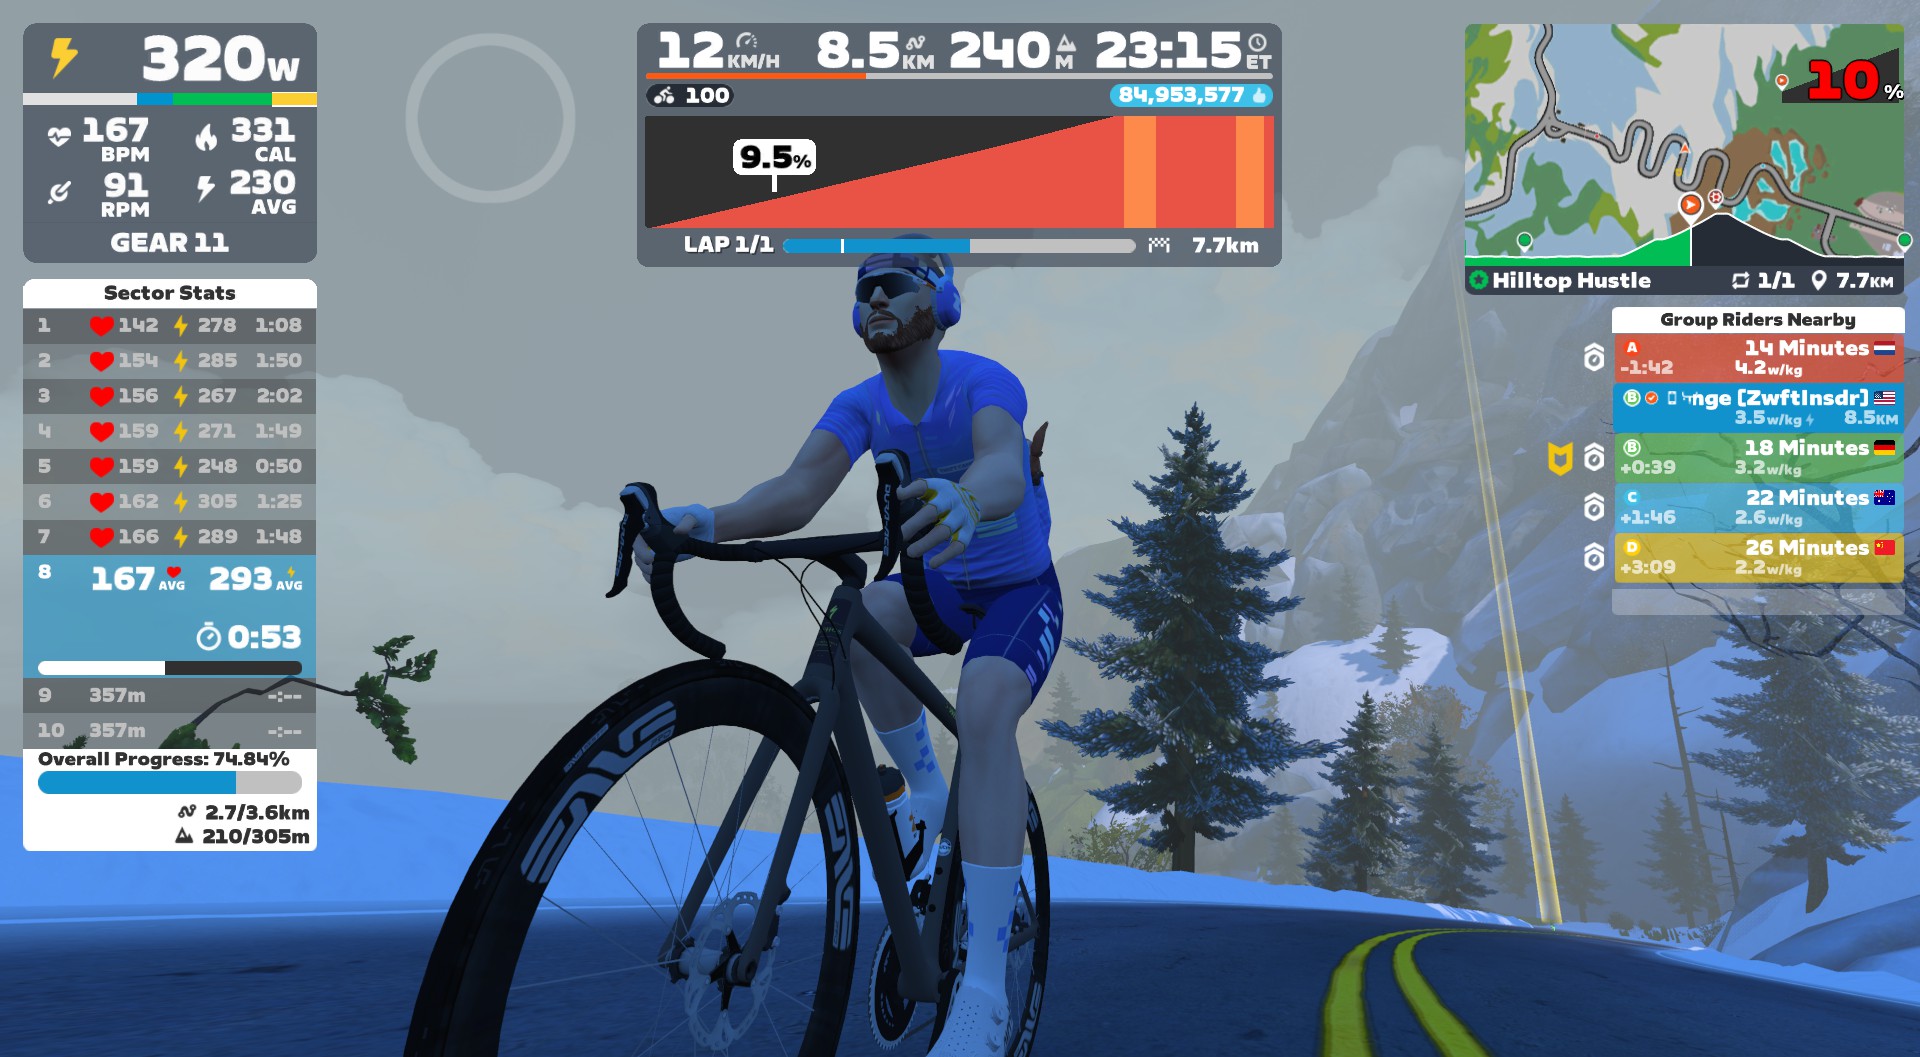
The Sector Stats HUD on the left is handy when it comes to pacing yourself, as it shows your average power and HR across the 10 equidistant sectors of the climb, along with your overall progress. When I saw my average power drop a bit on one sector, I increased it to keep pushing the pace.
I gave one last hard push up the final bit of the climb and went under the banner at the 16:26 mark. Nothing to write home about in terms of my personal performance, and the FTP it detected for me (261W) is certainly lower than my actual FTP! But it was a good little 16-minute interval that warmed me up nicely and sapped the legs a bit, so I was ready for an easier-paced ride outside with friends immediately following.
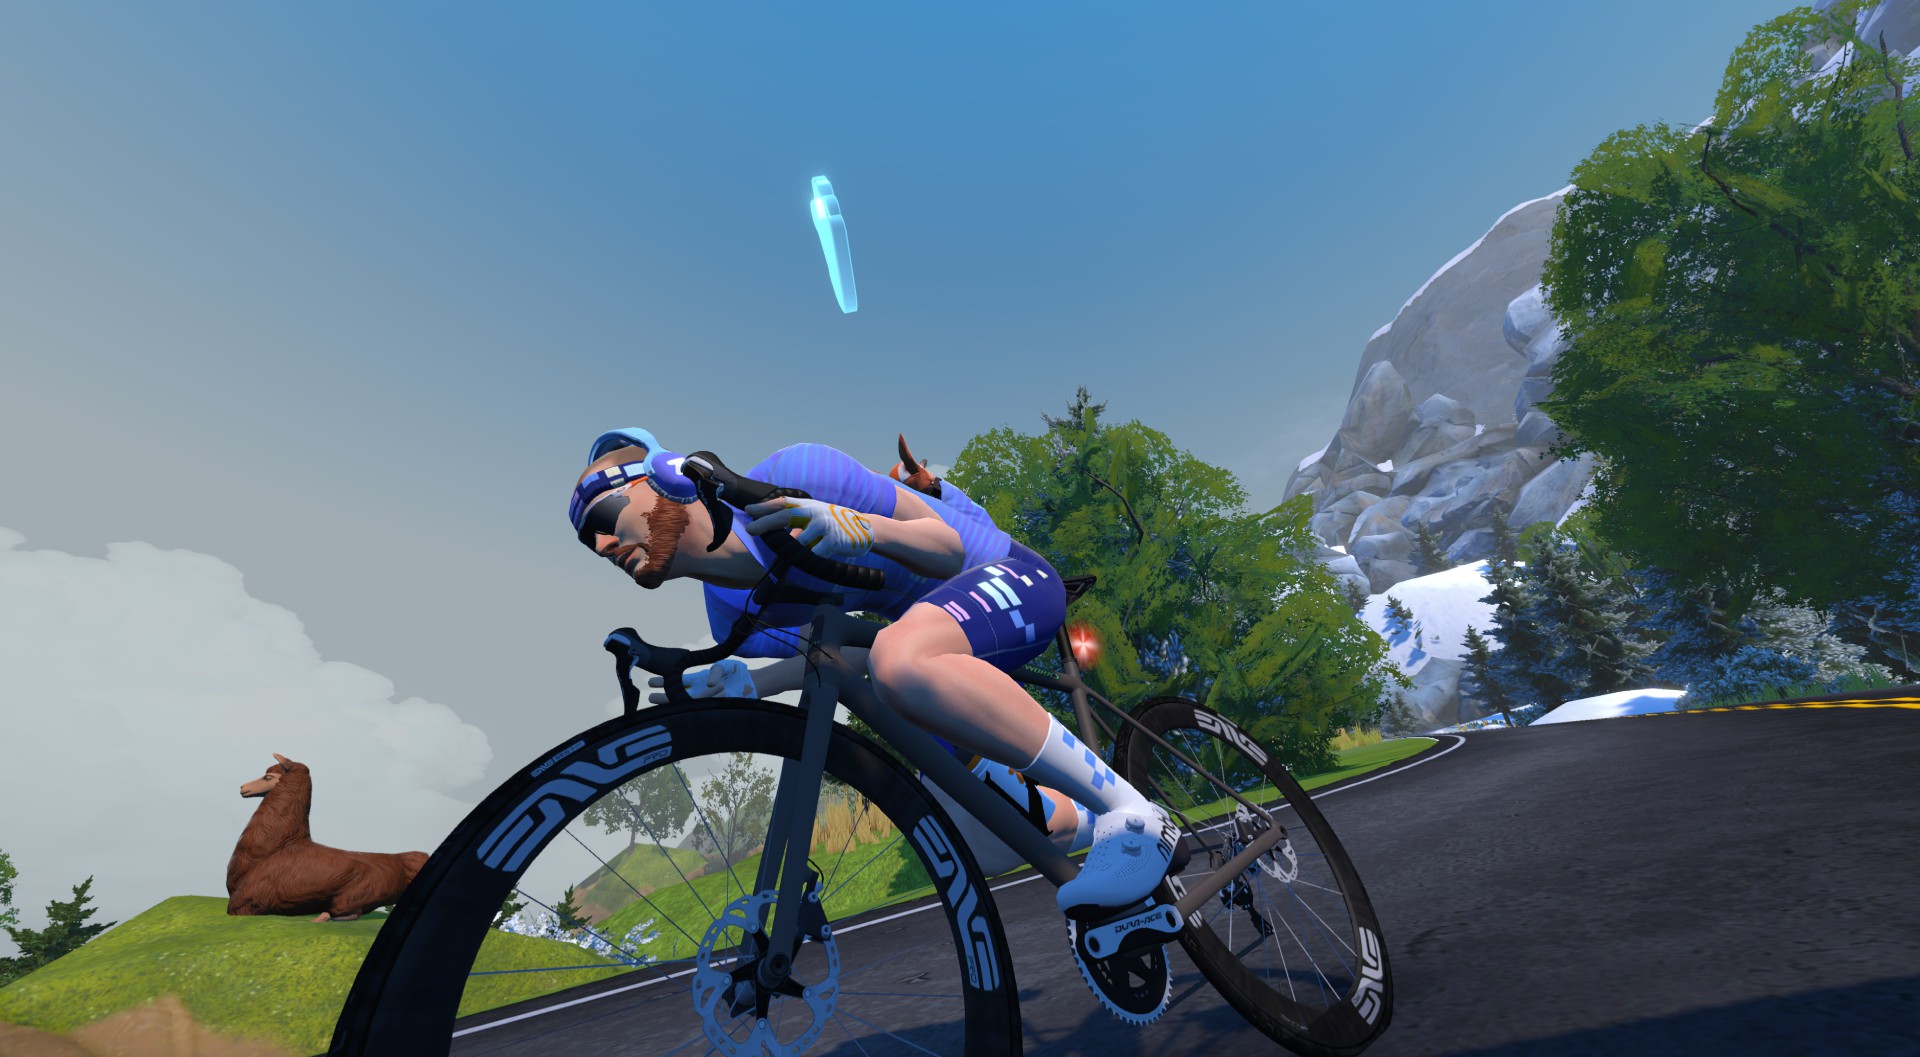
After finishing the hard climb, you’ll quickly turn around and come down The Grade. Keep your legs spinning to clear the lactate and safely lower your HR, wave at the alpacas, throw in a cheeky supertuck (take that, UCI!), and finish out the route.
Watch My Video
More On Threshold Power
Functional Threshold Power, often just called “threshold power” or FTP, is an approximation of your maximal lactate steady state. It is “the cycling power you produce when your lactate production has risen, leveled off, and then closely matches your body’s ability to remove lactate,” according to this helpful TrainerRoad post. A few interesting things about threshold power:
- It’s the most popular metric in cycling because it helps you determine both race ability and workout pacing. That is, structured workout intervals are usually based on a percentage of your FTP.
- When operating at FTP, you are essentially riding on the balance point between your aerobic and anaerobic energy systems.
- TSS – or “Stress Points,” as Zwift calls it is a common metric for measuring the difficulty of a given workout or training week. This is calculated based on your FTP, so it’s vital you set your FTP accurately so you can track your training load accurately. Read more about TSS here >
- While pros may go to a lab to be tested for a precise FTP reading, most training platforms, including Zwift, automatically look at your power numbers and estimate FTP fairly accurately. Still, you may want to do an actual FTP test on Zwift to help you put in your best effort. For more info, read How (and Why) to Take an FTP Test on Zwift >
FTP Training Tips
Unlike training other systems (such as VO2 max), workouts to increase your FTP can take a variety of forms.
The most fundamental “FTP boosting” workouts are simple aerobic work. This is your base, and if it isn’t well developed, you really can’t progress meaningfully as a cyclist. Longer zone 2 endurance rides and shorter “sweet spot” intervals at 88-94% of FTP are both effective ways to build your aerobic base.
Beyond simple aerobic work, two other high-intensity workout styles are popular for boosting FTP:
- VO2 Max: Short repeats at your VO2 Max can deliver big improvements in both aerobic and anaerobic power
- Over-Unders: Pyramid workouts with steps going from 95% to 100% to 105% of your FTP (then down again) help train your body to deal with the metabolic byproducts of riding above FTP.
Suggestion Box
The fourth workout of Zwift Camp: Build felt the most “ordinary” of the stages I’ve done so far, because it was really just a ride up The Grade, with a bot to keep me company. That said, an all-out attack of The Grade is a solid workout and fitness test any day of the week!
After finishing stage 4, I’d say there are two things Zwift could improve:
- Messaging: It’s odd that the first three stages had on-screen messaging to coach you, but this stage did not. That feels like a miss, especially because messaging could be helpful in guiding people to pace optimally on the longish effort up The Grade.
- Improve the event description: I already mentioned this for earlier stages, but once again, a simple line or two in the event description would clarify what people are signing up for. As explained above, the current description for this workout (“Target Effort: One 20-minute attempt”) really isn’t accurate for many.
Sign Up For Stage 4
Sign up for stage 4 events in-game, in the Companion app, or go to zwift.com/events/tag/zwiftcampbuild2025wo4.
Questions or Comments?
Have you done this workout yet? Share your thoughts below, or any questions you may have heading into the workout.
