Today, we release the last of three special “full map” Rebel Routes. We recently published The Full Makuri and The Full New York, but today’s is the big one, covering every road in Watopia, Zwift’s biggest map!
But first, credit where credit is due: Zwifter Tim Nikkel gets the kudos for putting in the work to devise this route, sharing it with us via the ZwiftMap website. With so many intersections in Watopia, computing the shortest possible route is no easy task. But Tim figured it out! (At least, we think so. Tim says, “I do not claim that this is the shortest route possible, only the shortest route I’ve found. Due to how my program works it cannot prove that this is the shortest possible route.”)
We’ve released these three “full map” Rebel Routes in hopes that Zwift will adopt them as new fondo routes. It’s been way too long since we’ve had fresh fondos, and there are so many great new roads we could use!
This route in particular would make a splendid Gran Fondo course. It would be the second-longest route in Zwift (behind The PRL Full), with 250 meters more elevation gain than the PRL Full. A difficult but doable challenge for a well-trained rider!
About Rebel Routes
“Rebel Routes” are Zwift rides not available on Zwift’s routes list, thus requiring manual navigation.
The reward for your rebel ride? Exploring a new route, knowing you’ve gone where few Zwifters have gone before. And a Strava segment rank in the tens or hundreds instead of the thousands! Rebel Routes are also included as a separate category on our Veloviewer Route Hunter leaderboard.
Route Description
A complete turn-by-turn tour of this route would take much too much space. So we’ll summarize it instead.
Start by selecting the “Oh Hill No” route from the Watopia route picker.
The Full Watopia is bookended by the biggest climbs in Watopia, starting with The Grade + part of the Epic KOM (including the Radio Tower), and finishing on Alpe du Zwift.
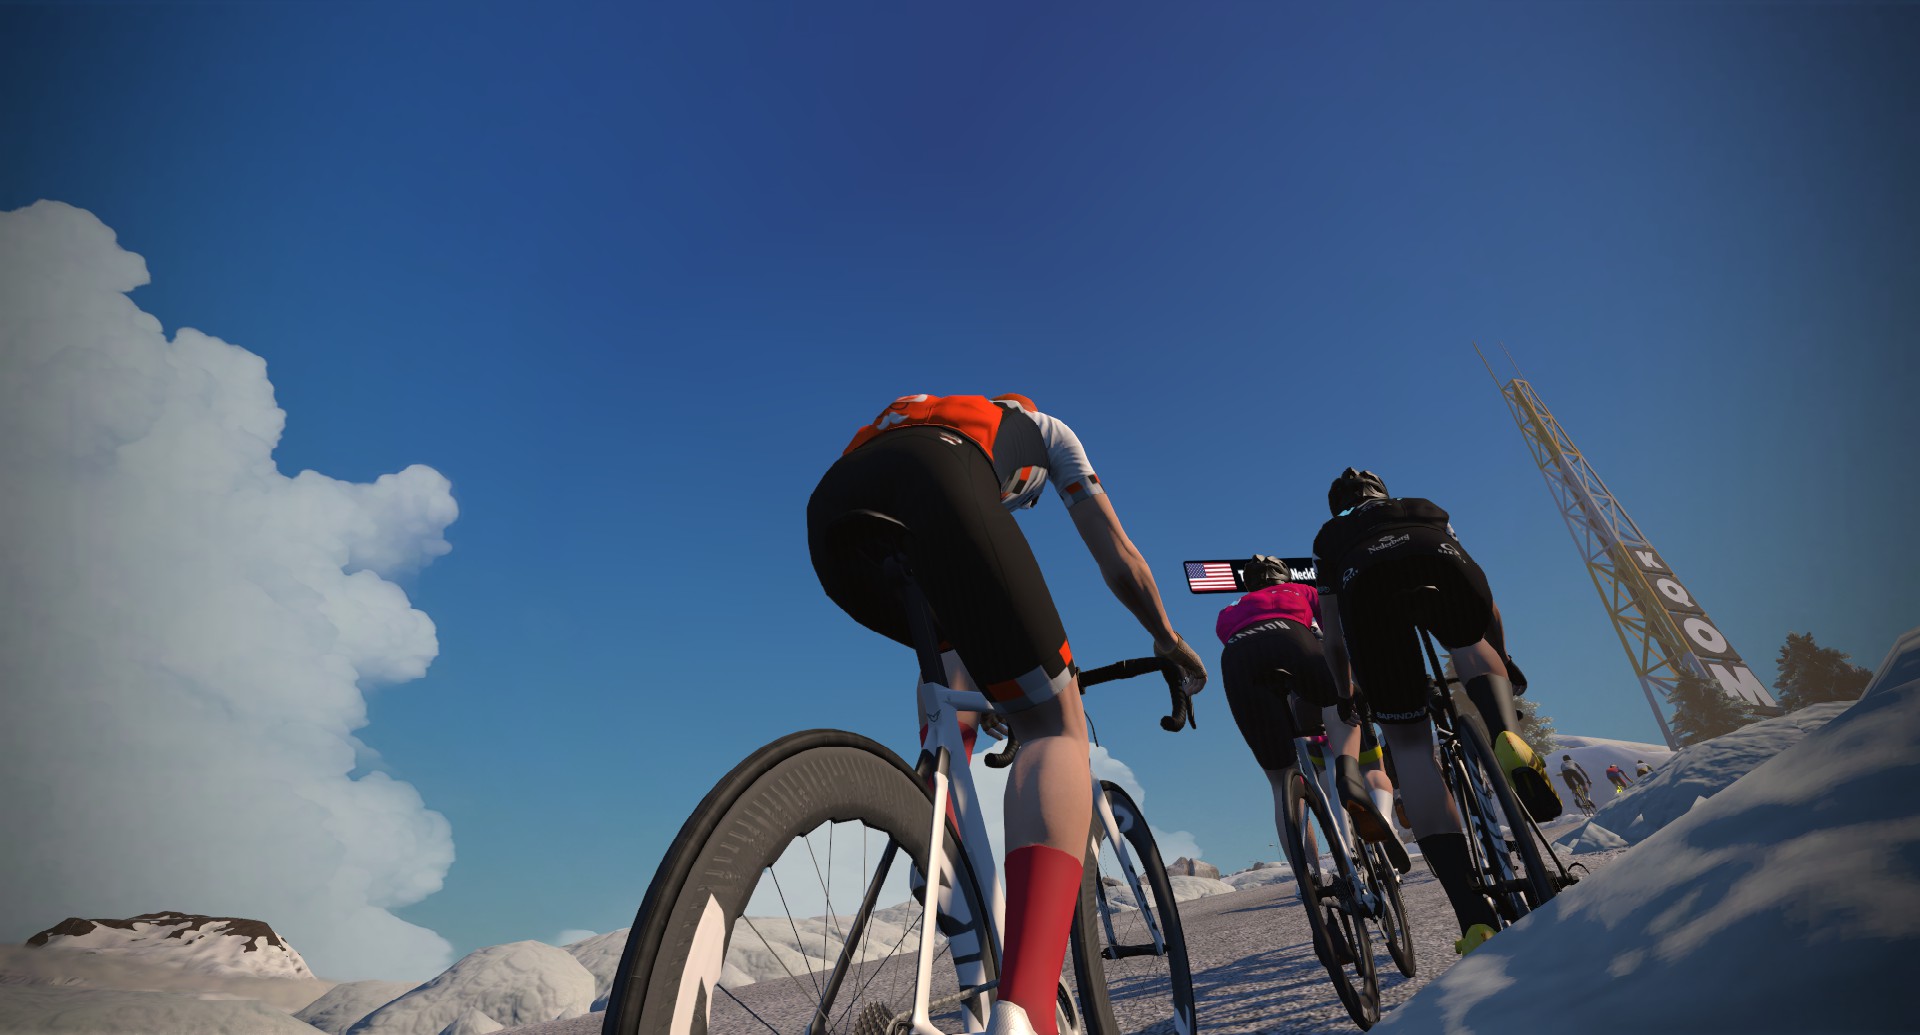
After descending from the Radio Tower, you’ll loop around onto the Epic KOM Bypass road and head to the Mayan Jungle, then down to the southern coast road to take in this long stretch of shoreline.
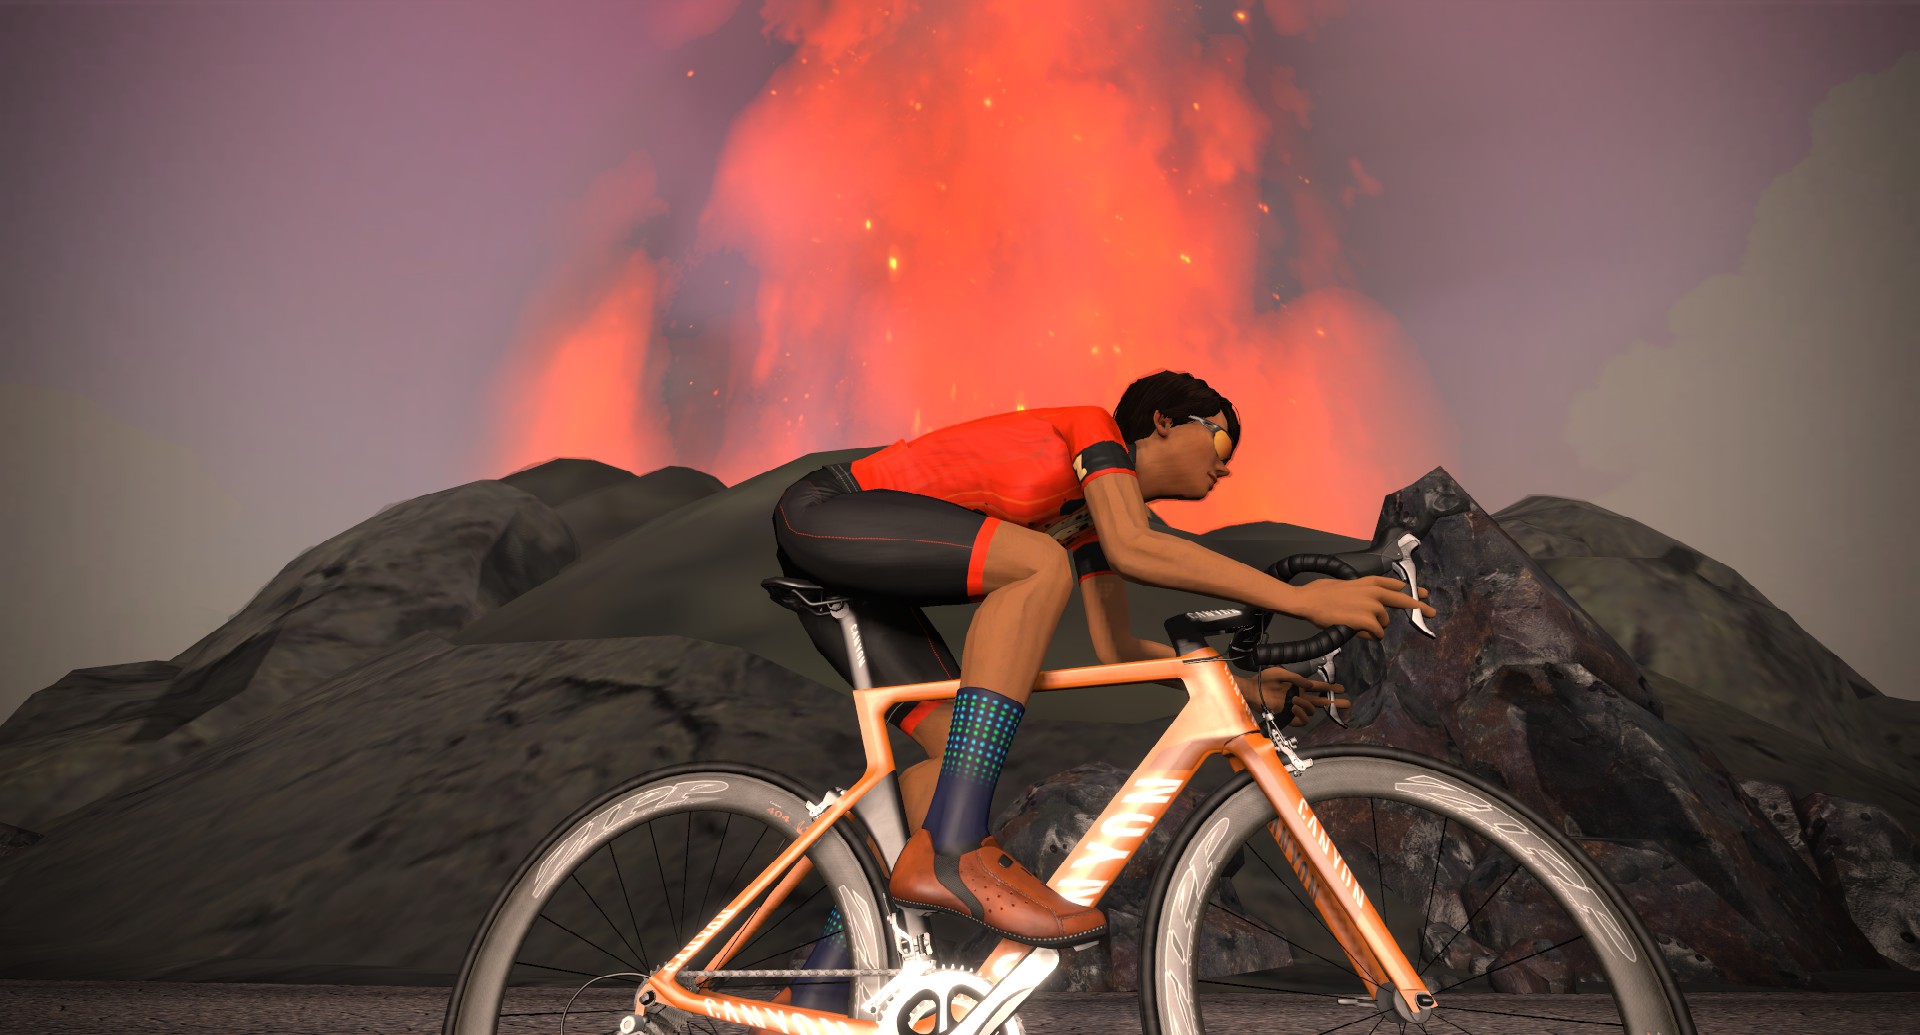
Continue up and over the rollercoaster road through Titans Grove, then head into Watopia proper to cover most of those roads, including ascending the Volcano KOM. You’re well past the halfway mark!
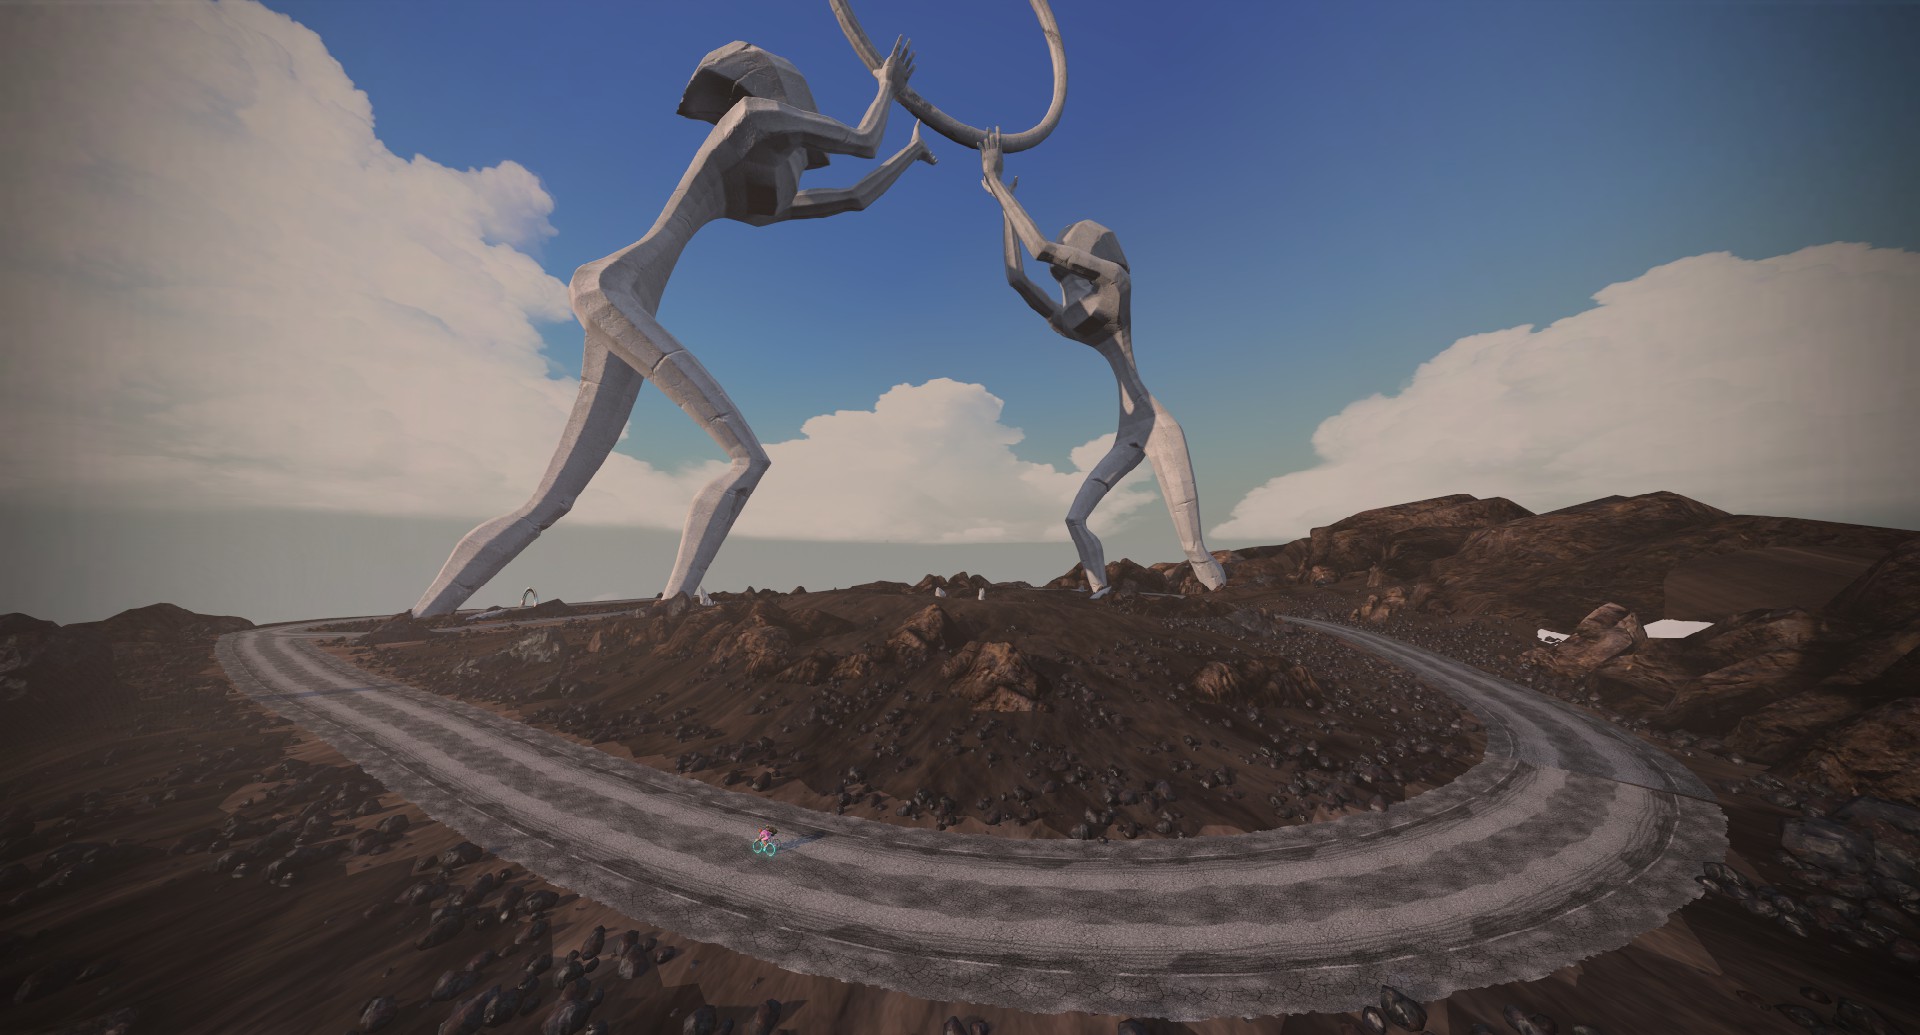
Descend from the Volcano, head out to cover the Jarvis loop, then ride through the Ocean Blvd tube and hang a right to enter Fuego Flats.
From the Flats to the climbs, you’ll head up the Epic KOM forward, but turn left to head down The Grade, then turn right to descend the Mayan and Itza KOM roads. 20km to go!
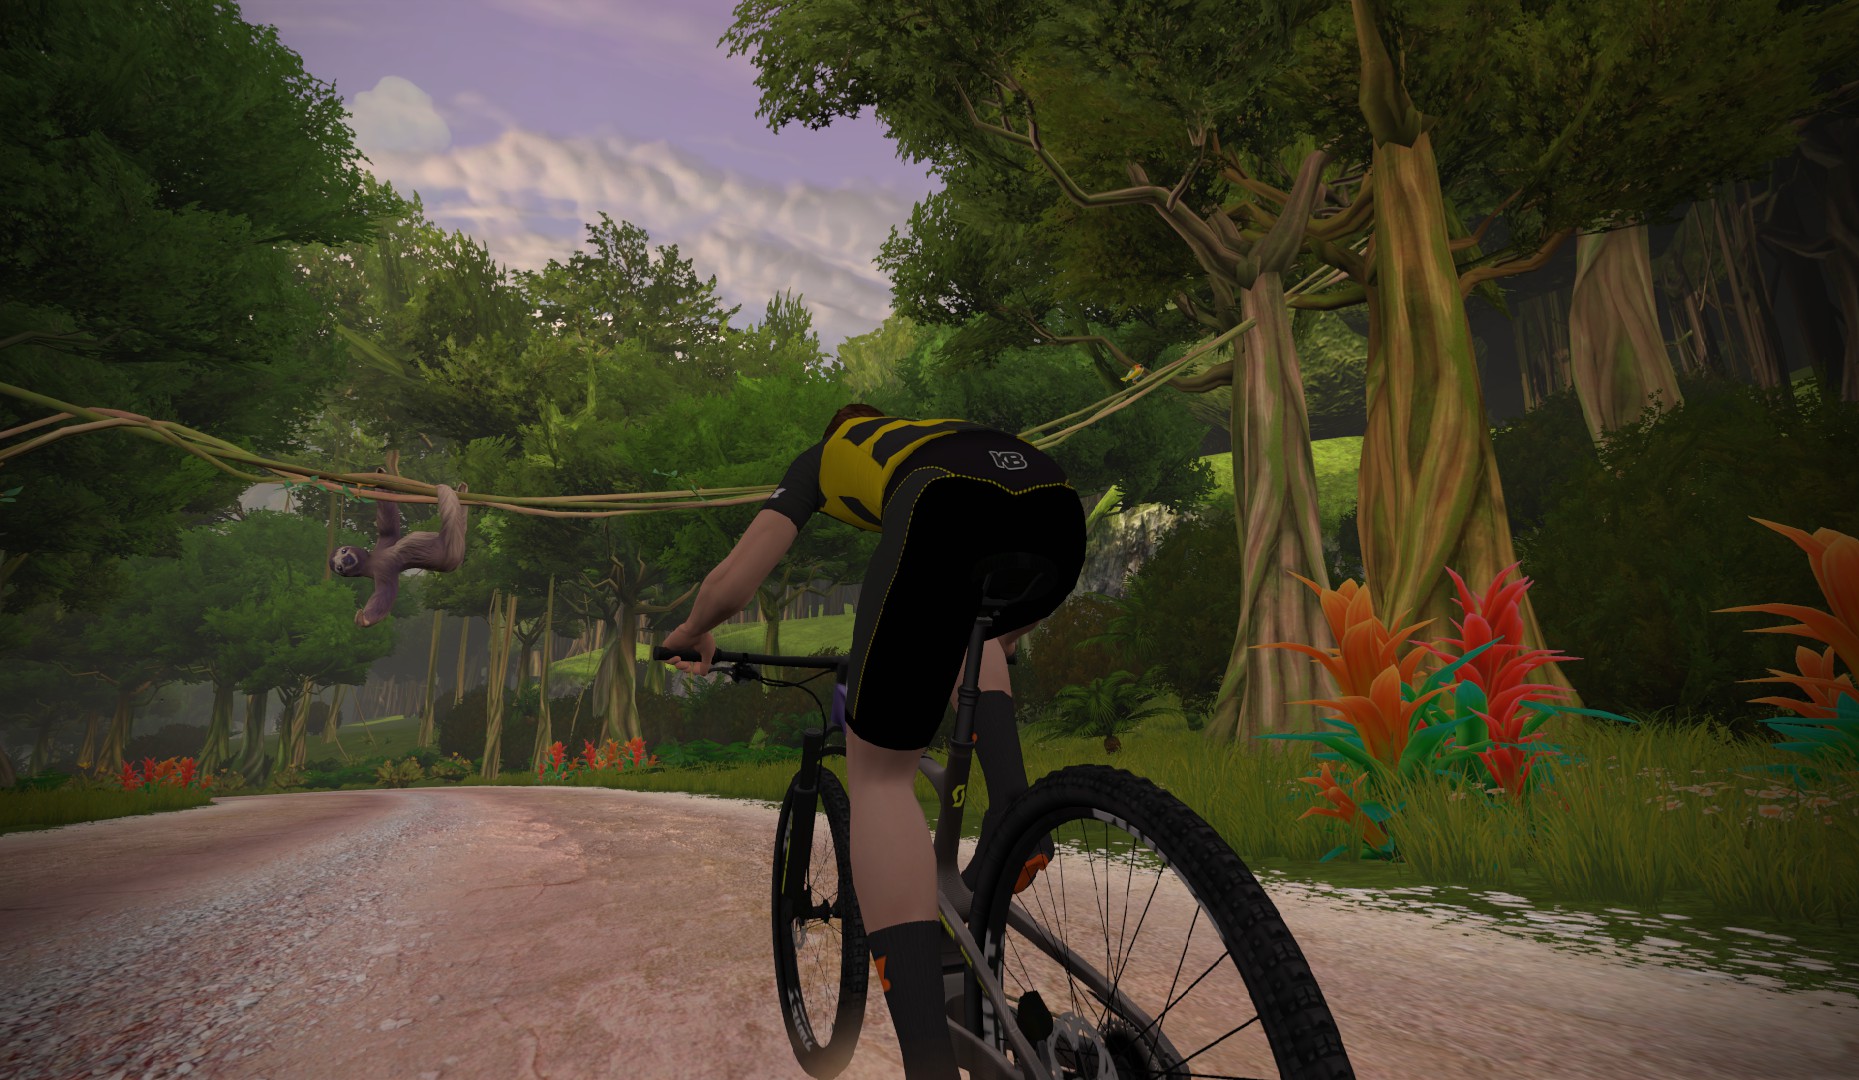
Knock out the remaining Mayan Jungle dirt, then turn right and head up the Alpe. The route finishes at the top.
Please note that the Strava segment includes the turnaround road atop the Alpe, because we figured everyone would ride that road anyway as they finish their climb and want to come around to descend the Alpe. Being at the top of the Alpe means you get another ~12.5km of distance once the route finishes, if you just let your avatar coast to the bottom. Why not? You earned it. Make it an imperial century!
Speaking of turnaround roads, it’s worth mentioning that this route doesn’t attempt to cover every bit of pavement on the roundabouts and turnarounds in Fuego Flats, the LAX Roundabout, and Ciudad La Cumbre. Doing so would add significant distance, and these are really just turnaround points built into the game. The route also leaves out the Climb Portal, for obvious reasons (the climbs it leads to rotate regularly). And this route doesn’t include Repack Rush, since that road requires steering to access.
Turn By Turn Directions
Be warned: this route has a lot of turns. Begin by choosing the Oh Hill No route, which starts you at the base of The Grade, heading in the right direction.
- Straight (Right) to Radio Tower
- Straight to Radio Tower
- Left to Bonus Climb
- Left to Islands/Jungle
- Straight to Italian Villas
- Right to Sequoia Circle
- Right to Epic KOM
- Straight (Right) to Epic KOM
- Right to Epic KOM Bypass
- Straight to Jungle/Alpe
- Left to Jungle Reverse
- Right to Mayan Bridge
- Left to Mayan Loop
- Straight (Left) to Jungle Loop
- Right to Cuidad La Cumbre
- Straight (Right) to Cuidad La Cumbre
- Straight (Right) to Fuego Flats
- Straight (Left) to Fuego Flats
- Left to Epic KOM
- Straight (Right) to Epic KOM
- Right to Titans Grove
- Straight (Right) to Ocean Blvd (this is the entrance to Repack Rush, and the turn UI only pops up if you have steering connected)
- Left to Ocean Blvd
- Right to Downtown
- Left to KOM
- Right to KOM Bypass
- Right to Bridge
- Right to Italian Villas/Sprint
- Right to Sprint
- Left to Volcano Circuit
- Left to Volcano Circuit
- Left to Italian Villas
- Right to 360 Bridge
- Straight (Left) to 360 Bridge
- Straight (Right) to Reverse KOM
- Straight (Right) to Reverse KOM
- Straight (Right) to Downtown
- Straight (Left) to Downtown
- Right to Volcano Circuit
- Right to Volcano Circuit CCW
- Straight (Left) to Volcano Circuit CCW
- Straight (Left) to Volcano KOM
- Straight (Left) to Volcano Circuit CCW
- Right to Jarvis Island
- Right to Jarvis Island Counter
- Right to Volcano Circuit
- Right to Volcano Circuit
- Straight (Right) to Italian Villas
- Left to Sprint
- Right to Bridge/Islands
- Right to Islands
- Left to Islands
- Straight (Left) to Sequoia Circle
- Straight (Left) to Downtown
- Right to Desert Flats
- Straight (Left) to Desert Flats
- Straight (Right) to Epic KOM
- Left to Epic KOM
- Left to Epic KOM
- Straight (Left) to Epic KOM
- Left to Cuidad La Cumbre
- Right to Jungle Ruins
- Right to Jungle Ruins
- Right to Mayan Loop
- Straight (Right) to Mayan Loop
- Straight (Left) to Jungle Loop
- Straight (Right) to Mayan Loop
- Right to Alpe du Zwift
Route details:
Distance: 154.5km (96 miles)
Elevation Gain: 2852m (9357′)
Strava Segment
Rebel Route Suggestions
Got an idea for a great Rebel Route? Share it below and maybe we’ll publish a post about it!
