Most of us have seen and used smart LED lighting by now–you may even use it in your own home. But have you ever thought of how it could be used to enhance the Zwift experience?
Almost two years ago, Jon Mayfield posted a demo video of a weekend project created using Nanoleaf panels, some code he wrote, and (unfortunately for the rest of us) a level of access to Zwift’s game data that none of us have.
Unlike Jon, we can’t easily make our lights respond to things like gradient, watts, and weather at this time… but there are some simple, affordable setups that can really make your Zwift sessions more immersive while making the pain cave setup look seriously cool.
Here’s a walkthru of one simple smart lighting setup which was recently implemented in the Zwift Insider Lab.
Getting Started
Required Hardware
First, realize this particular solution only works if you’re running Zwift on a Mac or PC. If you are running Zwift on a phone or tablet connected via HDMI to a big screen, or running Zwift on AppleTV, the pricey Hue Play HDMI Sync Box will sync the Hue lights to your screen.
Products Used
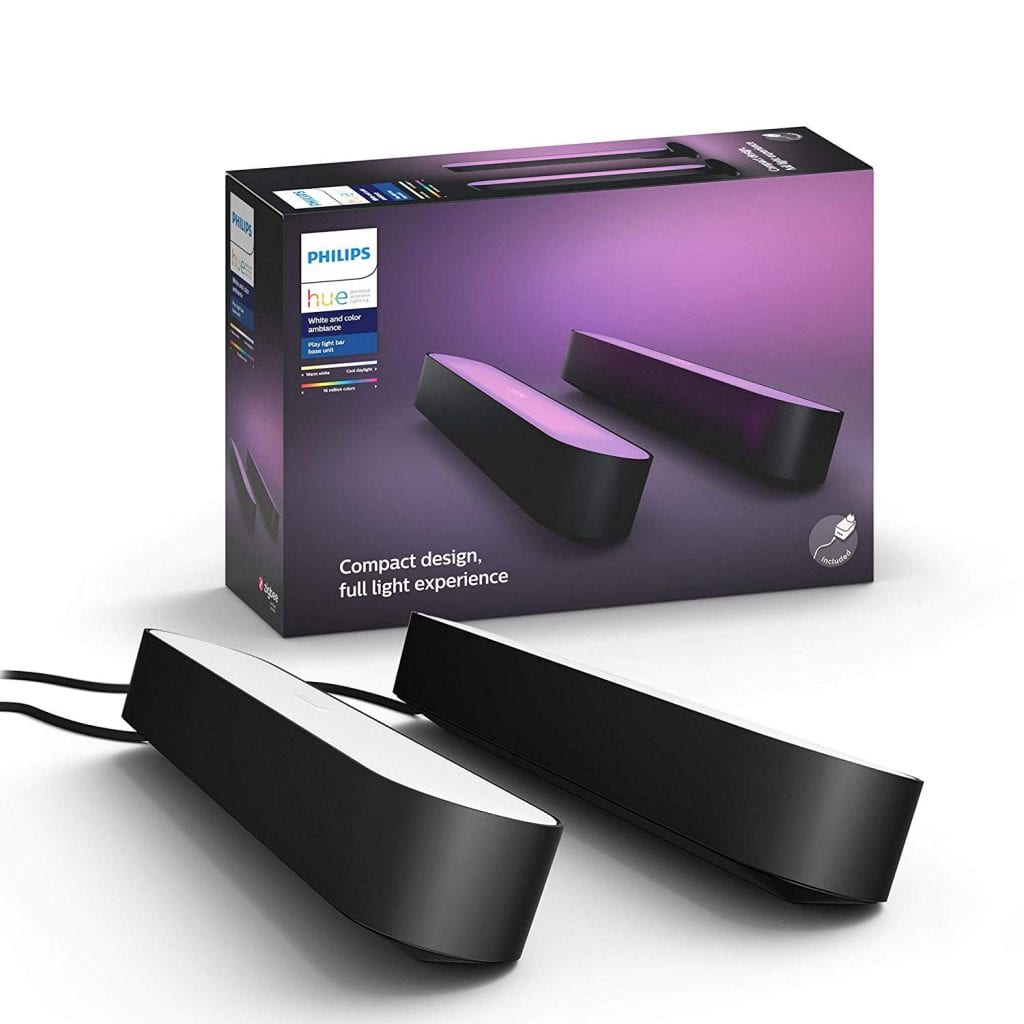
- Philips Hue Play 2 Pack Base Kit (~$130USD on Amazon)
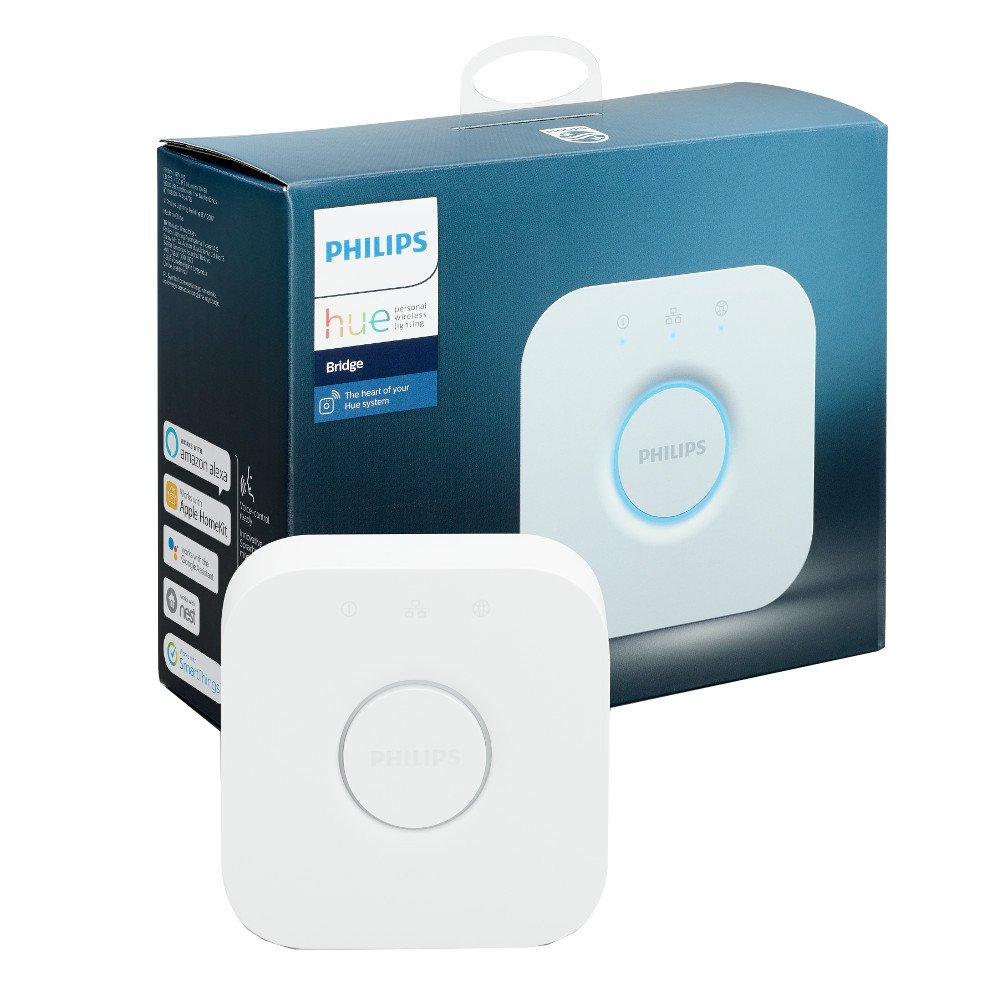
- Philips Hue Bridge aka “Hue Hub” (~$60USD on Amazon)
Step-By-Step Setup
I went from opening the boxes to basic lighting functionality in 15 minutes. It took another 15 to dial in the syncing and brightness the way I liked. Simples! Here’s the process…
Bridge Setup
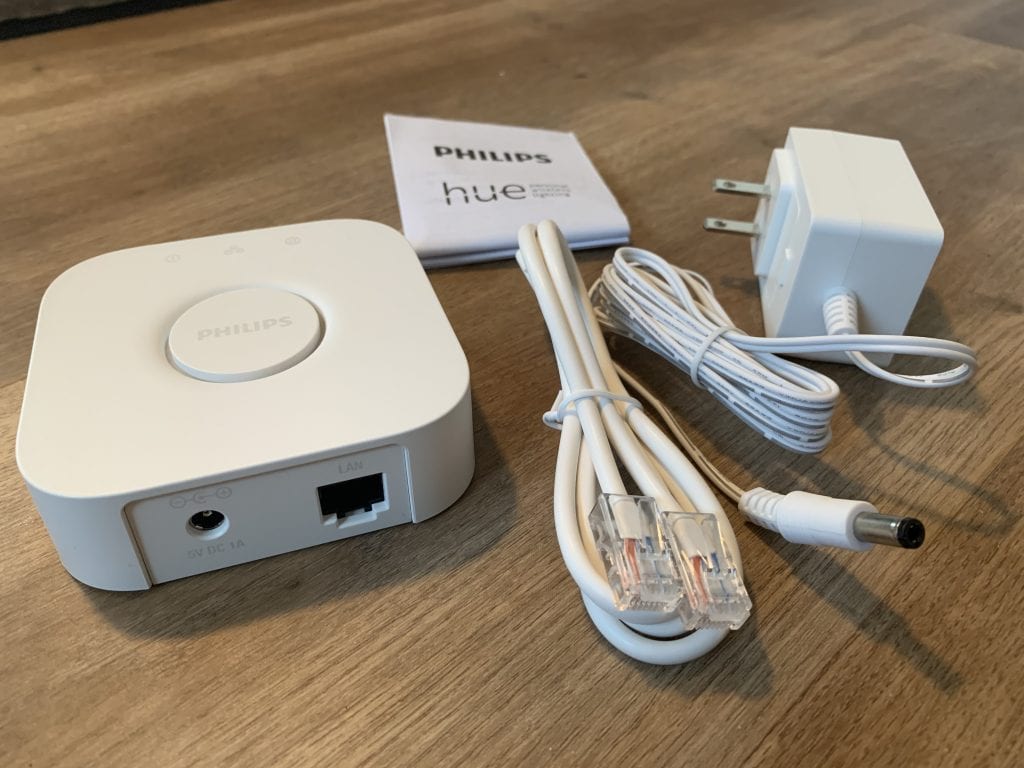
The Bridge must be plugged into your local network–it does not work on WiFi. Fortunately, the Hue lights connect to the Bridge wirelessly, so even if the Bridge is plugged in across the house from your pain cave, the Bridge can do its job.
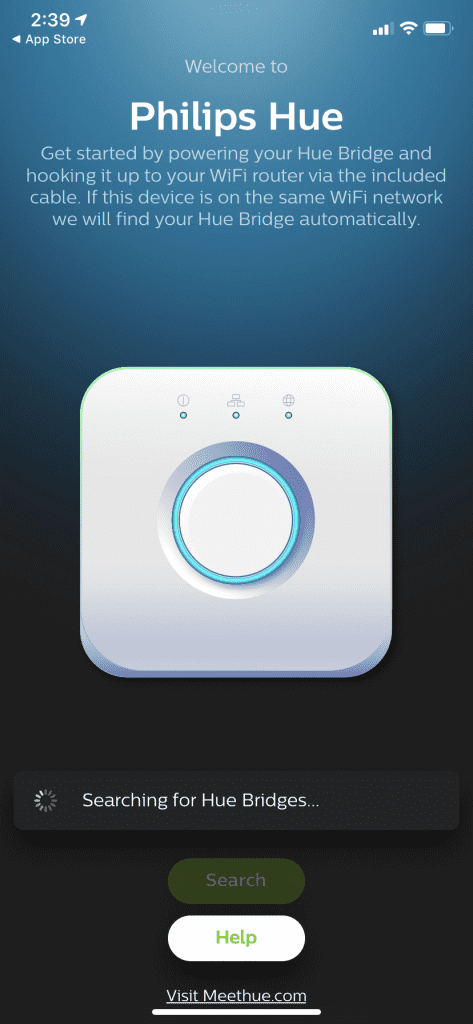
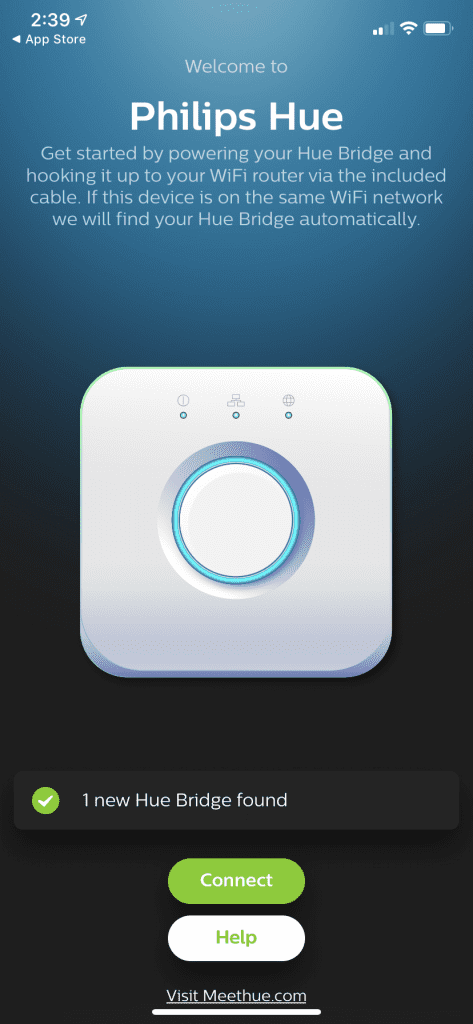
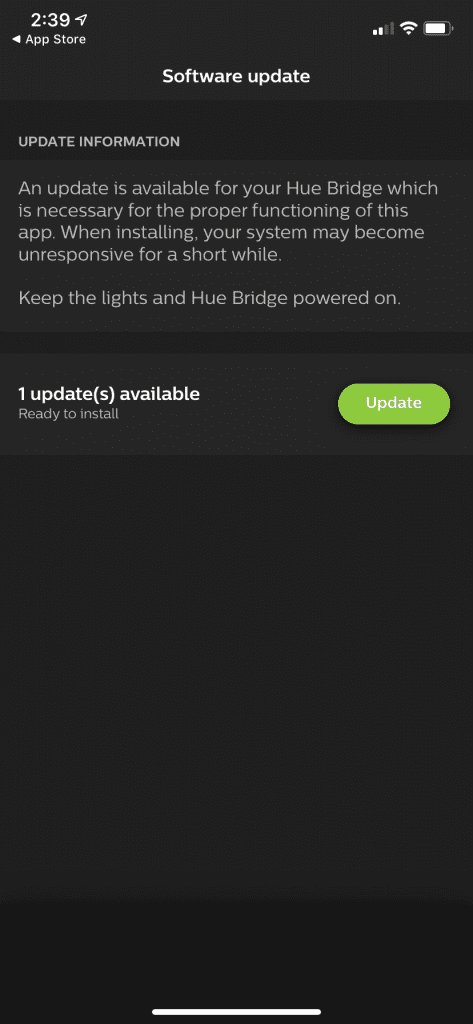
I installed the Hue app on my iPhone, plugged the Bridge into power and my network switch, then opened the app to get the Bridge set up. Easy! It found the Bridge and prompted me to update the Bridge’s software, which I did.
Lights Setup
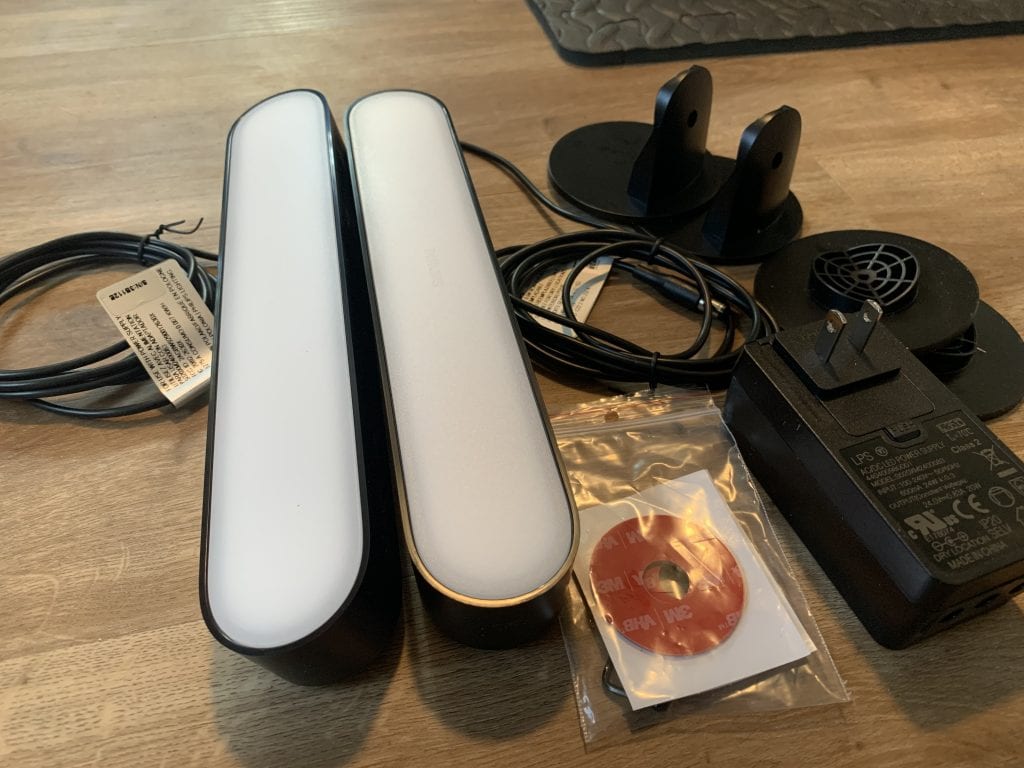
The lights were also easy to get going–just plug them into the power supply, click “Add Light” in the app, and the lights were quickly found. Once they were linked in the app I could control them using my phone, which is pretty fun in itself. But the real magic comes next!
Setting the Sync
At this point, the two lights were just sitting on a tray in front of my big screen TV. I wasn’t sure where I wanted to mount them–I wanted to experiment a bit before doing anything more permanent.
So I downloaded the Hue Sync app to my Zwift PC. This is the app which “sees” what is happening on your screen and uses that to determine what color each of your lights will be. It also has lots of options in it–more on that in a bit.
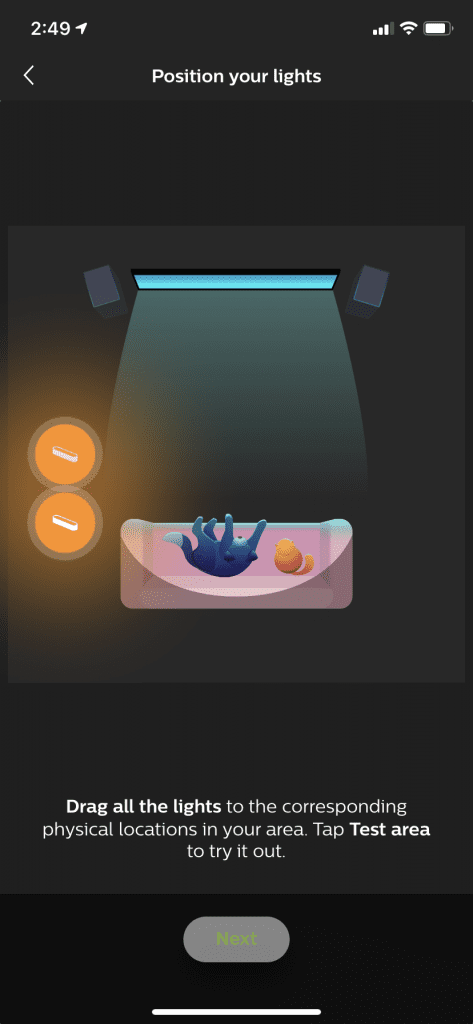
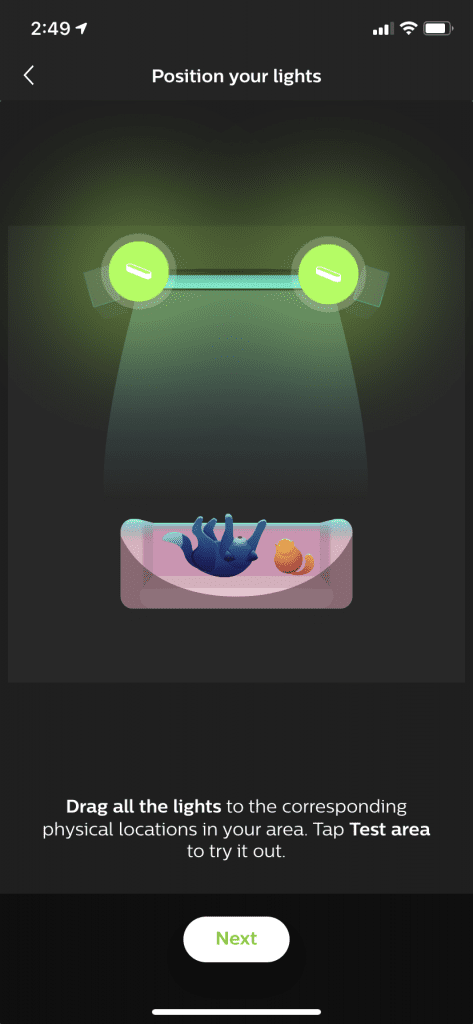
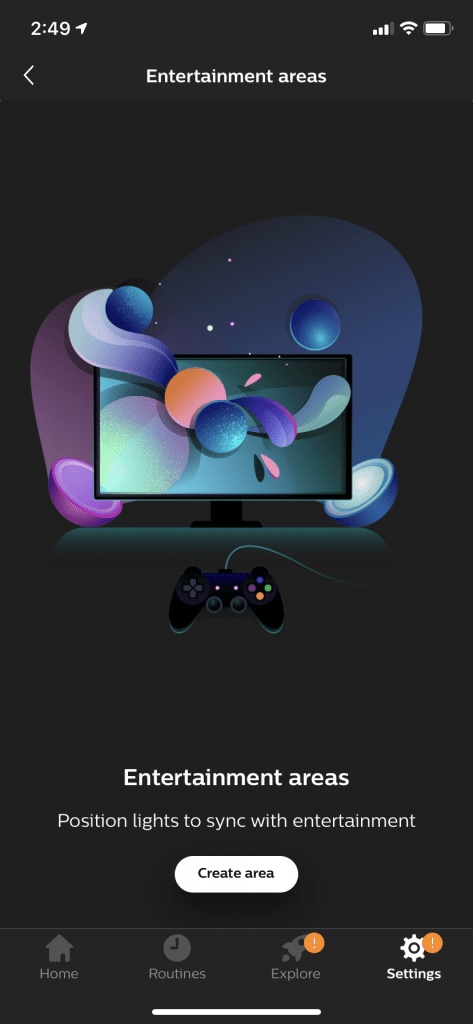
The Hue Sync software prompted me to set up an “Entertainment area” in the phone app. This was easily done: I added my two lights to the area, then slid them around to position them on the edges of my virtual TV.
The position of your lights here on the setup screen dictates which on-screen colors will be emulated–position the light to the right, and it will emulate the colors on the right of your screen.
Dialing It In
Since I hadn’t installed the lights yet, I could test out different locations to find one that suited my setup best. Although the Play lights include mounting materials for a variety of setup situations, I decided to use some adhesive-backed velcro I had sitting around, since it allows me to easily move the lights later if desired.
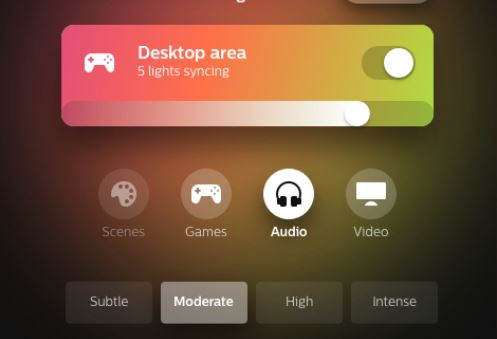
The most important change I made was to slide the brightness setting in the Hue Sync app on my computer to max. This took the lighting from a sort of “is that all there is?” to “Yesssss!”
I also changed the effect level from Moderate to Intense, which seemed to make the lights respond more quickly to on-screen changes.
In the end, I mounted the lights to the back of my TV, near the top, and just out of eyesight when on my bike.
The Results
To begin a Zwift session I now turn on the TV, click “Start light sync” on the Hue Sync app which remains open on the desktop, and boot up Zwift.
Here’s a video showing the results, on a lap of Volcano Flat:
Is it a game-changer? I wouldn’t go that far. A bit of environmental lighting like this definitely makes things more immersive, though. And you’ve got to admit that it looks pretty cool.
The two Hue Play lights aren’t massively bright, so the effect is most pronounced when your room is dark–perfect for my early winter morning sessions. Adding more lights would make it work better in brighter rooms.
Upgrade Ideas
There are several ways that this simple setup could be enhanced:
- Overhead lighting: if I had an overhead light which accepted normal bulbs, I could buy a Hue bulb to place in that light, and have it fill the room with screen-emulating color. Unfortunately, my overhead light is an LED lamp that doesn’t use standard bulbs, so that’s not going to happen any time soon.
- More TV lights: I could add more lights behind the TV to make the effect even more striking, especially when riding in daylight hours. Perhaps a Hue LightStrip along the top?
- Jon Mayfield could open up Zwift data a bit more so we could have our lights respond to workout effort, Ride Ons, and more! What do you say, Jon?
What About You?
Are you using smart lights to enhance your Zwifting experience? Share some tips below!
