Yesterday, I published a post covering the CORE sensor’s metrics, the science backing them up, and how Zwift and the CORE sensor and app work together. Read it here >
Today, I’ll be discussing my personal experience heat training with CORE in recent weeks. Also included: a pile of tips to help you optimize your heat training. Let’s dive in!
My Heat Training Experience
Cycling provides such an interesting “laboratory” for testing our bodies, doesn’t it? I’m continually fascinated by how different training methods and tools lead to different adaptations in our bodies. Sometimes I feel like I’m more of a lab rat than a human as I test all this stuff out. But it’s just too much fun!
Heat training is particularly compelling because the science behind it is solid, and Zwift provides a well-controlled heat-training environment. It’s really interesting to watch (and feel) in real time as your body reacts to heat stress.
While I did a lot of heat sessions that were free rides or even Zwift group ride events, what I found I enjoyed the most was using ERG mode to precisely control my power output, clicking my Play controller buttons to adjust FTP bias to increase or decrease the power to keep my heart rate in its desired range.
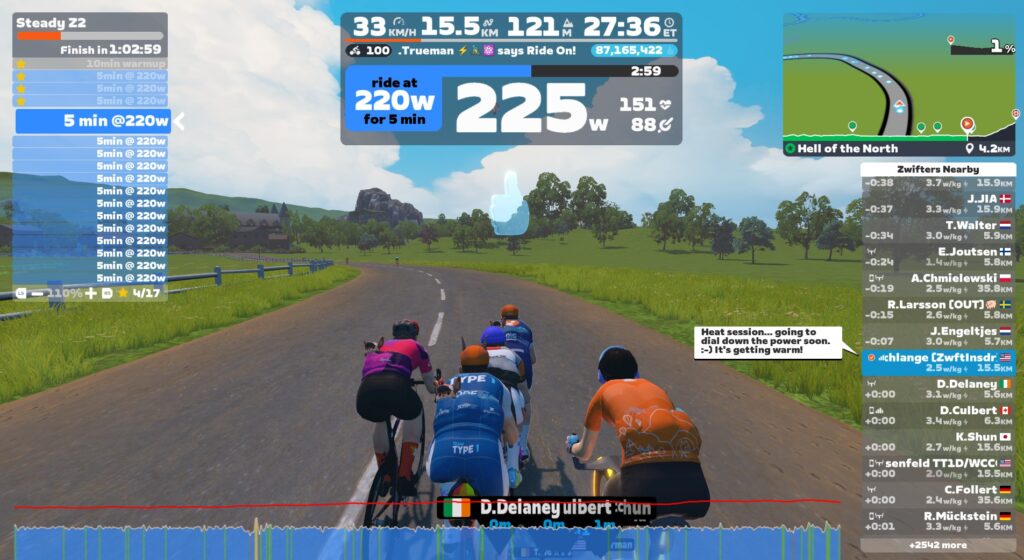
I built a custom ERG workout that was basically 90 minutes of 5-minute zone 2 blocks. I would start with the FTP bias adjusted up to 110% or even 125%, then drop it to keep my heart rate below ~150 (mid zone 3 HR for me).
As the workout progressed, eventually my heart rate would get up over 150 and not want to come down, even at low power numbers. That’s when I knew it was about time to wrap it up. Those ERG sessions would end up looking like this:
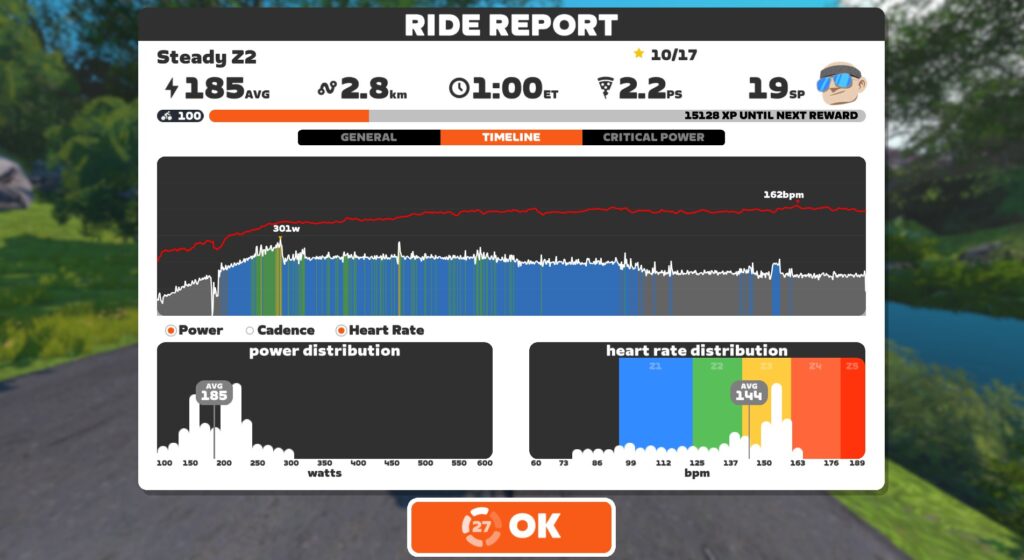
Note how power decreases over time, while heart rate increases. This is what an increasing core temperature does to your performance, and why you should have good ventilation and a good fan running if you want to perform your best on race day!
My (Anecdotal) Evidence
I’m sure readers will want to know if heat training boosted my performance, and by exactly how much. Unfortunately, I’m going to disappoint you here, because I didn’t go about this in a structured/scientific way.
In hindsight, I should have measured various performance metrics (VO2max, FTP) and even sweat metrics (I have two different sweat sensors sitting here to review) prior to starting my hard heat training block. Then I could have repeated those tests afterward.
But I didn’t do that. In the swirl of testing various trainers, Zwift updates, three different bikes/power meters, enjoying the holidays, and deciding to jump into heat training, I missed that crucial setup step.
So all I can share with you is some anecdotal “evidence.” My feelings. Perceived exertion. Subjective event results. Here they:
- I definitely notice that I sweat earlier and more than I used to. This may seem counterintuitive (shouldn’t heat training help you sweat less?), but it’s the body doing a better job of keeping itself cool.
- I sense a boost in VO2 power. Despite not training VO2 in a targeted way, I was able to go outside and do a 410W effort for 3 minutes, which is better than I’ve done in a few years. I also notice myself surviving those tough 3-6 minute climbs in Zwift races.
- I feel like my aerobic engine has been boosted, allowing me to chug along for long periods of time between zone 2 and 3 power at a lower heart rate.
Heat Training Tips
There’s a lot of information in my heat training posts, but I think the most useful info is in this section. Here’s why: despite the promises of increased performance, I’ve historically struggled to fit heat training into my weekly schedule. Between ZRL races on Tuesdays, leading a 100km ride on Thursdays, and doing a long outdoor session on Saturdays, every time I decided to work on heat training I gave up because it was just too hard to dedicate enough training time to accumulate meaningful heat adaptation.
But then I booked a call with Brian Maiorano, Performance Coach at CORE. He gave me some tips to maximize my heat training sessions. I also saw that I had a 3-week block I could dedicate to heat training. Serendipity!
Here’s my distilled list of tips to help you train with heat successfully.
What To Wear
Unless you want to heat your Pain Cave to uncomfortable levels, you’ll need to wear warm clothing to get your core and skin temperatures high enough to accumulate a meaningful heat training load. Basically, what you’re looking for is clothing that keeps the air off your skin (which stops evaporative cooling) and keeps heat in.
Finding what works for you may take a bit of experimentation. We each have different clothes in our cycling wardrobes, bodies that work differently, and differing pain cave conditions.
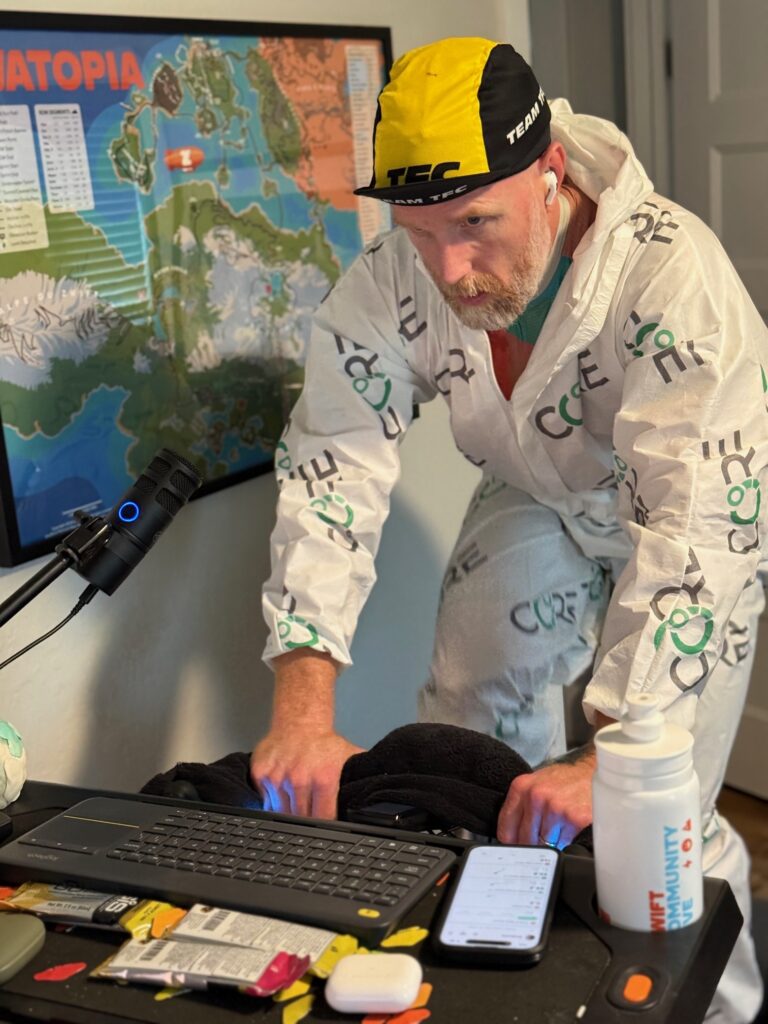
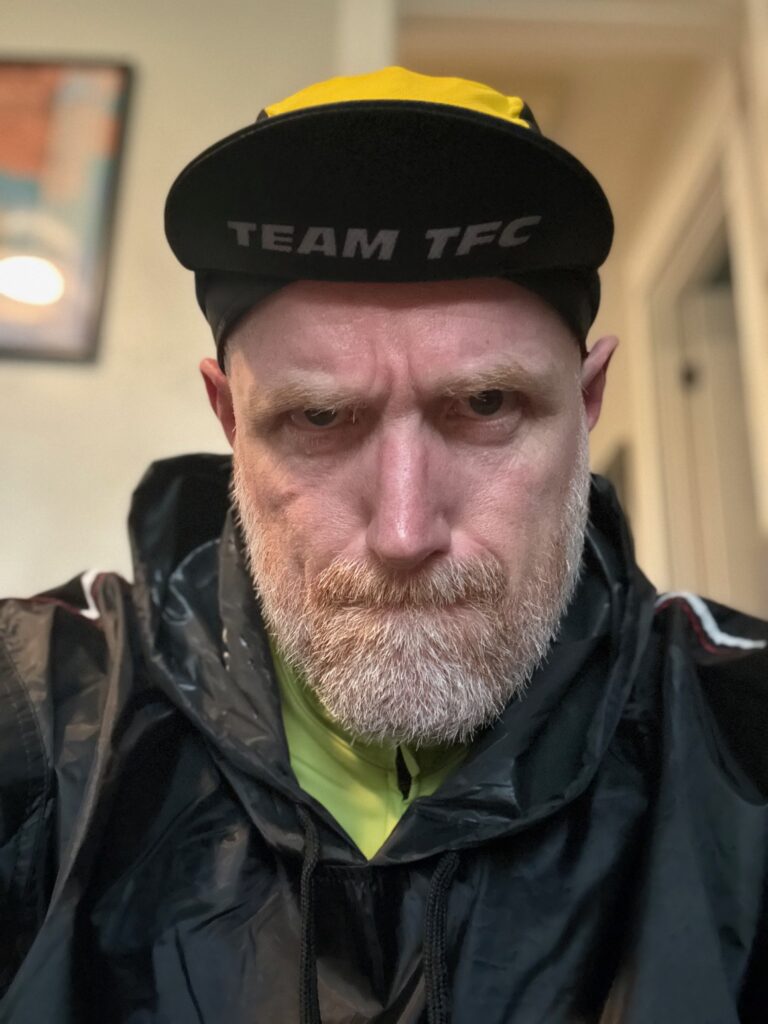
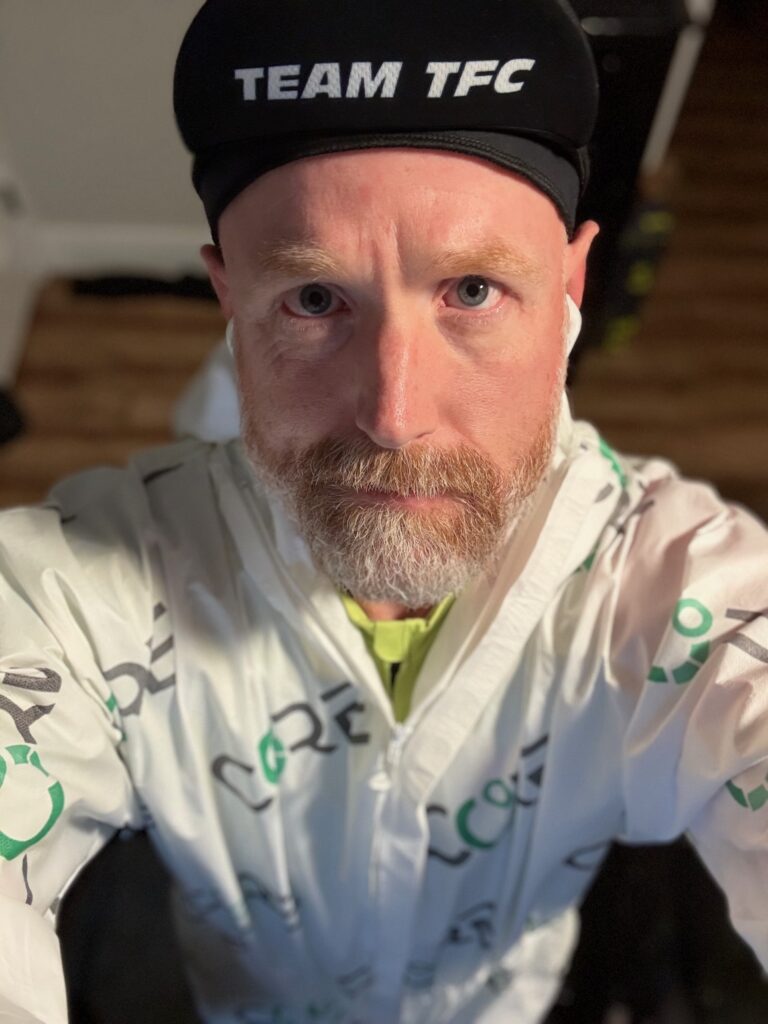
CORE sells a heat training suit, which I’m modeling above. This is what I wore for all my early heat sessions, and I also wore it when I started my big heat training block in December 2025. The suit is nice in that it’s a single article of clothing you can put on over your normal Zwifting kit, and it works, trapping heat and stopping evaporation. The downside of the suit, for me at least, is that it’s not terribly comfortable. The loose fabric can move around and bunch up, the hood can get pulled tight when you sit down after standing up, etc.
Eventually, I bought a cheap “sauna suit” on Amazon. Best $36 I’ve ever spent! The pants I didn’t need, but I wore thermal bibs I already owned, plus an old cycling jersey, plus the sauna suit jacket, a halo headband, and a casquette on top of the headband. Viola! This was the winning combo. It felt fairly comfortable, while also keeping the heat in.
Shoe Drying
While we’re talking about clothes, let’s give a nod to our poor cycling shoes. Mine would be soaked through by the end of a heat session, a pool of sweat having dripped out the holes in the bottom of the shoes, and I could actually pour sweat out of the shoes when I took them off.
A shoe dryer is handy if you want to wear your shoes the next day. Again, Amazon came to my rescue with a cheap one that works great (so far).
Fully-Clothed Showers
After each heat session I would be so sweaty, and my clothes so sweat-soaked, that I would just climb into the shower fully clothed. Shoes and all! I would let the water wash away much of the sweat, stripping off pieces of clothing and purposely rinsing then ringing them out and hanging them on the shower rack.
This removed most of the sweat from the clothes, so they didn’t sit around stinking all day. It also let me reuse my sauna jacket the next day without having to launder it, since it’s made of a material that doesn’t absorb sweat.
Three Sensor Notes
Here are three CORE sensor must-dos:
- Don’t wear it backward: What kind of idiot would wear it backward? Me, it turns out. When I first started using the version 2 sensor, it seemed impossibly hard to get my numbers high enough to accumulate meaningful head adaptation. Turns out, the portion of the sensor I was wearing against my skin was supposed to be facing outward. The CORE logo should face out. The side with all the grey text – including the text that says “THIS SIDE ON SKIN” – that goes against your skin.
- Enable Automatic Standby: This is enabled by default, but I had disabled it because the previous version of the app labeled it confusingly. Keep it enabled, as it greatly increases battery life!
- Pair your HRM: Pair your heart rate monitor to your CORE sensor via the CORE app, then connect directly to the CORE sensor in Zwift. This will deliver the CORE metrics plus your heart rate data to Zwift, while allowing the CORE app to see your heart rate data, increasing the accuracy of your metrics.
Hydration
Heat training shouldn’t involve massive dehydration. You’ll sweat a lot, but you want to be replacing that sweat! Be sure to fill at least two bidons per hour of heat training, and add electrolytes to your water, since you’ll be losing a lot of them.
Weighing myself before and after sessions, I learned that I sweat around 5 bidons worth in 1 hour. Amazing! Your sweat rate may be higher or lower, but I recommend weighing yourself before and after so you know how much you need to drink.
I settled on filling two bidons per hour of riding, along with drinking a lot following each session.
While I tried various electrolyte powders, I used EC Sports’ Electralyte the most due to its good taste, lower cost, and high potassium content. (I tend to be rather potassium-deficient, especially when doing a lot of sweaty training.)
Rehydrating fully/quickly and managing electrolytes isn’t as crucial if you aren’t doing heat training on back-to-back days, but it’s absolutely vital if you’re doing a heavily concentrated heat block like I did. And even then, there were days when it felt like my body was just confused. “You’re sweating out so many electrolytes, and ingesting a lot as well!”
Sweat Wrangling
You may not sweat as much as me, but I promise, you will sweat a lot. You’ll want to have some sort of sweat wrangling scheme in place, because it will get everywhere.
Think of what you’d need to do in your pain cave to keep things clean and undamaged if you were going to empty 4-5 bidons worth of liquid above your bike, then do that. You can always change the setup later, but it’s better to avoid regrets.
What I found worked for me was a beach-sized towel on the floor below my bike (beginning in front of my handlebars and ending past the back of my pedal stroke). This towel would be soaked by the end of the session. I would also have four hand towels within reach. Two would be used to dab my face for sweat, and two would be used on my handlebars to catch sweat before it dripped onto my bars or stem. (I used four towels because I would swap to a dry towel about halfway through the session.)
Session Structure: Start Fast, End Slow
To accumulate maximum Heat Training Load per session, the trick is raising your core and skin temperatures quickly, then keeping them high as long as possible.
Raising them quickly means ramping up your power quickly. The more watts you’re putting out, the more heat your body is dumping into your core. Simple as that. So get on the bike, spin a bit to wake up the legs and heart as long as you need, then ramp up the power for the next 10-20 minutes. This will quickly get your temperatures up.
How high you spike your power in these early minutes is entirely up to you. You could go really high (think race pace), get up into sweet spot territory (~85-95% of FTP), or go lower, perhaps just high tempo. What you do may depend on what sort of effort you’re looking to do that day, because you could do some hard intervals early in your ride, before you get overheated.
Me, I found that during my hard heat training block, I couldn’t hold my power any higher than sweet spot for very long, even early in the workouts. So I would sit in that power window for 10-20 minutes, then settle into zone 2 power, then eventually drop below zone 2 as my core temp continued to rise along with my heart rate.
The big tip CORE’s Brian Maiorano shared with me that helped me get more heat stress is this: when you’re done with your session, don’t just strip everything off and hit the showers to cool down. Instead, sit down and sweat. I would climb off my bike, spread my driest towels on the floor, then sit there for another 15 minutes or so, checking notifications on my phone.
The beauty of this is, you don’t feel like you’re suffering anymore. You’re just sitting there, still sweating, while your temperature and heart rate slowly come down. While this is happening, the CORE app is still recording your metrics, and your elevated temperature and heart rate are still combining to count for more heat training stress, which boosts your session’s Heat Training Load. This added a point or two to each session’s HTL (which is scored from 0 to 10). That’s huge!
Maintaining Adaptations
One interesting thing about heat training is that you don’t need to time it to “peak” at a particular time. You can maintain your high heat adaptation if you prioritize it and work it into your training schedule.
CORE says, “Once you are adapted to the desired level, you can maintain those adaptations by performing 1–3 heat sessions per week. Failure to continue heat training will result in loss of adaptations. Adaptations decrease by about 2.5% for every day without heat training, disappearing entirely within 5–6 weeks.”
10/10 Heat Training Load
Once I learned I’d been wearing the v2 sensor backward, I was looking forward to doing a session with it worn correctly, to see if I could get my numbers up! Here’s that first session, in late November of 2025, when I jumped into an Off the MAAP event and rode in the CORE suit for 90 minutes, accumulating the maximum Heat Training Load possible in one session: a 10 out of 10!
Your Thoughts
Have you done any heat training? Have you used the CORE sensor to do so? Share your thoughts, questions, and experiences below!
If you have questions about heat training, I highly recommend checking out CORE’s support articles, which are impressively detailed and thorough. Visit help.corebodytemp.com.
