Crisp, smooth gameplay is an essential part of your optimal Zwift experience, especially if you are taking part in group events, and especially if those events are races. This “smoothness” is measured by frames per second (FPS), and there are two ways to find out what sort of FPS numbers your Zwift setup is delivering.
After Your Activity: Using Zwiftalizer
The first method is to use Zwiftalizer, a Zwift log file analyze created by Michael Hanney. Learn more about it here > This method is the easiest to accomplish, but since you must upload a log file after your Zwift activity, you’re not able to see live FPS stats.
During Your Activity (Real-Time): Editing Config File
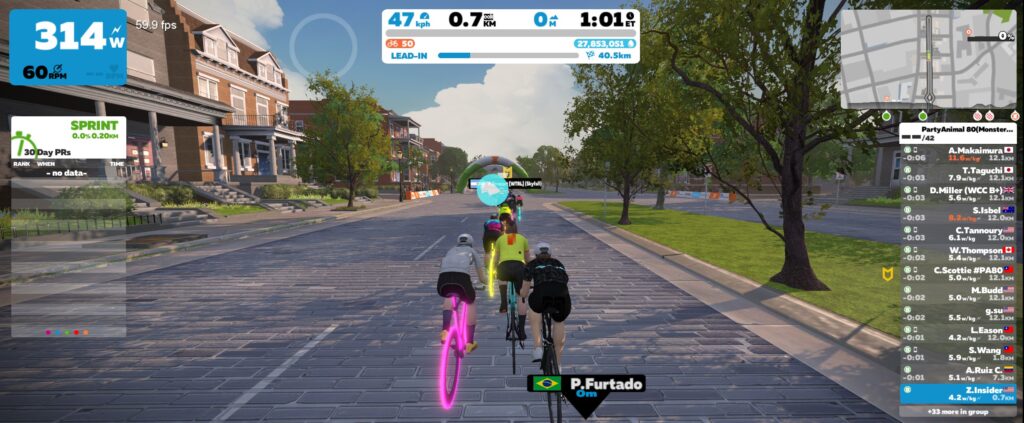
The second method involves editing a config file, and results in Zwift displaying your real-time FPS in the top-left corner of the game screen:

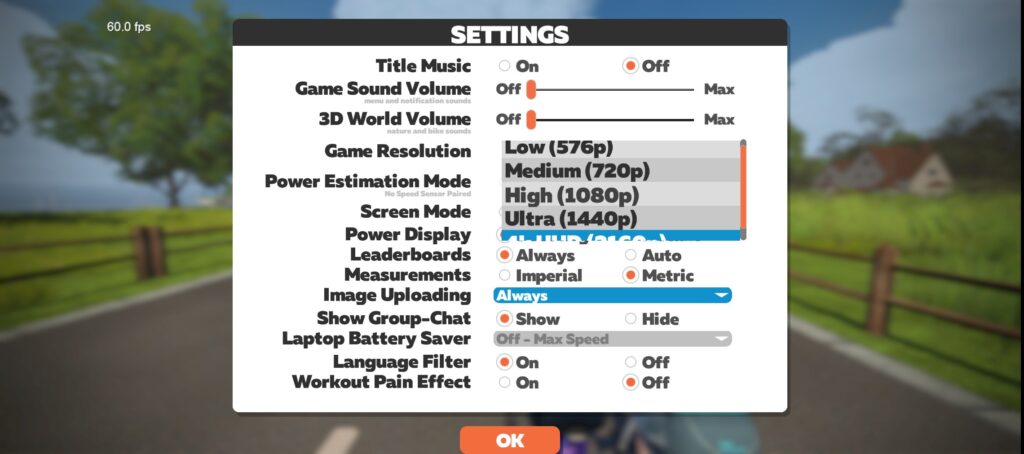
To do this, before starting up Zwift, you need to add the line “set gShowFPS=1” to whichever profile you are using in your Zwift setup. How do you know which profile you’re using? Go to Menu>Settings in game:

On my PC I find these files under C:\Program Files (x86)\Zwift\data\configs, and since I am using the “ultra” profile I need to edit the ultra.txt file. (It’s always a good idea to create a backup of any config files you plan to modify.)
Here are the contents of my original ultra.txt file, and the contents after adding the line to display FPS:
Original File
res 1920x1080(0x)
sres 2048x2048
aniso 4
set gSSAO=1
set gFXAA=1
Modified File
res 1920x1080(0x)
sres 2048x2048
aniso 4
set gSSAO=1
set gFXAA=1
set gShowFPS=1
Note: if you have a similar setup as mine (PC running Windows) you will probably run into permissions issues when trying to edit these files. To get around this you need to right-click on the file, go to “Properties>Security” and give your specific user account Modify permissions on the file.
What is a “Good” FPS Value?
This is sort of like asking “What’s a good FTP?” Standards vary. But higher is always better!
Those accustomed to decent gaming and television setups will want 50 FPS+, while many Zwifters are perfectly happy at 30 FPS. Gamers and A/V geeks used to super-smooth gaming and 4k video will want even higher FPS (think 90+), which can require more expensive gaming monitors and TVs.
My opinion? If your system is running below 20 FPS for any significant amount of time, your Zwift experience is fairly miserable. And if you’re getting 40+ FPS, your Zwift experience isn’t being noticeably impacted by framerate.
Upgrading Your FPS
If you’re suffering from low framerates in Zwift, consider upgrading your system’s graphics processing unit (GPU). This should cost around $150-$300 if you are on a tower PC. (Caveat: upgrading your tower’s GPU may also require an upgraded power supply – best to do your research or ask a tech-savvy friend to do it for you!)
A couple of recommended cards (stay away from AMD GPUs, which Zwift isn’t well-optimized for):
- GTX 1050 Ti GPUs ($140-$160 on Amazon) deliver good Zwift performance in the Ultra profile without requiring an upgraded power supply
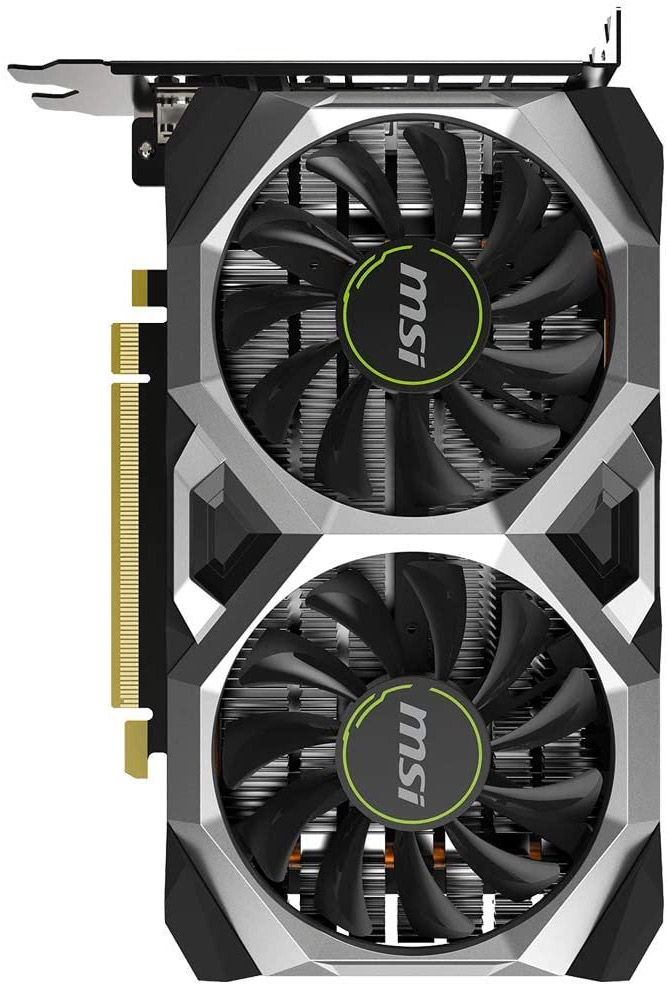
- GTX 1650 GPUs ($160 on Amazon) deliver better performance than the 1050, at nearly the same price. And most (like this one) don’t require the 6-pin power supply connector that often forces people to upgrade their power supply.
- GTX 1650 Super GPUs ($170 on Amazon) deliver even better performance than the 1650 (go 4k!), and you really won’t see improved performance with any higher spec card than this. Note: you may need an upgraded power supply since this card requires a 6-pin connector.
There are much beefier (and more expensive) GPUs, but these deliver great bang for the buck in terms of Zwift performance.
More Graphics Hacks
If you’re on a PC or Mac, there are lots of tweaks you can make to these graphics config files which may improve your game experience. Read “Zwift Config File Graphics Tweaks: 2019” for ideas.
Questions or Comments?
Share below!

