During previous sessions, we covered the basics of bridging from one group to another. However, in races, varying terrain, changes in wind direction, and technical turns can often split a field, requiring a rider to cross numerous gaps to get to the front group to remain in contention for the race.
See the video replay of the ride:
Bridging is the term used to describe the act of moving from one group to another. Because of the safety and benefit of riding in a group (drafting, teammates, etc.), I like to think of groups as being islands of varying sizes. When a rider departs the relative safety of his/her group for another group up the road, that rider has to cross the no-man’s land of open space, usually making the journey alone. Think of that crossing as a bridge, and the term “bridging” is very fitting. The act, itself, sounds fairly benign, but the distance to and the speed of the ultimate target group will determine the success of the attempt and what a rider will have left in the tank upon completing the bridge.
In race situations, both IRL and Zwift, course conditions can have a tremendous impact on a rider’s strategy and tactics. Notice the difference between courses such as London Classique, Watopia Flat Forward, and the Volcano CCW. Classique has very little undulation, and short of the turns, there is little opportunity for the race to split except under the brutal pace often set by the strongmen and women of Zwift. When those gaps occur, we can pretty much call it a day, as the group is simply going too fast to catch once the gap is out to ten or more seconds. On the Watopia Flat and Volcano courses or an IRL course with multiple wind direction changes or short, punchy climbs, gaps can open up quickly. If you aren’t paying attention and riding in the front third, you can quickly find yourself with a 30 to 60 second deficit to the leaders. When you find yourself in that position, you have to get back to the front group. How you do it depends on the speed of the groups, the size of the gaps, and how far back you are from the leaders.
The “Ride Across” Method
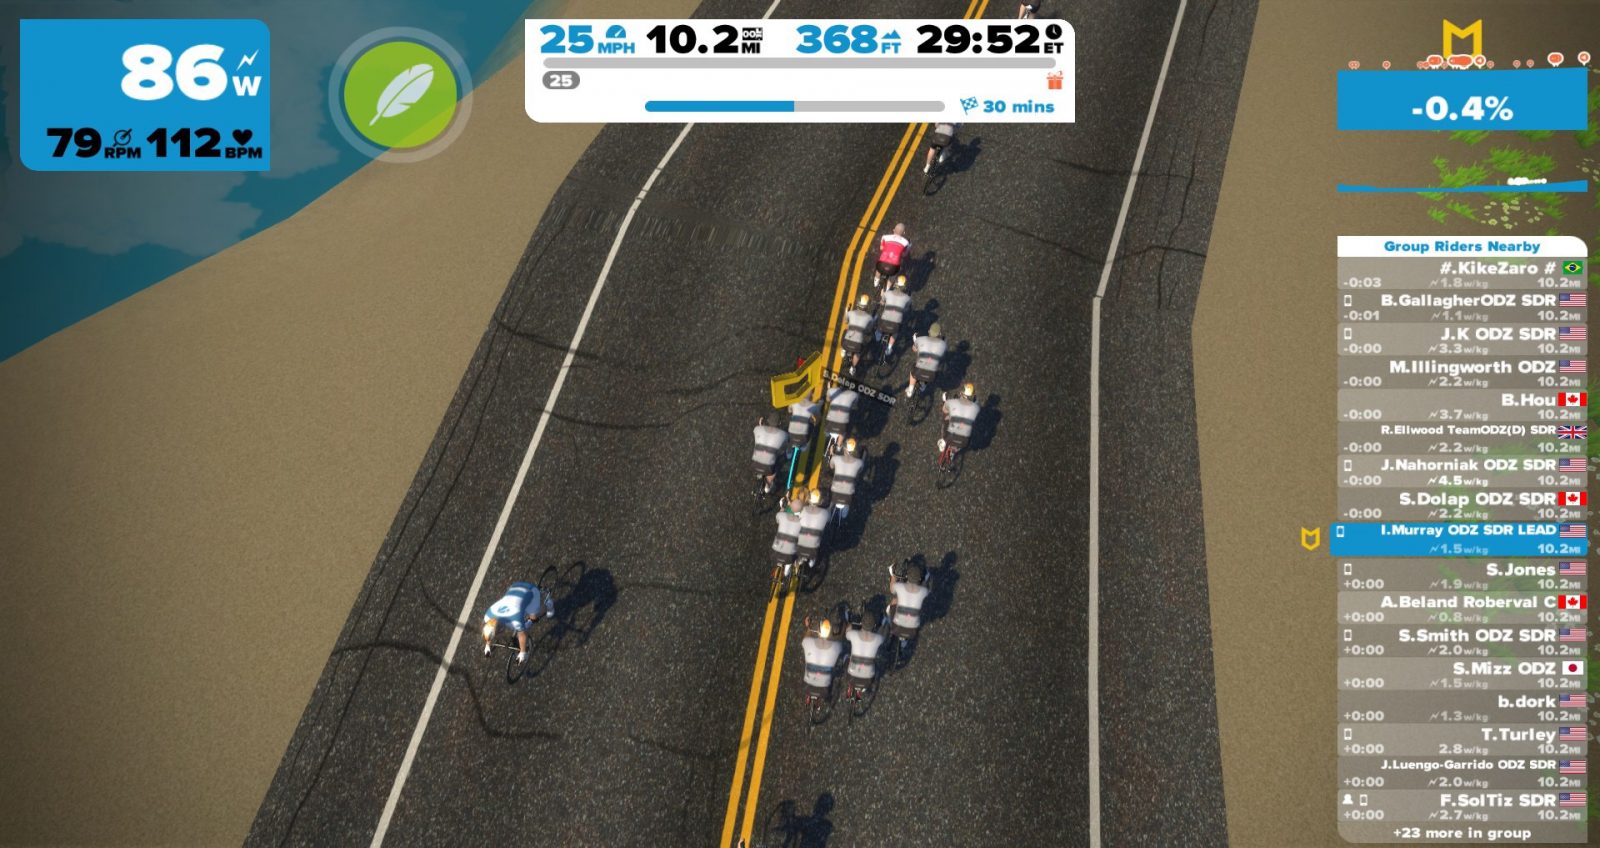
The first type of bridging effort we covered during the Castelli SkillZ and DrillZ Ride this week is the “Ride Across” method. Usually, this technique is used when the gaps are small, and the groups are fairly spread out. It often occurs when the front of the group accelerates hard out of a tight or technical turn or after rolling over a small number of short hills in rapid succession.
In this case, the rider must simply lift his/her effort to hop from slipstream to slipstream, until latching on to the back of the lead group. As the bridging rider approaches each group, he/she should lift the pace slightly to use the group’s draft to slingshot forward. Once clear of the group, settle back into the bridging effort. That effort should be based on the rolling calculus taking the speed of the lead group and the conditions into account. If the lead group isn’t going very hard, the bridger can afford to take a little longer to cross the gap instead of digging very deep and possibly burning up the legs. If the lead group is going harder, the bridger will want to complete the bridge as quickly as possible to get in the draft. Again, this technique should only be used when the gaps are not that large, and the field resembles being strung out more than actually being split.
The “Bridge, Recover, Repeat” Method
The second type of bridging effort we covered is the “Bridge, Recover, Repeat” method. This method is normally recommended for larger gaps where defined groups/splits have formed. Often we will see this after a number of short climbs or after leaving a section with some nasty crosswinds. If you happen to live in Northern Europe, the cobblestones are also a famous cause for these large splits in the field.
 To execute this technique, a rider simply bridges from one group to another until reaching the front group. This can be considered a series of bridges, but I prefer to think of it as one planned move when executed properly. Starting from a group well off the front, the rider lifts the pace to quickly cross the gap to the group in front. It is important that this gap be crossed quickly to prevent the lead group from getting too far ahead. Upon arriving at the new group, a rider should sit on the back of the group for a short period to recover. Obviously, the shorter the rest time the better, but it is better to be a little conservative to ensure that the legs have recovered sufficiently to make the next bridge. Again, the bridging rider needs to pay attention to the overall gap to the lead group and its speed to not allow too big of a deficit to form.
Where possible, the rider should take advantage of natural slowing points for the lead group to make up ground. That can be narrow roads, a short climb, or anything that suits a single rider over a small group. Being smart can gain the rider precious seconds, allowing him/her to save that energy for later in the race.
 Bridging in Zwift
To be honest, if you are in a position where you need to bridge on Zwift, you are probably not in the best position, as most races are short enough that race tactics do not usually allow for a breakaway to get established and chased down. More often than not, the need to bridge usually results from poor positioning or struggling on a section of the course. During IRL races, bridging can be a tactic used by a team to launch a move for the win. Today, though, we covered the reactive or defensive version of bridging that we see most often during Zwift races. The earlier you can recognize your situation for what it is, the better off you will be. If you can identify that you need to bridge and start your moves immediately, you maximize your opportunity to get back on the lead group and contest the finale.
Coming Up
Next week, we will practice the effort to make the lead move from the start. It will be a little harder of a class from a training stress score perspective, but, like usual, we will use the crawl-walk-run technique. Until then, RideOn!


