[et_pb_section bb_built=”1″ admin_label=”section”][et_pb_row admin_label=”row” background_position=”top_left” background_repeat=”repeat” background_size=”initial”][et_pb_column type=”4_4″][et_pb_text background_layout=”light” use_border_color=”off” background_position=”top_left” background_repeat=”repeat” background_size=”initial” _builder_version=”3.0.90″]
 Your Vortex must be calibrated in order to give Zwift proper power readings. Calibration is a fairly painless process using the free Tacx Utility app (available on iOS and Android).
Note: this guide below uses the iOS app. I assume the Android version is similar.
Before you begin: make sure you’ve inflated and warmed up your tire. Read why here >
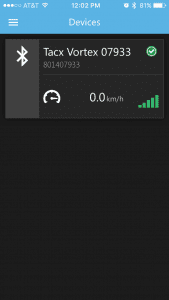
Step 1: enable Bluetooth on your phone, open the app, and connect to your trainer. You will see a green checkbox at the top-right once it is connected.
Step 2: click the menu bar (3 lines) at the top-left and choose “Calibration”.
Step 3: The app will prompt you to start pedaling and speed up to 30km/hr, then stop. This “spindown test” lets the app sense how much tension is on your tire.
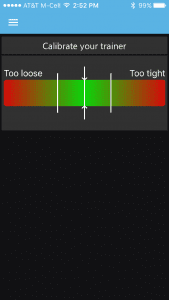
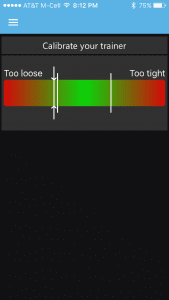
Step 4: if you’re anywhere between the two white lines (figure 1), you’re all set. If you are outside the white lines (figure 2) you will need to adjust the tension accordingly then calibrate again.
That’s it! Now just turn off Bluetooth (or at least disconnect from the trainer in the app) so Zwift can work properly.
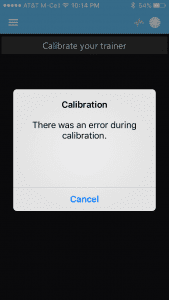
 There was an error during calibration
Note: if you receive a notice that “There was an error during calibration” there are two probable causes:
- Your trainer’s tension is way too loose or way too tight. Try adjusting it and re-calibrating.
- Your trainer’s firmware is out of date and not speaking properly to the app. Update the firmware then try again.
[/et_pb_text][/et_pb_column][/et_pb_row][/et_pb_section]


